 6
6
Corsair Carbide 300R Review
Value & Conclusion »Assembly

Installing the motherboard is quick, as you just have to screw it down. As you can see, the rear fan is much closer to the CPU cooler than in other cases. A 140 mm top down cooler will most certainly collide with the fan, as most cooler manufacturers aim to keep clear of the memory slots to the right of the CPU socket.
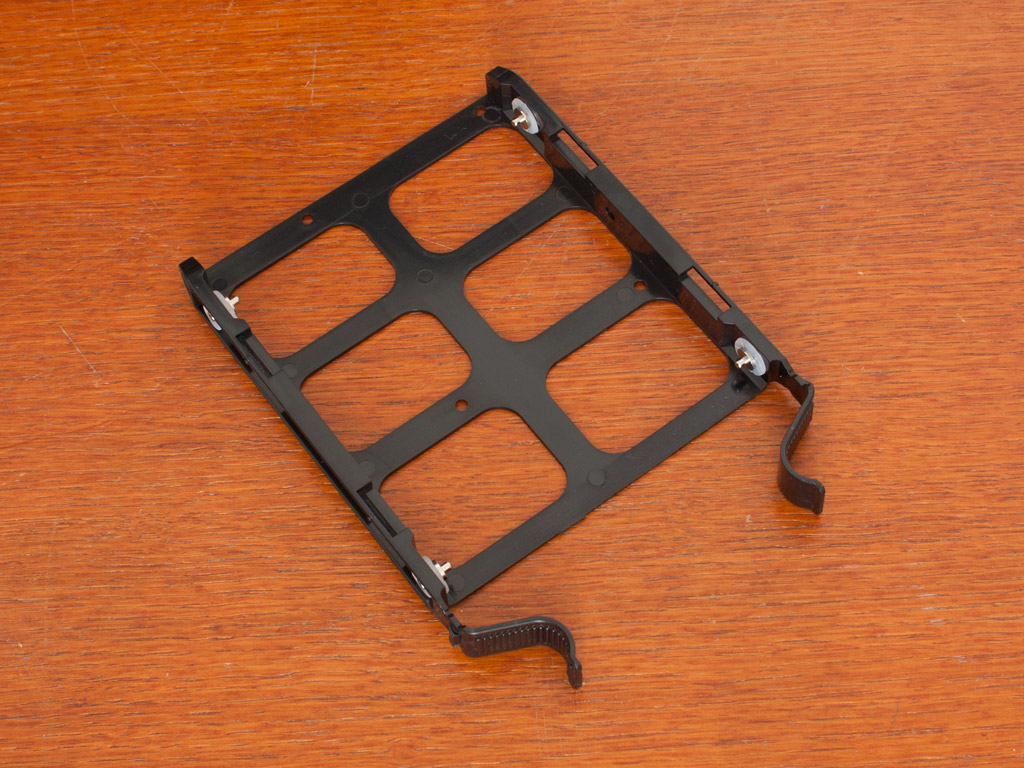
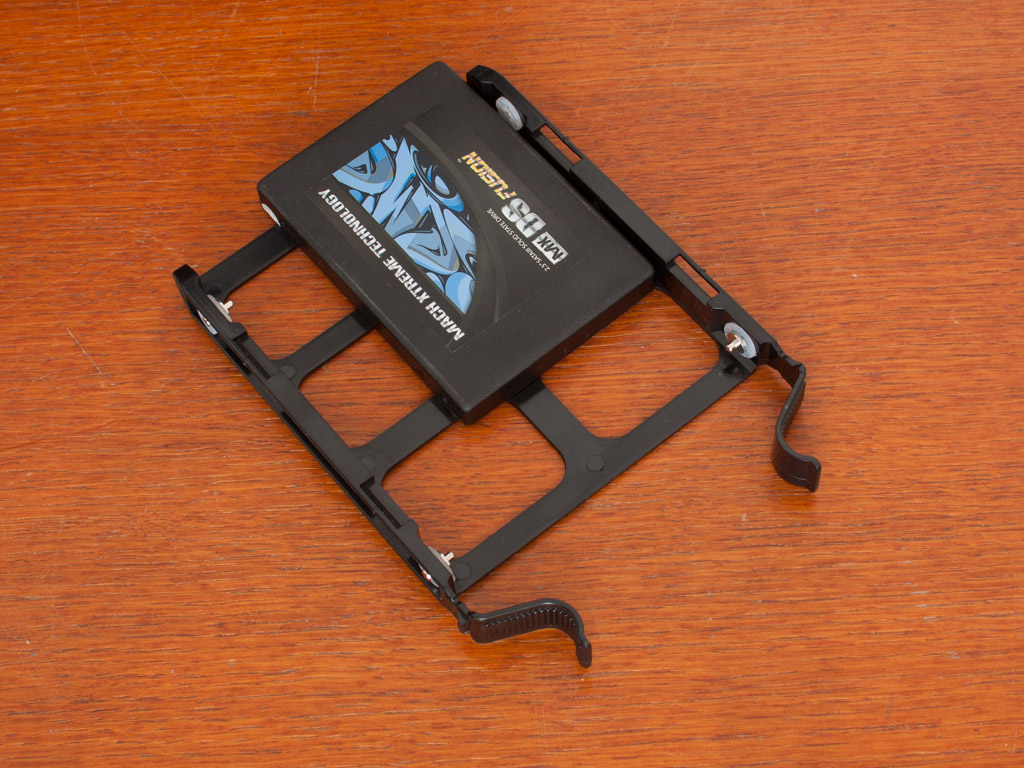
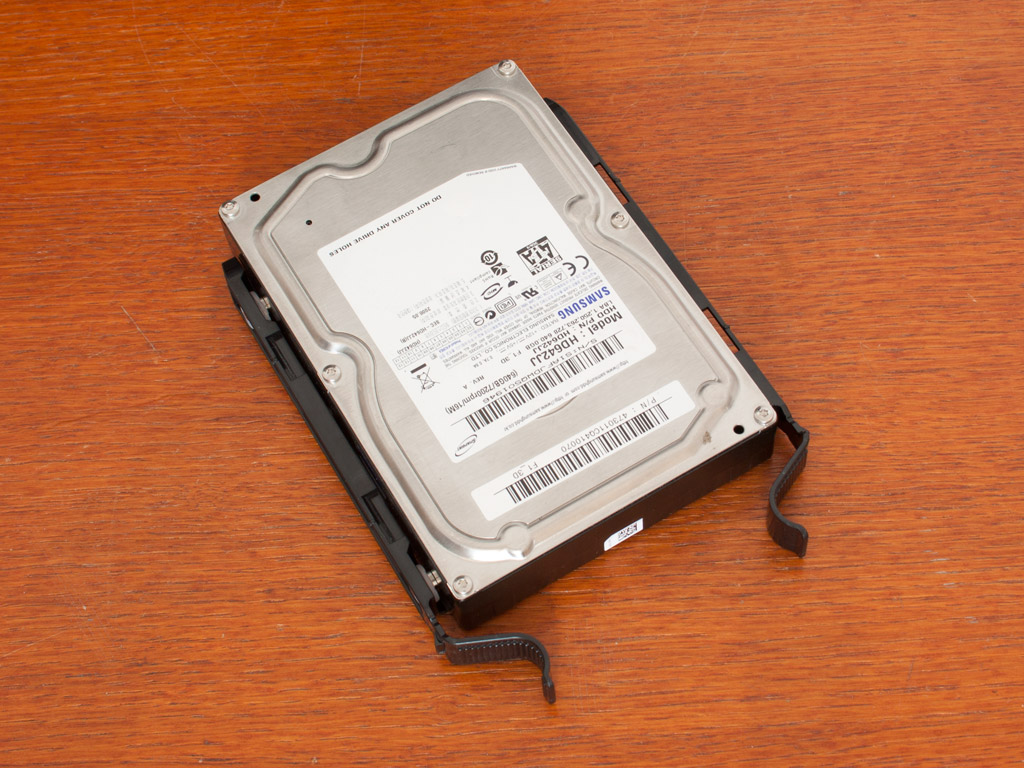
The included hard drive trays are of very good quality and work quite well. While you have to use some of the included screws to hold an SSD in place, a 3.5" drive just snaps right down, thanks to the embedded metal pins.
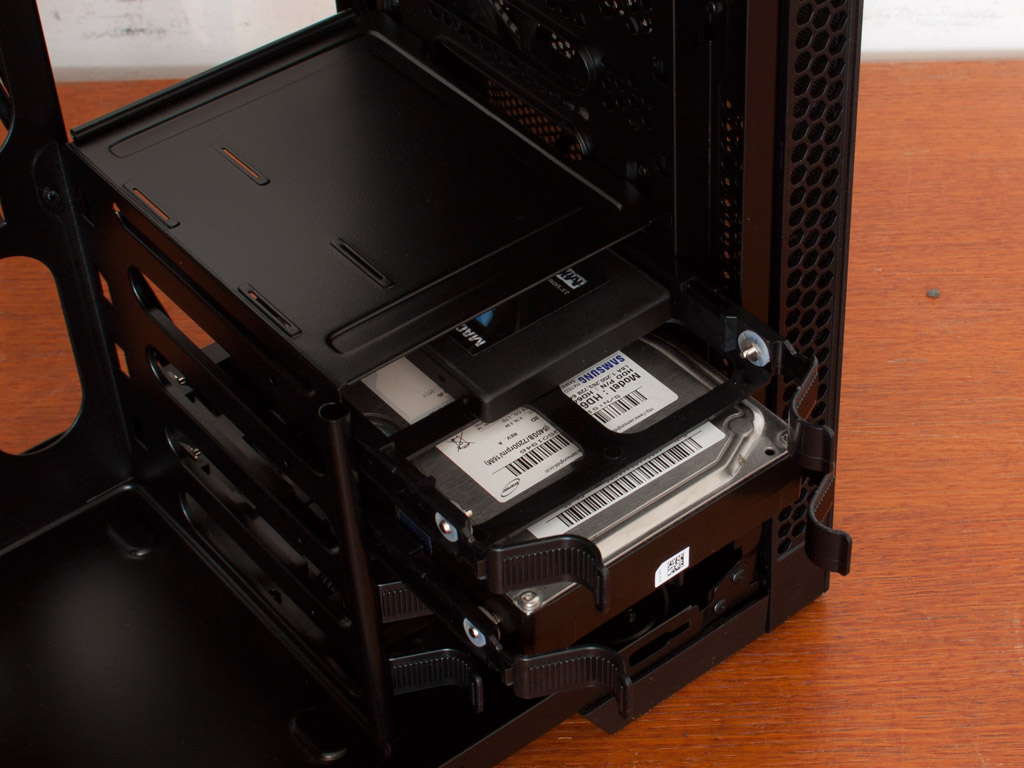
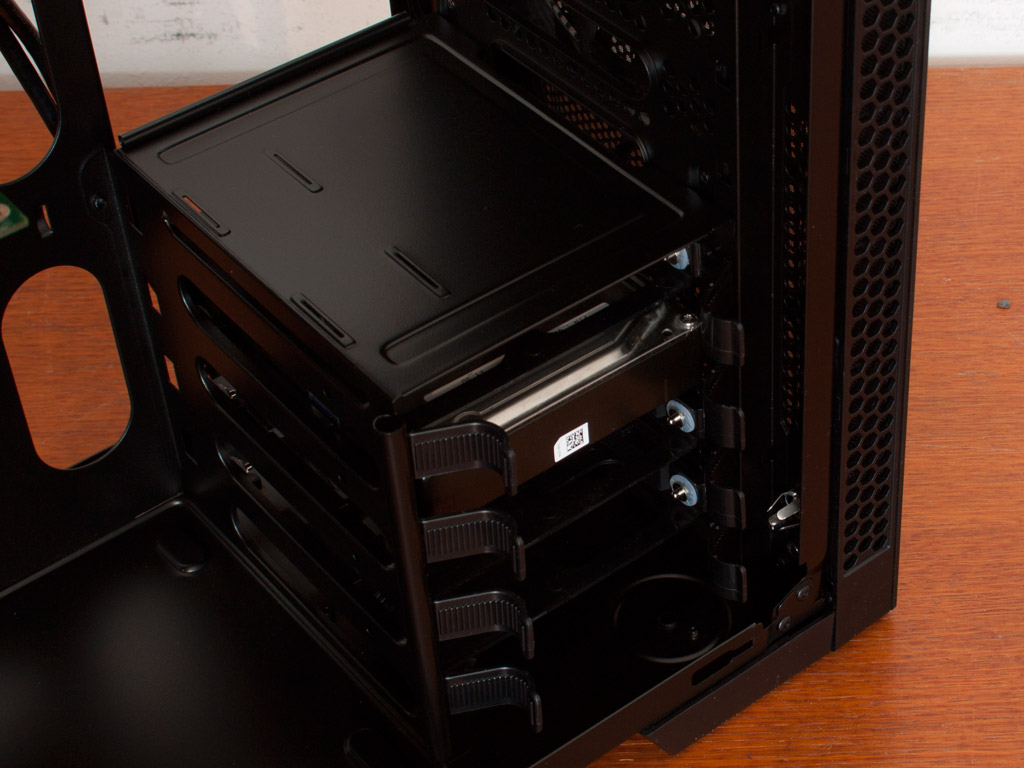
Once filled, simply slide the trays into the bays of your choice until they snap in-place. Regardless which type of hard drive is installed, or even if the tray is left empty, things hold quite well.


To install the optical drive, you do not really need to pull off the entire front, but I have done so to reveal the 140 mm fan in the front of the chassis. Rhanks to covers with long prongs on the inside, simply popping them out is quite easy without disassembling the chassis.

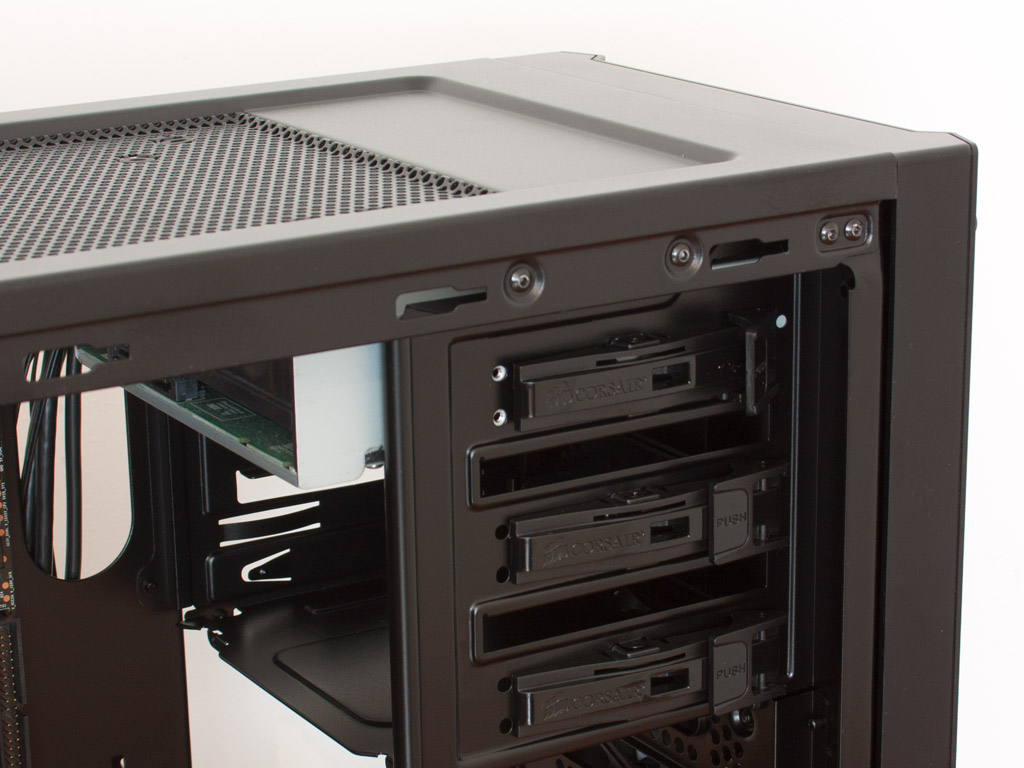
With the bay free, just slide the drive into place and the plastic lock will take care of the rest. It is strong enough to hold the unit well enough. To release the drive, just pull on the tab of the locking mechanism and push the ODD out the front again.
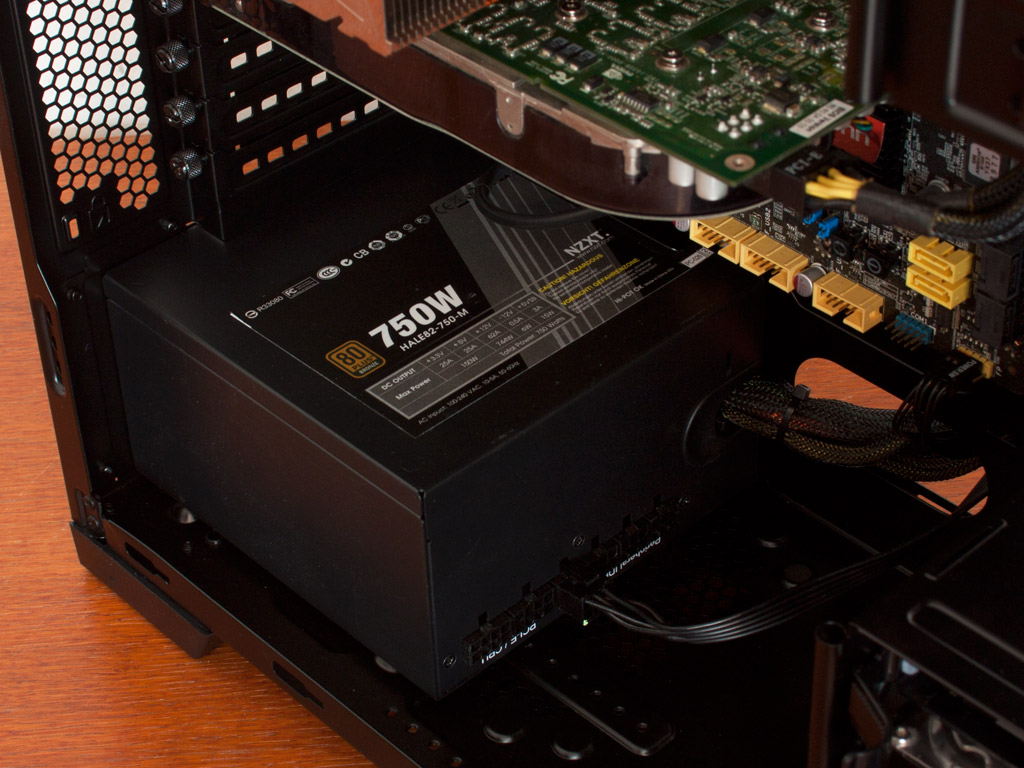
You will have to use normal screws to secure the power supply. The thing I noticed is the amount of force needed to push the unit into place, as it is an extremely tight fit. I am not sure if this just an issue with the sample or if Corsair has not allowed for more play in general. In the end everything fits just fine, so this is just a small annoyance.
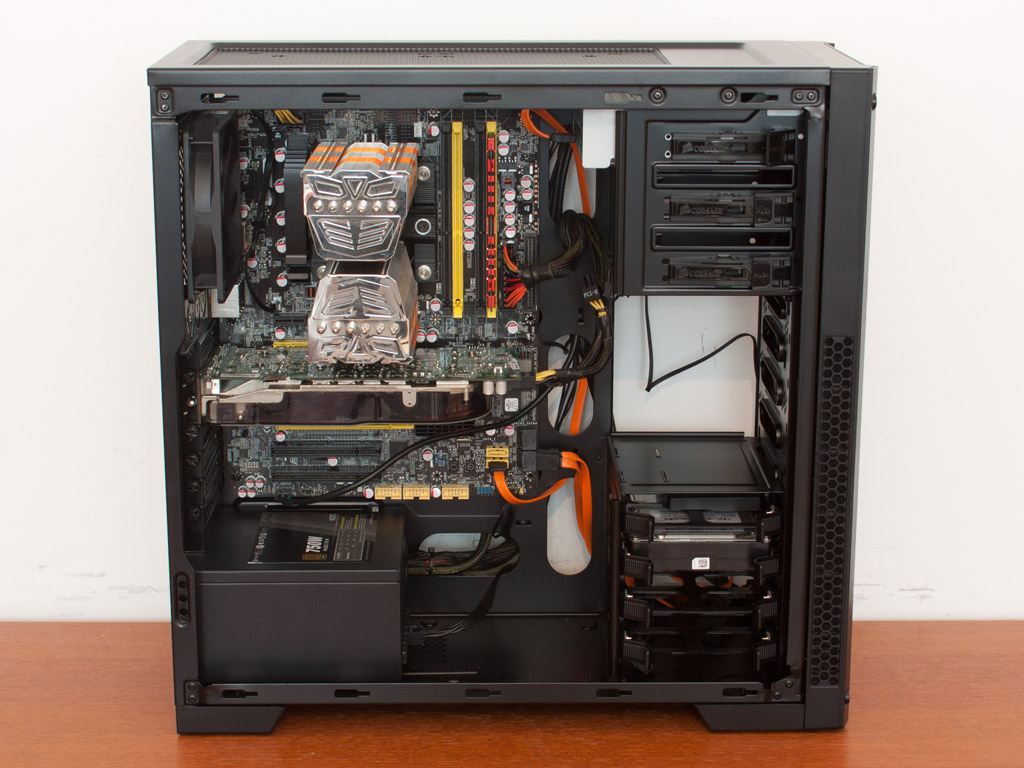

With everything installed, the Corsair Carbide 300R makes a adequate impression in terms of cable management. Since the chassis lacks rubber grommets, you can still see the cables everywhere. Most of them are routed behind the motherboard tray as well.
Finished Looks
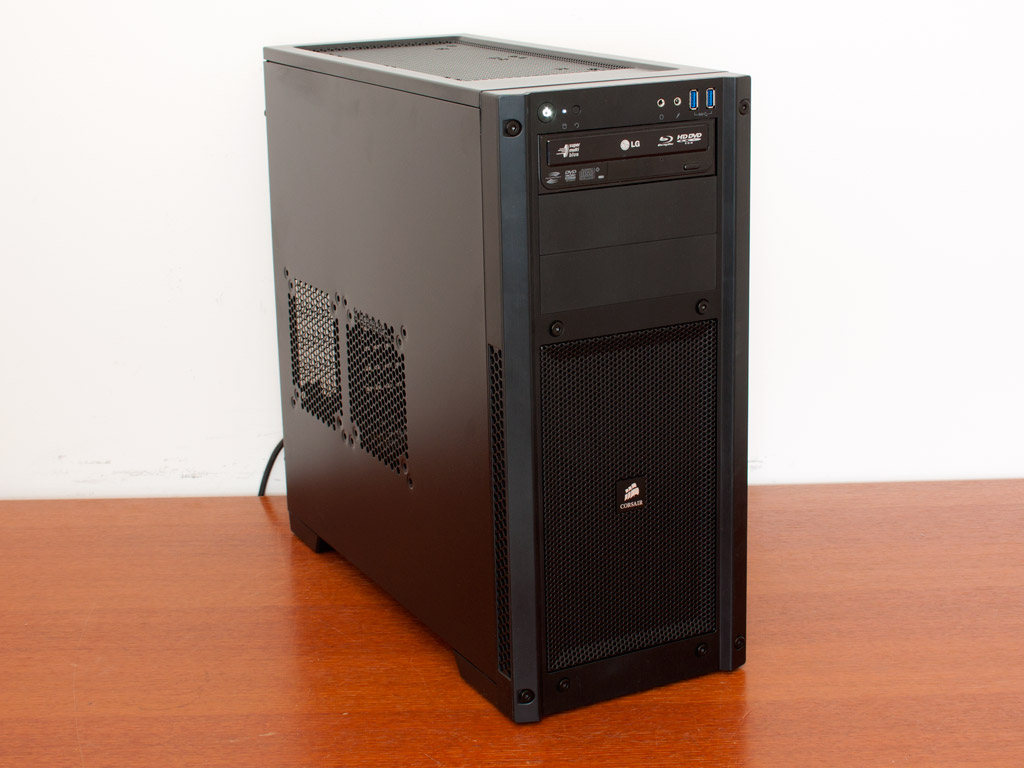
Closed up, the Corsair Carbide 300R looks quite spiffy. The drive bay is hugged nicely by the two outward edges of the front, while the white LEDs are, as always, a nice touch.
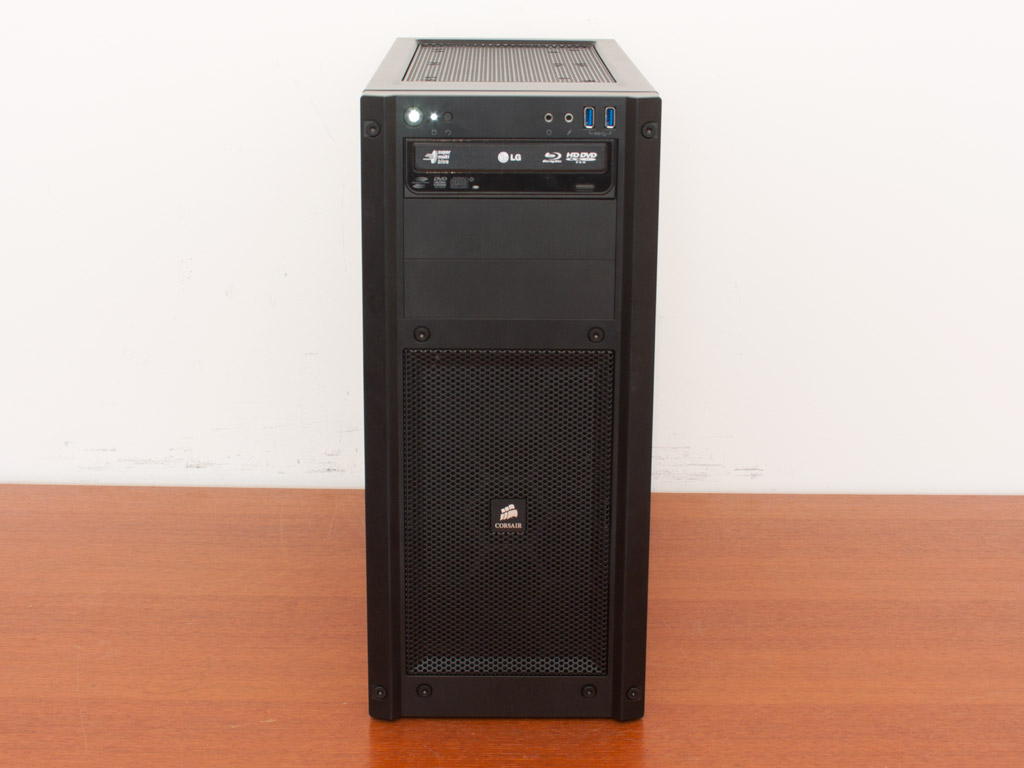
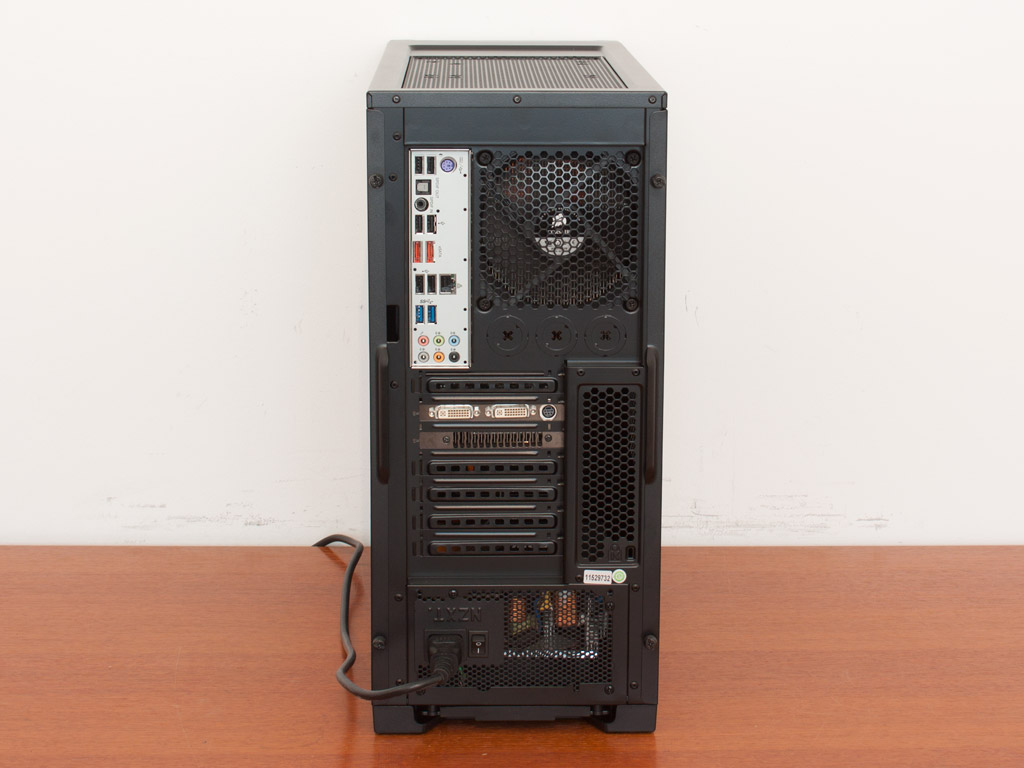
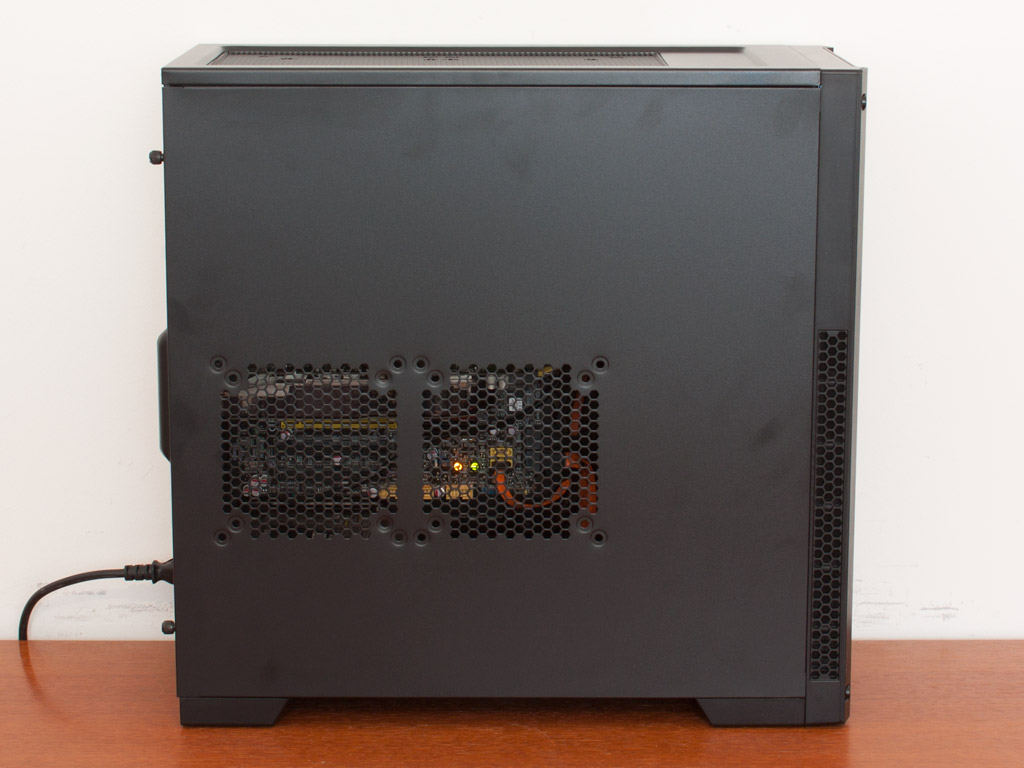
Naturally everything in the front is easily accessible. The same goes for the back, especially since the fan is no longer blocking the rear I/O of the mainboard tray for example. You can clearly see that the two openings of the side panel line up perfectly with the expansion slots of the motherboard, giving you the possibility to cool graphics cards with additional fans if you wish.
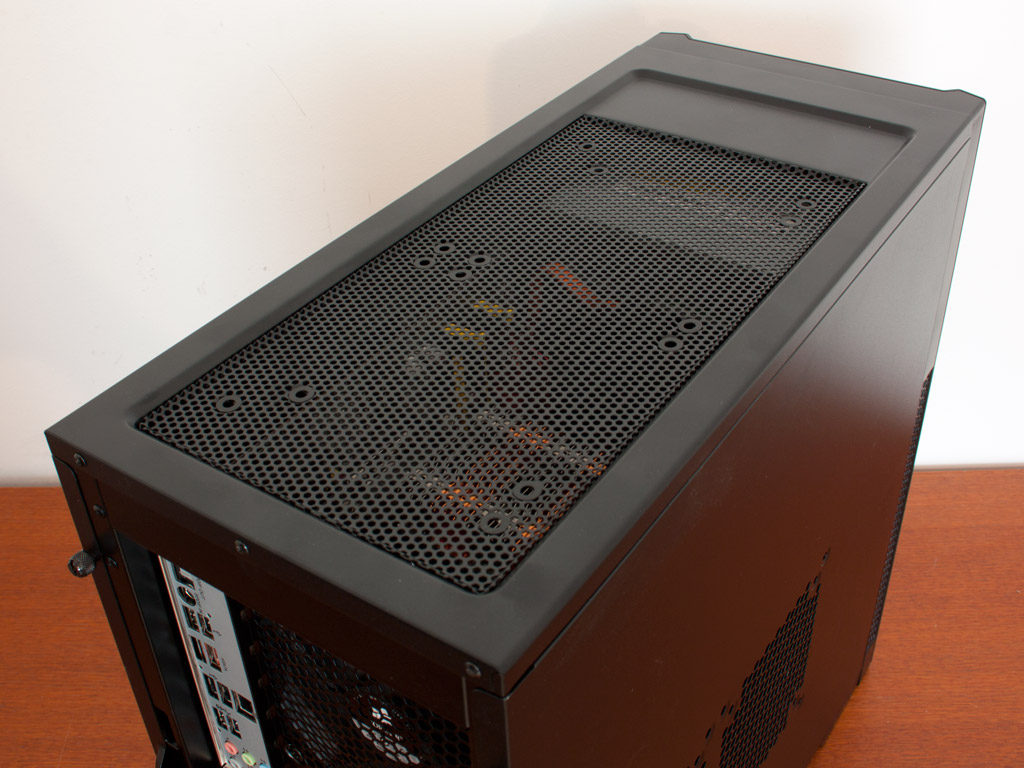
Taking a quick peek at the top, one can clearly see all the internal components and the grey optical drive. A dust filter would have blocked the view a bit, giving the chassis a more solid look in this area.
Feb 10th, 2025 14:03 EST
change timezone
Latest GPU Drivers
New Forum Posts
- What fixed stuttering and random framerate spikes in games for me (29)
- Microsoft/Outlook.com foreign failed login attempts? (11)
- ASUS Dual GeForce RTX 4070 SUPER EVO OC Edition - stay away from this card, very hot and loud (30)
- ECC memory for X670E (12)
- It's happening again, melting 12v high pwr connectors (84)
- Free Games Thread (4442)
- Asteroid 2024 YR4 reaches level 3 on the Torino Scale (32)
- Acer laptop RTX 4080 stuck at 210mhz core clock, pulling 593watts (19)
- Folding Pie and Milestones!! (9369)
- Have you got pie today? (16584)
Popular Reviews
- Kingdom Come Deliverance II Performance Benchmark Review - 35 GPUs Tested
- Civilization VII Performance Benchmark Review - 35 GPUs Tested
- ASRock Phantom Gaming B850I Lightning Wi-Fi Review
- Spider-Man 2 Performance Benchmark Review - 35 GPUs Tested
- NVIDIA GeForce RTX 5080 Founders Edition Review
- AMD Ryzen 7 9800X3D Review - The Best Gaming Processor
- Kingdom Come: Deliverance 2 Handheld Performance Review
- Formovie Cinema Edge 4K UST Laser Projector Review
- ASUS ROG Harpe Ace Extreme Review
- Corsair Frame 4000D Review
Controversial News Posts
- AMD Radeon 9070 XT Rumored to Outpace RTX 5070 Ti by Almost 15% (286)
- AMD is Taking Time with Radeon RX 9000 to Optimize Software and FSR 4 (256)
- Edward Snowden Lashes Out at NVIDIA Over GeForce RTX 50 Pricing And Value (239)
- AMD Denies Radeon RX 9070 XT $899 USD Starting Price Point Rumors (239)
- AMD Radeon RX 9070 XT & RX 9070 Custom Models In Stock at European Stores (226)
- New Leak Reveals NVIDIA RTX 5080 Is Slower Than RTX 4090 (215)
- AMD's Radeon RX 9070 Launch Faces Pricing Hurdles (175)
- AMD Radeon RX 9070 XT Tested in Cyberpunk 2077 and Black Myth: Wukong (169)