 22
22
Corsair Carbide Air 240 Review
A Closer Look - Inside »A Closer Look - Outside
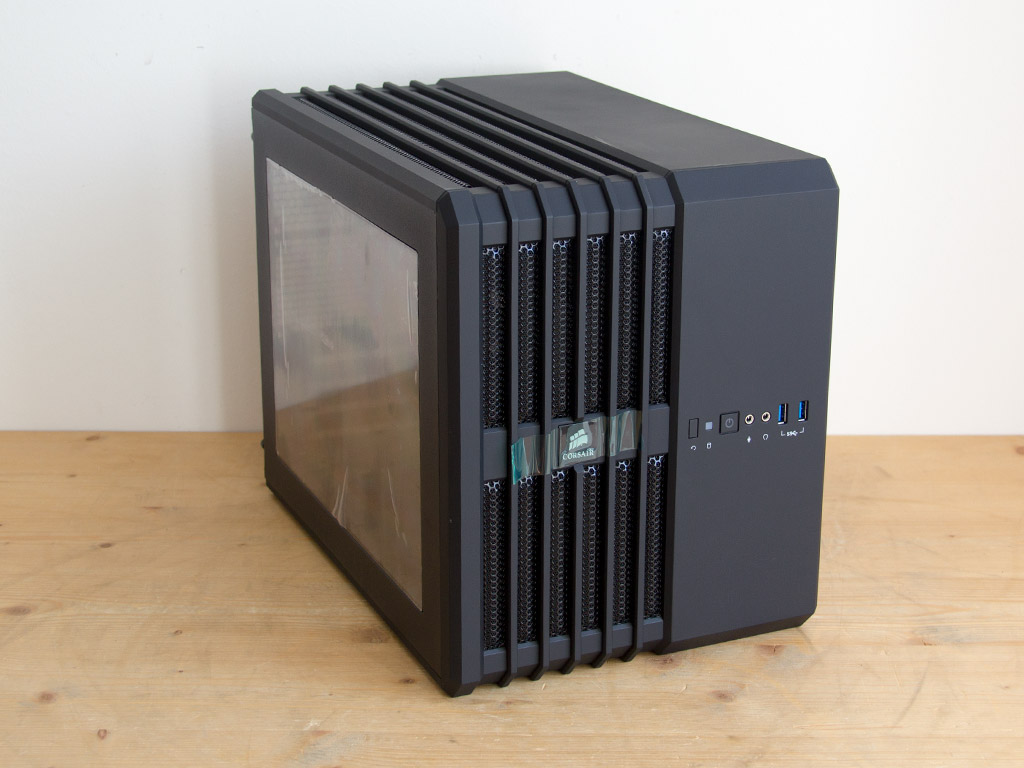
Taking a first look at the chassis, it looks very much like someone threw the Air 540 into the dryer for too long. Corsair has done an excellent job in simply shrinking the chassis dimensions as it still offers the exact same design elements.

If you look closely, you will notice that the Carbide Air 240 has no external drive bay, which is one of the reasons this chassis is so very compact for a mATX unit. Most other manufacturers try to offer such an expansion bay or gear the chassis toward storage users by allowing for loads of fully sized hard drives to be installed. Turning the chassis around 180°, it should become apparent that the enclosure is not using an off-the-factory-shelf frame as Corsair has instead designed the chassis from the ground up.

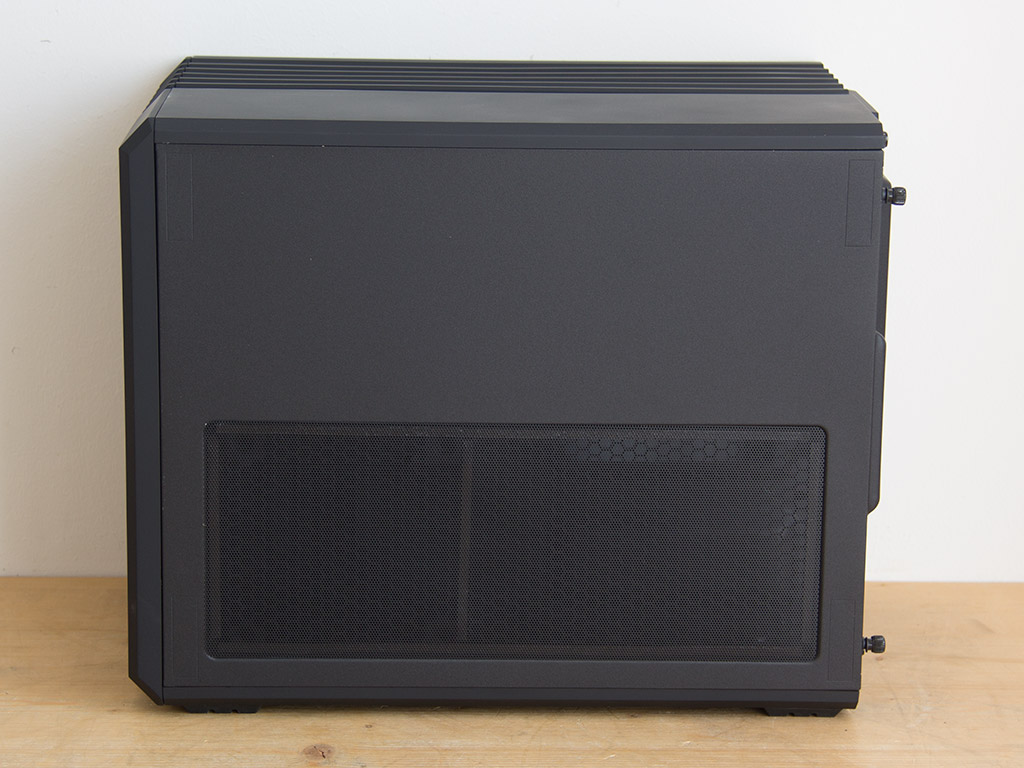
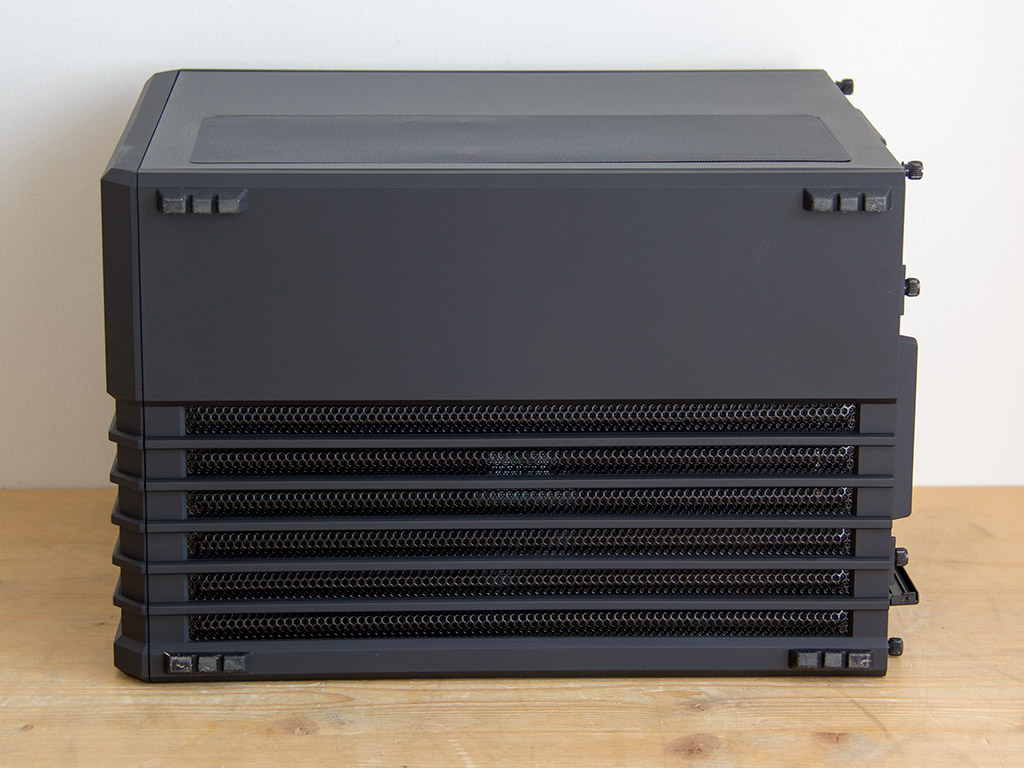
Just like the larger Carbide Air 540, the 240 features a large window on its main side panel. There is a large air vent on the other panel, covered by a fairly fine dust filter out of metal mesh. It is held in place by rather strong magnetic strips, so you will not have to worry about it falling off during transport.
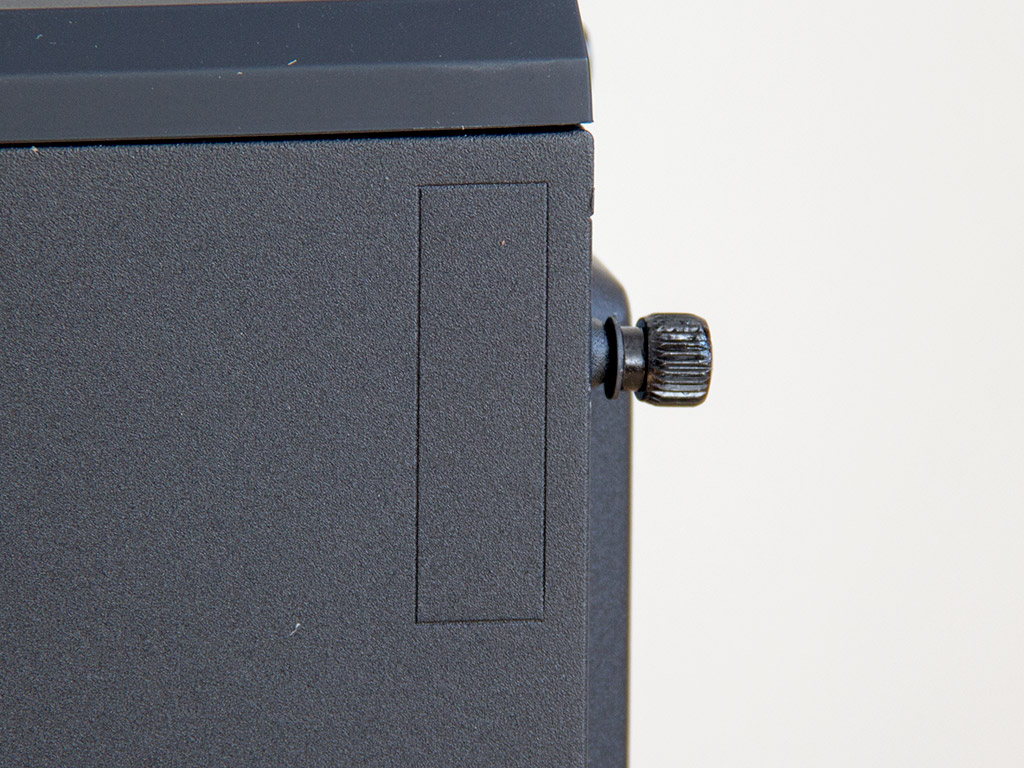
One unique aspect of the chassis is the fact that you may tip the case on its head by simply swapping the top and bottom covers, which would allow you to install the motherboard upside down while having the window face the other way. A third option is the ability to simply tip the case on its side, with the dust filter facing downward and the window as the top panel. Corsair includes markings on the side panels for you to place the feet in such a usage scenario. However, we will stick to the default configuration in this review.
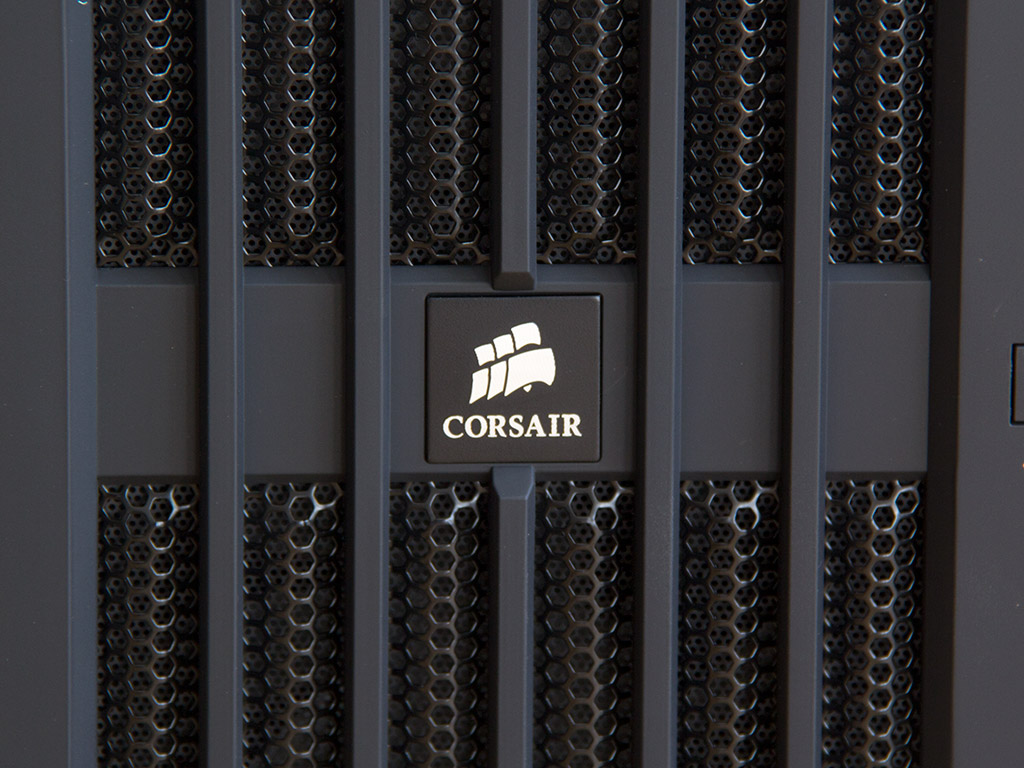
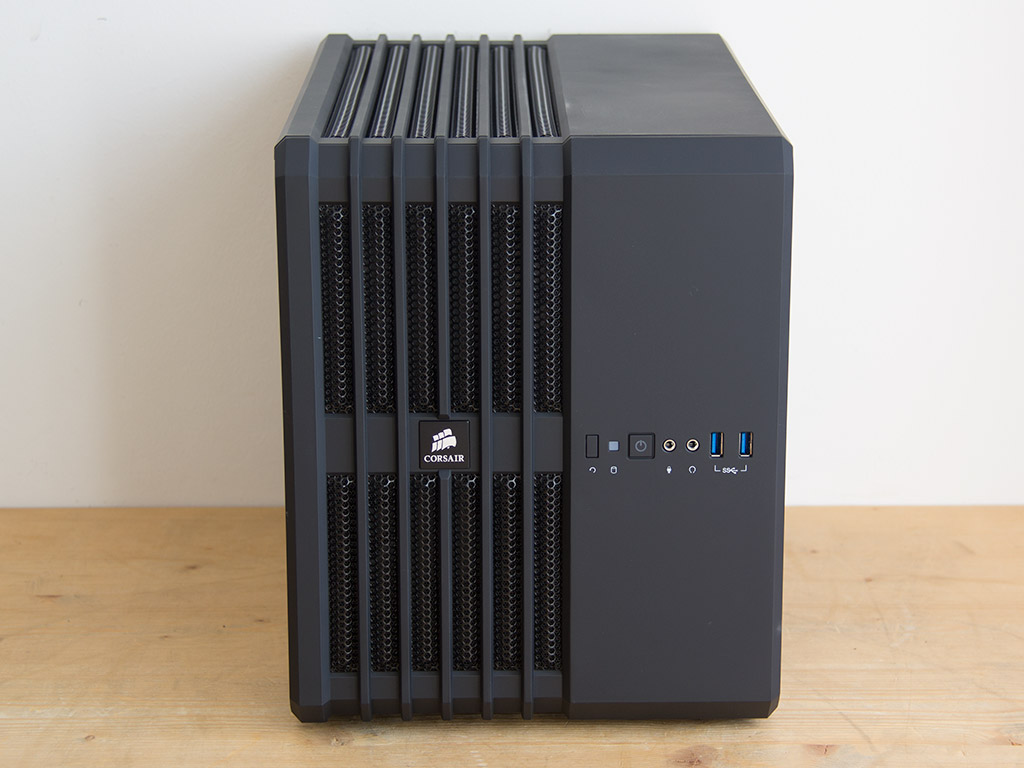
In the front, you will find Corsair's logo embedded into the half with the dust filter. Corsair has actually positioned it in such a ways as to allow the square logo to be rotated, so you can always have the logo the right side up, regardless of how you use the Air 240.
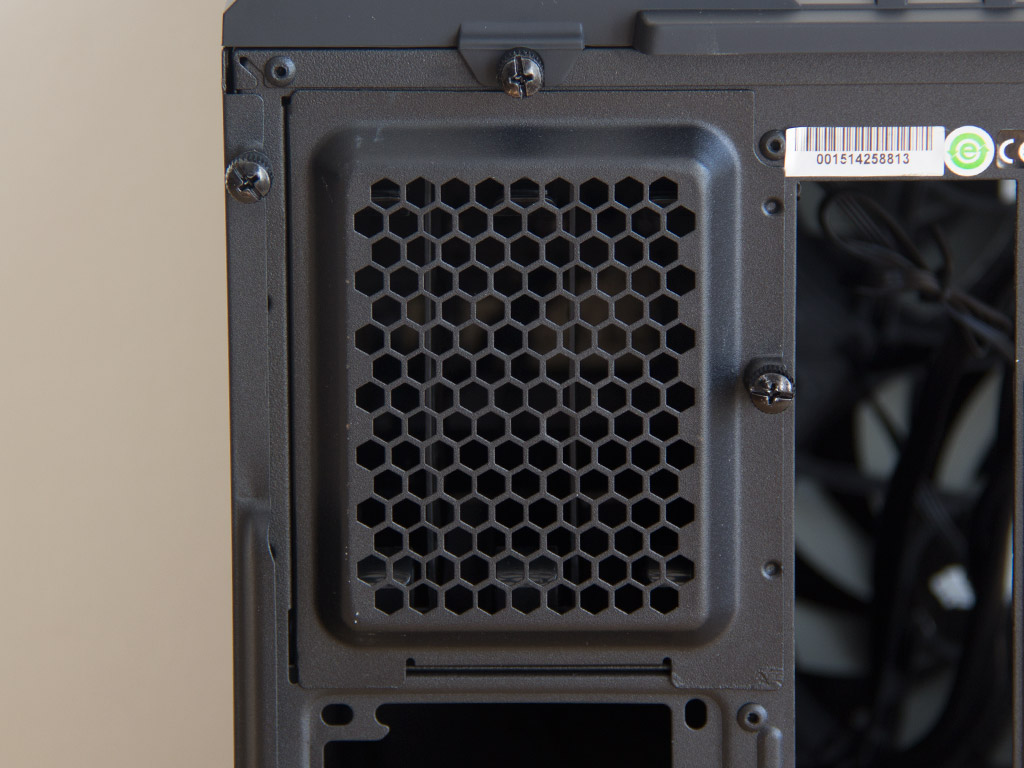
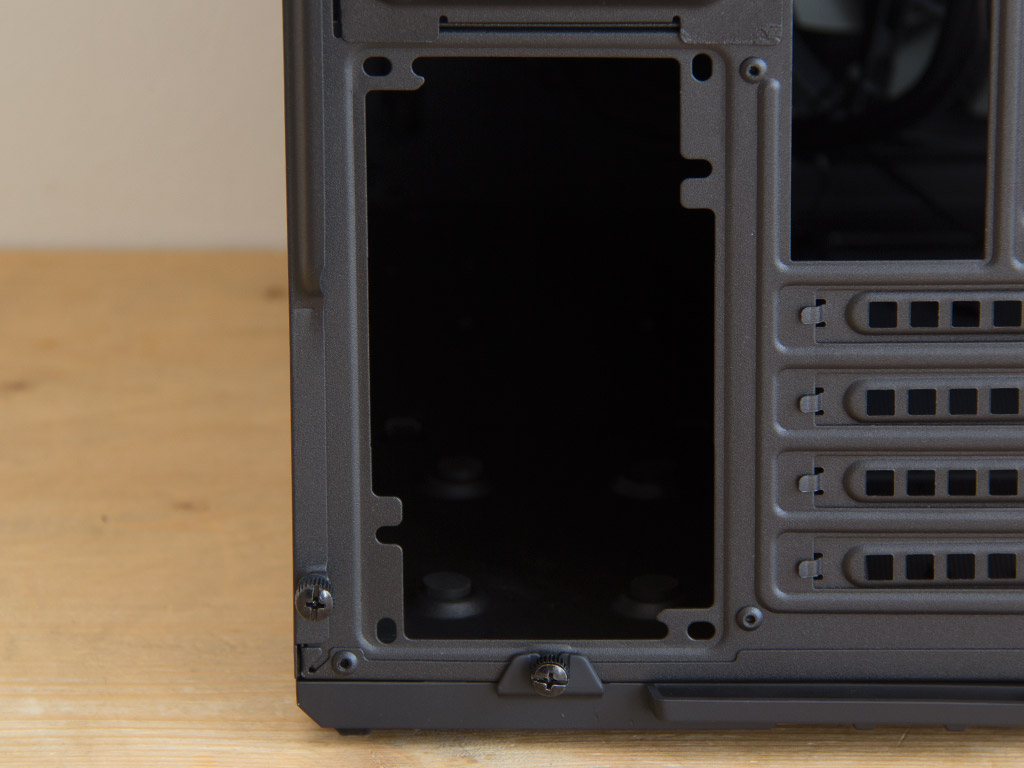
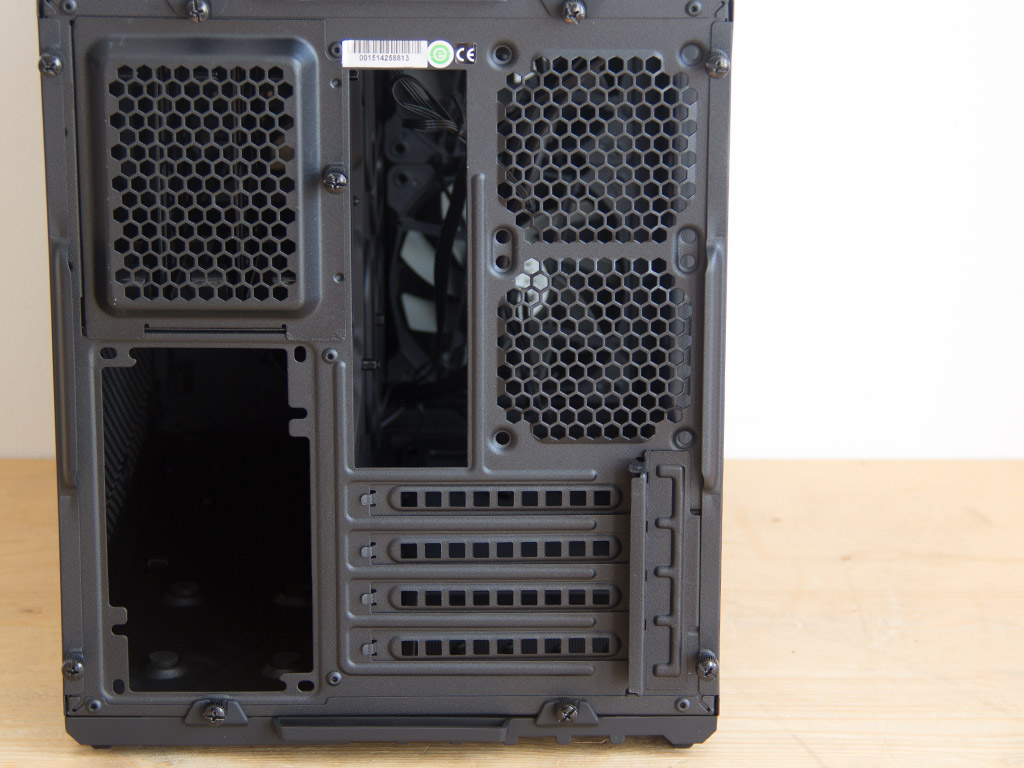
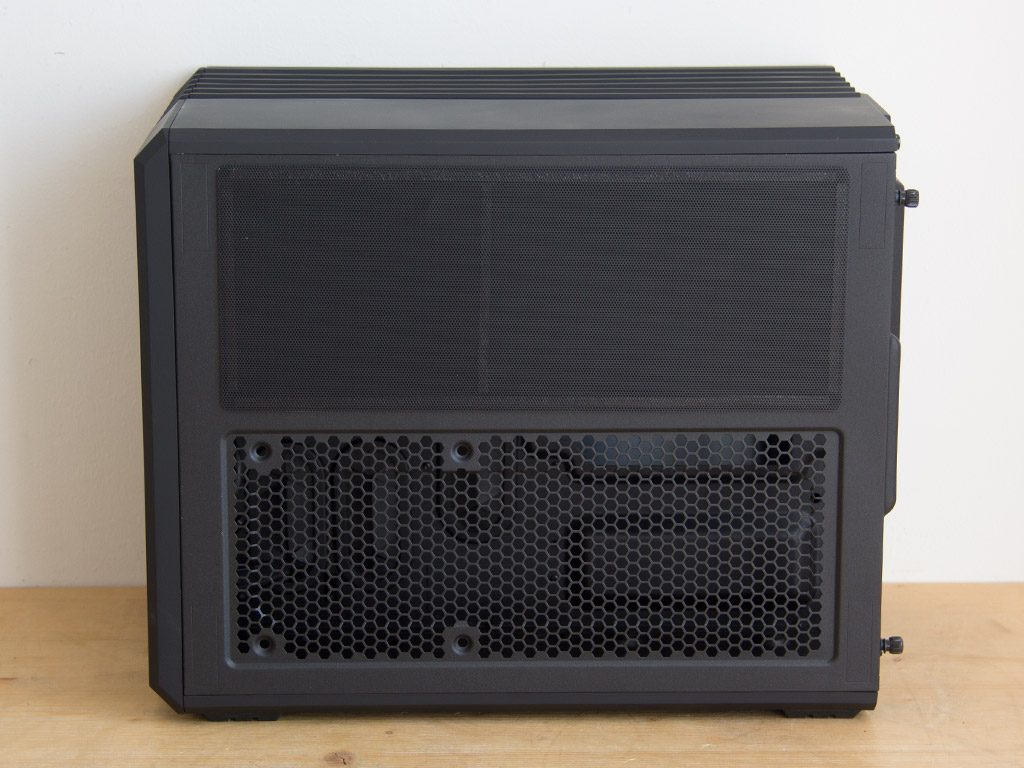
The rear includes an extruding cover with air vents for the HDD cage. As we will see later on, this is where you may install up to three 2.5" or 3.5" drives. Below it is a fully sized PSU bay with two sets of mounting holes, so you can pick the direction the power supply will face. The entire right half is taken up by the motherboard compartment with enough room for a mATX board within. There are also two fan-mounting possibilities for 60 mm units.
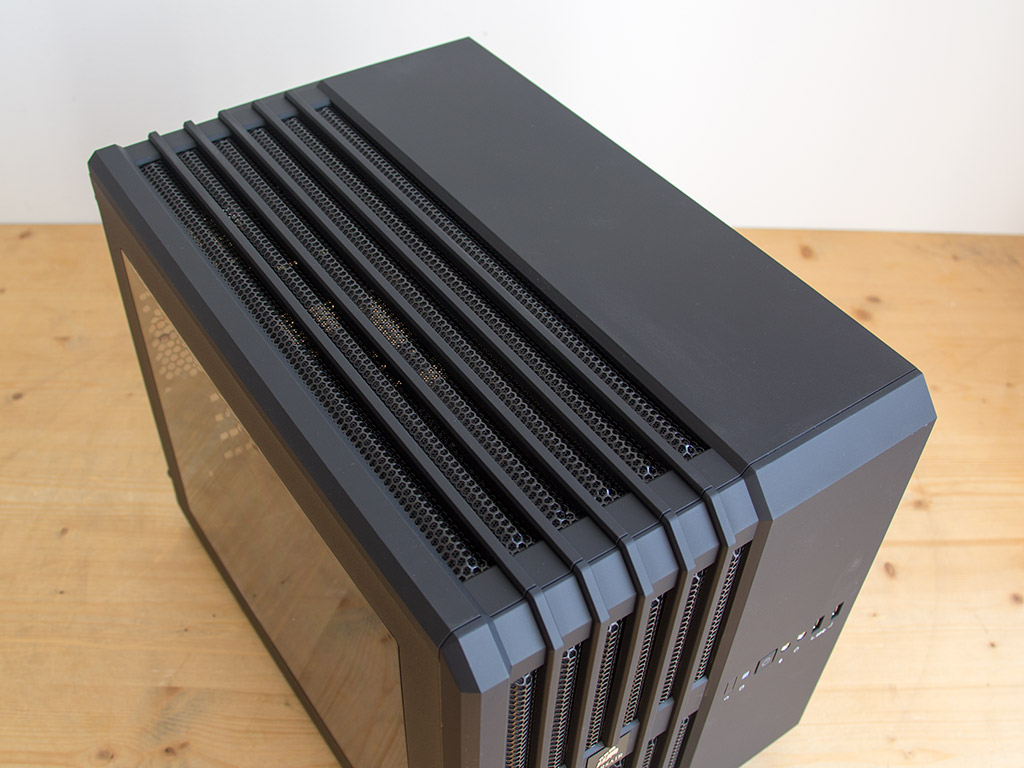
The top panel continues the front's design pattern as one half consists of an air vent while the other is completely solid. As you can see, I applied the rubber feet to the underside, which comes with the same cover.
Mar 19th, 2025 00:07 EDT
change timezone
Latest GPU Drivers
New Forum Posts
- Poor performance with new Radeon GPUs while CPU under load, any suggestions? (9)
- One of the cpu's thread utilization (c0%) was very low while playing valorant (1)
- HalfLife2 RTX Demo Is out! (106)
- Windows 11 General Discussion (5869)
- What local LLM-s you use? (137)
- Do you use Linux? (548)
- Adding 2 more sticks of DDR5 Ram 64gb for a total of 4 (48)
- Your PC ATM (35268)
- Free Games Thread (4576)
- Will you buy a RTX 5090? (438)
Popular Reviews
- Corsair SF750 750 W Review
- Sapphire Radeon RX 9070 XT Nitro+ Review - Beating NVIDIA
- AMD Ryzen 9 9950X3D Review - Great for Gaming and Productivity
- MSI GeForce RTX 5070 Gaming Trio OC Review
- Kioxia Exceria Plus G4 2 TB Review - Energy-Efficient PCIe Gen 5
- ASRock Radeon RX 9070 XT Taichi OC Review - Excellent Cooling
- XFX Radeon RX 9070 XT Mercury OC Magnetic Air Review
- ASUS Radeon RX 9070 TUF OC Review
- ASUS GeForce RTX 5090 TUF Review
- AVerMedia Core Go & Elite Go Review
Controversial News Posts
- NVIDIA GeForce RTX 50 Cards Spotted with Missing ROPs, NVIDIA Confirms the Issue, Multiple Vendors Affected (519)
- AMD RDNA 4 and Radeon RX 9070 Series Unveiled: $549 & $599 (260)
- AMD Mentions Sub-$700 Pricing for Radeon RX 9070 GPU Series, Looks Like NV Minus $50 Again (250)
- NVIDIA Investigates GeForce RTX 50 Series "Blackwell" Black Screen and BSOD Issues (244)
- AMD Radeon RX 9070 and 9070 XT Official Performance Metrics Leaked, +42% 4K Performance Over Radeon RX 7900 GRE (195)
- AMD Radeon RX 9070-series Pricing Leaks Courtesy of MicroCenter (158)
- MSI Doesn't Plan Radeon RX 9000 Series GPUs, Skips AMD RDNA 4 Generation Entirely (137)
- Microsoft Introduces Copilot for Gaming (123)