 22
22
Corsair Carbide Air 240 Review
Assembly & Finished Looks »A Closer Look - Inside
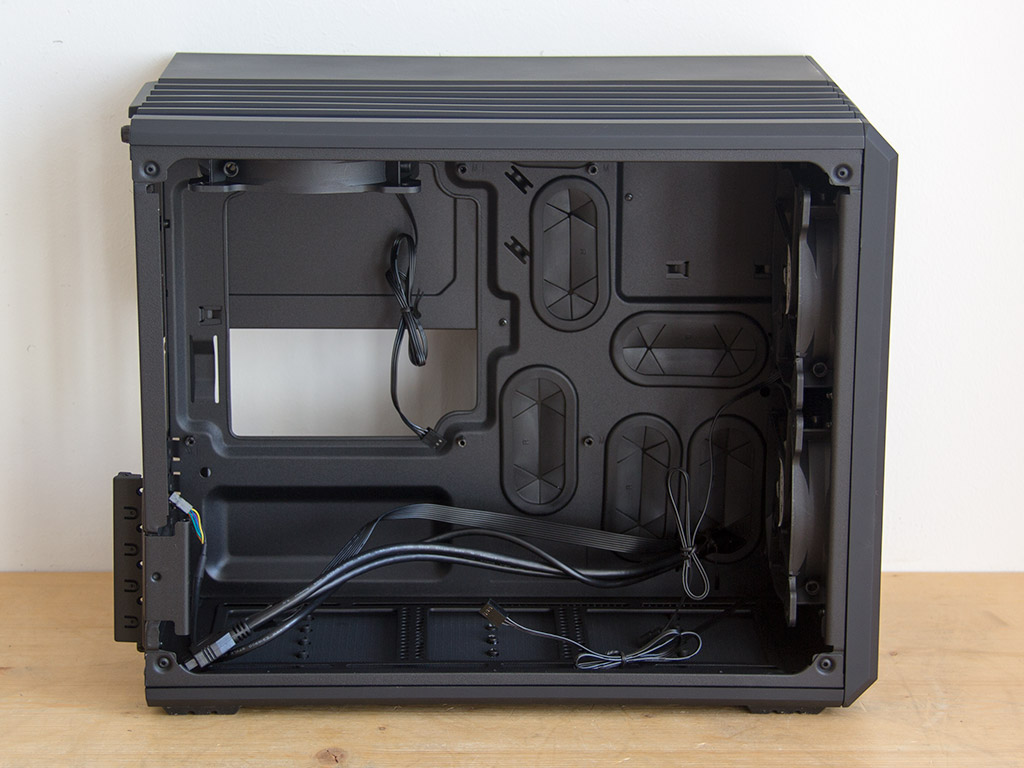
To access to the interior, simply loosen both thumbscrews attached to each side panel. Corsair designed them to hang off the panel, so you won't misplace them during assembly. Take a quick look and how Corsair managed to squeeze such a large board into the chassis should become apparent. The chassis has been divided into two compartments - the main compartment is solely for the motherboard while the other will hold your hard drives and the power supply. There are various cut-outs in the dividing wall, so routing cables back and forth between the two should not be an issue.
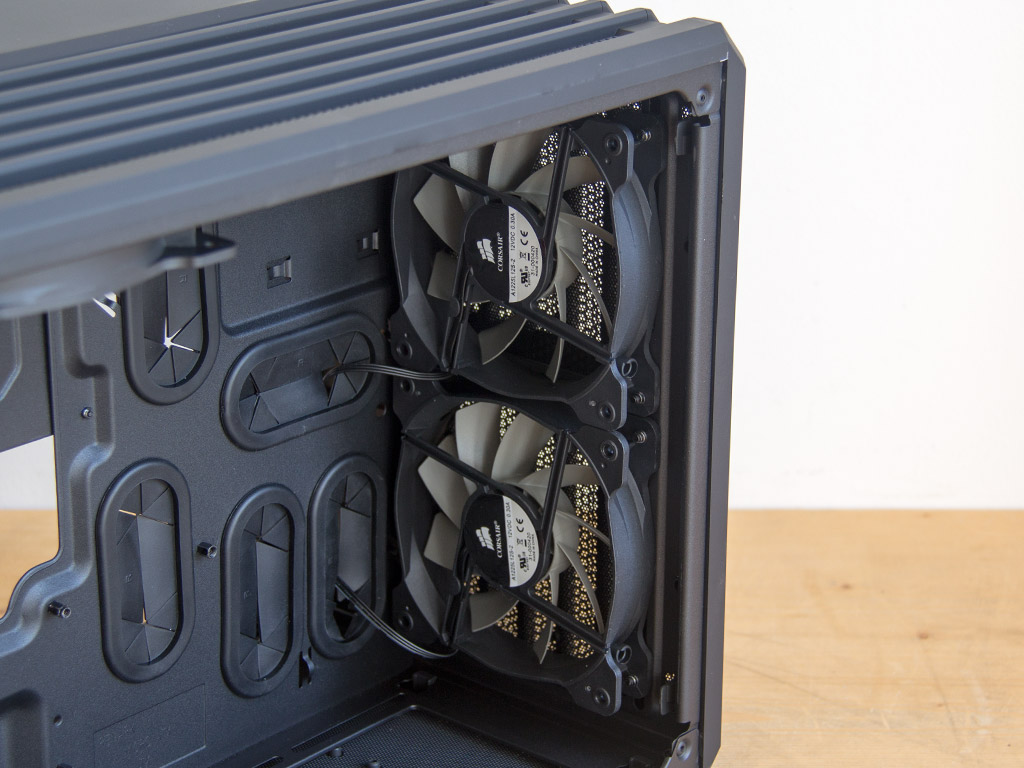
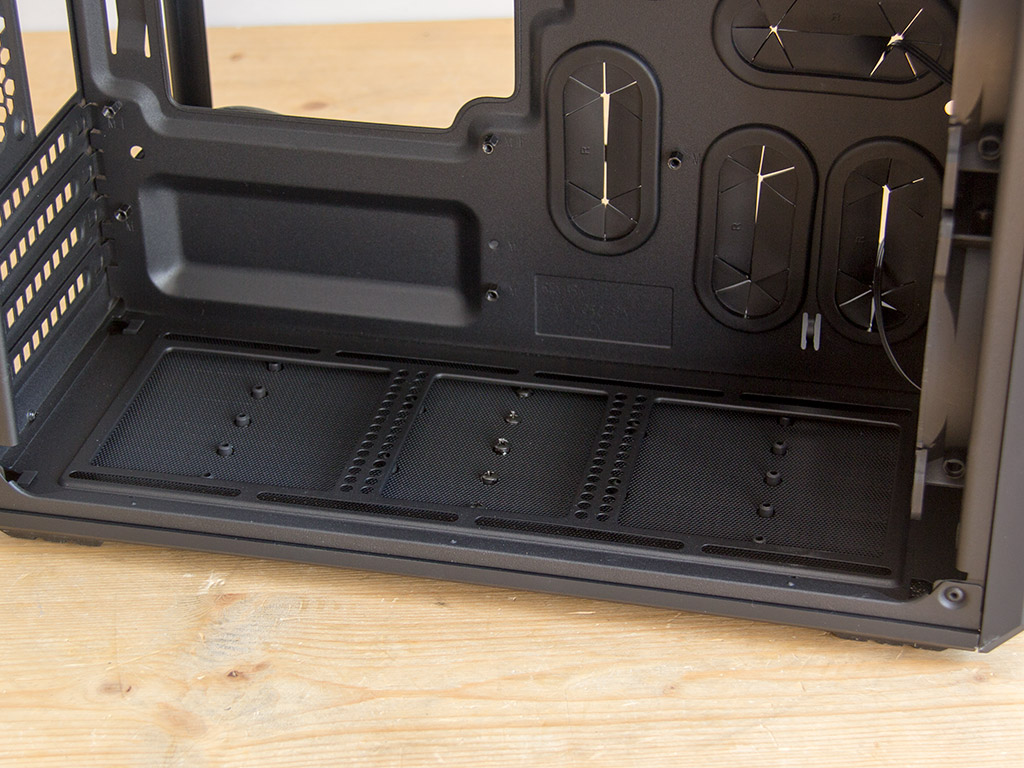
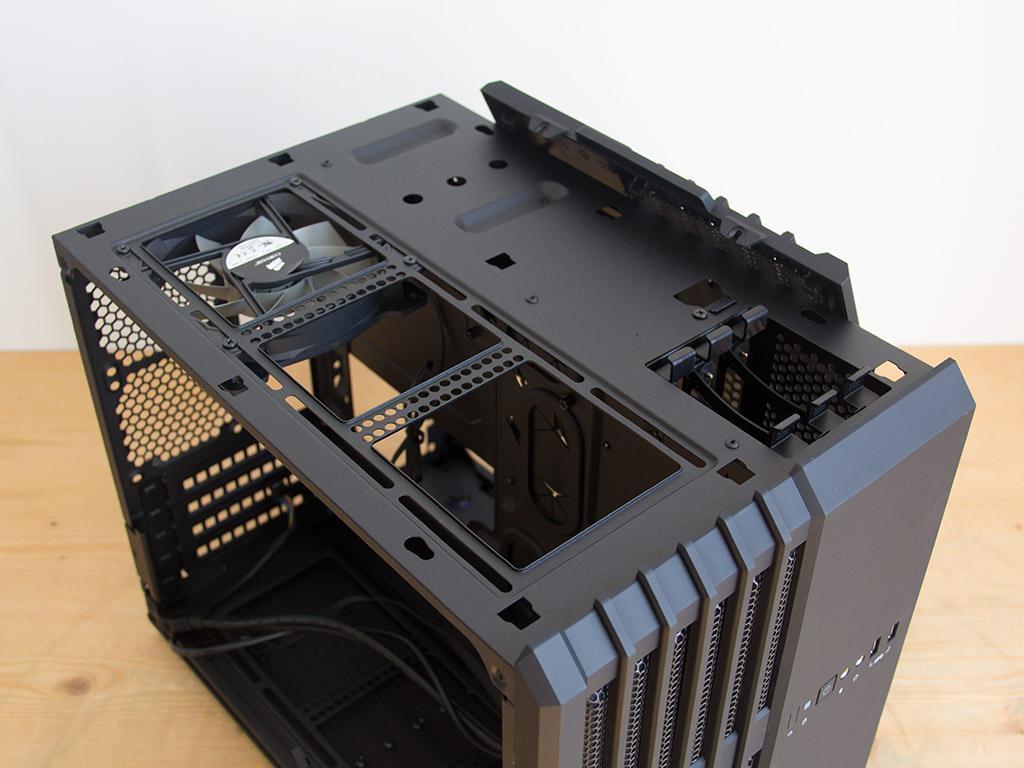
In the front, the case comes equipped with two 120 mm retail fans, but you may also place a 240 mm radiator there. The motherboard compartment's floor may also hold up to two fans of the same size, or, if you install an ITX board within the Air 240, another 240 mm radiator.
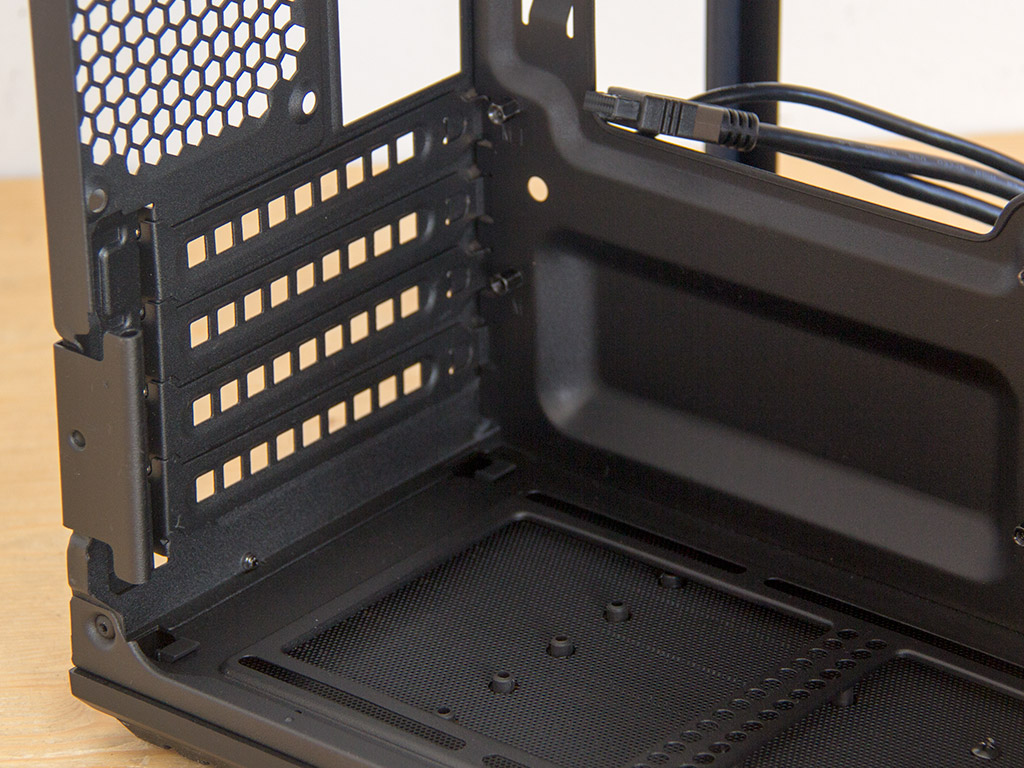
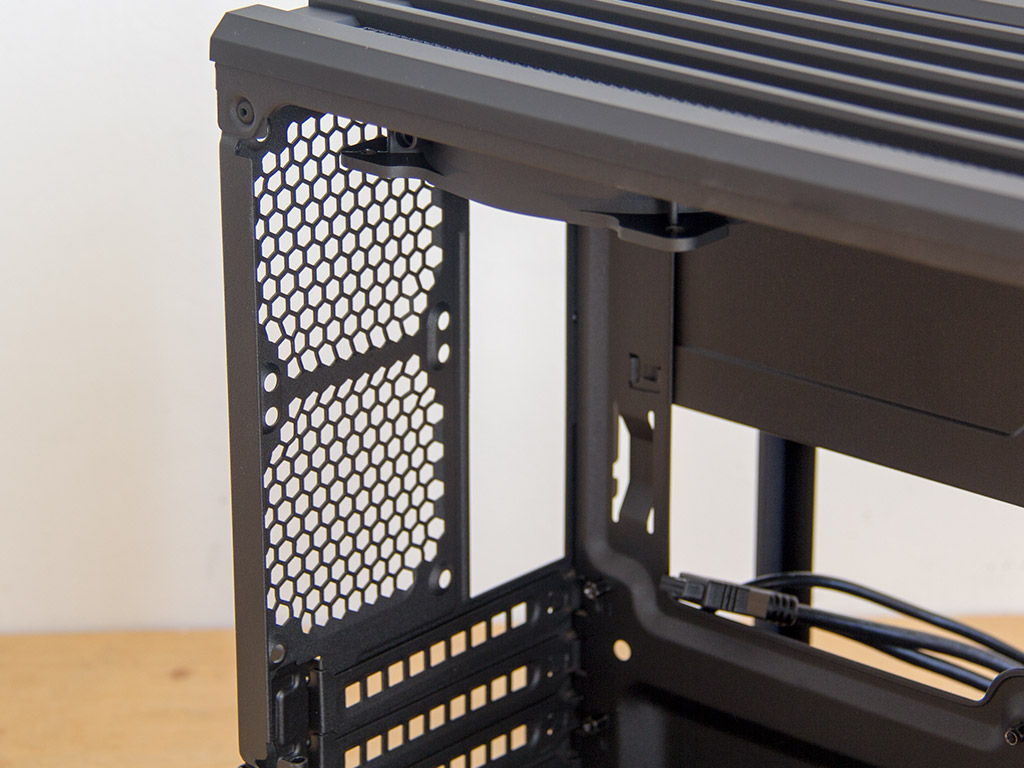
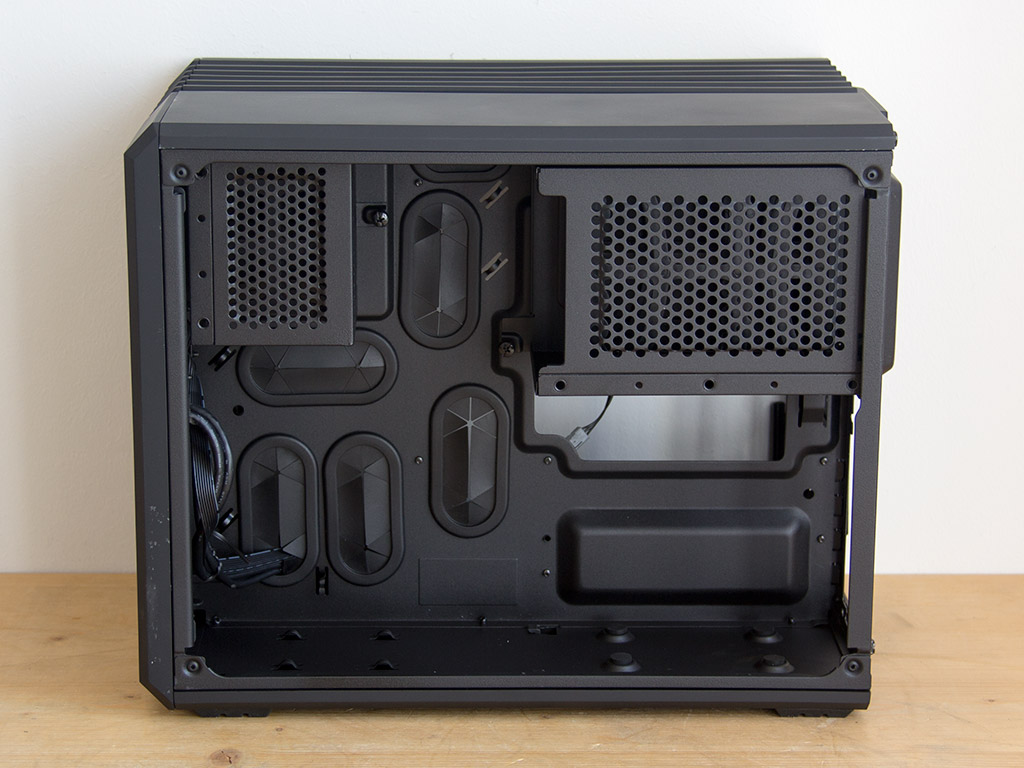
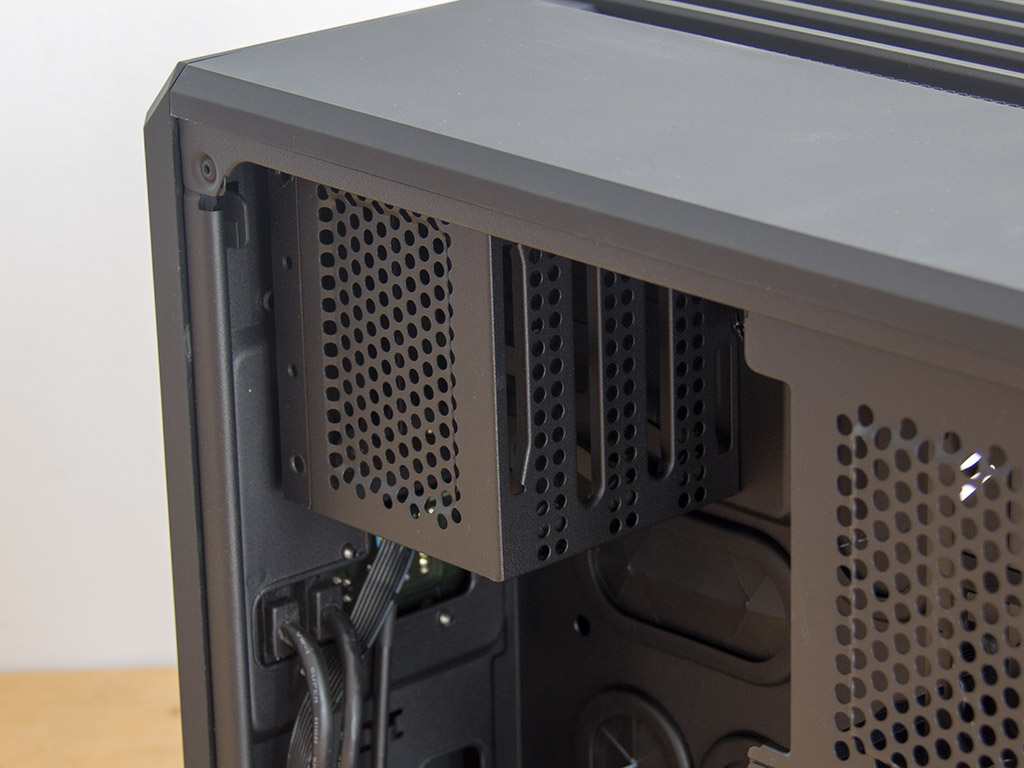
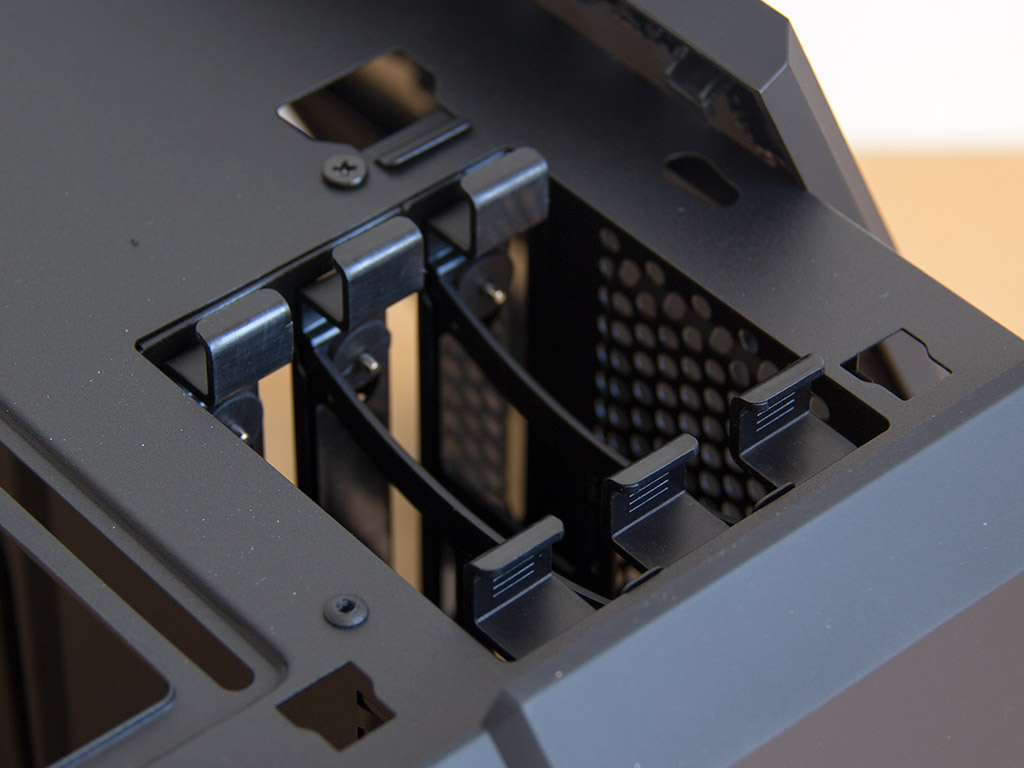
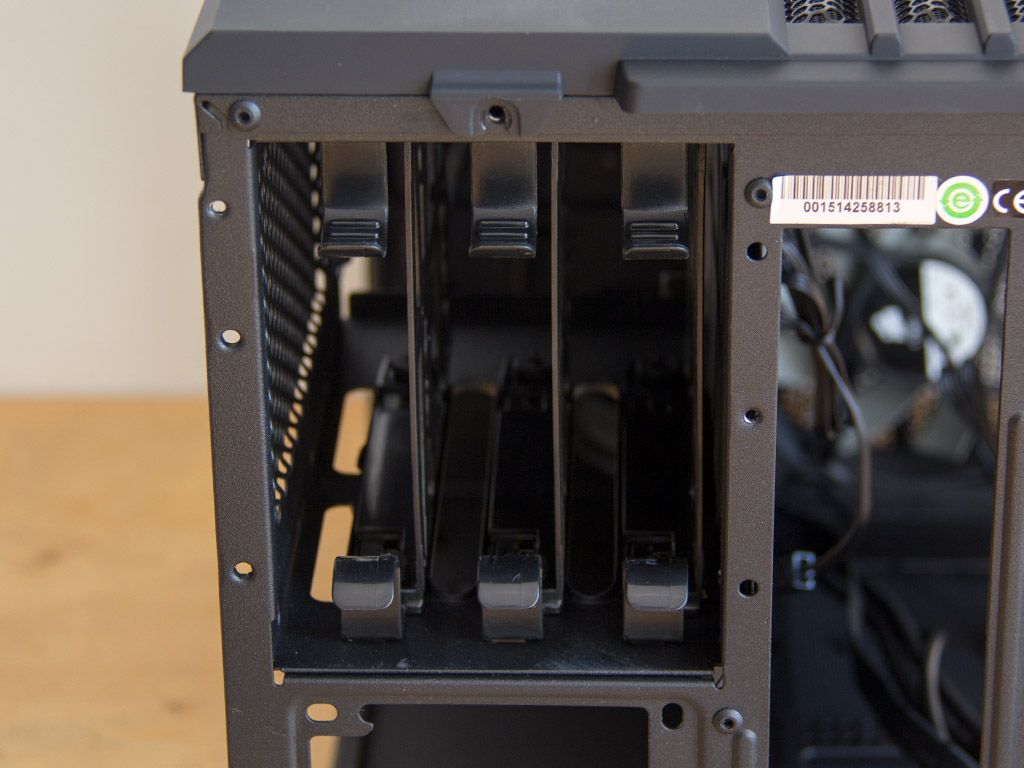
The layout in the rear is quite traditional as you have your four expansion slots with individual covers which protect each opening. Unique here is the metal-clipping mechanism which will hold expansion cards in place. It will be interesting to see how well these hold when it comes to larger GPUs. Above these are the aforementioned mounting possibilities for two smaller fans.
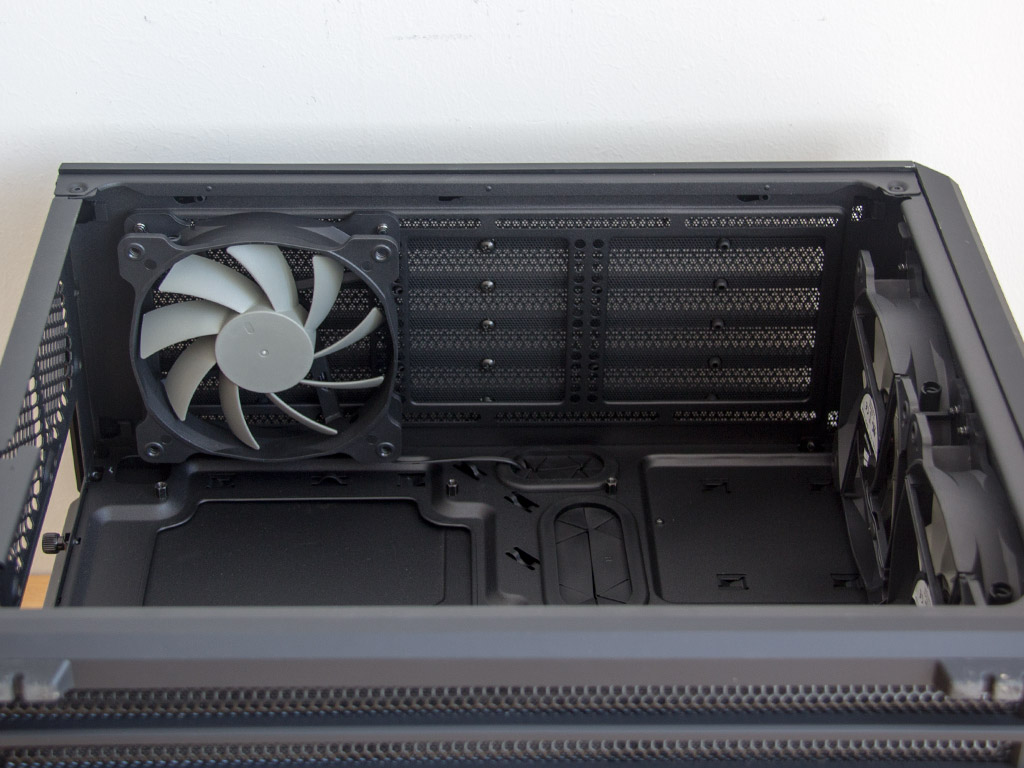
Taking a peek at the ceiling, its construction is identical to the floor, but Corsair has also included a 120 mm fan, bringing the total number of cooling units to three, which is above average for a chassis of this size and price.
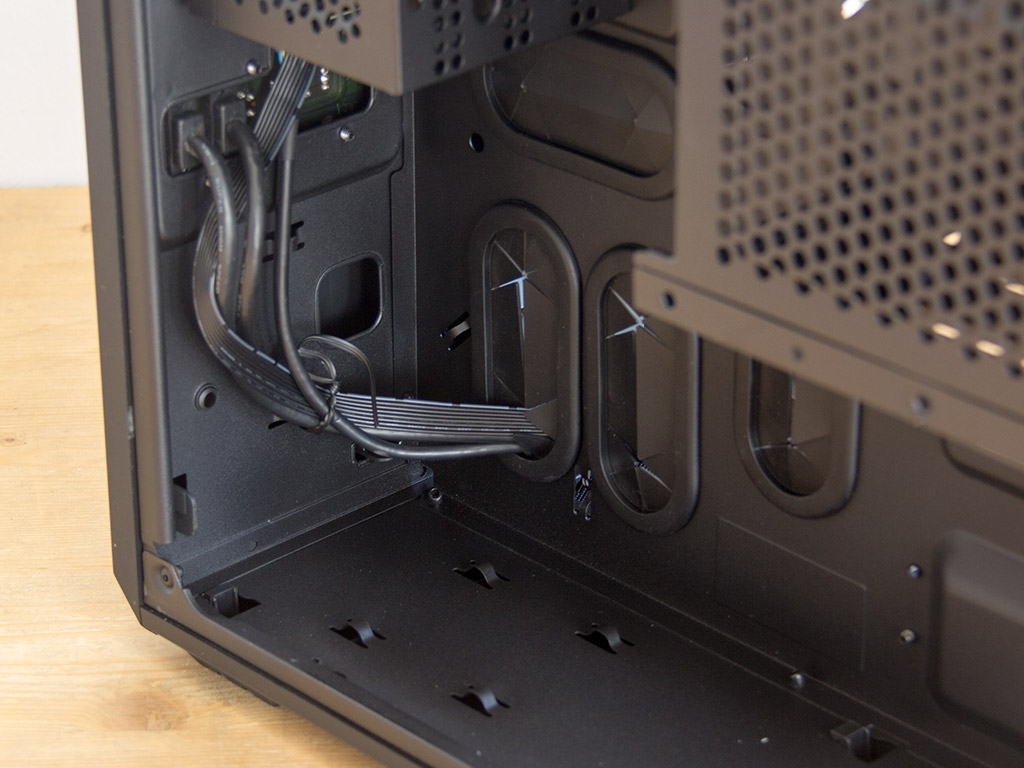
Turning back to the front, there is a 2.5" HDD cage with the ability to hold up to three SSDs or 2.5" hard drives. Below it, all the cables of the front are routed through the dividing wall and into the Air 240's motherboard compartment. Corsair includes plenty of little loops to attach cable ties to, so you should be able to secure everything nicely.
To gain access to the 2.5" drives, one has to first take off the top cover. Do so by detaching two thumbscrews. Once free, simply pull the trays out and install appropriately sized drives. Corsair also allows you to take the entire cage itself out if need be, which is important if you set the Air 240 up in its "upside down" configuration.
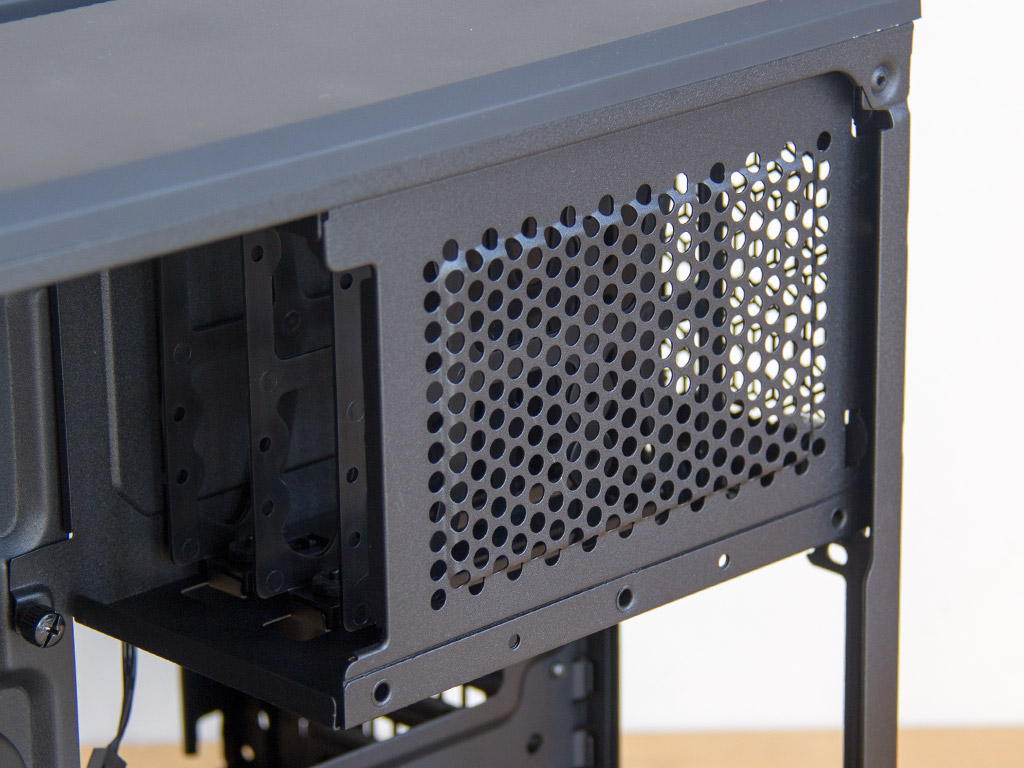
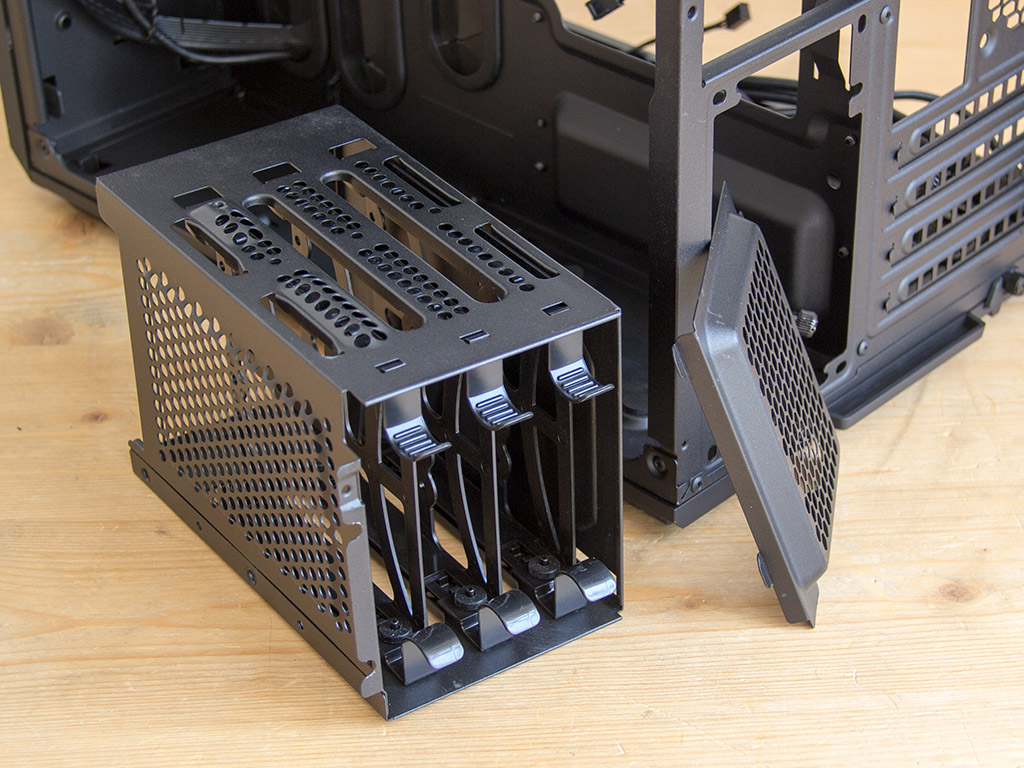
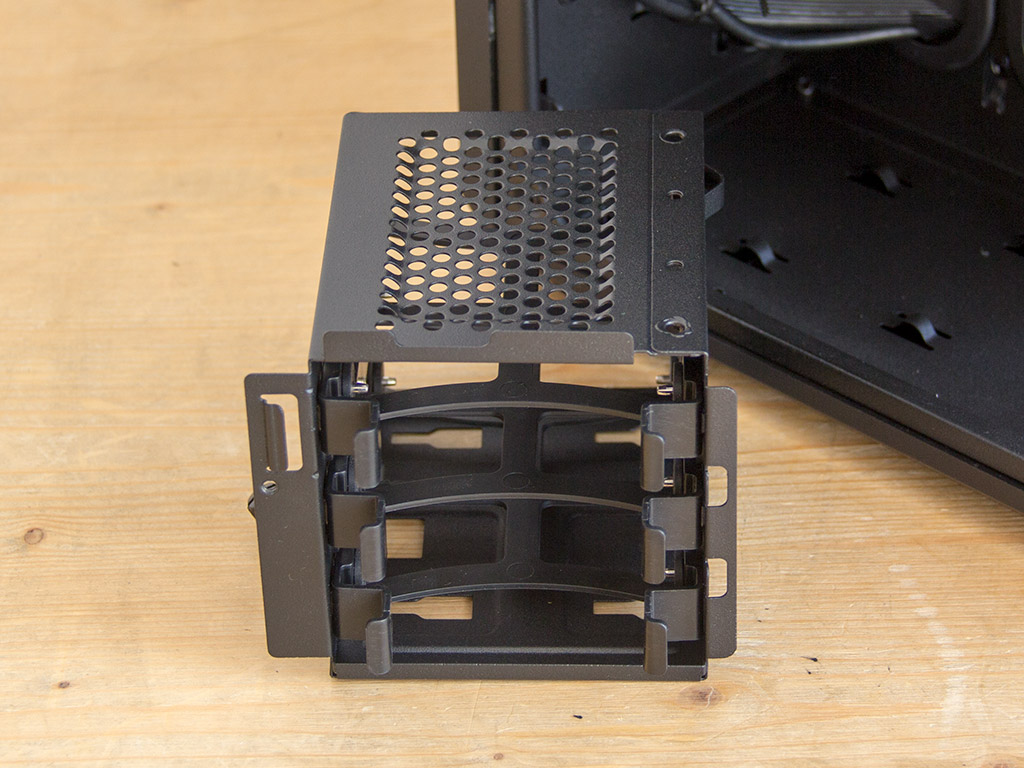
The 3.5" cage follows a similar design theme as it is hidden behind a metal cover in the rear. Removing it, once again, easily allows you to access the trays. You may remove this cage, but not because it can be placed elsewhere as removing it allows you to readily access the dividing wall's opening, which makes removing cooling base plates without having to take out the entire motherboard a breeze.
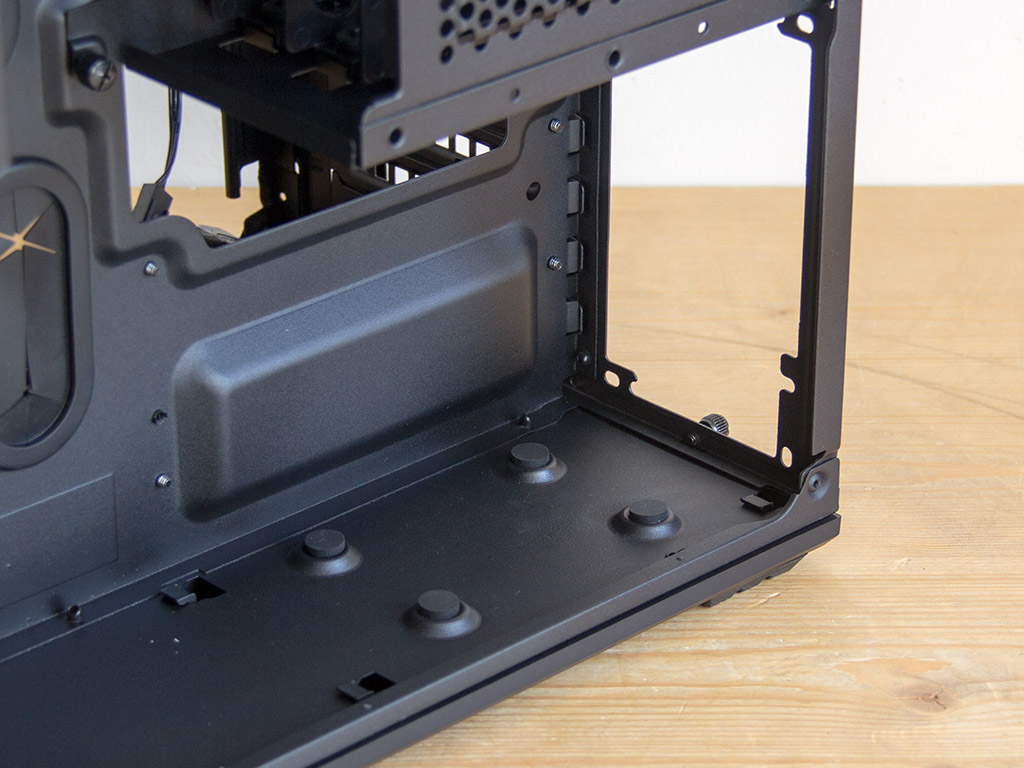
The last large element on this side is the PSU bay. It comes with four foam mounts to eliminate any vibrations.
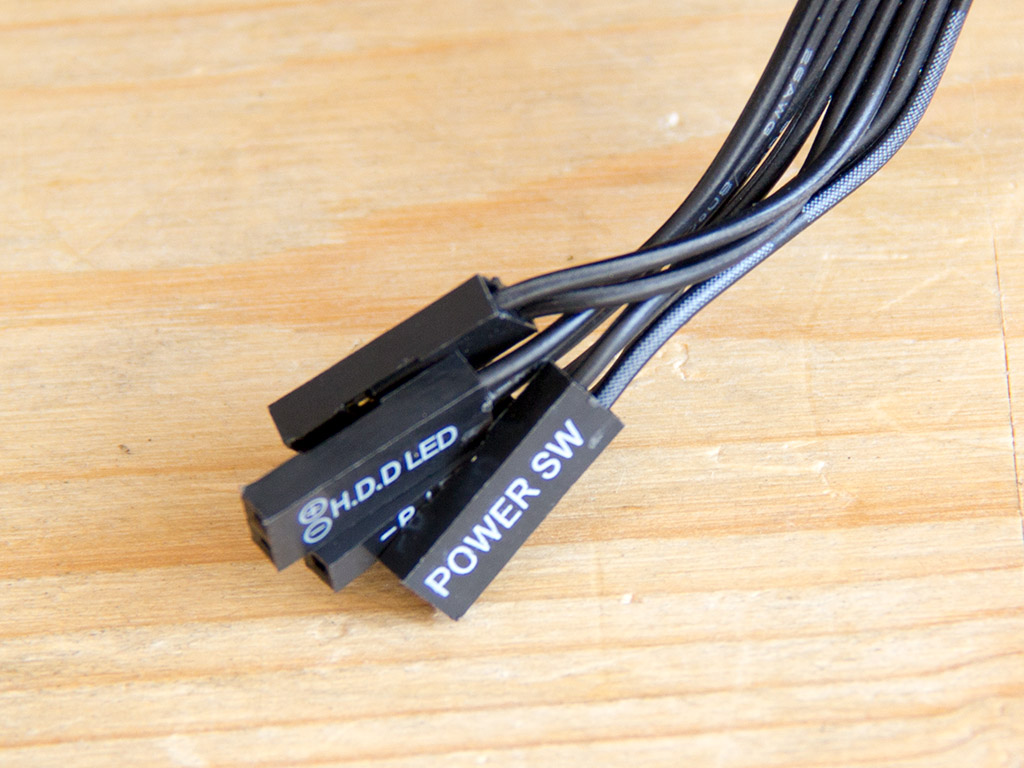
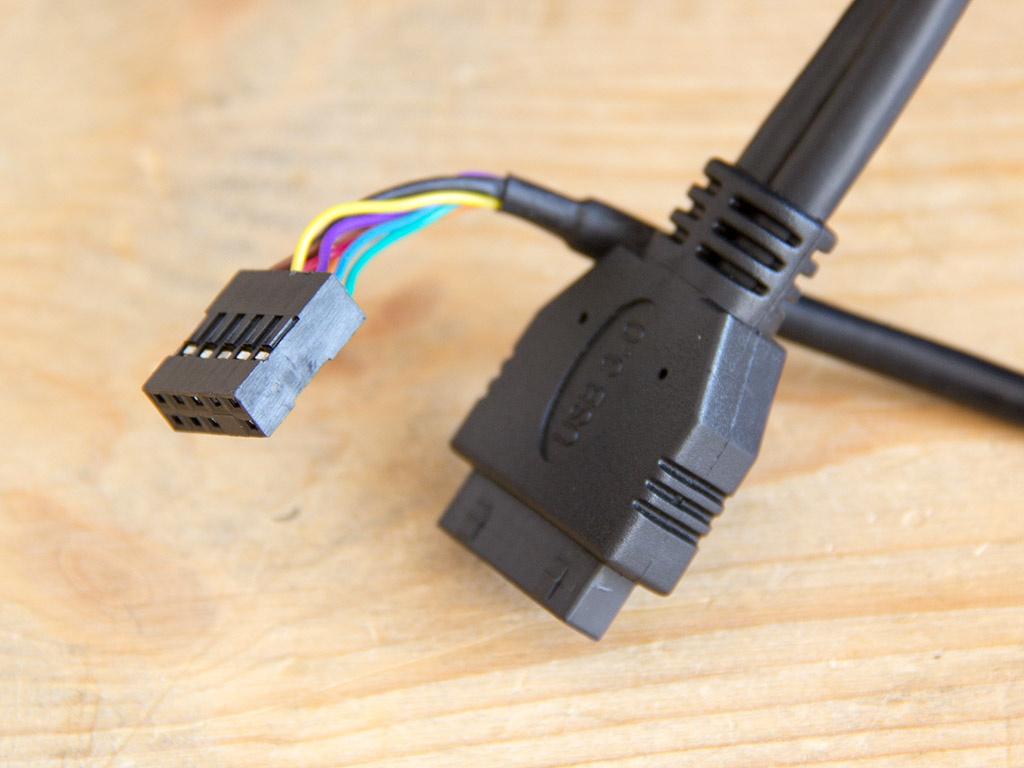
Before we dive into the assembly process, let us take a look at the cables. All of them are sleeved black to match the interior and every connector is of the default variety, so you should not run into any issues while attaching those. Corsair unfortunately does not include a USB 3.0 to 2.0 adapter.
Jan 31st, 2025 05:36 EST
change timezone
Latest GPU Drivers
New Forum Posts
- So who’s paying $100 for GTA 6 then? (107)
- RTX 5080 - premature review - it sucks (133)
- NVCleaninstall Error Could not find file presentations.cfg (When Easy-Anti-Cheat is checked) (3)
- TPU's Nostalgic Hardware Club (19905)
- why is Multiplane Overlay (MPO) disabled by default in new versions of NVCleanstall ? (8)
- What are you playing? (22713)
- Possible to use NVCleanstall but also use Nvidia App? (32)
- Paper launch 5080/5090 - is this a problem for Nvidia? (11)
- overclocking limited laptop board (2)
- GameTechBench GPU benchmark is already out! (245)
Popular Reviews
- NVIDIA GeForce RTX 5080 Founders Edition Review
- NVIDIA DLSS 4 Transformer Review - Better Image Quality for Everyone
- Galax GeForce RTX 5080 1-Click OC Review
- ASUS GeForce RTX 5090 Astral OC Review - Astronomical Premium
- NVIDIA GeForce RTX 5090 Founders Edition Review - The New Flagship
- MSI GeForce RTX 5090 Suprim SOC Review
- MSI GeForce RTX 5080 Vanguard SOC Review
- MSI GeForce RTX 5090 Suprim Liquid SOC Review
- ASUS GeForce RTX 5080 Astral OC Review
- MSI GeForce RTX 5080 Suprim SOC Review
Controversial News Posts
- NVIDIA 2025 International CES Keynote: Liveblog (470)
- AMD Debuts Radeon RX 9070 XT and RX 9070 Powered by RDNA 4, and FSR 4 (349)
- AMD is Taking Time with Radeon RX 9000 to Optimize Software and FSR 4 (251)
- AMD Denies Radeon RX 9070 XT $899 USD Starting Price Point Rumors (233)
- AMD Radeon RX 9070 XT & RX 9070 Custom Models In Stock at European Stores (226)
- NVIDIA GeForce RTX 5090 Features 575 W TDP, RTX 5080 Carries 360 W TDP (217)
- New Leak Reveals NVIDIA RTX 5080 Is Slower Than RTX 4090 (214)
- AMD's Radeon RX 9070 Launch Faces Pricing Hurdles (175)