 22
22
Corsair Carbide Air 240 Review
Value & Conclusion »Assembly

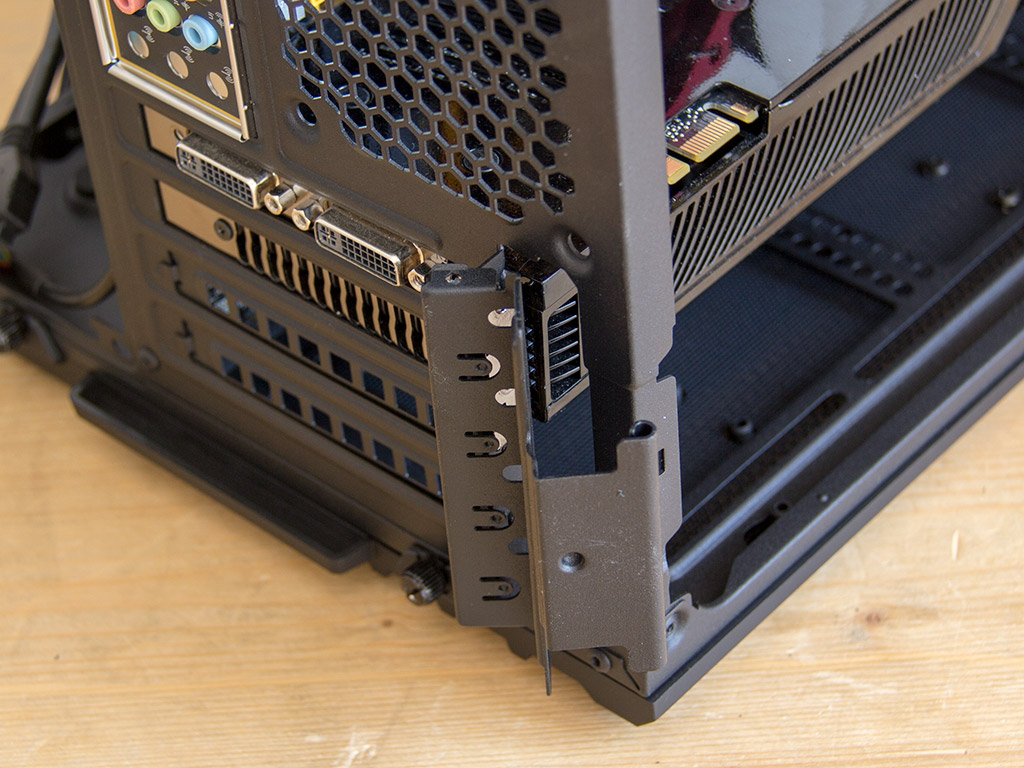

Installing the motherboard is done by traditional means, with the use of the pre-applied spacers and included black screws. The Air 240's compact nature forces you to use a compact air cooler or go straight for liquid cooling. The tool-less GPU lock works surprisingly well, snapping into place with quite a lot of force. Its construction has it press down even further as soon as you place the side panel back onto the chassis, so it cannot be opened without removing the panel again, which makes it a rather secure contraption for LAN parties.
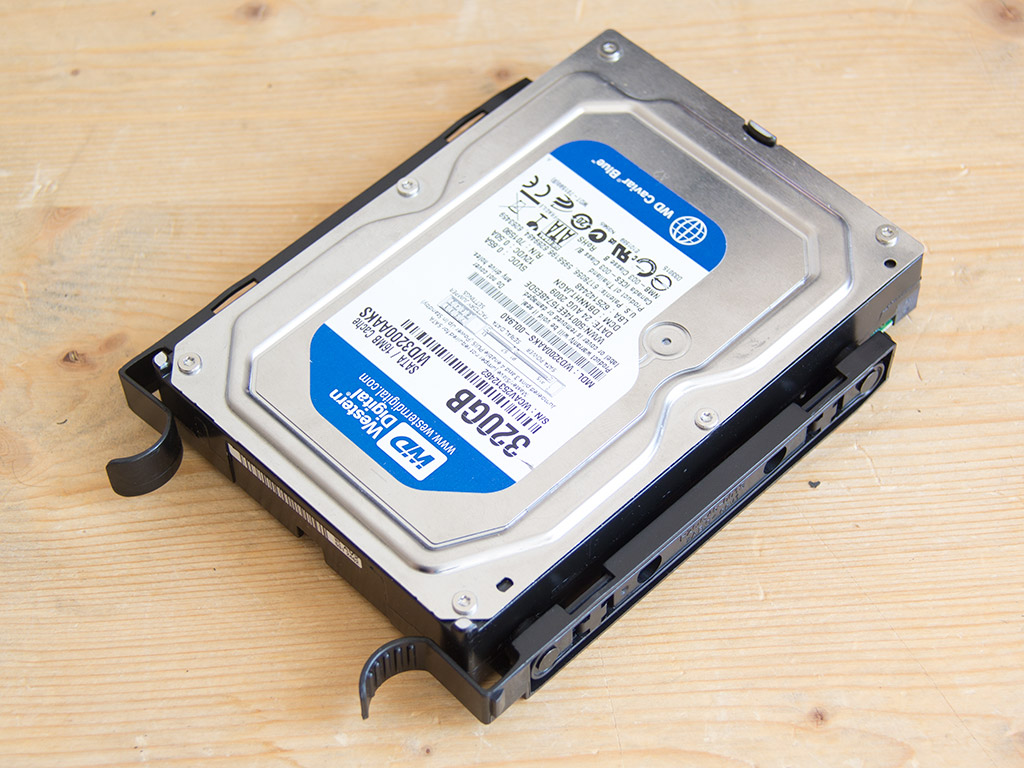
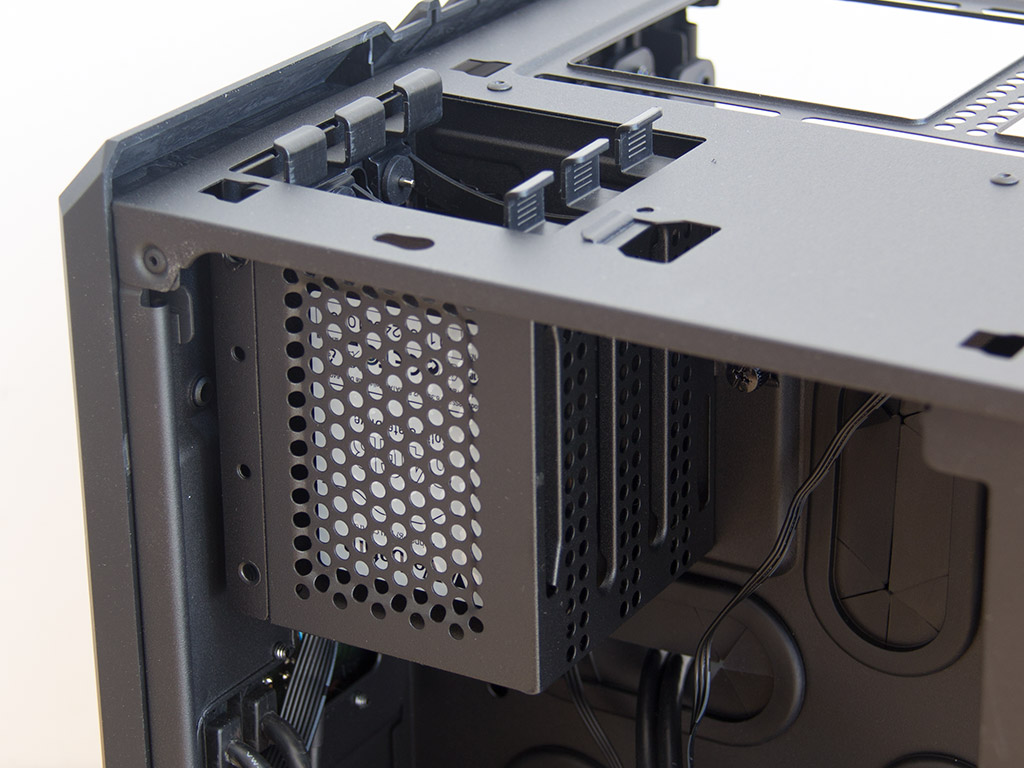
You also do not need any tools or screws to install a 3.5" drive. Simply use the plastic tray of your choice and drop the drive into it. Pins will hold it in place, while rubber rings make sure no vibrations get to the chassis itself.

Once filled, slide the drive back into one of the three slots via the opening in the rear. Corsair should really offer hot-swap PCB upgrades for the chassis as the case's actual structure would already allow you to swap drives out while your system is up and running.
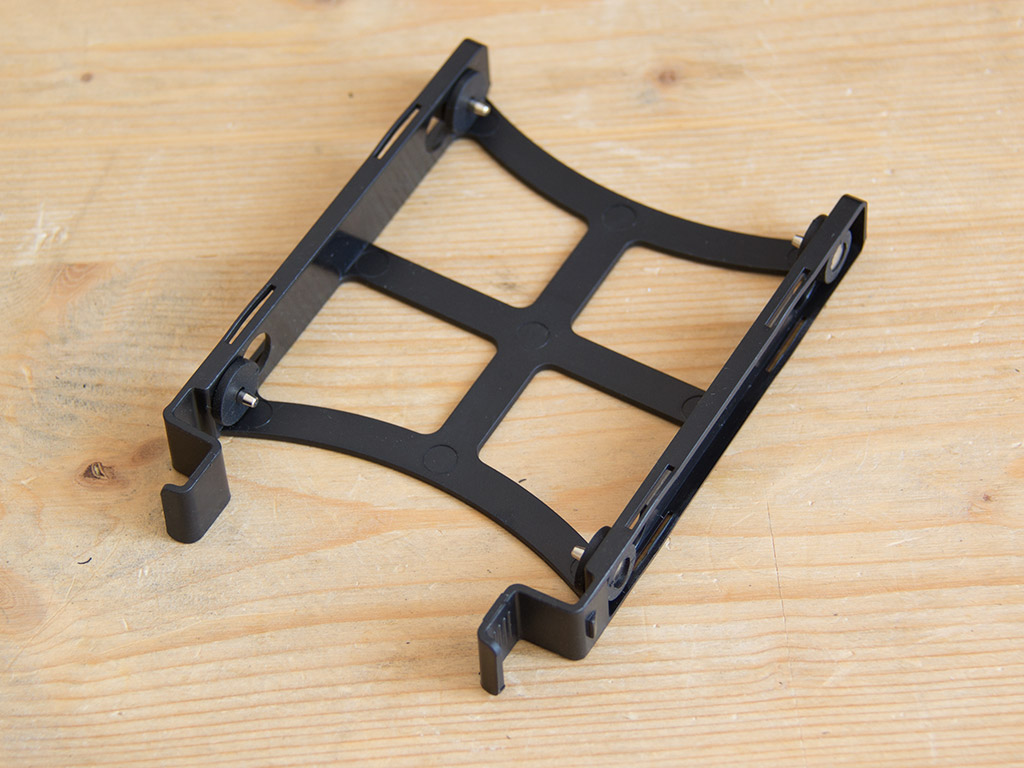
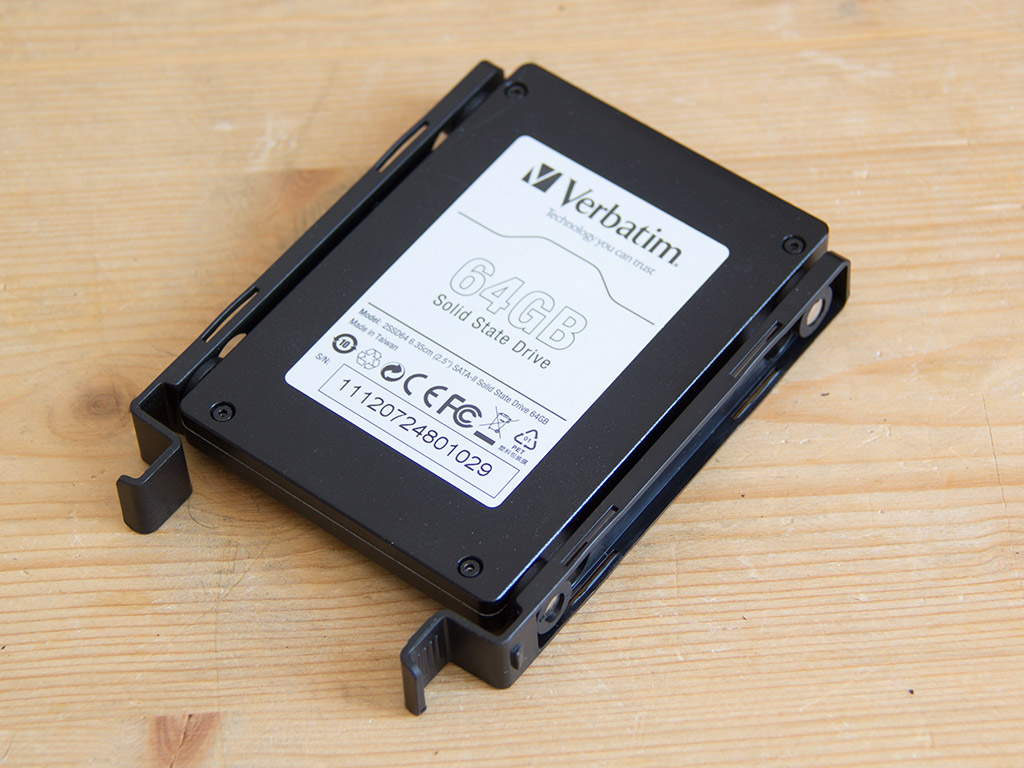
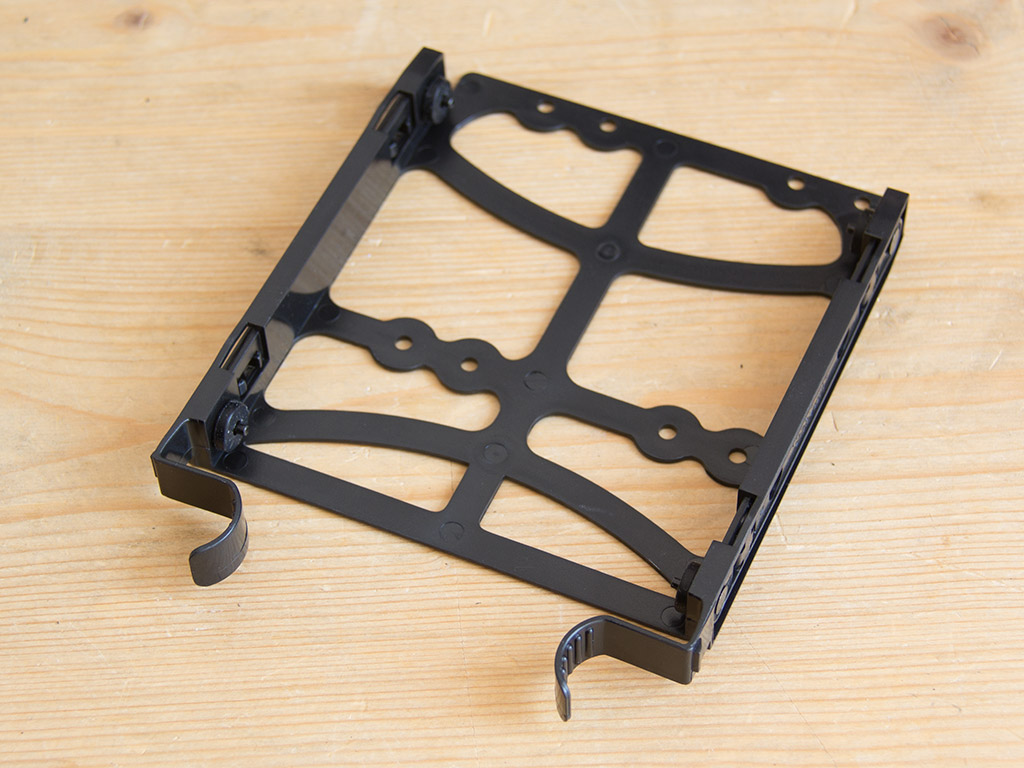
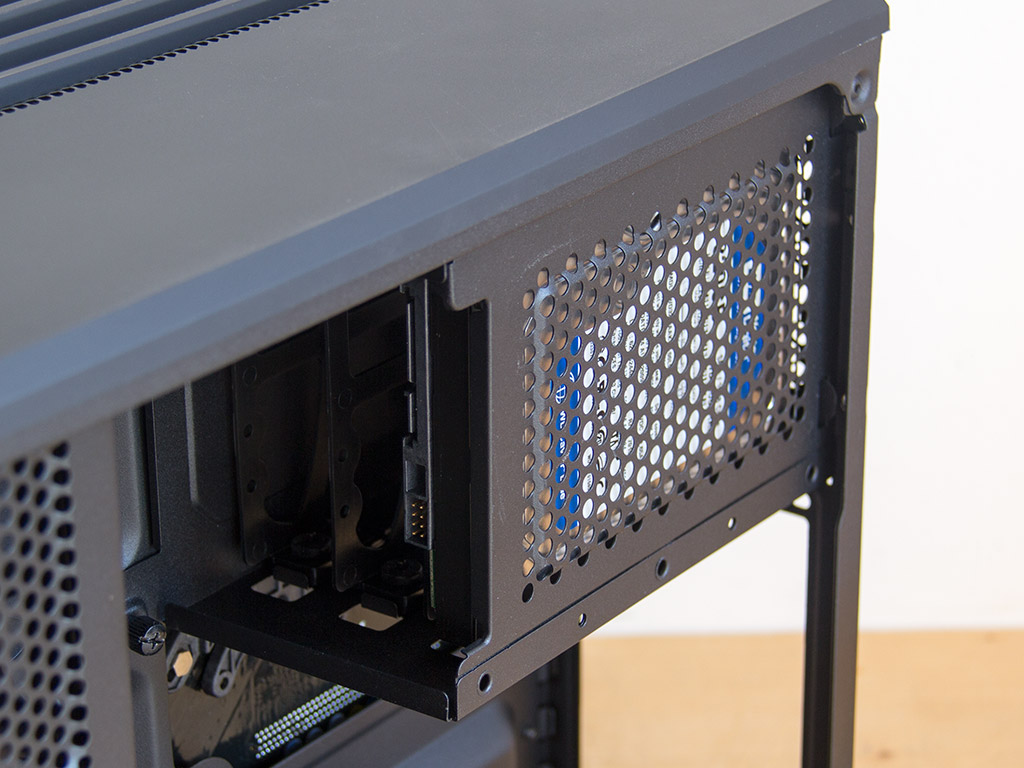
The same assembly principle applies to the 2.5" drive bay, so you won't need any screws or tools to fill these trays. Once done, simply drop the tray back into its original position.
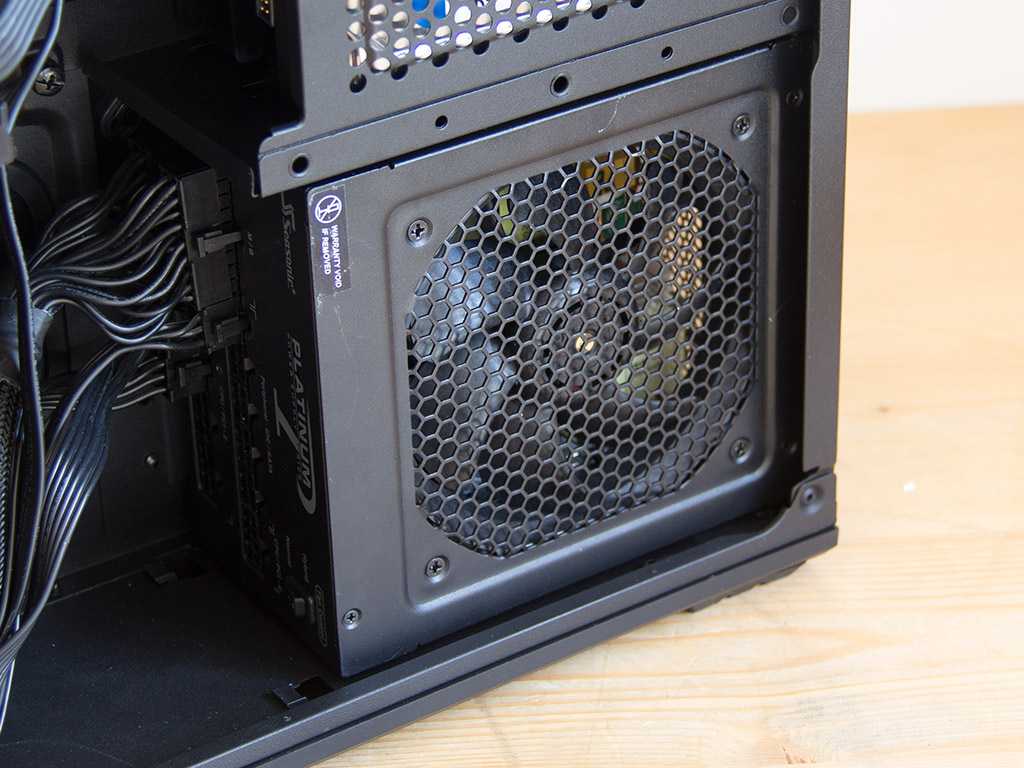
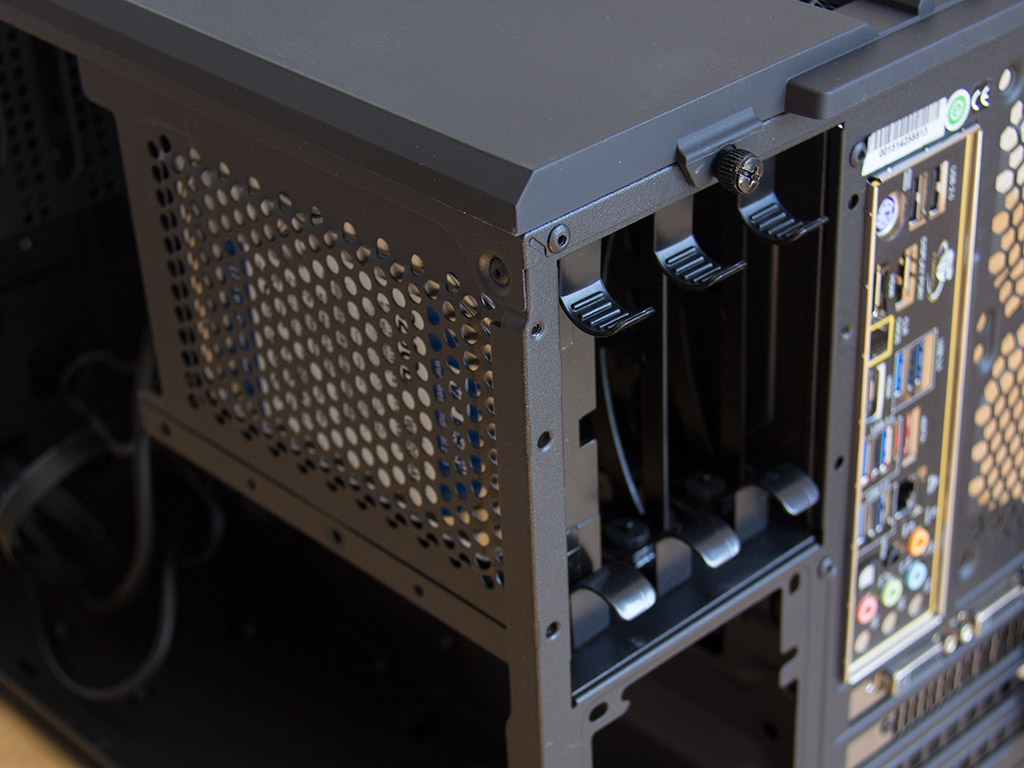
Last, but now least, installing the power supply is also done by employing traditional methods. You may even put longer unit into the bay as there is loads of space for such variants. As you can see, I chose to have the fan of the Seasonic unit face the air vent on the side.

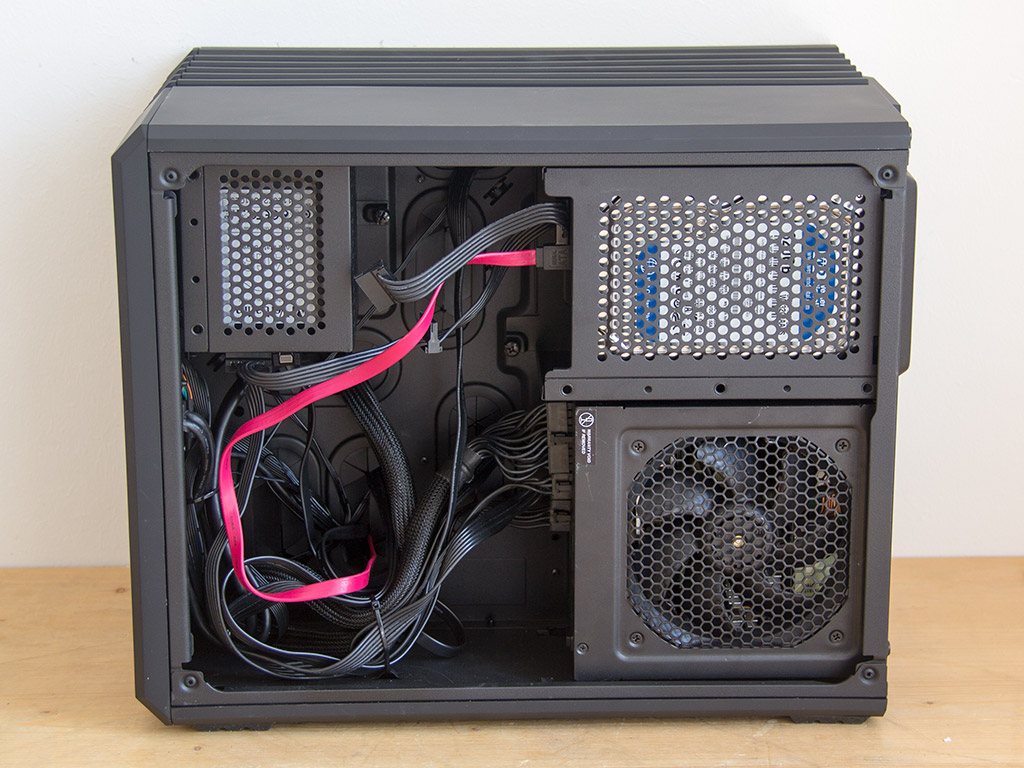
With everything in place, the main motherboard compartment looks extremely clean, with the benefit of its two fans in the front pushing air across all electrical components without running into any major obstructions. All the cable mess has been tucked away and out of sight as it is inside the other half of the chassis. I still used some cable ties to secure it all just for good measure.
Finished Looks
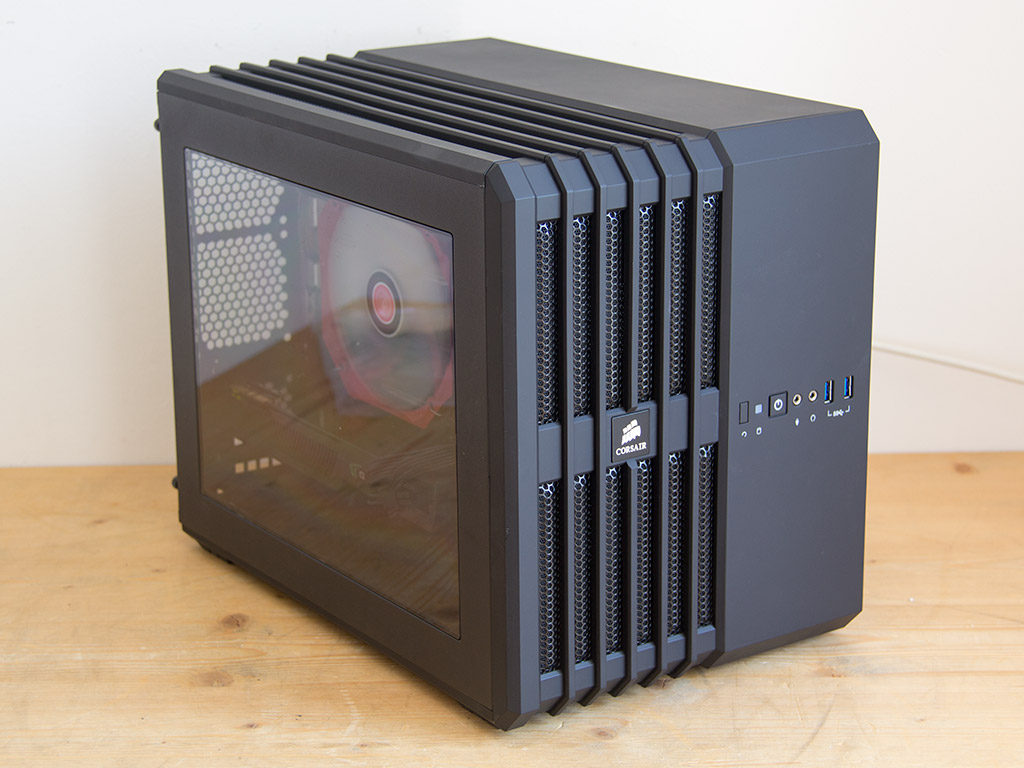
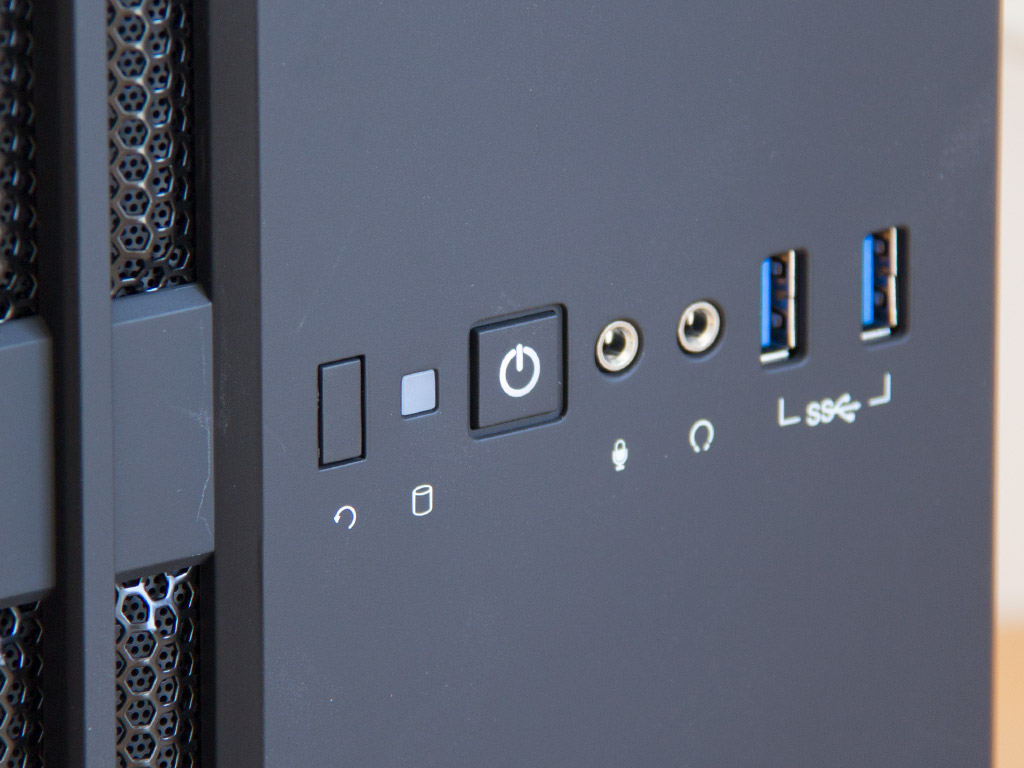
With all panels back in place, one has to appreciate the Corsair Carbide Air 240's compact size even more. Once the system is on, a white LED lights up behind the power button.
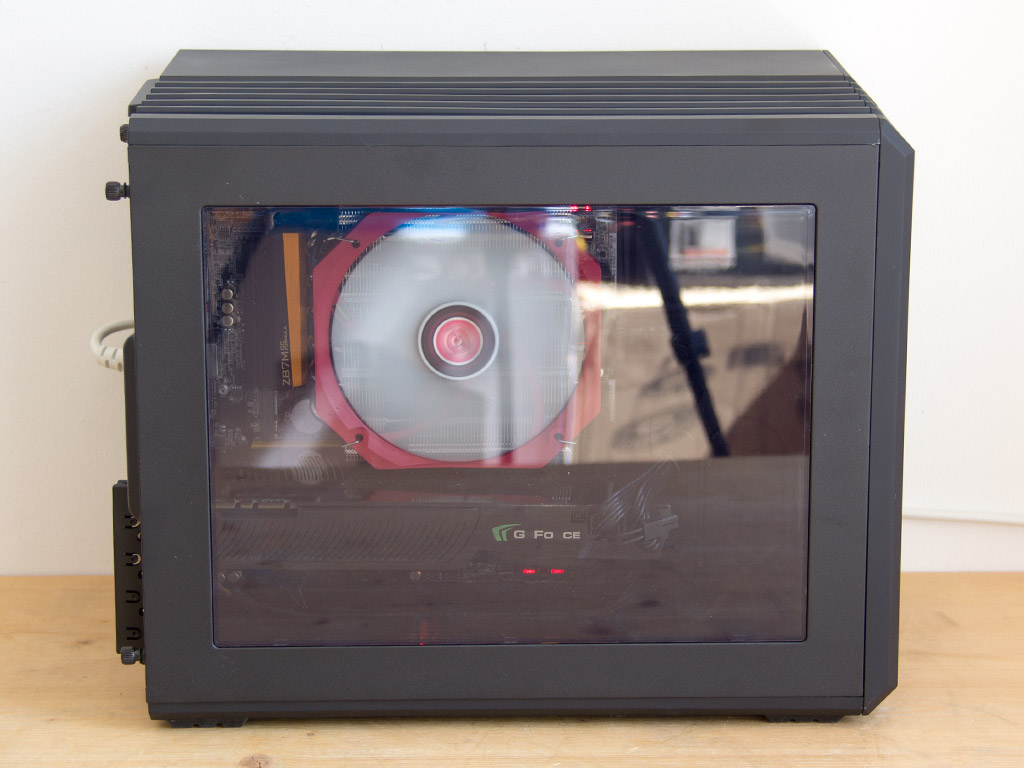
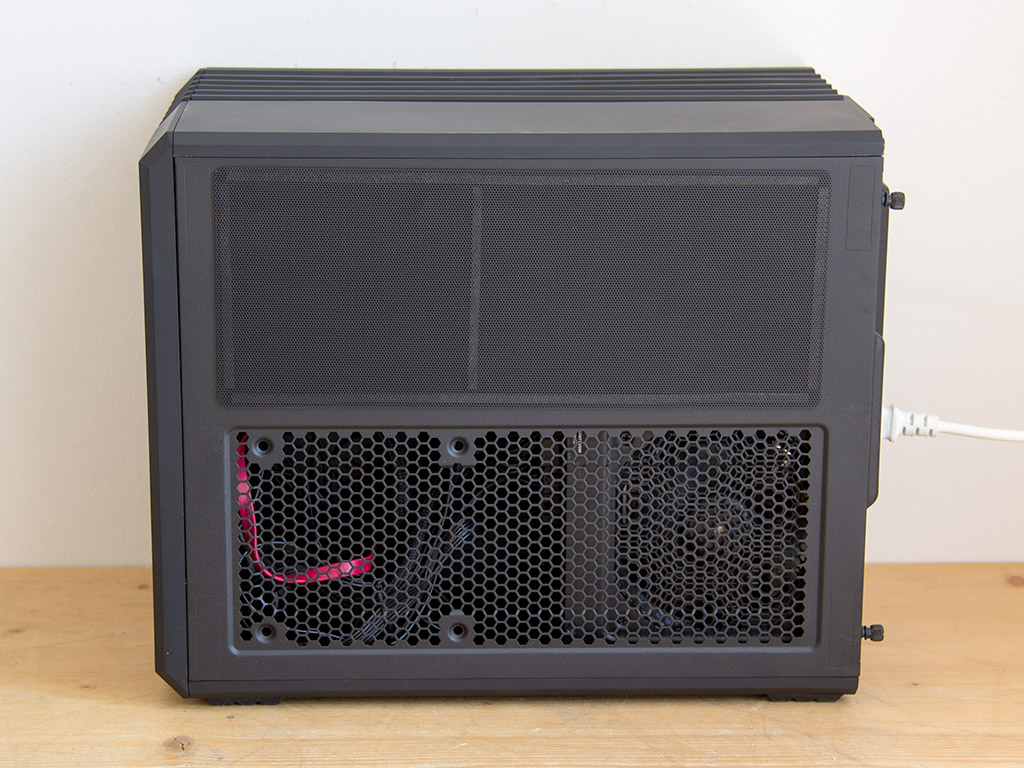
You can see all your hardware clearly through the large side-panel window, so you should be able to show things off nicely when your friends come over, or you go to a LAN party. Just add an LED strip and you should be good to go. Taking a quick look at the opposite side, the PSU can be seen behind the air vent, which means that it will always have access to cool, fresh air.
Jul 3rd, 2025 22:18 CDT
change timezone
Latest GPU Drivers
New Forum Posts
- GPU-Z Display Bug via DP 2.1? (6)
- [GPU-Z Test Build] New Kernel Driver, Everyone: Please Test (35)
- What Windows is overall the best to you and why? (269)
- How do you view TPU & the internet in general? (With poll) (58)
- HP Zbook 15 G2 GPU Upgrade (12)
- Will you buy a RTX 5090? (610)
- What phone you use as your daily driver? And, a discussion of them. (1756)
- What would you buy? (51)
- A Final Fantasy IX Reminiscence - My love letter and homage to one of the best stories ever told (90)
- GravityMark v1.89 GPU Benchmark (309)
Popular Reviews
- ASUS ROG Crosshair X870E Extreme Review
- Crucial T710 2 TB Review - Record-Breaking Gen 5
- Fractal Design Scape Review - Debut Done Right
- PowerColor ALPHYN AM10 Review
- Sapphire Radeon RX 9060 XT Pulse OC 16 GB Review - An Excellent Choice
- Upcoming Hardware Launches 2025 (Updated May 2025)
- AMD Ryzen 7 9800X3D Review - The Best Gaming Processor
- Sapphire Radeon RX 9070 XT Nitro+ Review - Beating NVIDIA
- SCHENKER KEY 18 Pro (E25) Review - Top-Tier Contender
- AVerMedia CamStream 4K Review
TPU on YouTube
Controversial News Posts
- Intel's Core Ultra 7 265K and 265KF CPUs Dip Below $250 (288)
- NVIDIA Grabs Market Share, AMD Loses Ground, and Intel Disappears in Latest dGPU Update (212)
- Some Intel Nova Lake CPUs Rumored to Challenge AMD's 3D V-Cache in Desktop Gaming (140)
- NVIDIA GeForce RTX 5080 SUPER Could Feature 24 GB Memory, Increased Power Limits (115)
- Microsoft Partners with AMD for Next-gen Xbox Hardware (105)
- NVIDIA Launches GeForce RTX 5050 for Desktops and Laptops, Starts at $249 (105)
- Intel "Nova Lake‑S" Series: Seven SKUs, Up to 52 Cores and 150 W TDP (100)
- NVIDIA DLSS Transformer Cuts VRAM Usage by 20% (97)