 5
5
Corsair iCUE 220T RGB Review
Value & Conclusion »Test System
| System Parts for Case Reviews | |
|---|---|
| Processor: | Intel Core i7-8600K |
| Motherboards: | ATX: MSI Z370 GAMING PRO CARBON AC MATX: Z370M GAMING PRO CARBON Mini-ITX: MSI Z370i GAMING PRO CARBON Provided by: MSI |
| Graphics Card: | Long: ASUS Radeon RX580 Short: HIS Radeon 5350 HD |
| Memory: | 16 GB XPG Dazzle DDR4 2800 MHz CL17-17-17 1.25 V 32 GB GB XPG SPECTRIX D40 3000 MHz. CL16-18-18 1.35 V 16 GB XPG GAMMIX D10 DDR4 2400 MHz CL16-16-16 1.20 V Provided by: ADATA |
| HDD: | Western Digital 320 GB 7200 RPM |
| SSD: | ADATA XPG SX850 256 GB ADATA Ultimate SU800 3D 256 GB ADATA Ultimate SU700 240 GB Provided by: ADATA |
| Power Supply: | Antec HCG High Current Gamer 650 W Provided by: Antec |
| Cooling: | be quiet! Dark Rock 4 be quiet! Shadow Rock Slim be quiet! Shadow Rock LP Provided by: be quiet! |
Assembly
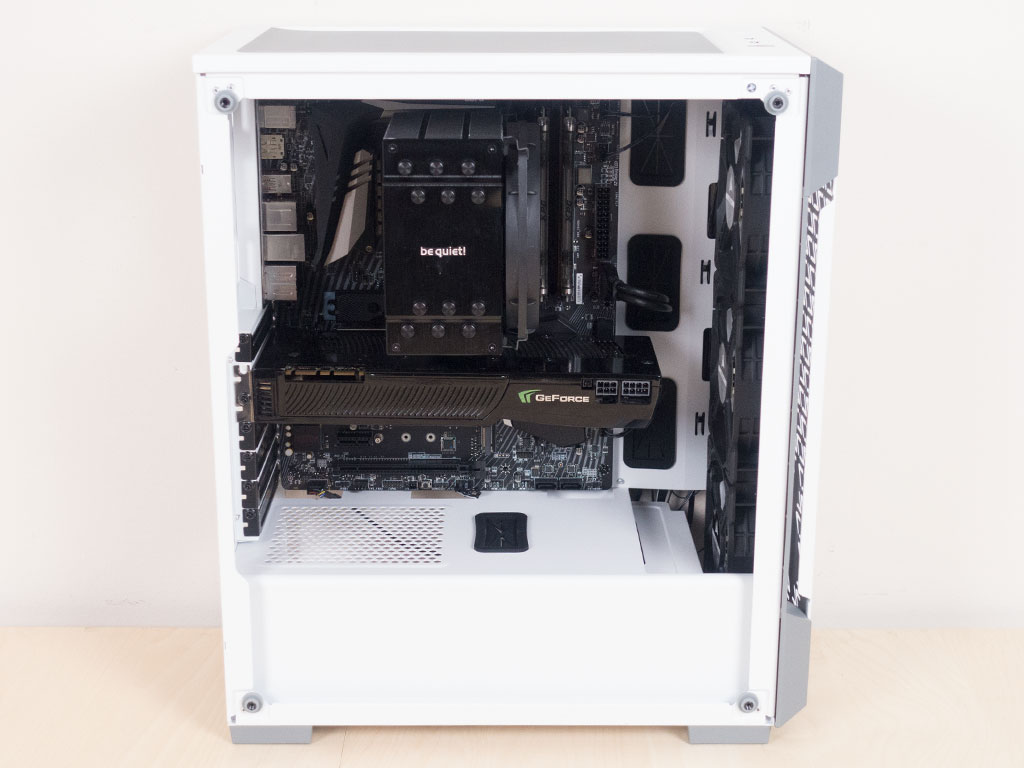
Installing a motherboard is done by traditional means, with the pre-installed spacers and supplied screws. There is a little space above the board for cable routing, while the bottom edge sits right on the metal shroud. Thanks to some well-placed openings on this cover, you can easily route cables to this part of the motherboard as well.
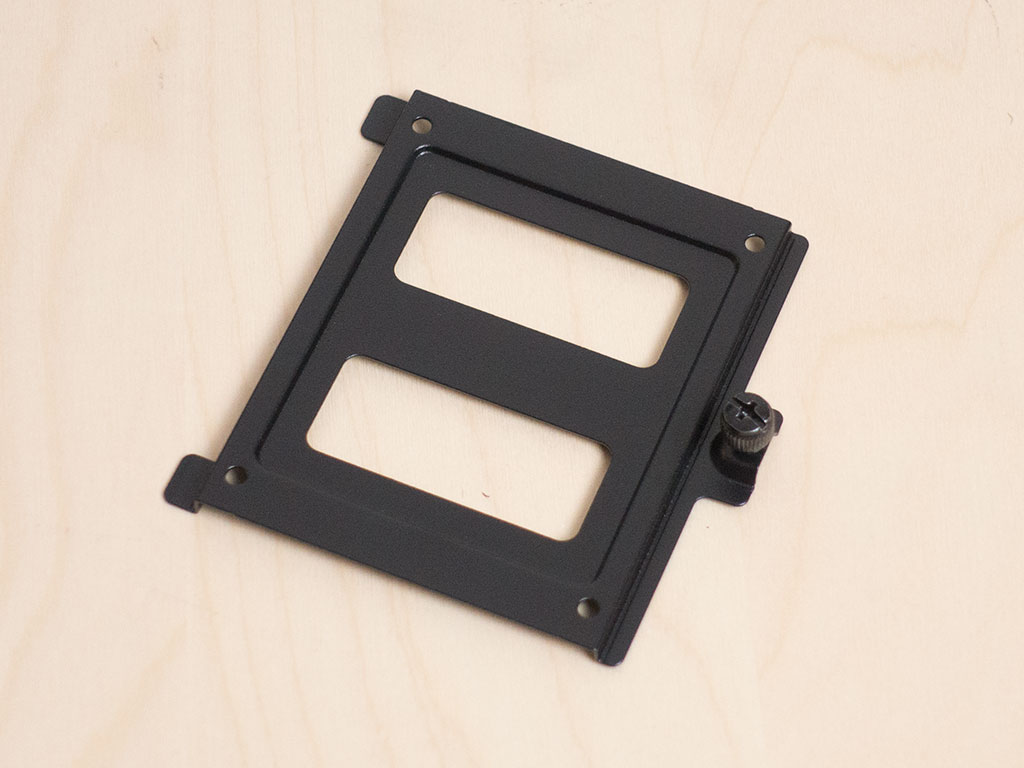
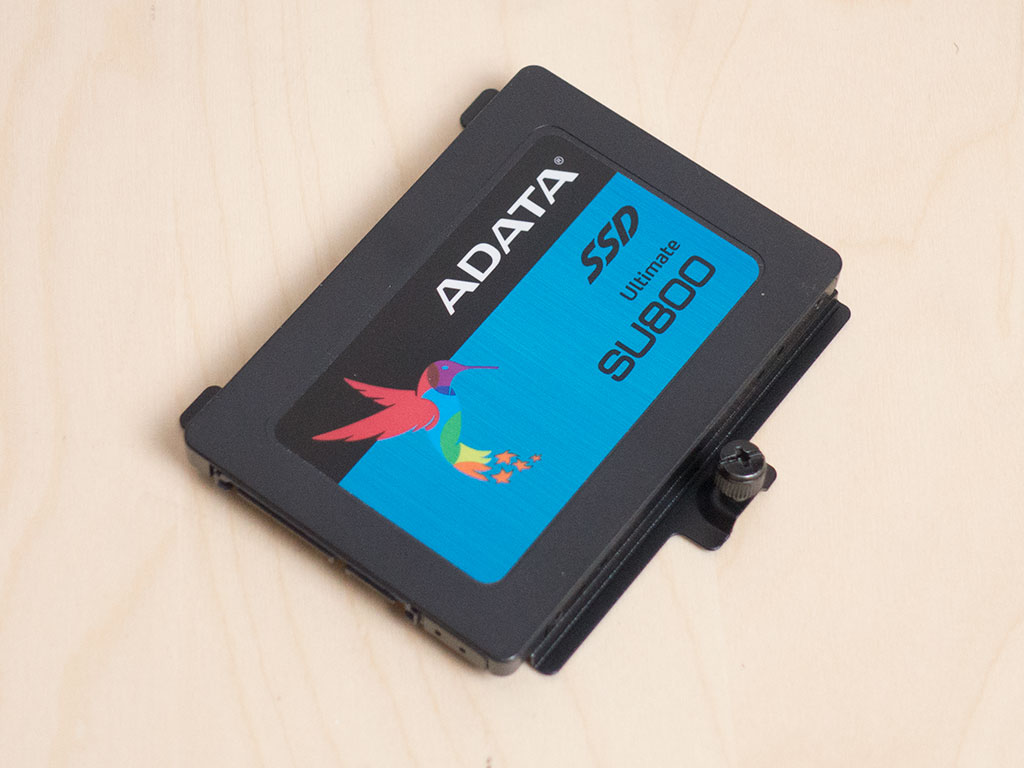
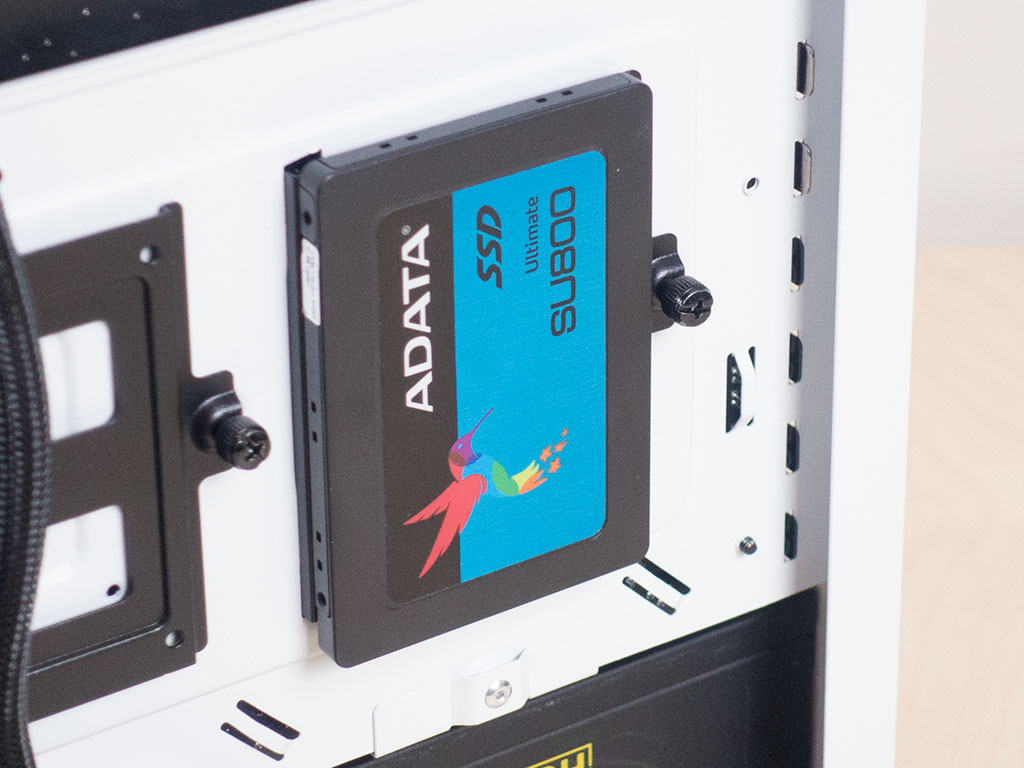
Adding an SSD is pretty straightforward. Simply take off the metal tray, screw a drive to it, and put it back into place. Corsair employs the same trays we have seen across the market with a lot of cases, and it is perfectly simple but functional - there is really no need to reinvent the wheel here anyways.
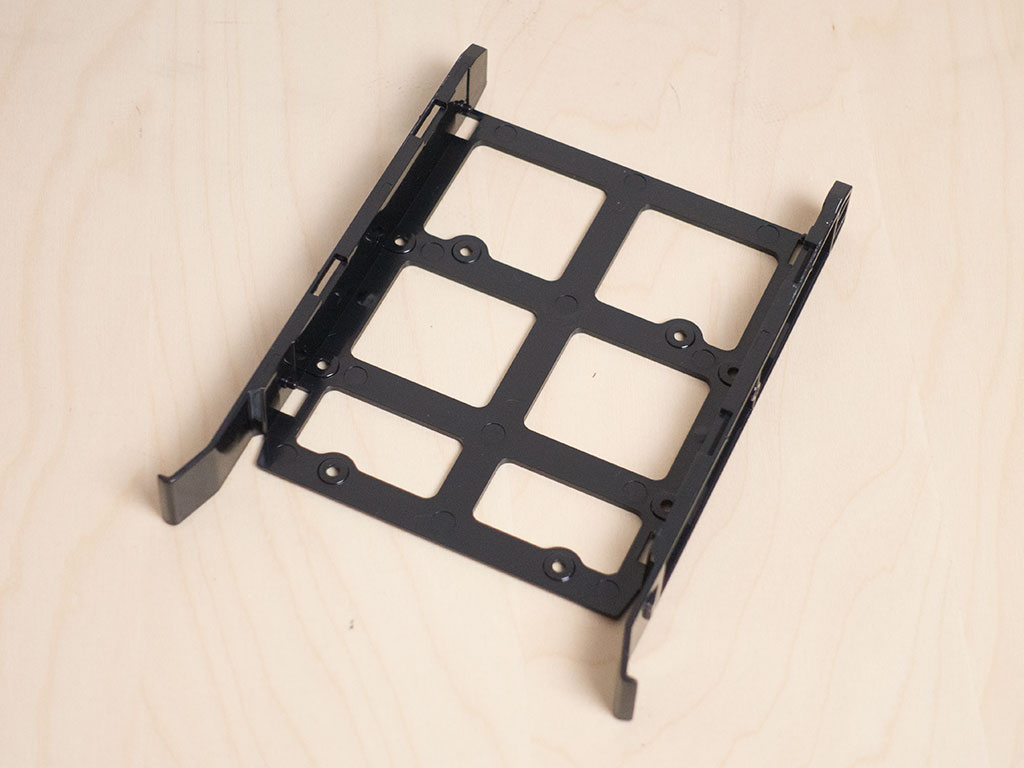
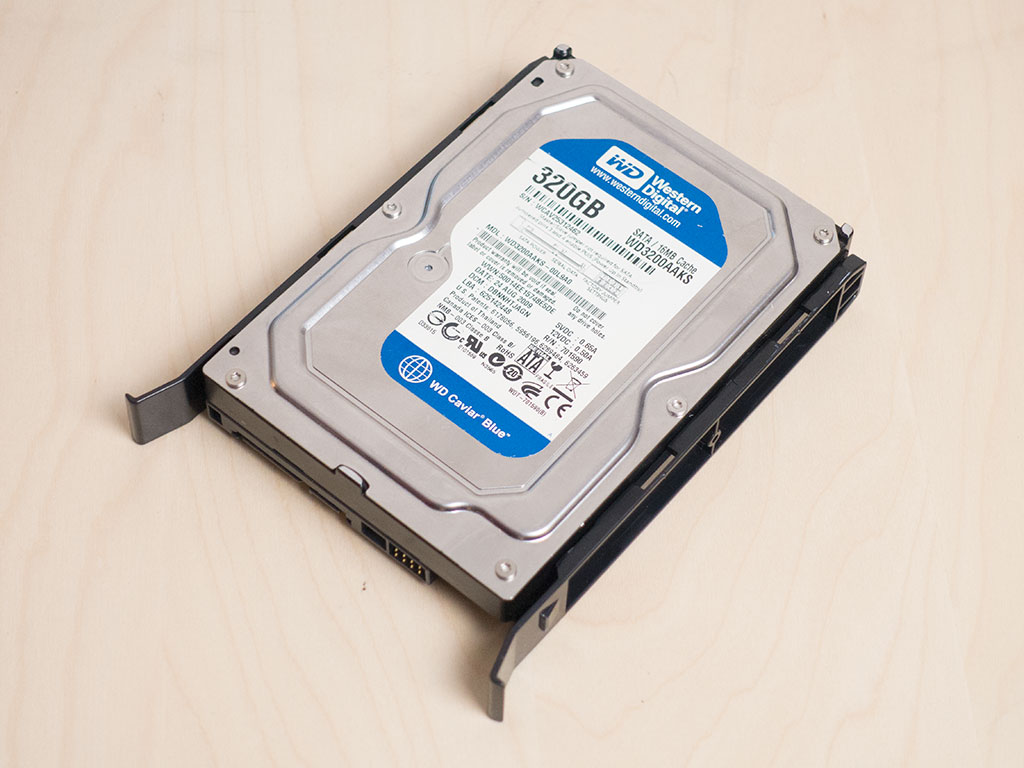

The 3.5" trays, on the other hand, are completely tool-less. Just snap the drive into place and slide the whole contraption back in. Intentional tension at the end of the tray will clip and hold it within the metal HDD cage, and there is plenty of space for cables and connectors.
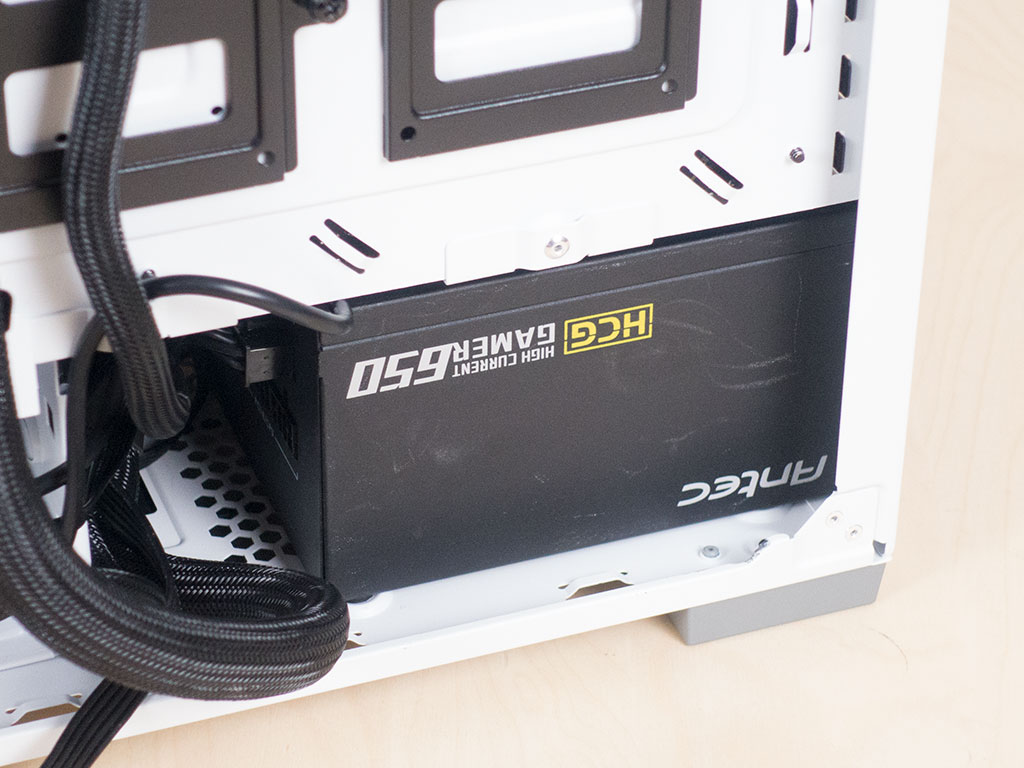
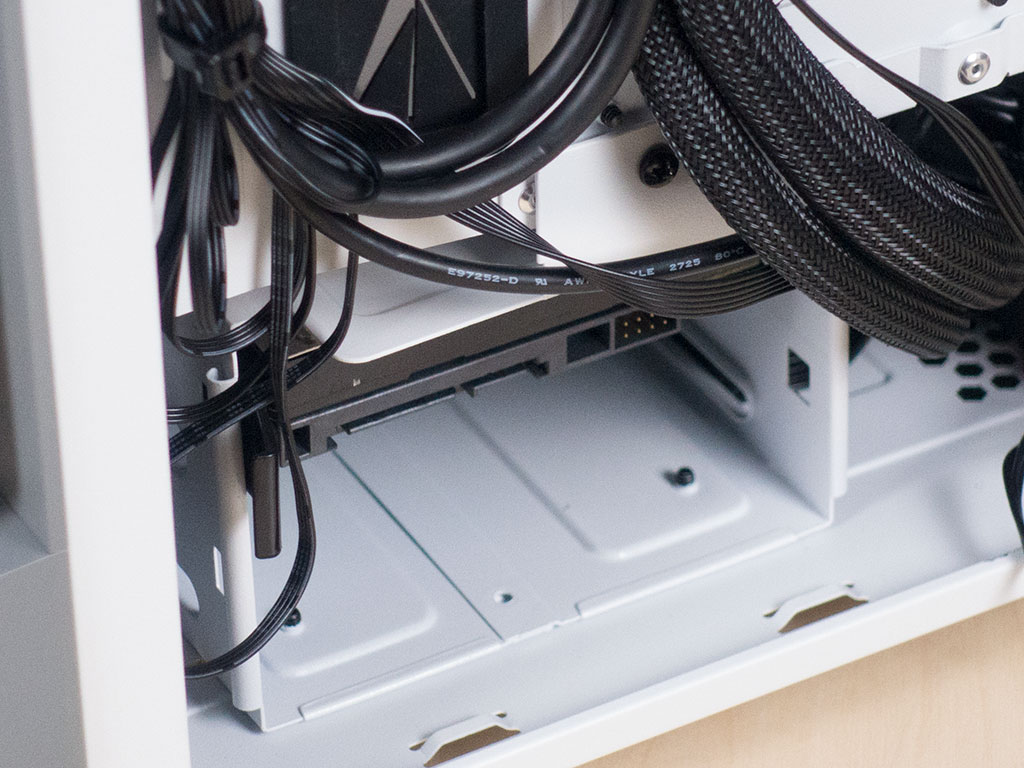
Installing a PSU was a bit tight, as expected. The unit used in this review is marketed as a 150 mm model and barely slides in because of the default HDD cage placement. This isn't really due to the available depth as there is plenty of space. Instead, the actual frame gets in the way of inserting the PSU. That said, it looks like you can fit 180 mm as advertised as the maximum distance between the back wall and HDD cage is 200 mm, but you will have to take out the cage completely temporarily to get the wiggle room to put it into place.
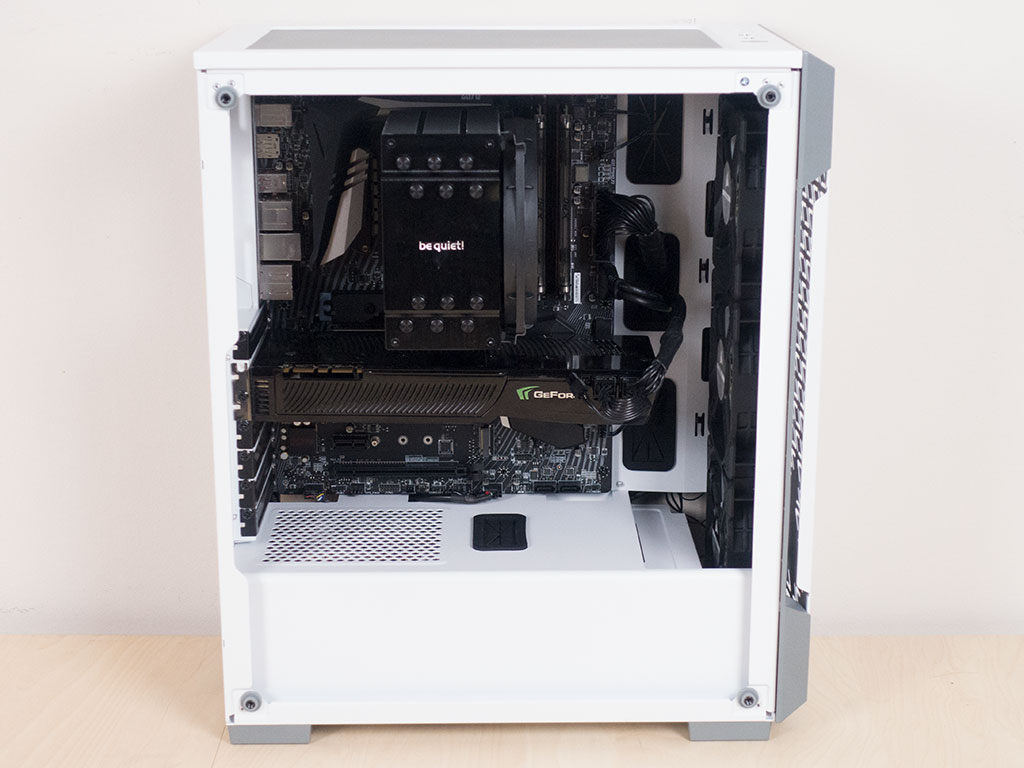

With everything installed, the Corsair iCUE 220T RGB makes a nice and clean impression, as we would expect from any modern chassis. Thanks to the numerous hooks, the backside of the motherboard actually looks quite organized as well.
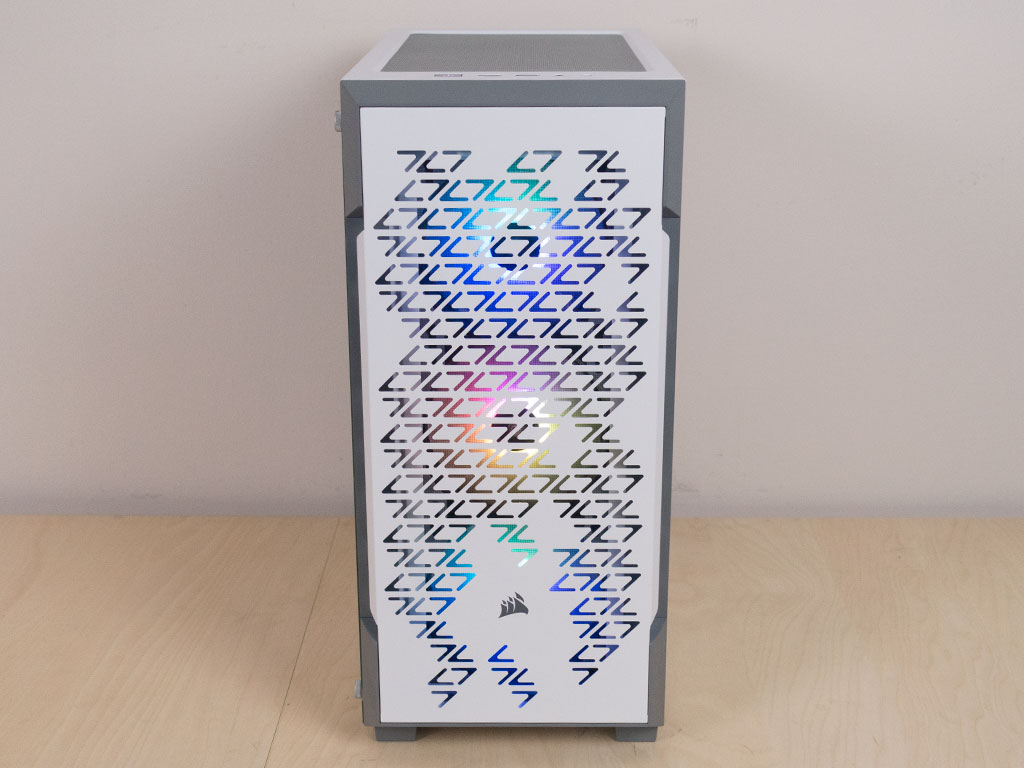
Finished Looks
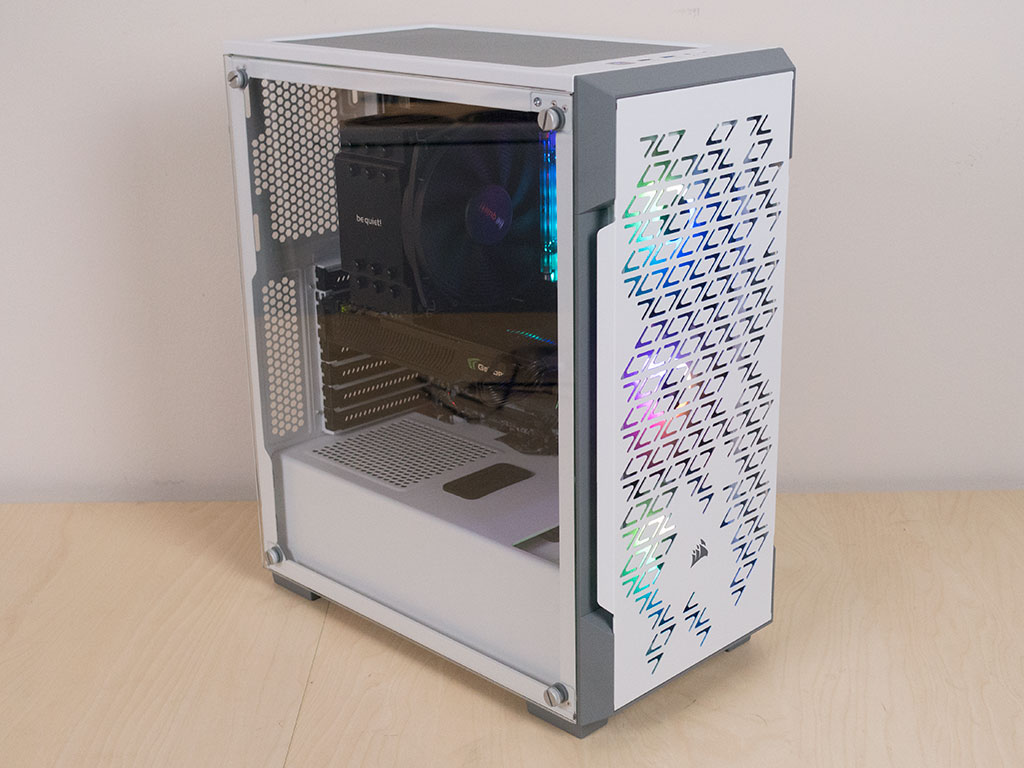
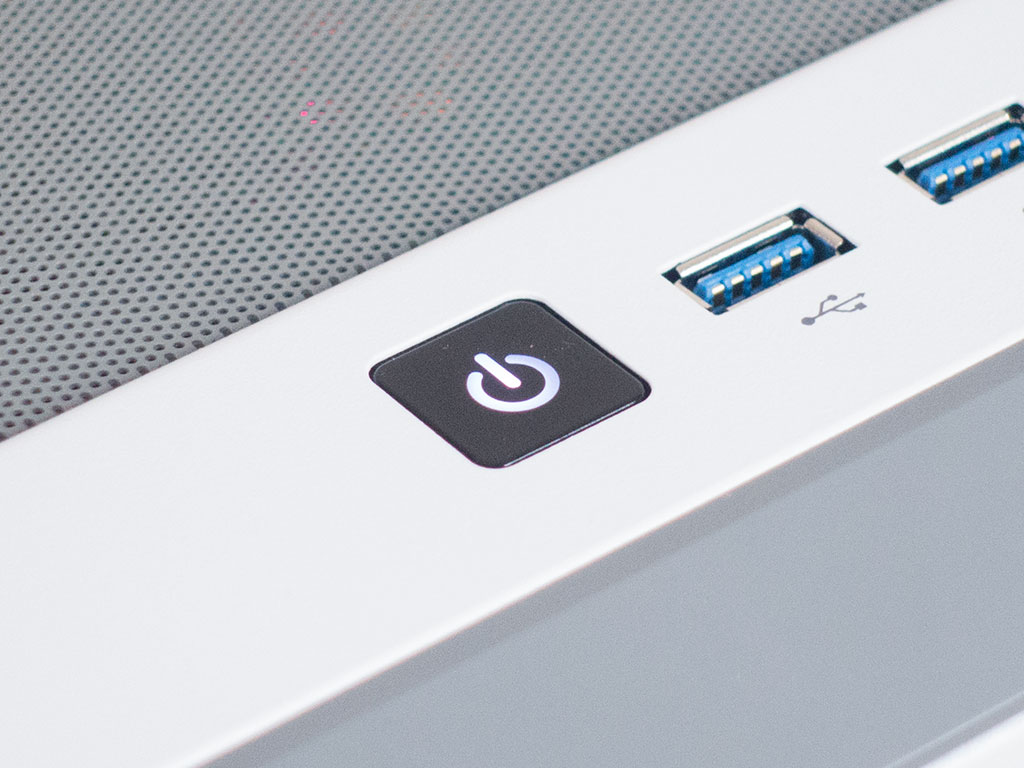
Once powered on, the RGB fans inside the chassis light up the front quite nicely, and you can see there is plenty of room for the units to draw cool air in through the sides and the front of the case. A white LED illuminates the power button to let you know the system is up and running, As the SP RGB PRO fans come with addressable RGBs, you may play around with the colors and effects, directly in the iCUE software in Windows.
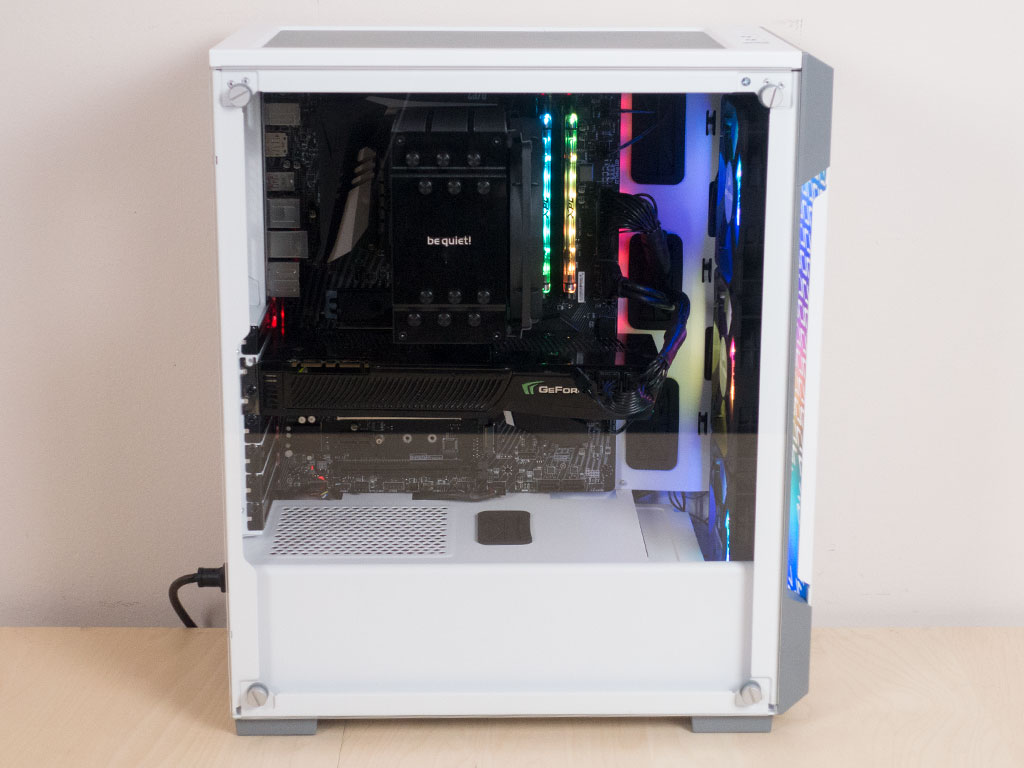
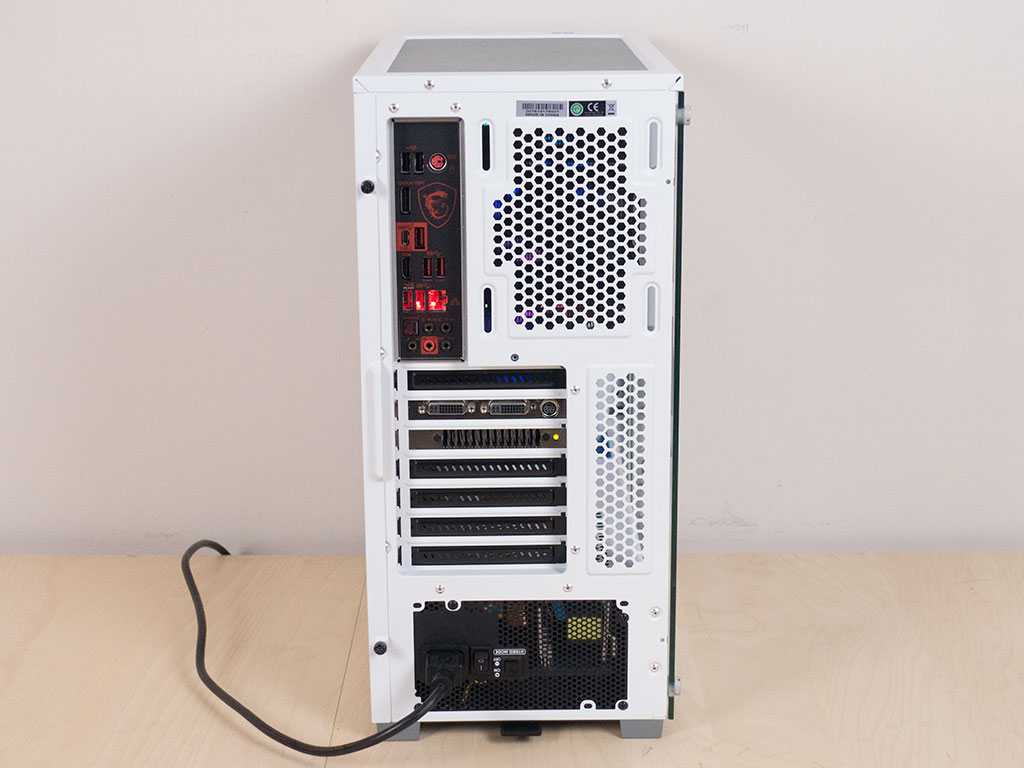
When viewed from the windowed side, you can clearly see all the hardware within the chassis thanks to the clear glass panel. In the rear, everything is where you would expect it to be in a modern mid-tower enclosure.
Mar 3rd, 2025 08:44 EST
change timezone
Latest GPU Drivers
New Forum Posts
- Was pentium 4 an over engineered CPU? (35)
- Microcenter GPU Stock status (16)
- Trying to run 4k 144hz using 3070ti (18)
- How many continuous hours will it last my mini pc if connected to the LiitoKala battery pack that I've found for a cheap price ? (45)
- question about blower fan gpu (20)
- Issues with clock speed not increasing (28)
- Recommended PhysX card for 5xxx series? [Is vRAM relevant?] (109)
- Help finding bios for rx 580 2048sp (11)
- Just a rant about AMD and their so-called "foolproofness" (126)
- Cooling problems persist on LGA1700 (22)
Popular Reviews
- AMD Radeon RX 9070 Series Technical Deep Dive
- be quiet! Pure Base 501 DX Review
- ASUS GeForce RTX 5070 Ti TUF OC Review
- AMD Ryzen 7 9800X3D Review - The Best Gaming Processor
- MSI GeForce RTX 5070 Ti Vanguard SOC Review
- ASUS ROG Harpe Ace Mini Review
- MSI GeForce RTX 5070 Ti Ventus 3X OC Review
- Gigabyte X870 Aorus Elite WiFi 7 Review
- KLEVV CRAS C930 2 TB Review
- MSI GeForce RTX 5070 Ti Gaming Trio OC+ Review
Controversial News Posts
- NVIDIA GeForce RTX 50 Cards Spotted with Missing ROPs, NVIDIA Confirms the Issue, Multiple Vendors Affected (510)
- AMD Plans Aggressive Price Competition with Radeon RX 9000 Series (274)
- AMD Radeon RX 9070 and 9070 XT Listed On Amazon - One Buyer Snags a Unit (258)
- AMD Mentions Sub-$700 Pricing for Radeon RX 9070 GPU Series, Looks Like NV Minus $50 Again (248)
- NVIDIA Investigates GeForce RTX 50 Series "Blackwell" Black Screen and BSOD Issues (244)
- AMD RDNA 4 and Radeon RX 9070 Series Unveiled: $549 & $599 (227)
- AMD Radeon RX 9070 and 9070 XT Official Performance Metrics Leaked, +42% 4K Performance Over Radeon RX 7900 GRE (192)
- AMD Radeon RX 9070-series Pricing Leaks Courtesy of MicroCenter (158)