 13
13
CORSAIR K70 RGB MK.2 Low Profile Keyboard Review
Software »Disassembly
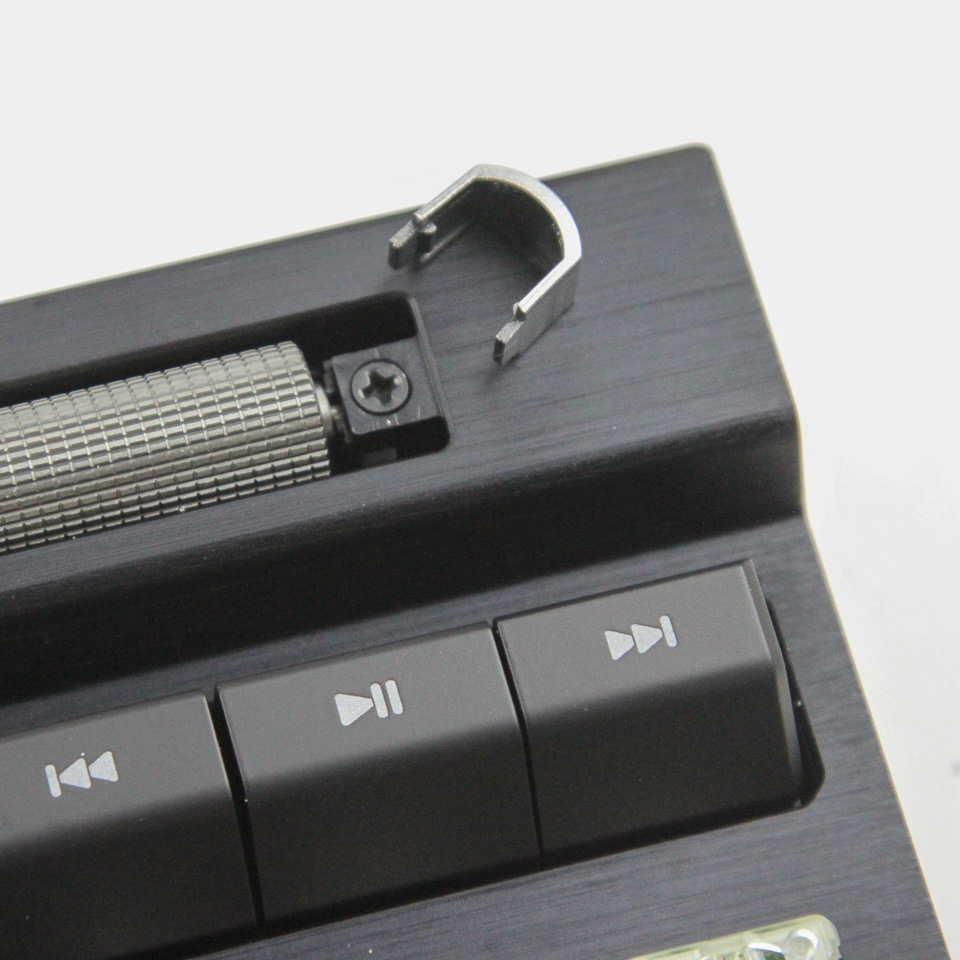
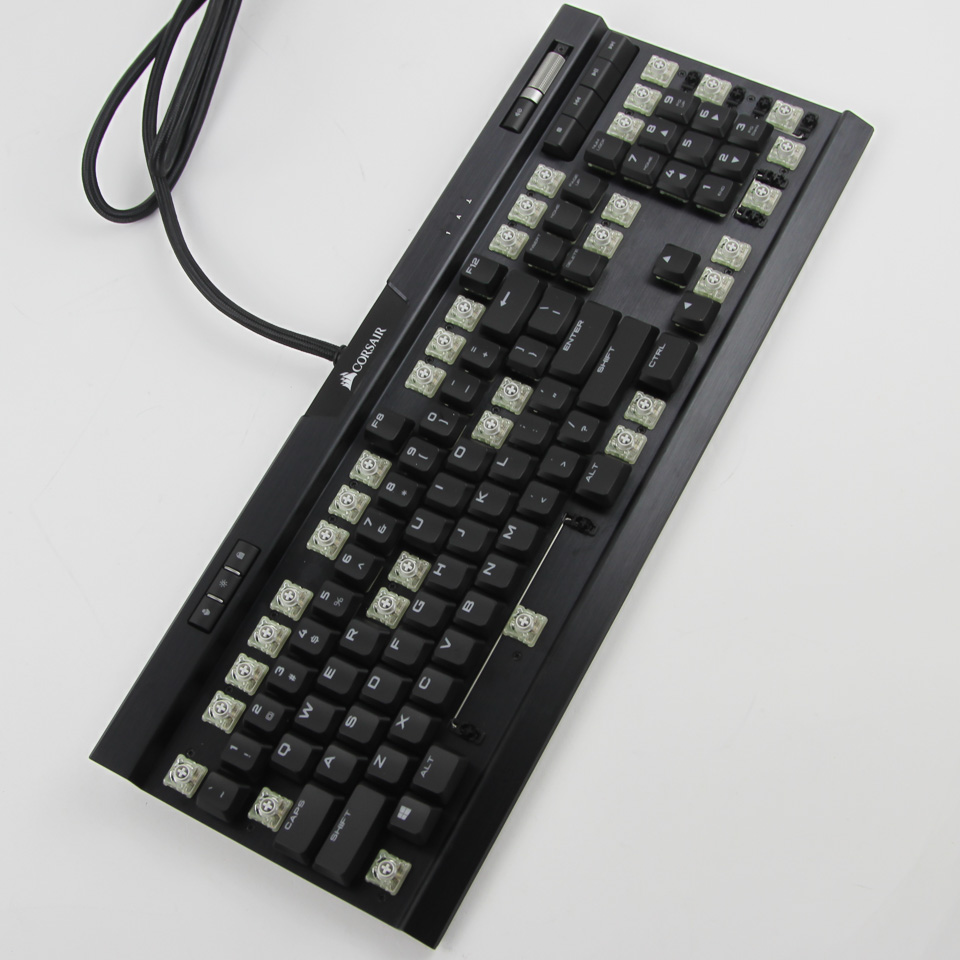
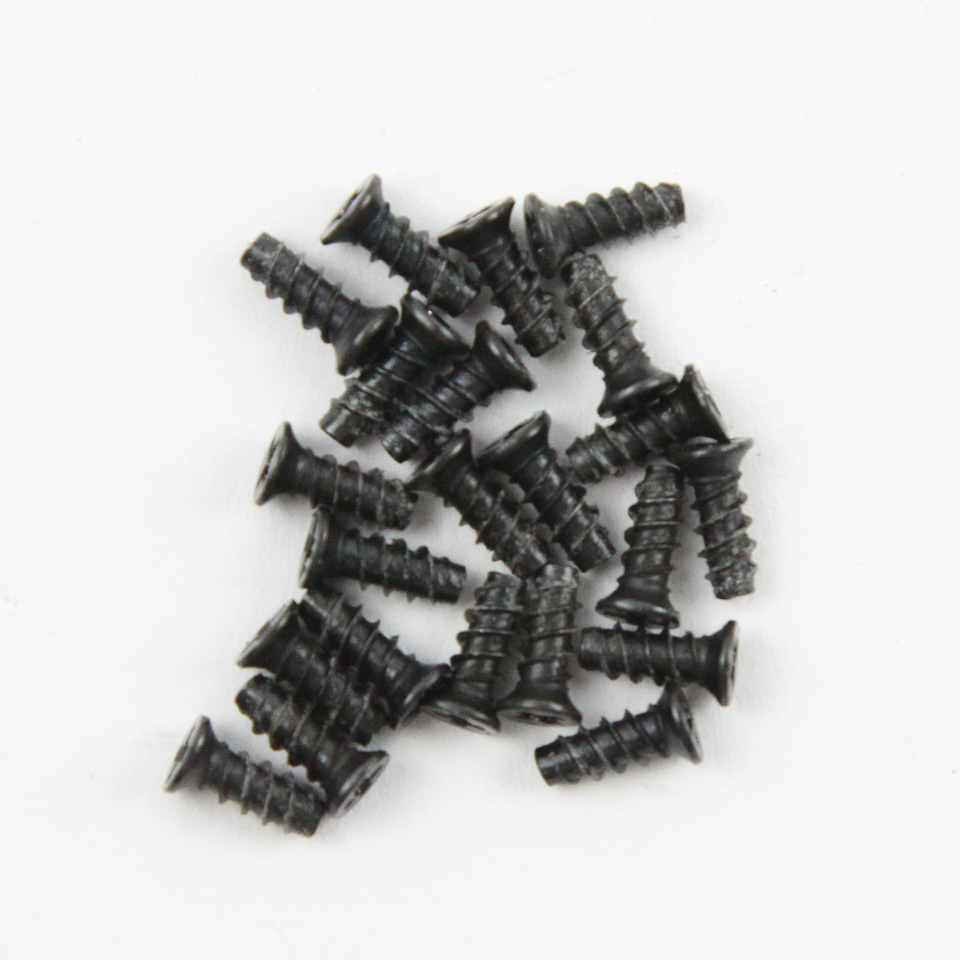

Most metal frame/case keyboards are easier to disassemble than plastic case variants, but CORSAIR tries their best to discourage users from taking the K70 RGB MK.2 Low Profile apart. Indeed, there is a sneakily hidden screw underneath a plastic cover next to the volume scroll wheel, and then you need to take off several keycaps as seen above to access the screws holding the keyboard together. There are 22 screws to be removed, all of which are the same countersunk Phillips head in type, and a precision screwdriver comes in handy here. After this, start poking at the plastic tab where the keyboard cable and other dedicated keys are to carefully separate the pieces.

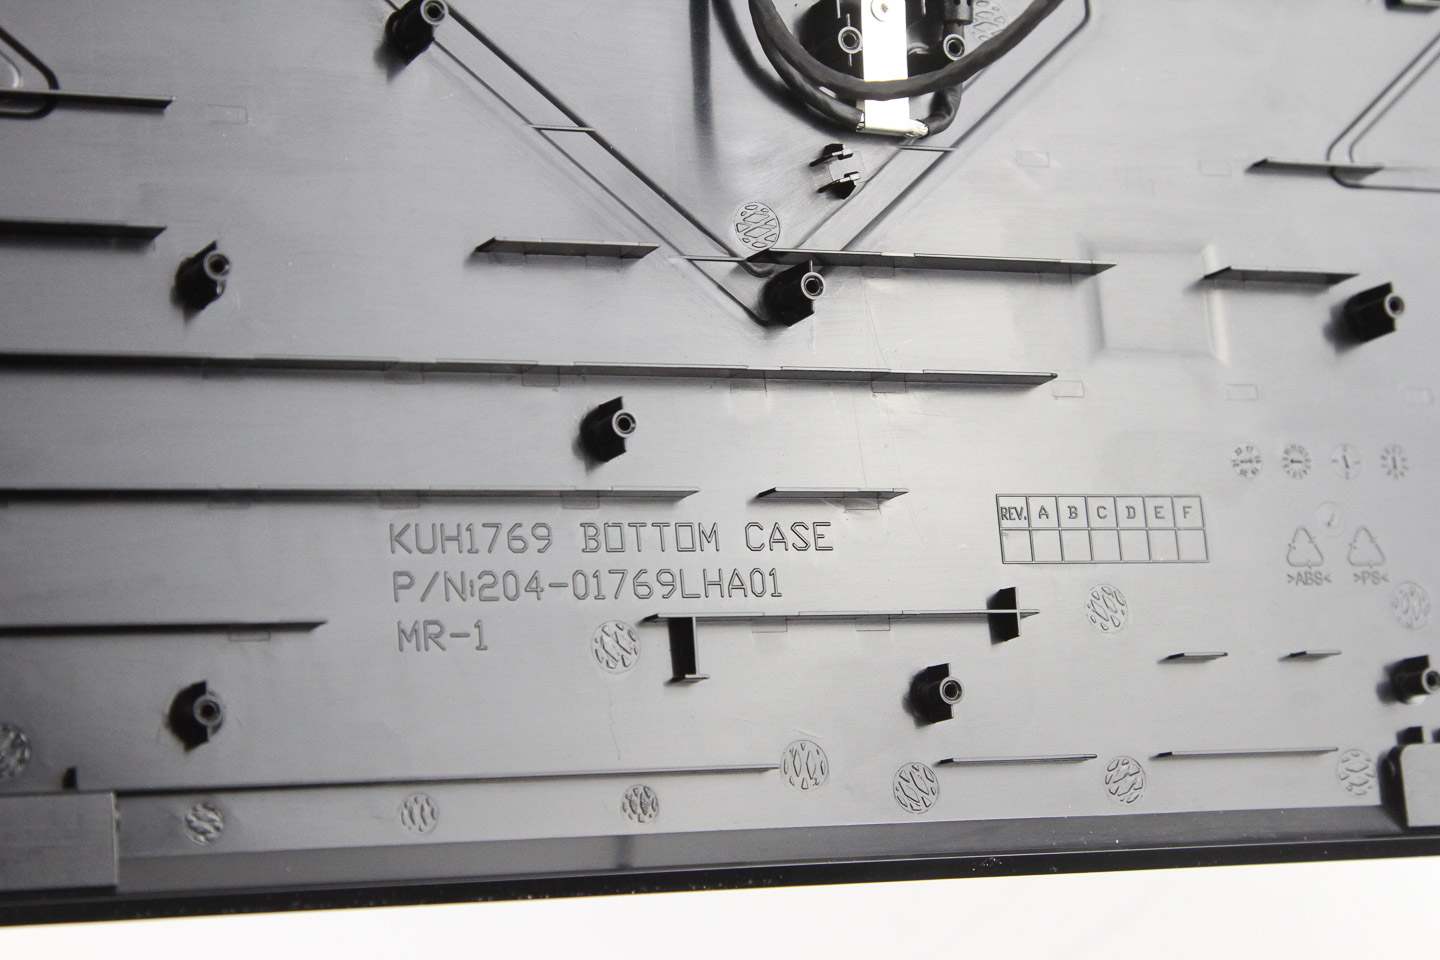

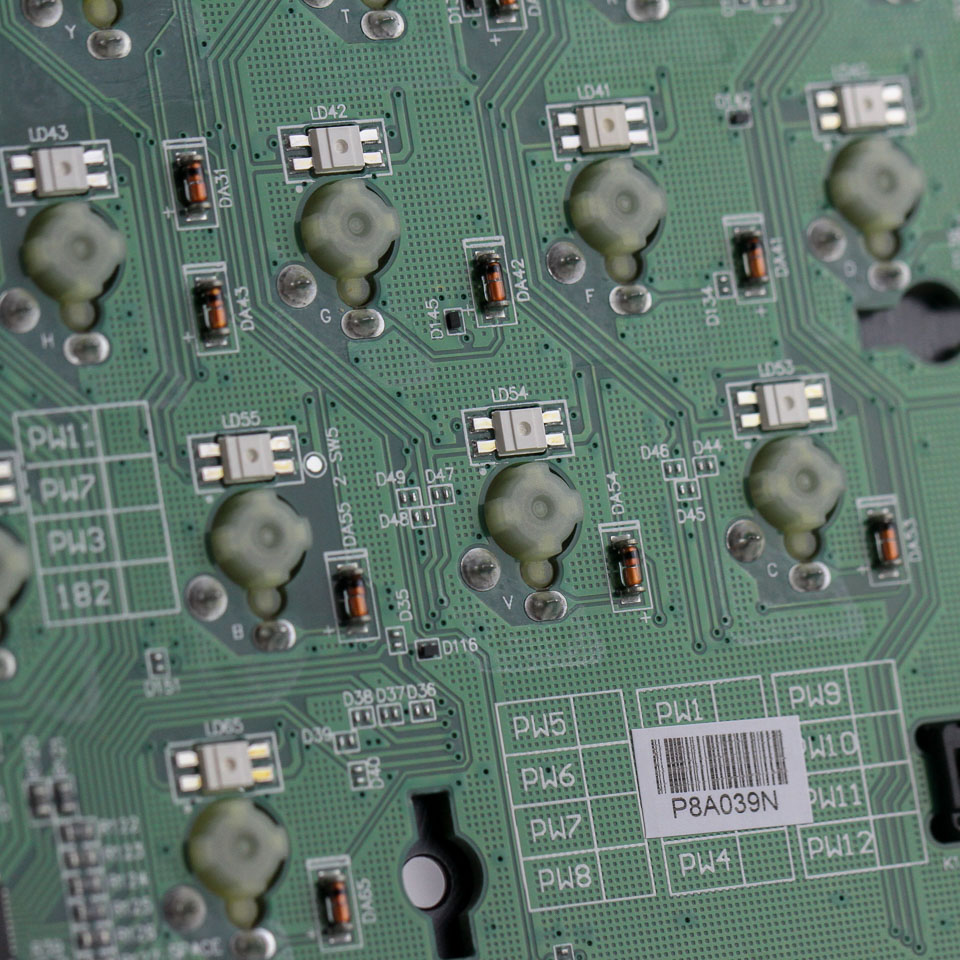
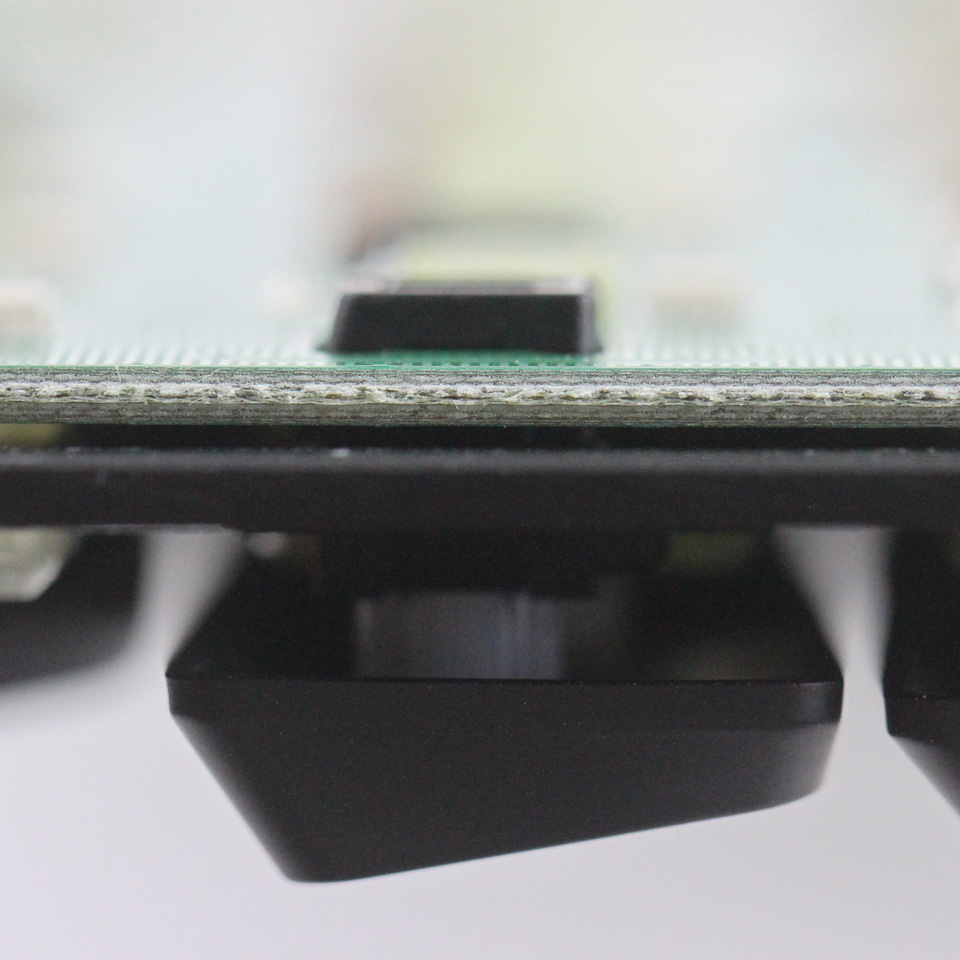
An internal USB cable connecting the bottom plastic panel piece to the PCB needs to be removed before full separation, and you have to be careful in that a grounding cable is also screwed in place to prevent shorting from the metal frame touching the PCB. Dislodge the internal cable and unscrew the wire to finally separate and remove the bottom plastic panel. It is made out of ABS plastic and has the keyboard cable screwed into place as well. The PCB itself is green, and the switches are soldered through the aluminium frame and into the PCB, which makes them hard to remove.
There are daughter PCBs, especially for the dedicated profile and media buttons, and to allow backlighting of the CORSAIR logo in the middle of the top as seen from the front. We have examined these before in previous CORSAIR keyboards, and it is effectively the same here with a combination of scroll wheels and membrane switches alike. Interestingly, these daughter PCBs are tied to the same larger piece that houses the aluminium frame and primary PCB, as opposed to being in the ABS plastic case panel with the non-low-profile version. The USB pass-through port is also soldered in and has to be accounted for when disassembling and re-assembling the keyboard since there is a cutout in the bottom plastic panel to fit it through. General soldering quality is very good and likely machine assembled given the volumes CORSAIR sells around the globe.
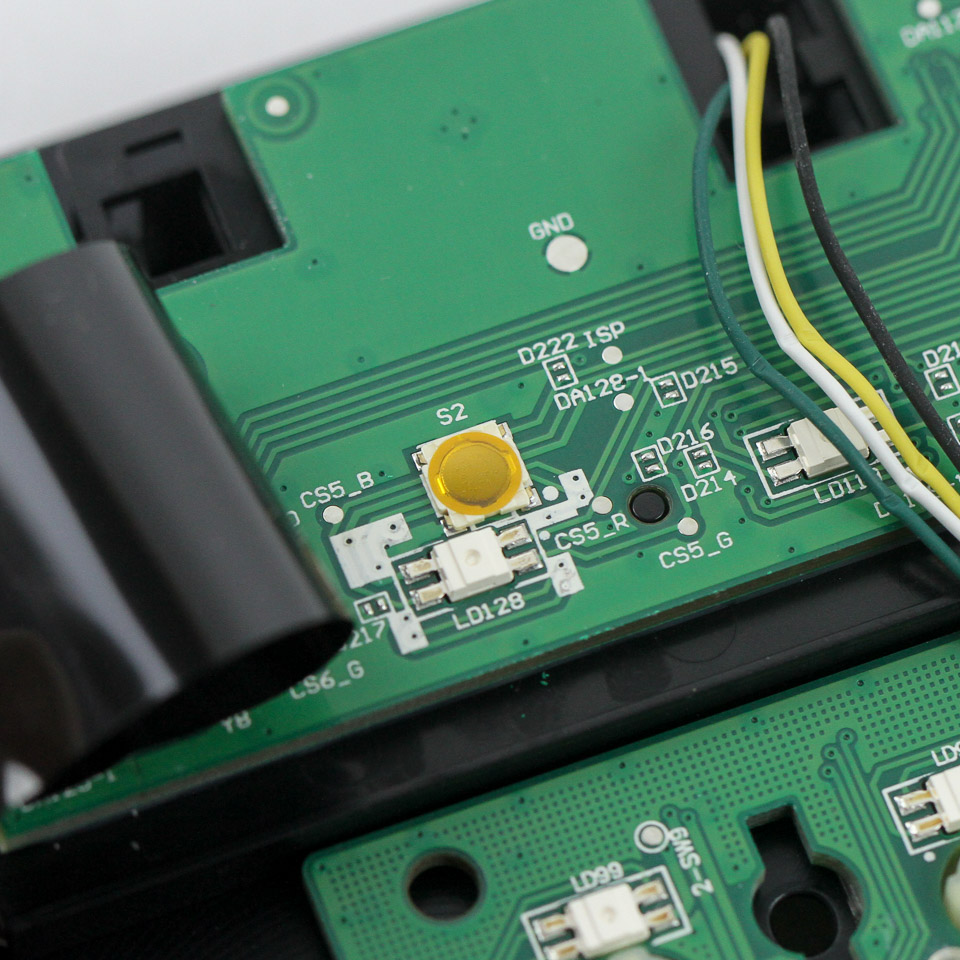
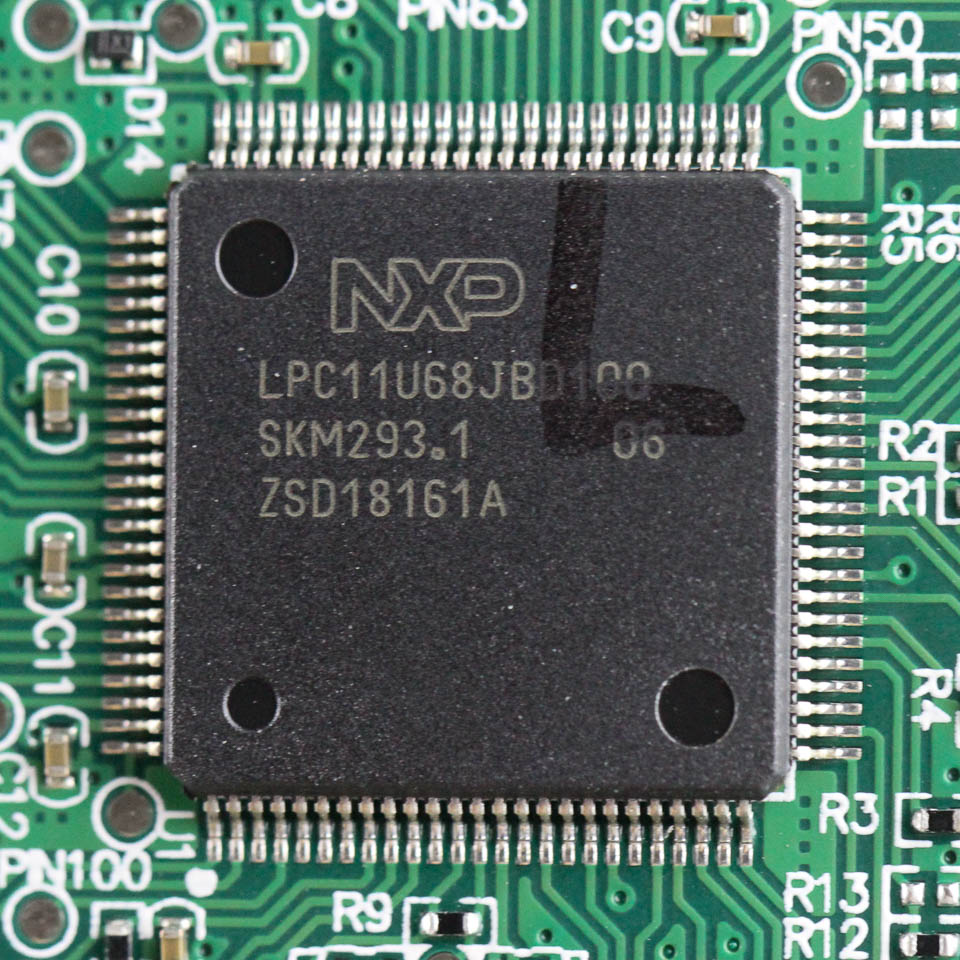
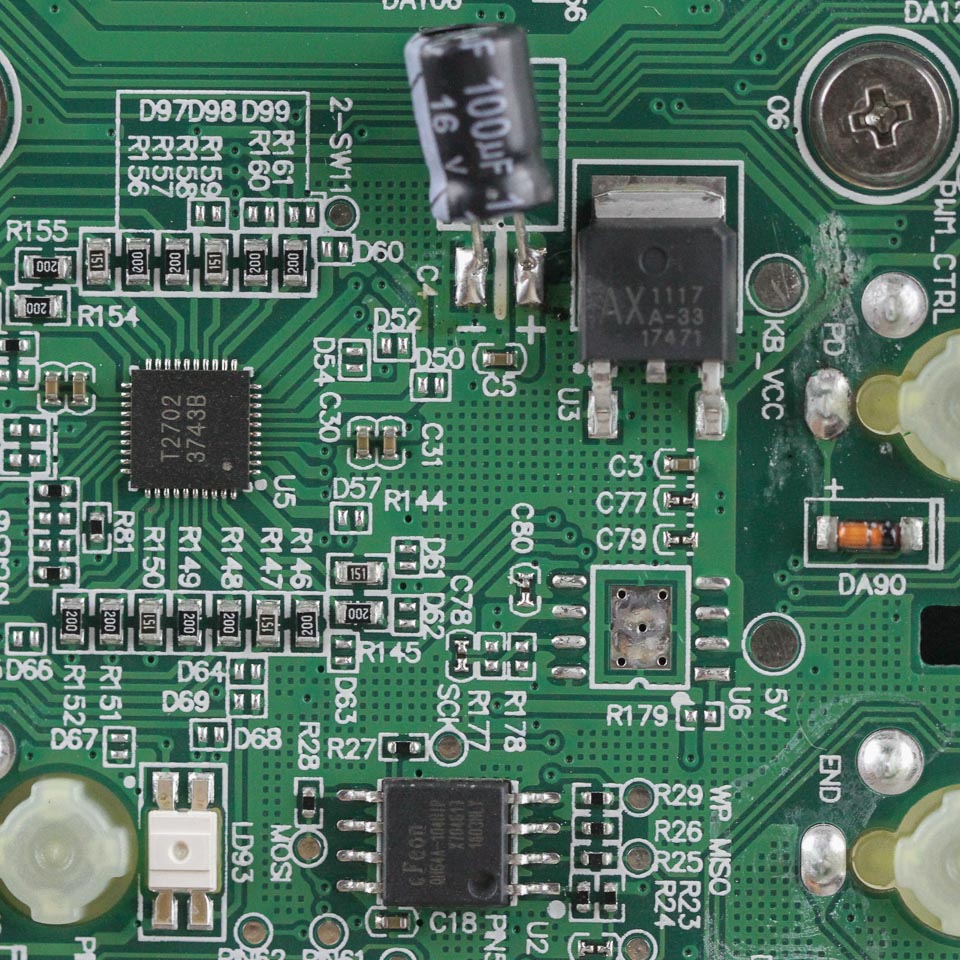
There is a reset button which can be accessed via a hole on the back of the keyboard, underneath the keyboard feet. Powering the keyboard is an NXP LPC11U68JBD100 32-bit ARM Cortex-M0+/M0 Cores-based USB microcontroller with 256 KB on-board flash memory and 36 KB SRAM. There is also an additional 8 MB discrete flash memory module to store all the pre-programmed functions alongside some 100µF electrolytic capacitors, which readers tell me is a low efficiency module. All the components, including the switches, LEDs, and capacitors, are soldered to a multi-layered PCB.
Before we move on, be advised that disassembly may void the warranty and that TechPowerUp is not liable for any damages incurred if you decide to go ahead and do so anyway.
Mar 11th, 2025 01:13 EDT
change timezone
Latest GPU Drivers
New Forum Posts
- Mind If I Play Through? (13)
- What's your latest tech purchase? (23280)
- USB hard disk box capacity limits (15)
- 7900XT Artifacting? Or something else? (5)
- I need bios for XFX SWFT 319 RX 6800XT (31)
- I'm looking for a good tool to make the 3D scanning of my mini-pc using the photogrammetry and my Kinect 2. (55)
- Post your Old CDs, from back in the day thread. (5)
- I need a BIOS for the "Rx580 8gb" chip 215-0876406 (7)
- AAF Optimus Modded Driver For Windows 10 & Windows 11 - Only for Realtek HDAUDIO Chips (376)
- What motherboard with spdif should I get? PC to 5.1 blu-ray player via optical (2)
Popular Reviews
- Sapphire Radeon RX 9070 XT Nitro+ Review - Beating NVIDIA
- XFX Radeon RX 9070 XT Mercury OC Magnetic Air Review
- ASUS Radeon RX 9070 TUF OC Review
- MSI MAG B850 Tomahawk Max Wi-Fi Review
- NVIDIA GeForce RTX 5070 Founders Edition Review
- Corsair Vengeance RGB CUDIMM DDR5-8800 48 GB CL42 Review
- AMD Ryzen 7 9800X3D Review - The Best Gaming Processor
- ASUS GeForce RTX 5070 Ti TUF OC Review
- MSI GeForce RTX 5070 Ti Gaming Trio OC+ Review
- MSI GeForce RTX 5070 Ti Ventus 3X OC Review
Controversial News Posts
- NVIDIA GeForce RTX 50 Cards Spotted with Missing ROPs, NVIDIA Confirms the Issue, Multiple Vendors Affected (513)
- AMD Plans Aggressive Price Competition with Radeon RX 9000 Series (277)
- AMD Radeon RX 9070 and 9070 XT Listed On Amazon - One Buyer Snags a Unit (261)
- AMD RDNA 4 and Radeon RX 9070 Series Unveiled: $549 & $599 (260)
- AMD Mentions Sub-$700 Pricing for Radeon RX 9070 GPU Series, Looks Like NV Minus $50 Again (248)
- NVIDIA Investigates GeForce RTX 50 Series "Blackwell" Black Screen and BSOD Issues (244)
- AMD Radeon RX 9070 and 9070 XT Official Performance Metrics Leaked, +42% 4K Performance Over Radeon RX 7900 GRE (195)
- AMD Radeon RX 9070-series Pricing Leaks Courtesy of MicroCenter (158)