 6
6
Corsair One i200 Compact Gaming PC (i9-10900K + 2080 Ti) Review - Exceptional Performance With a Unique Design
Test Systems »A Look Inside
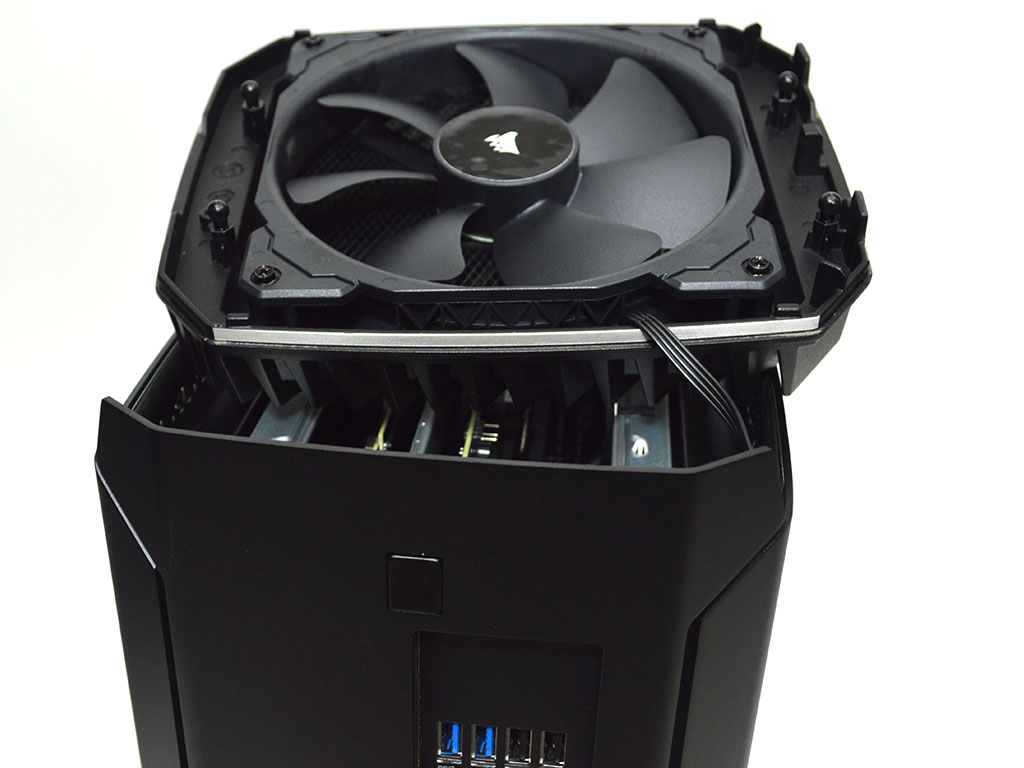

Opening the system up is easy enough, but upgrading some components, such as the graphics card, may prove problematic. That said, Corsair does offer a repair service should something go wrong. Regardless, the first step is to push the button just above the motherboard I/O, which will allow you to lift off the top plate and fan. Once the fan has been released, gently lift up and then unplug the fan. With that taken care of, you can remove the four black screws which hold the side panels in place. Once done, you will have access to the majority of the system.
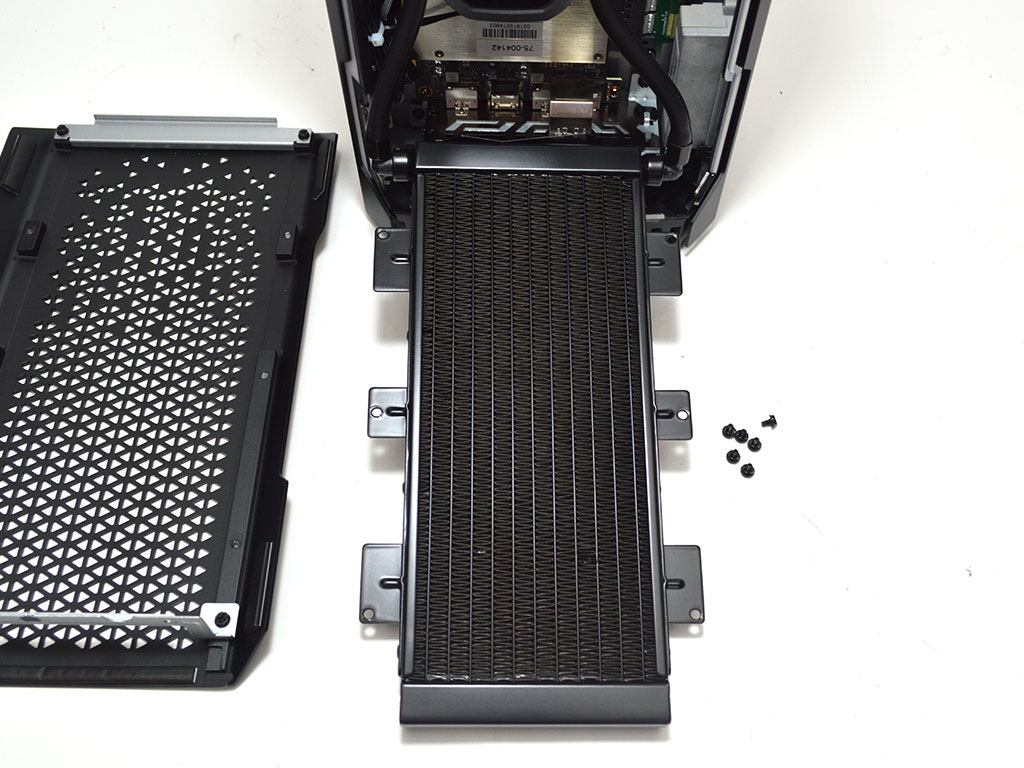
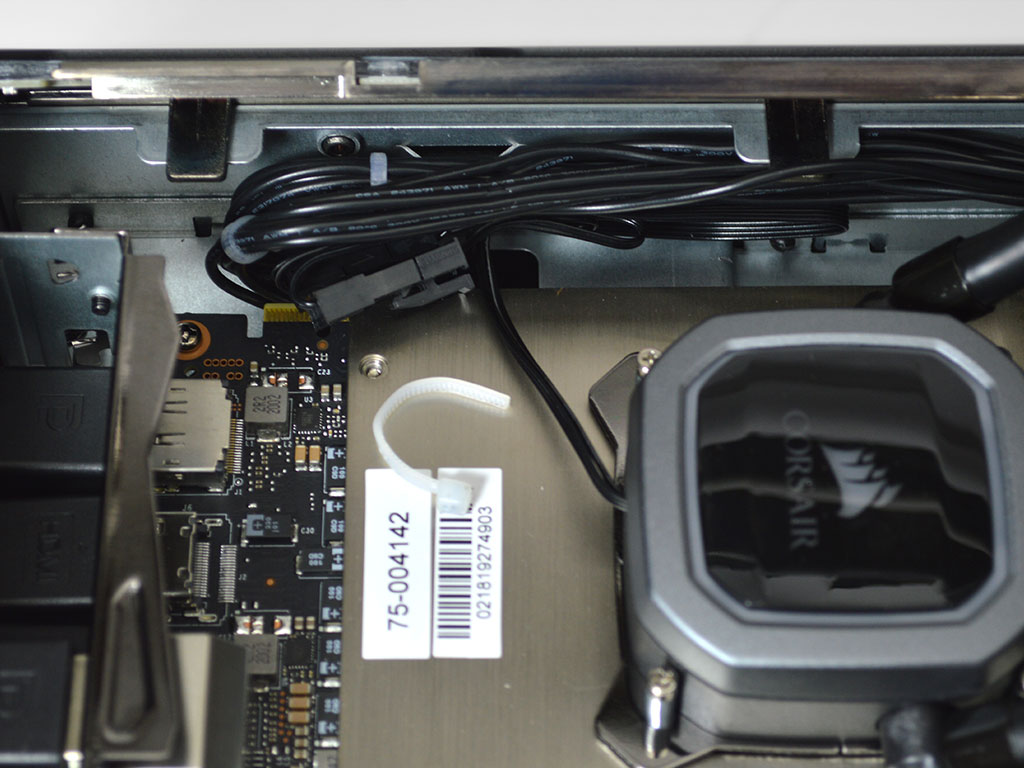

If you need to remove the graphics card or simply want to add another M.2 SSD on the back of the motherboard, you will want to detach the radiator from the side panel for more room. Next, you will need to cut a single zip tie that secures the liquid cooler's wiring to the rest of the cabling. This is so you can unplug the pump. Next, you will need to unplug the PCIe power cables and the display cables from the graphics card. Finally, you will need to remove eight screws, of which four directly hold the graphics card to the chassis, two hold the I/O bracket to the chassis, and the last two hold the PCIe extension cable in place. With those screws removed, you can gently lift the GPU and slide it out of the PCIe extension cable. With the GPU out of the way, the secondary M.2 slot is just beneath the folded-up PCIe extension cable on the back of the motherboard. It should also be noted that this is your only real internal storage expansion option.

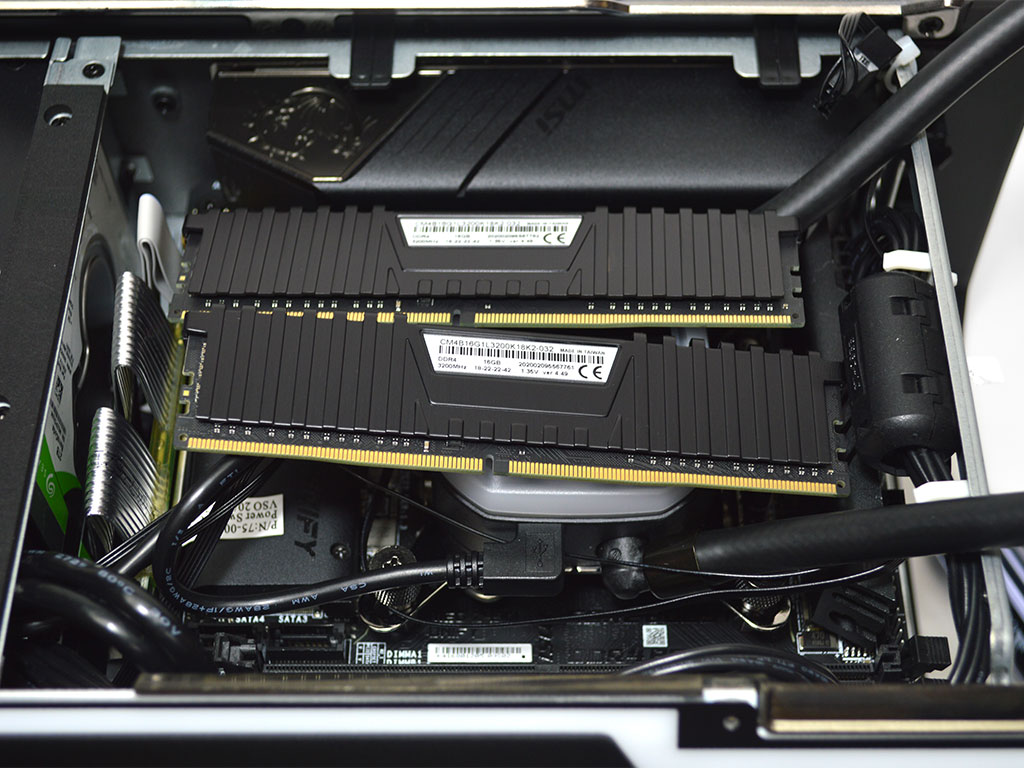
On the other side, access to the system is quite a bit easier. While not necessary, you can remove the radiator from the side panel for a better look. It will make things a bit easier if you are looking to clean the system. When it comes to swapping RAM or replacing the HDD, it is a simple procedure. The system memory is easily removable with nothing in the way to complicate matters. With it removed, it's clear the memory is from Corsair's Vengeance LPX lineup with timings of 18-22-22-42 at 3200 MHz.
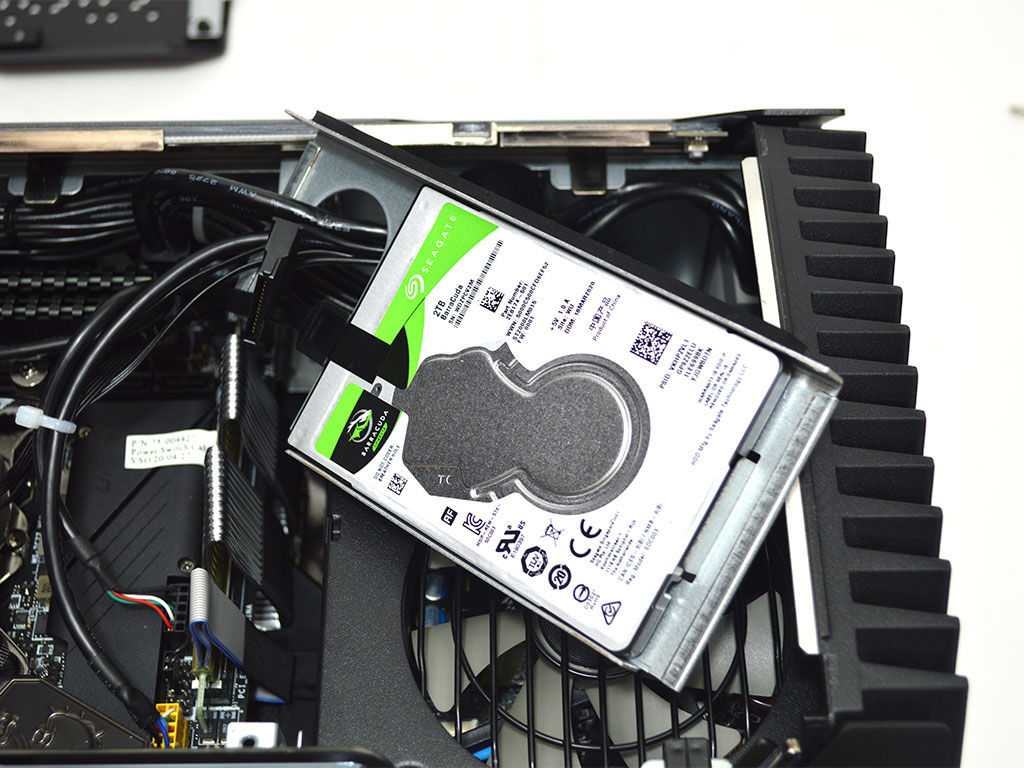
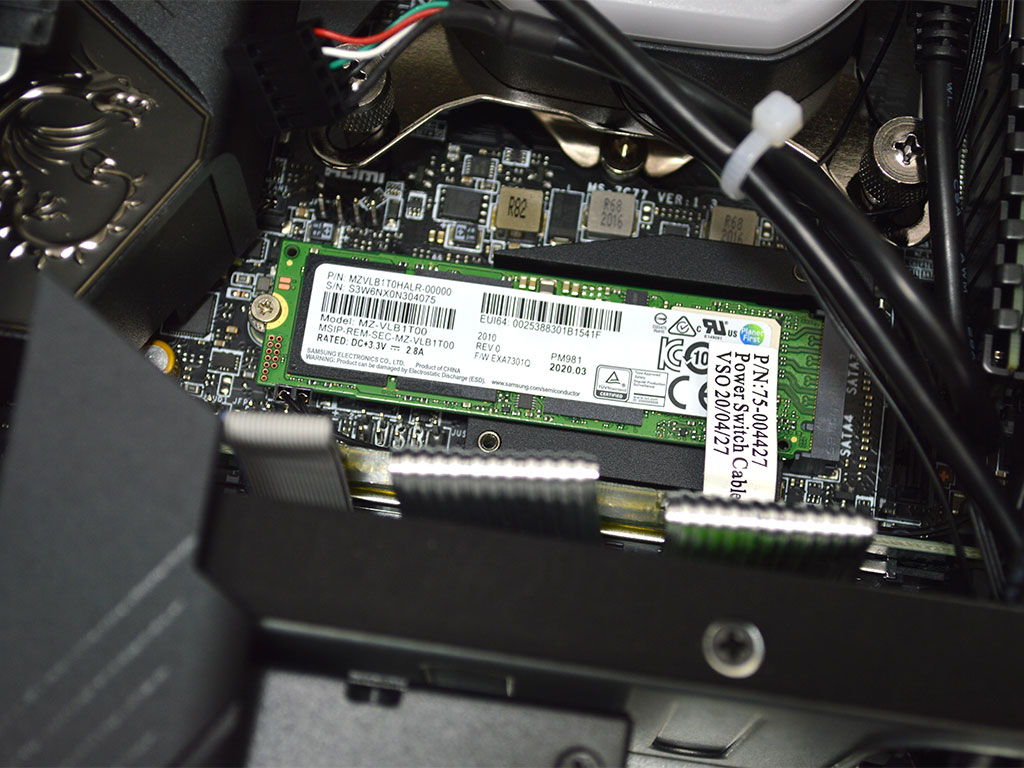
Removal of the secondary storage drive isn't difficult, just a bit annoying. Due to the densely packed cables, you will want to unplug the SATA power cable and then remove the screws securing the HDD tray in place. You can pull the HDD and tray straight out, but be mindful of the cabling all the same. Finally, the SSD is secured under the heatsink just below the CPU block. Remove two screws and you will have access to it should you wish to upgrade it. That said, the HDD is a Seagate BarraCuda 2 TB 5400 RPM model, and the SSD is a Samsung PM981. Honestly, considering Corsair's lineup of M.2 SSDs, I was a bit surprised they didn't opt for their own branded models here.
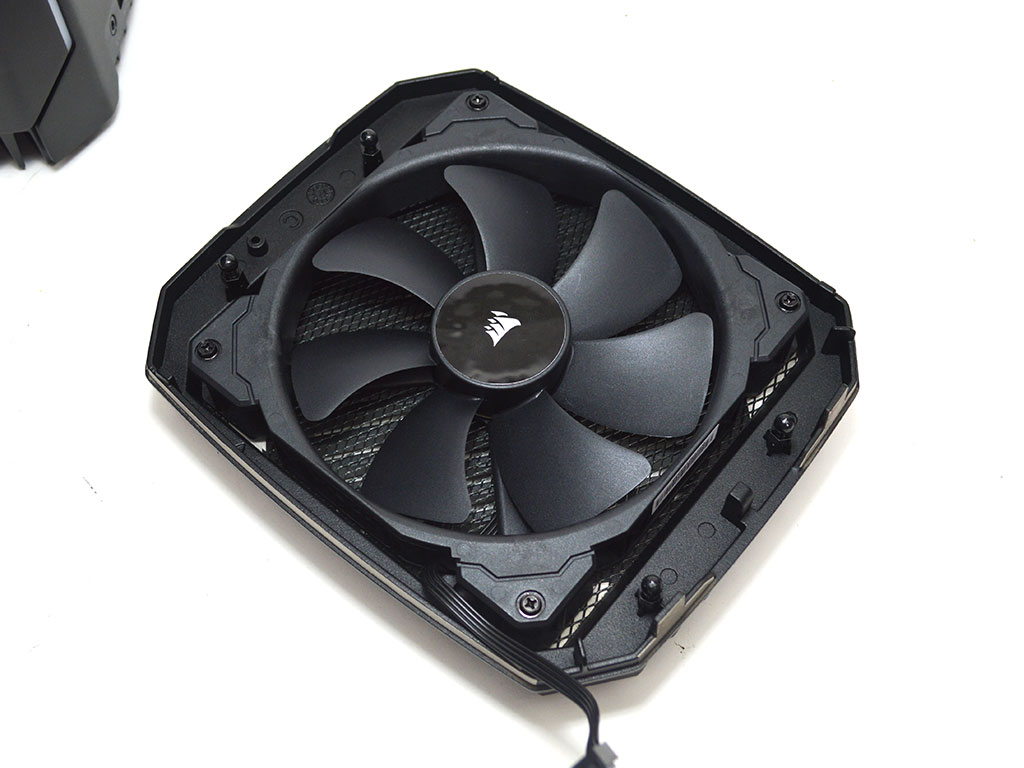
The cooling of the system is handled via a single Corsair ML series 140 mm fan, and considering the hardware packed into this thing, it's an amazing feat that this alone is enough to do the job.
Mar 5th, 2025 13:24 EST
change timezone
Latest GPU Drivers
New Forum Posts
- WD Black or Gold for Gaming (10TB) (25)
- sapphire nitro+ 5700 xt BIOS (1)
- Original VBIOS "RX 590 GME" requested (12)
- Dell Workstation Owners Club (3293)
- My Rx 6800xt Furmarkt result is good ? (1)
- B550 phantom Gaming ITX/AX bios problem. (16)
- Will I benefit from changing the thermal pad? (11)
- AMD E9260 MXM TYPEA - Trying to flash / confirm original GPU (1)
- Cryptocoin Value and Market Trend Discussion (1642)
- Any plans on adding E Core undervolt support for 13th+ gen? (2)
Popular Reviews
- Sapphire Radeon RX 9070 XT Nitro+ Review - Beating NVIDIA
- NVIDIA GeForce RTX 5070 Founders Edition Review
- AMD Radeon RX 9070 Series Technical Deep Dive
- ASUS Radeon RX 9070 TUF OC Review
- EIZO FlexScan EV4340X Review - A Multitasking Powerhouse
- RAWM ES21M Review
- ASUS GeForce RTX 5070 Ti TUF OC Review
- AMD Ryzen 7 9800X3D Review - The Best Gaming Processor
- MSI GeForce RTX 5070 Ti Vanguard SOC Review
- MSI GeForce RTX 5070 Ti Ventus 3X OC Review
Controversial News Posts
- NVIDIA GeForce RTX 50 Cards Spotted with Missing ROPs, NVIDIA Confirms the Issue, Multiple Vendors Affected (513)
- AMD Plans Aggressive Price Competition with Radeon RX 9000 Series (277)
- AMD Radeon RX 9070 and 9070 XT Listed On Amazon - One Buyer Snags a Unit (261)
- AMD Mentions Sub-$700 Pricing for Radeon RX 9070 GPU Series, Looks Like NV Minus $50 Again (248)
- NVIDIA Investigates GeForce RTX 50 Series "Blackwell" Black Screen and BSOD Issues (244)
- AMD RDNA 4 and Radeon RX 9070 Series Unveiled: $549 & $599 (241)
- AMD Radeon RX 9070 and 9070 XT Official Performance Metrics Leaked, +42% 4K Performance Over Radeon RX 7900 GRE (195)
- AMD Radeon RX 9070-series Pricing Leaks Courtesy of MicroCenter (158)