 9
9
Cougar QBX Review
Assembly & Finished Looks »A Closer Look - Inside
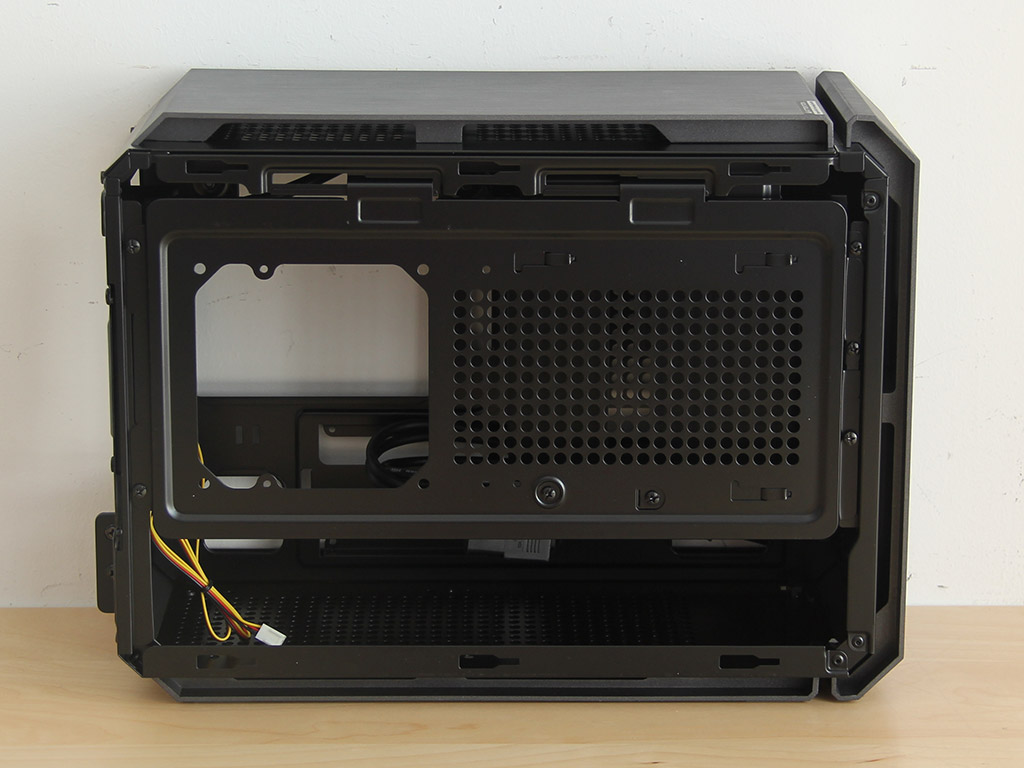

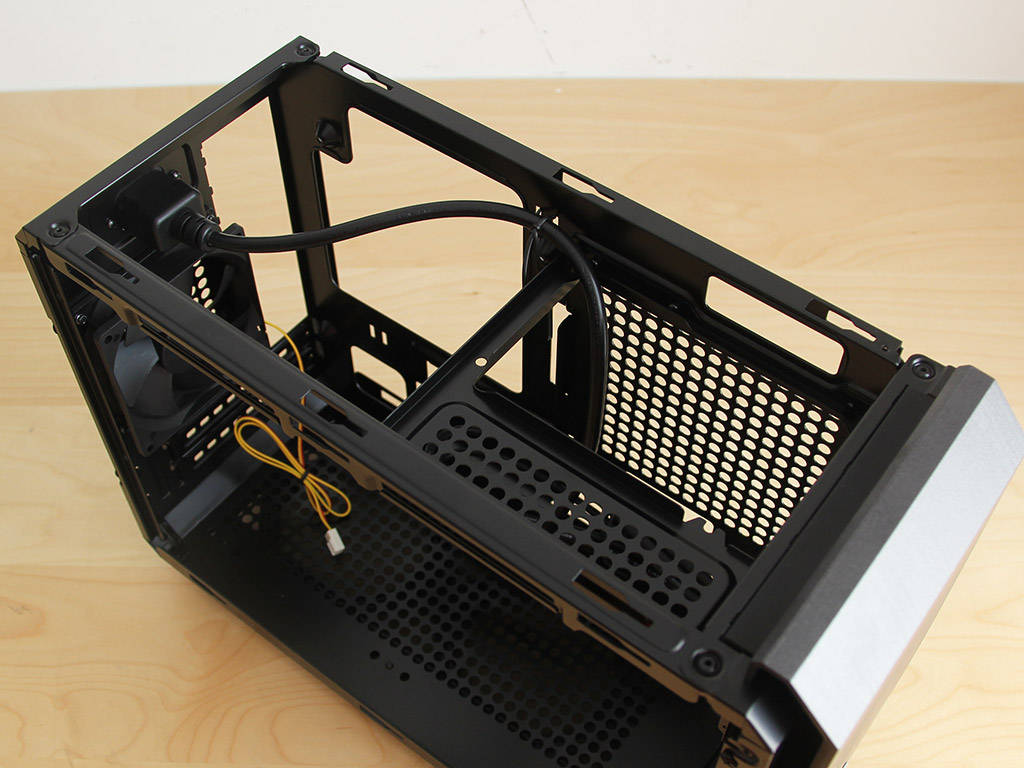
You have to remove both side panels to access the interior. On the main side is an additional plate onto which you may mount a 120 mm fan or radiator, alongside three hard drives. You will have to remove the plate to get to the mainboard area. Turning the bare chassis around, there is a large air vent where the PSU will be.
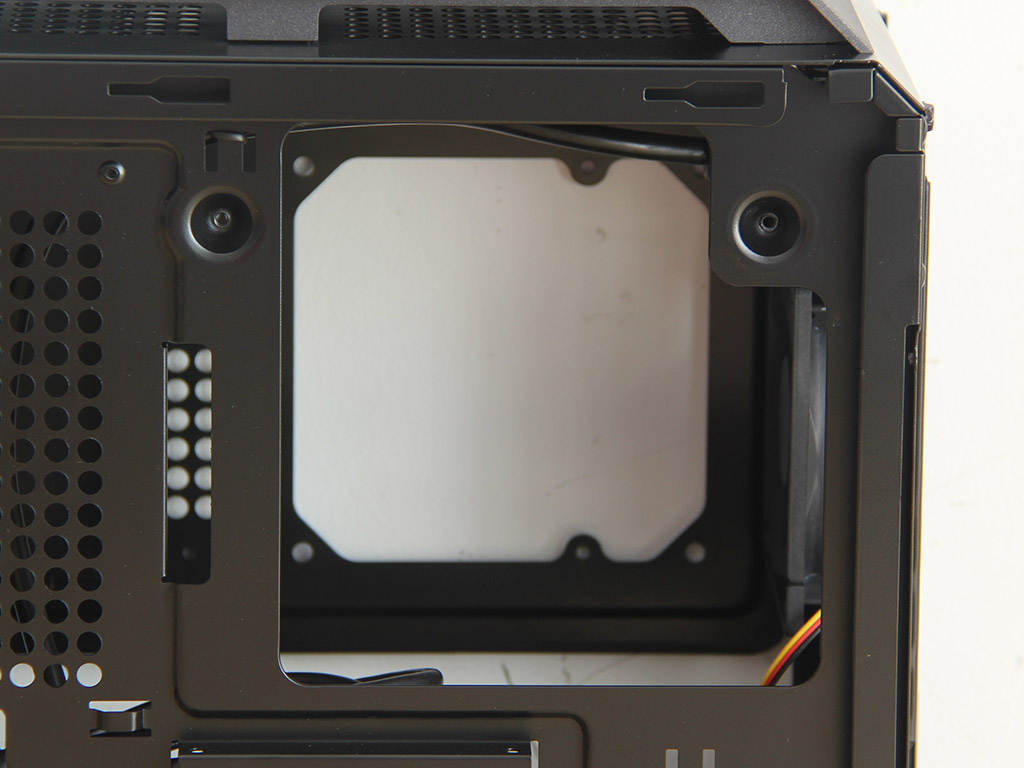
Take a closer look and you will find a large opening next to the air vent. It is there to give you readily available access to the cooler's backplate. Below it is a spot for a 2.5" hard drive.
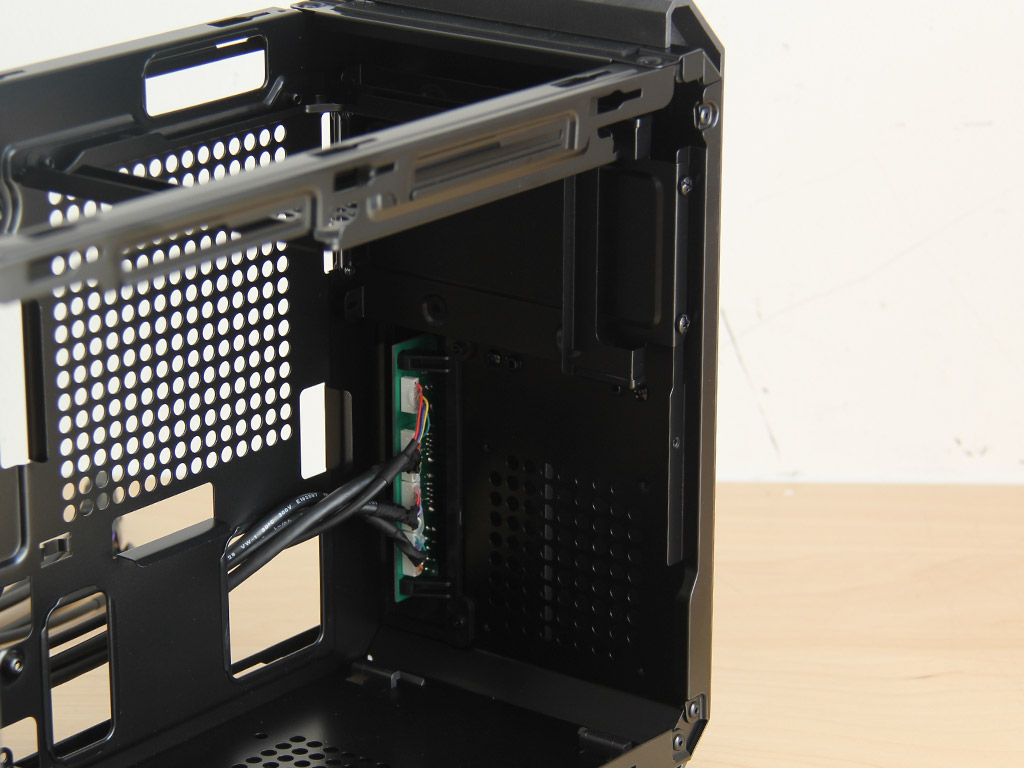
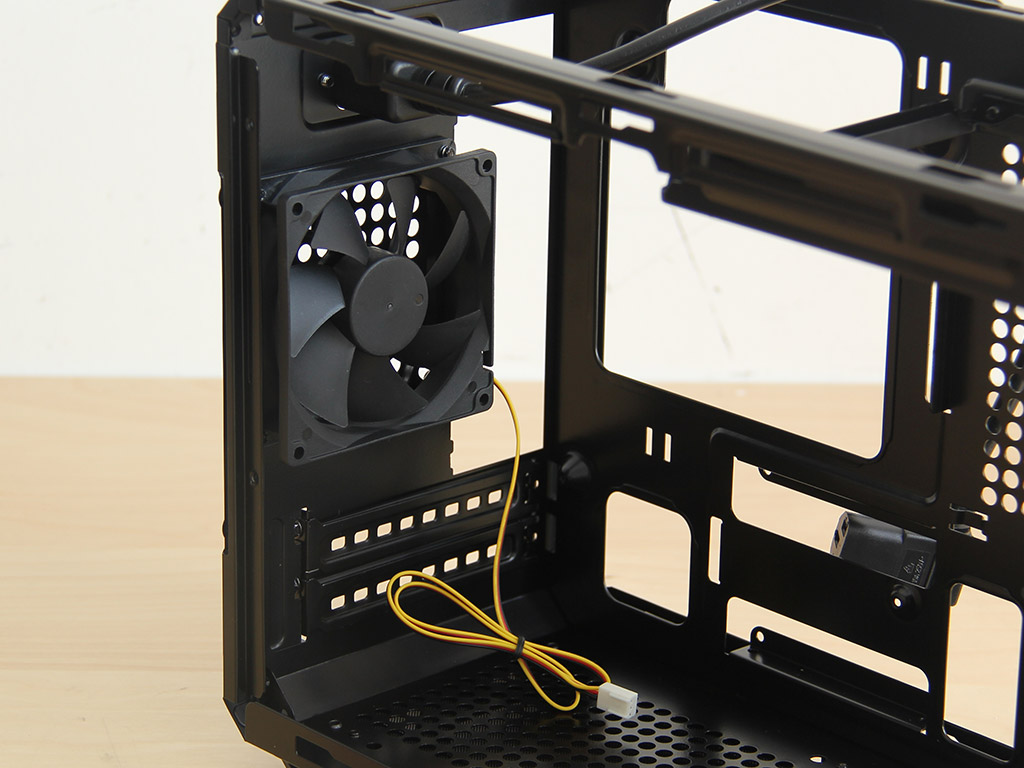
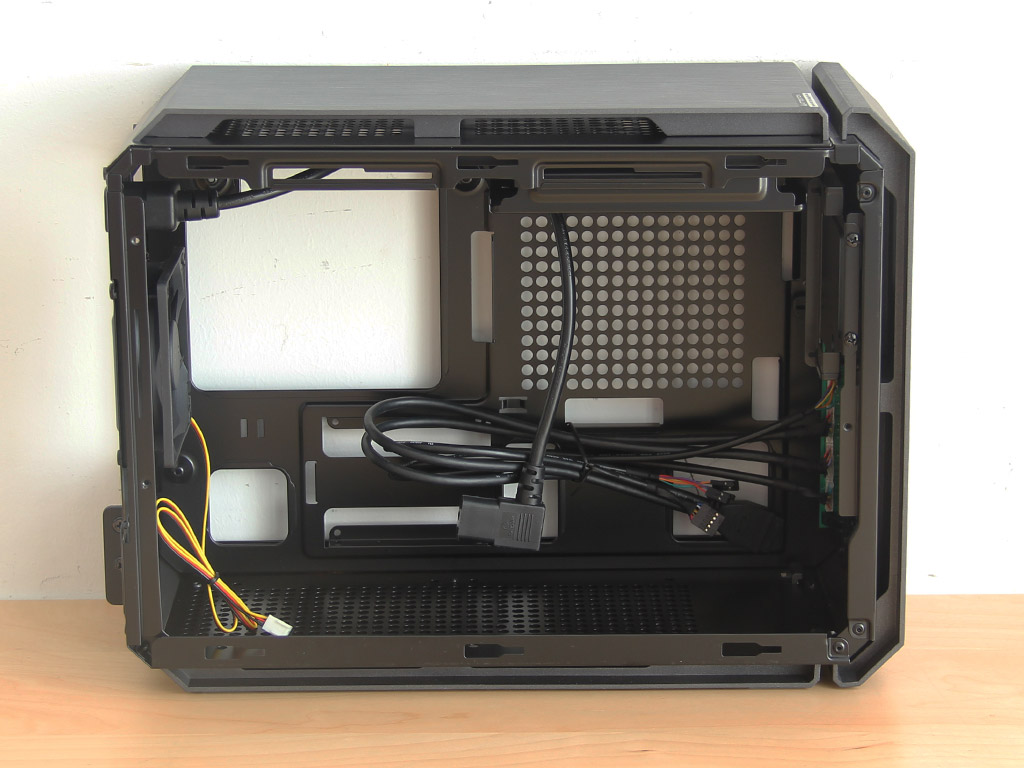
The front sports a PCB on which all the I/O has been placed, and you will find another mounting position for a 92 mm fan here as well. The slimline drive is to be installed by dropping it in through the top. There are no real surprises in the rear since the layout is quite traditional. The 92 mm, 3-pin fan is nothing special. Look at the top of the frame and where the PSU will go becomes apparent - you need make sure the PSU is short enough to allow for a long GPU below it.
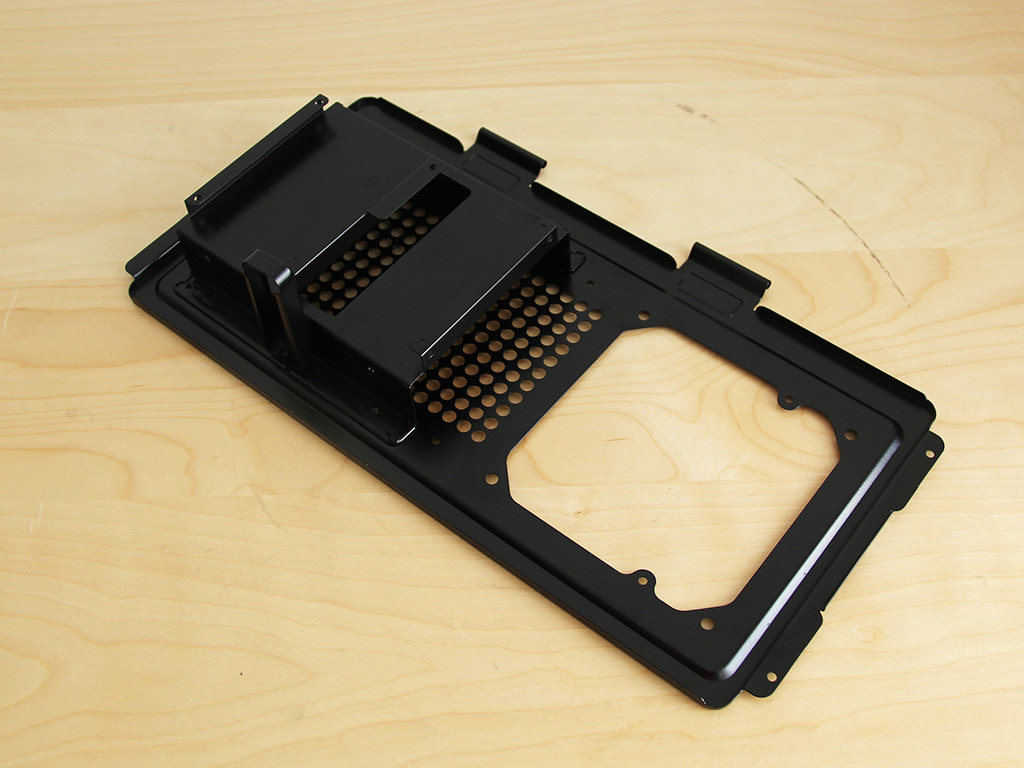
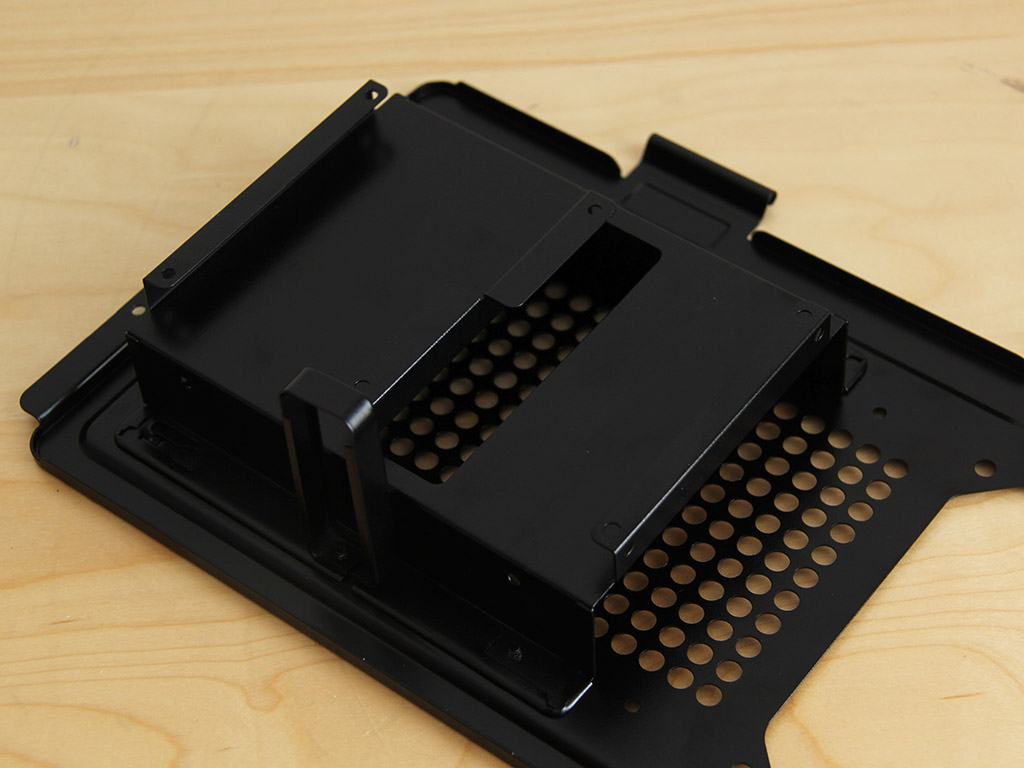
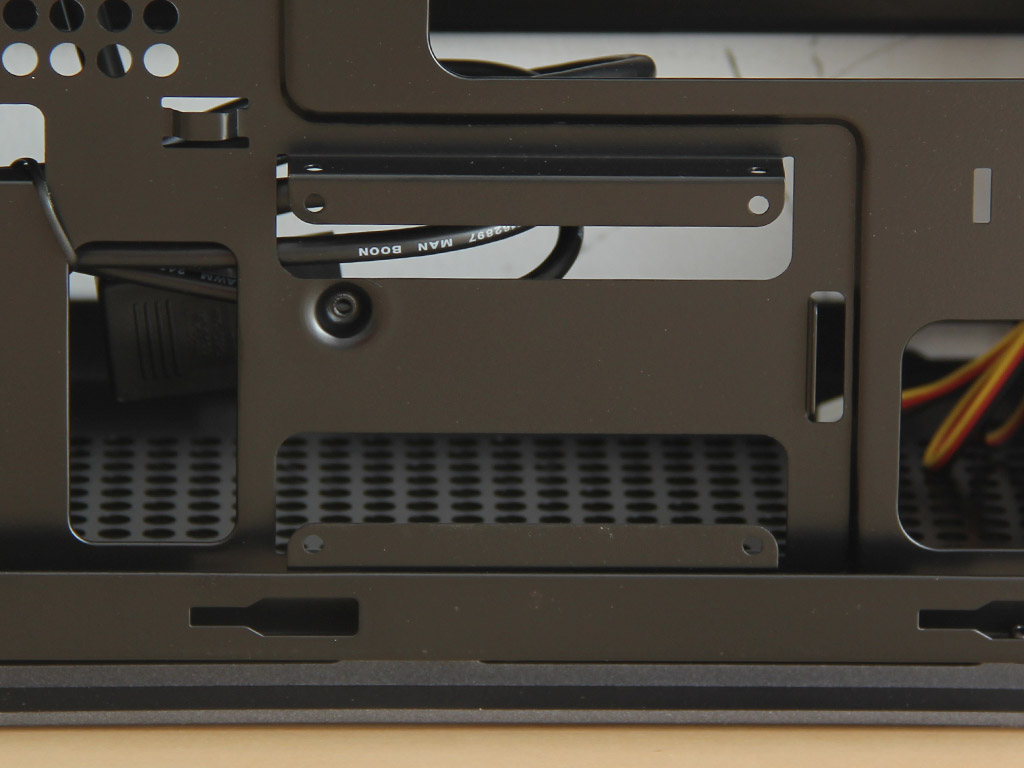
The fan/HDD mounting bracket can hold up to a 3.5'' and two 2.5'' drives and has a metal piece that pushes against the PSU to keep it from vibrating.
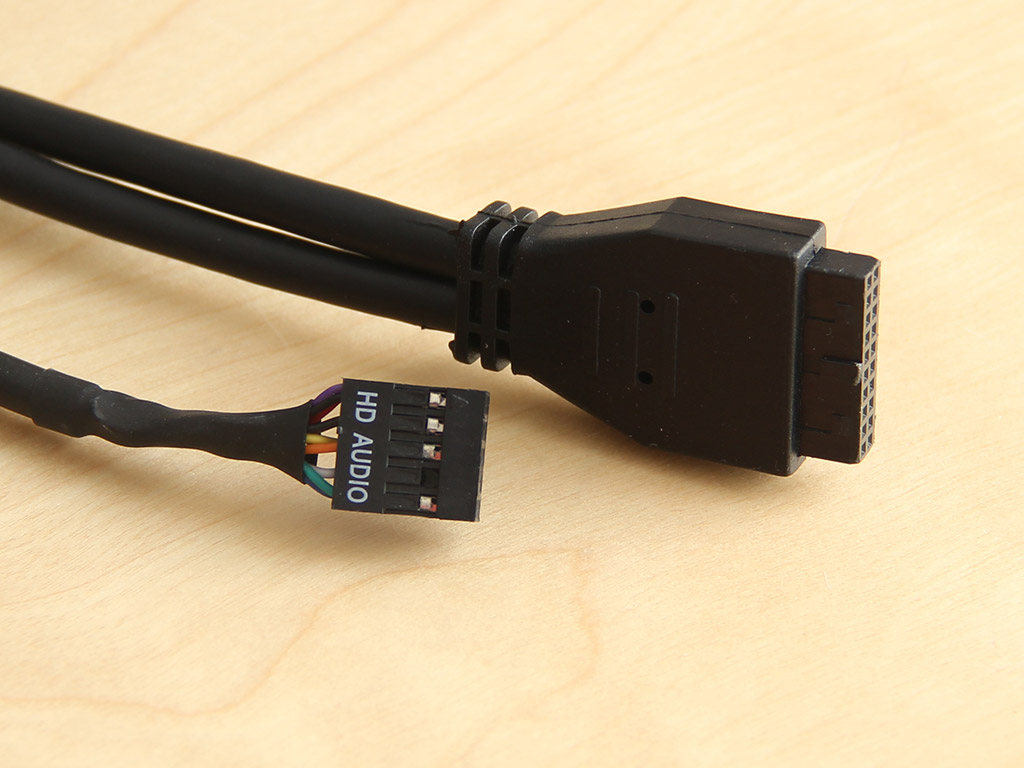
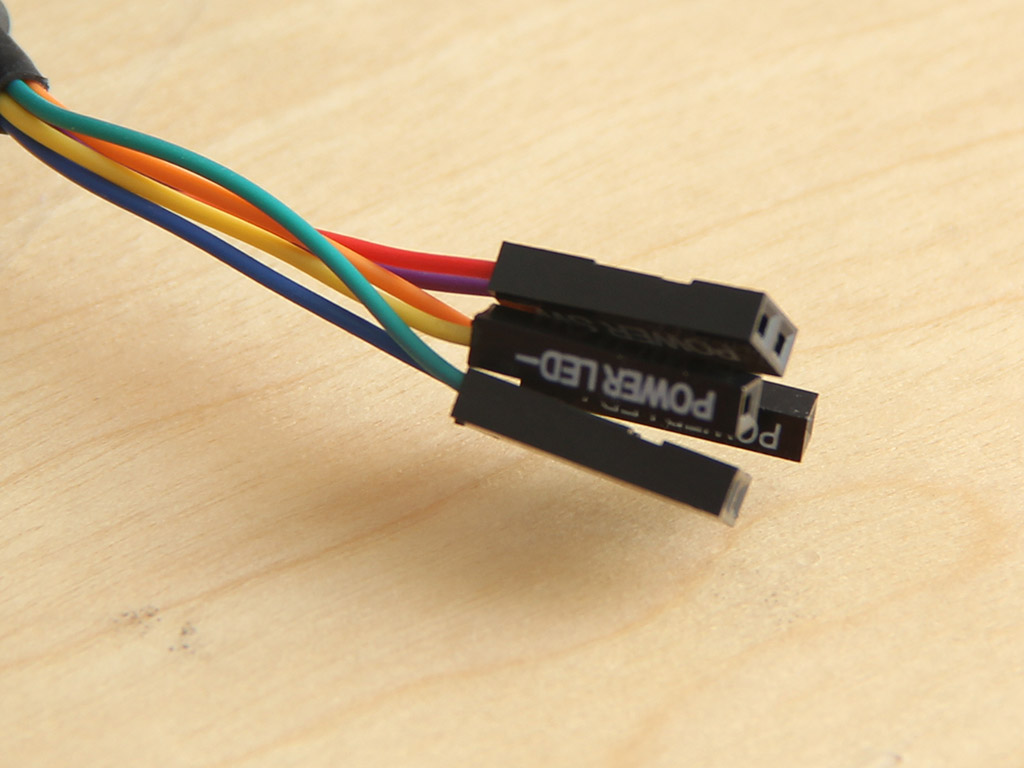
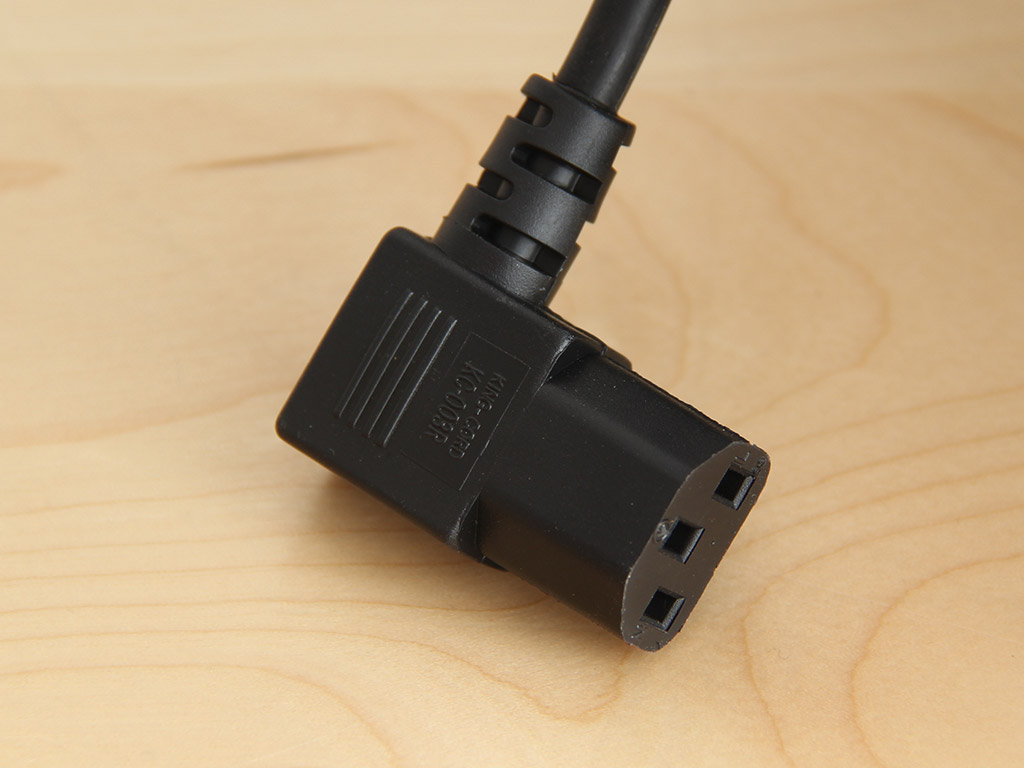
All the cables within the Cougar QBX are of the standard variety and feature black sleeving. The PSU cable is angled, and Cougar placed some graphics on the package to let you know which PSUs will be compatible. This is important as some supplies play with the plug's placement, making it impossible to plug in at such an angle.
Feb 1st, 2025 06:55 EST
change timezone
Latest GPU Drivers
New Forum Posts
- Correct 12VHPWR cable and Corsair HX750i PSU (5)
- NVIDIA RTX owners only - your opinion on DLSS Image quality (446)
- MSi Afterburner Potential 1% Lows & Stutter Issues - FIXED (25)
- remove hum from active subwoofer? (11)
- I dont like my new CPU Cooler (69)
- I need bios for XFX SWFT 319 RX 6800XT (21)
- AMDVBFlash RX 7000 (2)
- Radeon 780M bandwidth readings (2)
- Klevv genuine g560 (1)
- Some questions (4)
Popular Reviews
- NVIDIA GeForce RTX 5080 Founders Edition Review
- NVIDIA DLSS 4 Transformer Review - Better Image Quality for Everyone
- Galax GeForce RTX 5080 1-Click OC Review
- ASUS GeForce RTX 5090 Astral OC Review - Astronomical Premium
- MSI GeForce RTX 5080 Vanguard SOC Review
- ASUS GeForce RTX 5080 Astral OC Review
- NVIDIA GeForce RTX 5090 Founders Edition Review - The New Flagship
- Gigabyte GeForce RTX 5080 Gaming OC Review
- MSI GeForce RTX 5080 Suprim SOC Review
- MSI GeForce RTX 5090 Suprim SOC Review
Controversial News Posts
- NVIDIA 2025 International CES Keynote: Liveblog (470)
- AMD Debuts Radeon RX 9070 XT and RX 9070 Powered by RDNA 4, and FSR 4 (349)
- AMD is Taking Time with Radeon RX 9000 to Optimize Software and FSR 4 (251)
- AMD Denies Radeon RX 9070 XT $899 USD Starting Price Point Rumors (238)
- AMD Radeon RX 9070 XT & RX 9070 Custom Models In Stock at European Stores (226)
- NVIDIA GeForce RTX 5090 Features 575 W TDP, RTX 5080 Carries 360 W TDP (217)
- New Leak Reveals NVIDIA RTX 5080 Is Slower Than RTX 4090 (214)
- AMD Radeon 9070 XT Rumored to Outpace RTX 5070 Ti by Almost 15% (191)