 6
6
CRYORIG H5 Universal Review
Finished Looks »Installation
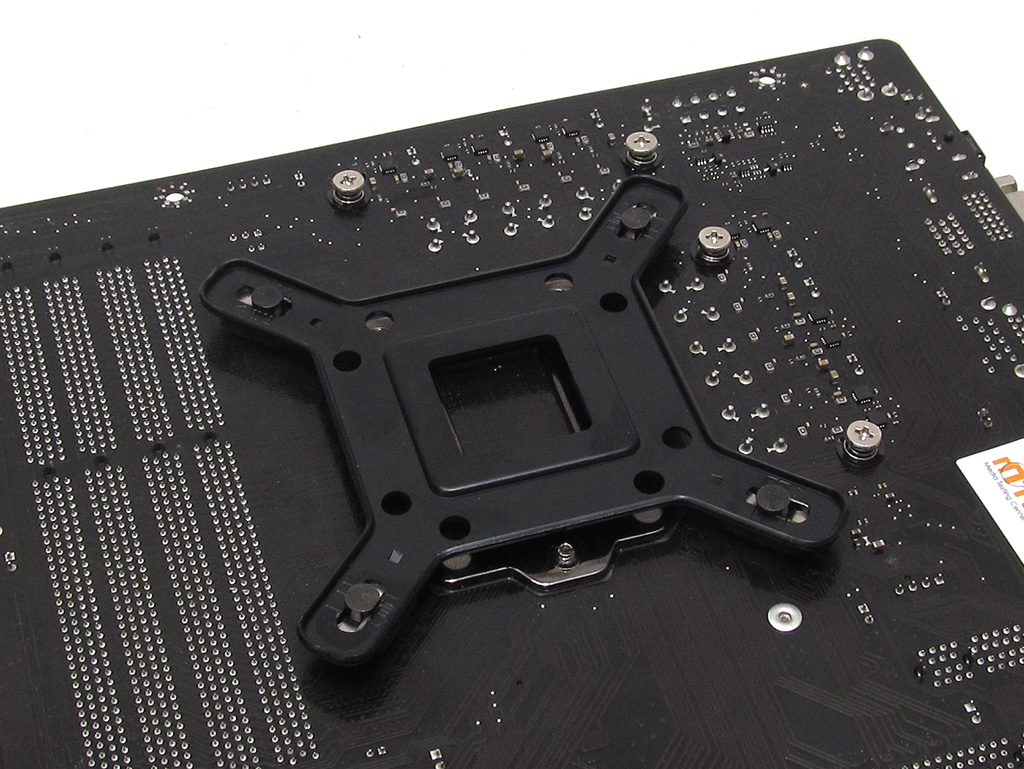

The first step in installing the CRYORIG H5 Universal is to attach the backplate to the motherboard. Set the four posts into their proper locations on the backplate and use the screw pillars to secure the backplate properly.


Take the Intel mounting brackets and slide them over the screw pillars. Now, use the thumbscrew caps to hold them in place.
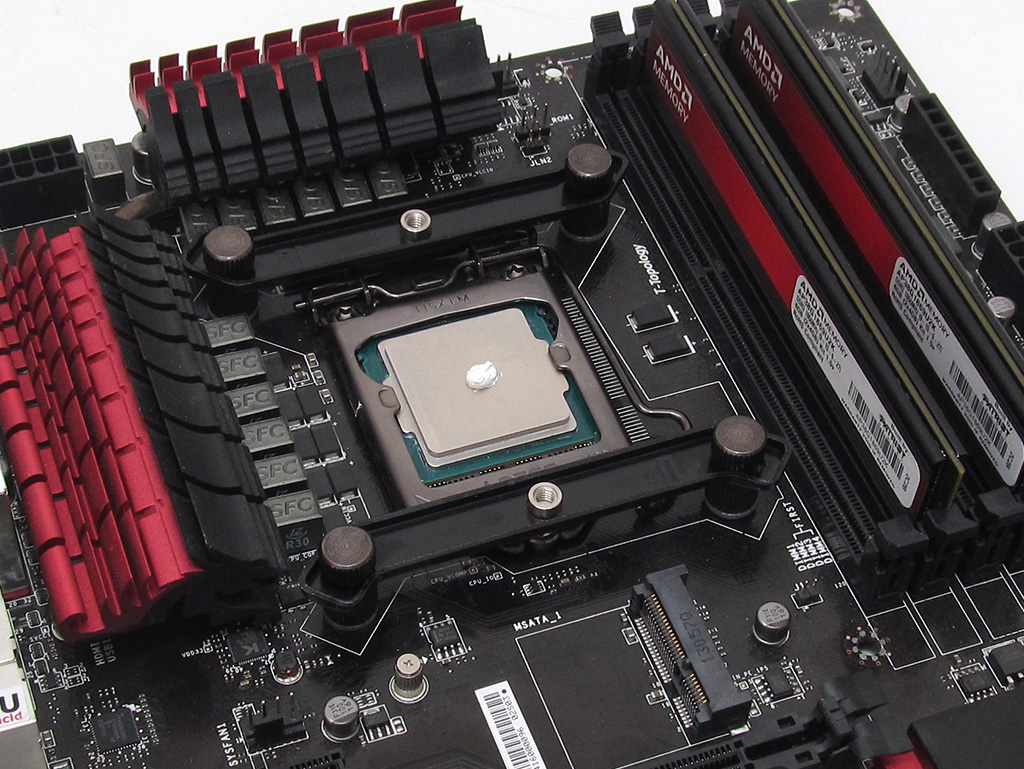
Apply some thermal paste and line the spring screws on the cooler up with the mounting arms. It is now time to use the screwdriver CRYORIG included to tighten the spring screws down, which will hold the cooler in place.

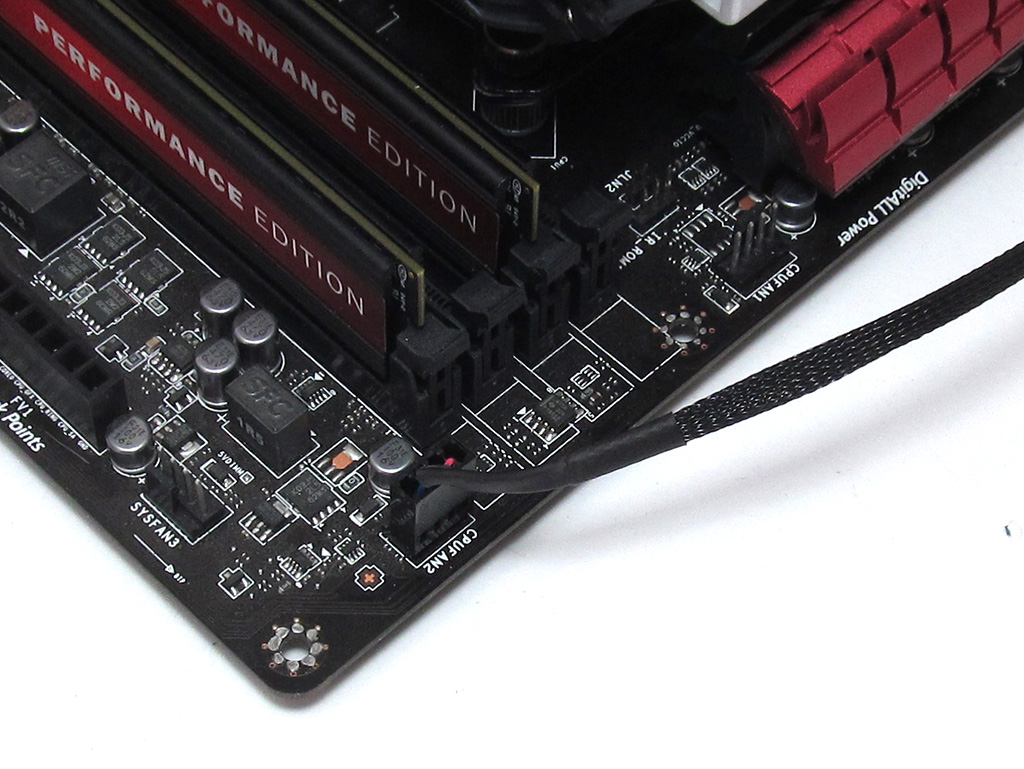
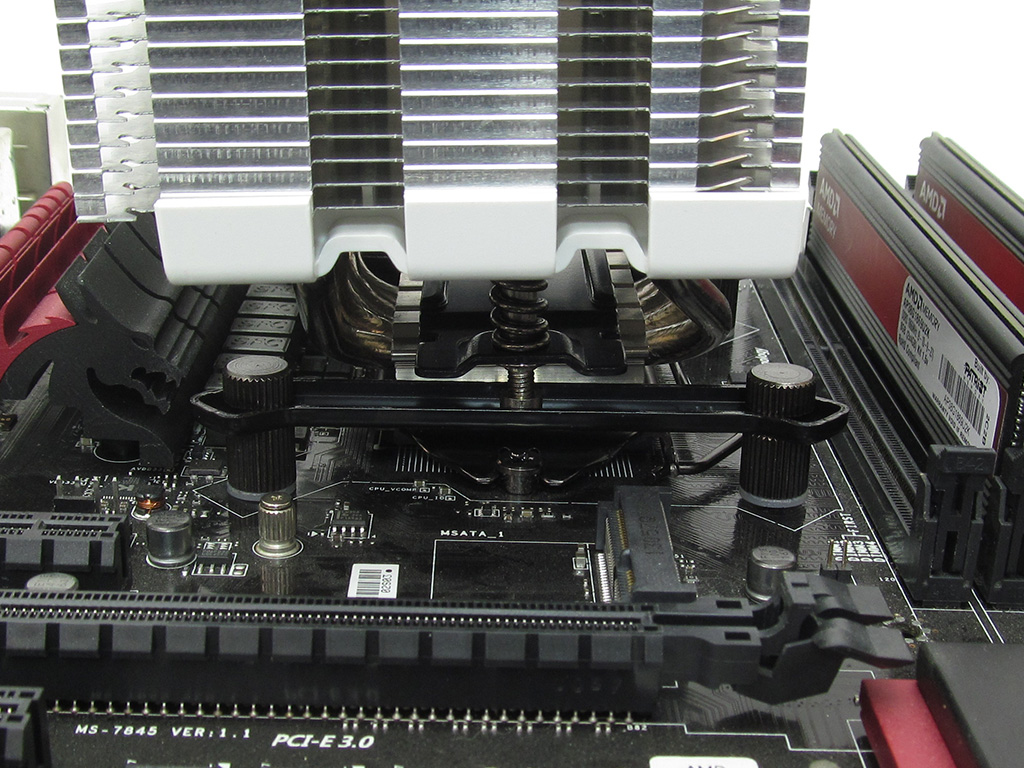
All that remains now is to attach the fan before plugging it into the motherboard's CPU fan header.
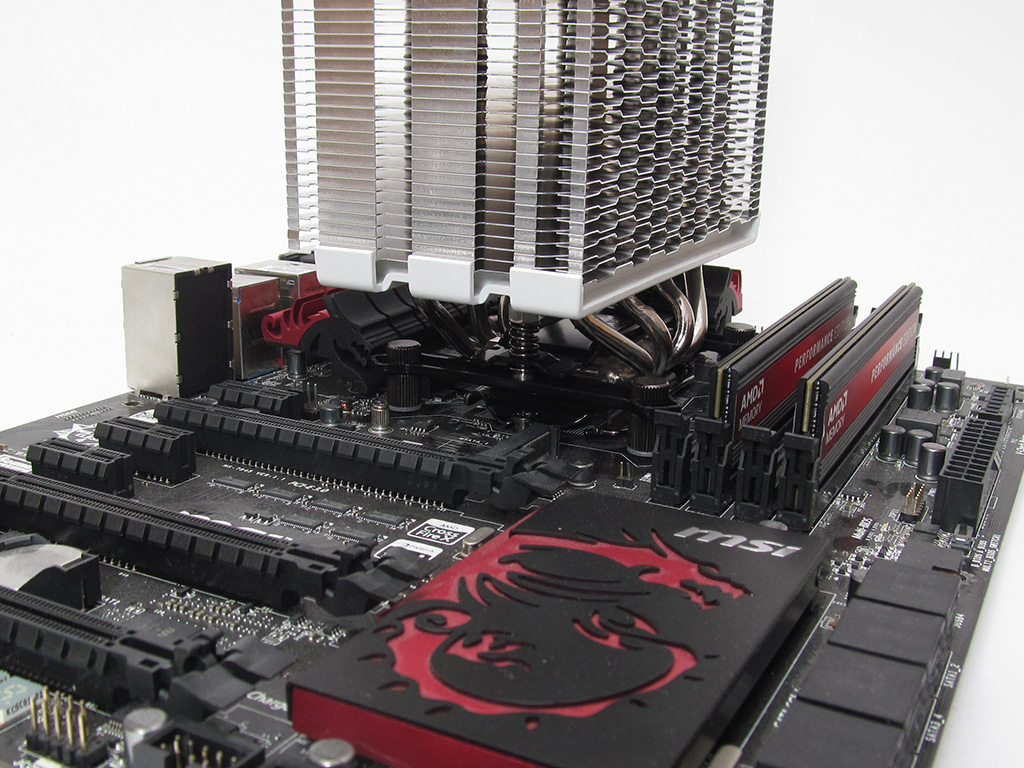
The "MultiSeg" quick mount system CRYORIG uses makes installing the H5 extremely easy. On a scale of 1 (hardest) to 10 (easiest), I would rate this cooler's installation a 10. The mounting hardware is done right!
Jan 23rd, 2025 04:43 EST
change timezone
Latest GPU Drivers
New Forum Posts
- RDNA4 Prediction Time!!! (134)
- Homeworld 3 [Official Thread] (68)
- FAN control software (18)
- RDNA4 (RX 9070XT / 9070) launch announced for (delayed to) March 2025 (328)
- Last game you purchased? (630)
- Mobo choice for 12600k after returning MSI Tomahawk ( Broken M2 shield standoff ) (15)
- Stutters with New GPU (60)
- Post the idle temperature of your CPU (130)
- Free Games Thread (4396)
- Concerning noises on multiple motherboards, same CPU (7800X3D) (13)
Popular Reviews
- NVIDIA GeForce RTX 5090 Founders Edition Unboxing
- NZXT C1500 Review
- Montech Heritage Pro Review - The Leather Case
- Alphacool Apex 1 CPU Water Block Review - Performance King!
- Pwnage StormBreaker Max CF Review
- PowerColor Alphyn AH10 Review
- AMD Ryzen 7 9800X3D Review - The Best Gaming Processor
- NVIDIA GeForce RTX 50 Technical Deep Dive
- ASRock Arc B570 Challenger OC Review
- Fosi Audio K7 Gaming Desktop DAC/Headphone Amplifier Review
Controversial News Posts
- NVIDIA 2025 International CES Keynote: Liveblog (470)
- AMD Debuts Radeon RX 9070 XT and RX 9070 Powered by RDNA 4, and FSR 4 (349)
- AMD Radeon RX 9070 XT & RX 9070 Custom Models In Stock at European Stores (226)
- NVIDIA GeForce RTX 5090 Features 575 W TDP, RTX 5080 Carries 360 W TDP (217)
- AMD Radeon RX 9070 XT Alleged Benchmark Leaks, Underwhelming Performance (204)
- AMD's Radeon RX 9070 Launch Faces Pricing Hurdles (175)
- Potential RTX 5090 and RTX 5080 Pricing in China Leaks (173)
- AMD Radeon RX 9070 XT Tested in Cyberpunk 2077 and Black Myth: Wukong (169)