 21
21
Deepcool Gamer Storm Quadstellar Review
Finished Looks & The App »Test System
| System Parts for Case Reviews | |
|---|---|
| Processor: | Intel Core i7-8600K |
| Motherboards: | ATX: MSI Z370 GAMING PRO CARBON AC MATX: Z370M GAMING PRO CARBON Mini-ITX: MSI Z370i GAMING PRO CARBON Provided by: MSI |
| Graphics Card: | Long: NVIDIA GeForce GTX 280 OEM Short: HIS Radeon 5350 HD |
| Memory: | 16 GB XPG Dazzle DDR4 2800 MHz CL17-17-17 1.25 V 32 GB GB XPG SPECTRIX D40 3000 MHz. CL16-18-18 1.35 V 16 GB XPG GAMMIX D10 DDR4 2400 MHz CL16-16-16 1.20 V Provided by: ADATA |
| HDD: | Western Digital 320 GB 7200 RPM |
| SSD: | ADATA XPG SX850 256 GB ADATA Ultimate SU800 3D 256 GB ADATA Ultimate SU700 240 GB Provided by: ADATA |
| Power Supply: | Fractal Design Integra M 450 W Provided by: Thermaltake |
| Cooling: | be quiet! Pure Rock be quiet! Pure Slim be quiet! Shadow Rock 2 be quiet! Shadow Rock LP Provided by: be quiet! |
Assembly
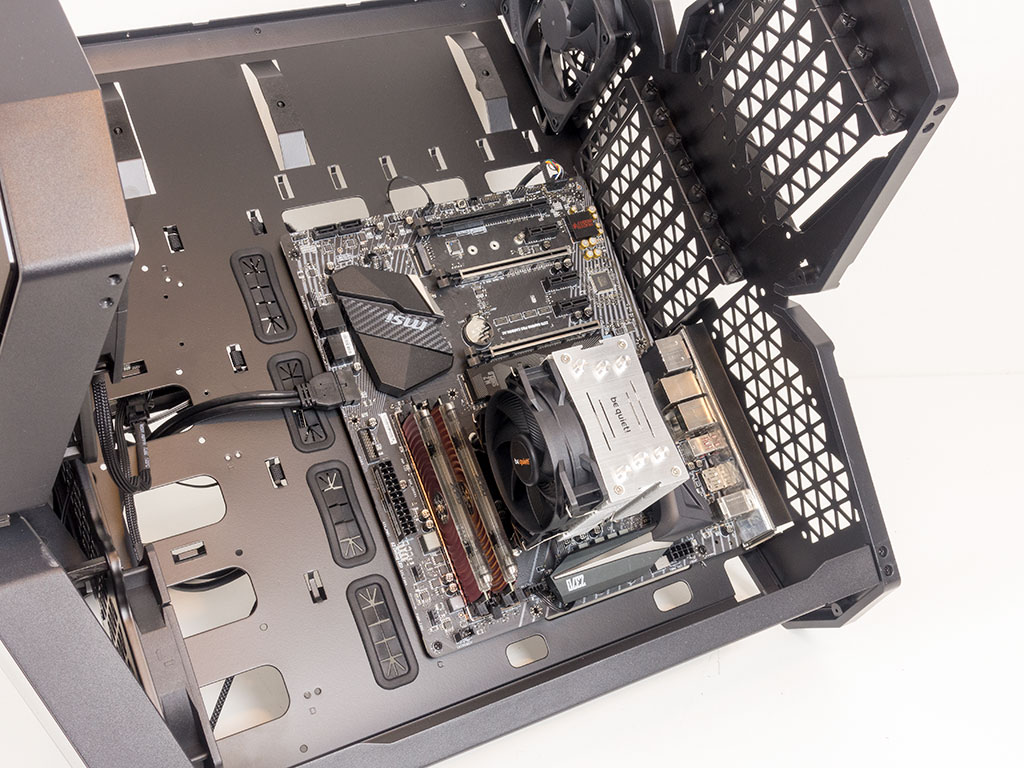
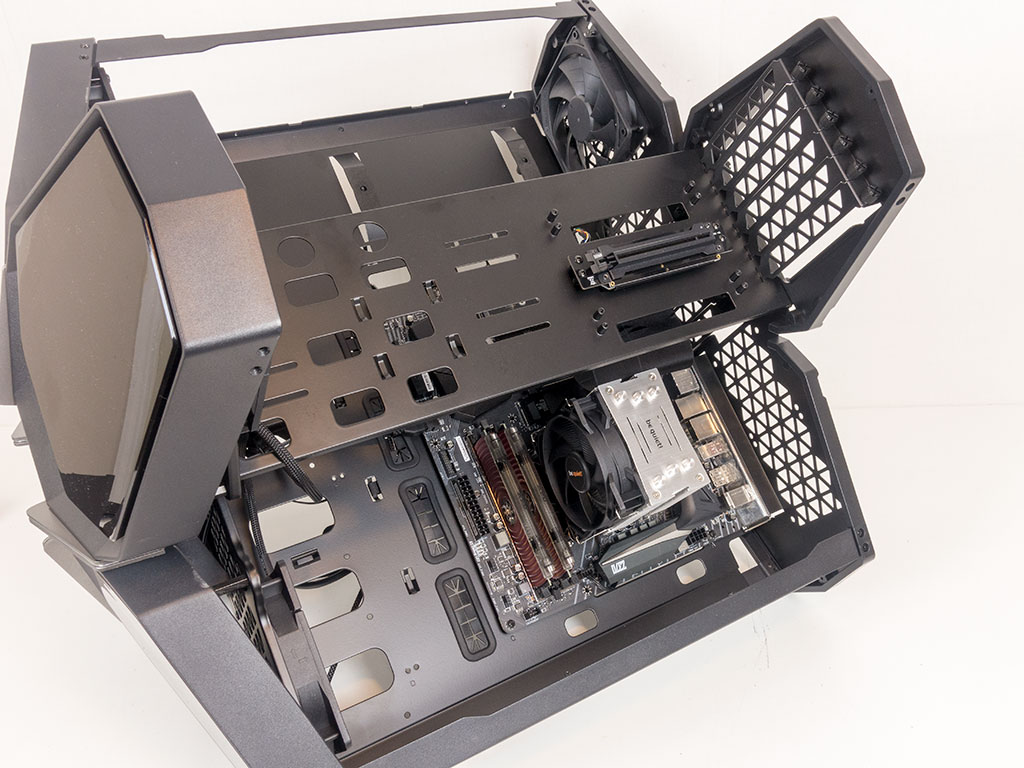
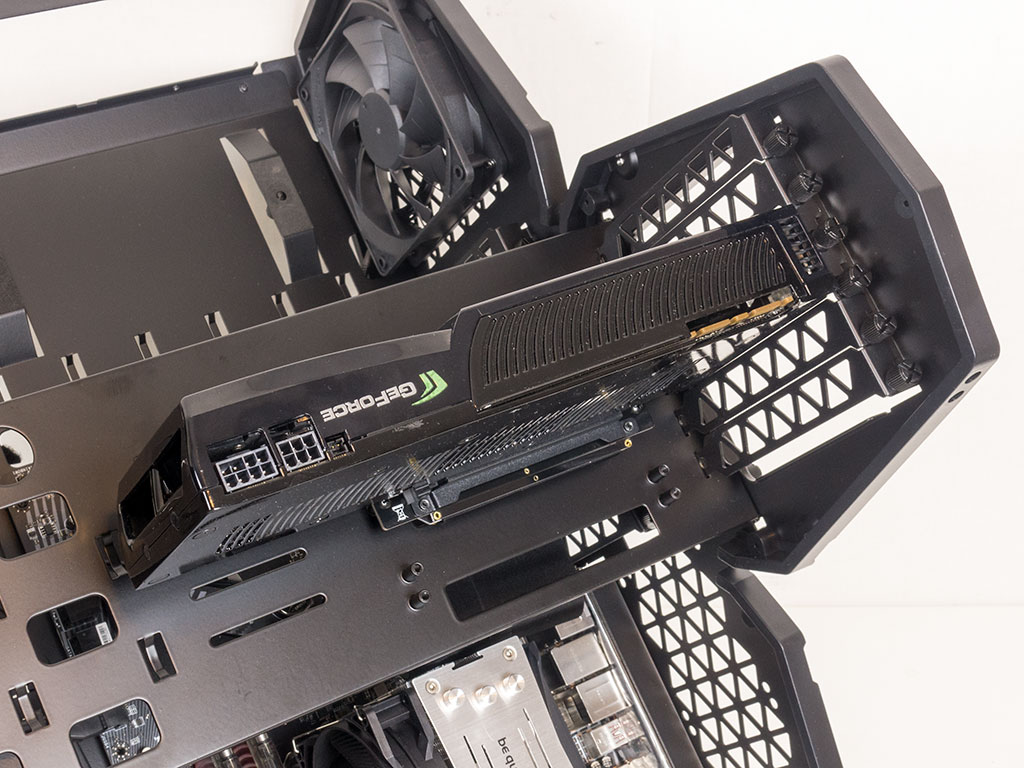
Adding a motherboard is done with traditional mounting elements, using spacers and screws. As you can see, I have used a slightly more compact CPU cooler to have it fit within the chassis. Once the board is installed and you have connected all the leads, you may place the GPU plate back in its spot and add the graphics card of your choice.
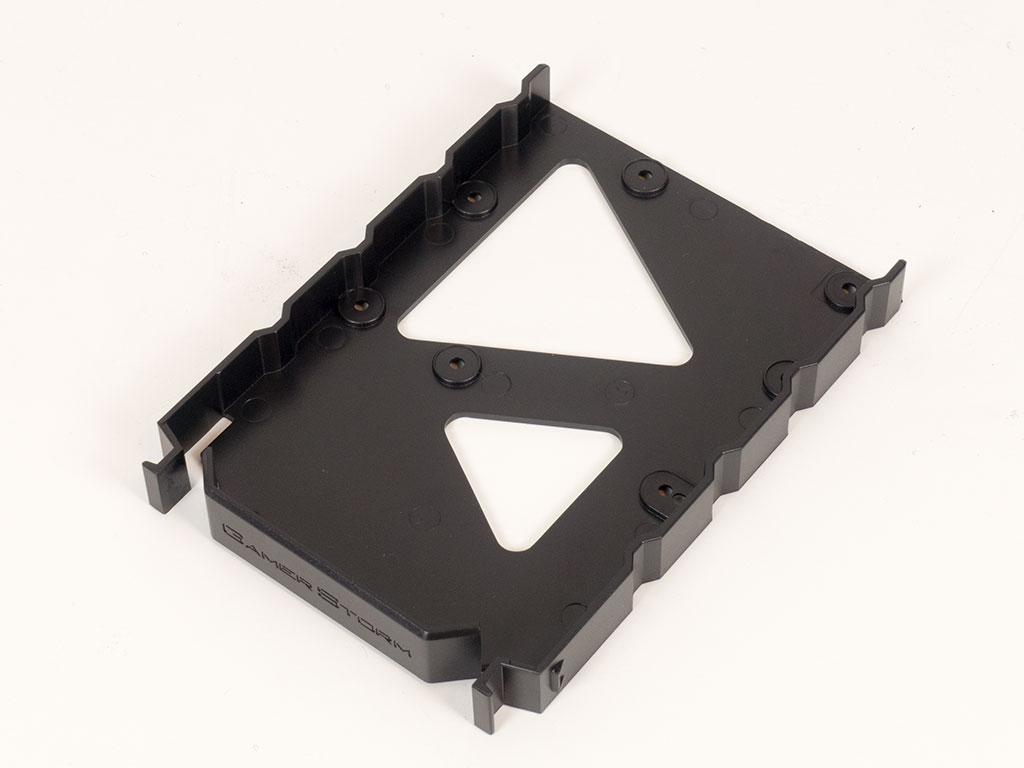
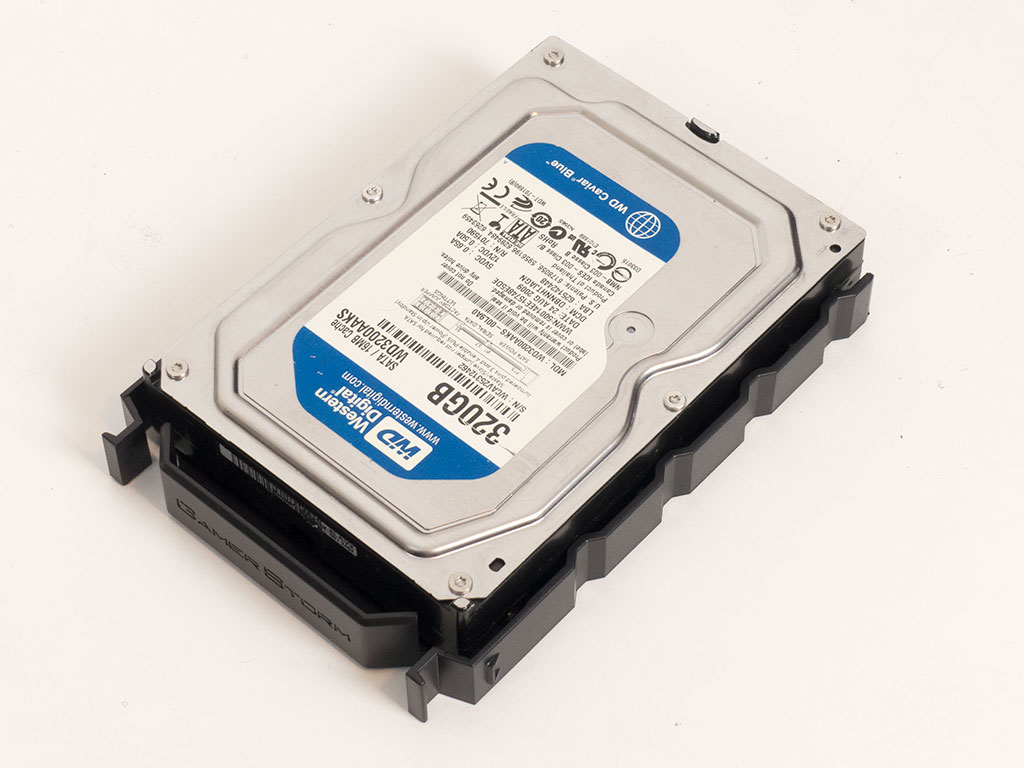
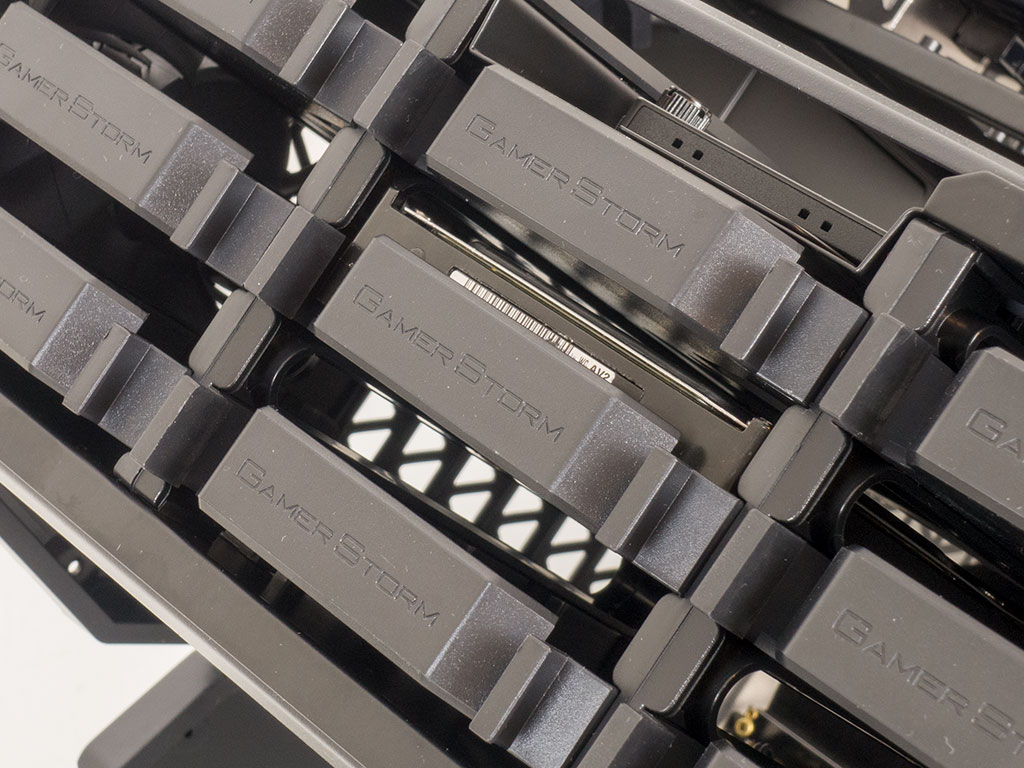
Each of the trays for a hard drive allows for either a 2.5" or 3.5" drive to be installed. However, due to the design of the large cage, one tray only offers enough height for the 2.5" variants. Deepcool utilizes screws and rubber rings to secure drives to the trays and eliminate any vibration from being passed on to the rest of the case. There is a simple tension-based locking mechanism so that the tray itself does not come out of the cage, but gravity is definitely lending a helping hand as well.
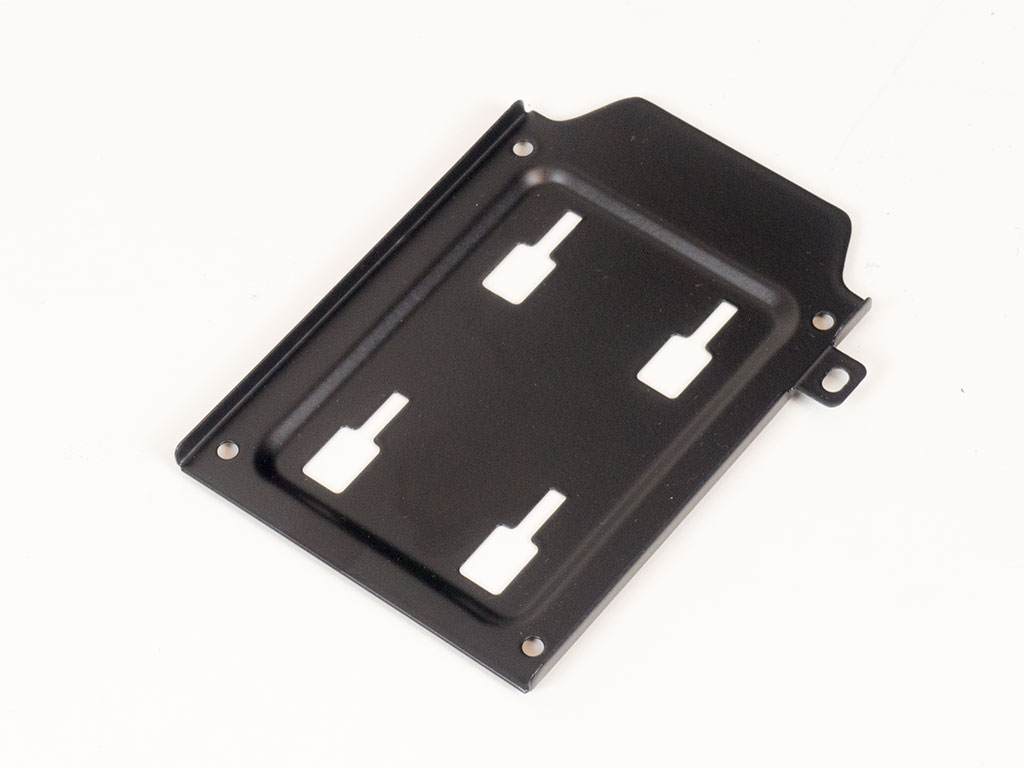
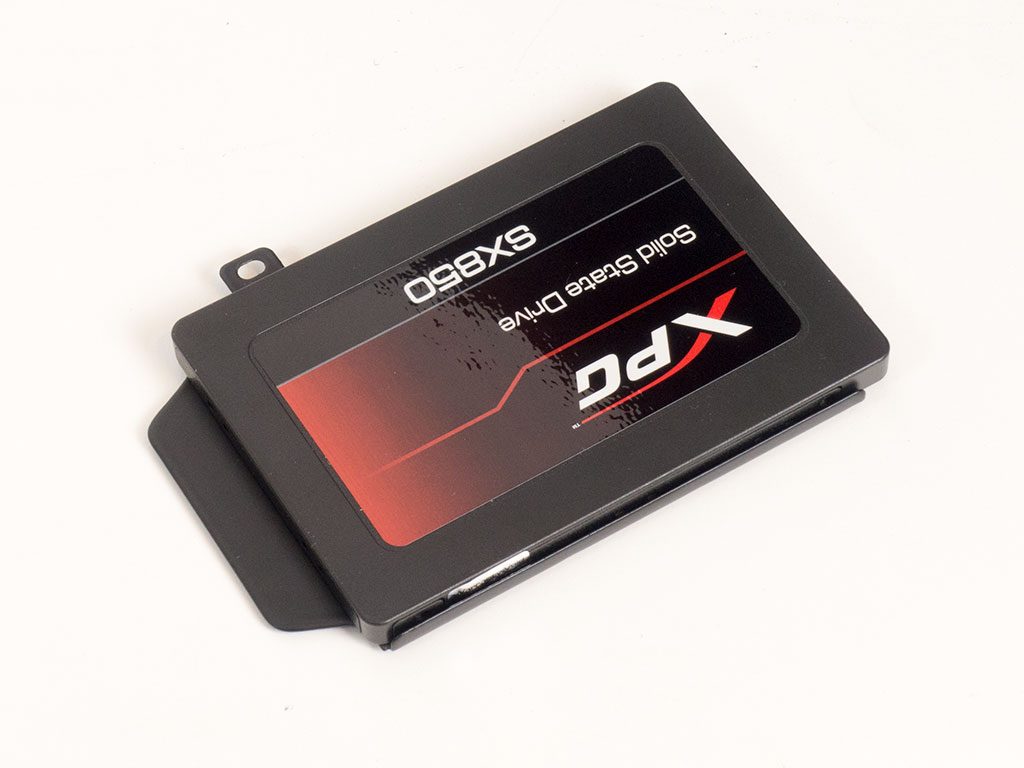

You may add a single SSD that is shown off through the top window to a metal tray, which we have seen in other Deepcool cases as well. Simply screw the drive of your choice down and put the tray back in its place. RGB LEDs in the plastic frame will light it up once the system is turned on.
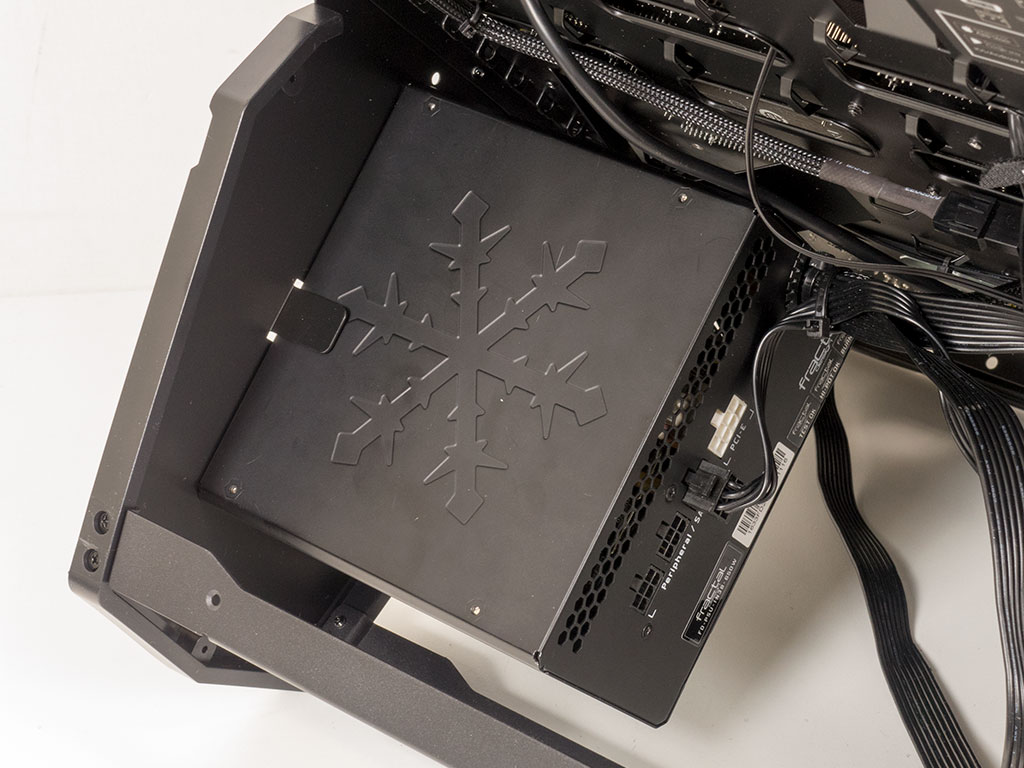
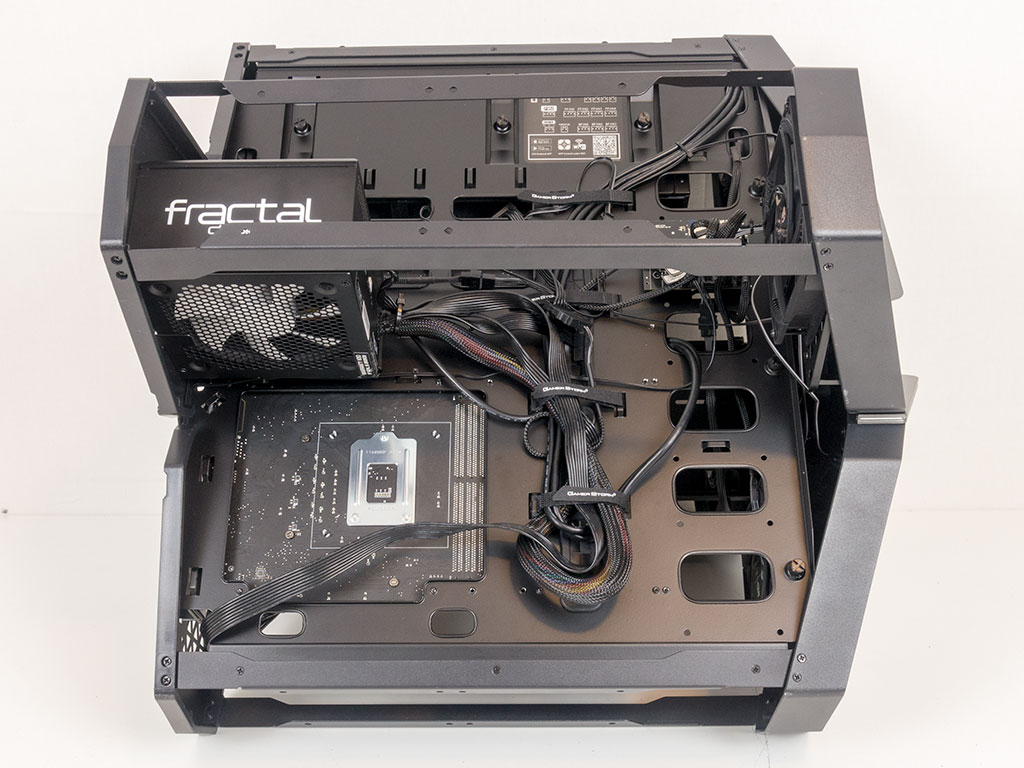
Lastly, adding a power supply is pretty straightforward. First, rotate the case 90° on its side, add the unit, and and wire it up in a clean fashion with the Velcro strips and zip ties.
Feb 6th, 2025 14:48 EST
change timezone
Latest GPU Drivers
New Forum Posts
- AMD on a Gsync Monitor? (15)
- TOXIC AMD Radeon™ RX 6900 XT (39)
- Post your Monster Hunter Wilds benchmark scores (27)
- Last game you purchased? (657)
- RX 580 Aorus with wrong vbios (7)
- S20+ boot looping (6)
- Razer Blade 15 3080Ti Vbios Flash Help (5)
- Copying big amount data from HDD (1)
- Optane / 3DXPoint - legacy and fate (2)
- What are you playing? (22788)
Popular Reviews
- Spider-Man 2 Performance Benchmark Review - 35 GPUs Tested
- Kingdom Come Deliverance II Performance Benchmark Review - 35 GPUs Tested
- Corsair Frame 4000D Review
- NVIDIA GeForce RTX 5080 Founders Edition Review
- Formovie Cinema Edge 4K UST Laser Projector Review
- Gigabyte GeForce RTX 5080 Gaming OC Review
- MSI GeForce RTX 5080 Vanguard SOC Review
- AMD Ryzen 7 9800X3D Review - The Best Gaming Processor
- ASUS GeForce RTX 5080 Astral OC Review
- NVIDIA GeForce RTX 5090 Founders Edition Review - The New Flagship
Controversial News Posts
- NVIDIA 2025 International CES Keynote: Liveblog (470)
- AMD Radeon 9070 XT Rumored to Outpace RTX 5070 Ti by Almost 15% (285)
- AMD is Taking Time with Radeon RX 9000 to Optimize Software and FSR 4 (256)
- AMD Denies Radeon RX 9070 XT $899 USD Starting Price Point Rumors (239)
- Edward Snowden Lashes Out at NVIDIA Over GeForce RTX 50 Pricing And Value (235)
- AMD Radeon RX 9070 XT & RX 9070 Custom Models In Stock at European Stores (226)
- New Leak Reveals NVIDIA RTX 5080 Is Slower Than RTX 4090 (215)
- AMD's Radeon RX 9070 Launch Faces Pricing Hurdles (175)