 21
21
Deepcool Gamer Storm Quadstellar Review
Value & Conclusion »Finished Looks
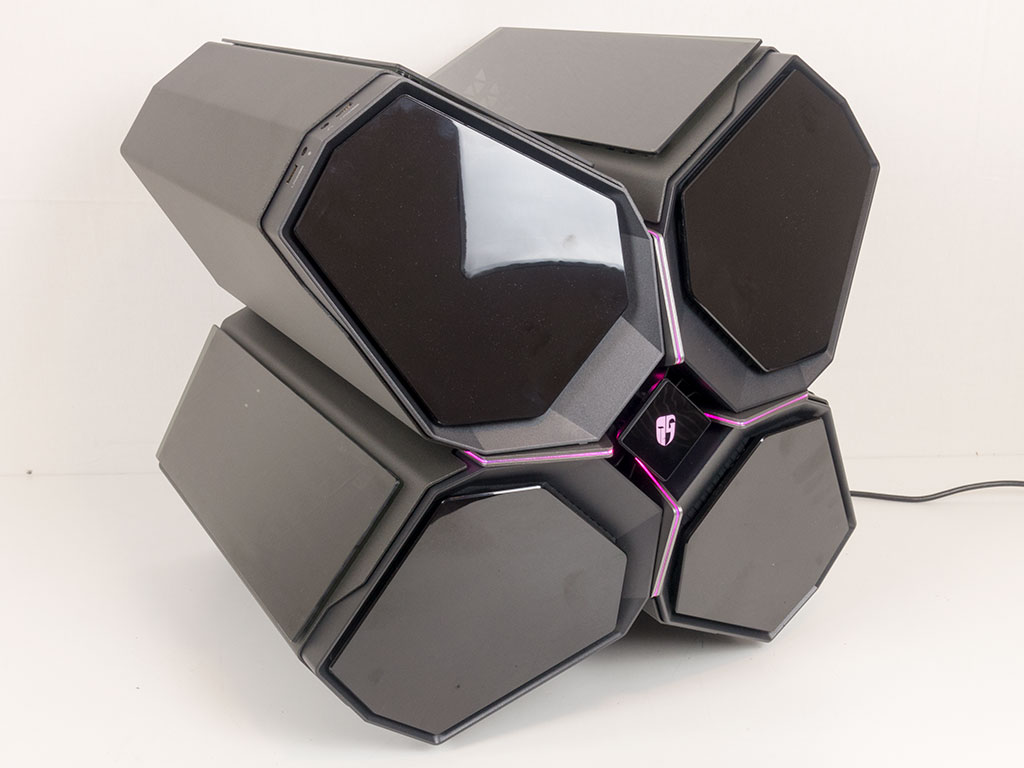

With all the panels back in place and the system turned on, the four LED strips light up in all the colors of the rainbow—I must admit, it looks pretty cool!
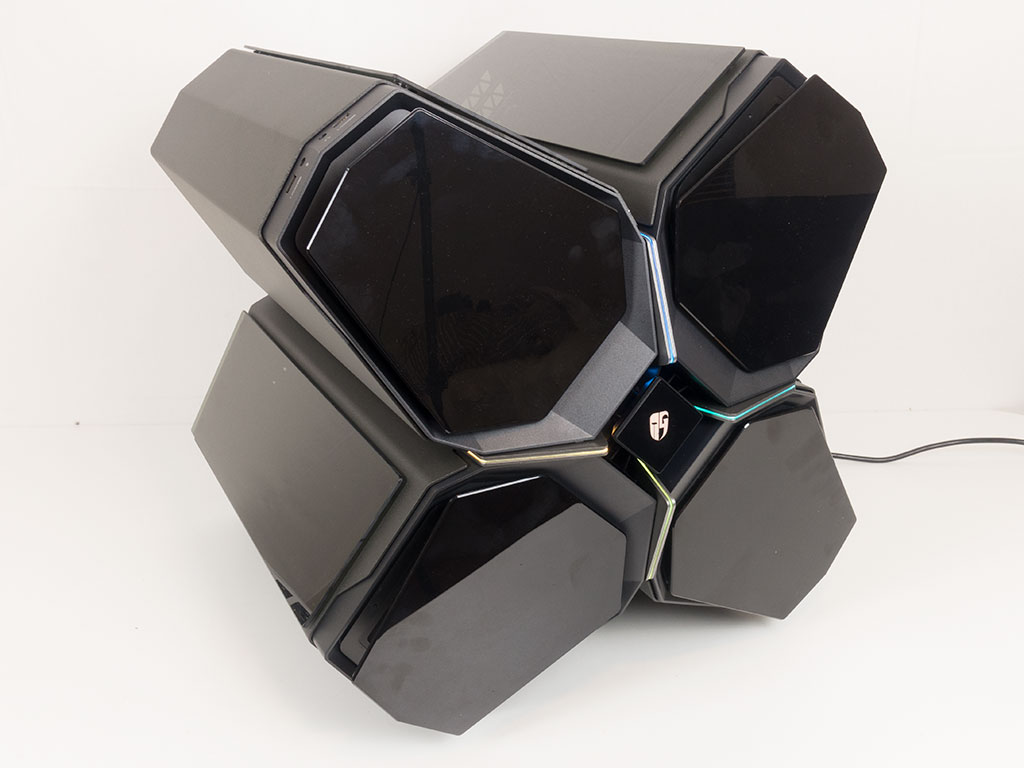
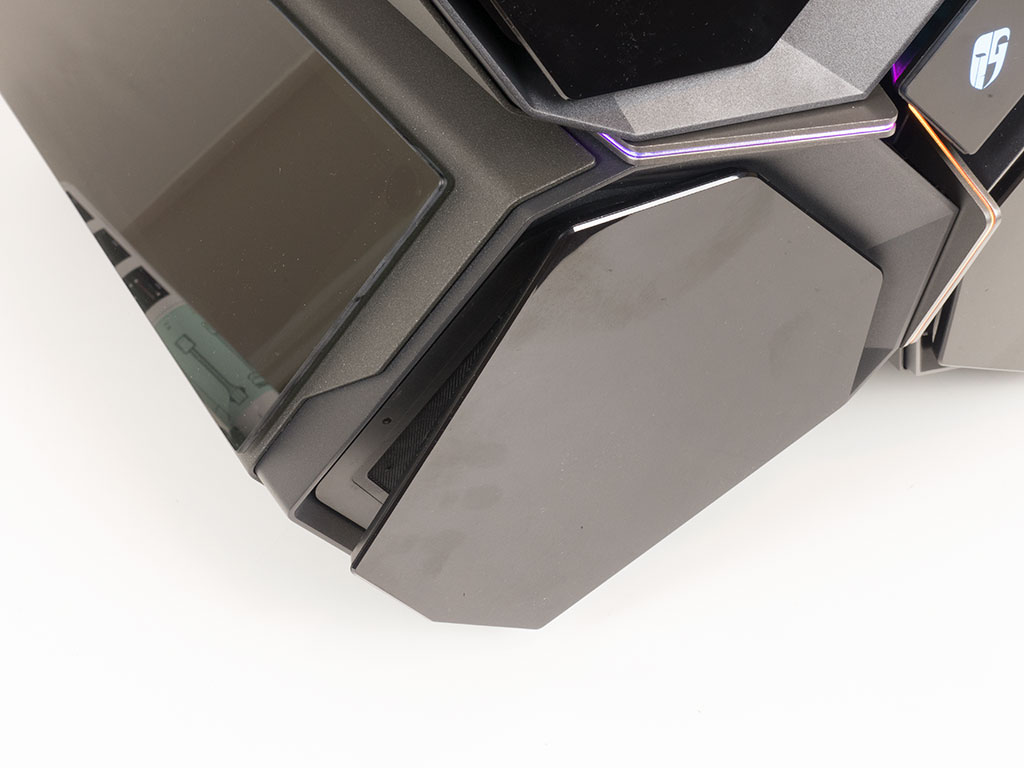

Once turned on, the four flaps open up twice to simply show off. It is pretty cool to watch, but the motors are a bit on the loud side. Once the flaps are open, you can pull out the magnetic dust filter behind them for easy cleaning.

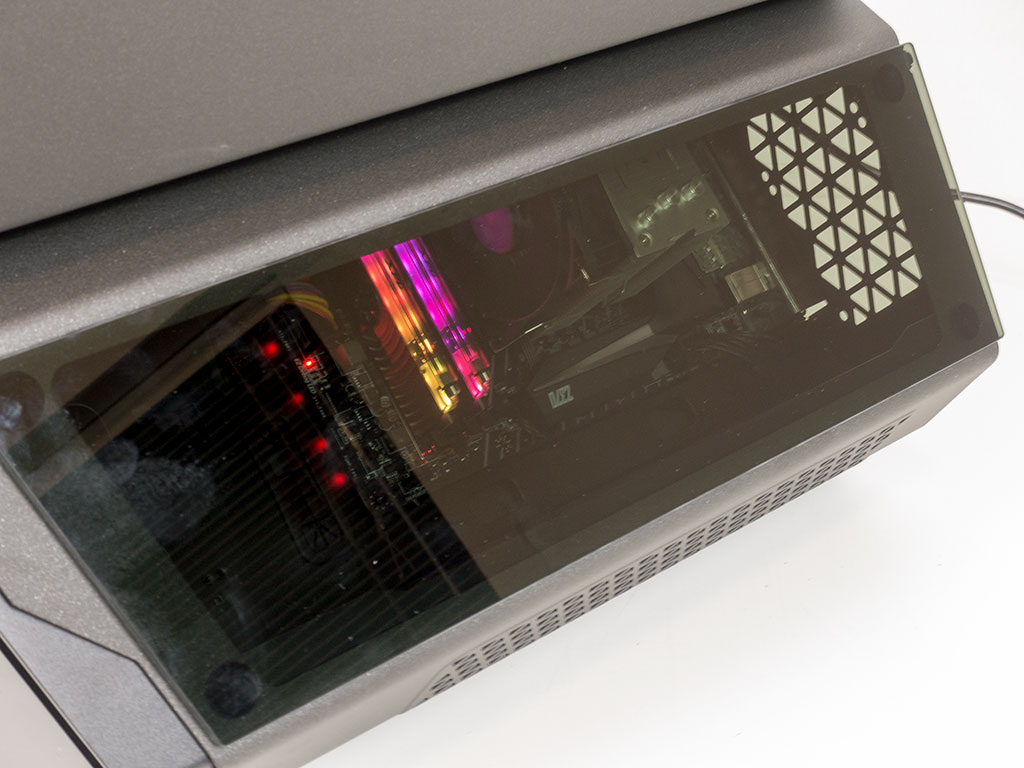
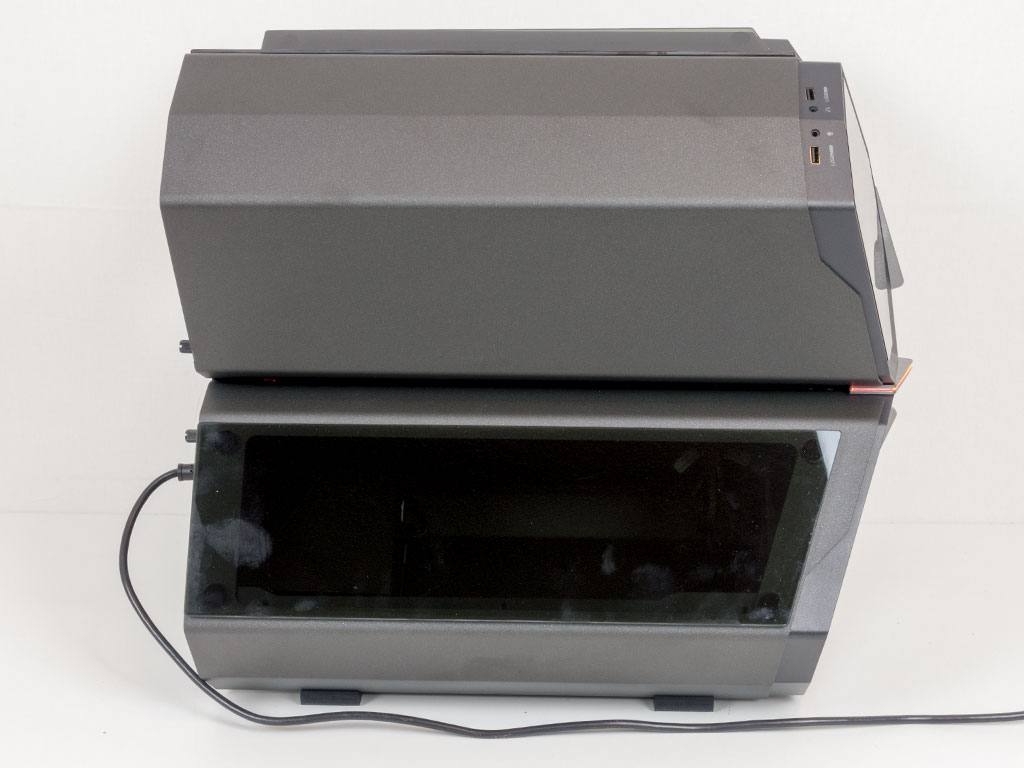
On the sides, you can clearly see the ADATA memory shining through the heavily tinted windows. On the opposite side, the PSU is not really visible as there are no LEDs there. However, if you have a unit with lighting, it should show up nicely here as well.
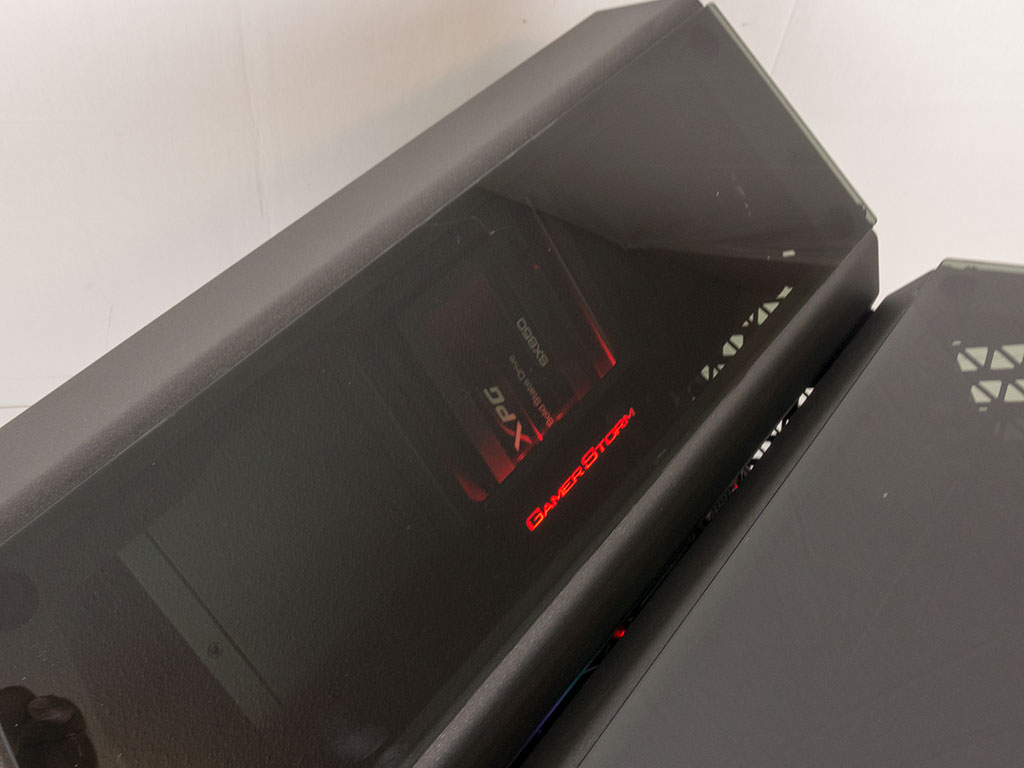
In the top, the SSD is lit up as well. Here, the RGB colors are in sync with the rest of the chassis. You will see any lights nicely on the GPU side as well. There are plenty of cool, modern cards with RGB elements built right in.
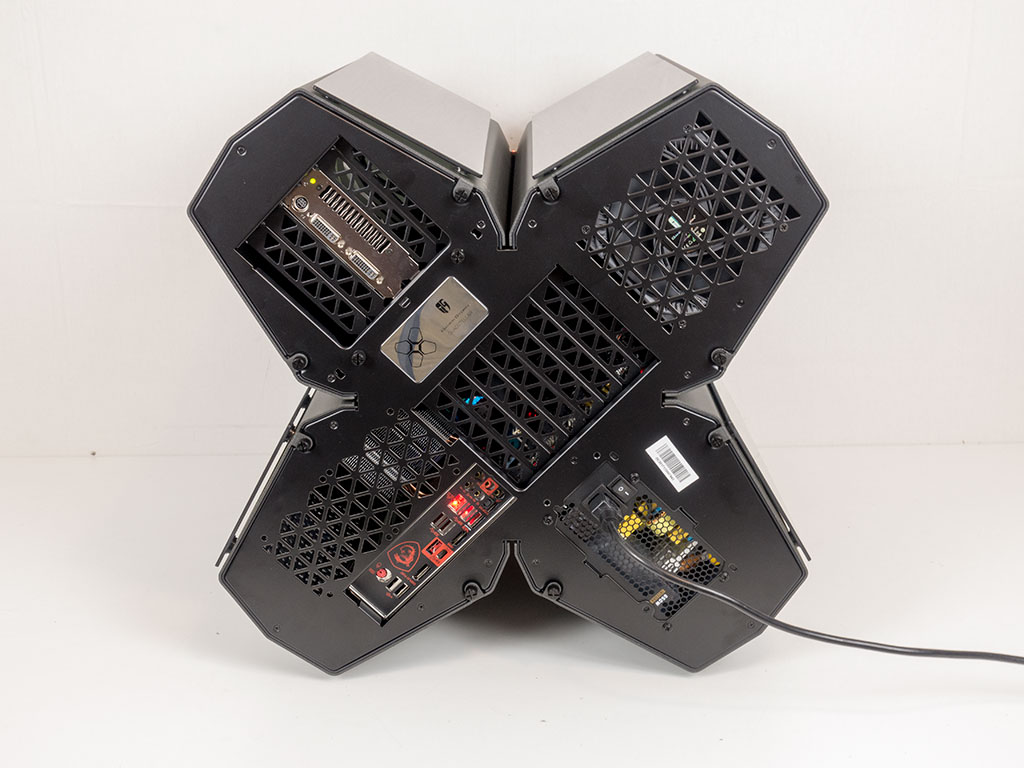
Looking at the rear, you can clearly see the angle of the motherboard and where the GPU is located. The PSU is wisely located on the bottom, which keeps the power cable out of the way.
The App
Intro
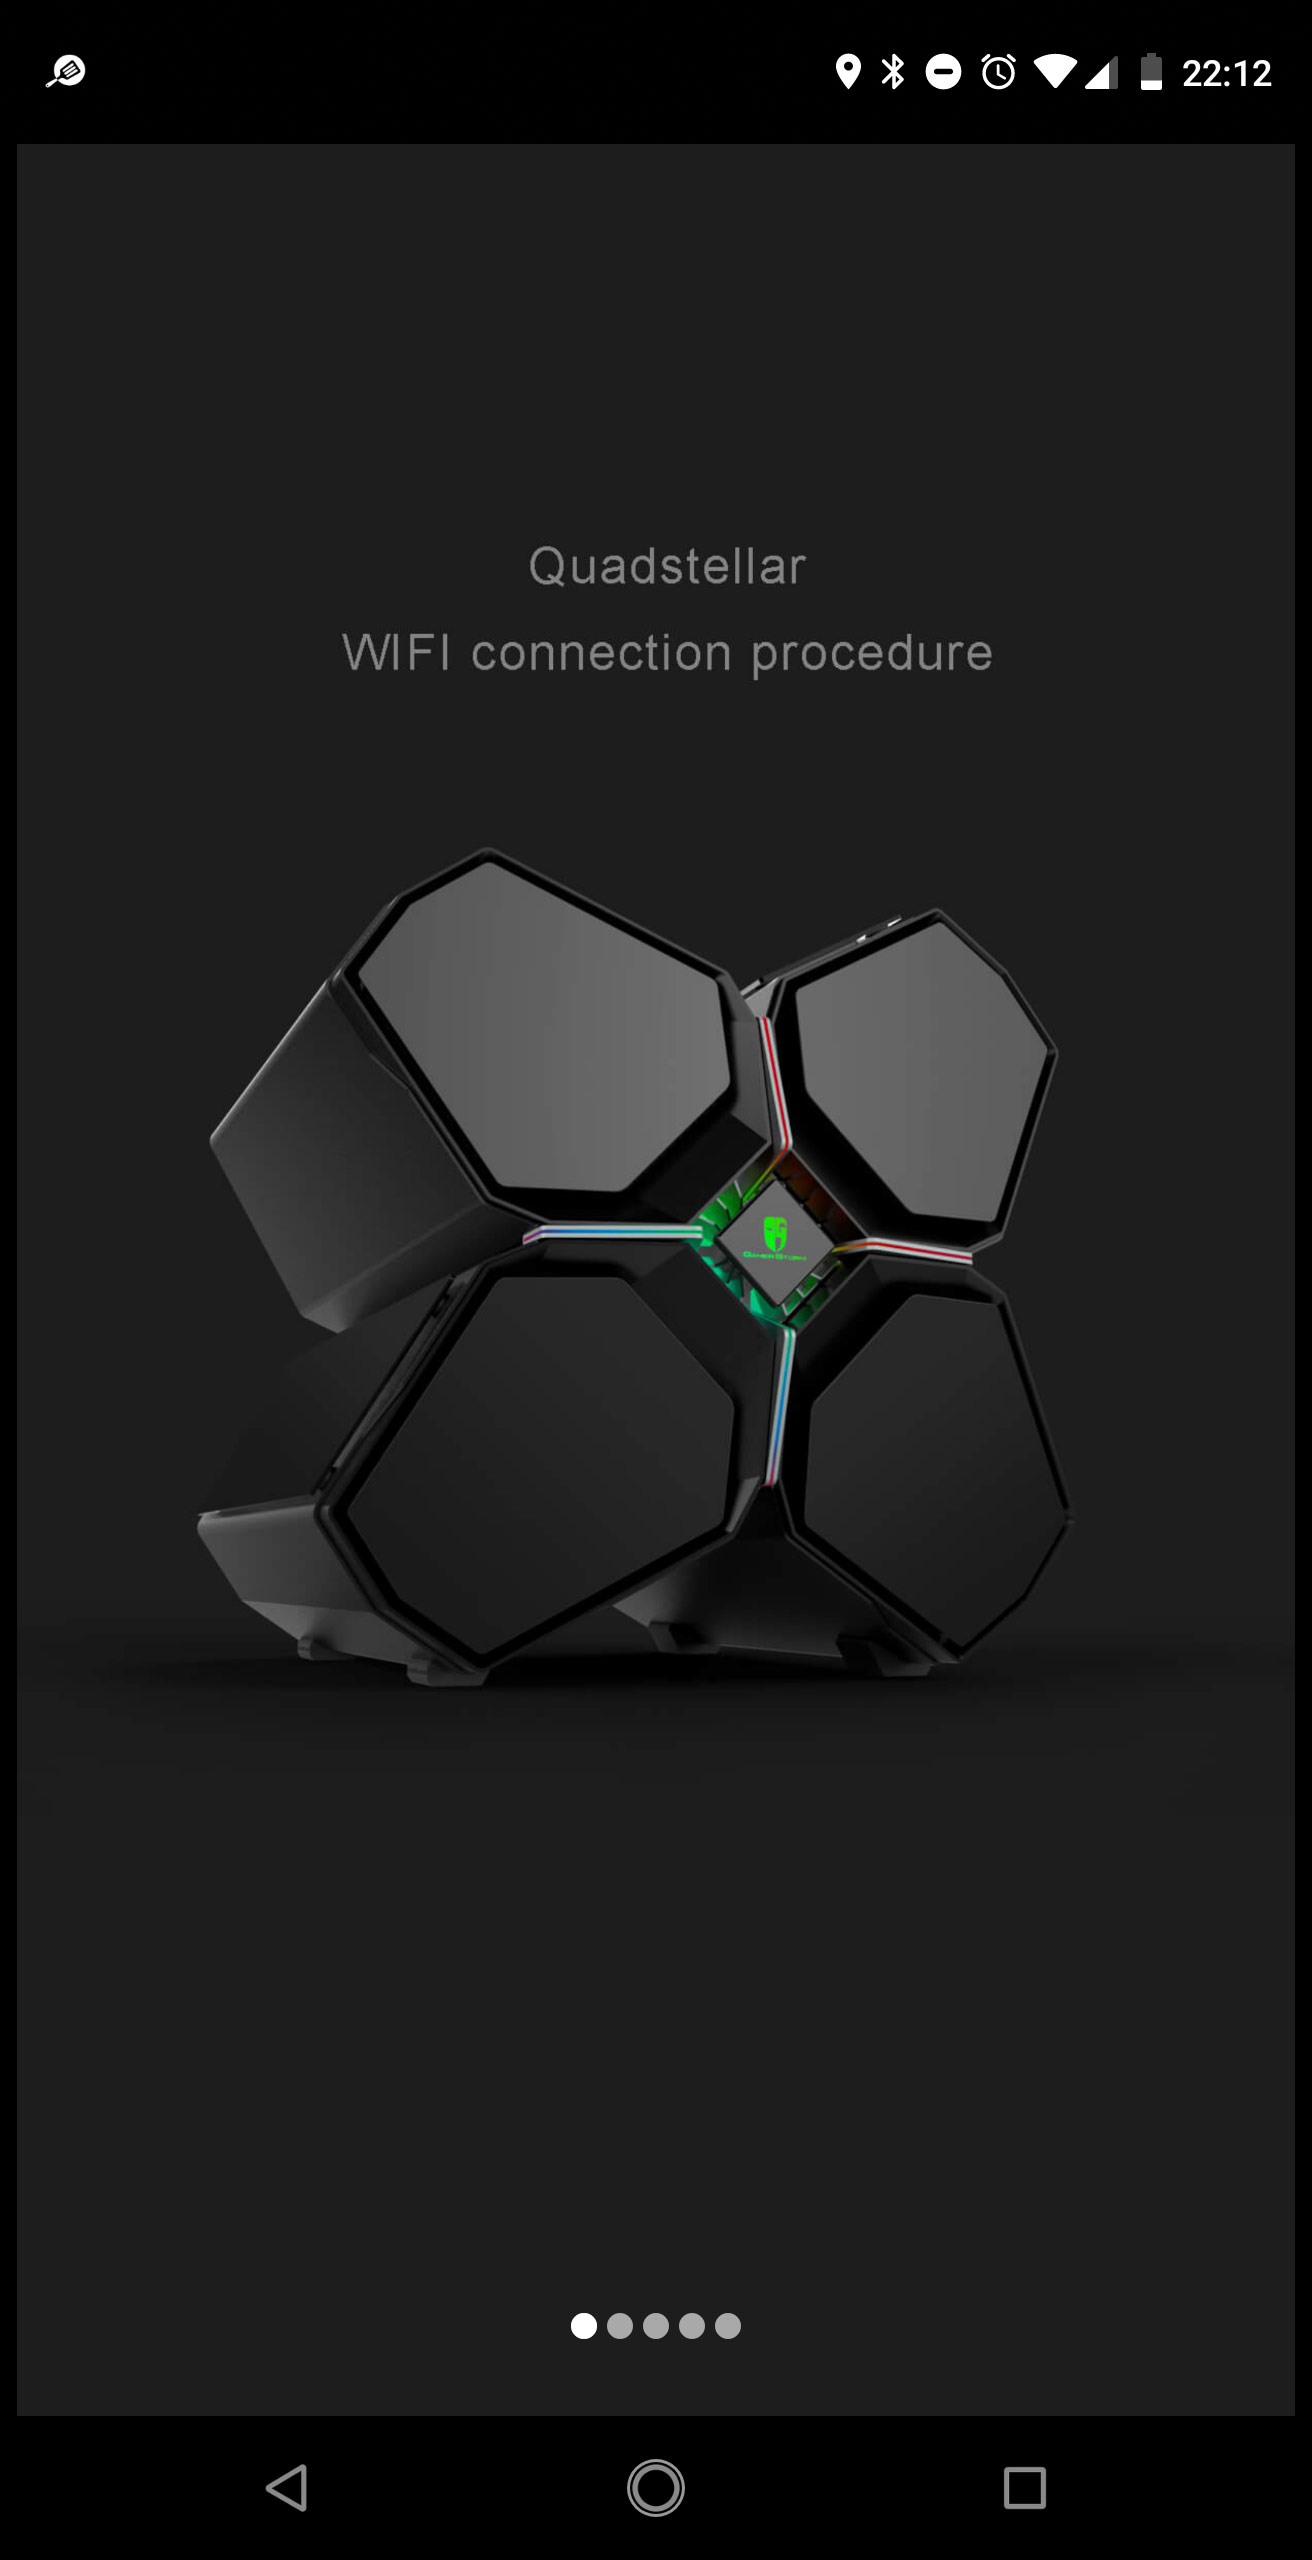
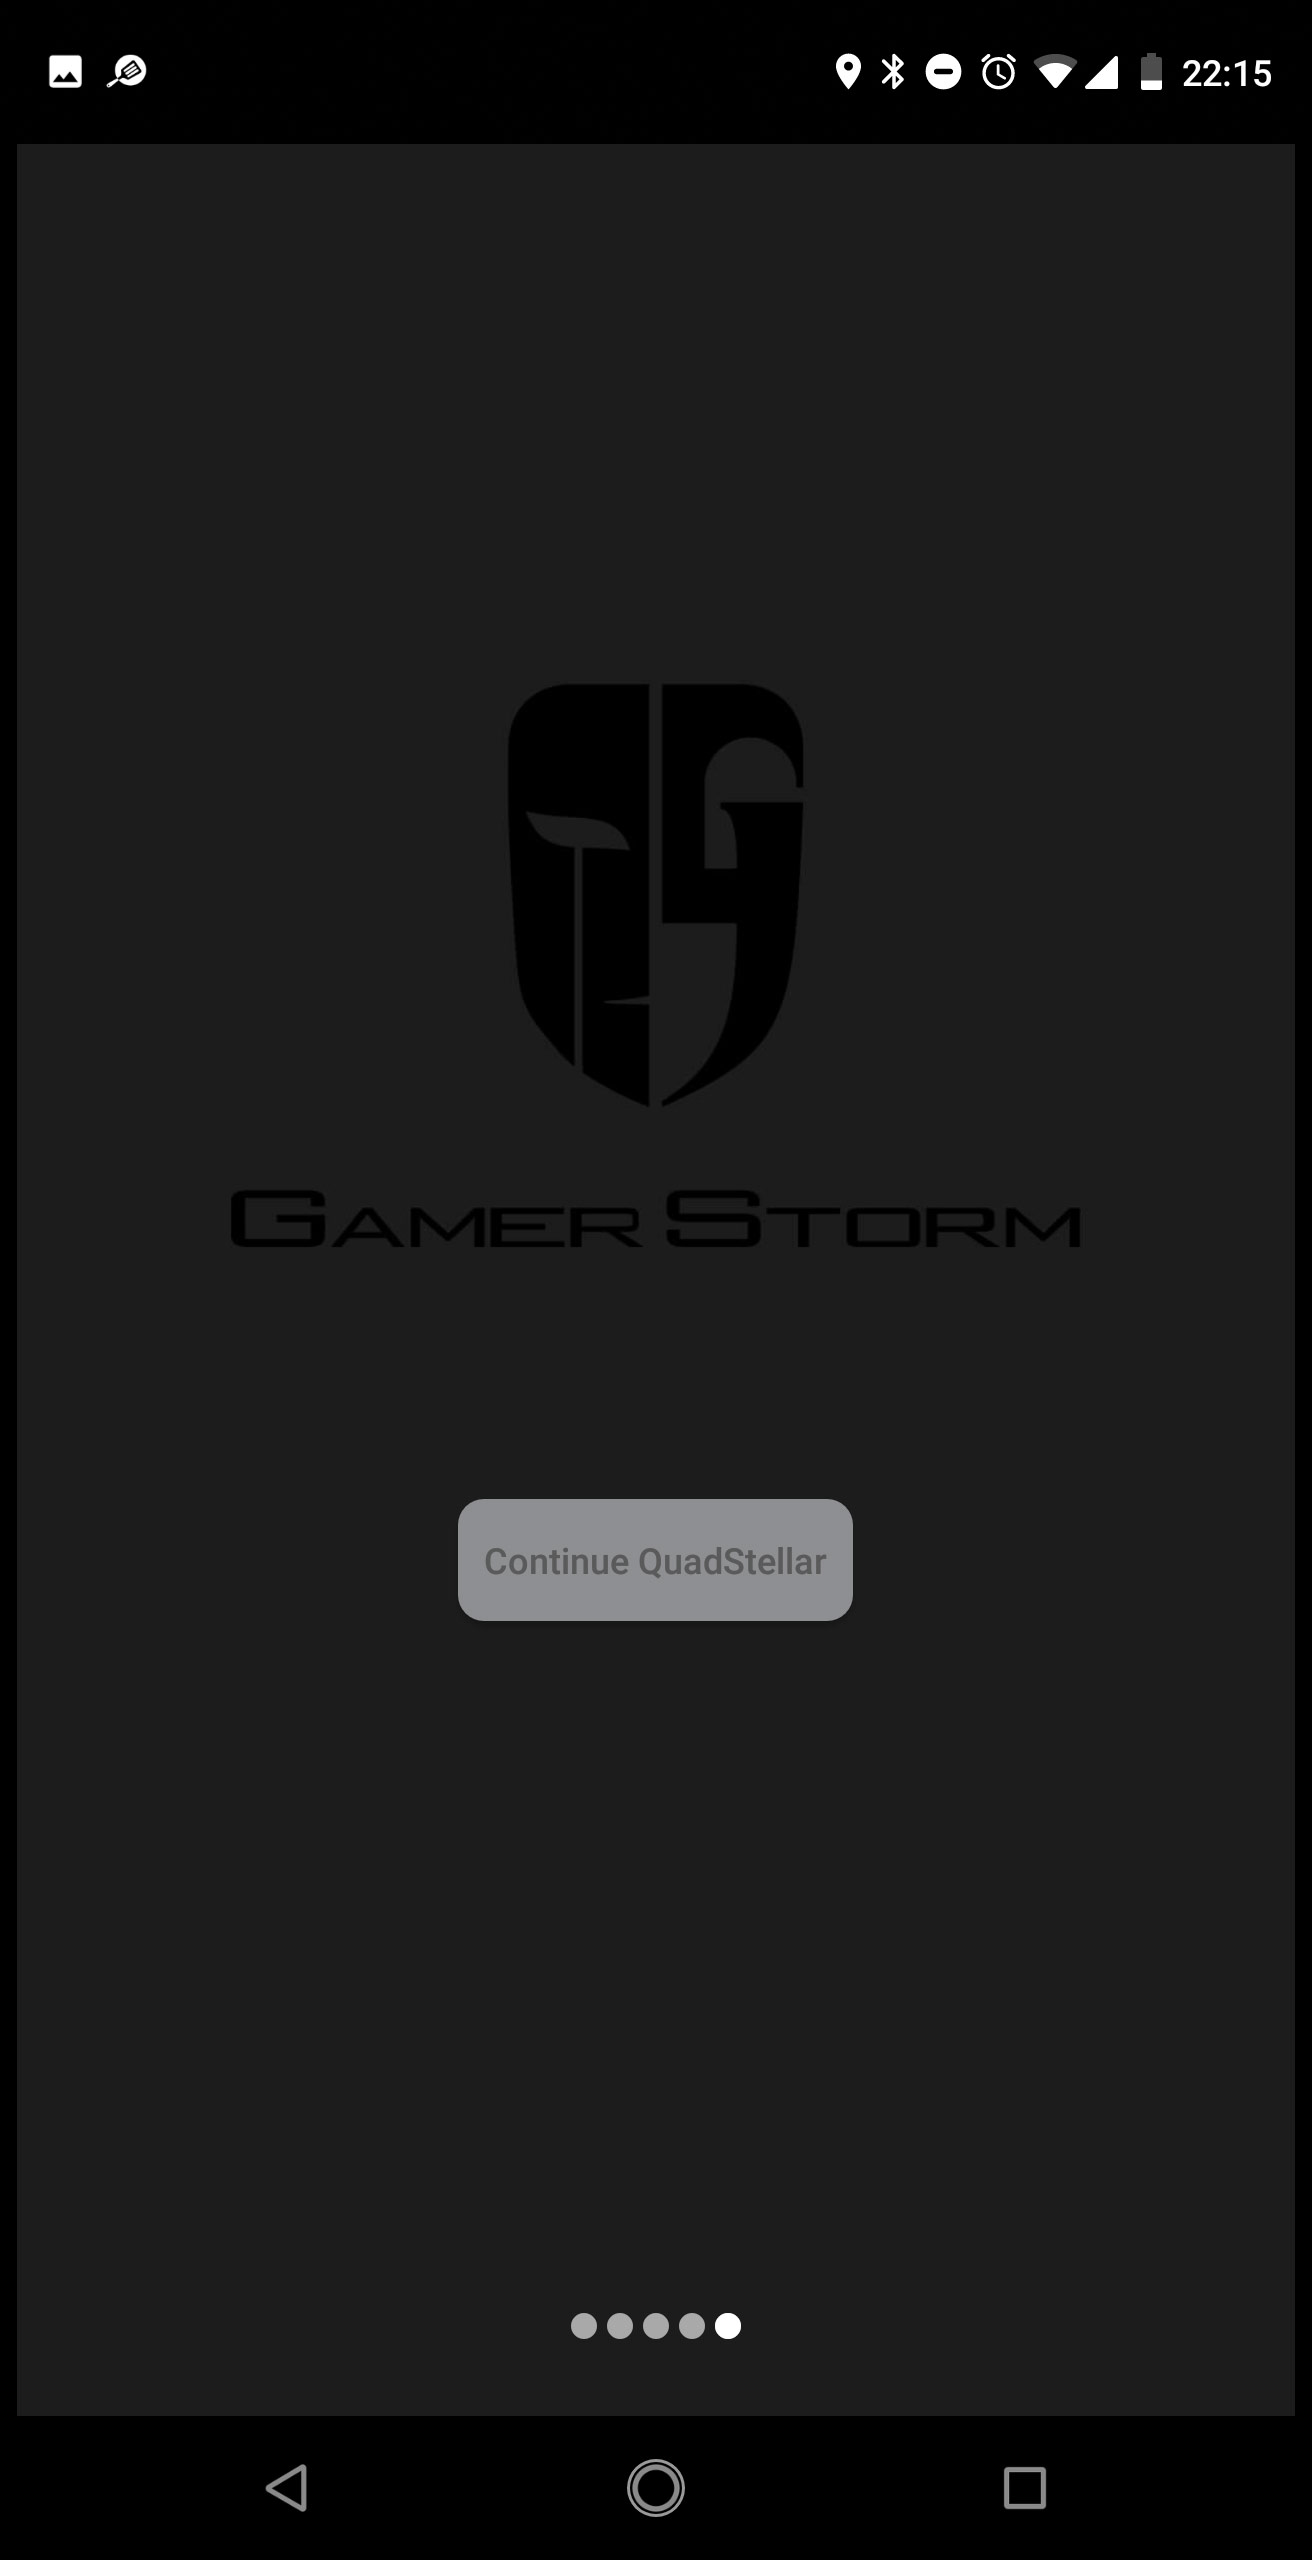
Upon installing the app, you are greeted with an onboard tour on how to set up your wireless network to access the control PCB. This includes step-by-step details on how it is done to make sure you feel prepared for when it comes down to making it all work.
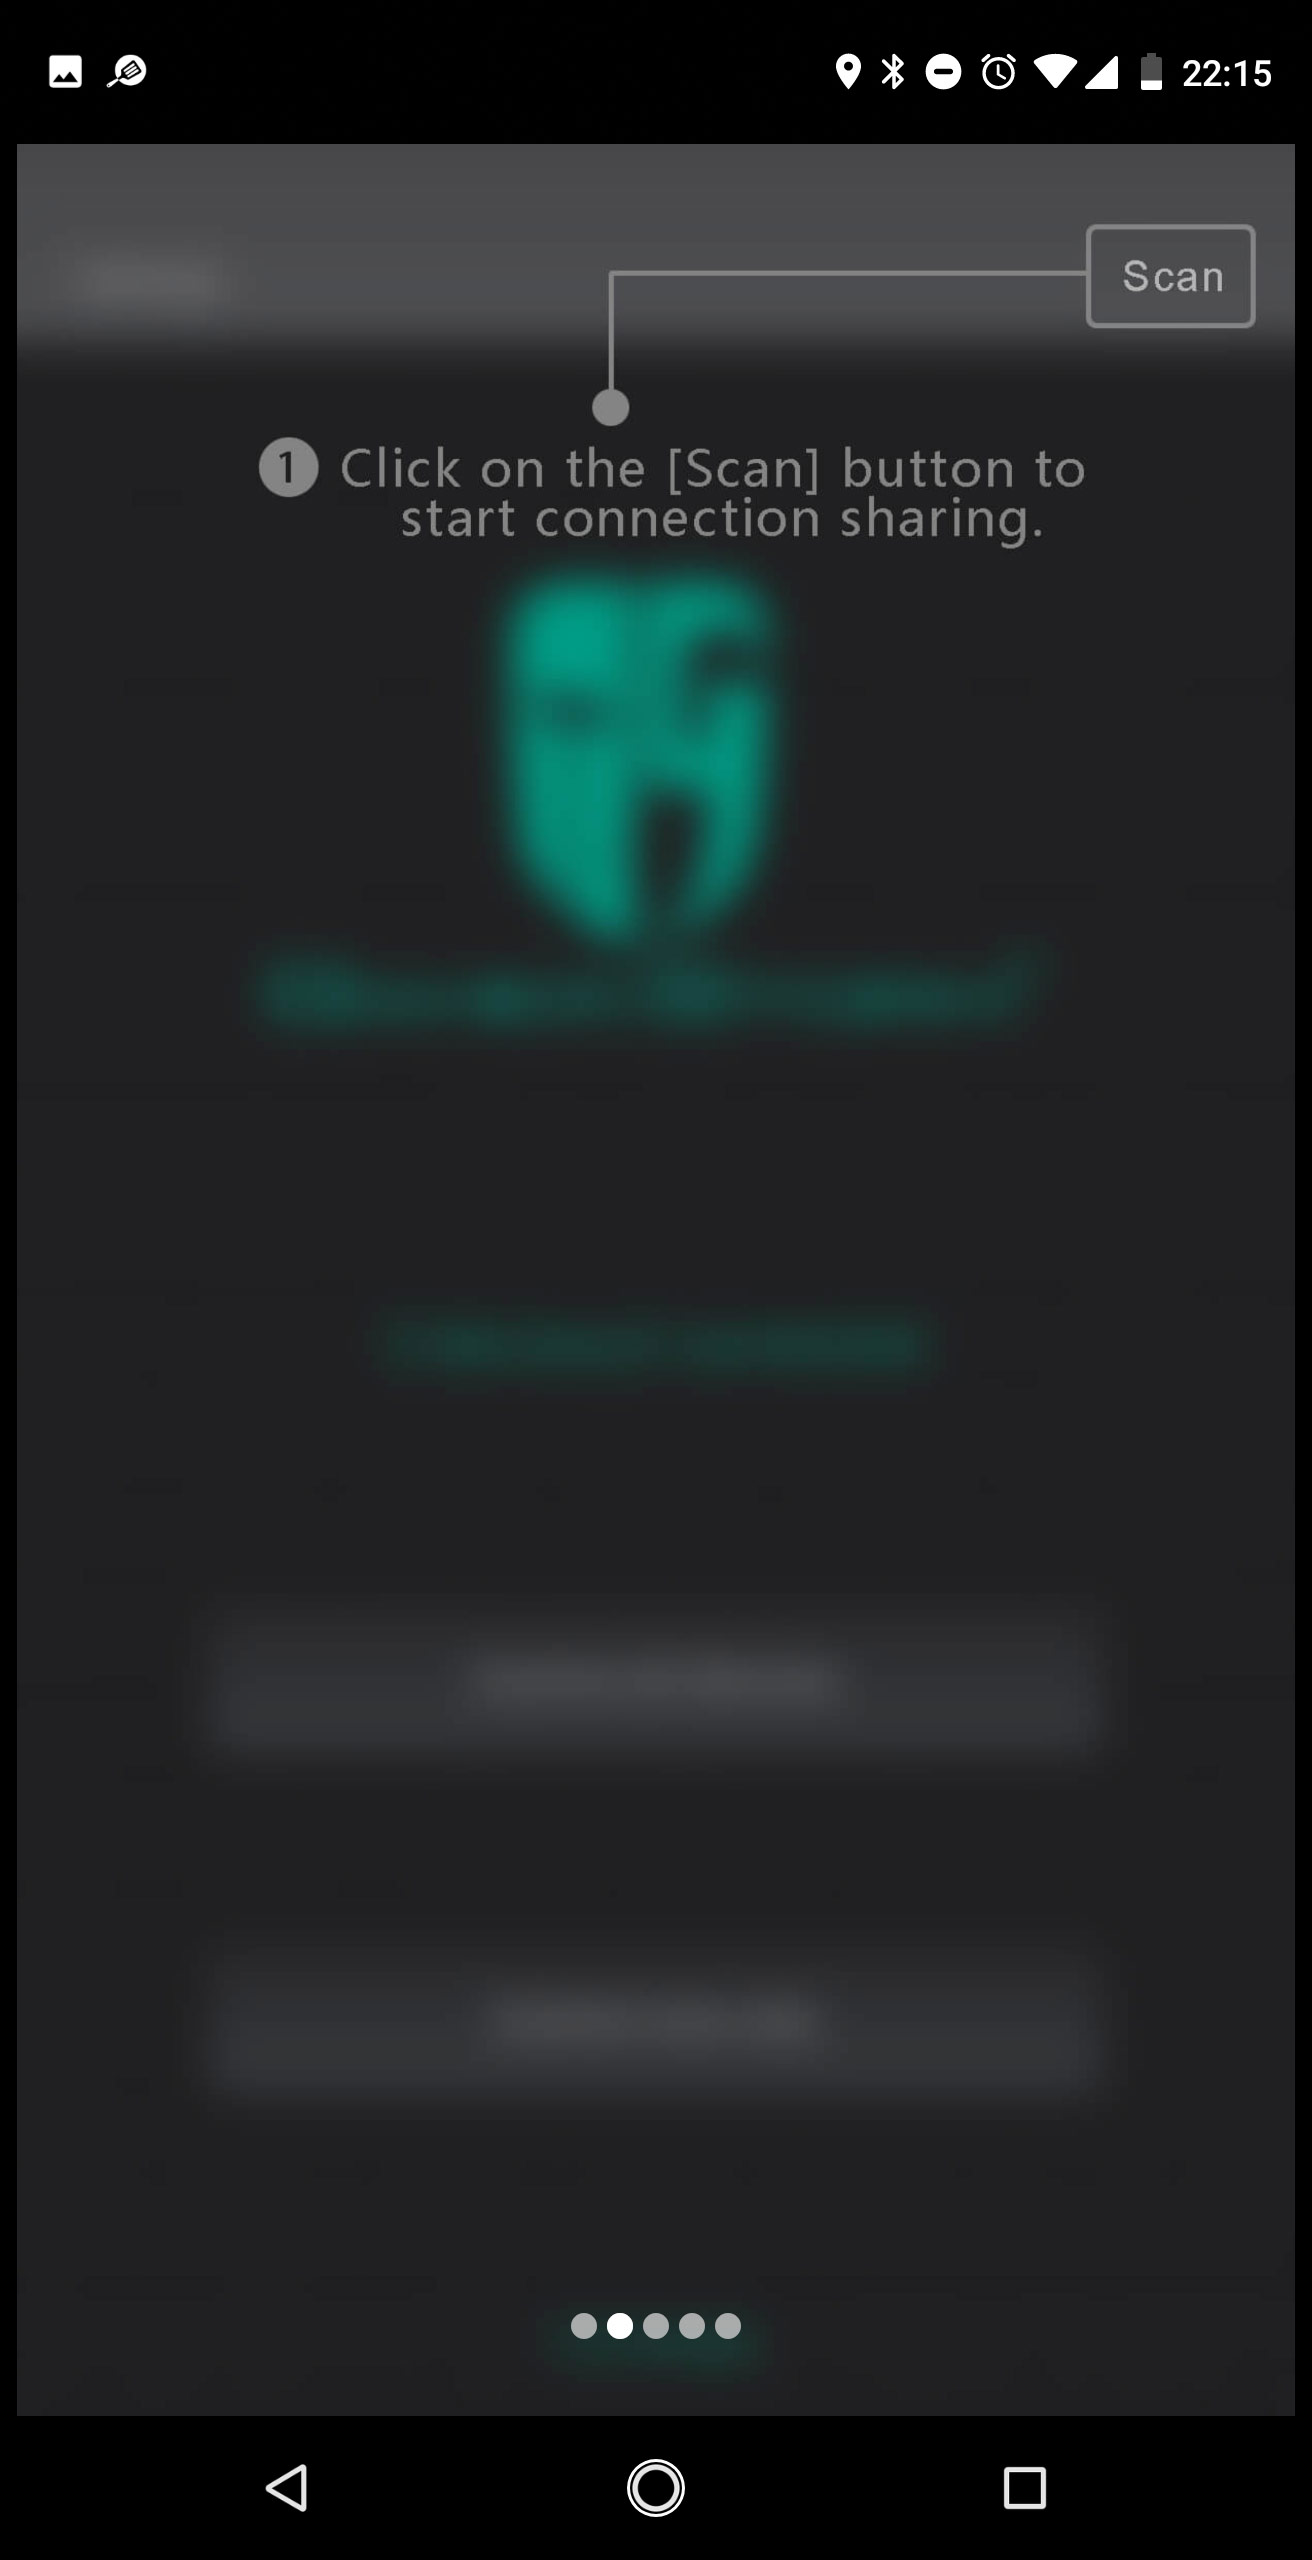
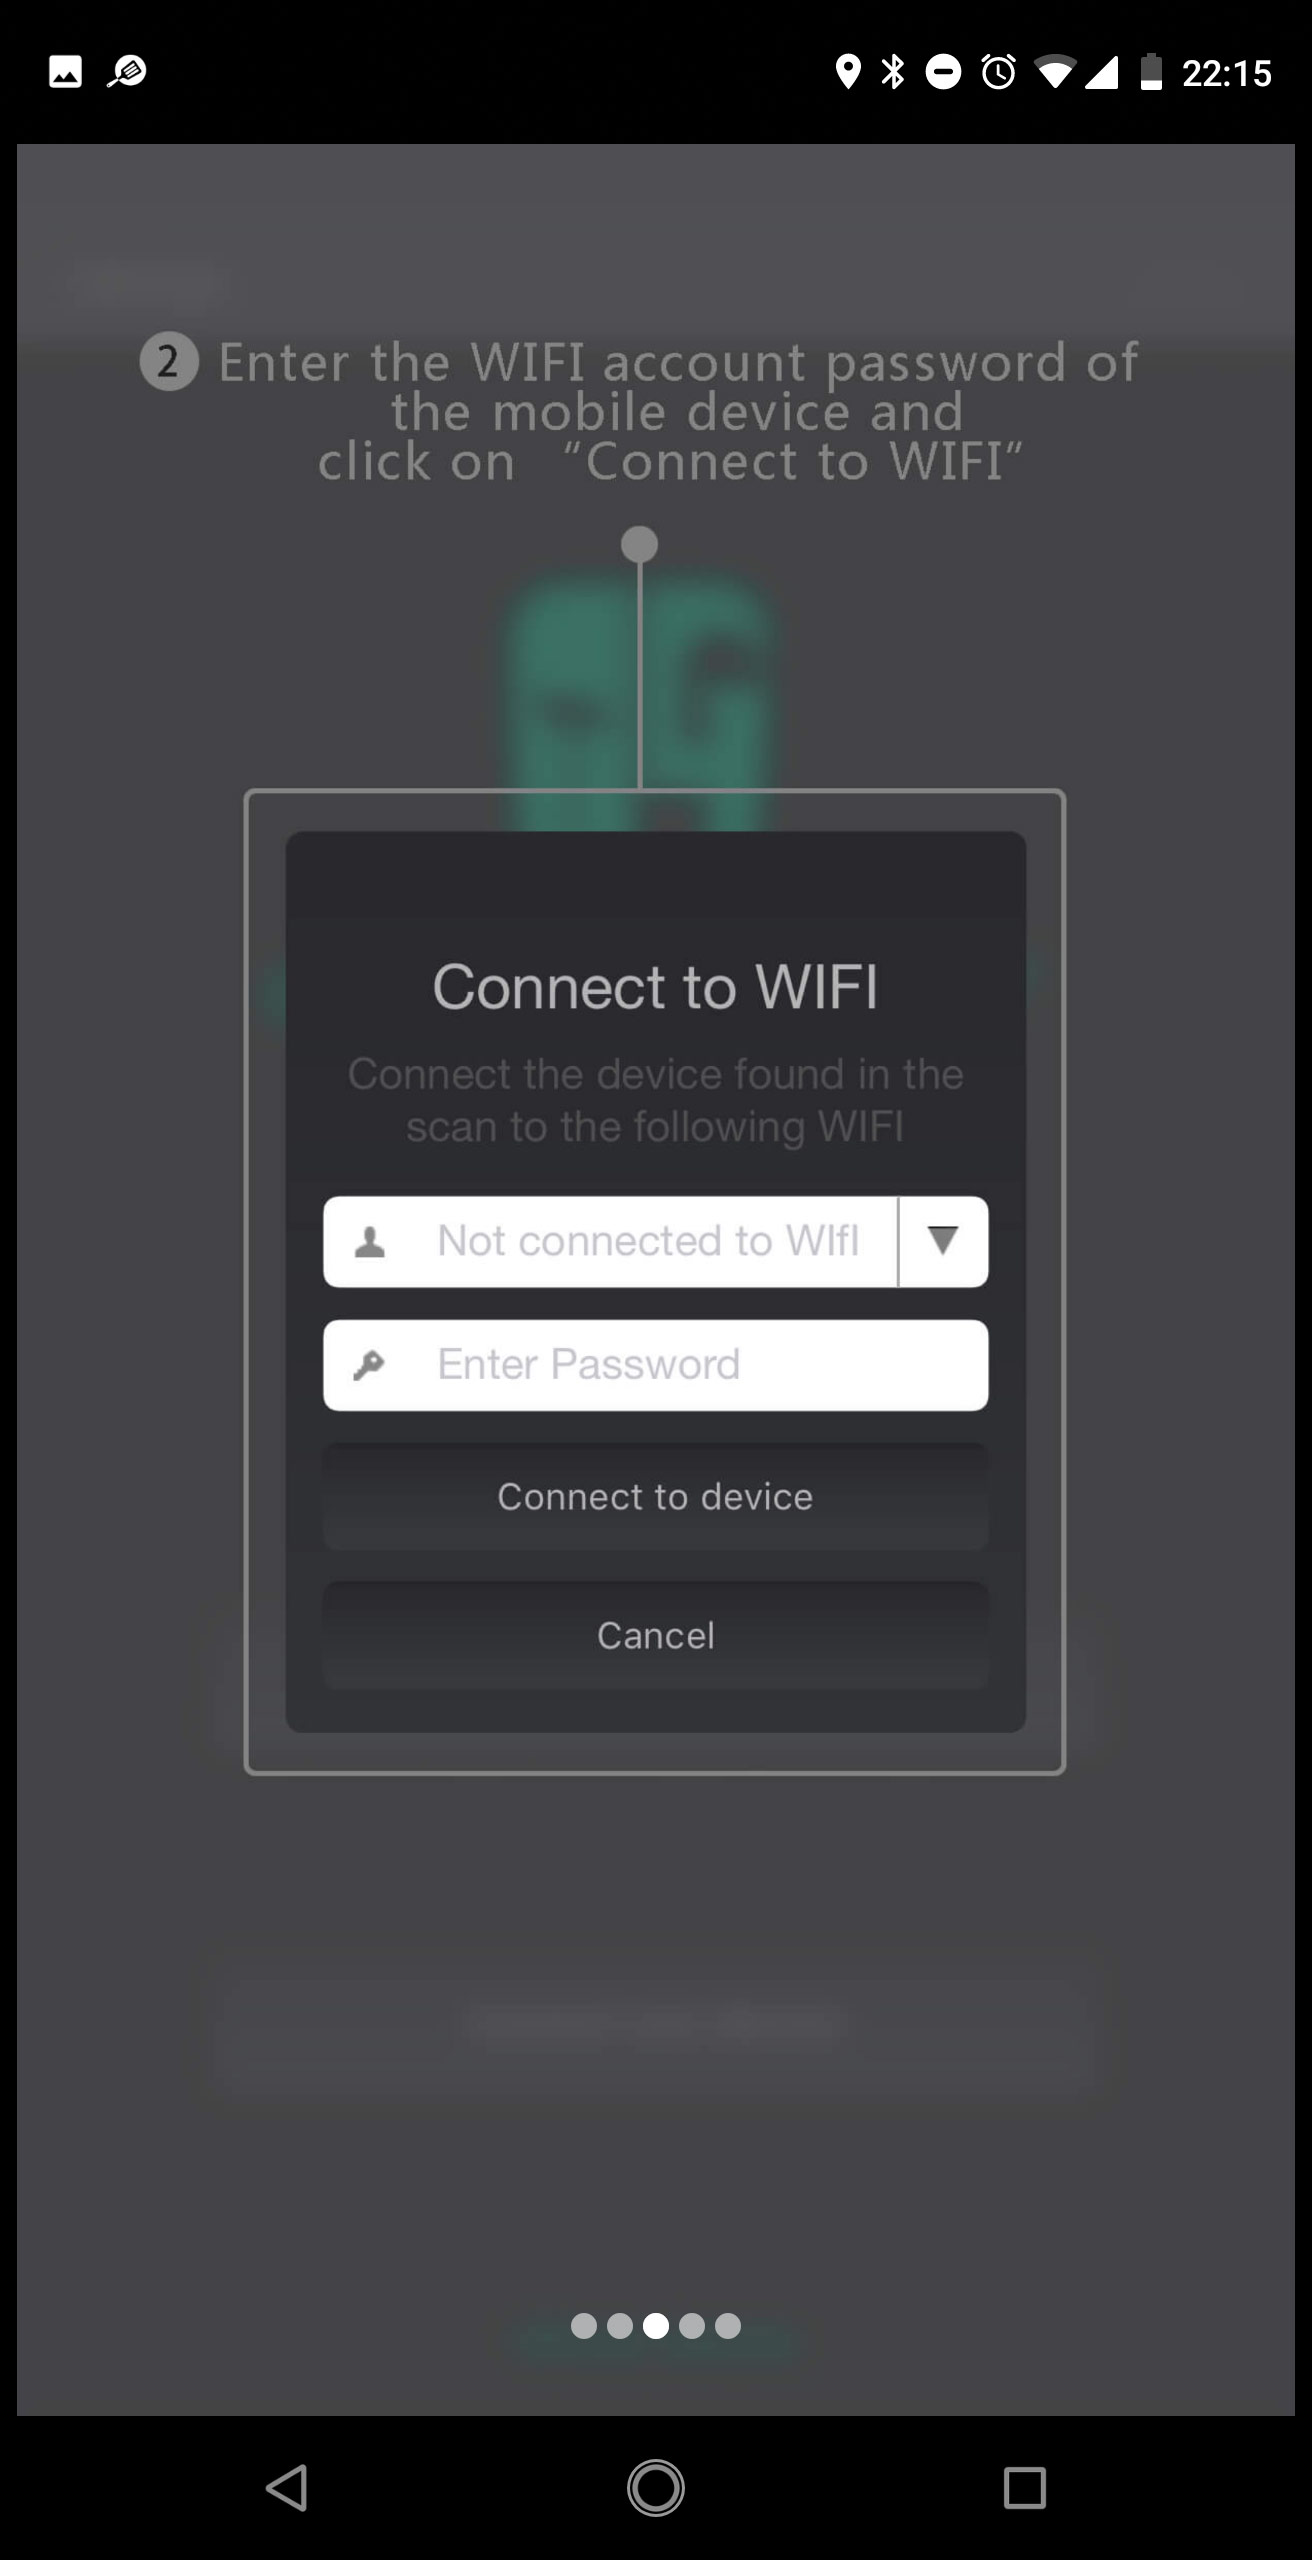
Setup
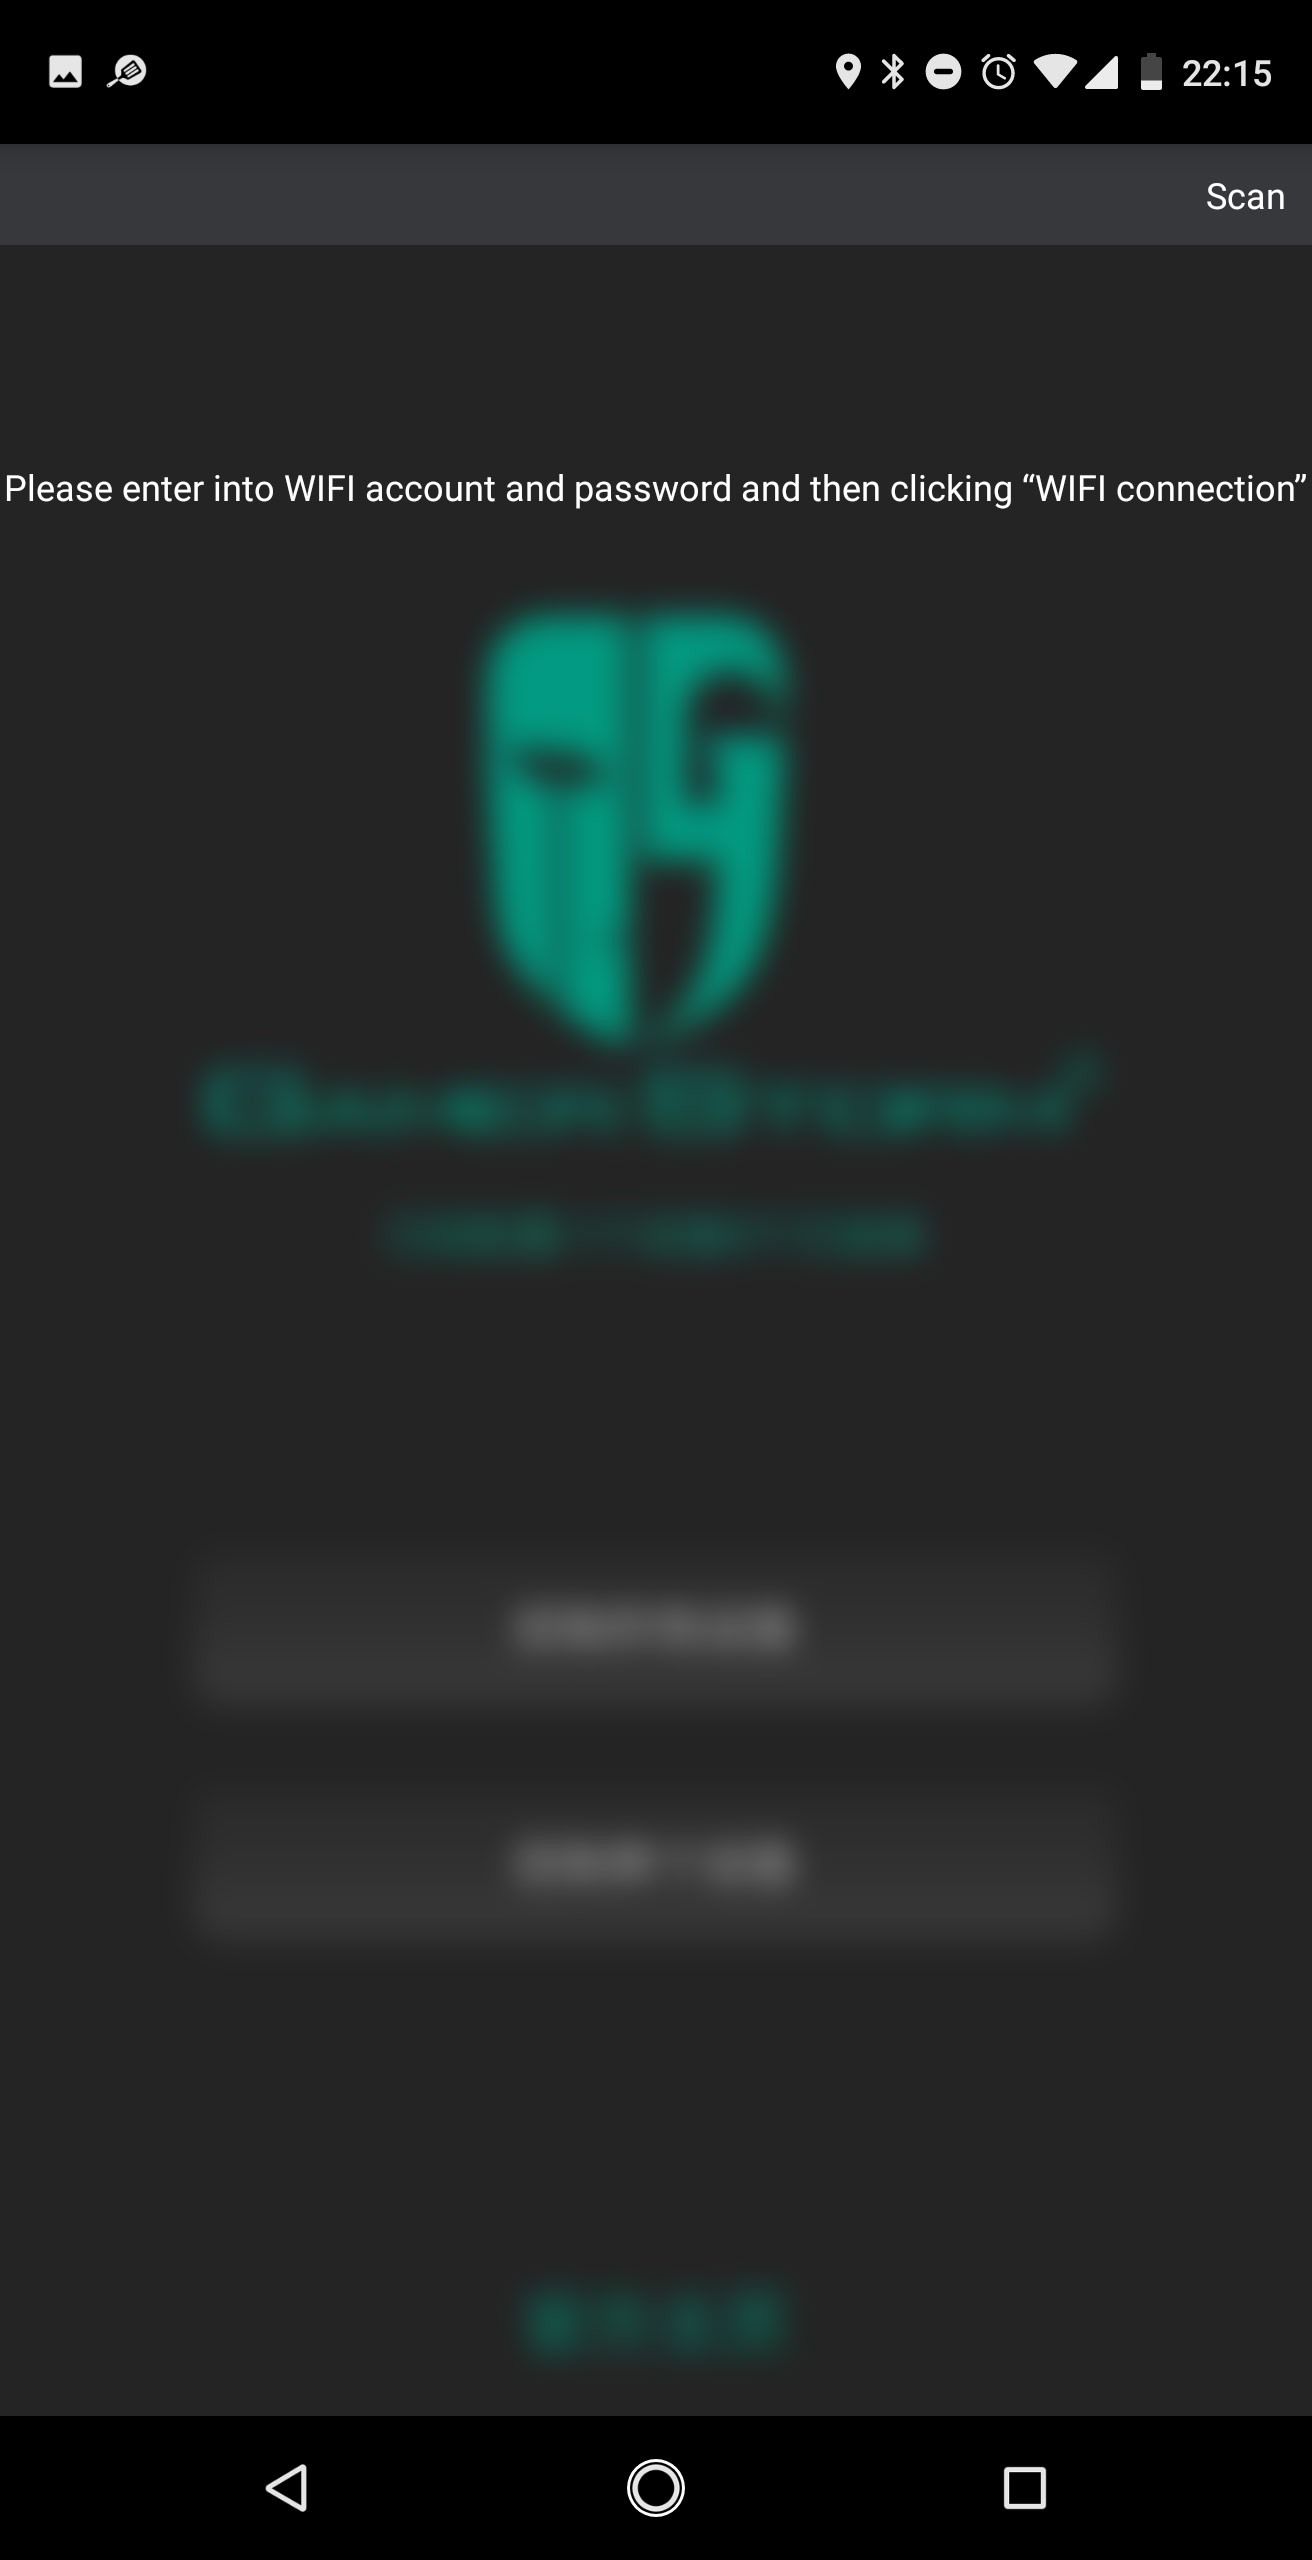
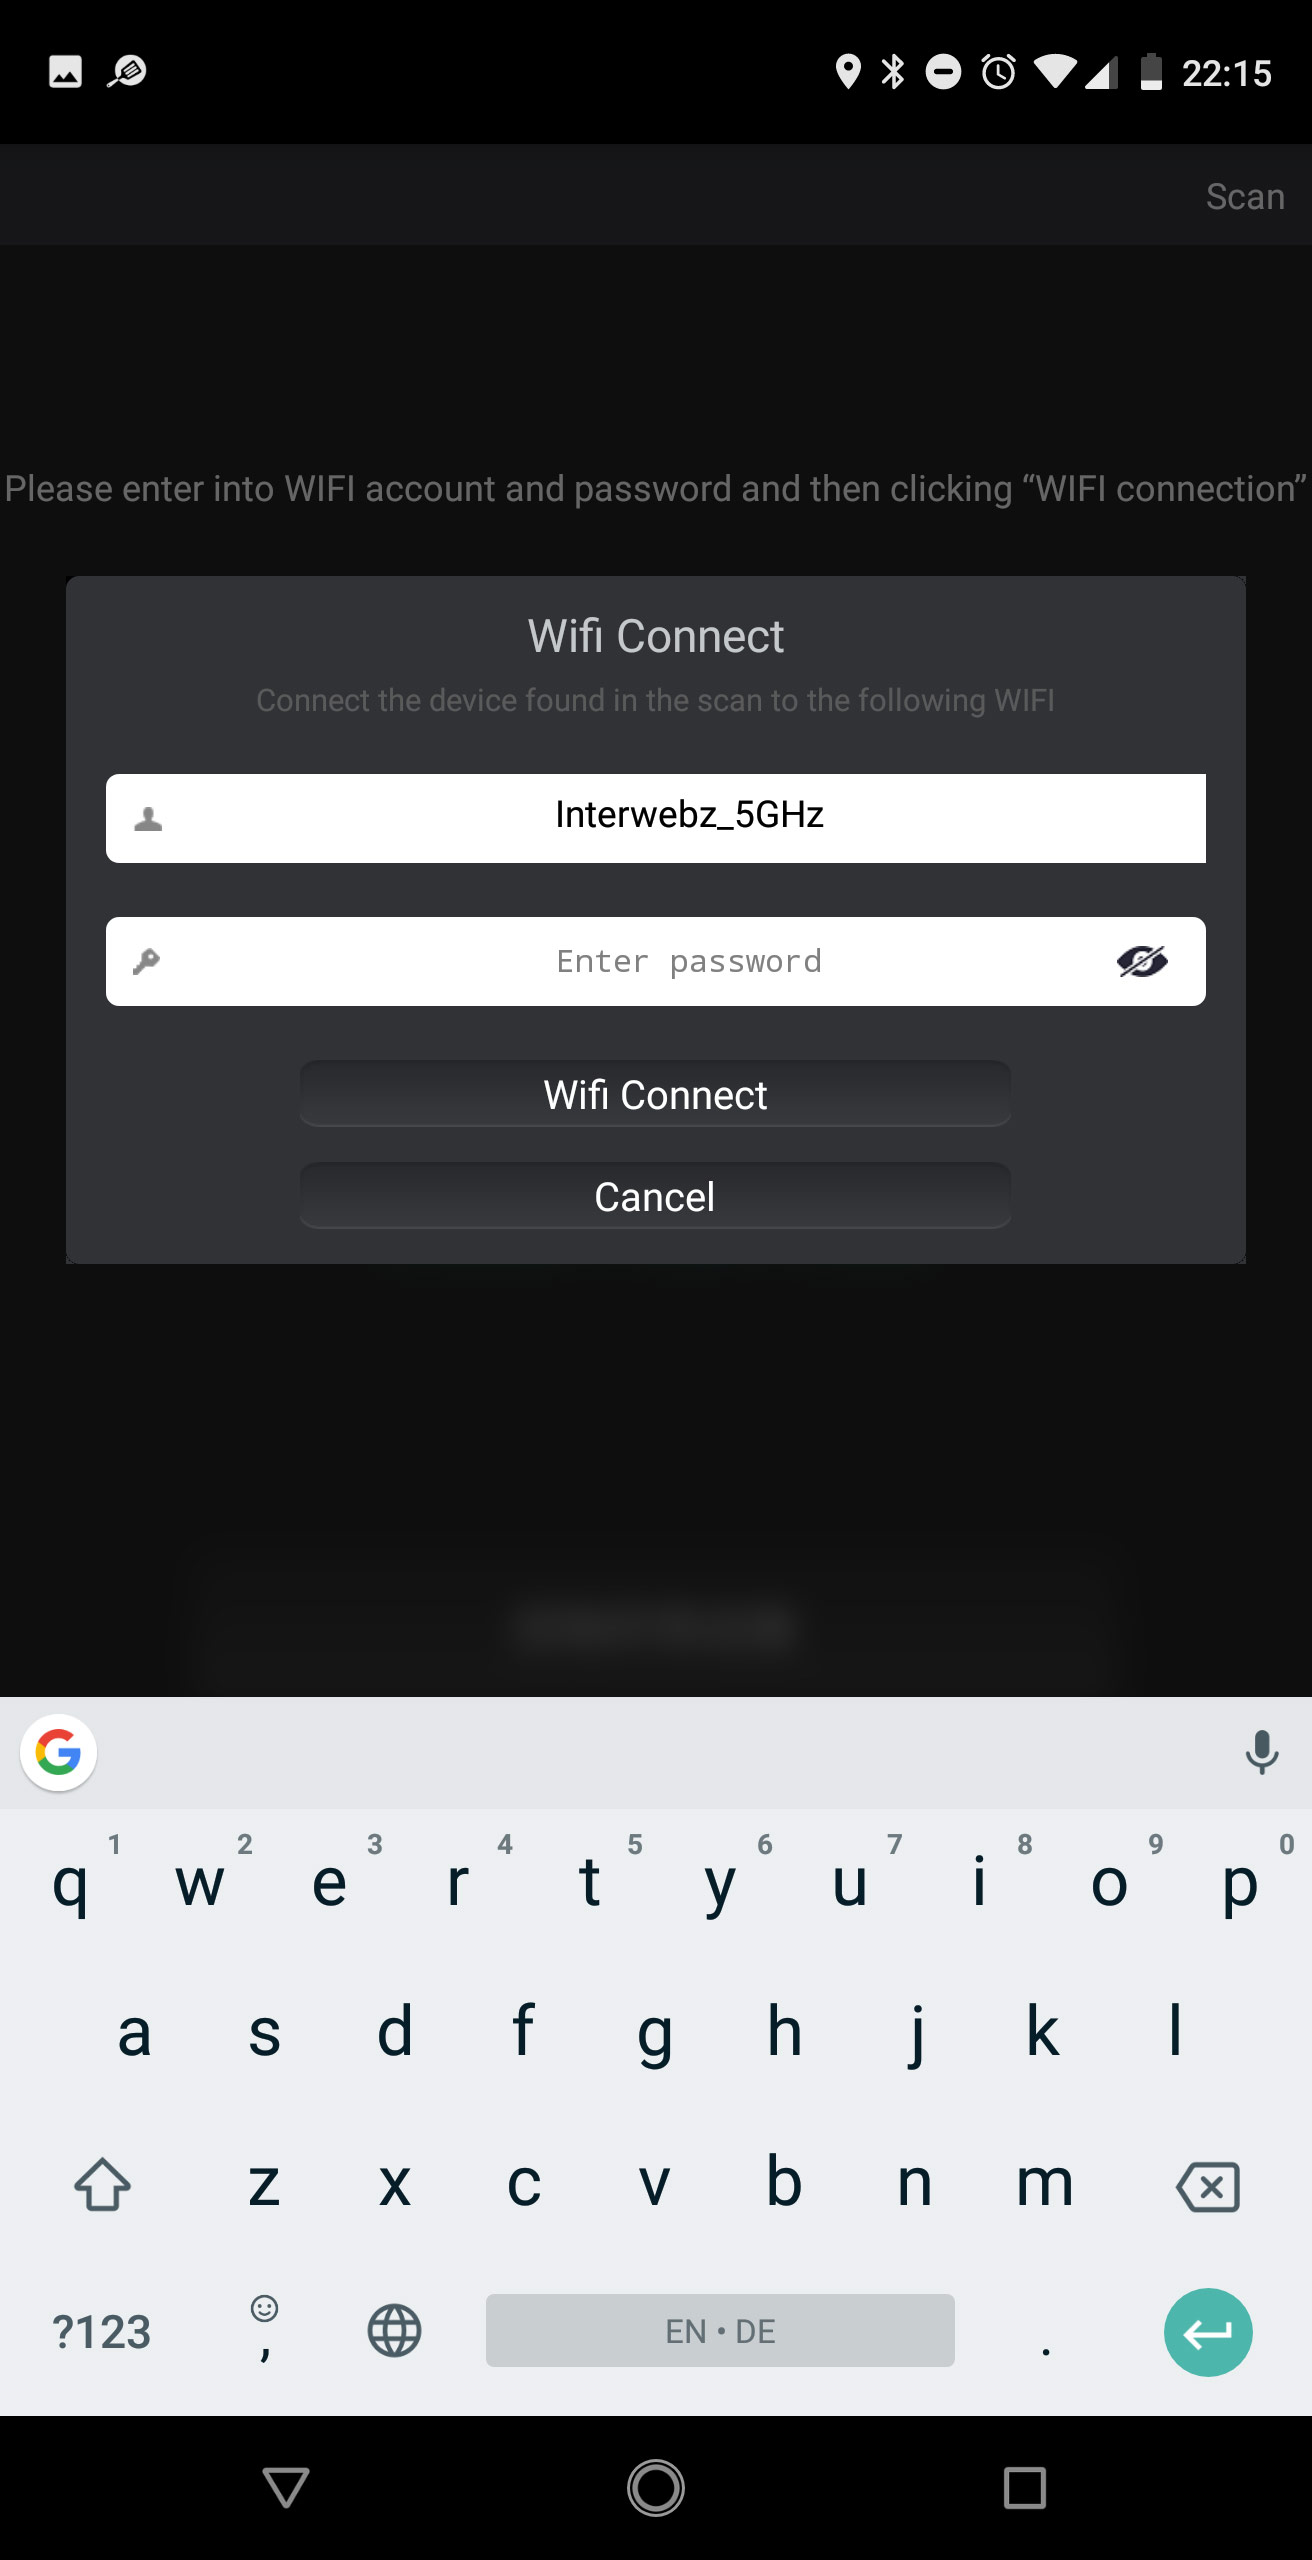


You have to ensure that the PCB inside the case is not already set up for a different environment. I had to google how to reset it as there are no clear instructions for that situation. Once cleared, connecting to it was a breeze. Simply let the app search for the unit and connect to it. I noticed a few issues with labeling as Deepcool forgot to consider some spaces here and there, but that is all purely cosmetic.
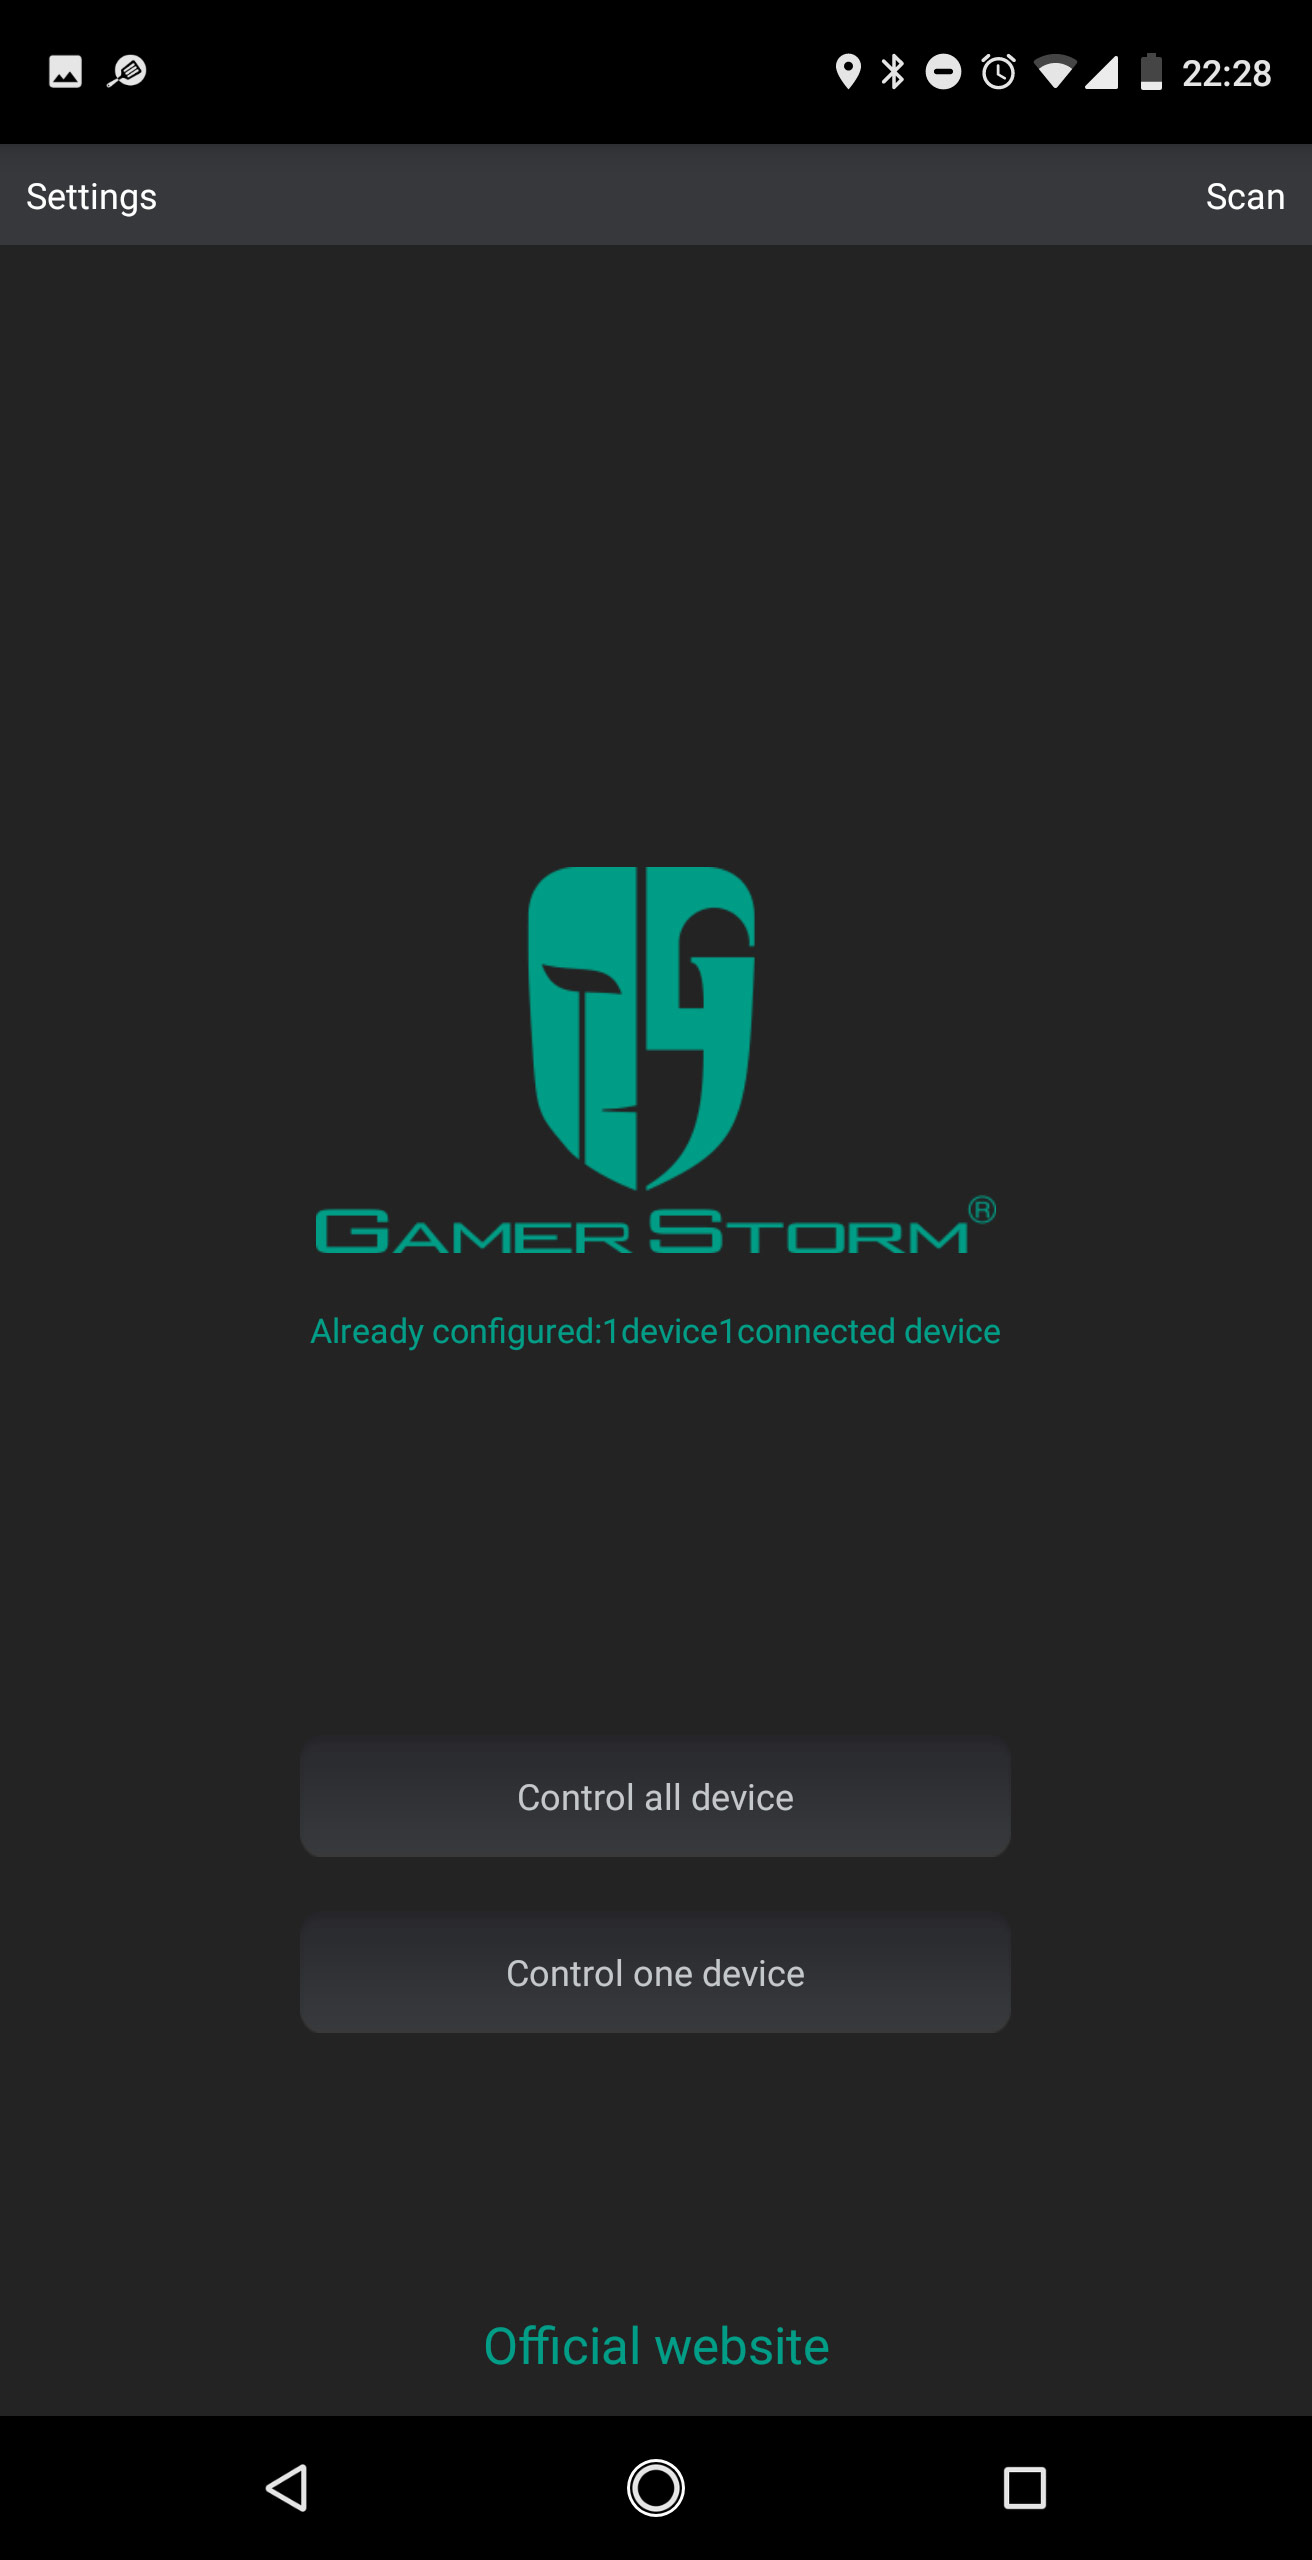
The App
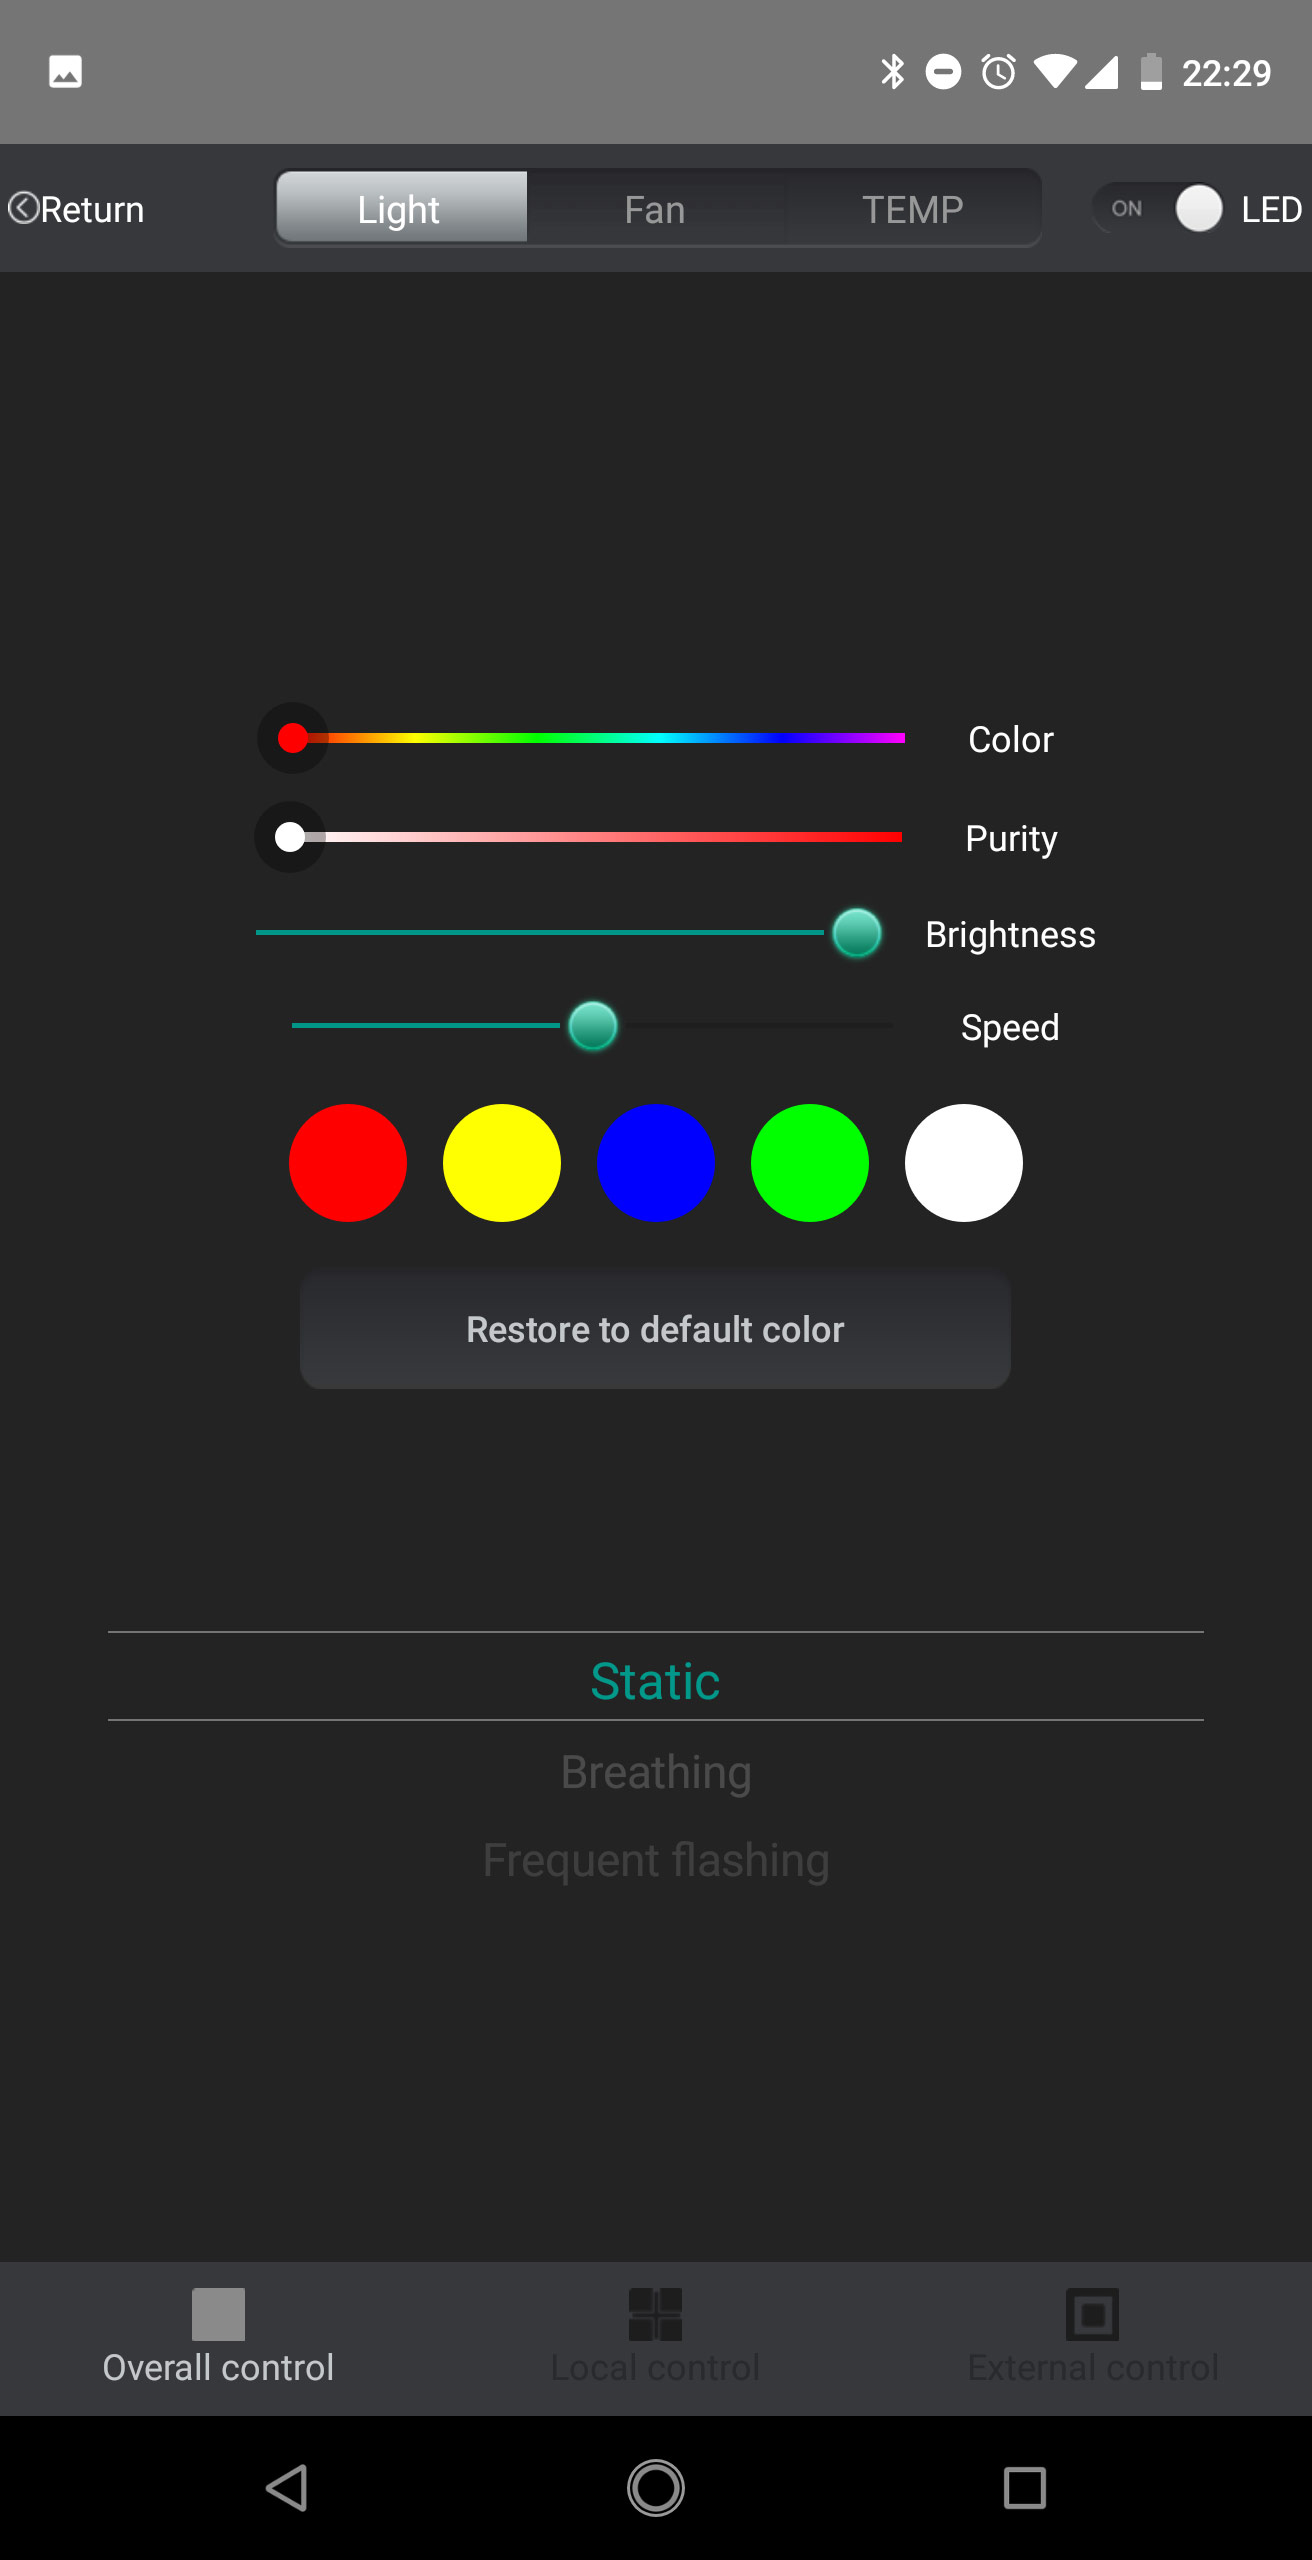
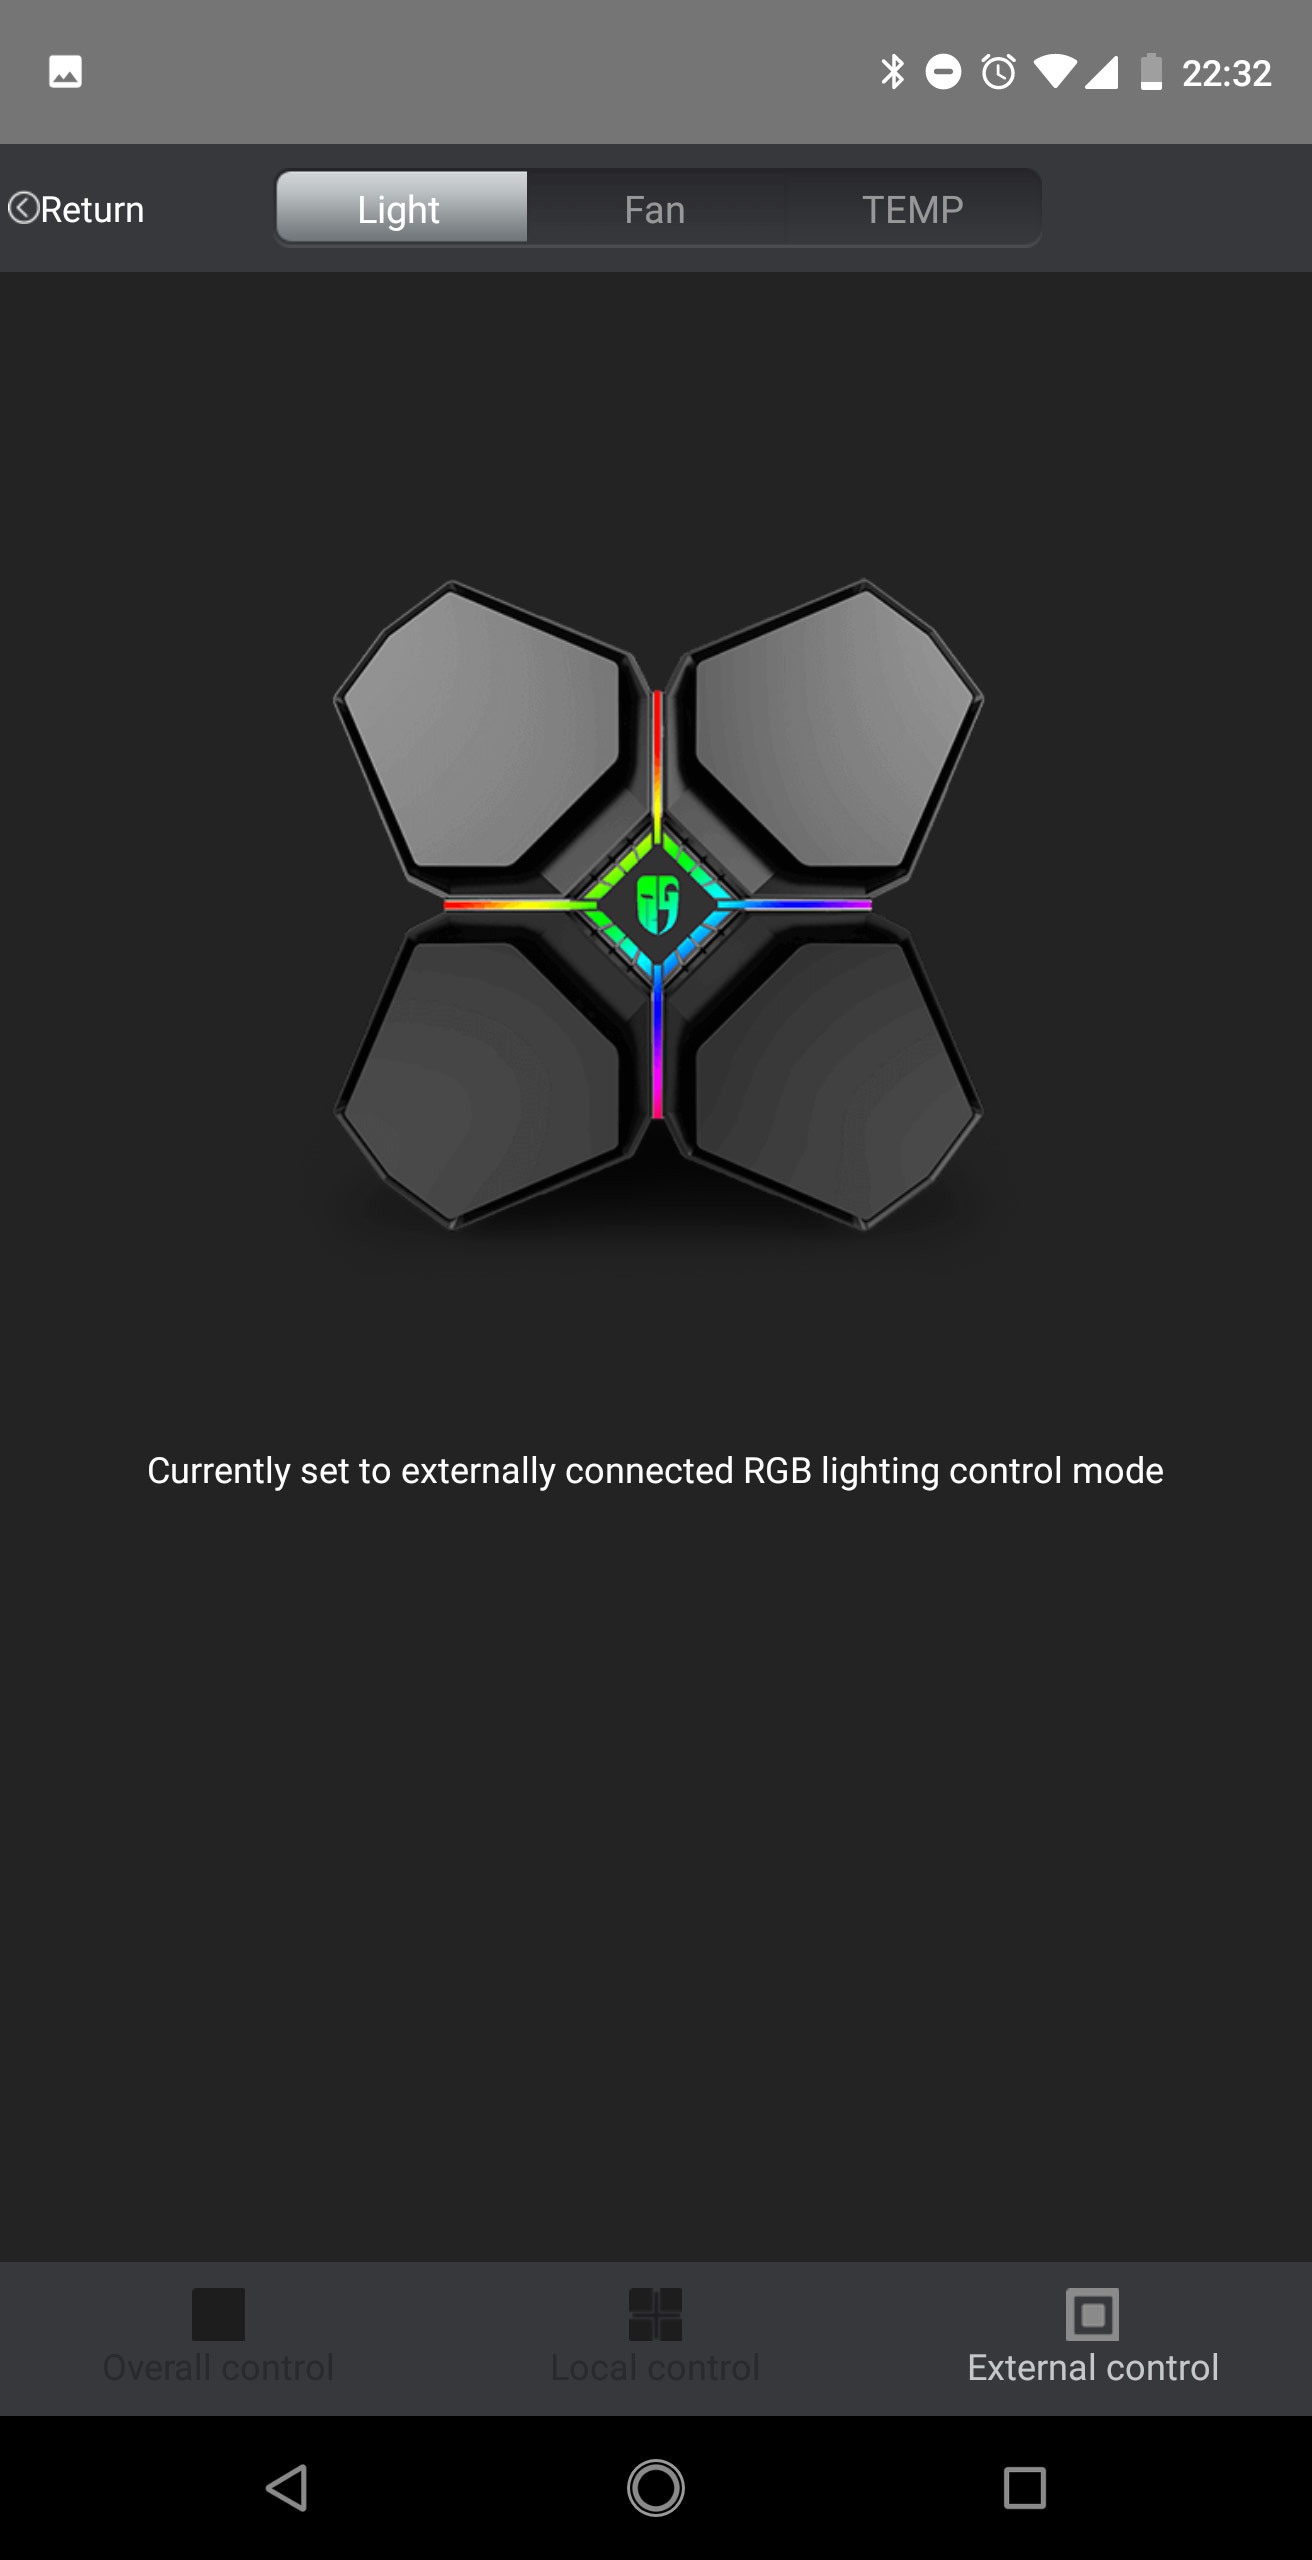
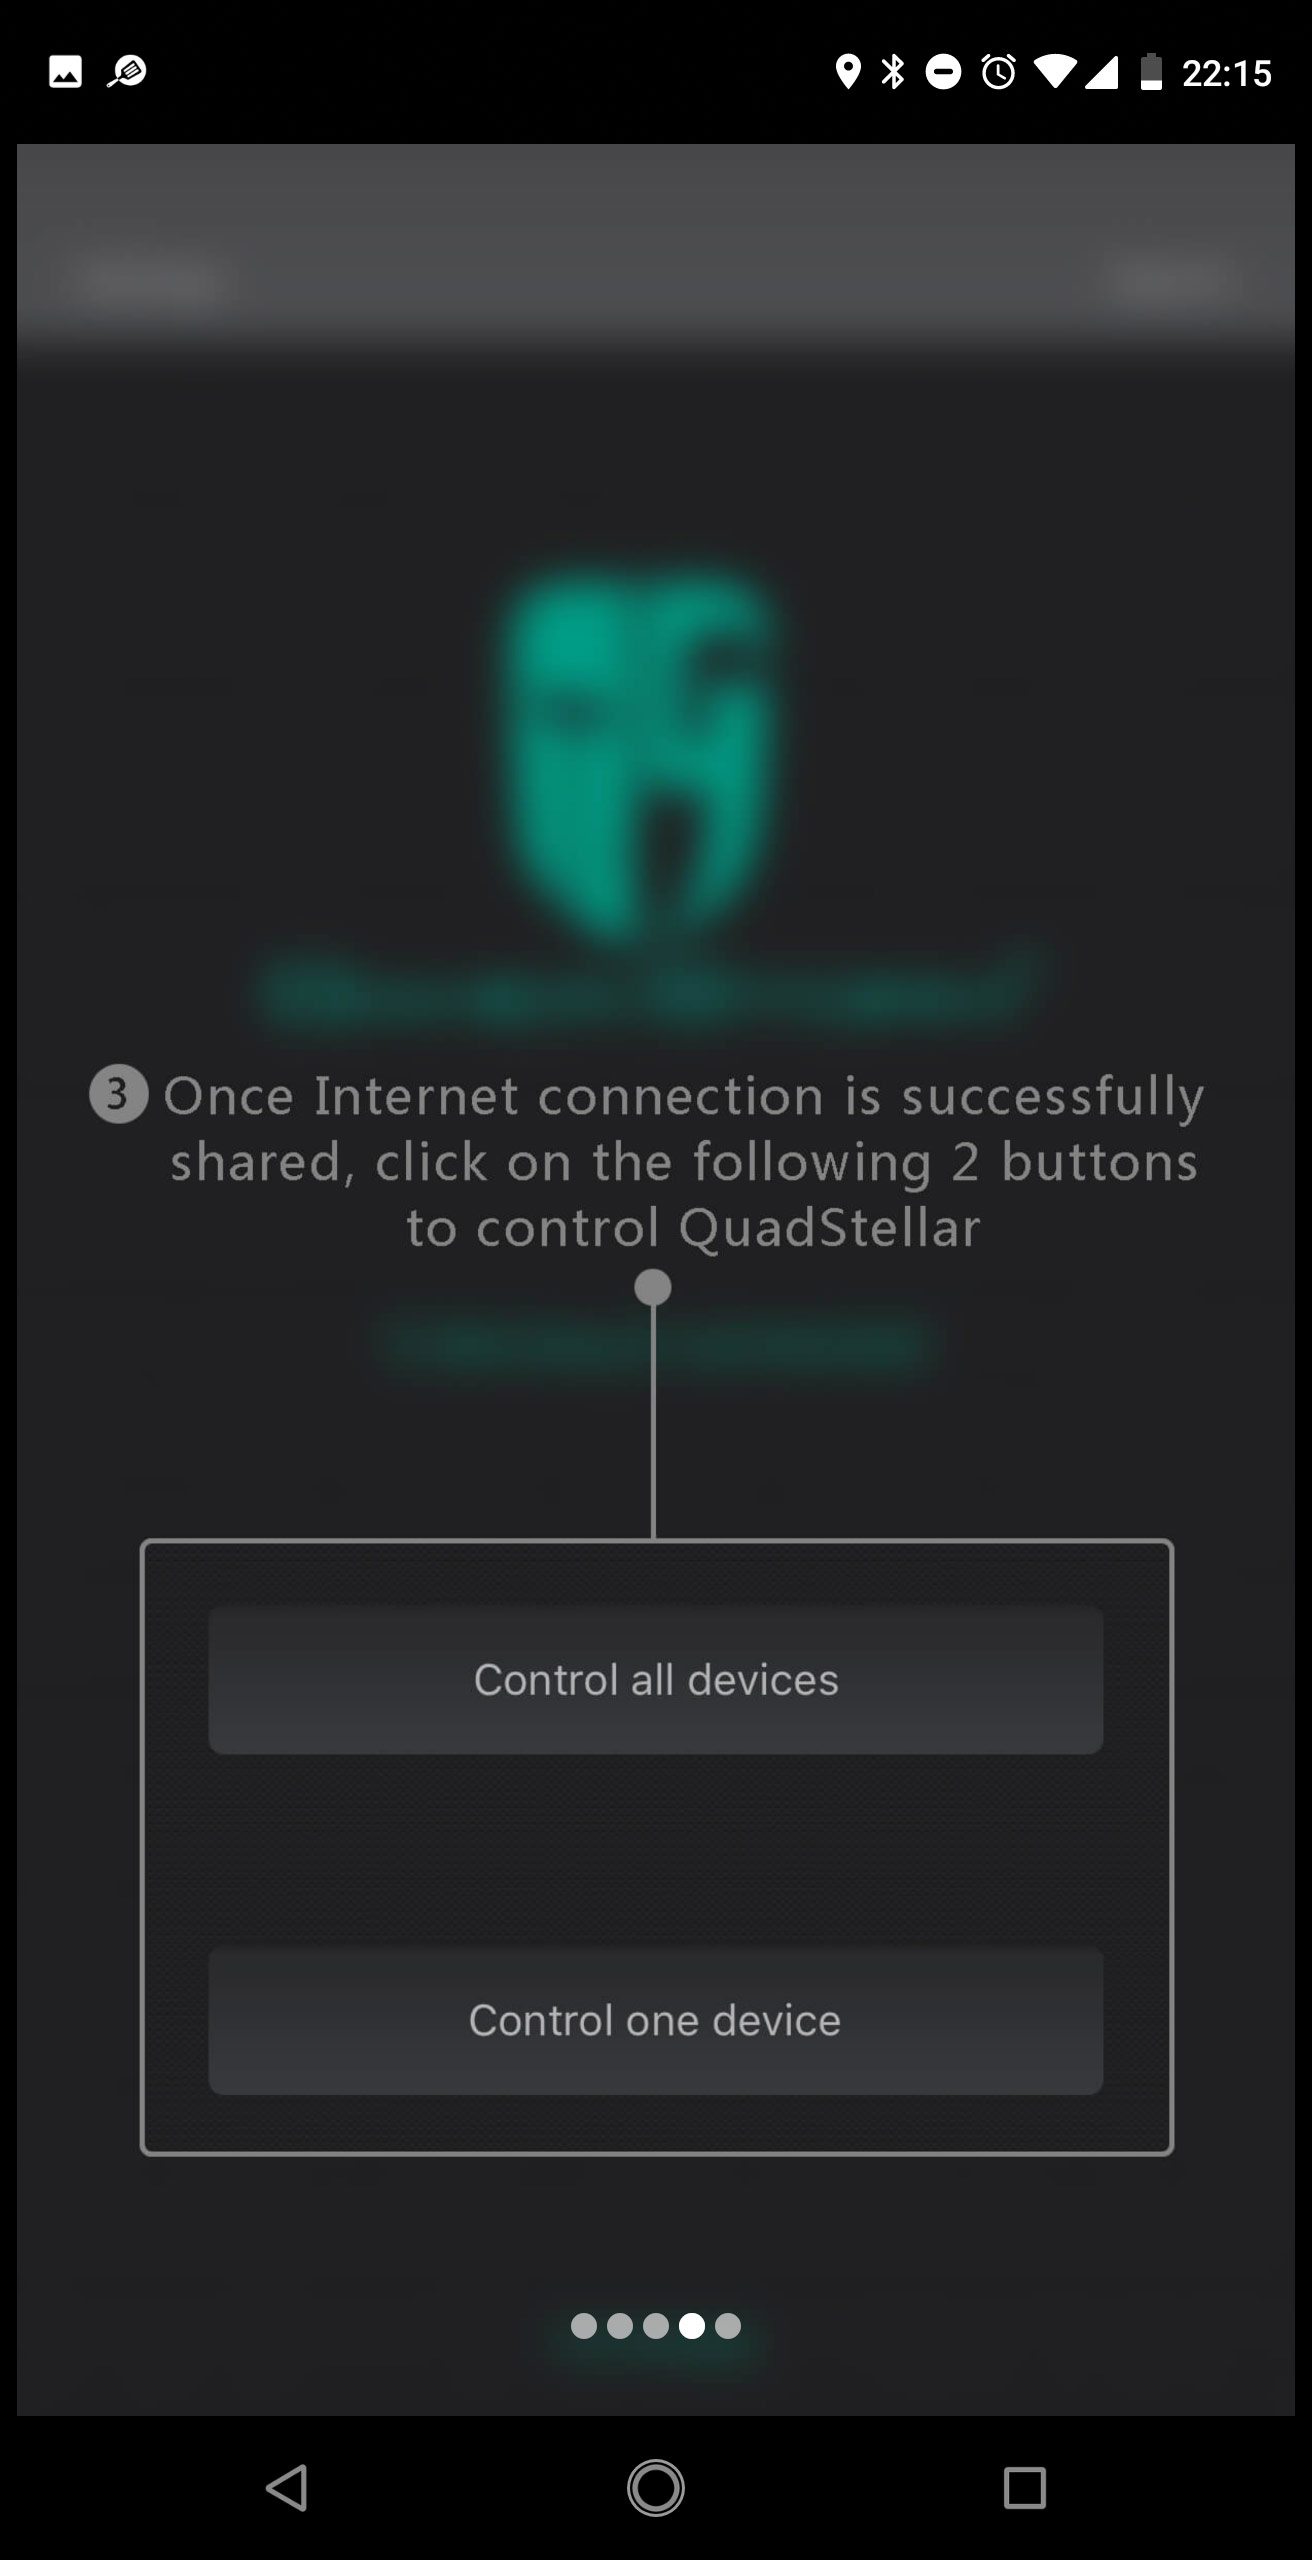
The app is divided into three areas, with the first revolving around lighting. You may control the various areas of the case's illumination individually and cycle through colors or animations. Alternatively, you can set the PCB to allow for external control by your motherboard.
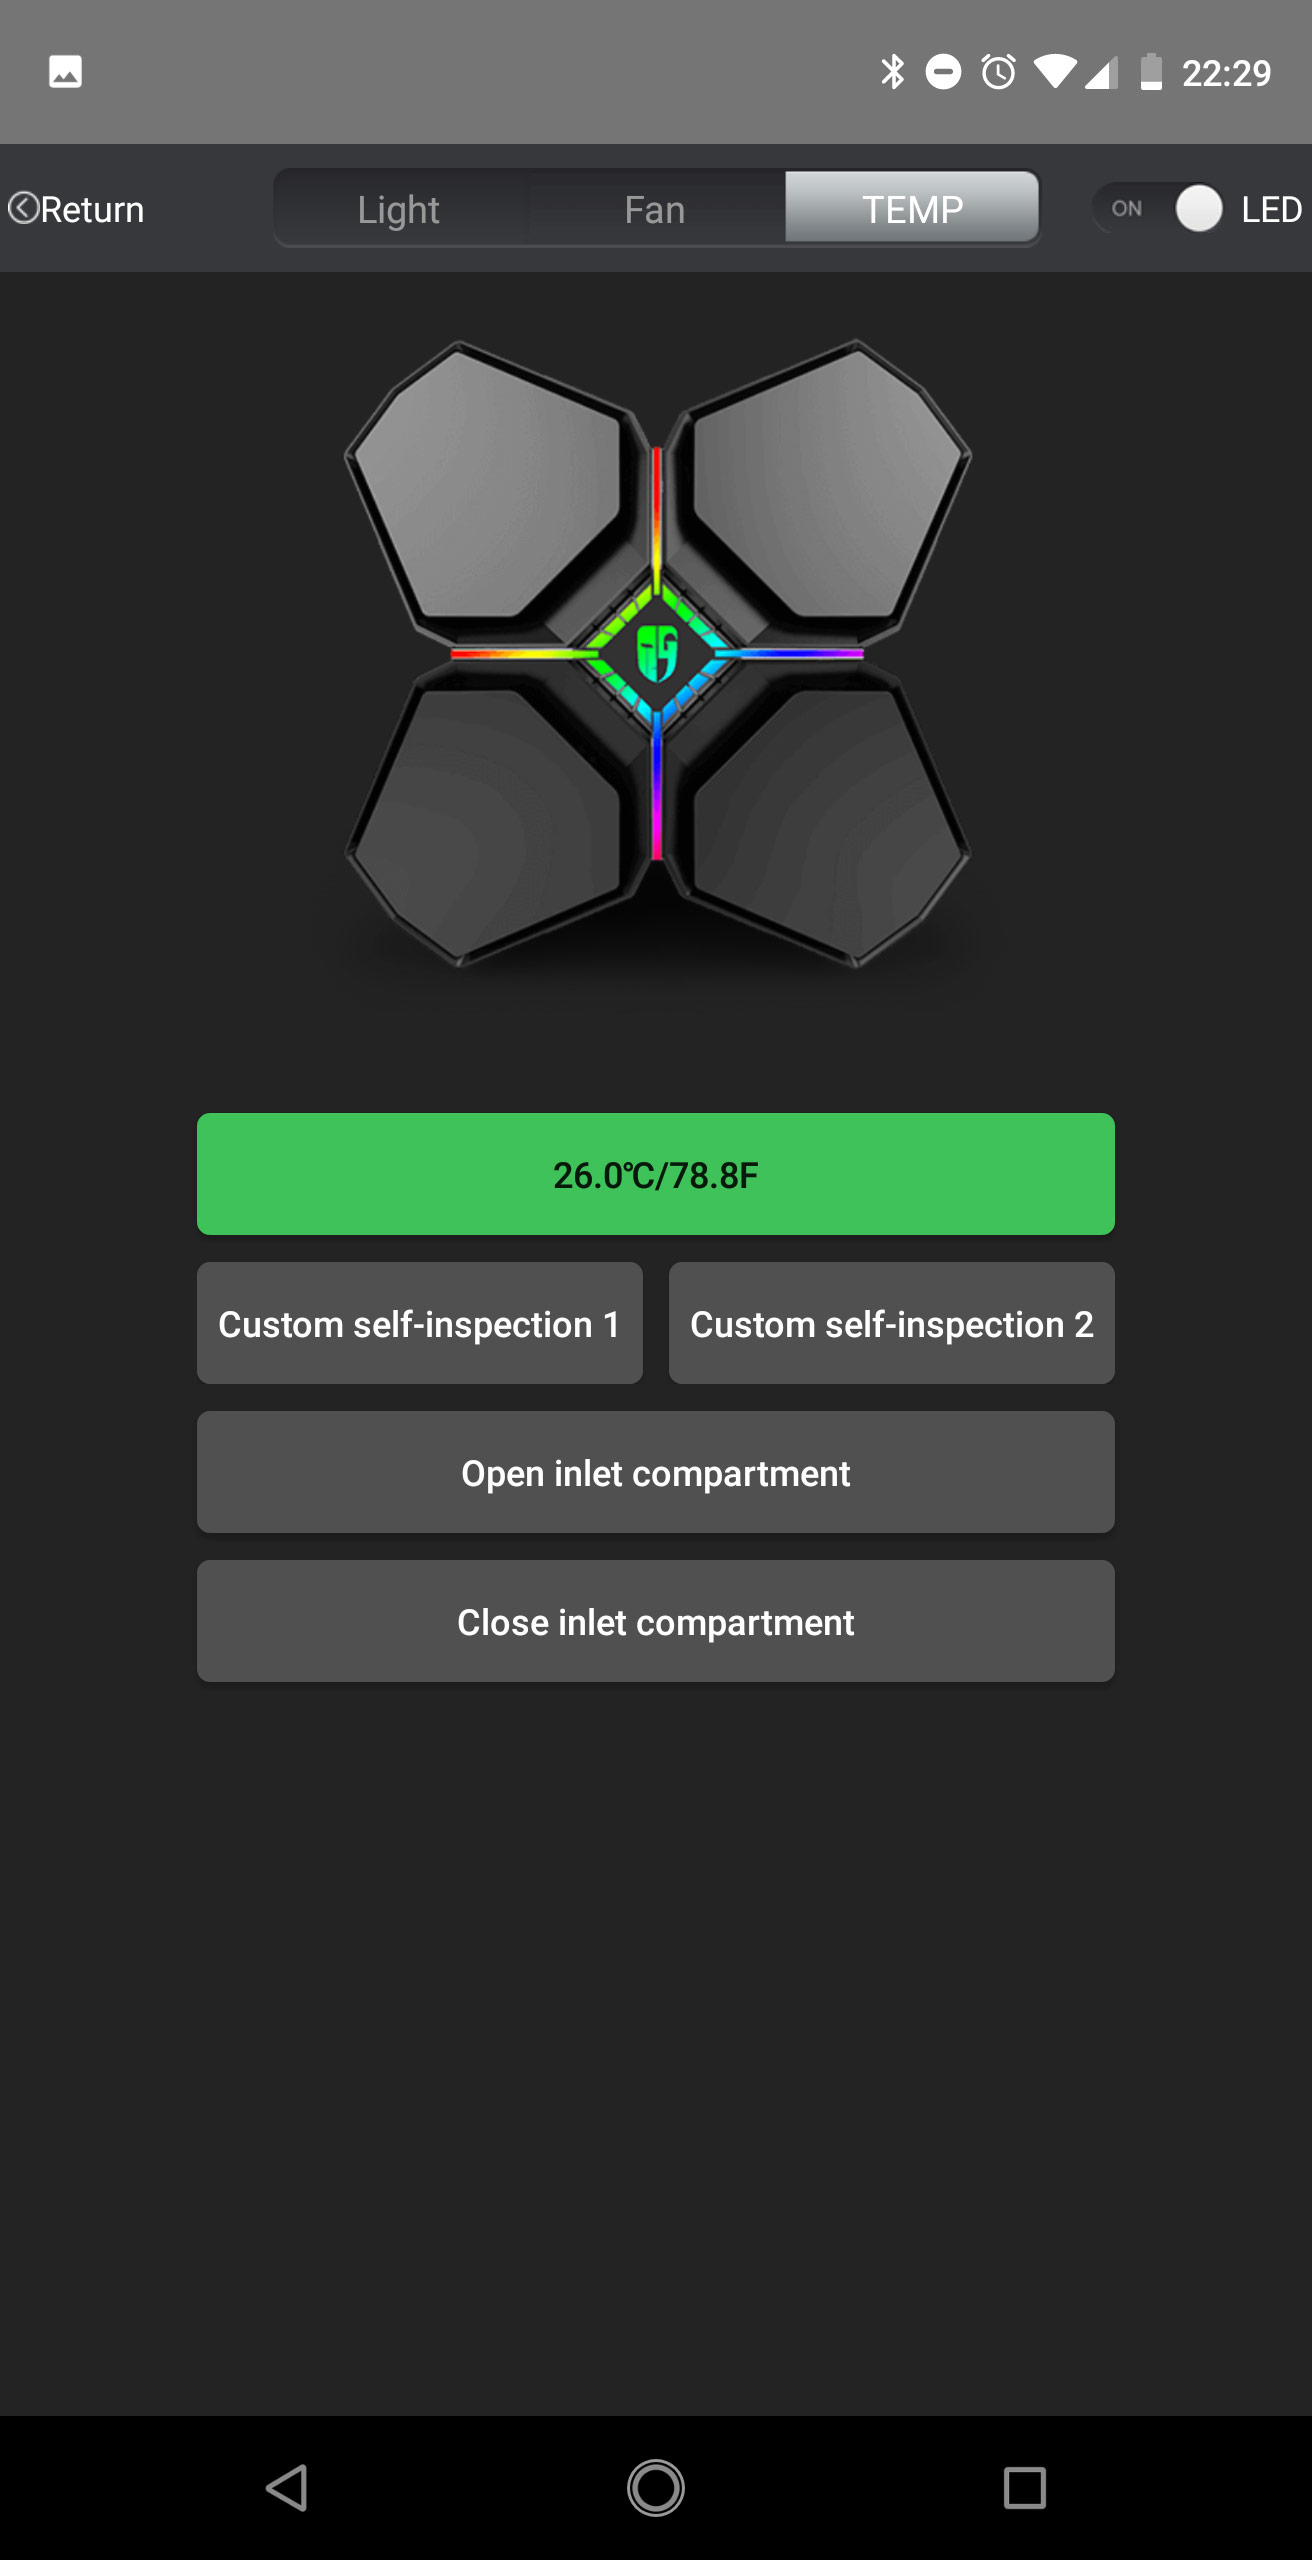
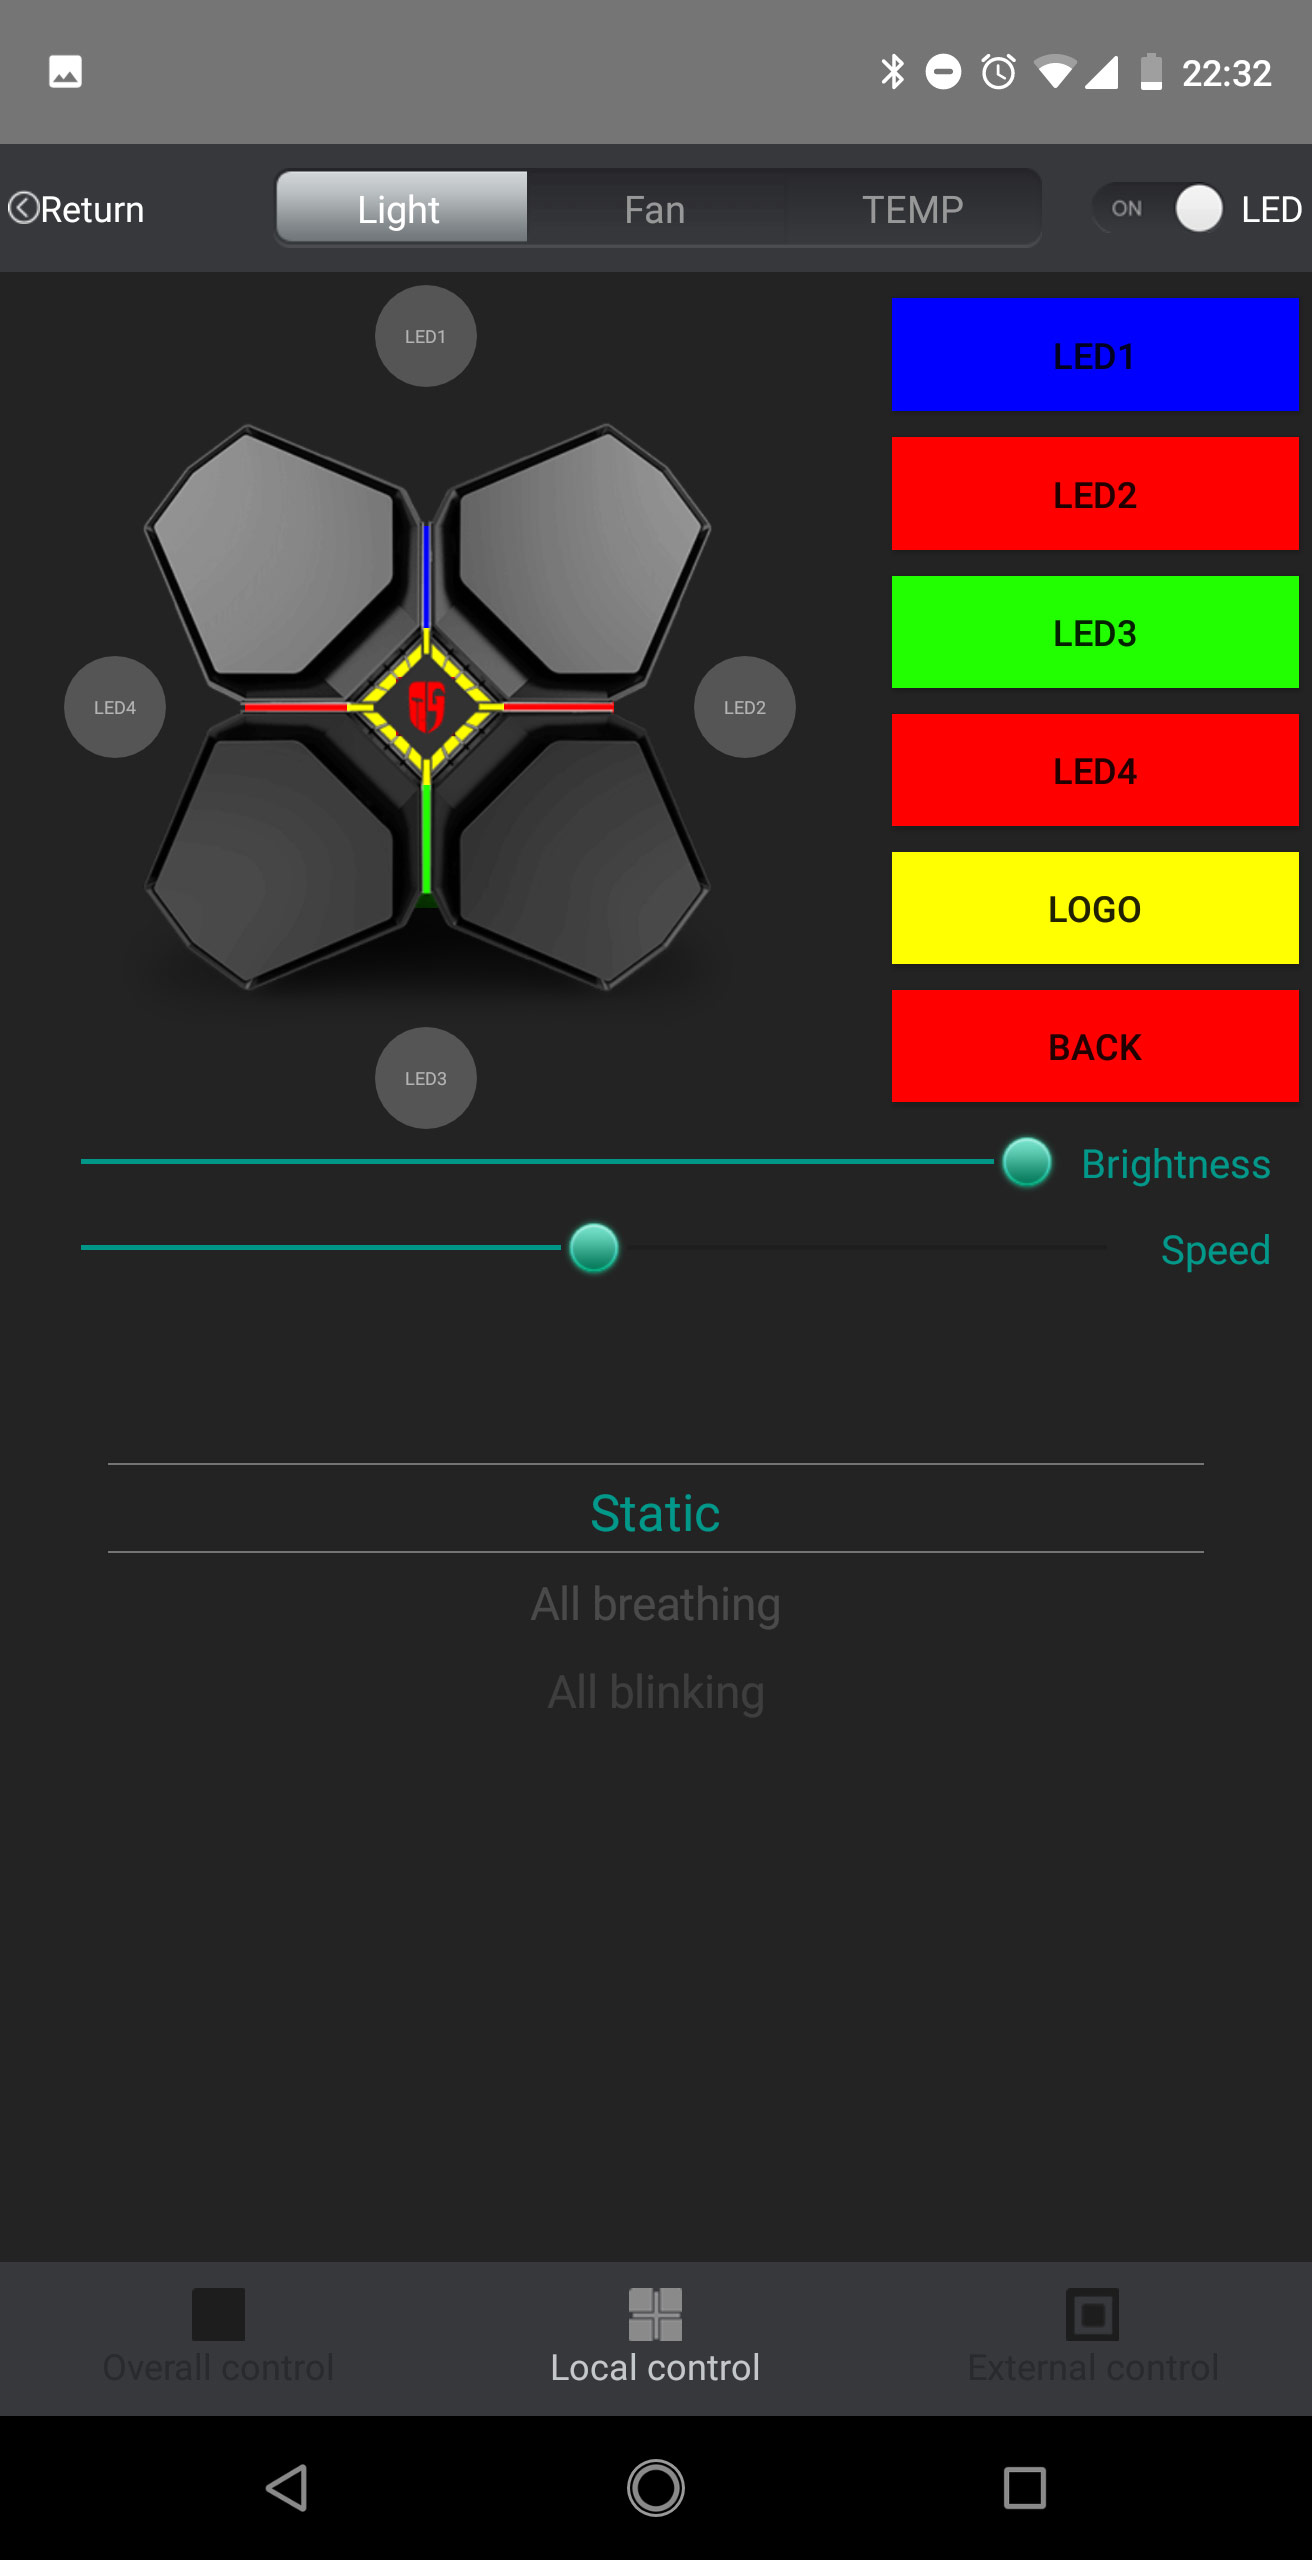
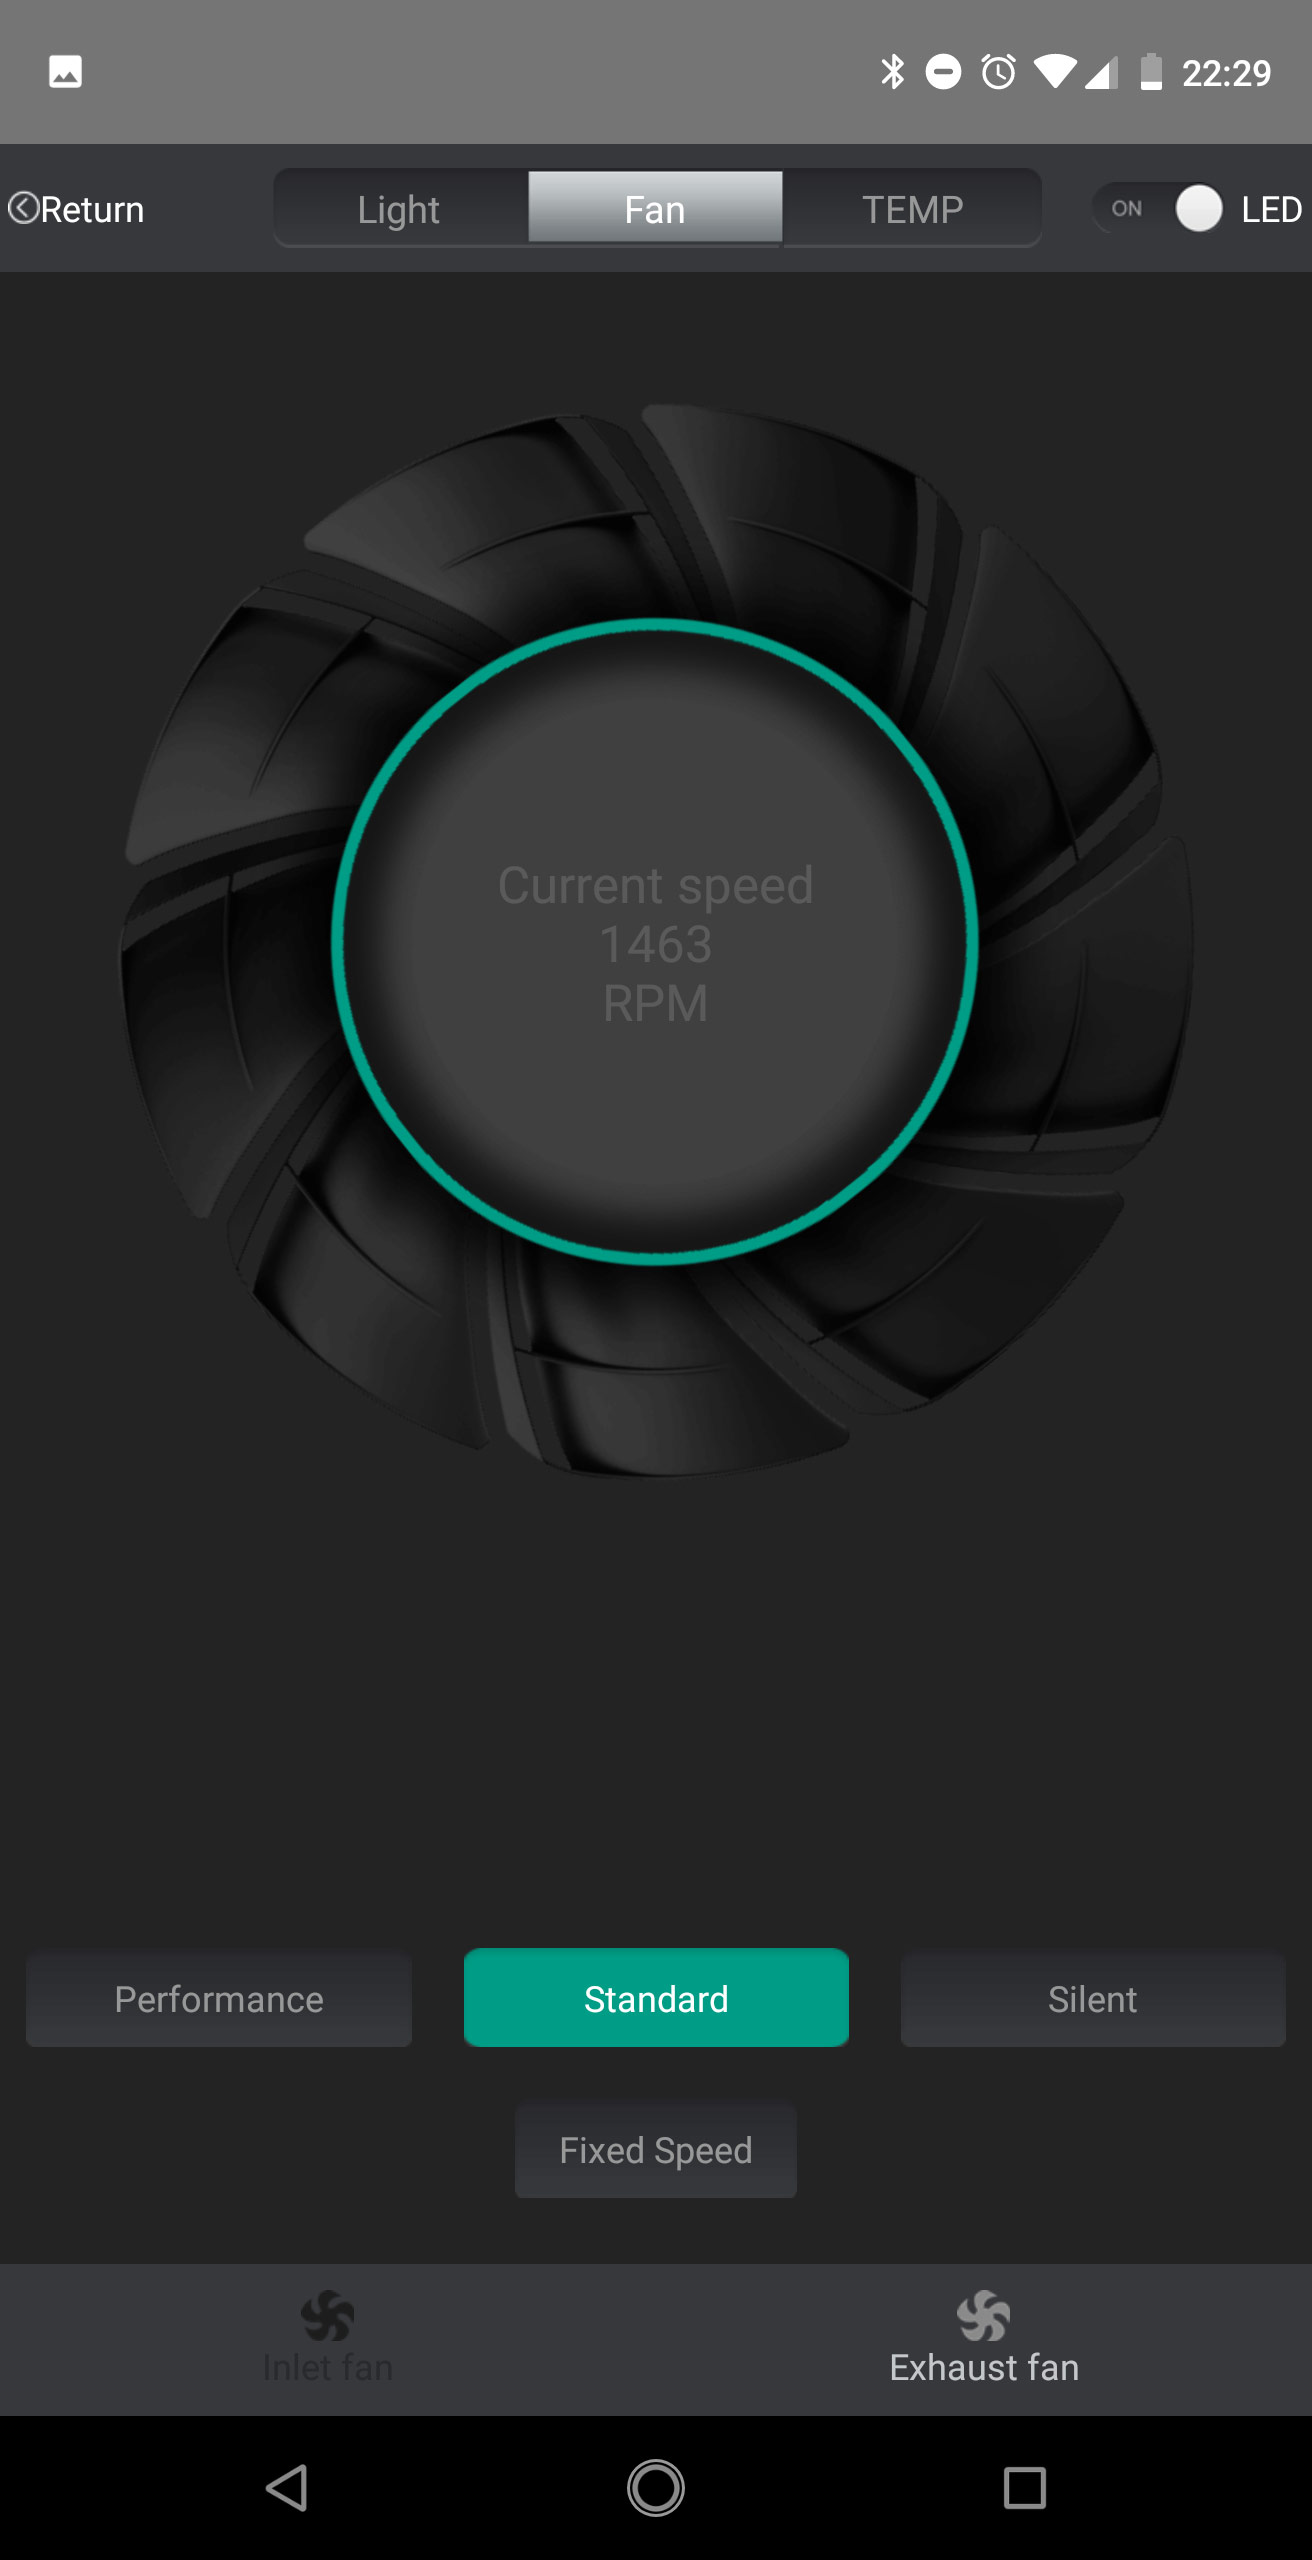
The second tap revolves around fan speed. You may select intake or exhaust fans to then set those areas to your liking. A spinning fan in the app further visualizes your settings. Last, but not least, there is the temperature tab, which gives you the current temperature of the system and allows you to set a temperature threshold upon which the front flaps will open to cool the system down further. On top of that, you can open and close them at any time manually.
Having an app like this is pretty amazing, and coming from someone who has a couple of years under his belt in terms of app development, the Deepcool app is quite good if you ignore the spelling and some UI/UX choices that were made.
Jul 15th, 2025 16:37 CDT
change timezone
Latest GPU Drivers
New Forum Posts
- I would give anything for Valve's Steam to have an option to disable the Big Picture Mode button. How many times have I accidently clicked it, fml (53)
- Adding distilled water to ups batteries really work ? (0)
- Stupid things one has done with hardware (66)
- No offense, here are some things that bother me about your understanding of fans. (145)
- RTX 5070 discussion (11)
- Choosing the right motherboard (6)
- Solidigm NVMe Custom Modded Driver for All NVMe Brands SSDs & Any NVMe SSDs (229)
- Recommend me a decent budget card :) (33)
- What's your latest tech purchase? (24278)
- TOS 6 on Ugreen NAS (0)
Popular Reviews
- MSI GeForce RTX 5060 Gaming OC Review
- Our Visit to the Hunter Super Computer
- Lexar NM1090 Pro 4 TB Review
- SilverStone SETA H2 Review
- NVIDIA GeForce RTX 5050 8 GB Review
- Fractal Design Epoch RGB TG Review
- Sapphire Radeon RX 9060 XT Pulse OC 16 GB Review - An Excellent Choice
- AMD Ryzen 7 9800X3D Review - The Best Gaming Processor
- Upcoming Hardware Launches 2025 (Updated May 2025)
- Corsair FRAME 5000D RS Review
TPU on YouTube
Controversial News Posts
- Intel's Core Ultra 7 265K and 265KF CPUs Dip Below $250 (288)
- Some Intel Nova Lake CPUs Rumored to Challenge AMD's 3D V-Cache in Desktop Gaming (140)
- AMD Radeon RX 9070 XT Gains 9% Performance at 1440p with Latest Driver, Beats RTX 5070 Ti (131)
- NVIDIA Launches GeForce RTX 5050 for Desktops and Laptops, Starts at $249 (122)
- NVIDIA GeForce RTX 5080 SUPER Could Feature 24 GB Memory, Increased Power Limits (115)
- Microsoft Partners with AMD for Next-gen Xbox Hardware (105)
- Intel "Nova Lake‑S" Series: Seven SKUs, Up to 52 Cores and 150 W TDP (100)
- NVIDIA DLSS Transformer Cuts VRAM Usage by 20% (99)