 4
4
Drop CTRL Mechanical Keyboard Review
Software »Disassembly
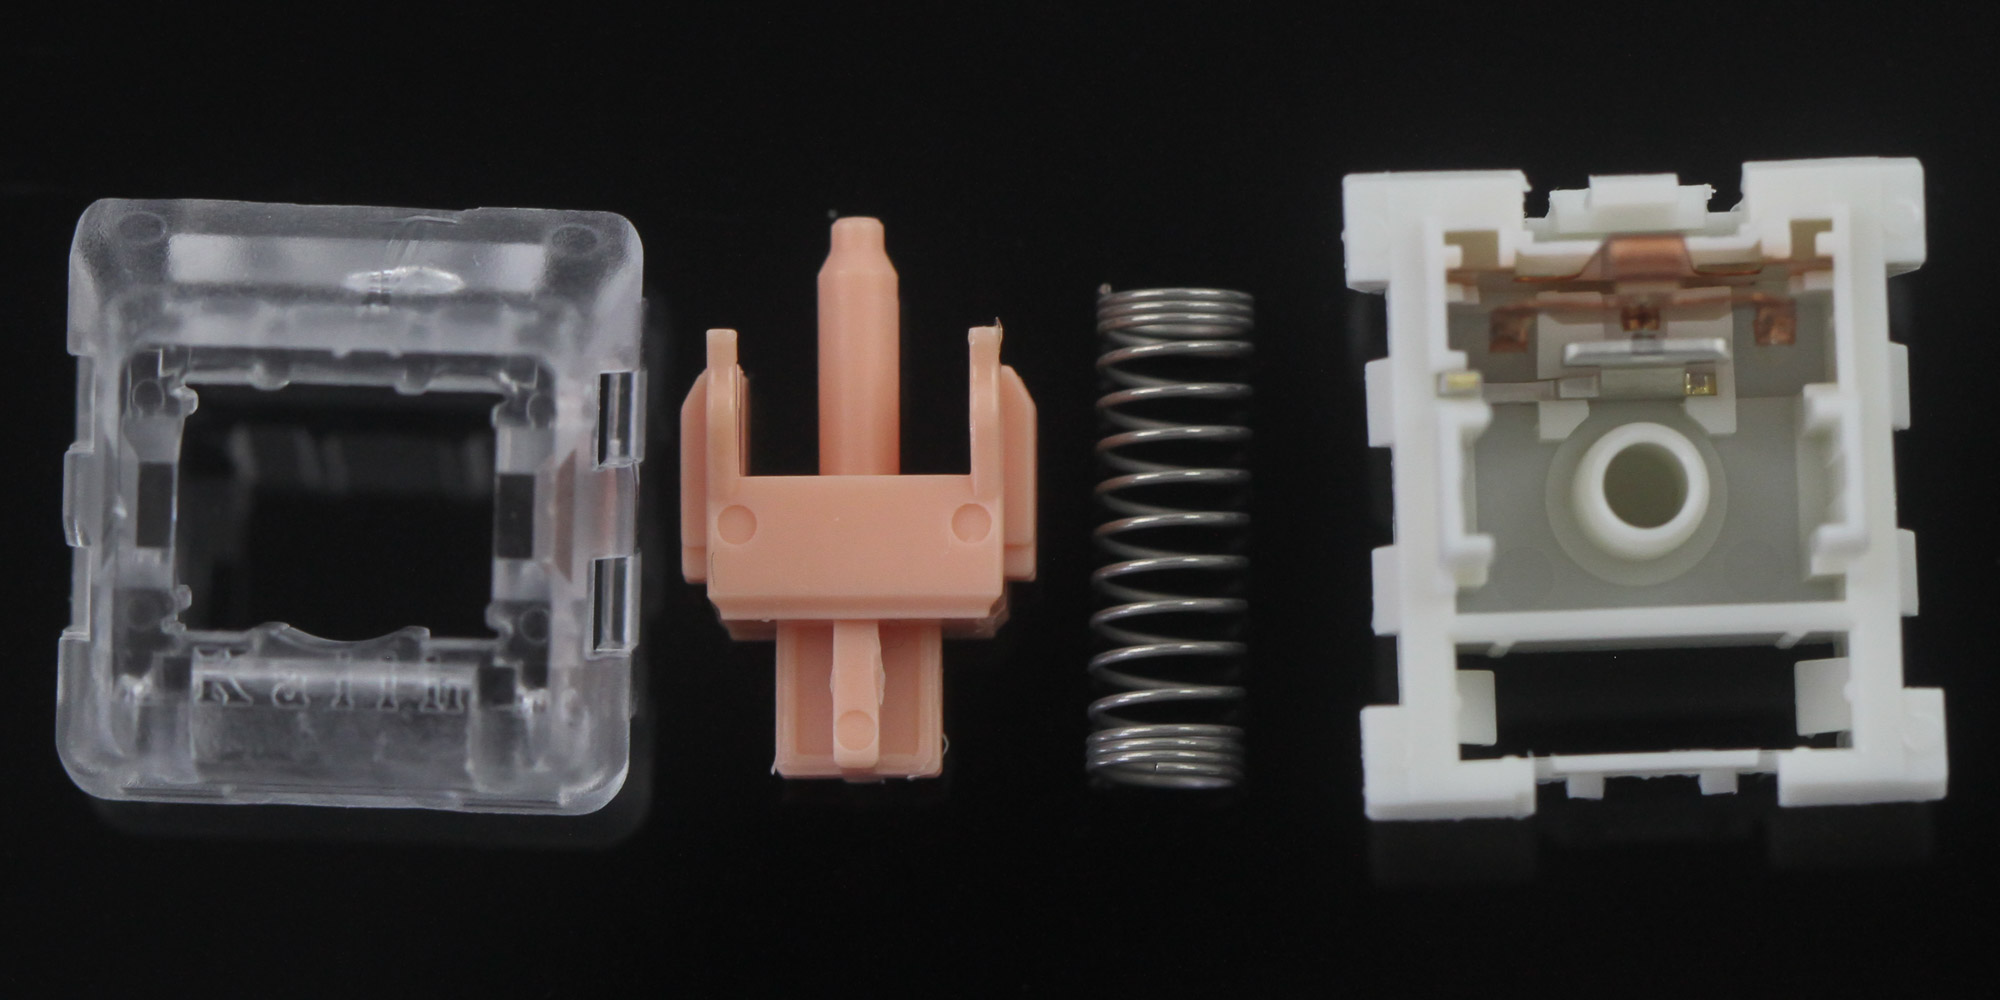
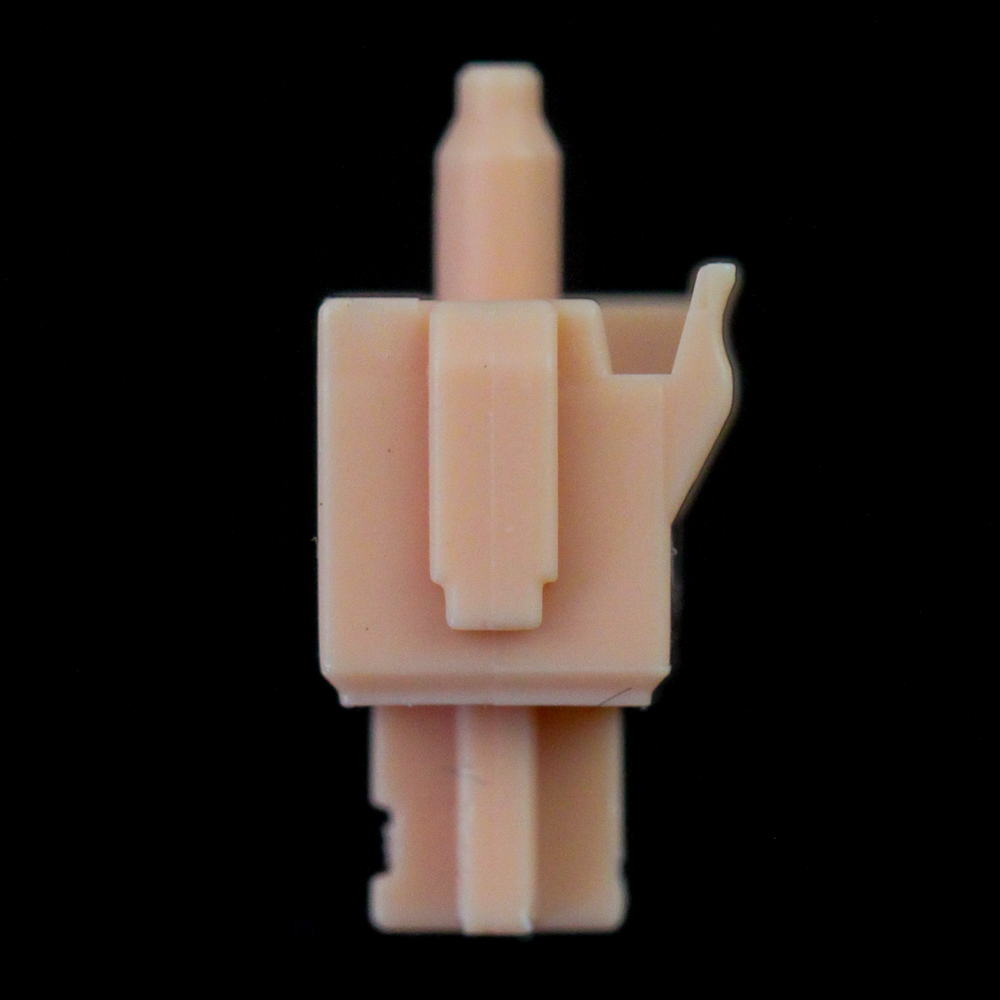

Given we have hot-swappable switches, why not start by taking one apart? The Halo True is a tactile switch adopting the Cherry MX cross-point stem design with a clear top, salmon pink stem, metal spring, and base housing that also houses the metal leaf contact. The stem comes pre-lubed, which is also nice to see for tactile switches, and the spring is quite short with a standard coiling mechanism. The tactile feedback is produced by bumps in the slider that make contact with the metal leaves in the bottom housing, with actuation taking place through a second such bump pushing the two metal pieces together to complete the circuit. This means that feedback is physically different from actuation, but only just.
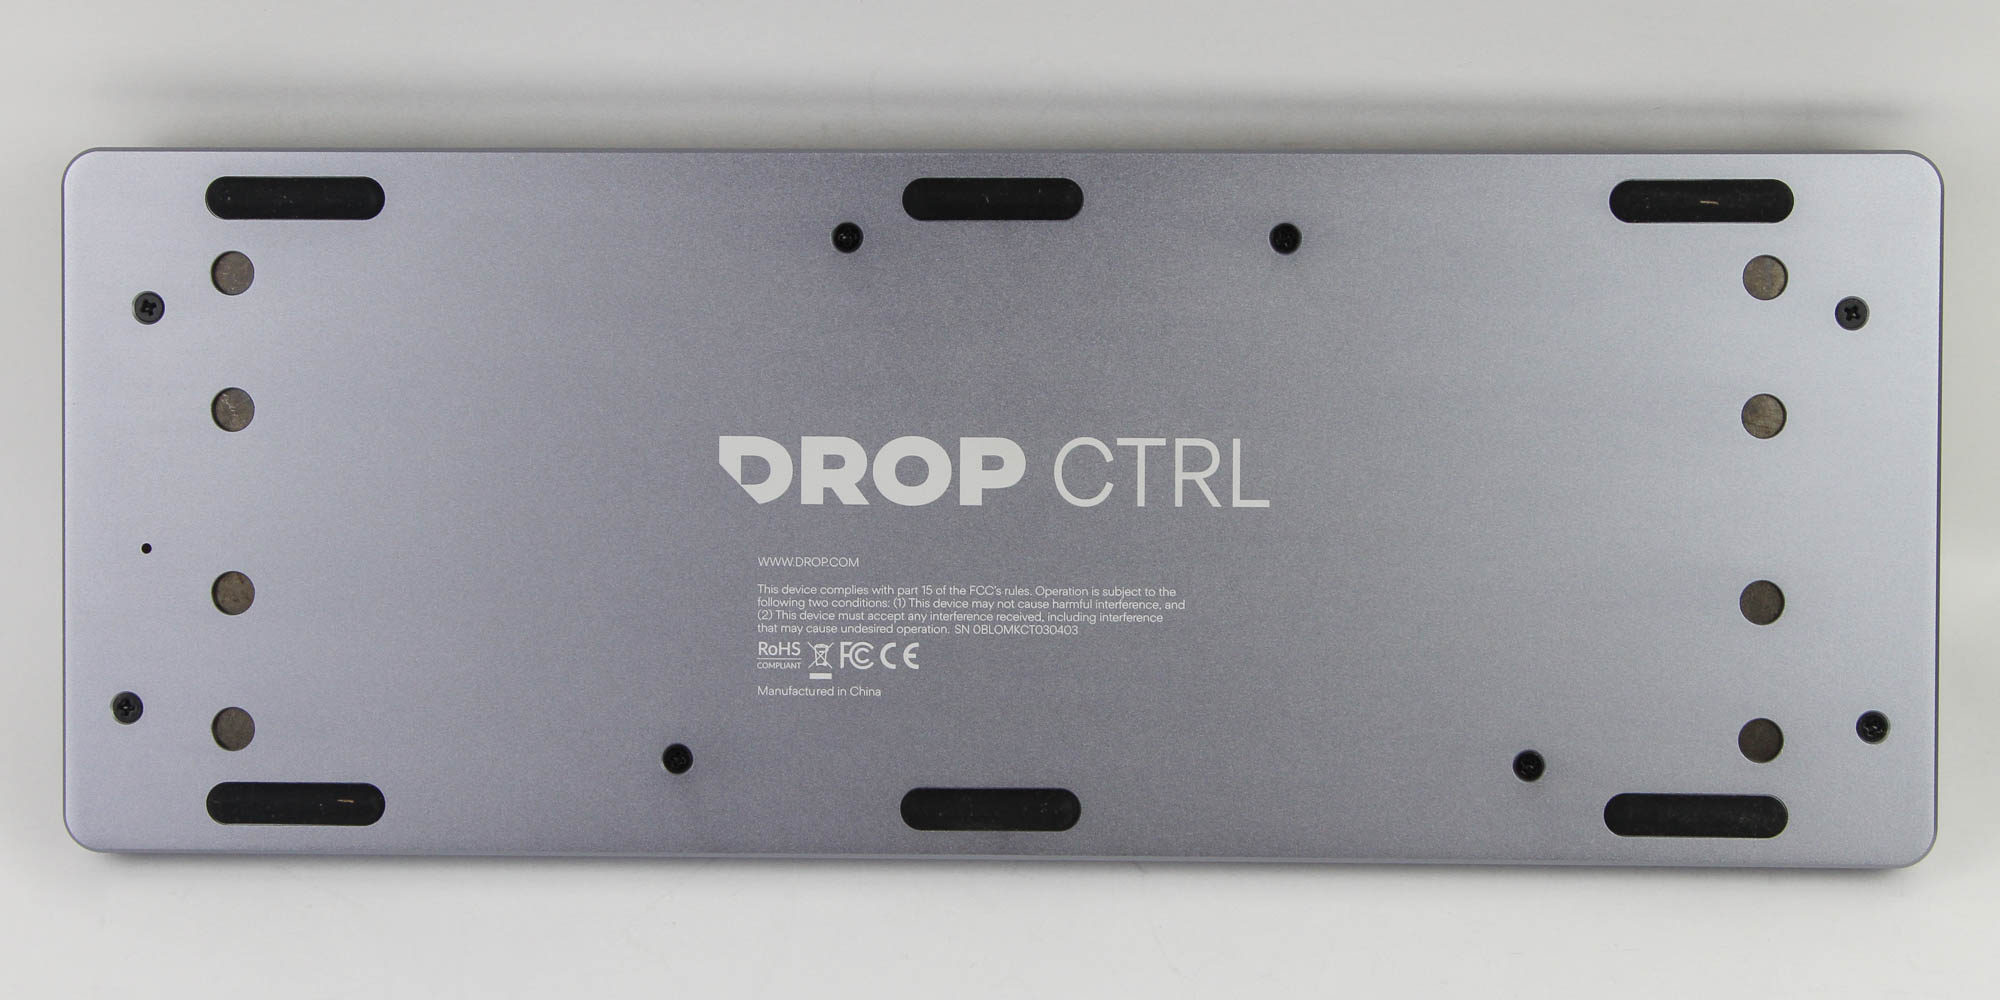

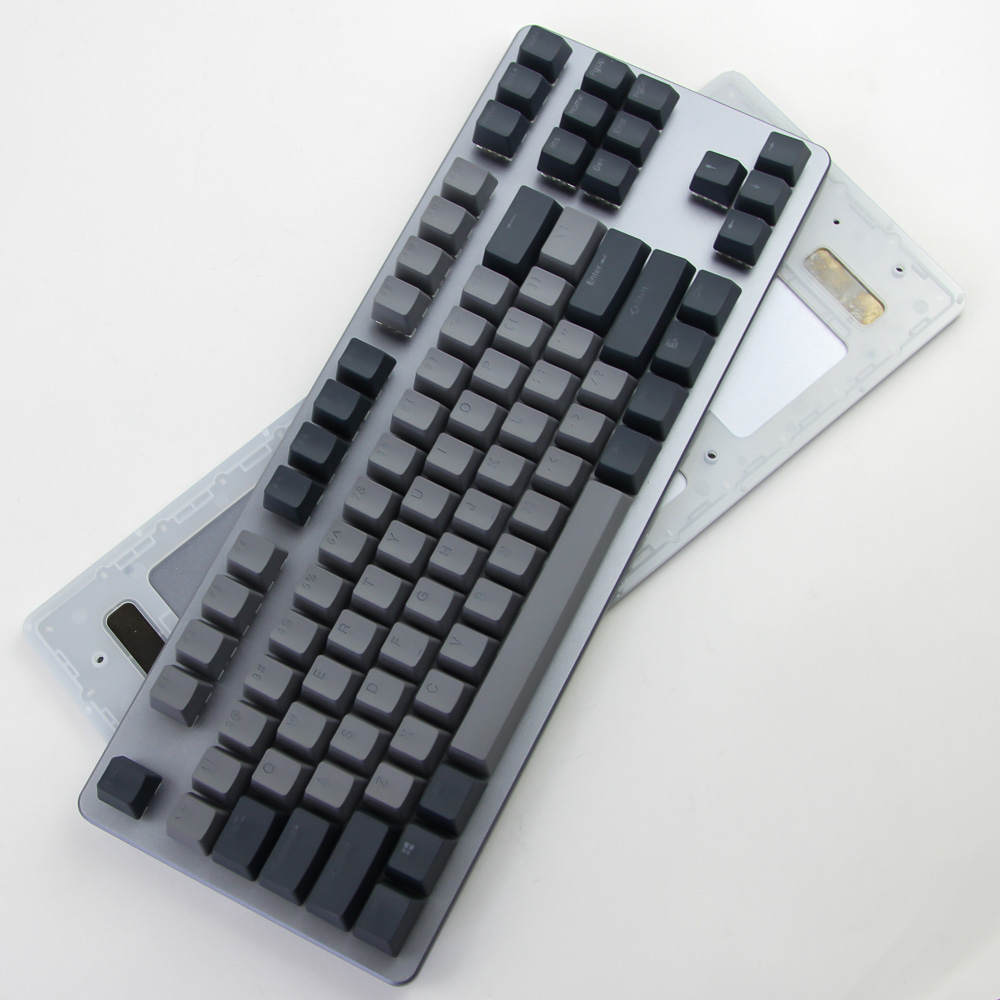
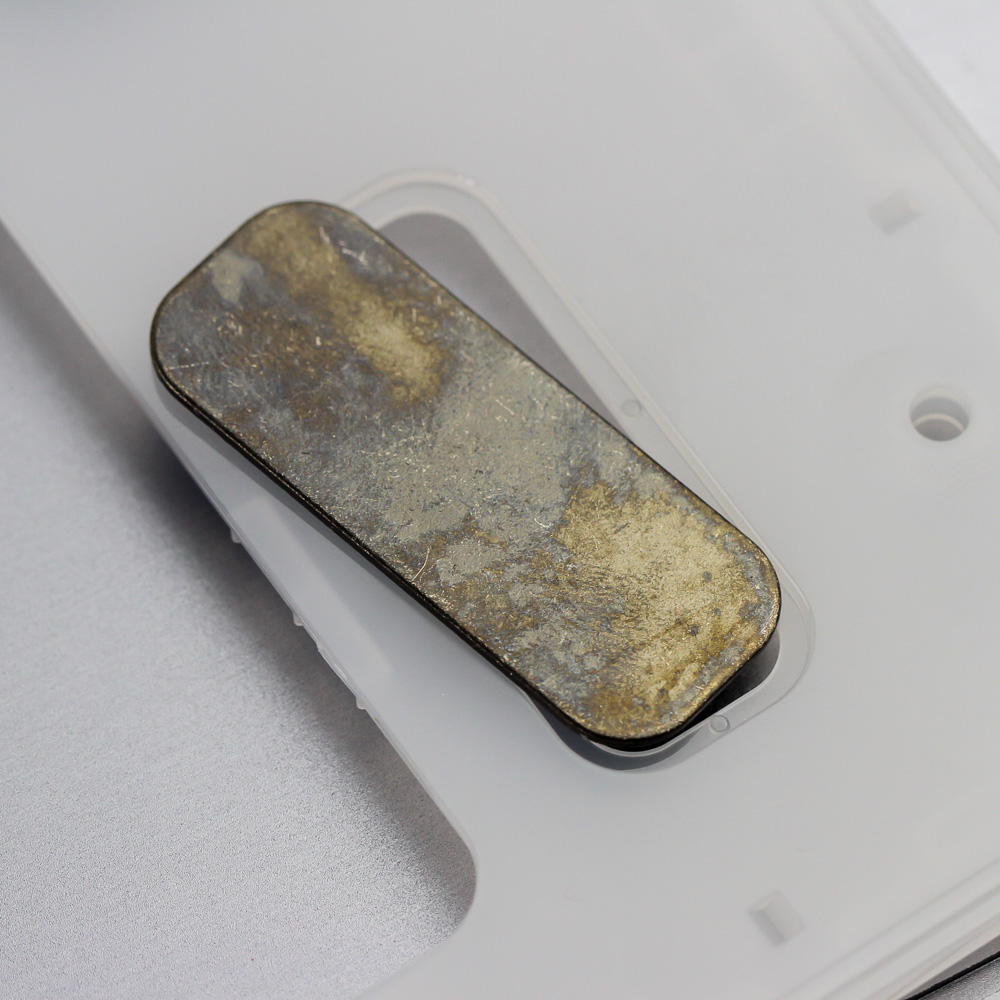
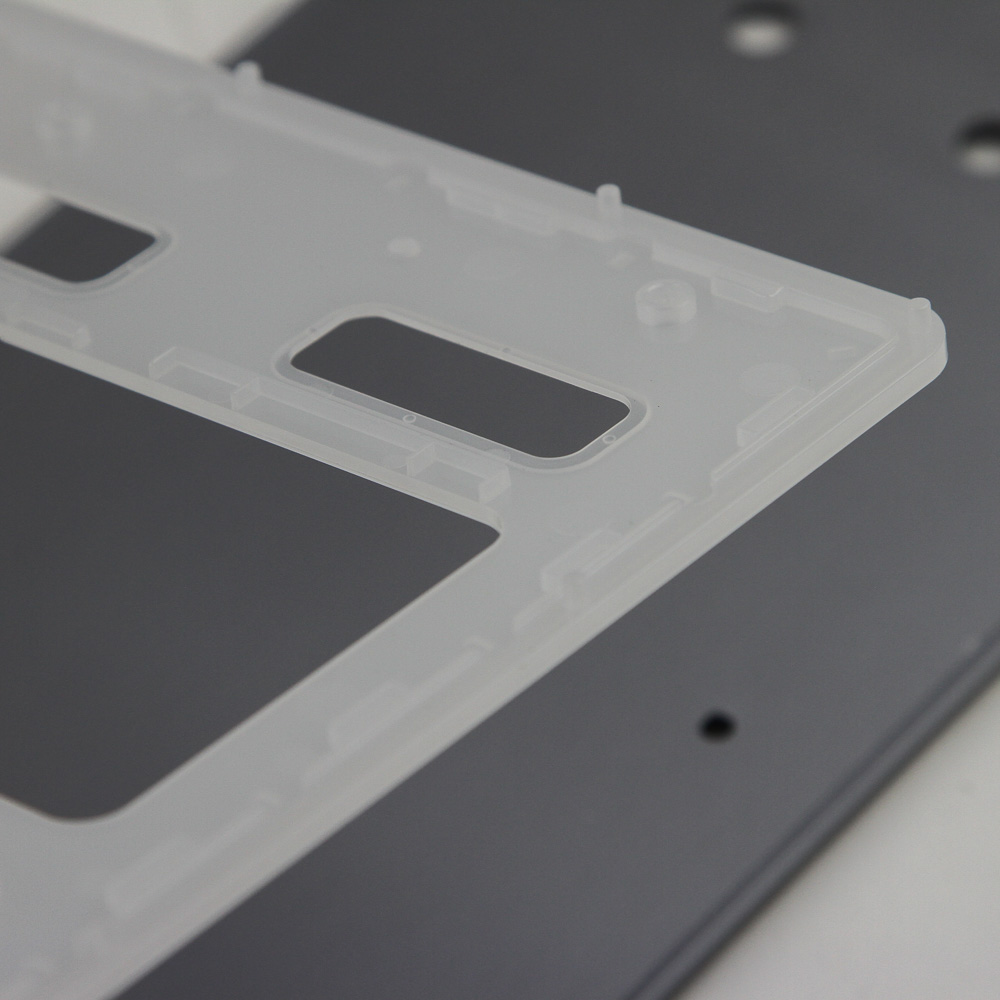
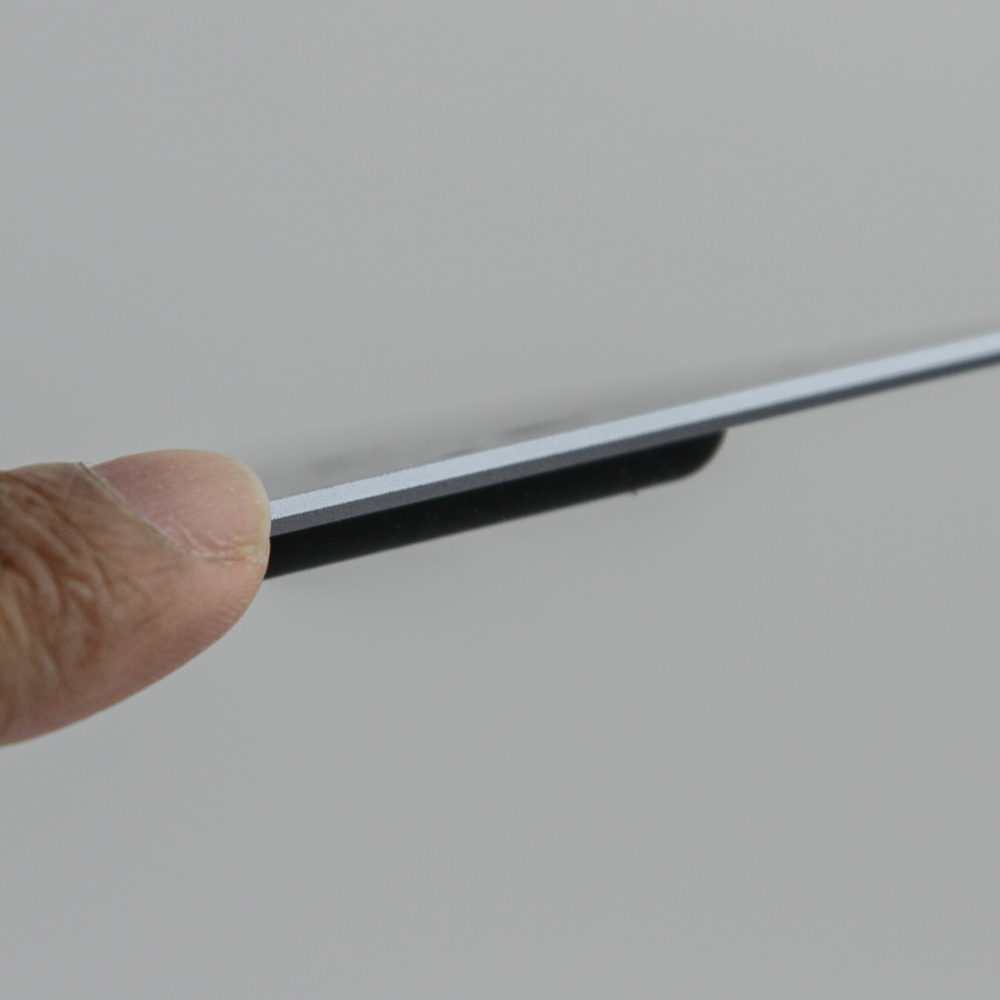
Disassembly of the Drop CTRL is on the simpler side of things owing to the use of eight screws on the back. The provided Phillips screwdriver of the keycap puller comes in handy here, and taking the screws off shows the industrial design at play. The bottom "case" is just a plate, and CNC-machined aluminium at that. It gets a gray anodized layer on this Space Gray model, and the finish on the inside is also quite good even if it is not necessarily practical. It is here where we see the magnets, four of them in fact, in cutouts on the plastic diffuser itself. These are what poke through on the bottom to allow the add-on feet to be installed. The plastic sheet is larger than I thought, more than just a trim on the sides and with some guiding points to secure it in place for installation. It is also thicker than the bottom plate itself, which does bode well for light diffusion.
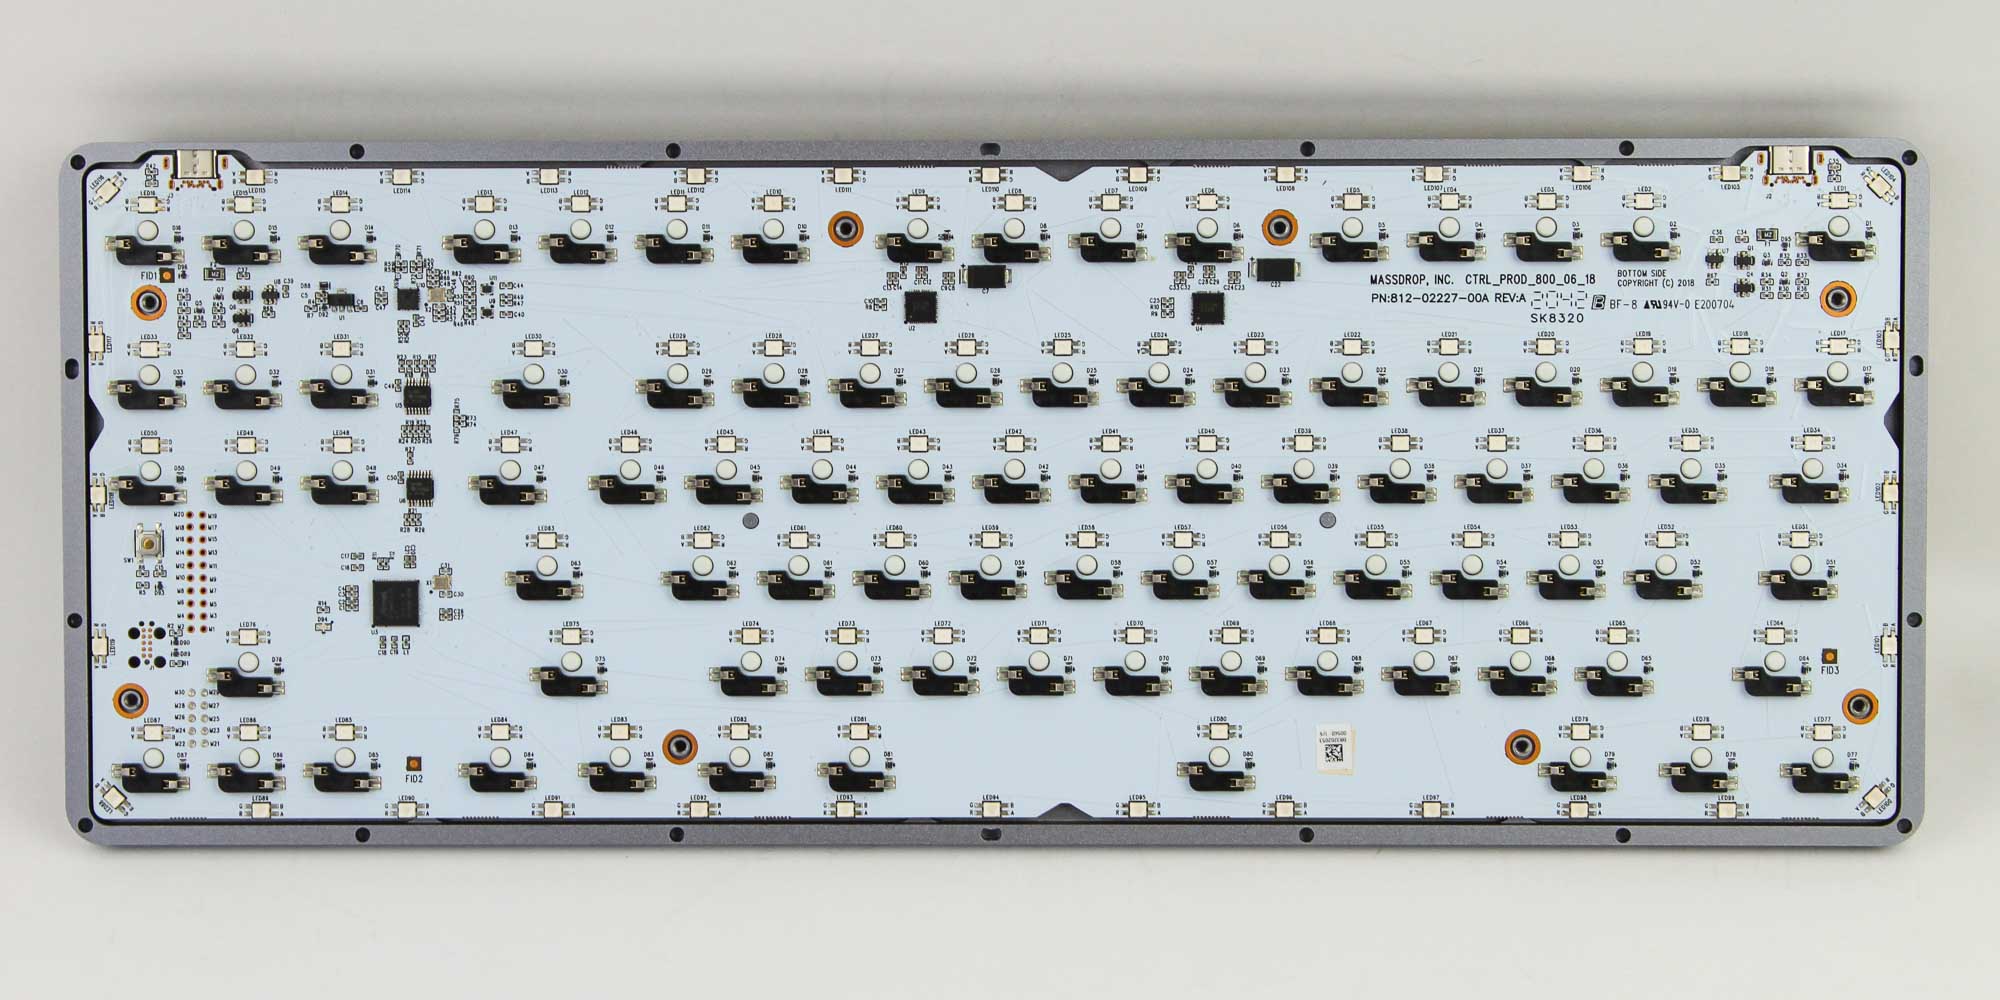
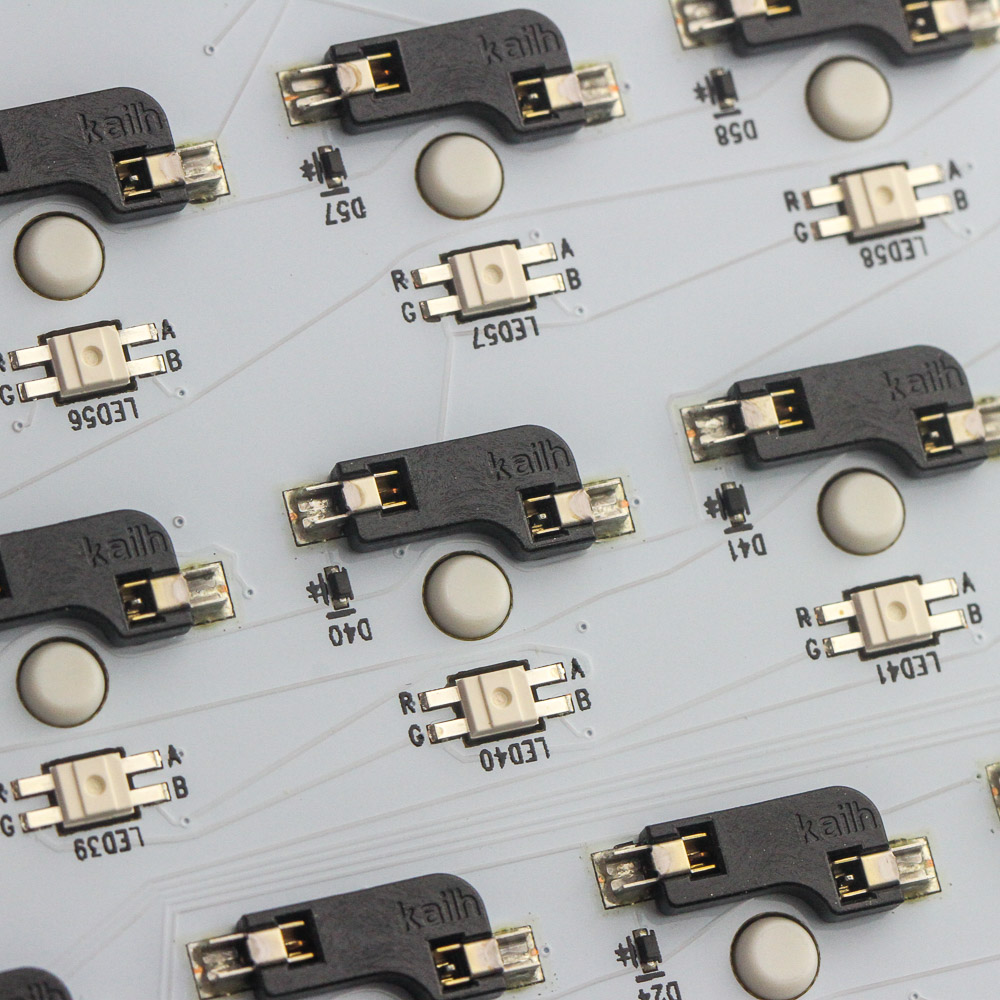
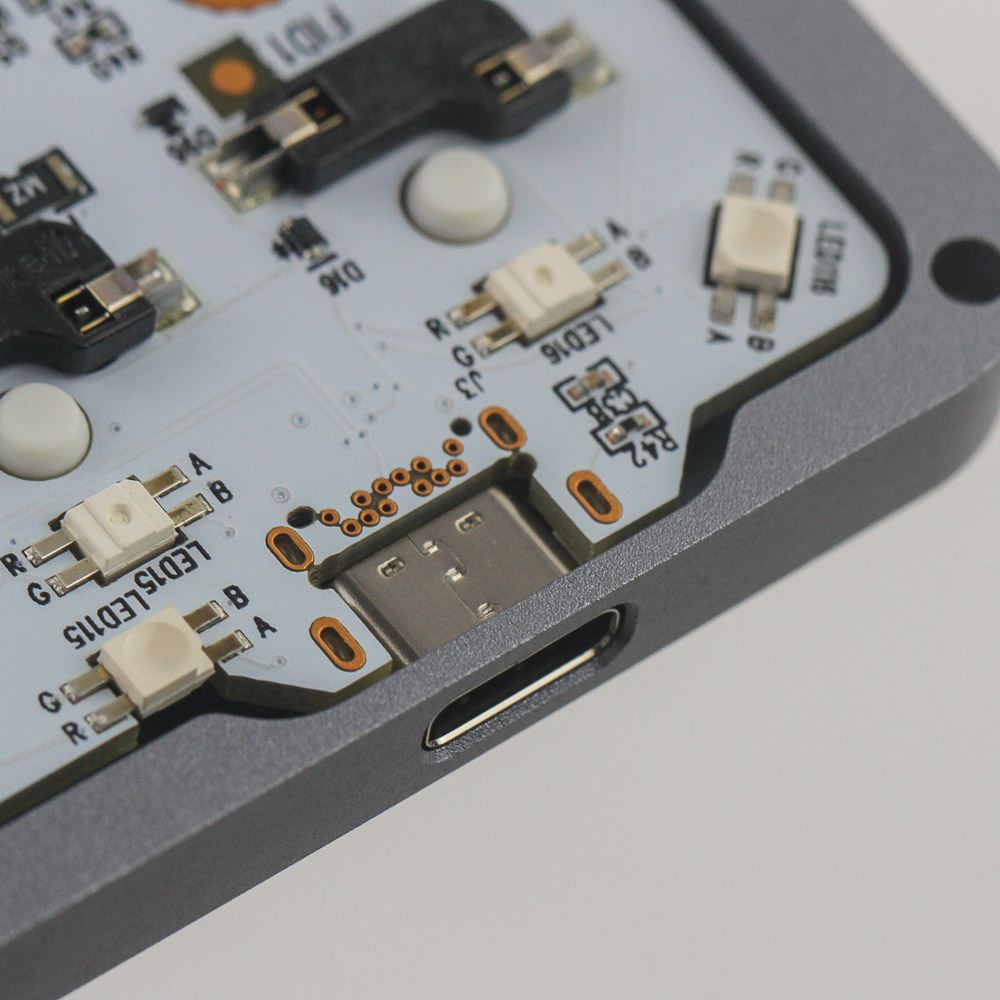
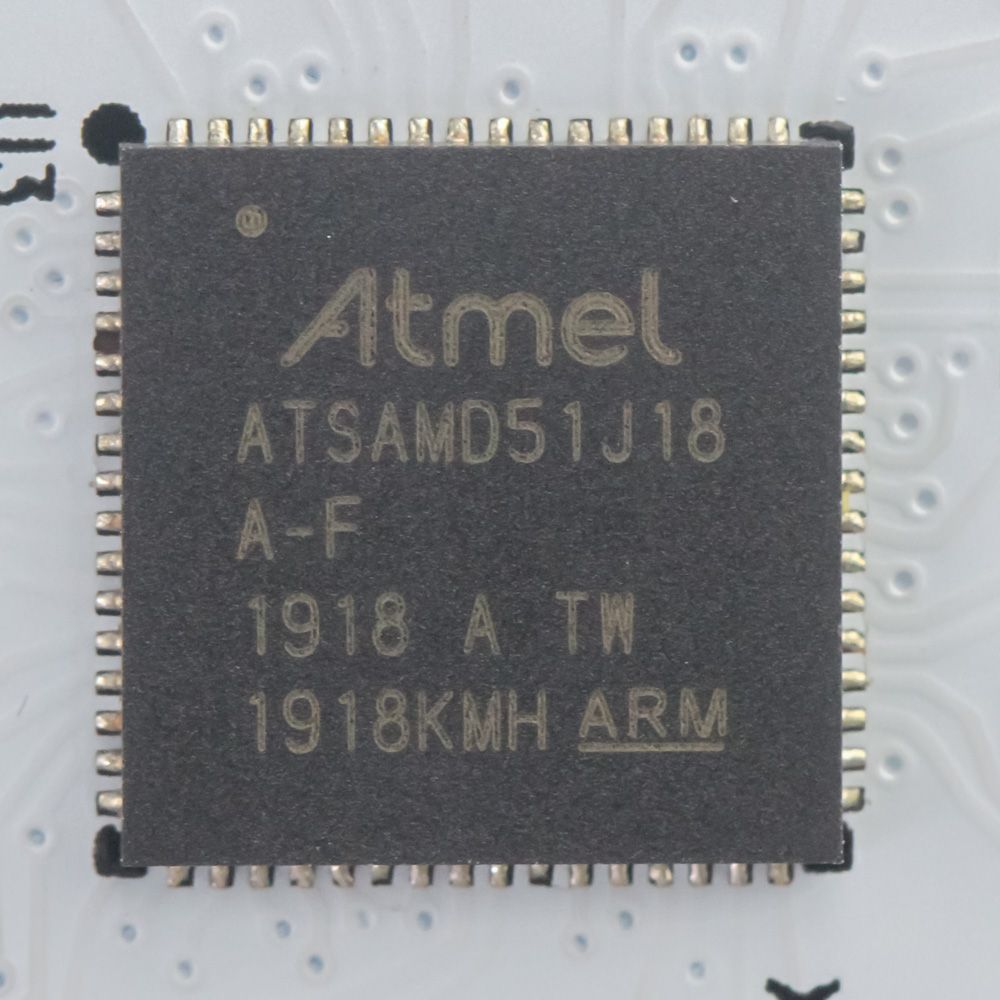
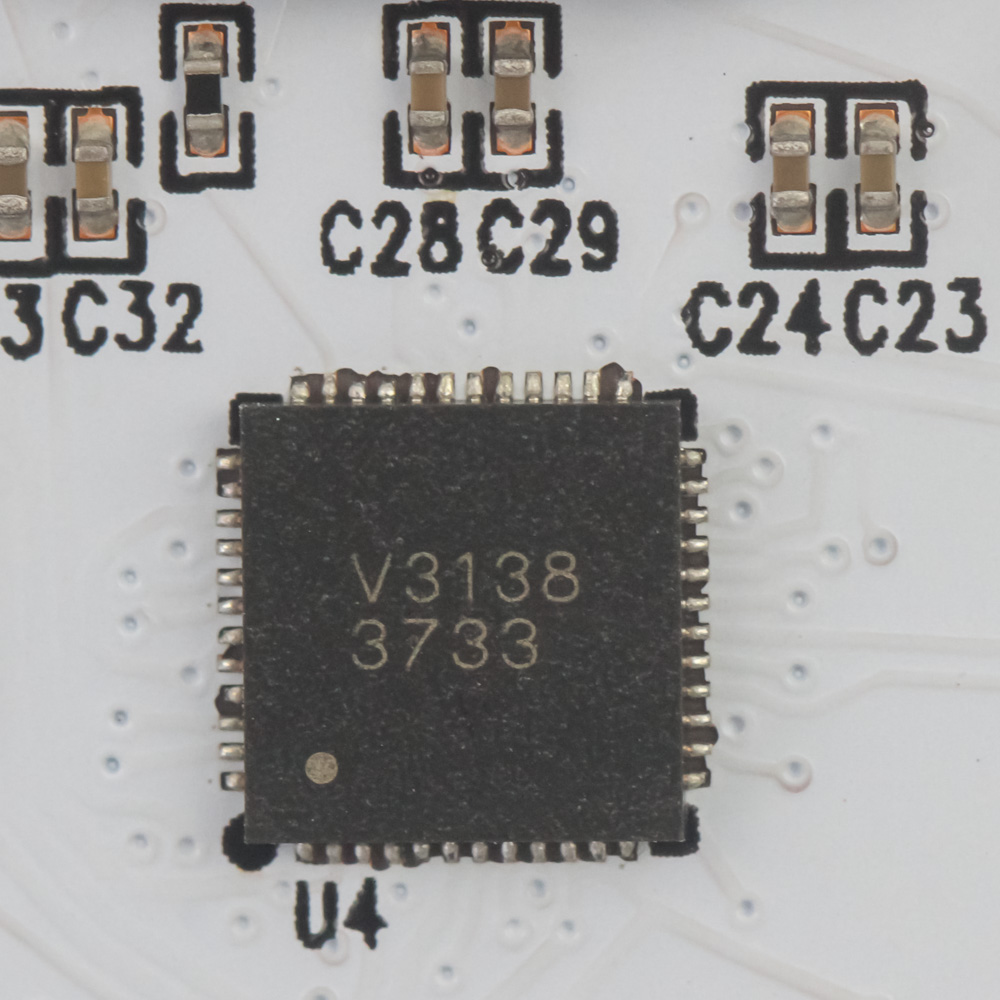
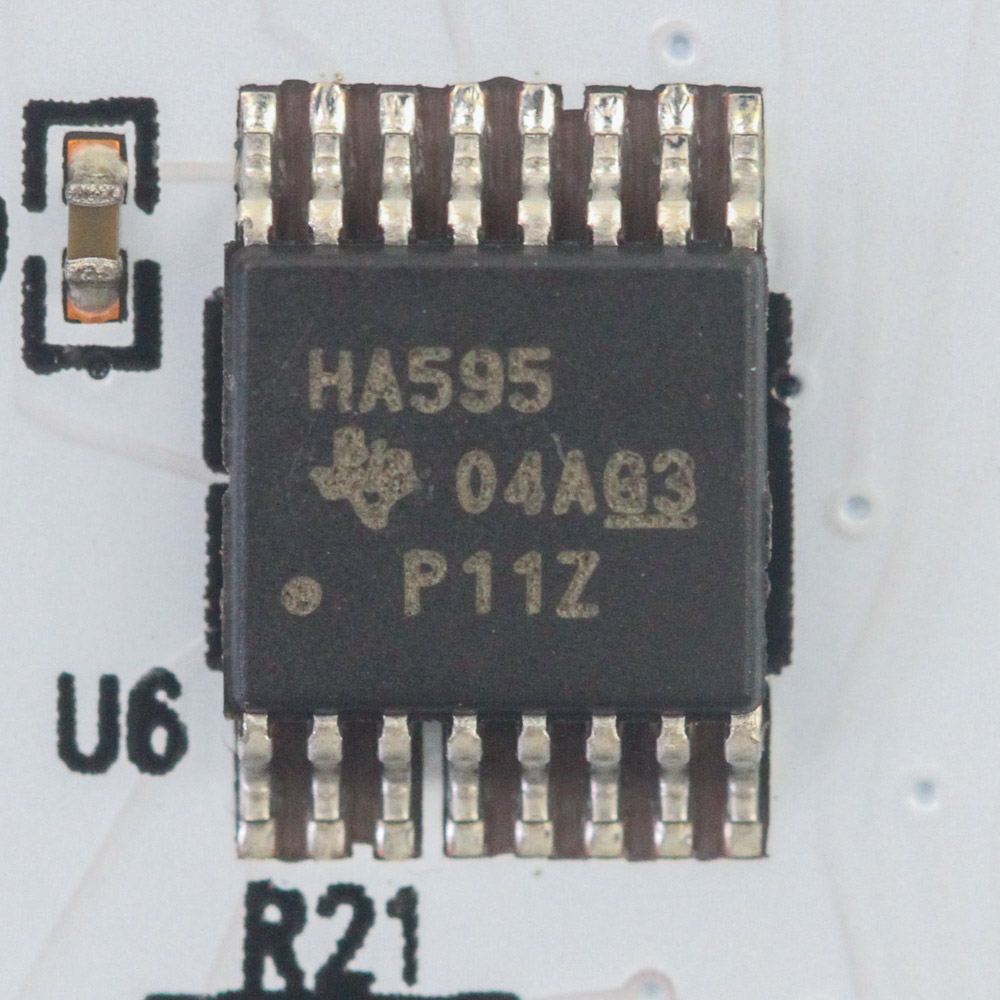
The PCB is white, and I immediately noticed the 32 extra RGB LEDs around the edges, including the four oriented at a 45° angle to the corners for side lighting. This too is what we saw adopted by Hexgears, so I have to wonder how much of the Gemini design was "insprired" by the Drop CTRL. Regardless, what it should do is allow for brighter side lighting with these dedicated LEDs, rather than just having residual lighting from the LEDs associated with each switch for backlighting. You can separate the PCB from the frame that doubles as the plate by removing all the keycaps. There was no reason for me to do so since accessing the hardware doesn't require any further disassembly. Solder quality is exceptional throughout, including for the two Type-C connectors feeding off the same USB hub/control system. Powering the keyboard is a Microschip Atmel ATSAMD51J18A 32-bit ARM Cortex-M4 USB microcontroller, which is a nice update from all the M3 architecture chips used in most keyboards. It has up to 1 MB of flash memory, 256 KB SRAM, and ECC support, which all get put to good use with the available programming options. A hub and Type-C shifting mechanism help the microcontroller work with one USB input, with the other available port sent to another device if applicable. As is the norm, all the components are soldered onto a multi-layered PCB.
Before we move on, be advised that disassembly may void the warranty and that TechPowerUp is not liable for any damages incurred if you decide to go ahead and do so anyway.
Apr 9th, 2025 04:04 EDT
change timezone
Latest GPU Drivers
New Forum Posts
- The TPU UK Clubhouse (26059)
- TPU's Nostalgic Hardware Club (20194)
- Windows 11 General Discussion (5943)
- 9070XT or 7900XT or 7900XTX (168)
- (Some of) What I'd like to See From a Final Fantasy IX Remake (3)
- ThrottleStop - 14900HX, 4090RTX MSI laptop (9)
- V/F Points not being respected consistantly (3)
- "The system hibernated due to a critical thermal event" - at 54c?! (2)
- Post your cooling. (209)
- PSA: if your 5070 Ti freezes up (even the mouse cursor won't move) with Furmark. Try turning off Gsync to fix it! (1)
Popular Reviews
- The Last Of Us Part 2 Performance Benchmark Review - 30 GPUs Compared
- MCHOSE L7 Pro Review
- UPERFECT UStation Delta Max Review - Two Screens In One
- PowerColor Radeon RX 9070 Hellhound Review
- Sapphire Radeon RX 9070 XT Pulse Review
- Upcoming Hardware Launches 2025 (Updated Apr 2025)
- Sapphire Radeon RX 9070 XT Nitro+ Review - Beating NVIDIA
- ASUS Prime X870-P Wi-Fi Review
- AMD Ryzen 7 9800X3D Review - The Best Gaming Processor
- Acer Predator GM9000 2 TB Review
Controversial News Posts
- NVIDIA GeForce RTX 5060 Ti 16 GB SKU Likely Launching at $499, According to Supply Chain Leak (164)
- MSI Doesn't Plan Radeon RX 9000 Series GPUs, Skips AMD RDNA 4 Generation Entirely (146)
- Microsoft Introduces Copilot for Gaming (124)
- AMD Radeon RX 9070 XT Reportedly Outperforms RTX 5080 Through Undervolting (119)
- NVIDIA Reportedly Prepares GeForce RTX 5060 and RTX 5060 Ti Unveil Tomorrow (115)
- Over 200,000 Sold Radeon RX 9070 and RX 9070 XT GPUs? AMD Says No Number was Given (100)
- Nintendo Switch 2 Launches June 5 at $449.99 with New Hardware and Games (98)
- NVIDIA GeForce RTX 5050, RTX 5060, and RTX 5060 Ti Specifications Leak (97)