 8
8
Fractal Design Define XL Review
Assembly & Finished Looks »A Closer Look - Inside
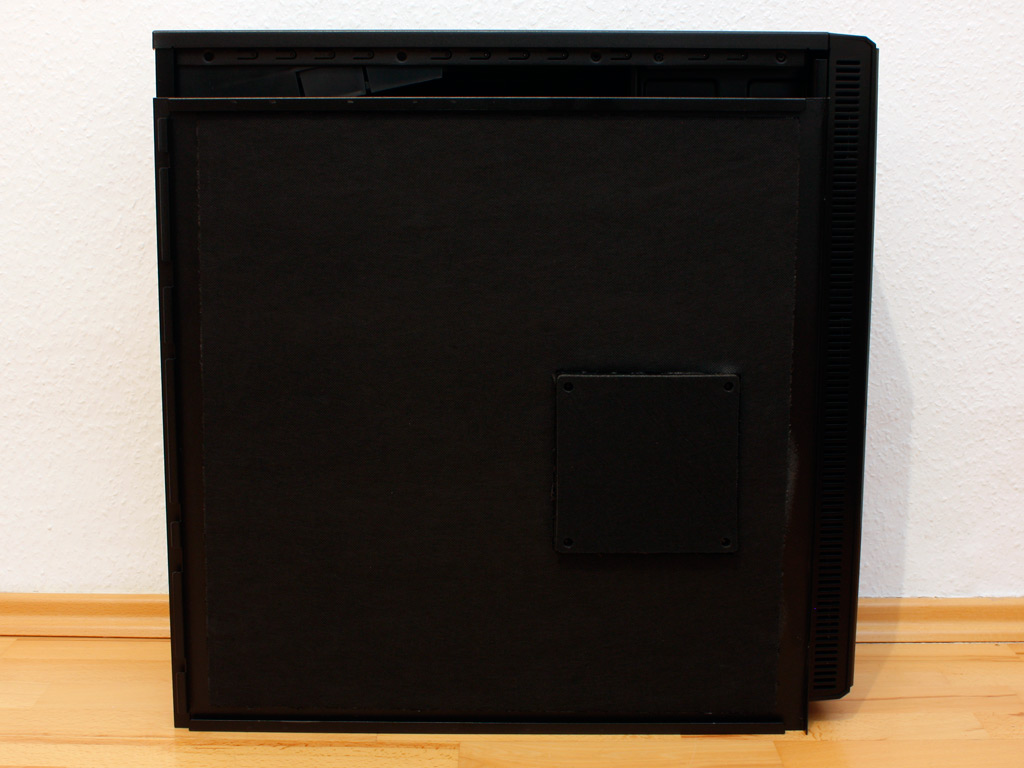
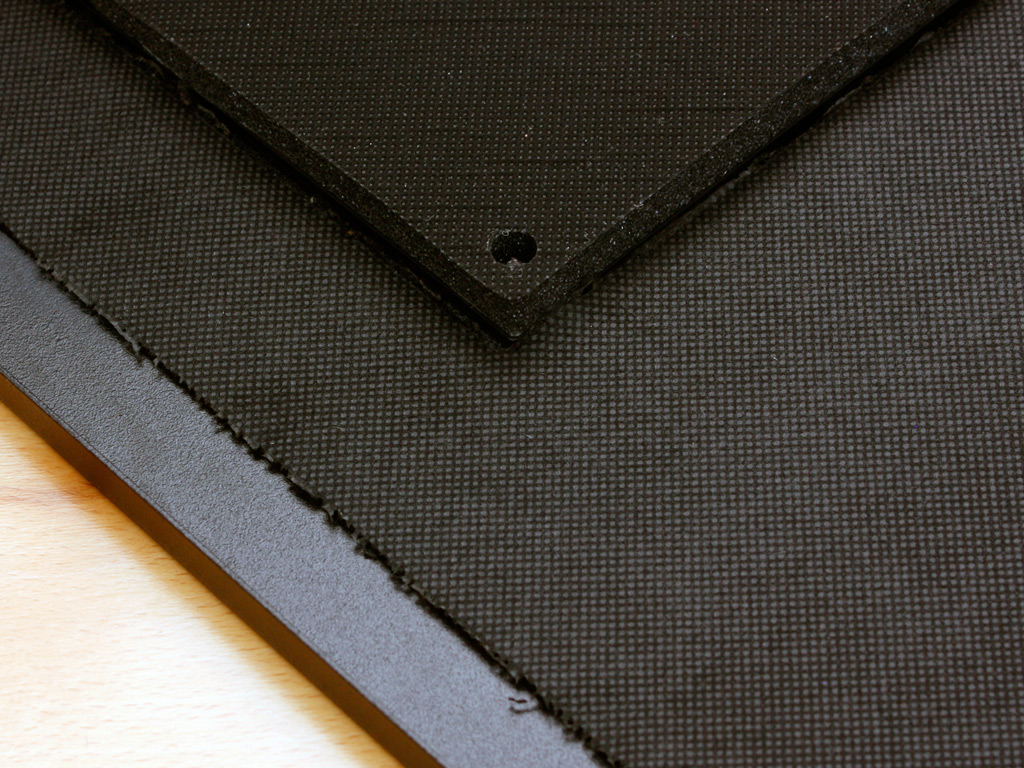
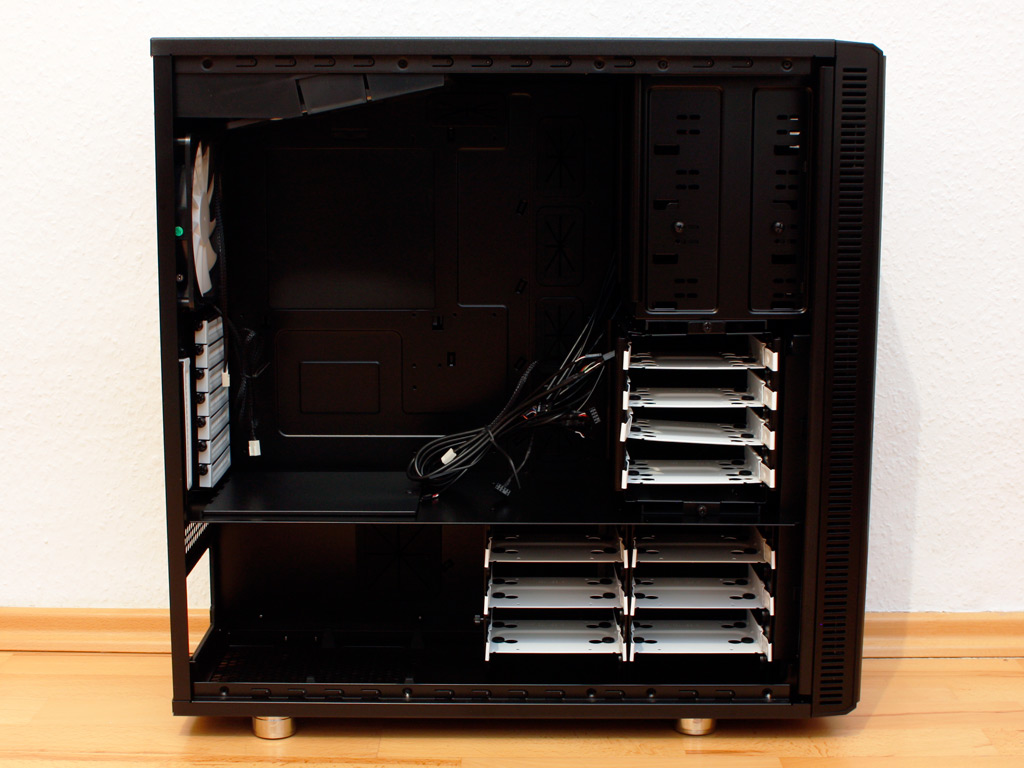
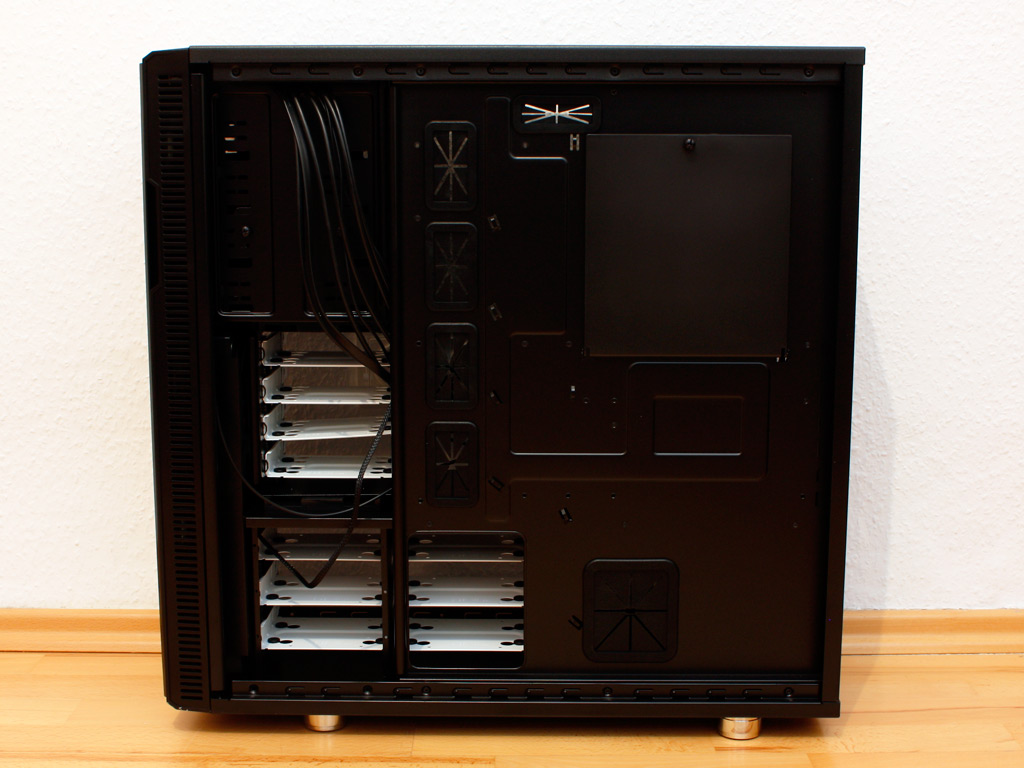
To gain access to the interior of the Define XL, simply remove the pair of thumb screws holding each panel in place. The doors themselves are very heavy as the sound dampening material really adds to the overall weight. As you can see, Factal Design still uses two different version of materials to encase noise within the chassis. The interior of the Define XL is well organized and divided into two thermal chambers. The bottom holds the PSU along with six hard drive bays, while the top is intended for the mainboard, external drive bays along with four more hard drive bays. This means that you can install a total of ten hard drives within the Define XL. Turning the case around we can see that there are plenty of openings to route and hide cables. There is more space between the mainboard tray and the side panel than usual, making it even easier to store unneeded cables there - much like the Corsair Obsidian series.
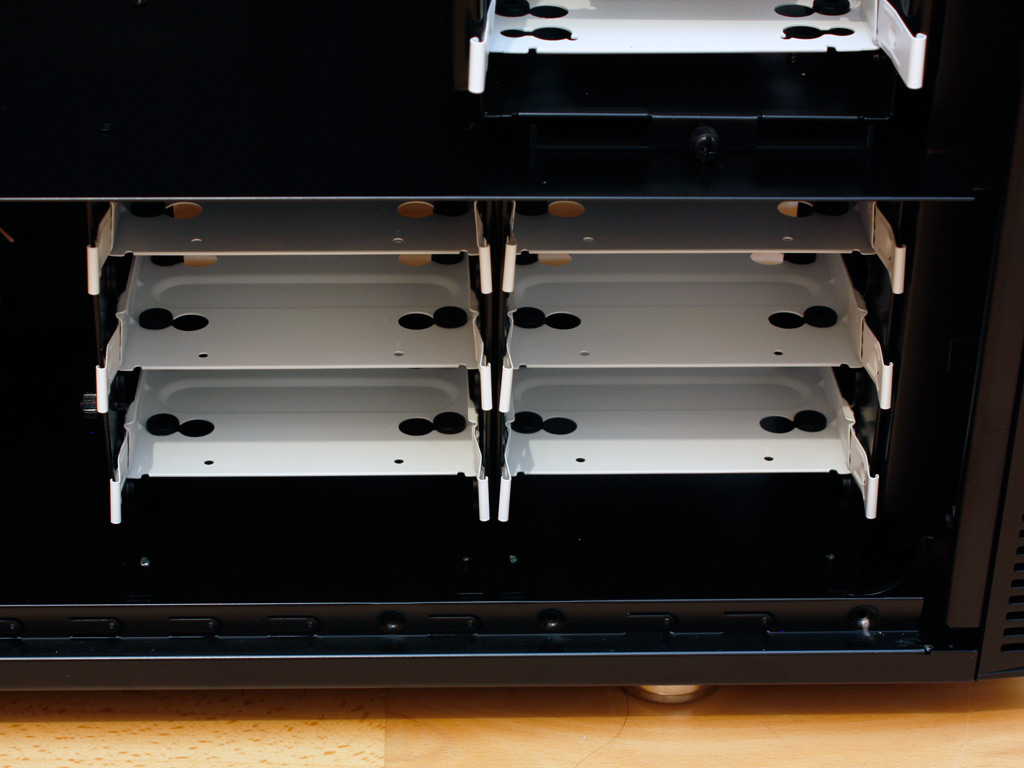

Taking a look at the bottom compartment first, in the front we have the afore mentioned six hard drive trays, along with the PSU bay. Due to the way this is constructed, you have to insert the PSU from the rear of the chassis and then slide it into place. A large plastic door covers an opening in the divider of the two compartments allowing you to route any cables through here - if required. Due the the fact that this opening is simply way too large to allow for clean cable routing I would have preferred multiple, smaller openings instead.
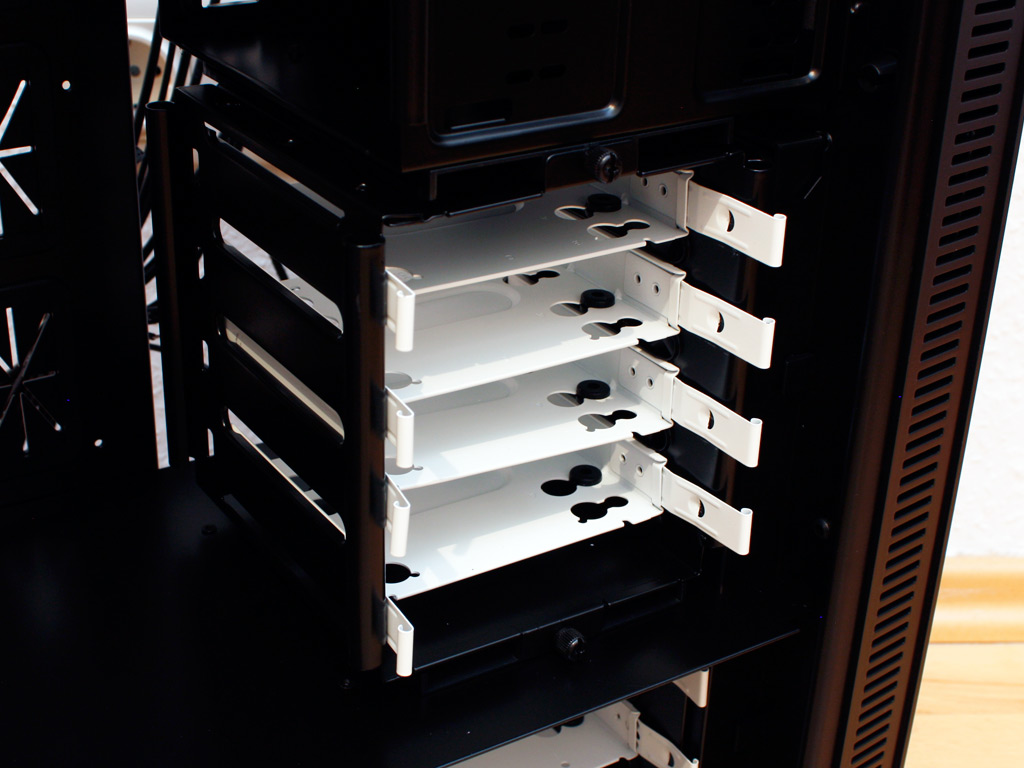
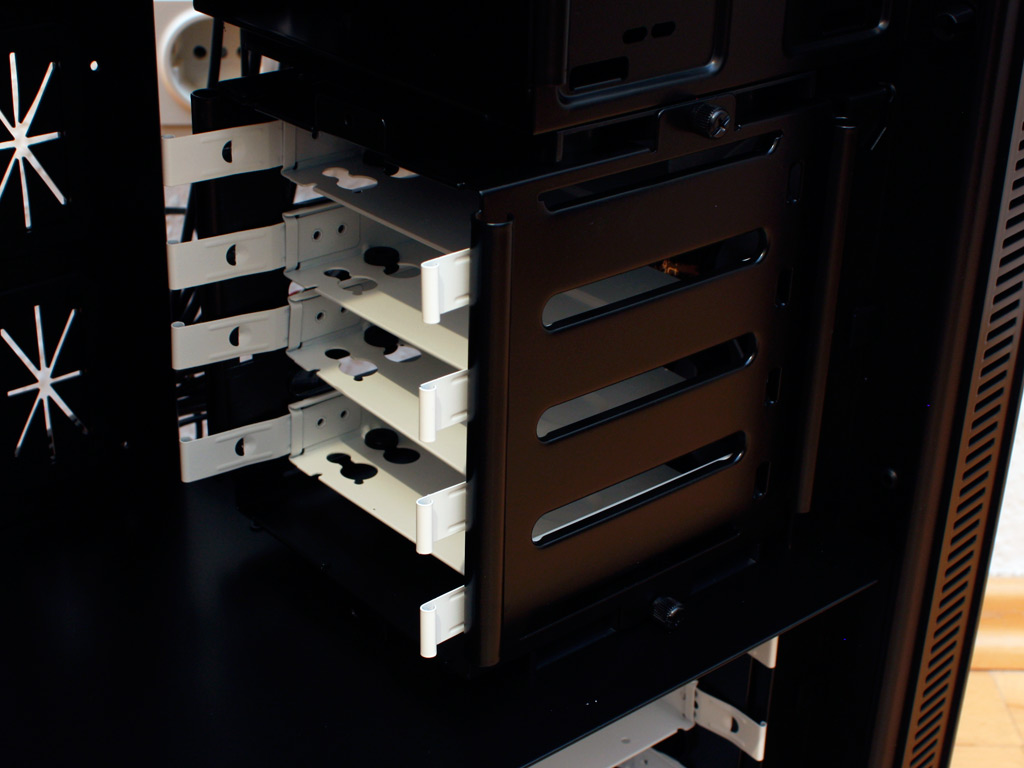
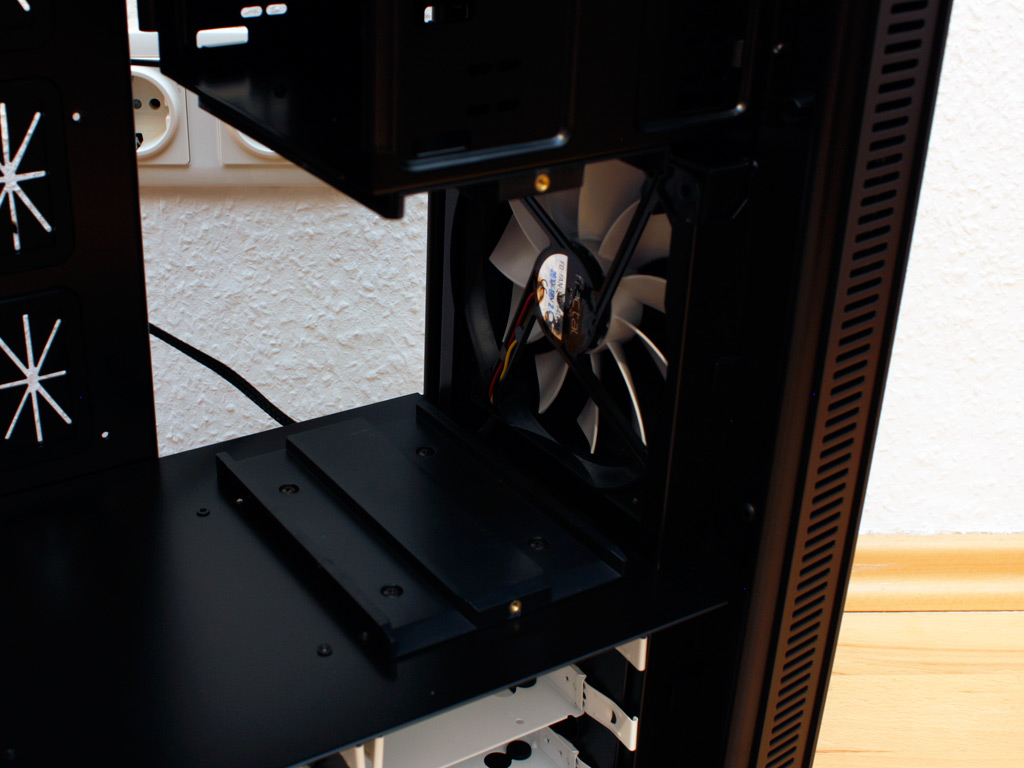
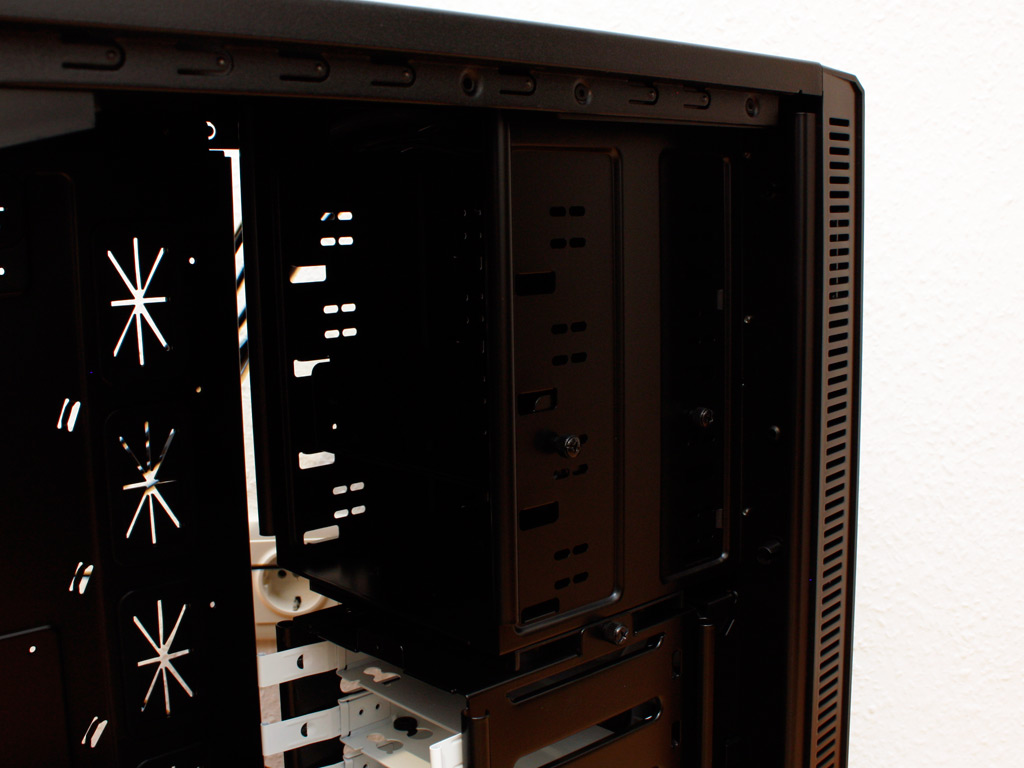
The hard drive bays in the upper section can be removed to allow for super long graphics cards or even allow you to turn them around, so that they face the fan directly. while this is a cool little option, I do not see much reason to turn them around like that. It will just make it harder for you to install the drives in a filled system and reduces the maximum length of a graphics card you can install for example. Above that you will find the four expansion bays. There is a 3.5 to 5.25 inch bay adapter hidden in here to use with the drive bay covers we have found in the box of contents. Instead of using a mediocre screwless system, Fractal Design supplies you with thumb screws to hold any drives in place.
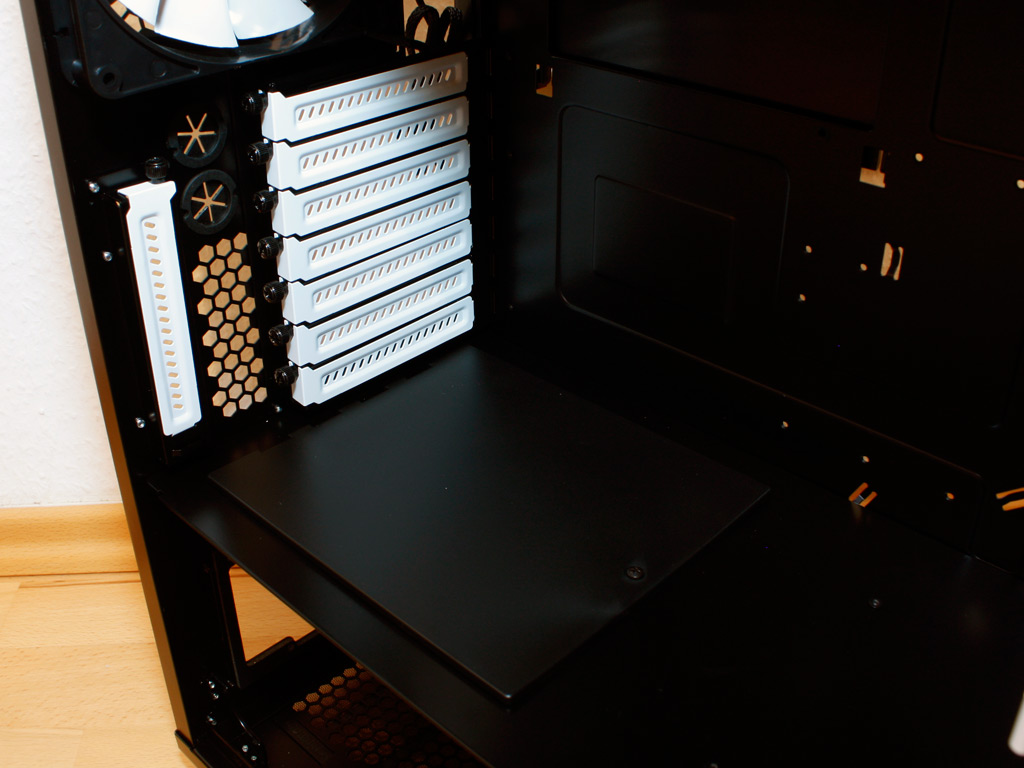

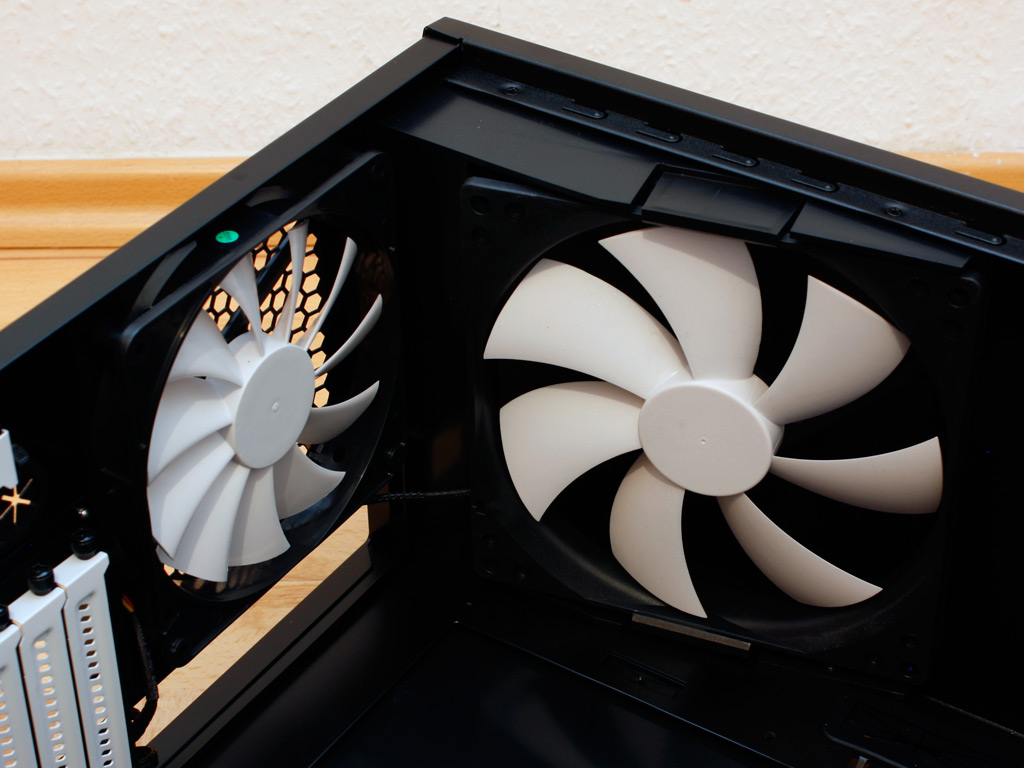
In the back we can clearly see the eight expansion slots, each white cover held in place by black thumb screws as well. Above that are two fans, one of which we already laid our eyes upon from the outside, but Fractal Design has also included an angled 180 mm unit blowing air out the rear vent I mentioned before. This is a pretty cool feature as it should reduce the overall noise level, as you only have a compact opening in the rear instead of a large one in the ceiling of the chassis.
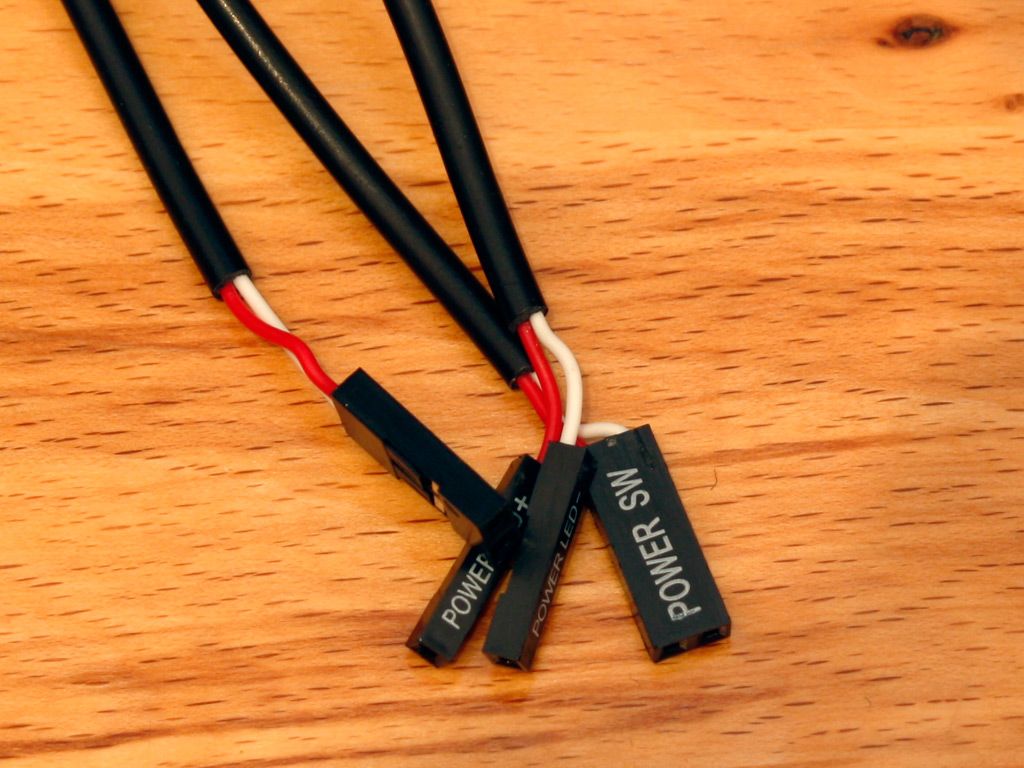
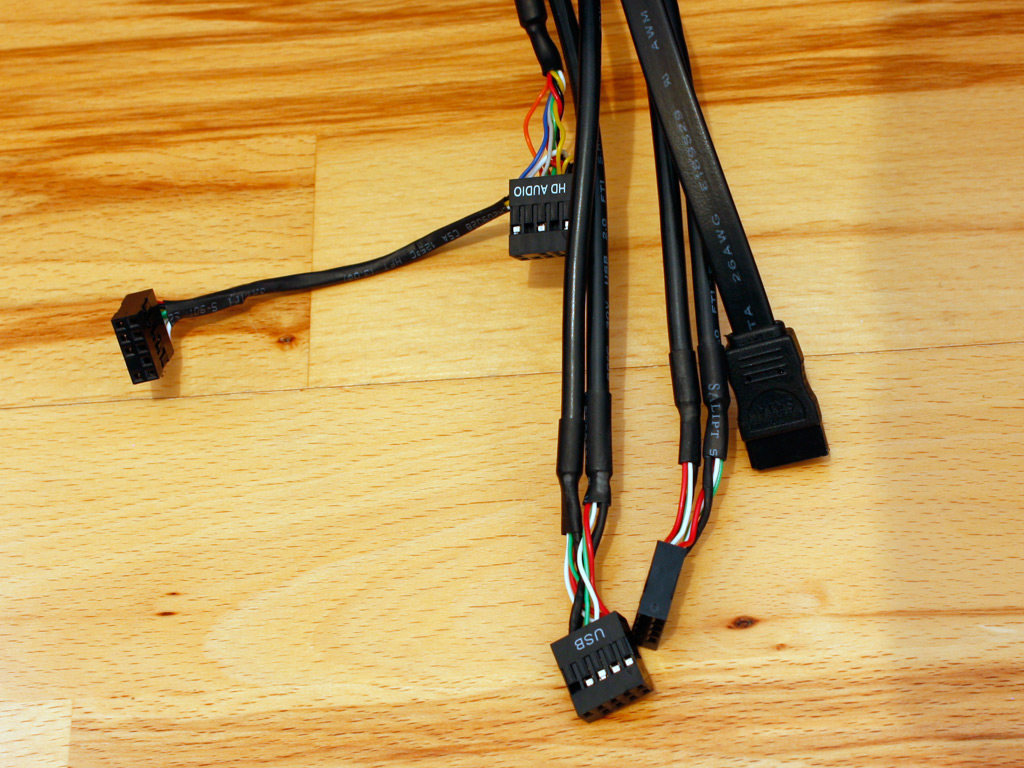
Before we dive into the installation, let us take a quick look at the cables within the case. All of them are sleeved with shiny black tubing and even the little bit going from the HD Audio to AC'97 plug has been covered. This means that you can easily keep the all black interior look and feel of the chassis.
Mar 3rd, 2025 18:01 EST
change timezone
Latest GPU Drivers
New Forum Posts
- Was pentium 4 an over engineered CPU? (84)
- TPU's Nostalgic Hardware Club (20035)
- Windows 11 General Discussion (5762)
- Extending wifi from a lousy router (26)
- *Severe micro stutters* cyberpunk 2077 Please help (12)
- GameTechBench GPU benchmark is already out! (290)
- Monitor Battle! Help me choose between two contenders (66)
- Throttle stop and M18R2 (8)
- What are you playing? (23093)
- The future of RDNA on Desktop. (0)
Popular Reviews
- AMD Radeon RX 9070 Series Technical Deep Dive
- be quiet! Pure Base 501 DX Review
- ASUS GeForce RTX 5070 Ti TUF OC Review
- AMD Ryzen 7 9800X3D Review - The Best Gaming Processor
- MSI GeForce RTX 5070 Ti Vanguard SOC Review
- MSI GeForce RTX 5070 Ti Ventus 3X OC Review
- ASUS ROG Harpe Ace Mini Review
- Gigabyte X870 Aorus Elite WiFi 7 Review
- KLEVV CRAS C930 2 TB Review
- MSI GeForce RTX 5070 Ti Gaming Trio OC+ Review
Controversial News Posts
- NVIDIA GeForce RTX 50 Cards Spotted with Missing ROPs, NVIDIA Confirms the Issue, Multiple Vendors Affected (511)
- AMD Plans Aggressive Price Competition with Radeon RX 9000 Series (274)
- AMD Radeon RX 9070 and 9070 XT Listed On Amazon - One Buyer Snags a Unit (260)
- AMD Mentions Sub-$700 Pricing for Radeon RX 9070 GPU Series, Looks Like NV Minus $50 Again (248)
- NVIDIA Investigates GeForce RTX 50 Series "Blackwell" Black Screen and BSOD Issues (244)
- AMD RDNA 4 and Radeon RX 9070 Series Unveiled: $549 & $599 (229)
- AMD Radeon RX 9070 and 9070 XT Official Performance Metrics Leaked, +42% 4K Performance Over Radeon RX 7900 GRE (194)
- AMD Radeon RX 9070-series Pricing Leaks Courtesy of MicroCenter (158)