 66
66
Fractal Design North Review
Thermal Stress Test »Review System
| System Parts for Case Reviews | |
|---|---|
| Processor: | Intel Core i5-12600K Provided by: Intel |
| Motherboards: | ATX: ASUS ROG Strix Z690-E Gaming WiFi mATX: ASUS TUF Gaming B660M-PLUS WiFi D4 ITX: ASUS ROG STRIX Z690-I Gaming WiFi Provided by: ASUS |
| Graphics Card: | Gigabyte Radeon RX 6600 Eagle Provided by: Gigabyte ZOTAC GAMING GeForce RTX 3060 Ti Twin Edge OC Provided by: Zotac |
| Memory: | 32 GB XPG LANCER RGB DDR5 6000 MHz 32 GB XPG CASTER DDR5 6400 MHz 32 GB XPG HUNTER DDR5 5200 MHz Provided by: ADATA |
| HDD: | Toshiba MG08ADA400E 7200 RPM SATA III Provided by: Toshiba |
| SSD: | ATX:XPG GAMMIX S70 BLADE 1 TB mATX: ADATA LEGEND 840 512 GB ITX: XPG SPECTRIX S20G 500 GB ADATA Ultimate SU800 512 GB ADATA Ultimate SU720 500 GB Provided by: ADATA |
| Power Supply: | ATX: Fractal Design ION+ 650W 80 Plus Gold SFX: Fractal Design ION SFX-L 650W 80 Plus Gold Provided by: Fractal Design |
| Cooling: | be quiet! Pure Loop 120/ Pure Loop 2 FX 240/280/360 Provided by: be quiet! |
Assembly
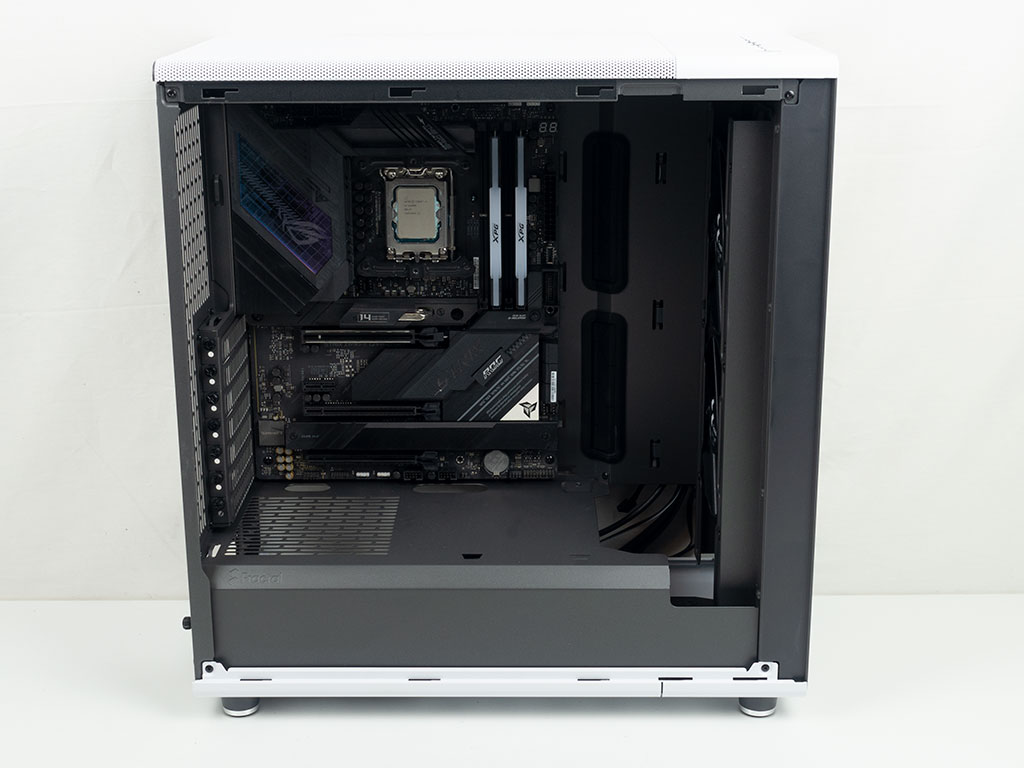
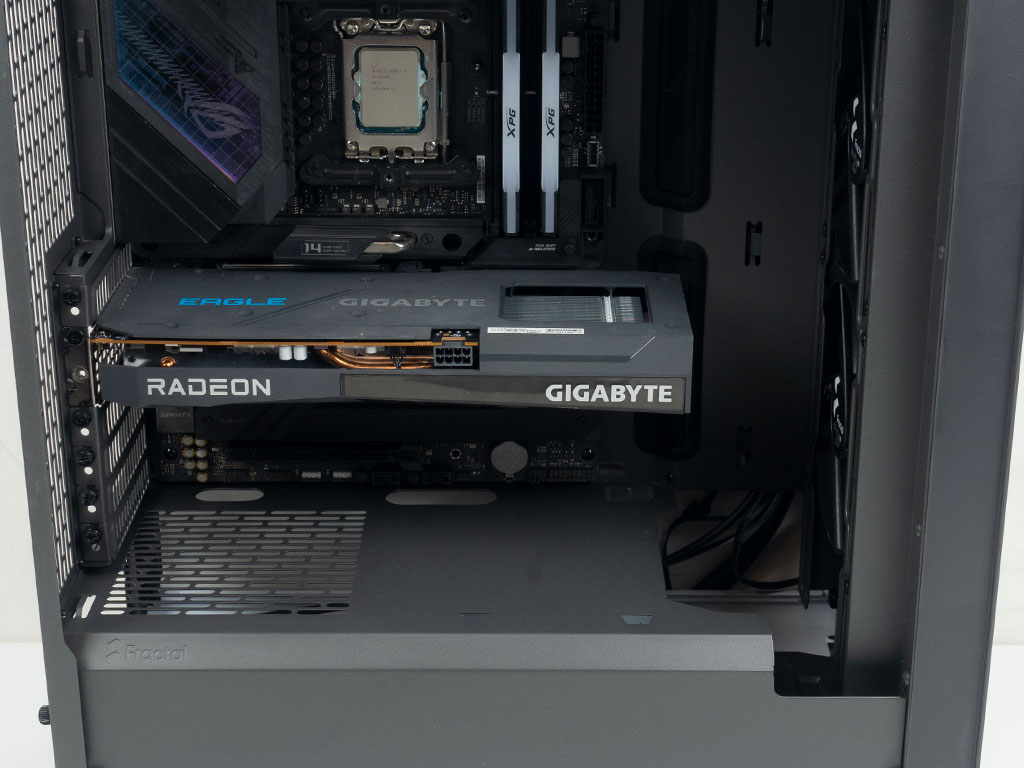
Installing a motherboard inside the Fractal Design North is done by traditional means using spacers and screws. The slightly angled grommet covered openings line up well with the board, which also holds true with the openings in the shroud. Even though the North is a rather short case, you should have no issues installing potent GPUs within, as Fractal mentions a solid 355 mm length limit in the default configuration.
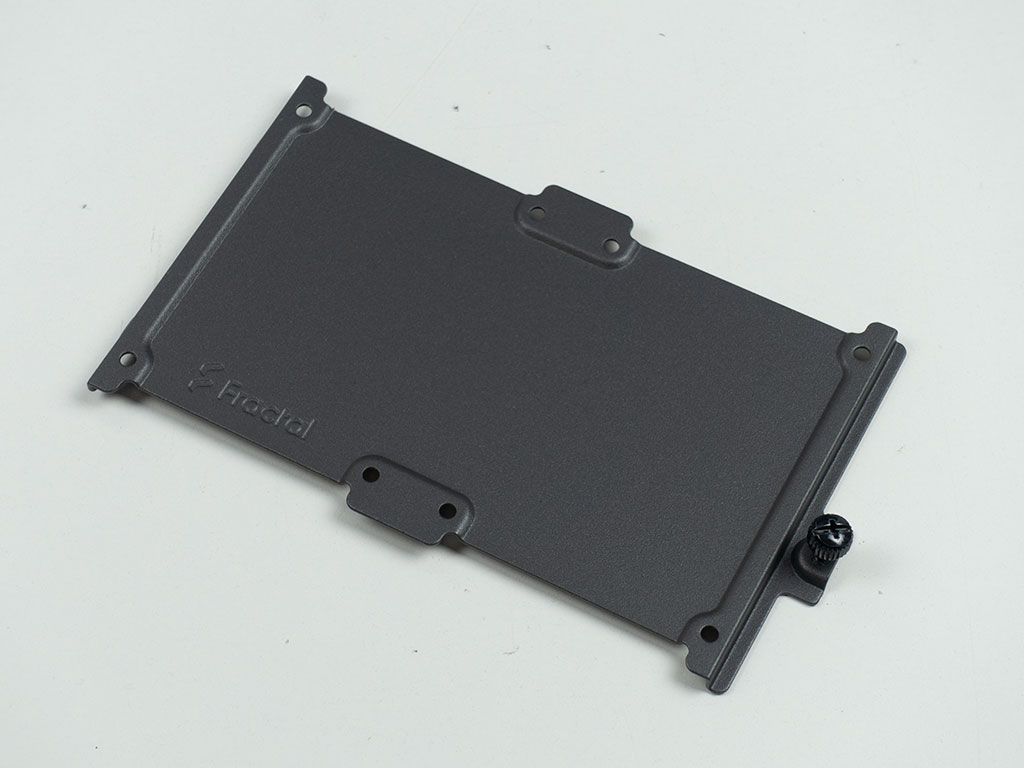
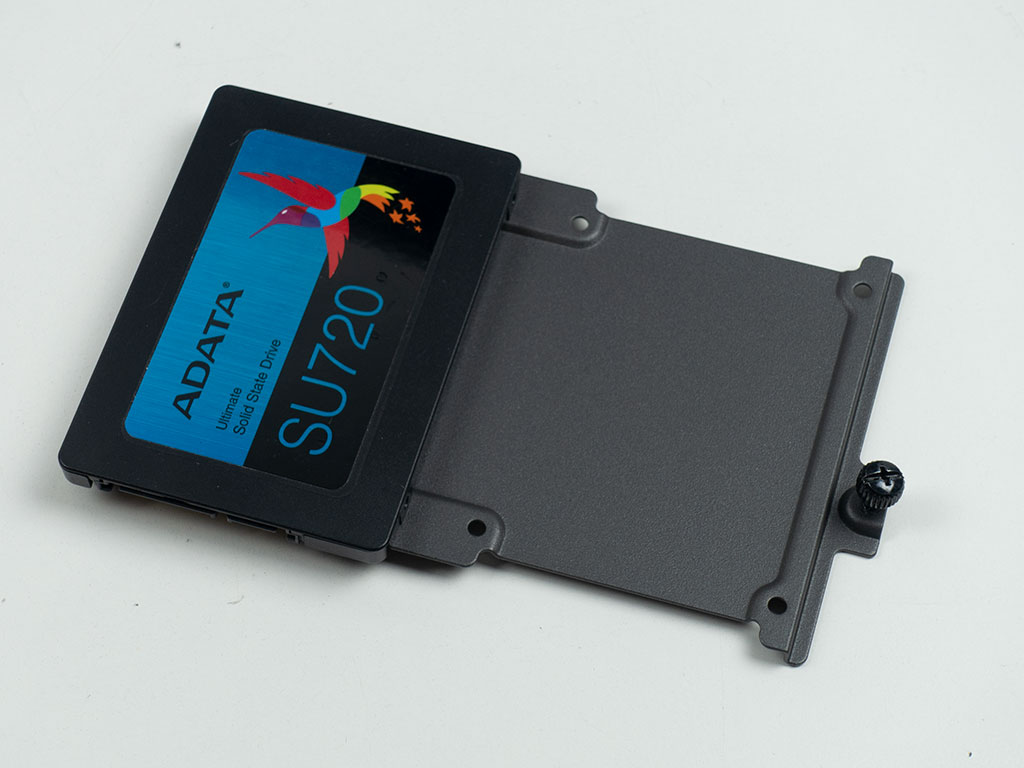

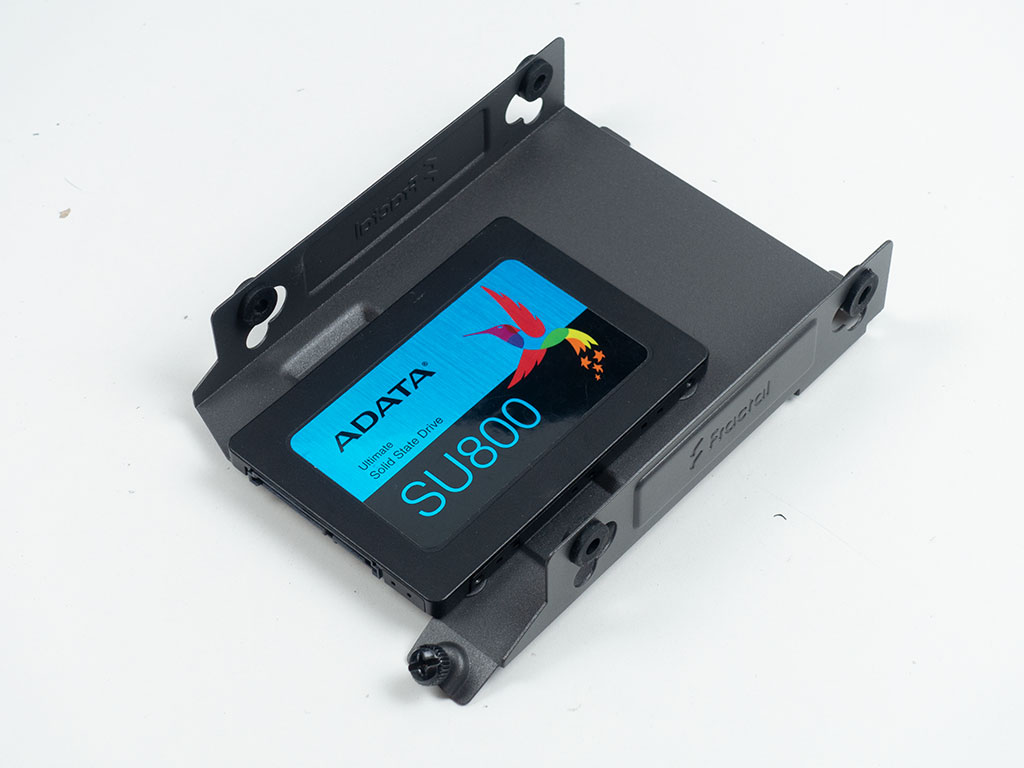
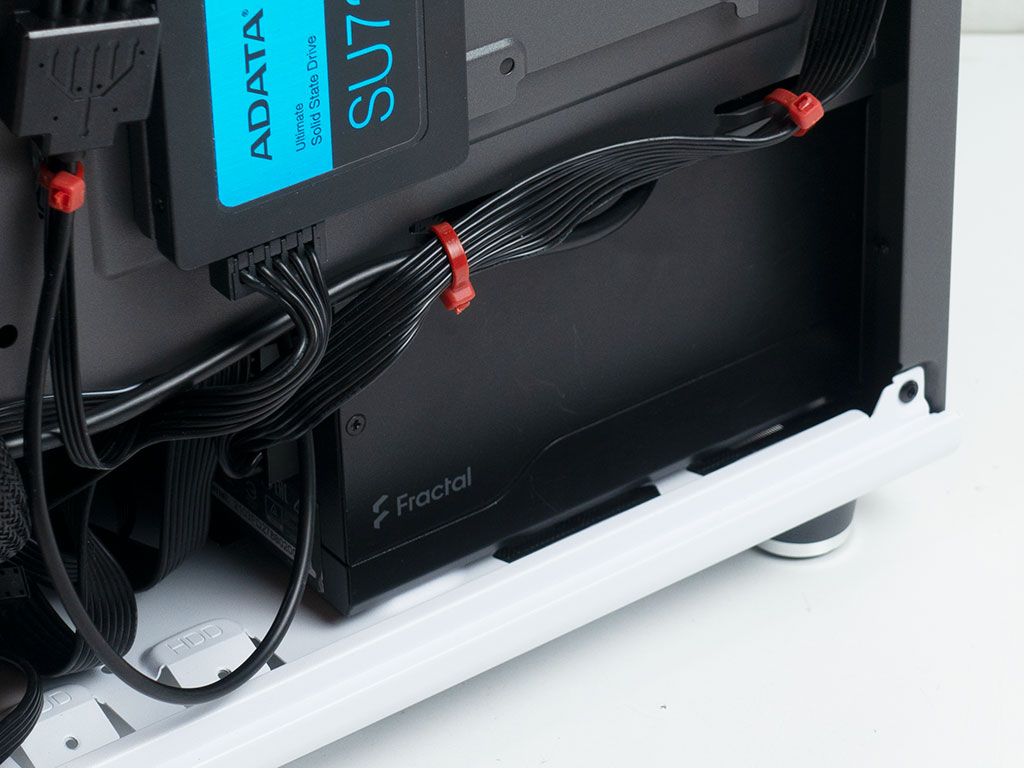
Adding an SSD is pretty straight forward as well, you simply mount it onto the detached tray using screws, once filled, simply pop that tray back into its position on the motherboard tray.
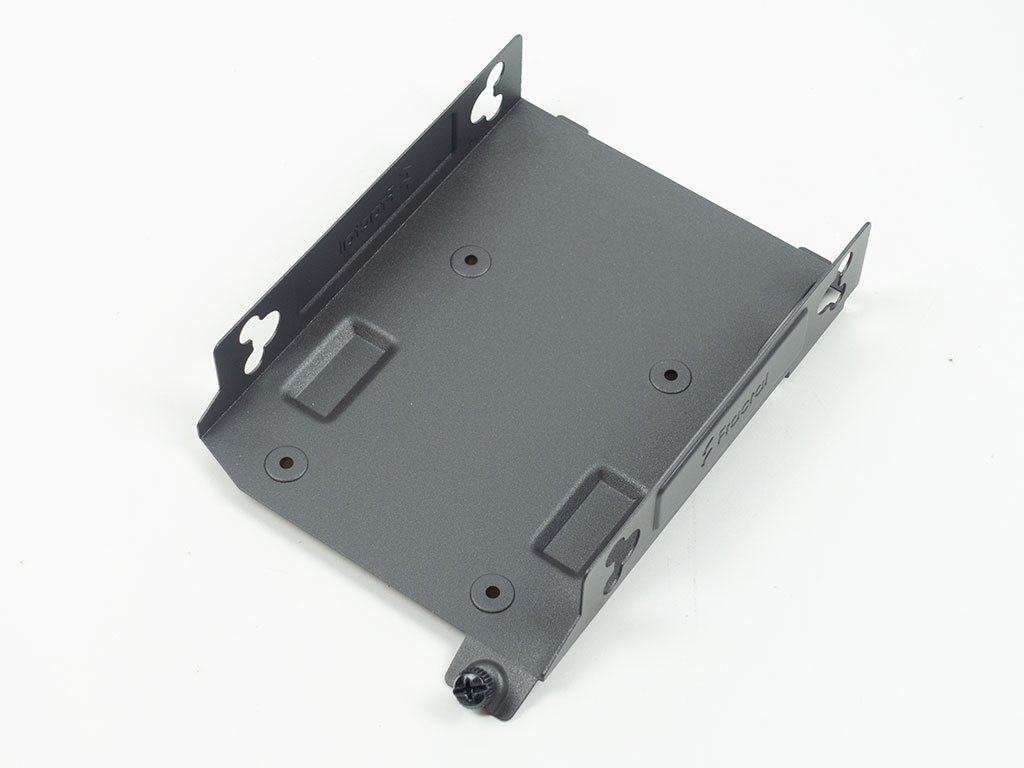
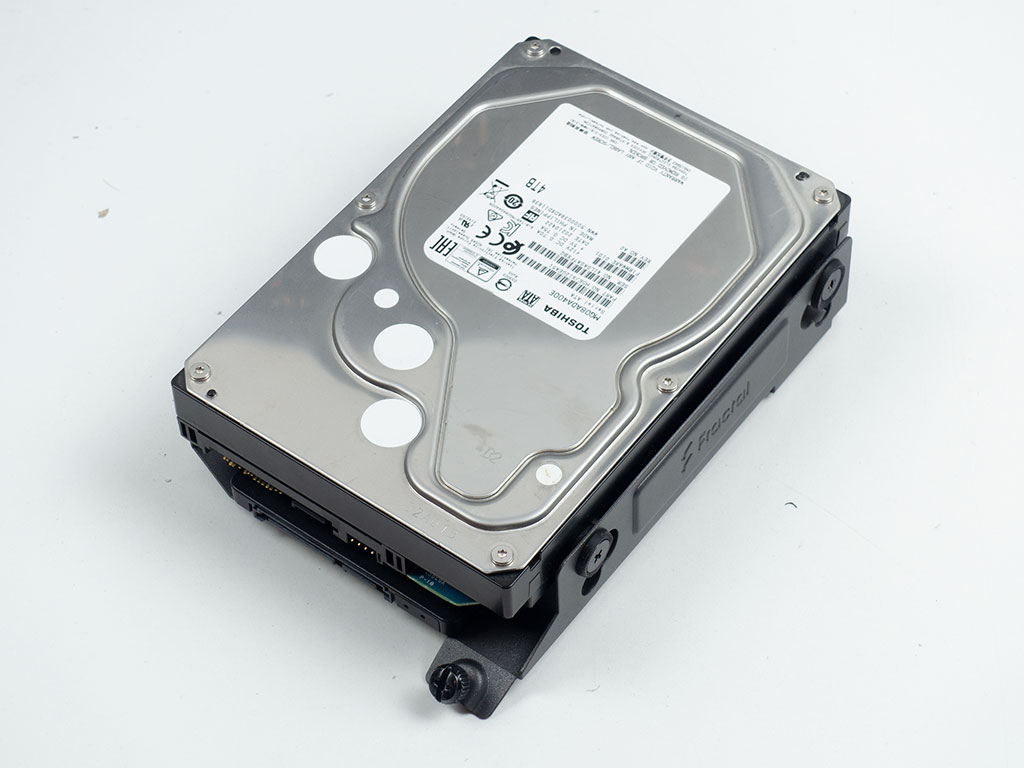
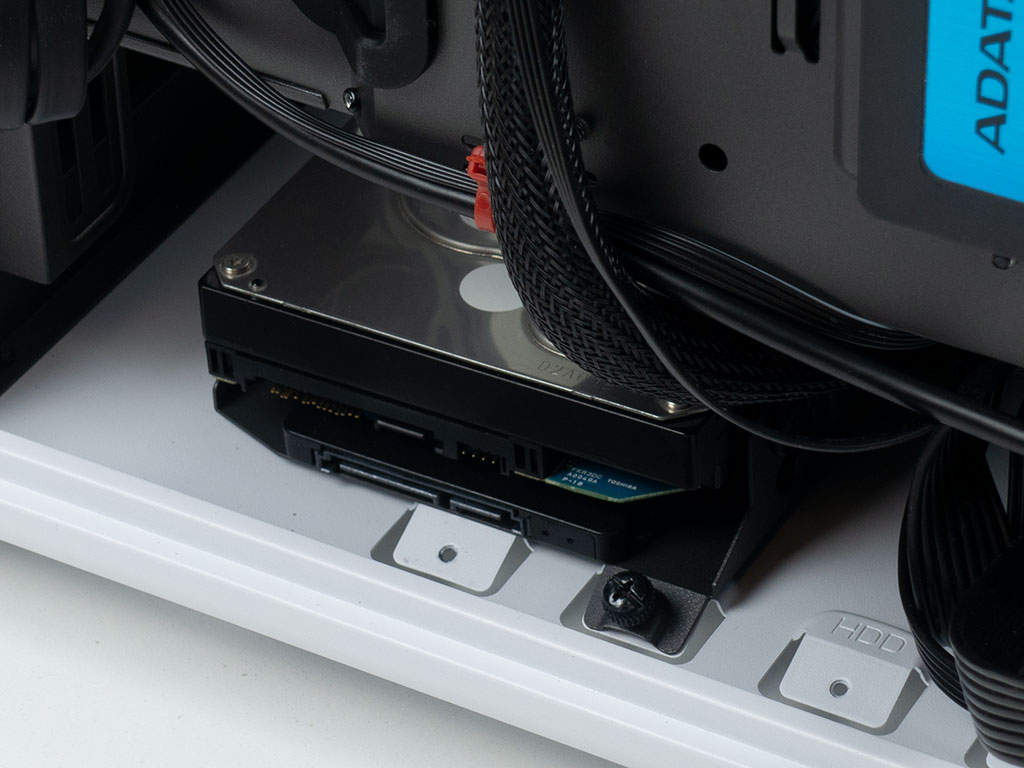
Each of the individual 3.5" hard drive trays may actually hold both a 2.5" and 3.5" unit at the same time, meaning the Fractal Design North can accommodate a total of six drives out-of-the-box, which is plenty. Each of the drives are also held in place by screws and Fractal provides rubber rings for the larger variants as an anti-vibration measure. You may install two trays next to each other and a third suspended from the shroud ceiling. Should you opt to only put one on the floor, then there are a total of four possible locations to pick from.
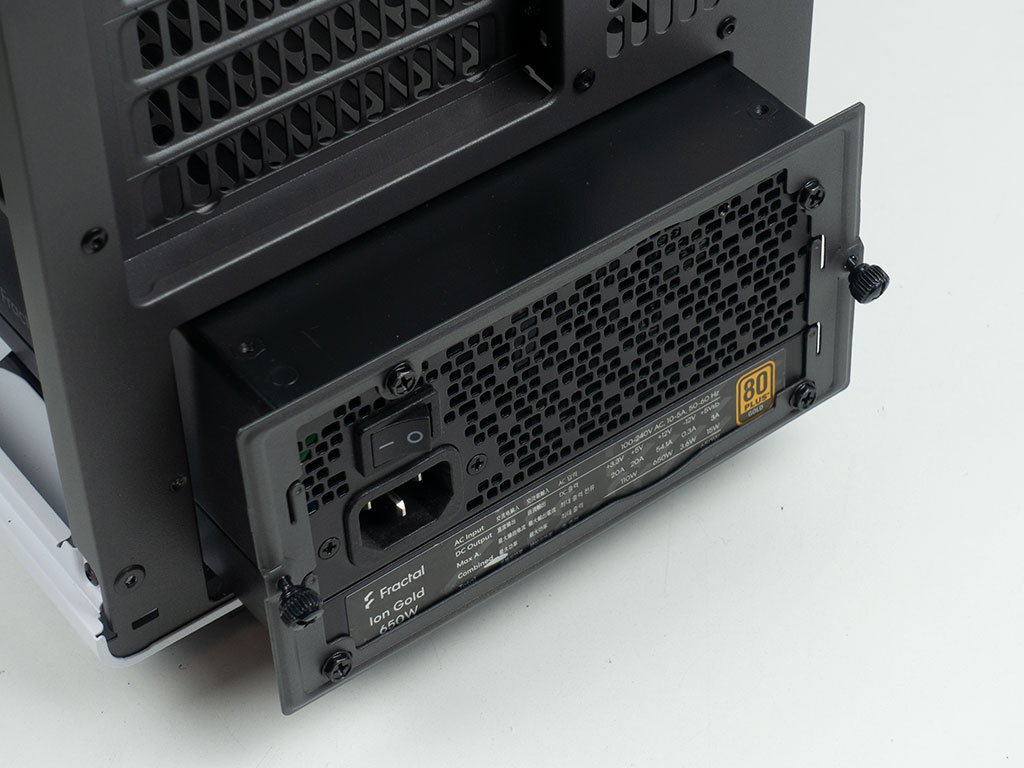
Adding the PSU requires you to screw on the frame first and then slide it into the chassis through the back of the chassis. There is ample room unless you use the HDD cage mounting position closest to the PSU bay. That cuts the space down to a mere 155 mm, which could be too tight for some units.

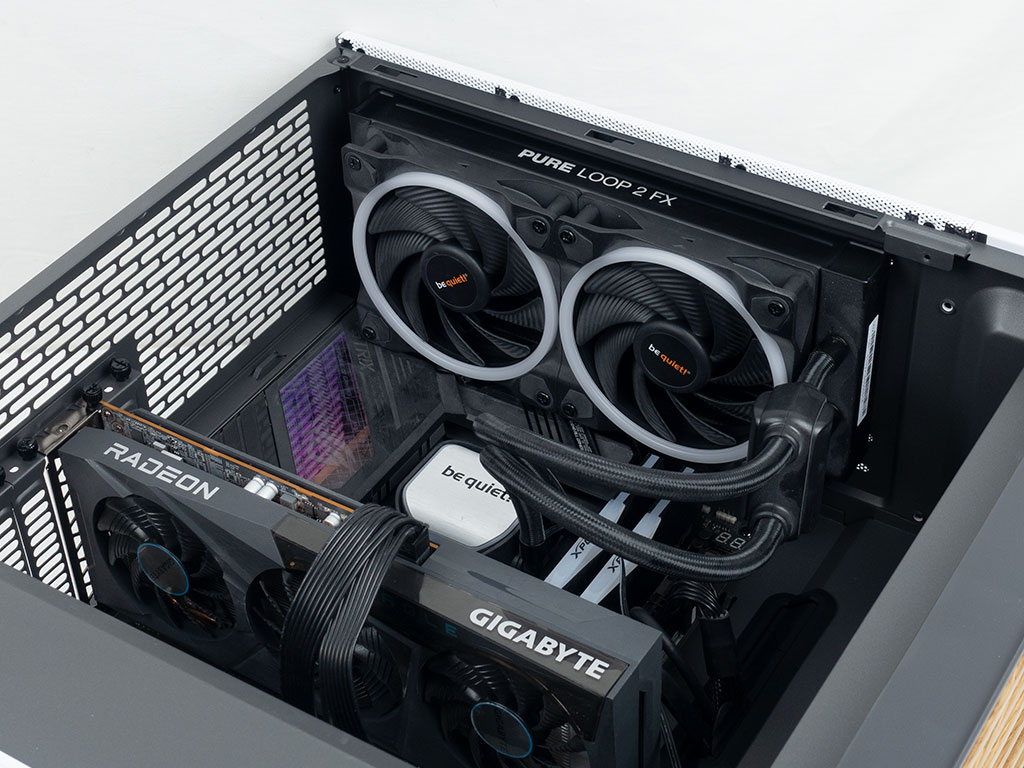
A 240 mm AIO will certainly fit within the Fractal Design North ceiling, but it will be a rather tight fit, just barely clearing motherboard heatsinks and tall ARGB memory. As such, you will need to invest the time to pre-route and connect any wiring at the top of the motherboard.
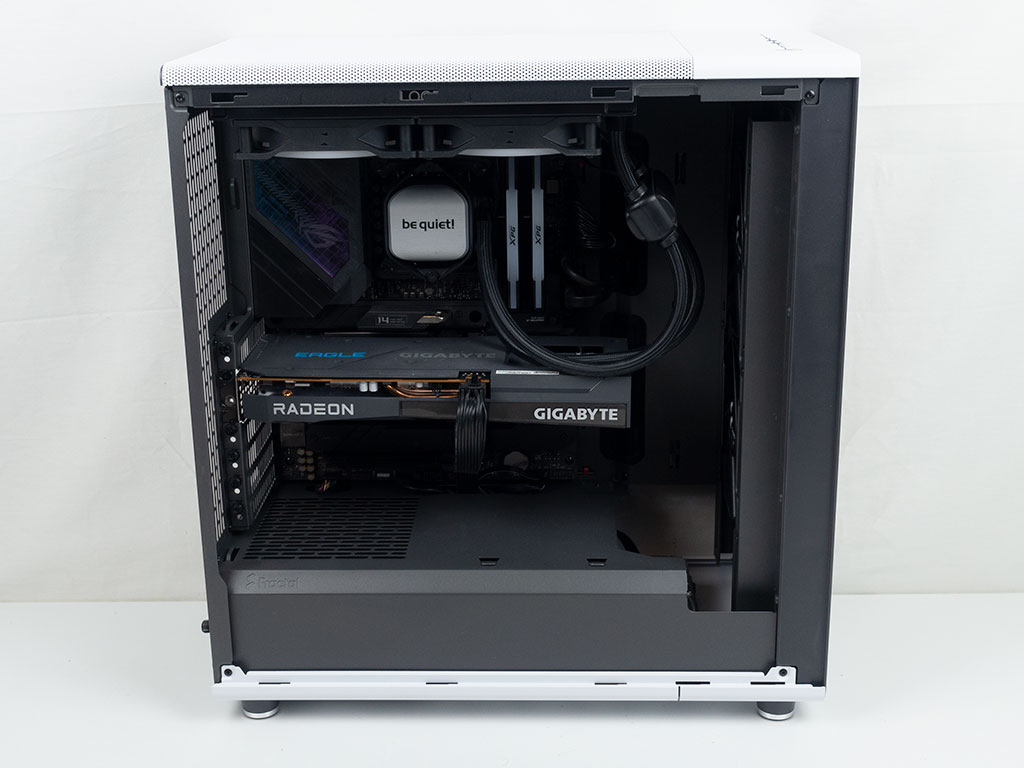

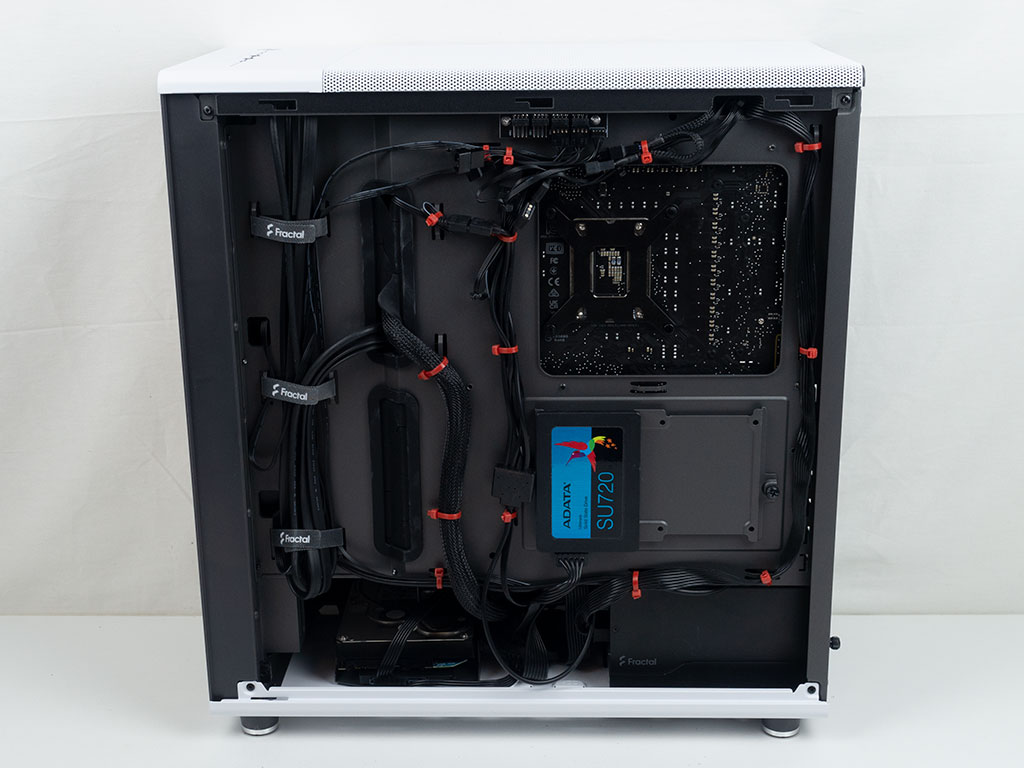
With everything installed, the Fractal Design North makes a very clean interior impression. The side fan bracket may be installed at different heights, so that you may focus your cooling on the expansion slots or slightly higher, allowing NVMe SSDs or the CPU to also benefit. In the rear, the large hooks for zip ties allow us to create a clean setup, but it does require far more zip ties that Fractal provides out of the box.
Finished Looks

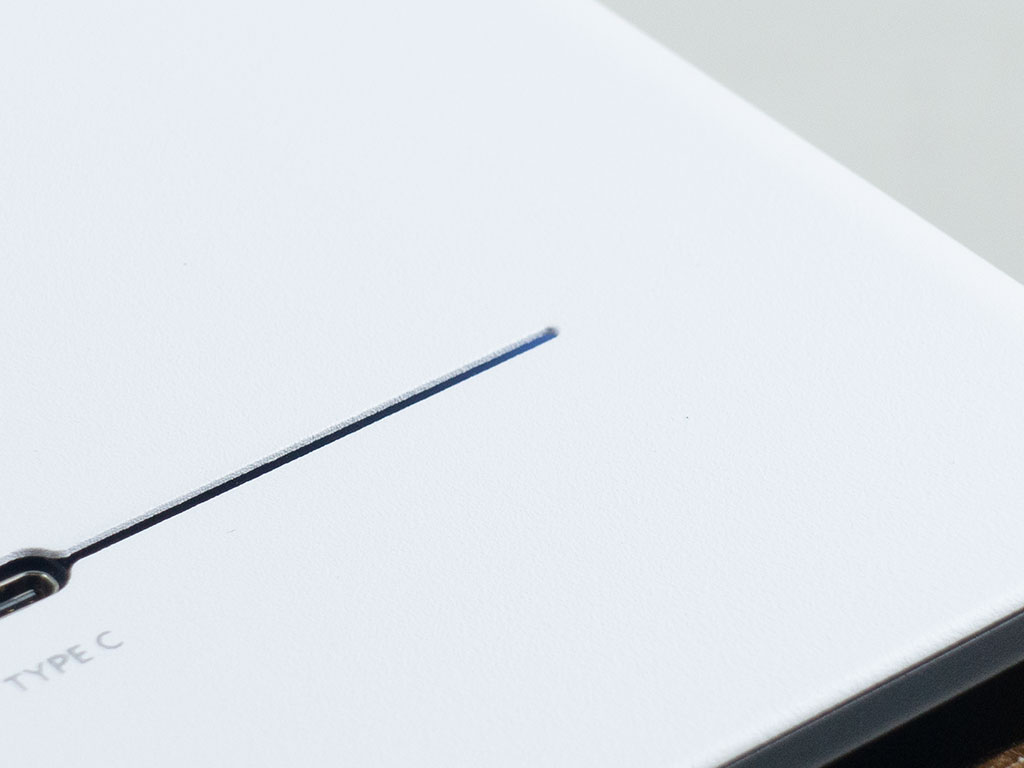
With the system turned on, you won't see any flashy ARGB components, a deliberate design choice. There is a very subtle white LED at the top of the chassis to give you some sort of visual feedback that the system is powered on.
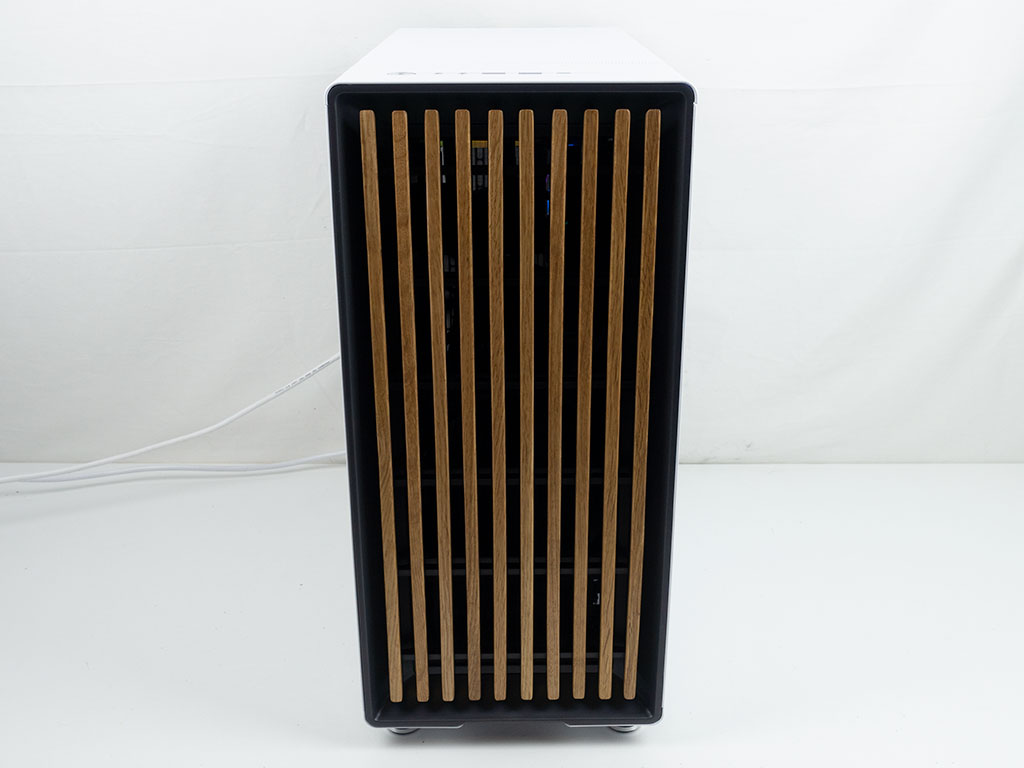

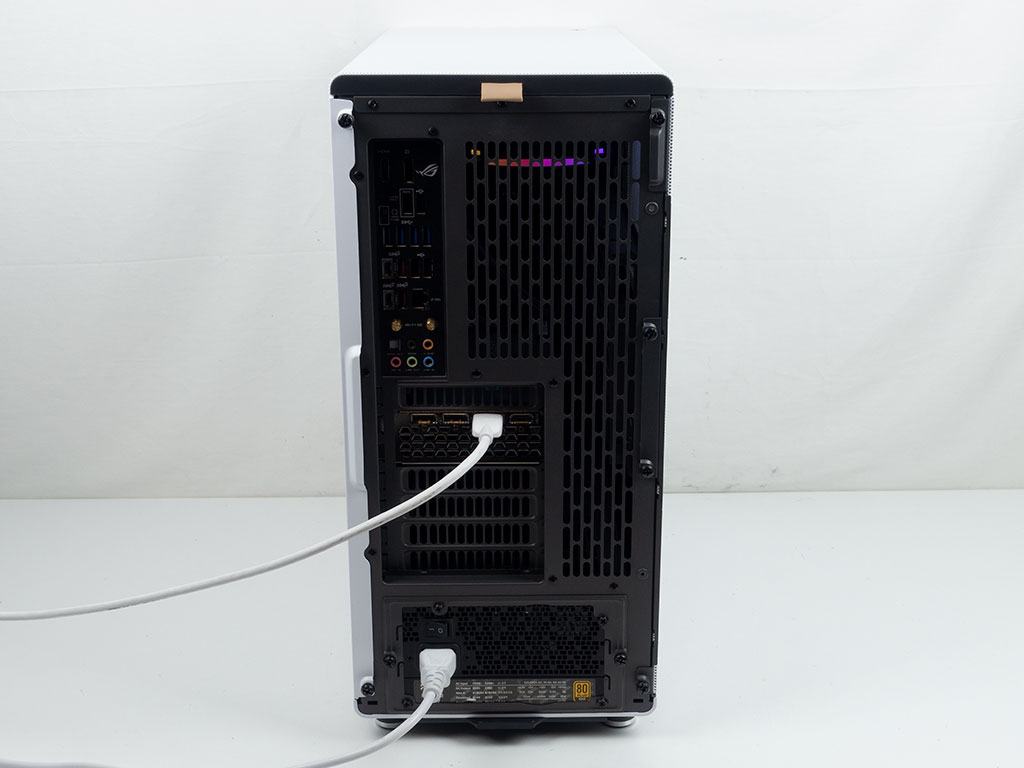
Looking at the front of the finished setup, you can actually see a few ARGB elements of the components though the space between the wood strips. The same holds true when looking at the perforated side panel, as well as the rear of the Fractal Design North.
Mar 9th, 2025 18:18 EDT
change timezone
Latest GPU Drivers
New Forum Posts
- 9070 XT - 2x HDMI high refresh displays (144 and 120 Hz) not working (3)
- What's your latest tech purchase? (23263)
- A Final Fantasy IX Reminiscence - My love letter and homage to one of the best stories ever told (71)
- I need a BIOS for the "Rx580 8gb" chip 215-0876406 (2)
- RTX 3060 black screens on load and light browsing even after RMA (22)
- SLI with different cards (3768)
- What are you playing? (23114)
- Fun with SBCs (0)
- RX 9070 availability (90)
- I'm looking for a good tool to make the 3D scanning of my mini-pc using the photogrammetry and my Kinect 2. (30)
Popular Reviews
- Sapphire Radeon RX 9070 XT Nitro+ Review - Beating NVIDIA
- ASUS Radeon RX 9070 TUF OC Review
- XFX Radeon RX 9070 XT Mercury OC Magnetic Air Review
- NVIDIA GeForce RTX 5070 Founders Edition Review
- Corsair Vengeance RGB CUDIMM DDR5-8800 48 GB CL42 Review
- MSI MAG B850 Tomahawk Max Wi-Fi Review
- AMD Ryzen 7 9800X3D Review - The Best Gaming Processor
- AMD Radeon RX 9070 Series Technical Deep Dive
- ASUS GeForce RTX 5070 Ti TUF OC Review
- MSI GeForce RTX 5070 Ti Gaming Trio OC+ Review
Controversial News Posts
- NVIDIA GeForce RTX 50 Cards Spotted with Missing ROPs, NVIDIA Confirms the Issue, Multiple Vendors Affected (513)
- AMD Plans Aggressive Price Competition with Radeon RX 9000 Series (277)
- AMD Radeon RX 9070 and 9070 XT Listed On Amazon - One Buyer Snags a Unit (261)
- AMD RDNA 4 and Radeon RX 9070 Series Unveiled: $549 & $599 (259)
- AMD Mentions Sub-$700 Pricing for Radeon RX 9070 GPU Series, Looks Like NV Minus $50 Again (248)
- NVIDIA Investigates GeForce RTX 50 Series "Blackwell" Black Screen and BSOD Issues (244)
- AMD Radeon RX 9070 and 9070 XT Official Performance Metrics Leaked, +42% 4K Performance Over Radeon RX 7900 GRE (195)
- AMD Radeon RX 9070-series Pricing Leaks Courtesy of MicroCenter (158)