 9
9
G.Skill Z5i Review
Thermal Stress Test »Review System
| System Parts for Case Reviews | |
|---|---|
| Processor: | ATX: Intel Core i5-11600K mATX/ITX: Intel Core i5-10600K Provided by: Intel |
| Motherboards: | ATX: Gigabyte Z590 AORUS PRO AX ITX: Gigabyte Z590I Vision D Provided by: Gigabyte mATX: ASRock B560M Steel Legend Provided by: ASRock |
| Graphics Card: | Palit GeForce RTX 2080 Gaming Pro OC Provided by: Palit ZOTAC GAMING GeForce RTX 3060 Ti Twin Edge OC Provided by: Zotac |
| Memory: | 16 GB XPG SPECTRIX D50 3200 MHz 16 GB XPG SPECTRIX D60G DDR4 3000 MHz 16 GB XPG GAMMIX D20 DDR4 3200 MHz Provided by: ADATA |
| HDD: | Toshiba MG08ADA400E 7200 RPM SATA III Provided by: Toshiba |
| SSD: | ATX:XPG SPECTRIX S20G 500 GB mATX: XPG GAMMIX S50 Lite 1 TB ITX: ADATA Falcon 512 GB ADATA Ultimate SU800 512 GB ADATA Ultimate SU720 500 GB Provided by: ADATA |
| Power Supply: | ATX: Fractal Design ION+ 650W 80 Plus Gold SFX: Fractal Design ION SFX-L 650W 80 Plus Gold Provided by: Fractal Design |
| Cooling: | be quiet! Pure Loop 120/240/280/360 Provided by: be quiet! |
Assembly
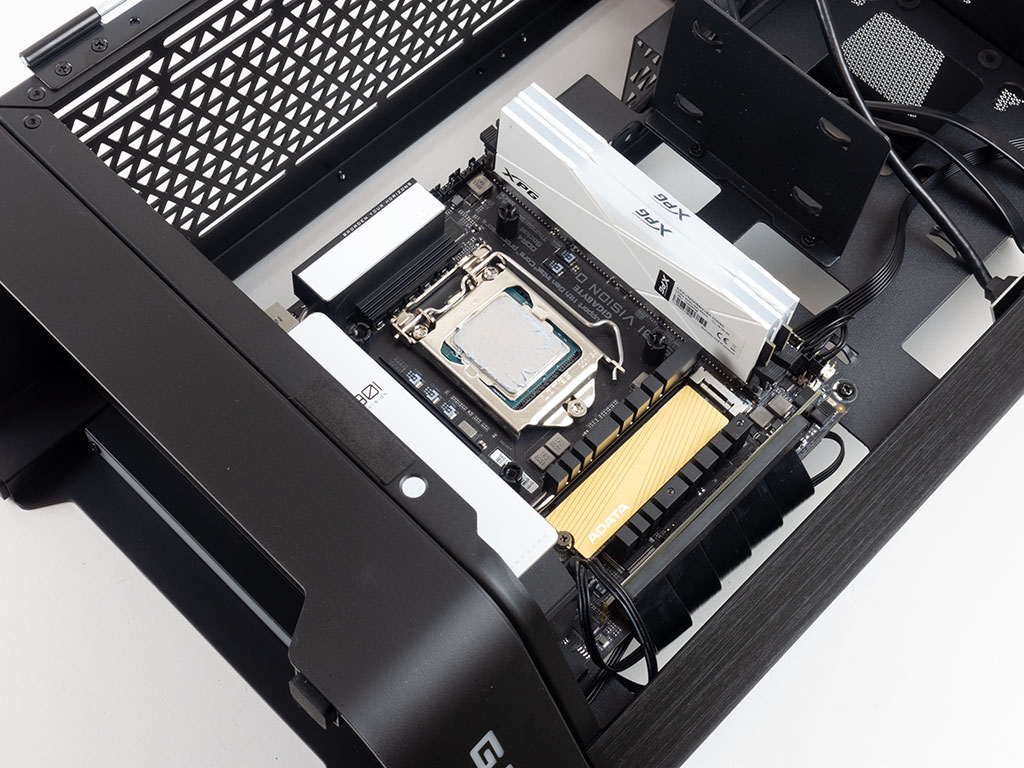
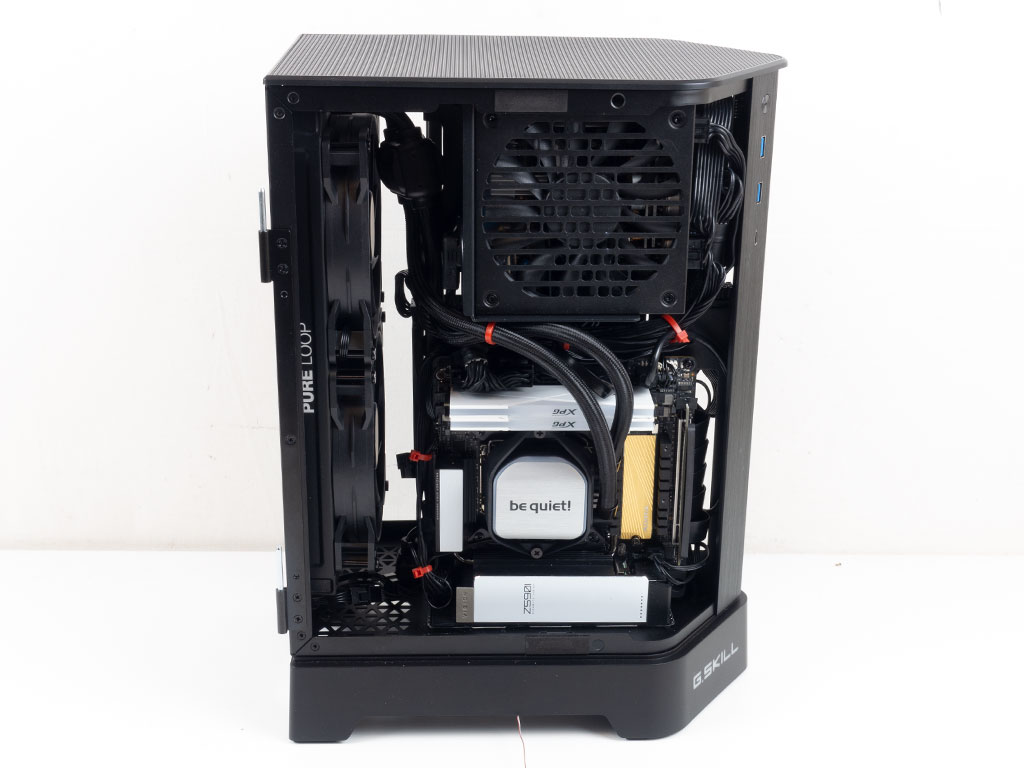
Installing the motherboard is done by traditional means, using the pre-applied spacers and screws. There is still quite the gap between the board and PSU bay, which will come in handy for cable routing down the line. Even tall memory will fit inside the Z5i without issue.
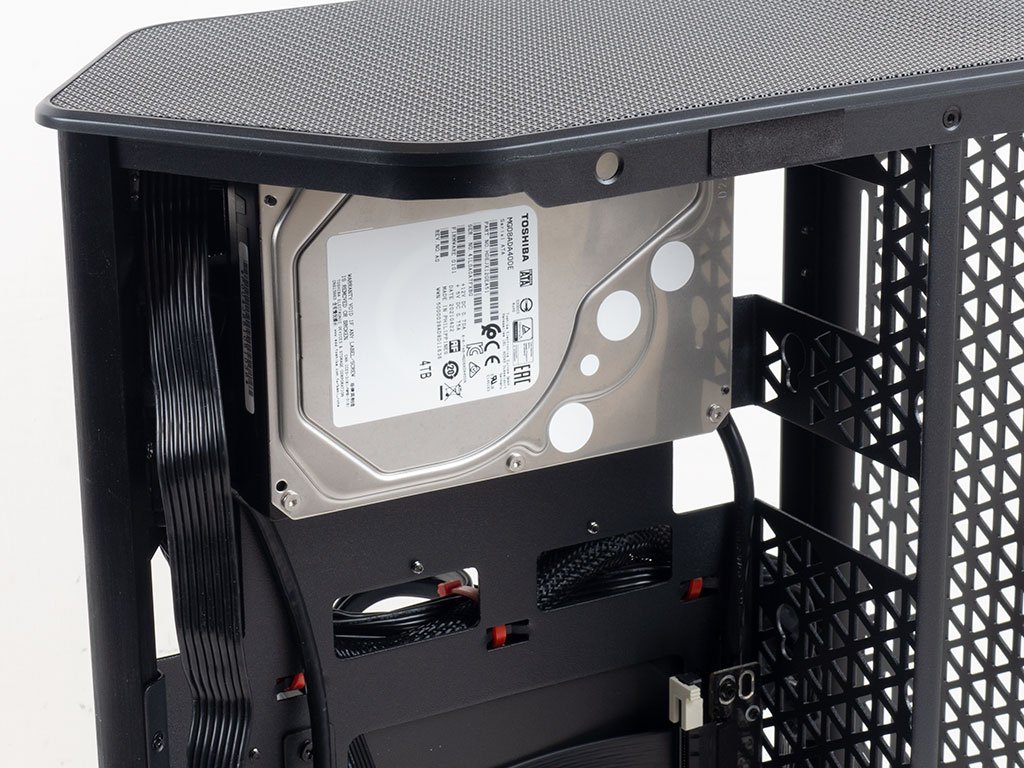
If you are opting to add a 3.5" drive, you may simply screw it in place with the connector facing towards the back of the chassis. There is plenty of space here, so G.Skill could have included a pair of connecting plates to stack two drives on top of each other, for example.
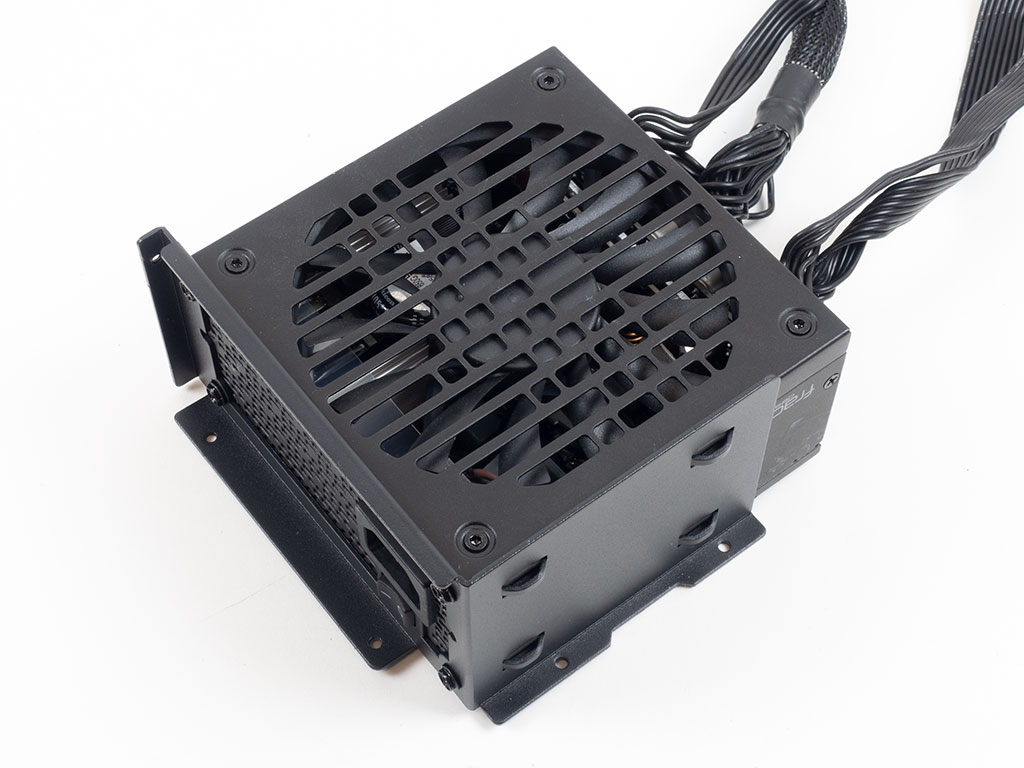
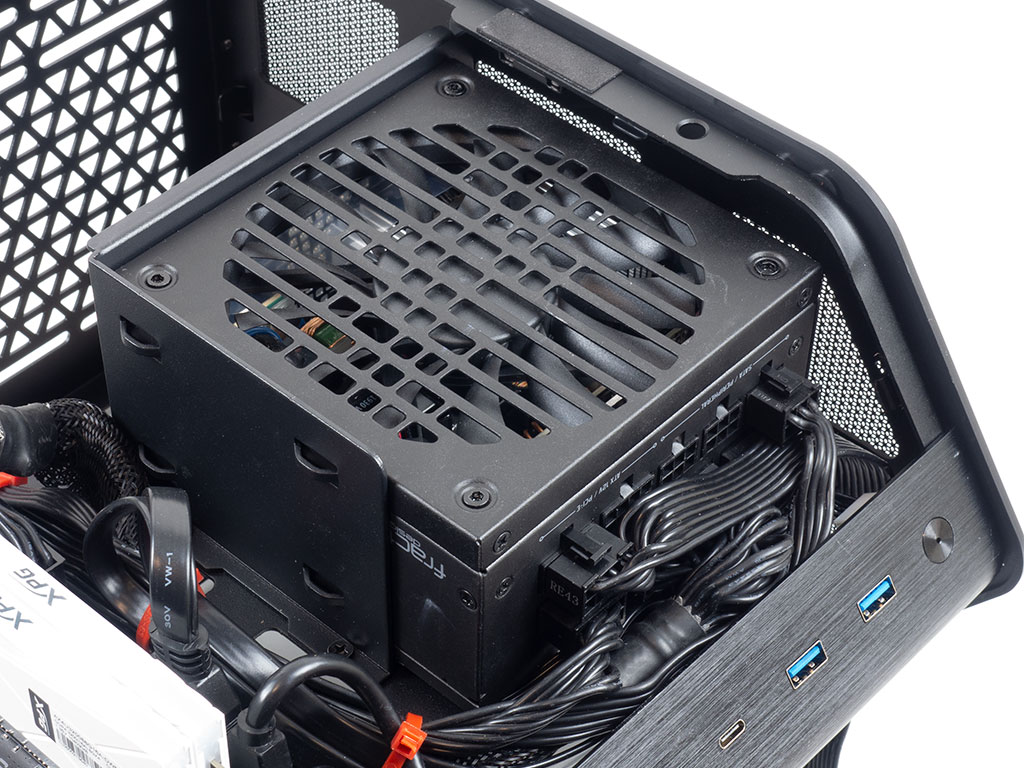
To install the PSU, you first have to screw it on to the mounting plate and then put that plate back into the chassis. As you can see, the SFX-L unit fits just fine with the cables nicely tugged away, so the glass panels may easily close once the build is complete.

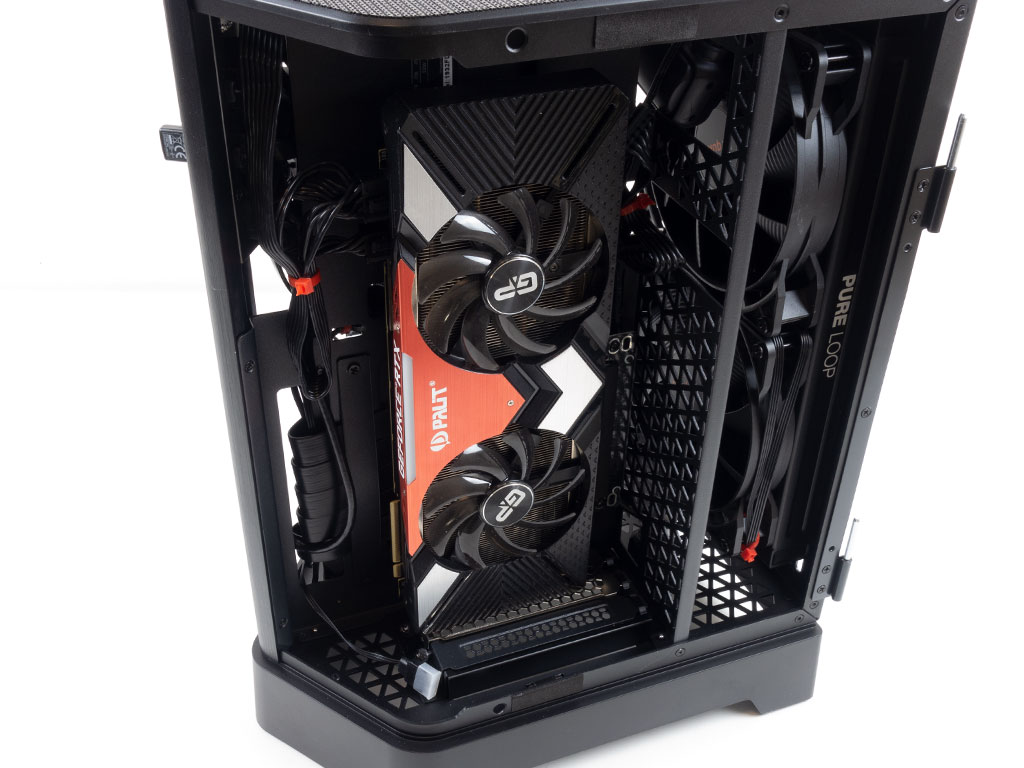
With a 3.5" hard drive in place, the Zotac GeForce RTX 3060Ti fit perfectly underneath of it with its length of just under 230 mm. This means you can have both large capacity spinning storage and plenty of GPU power for the latest games. Naturally, by removing the hard drive, any modern GPU can fit. With dual-slot cards, there is ample room towards the glass panel, which should give you a little more buffer in terms of potential heat build up.
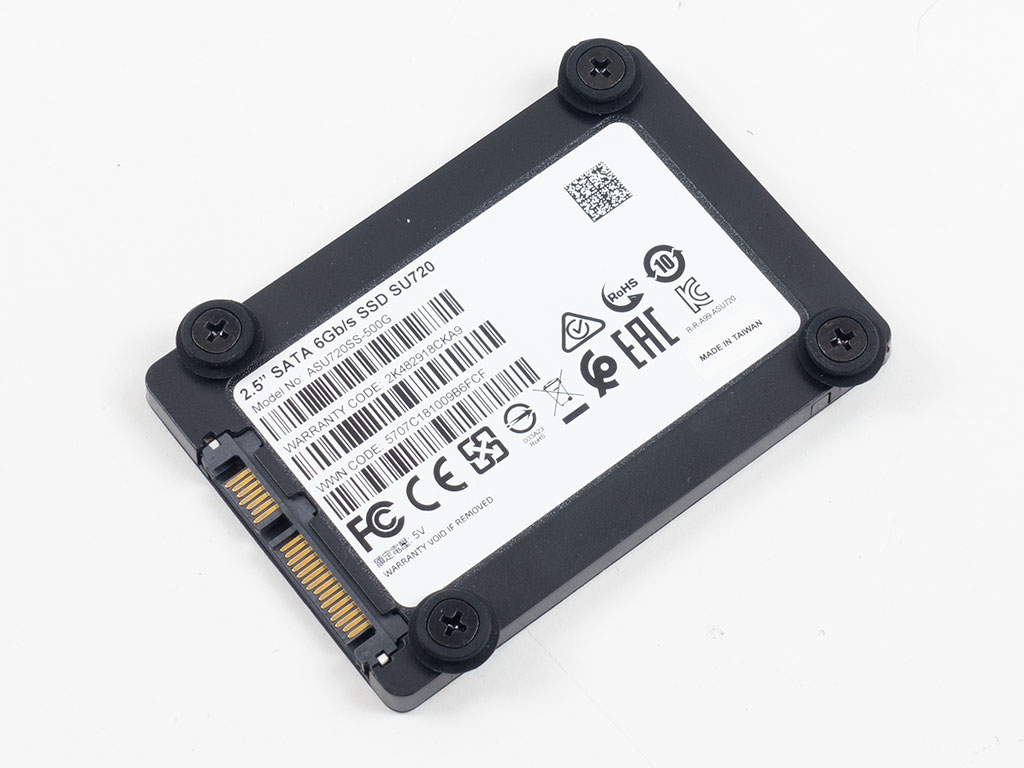

To install an SSD in any of the three spots, first apply rubber-ring-equipped screws and then slide them into one of the slots of your choice. Even with the installed drives facing the rear of the chassis, there is plenty of space to slide in and install an AIO, for example.
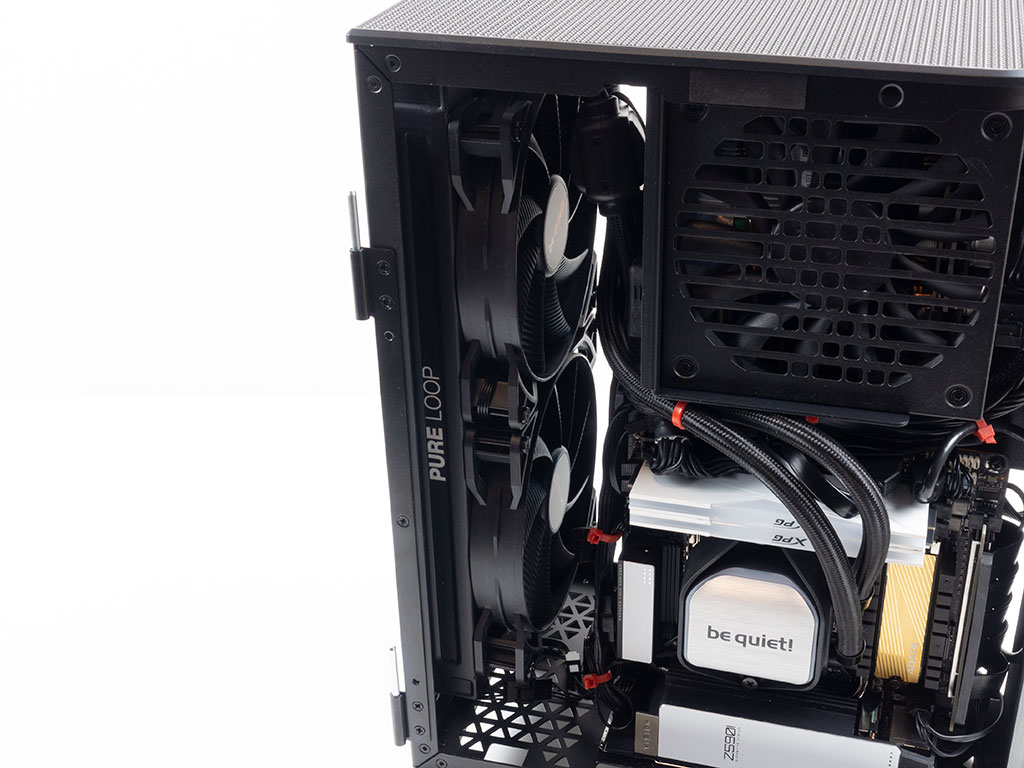
Thanks to ample space, installing an AIO with an in-line pump poses no issue—the whole contraption with the fans assembled easily fits right in.
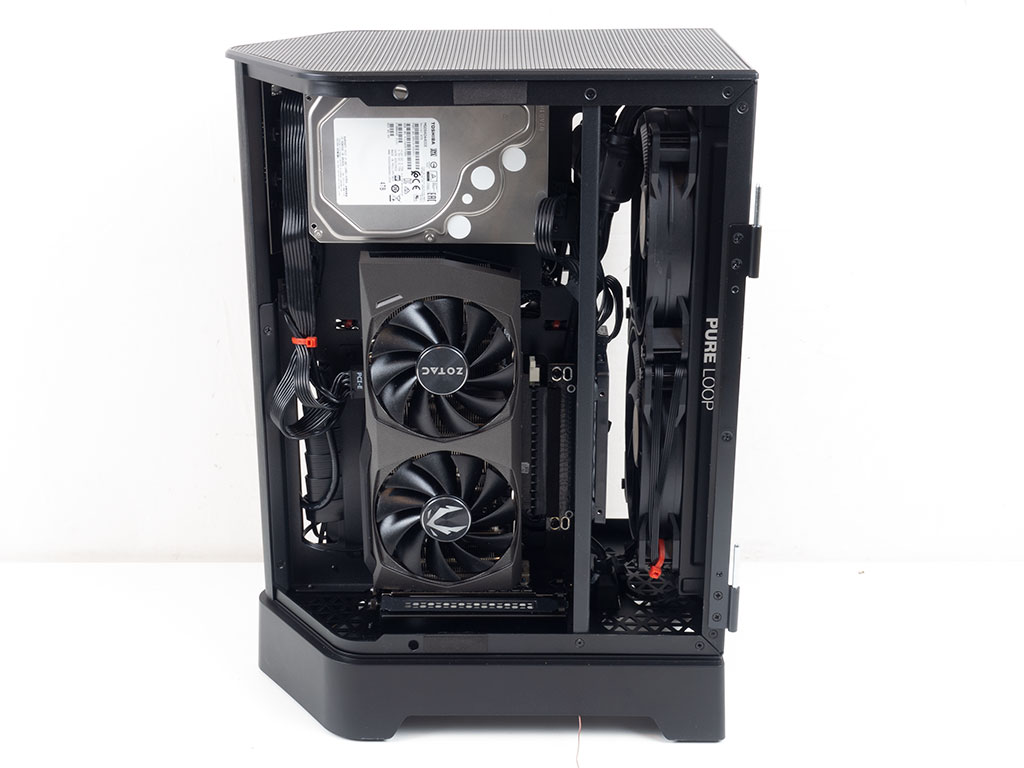
With everything installed, you can clearly see the notable gap between the AIO and any components, which could make that dream of a push/pull configuration a real possibility with a bit of creative cable managements. Even though the case tapers to a point towards the front, it never feels too crowded to properly use the interior of the Z5i. G.Skill has also placed lots of hooks for cable management around the chassis in useful locations so that cable management is easily done.
Finished Looks
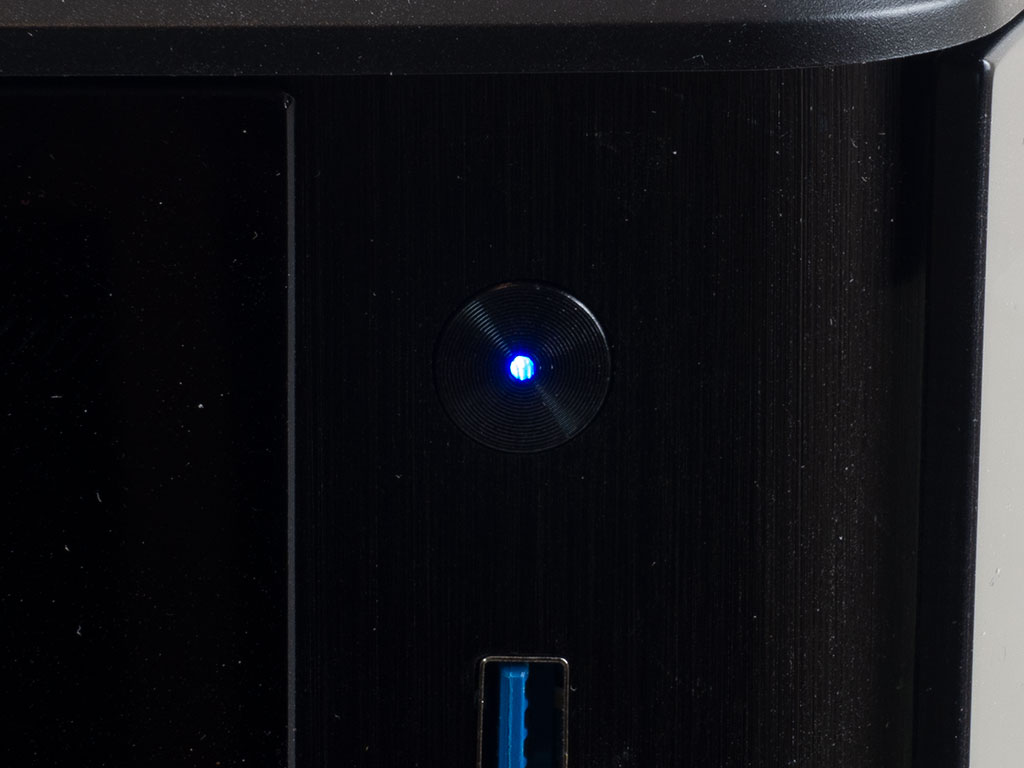
With everything assembled and the system turned on, you will find the small blue LED illuminating the center of the power button.
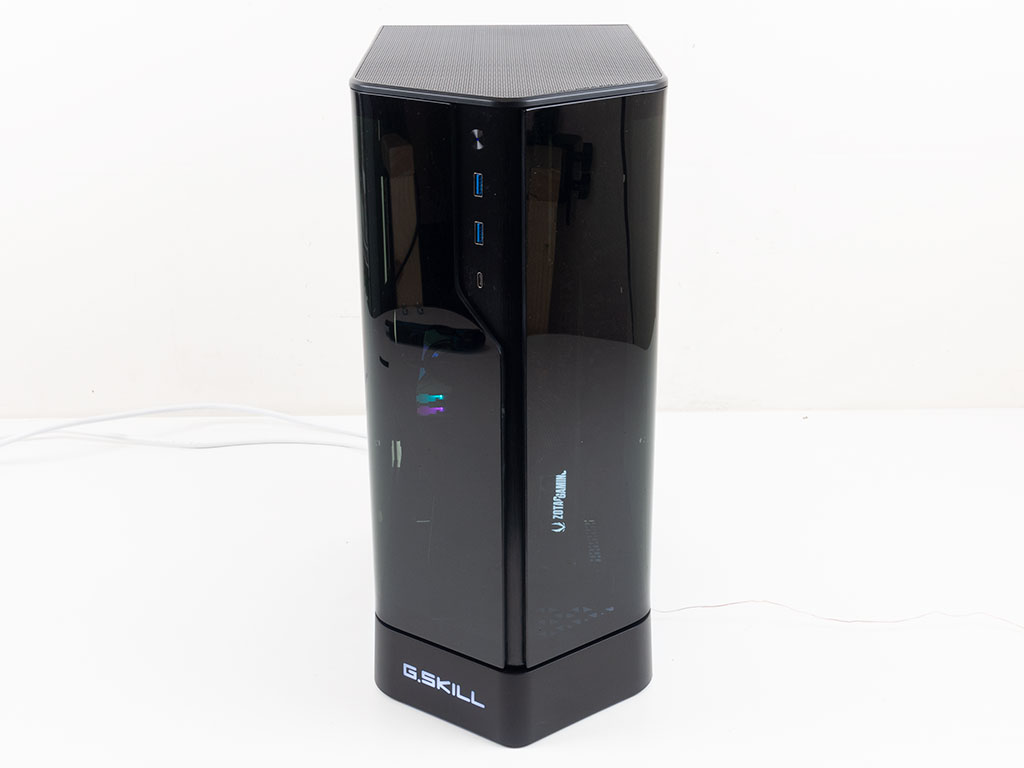
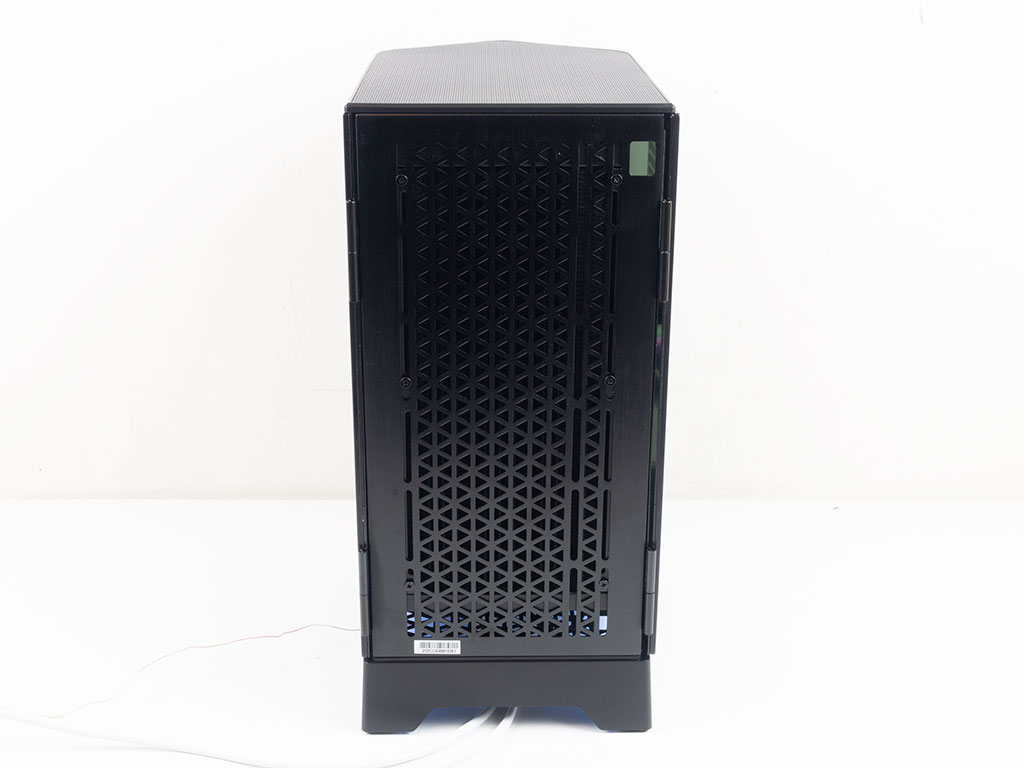
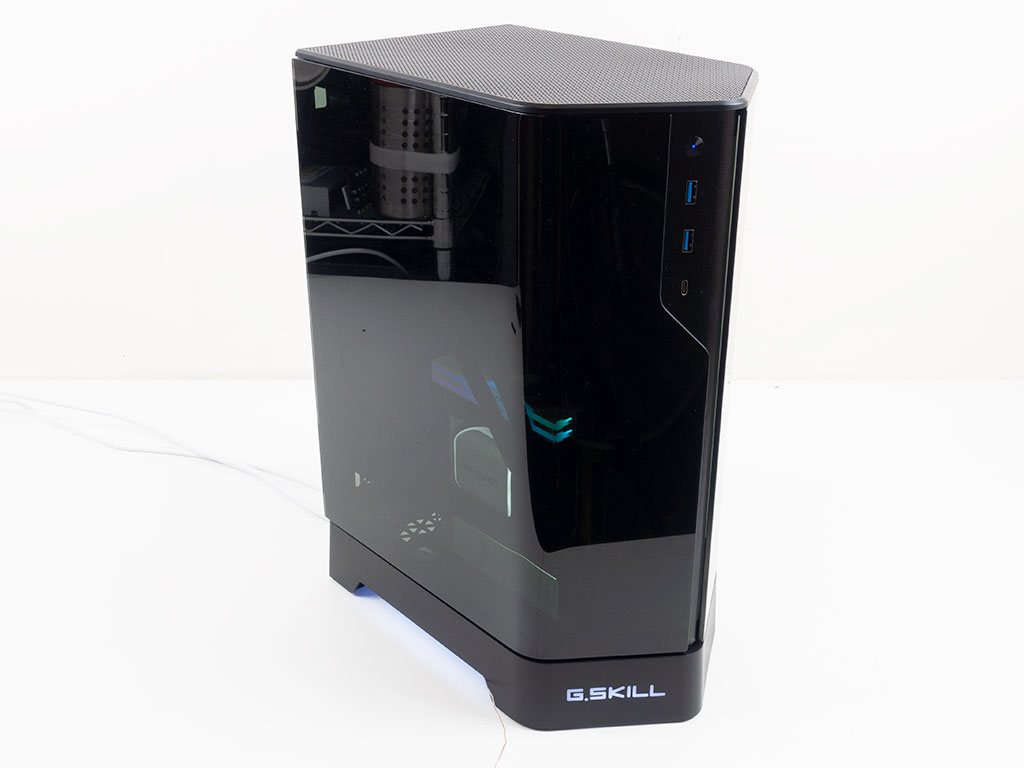
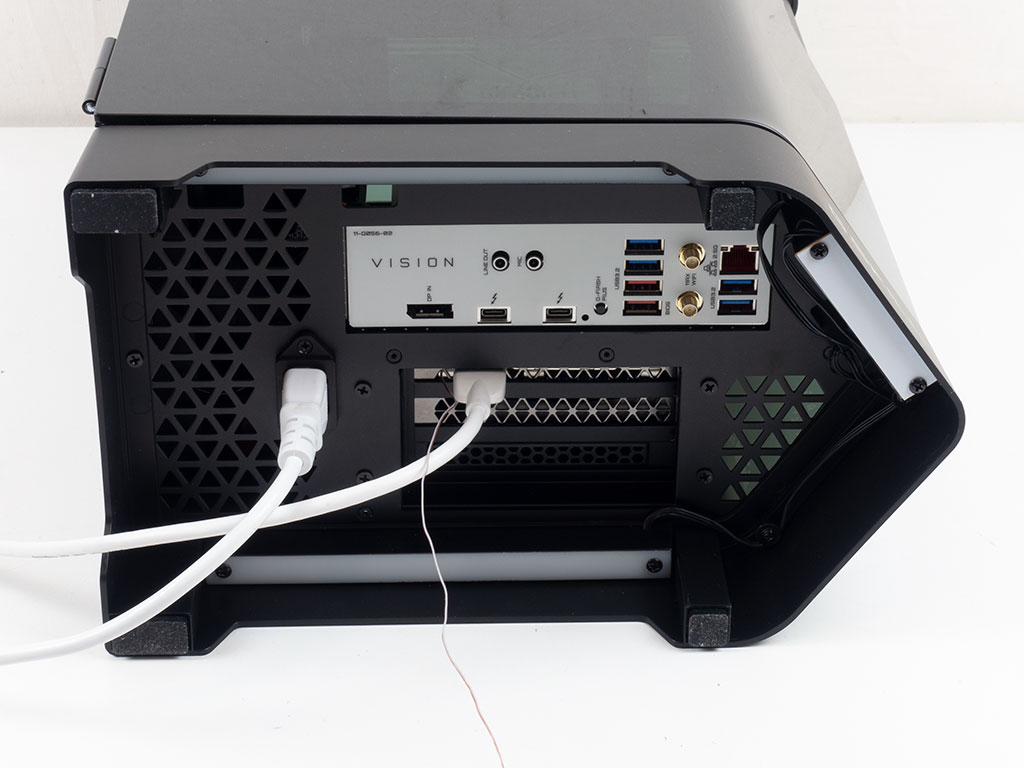
Looking at the front, you can see the ARGB elements of the components within, but the fairly dark tint of the glass panels ends up filtering most of that out. Most brands have left behind dark tints or at least given customers options between various levels. Light or clear tinting would benefit the Z5i as well. In the end, the whole reason for such a panel is to show off your parts after all. Looking at the rear, there is nothing but the radiator, and the cables extruding from underneath the base of the enclosure.
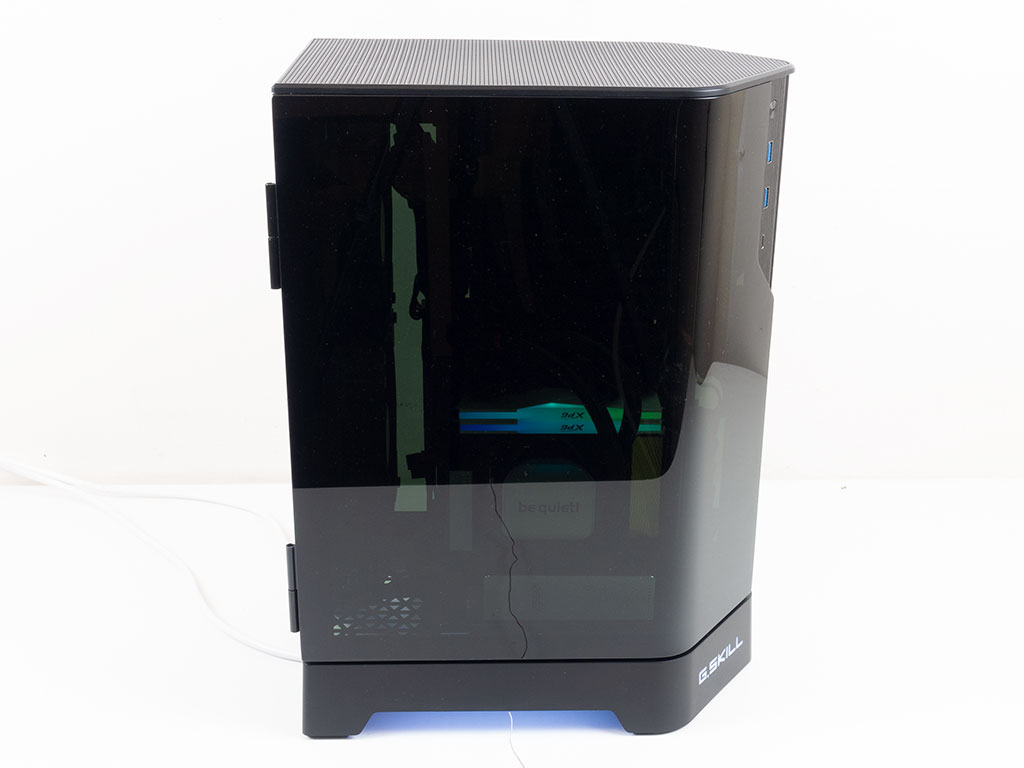
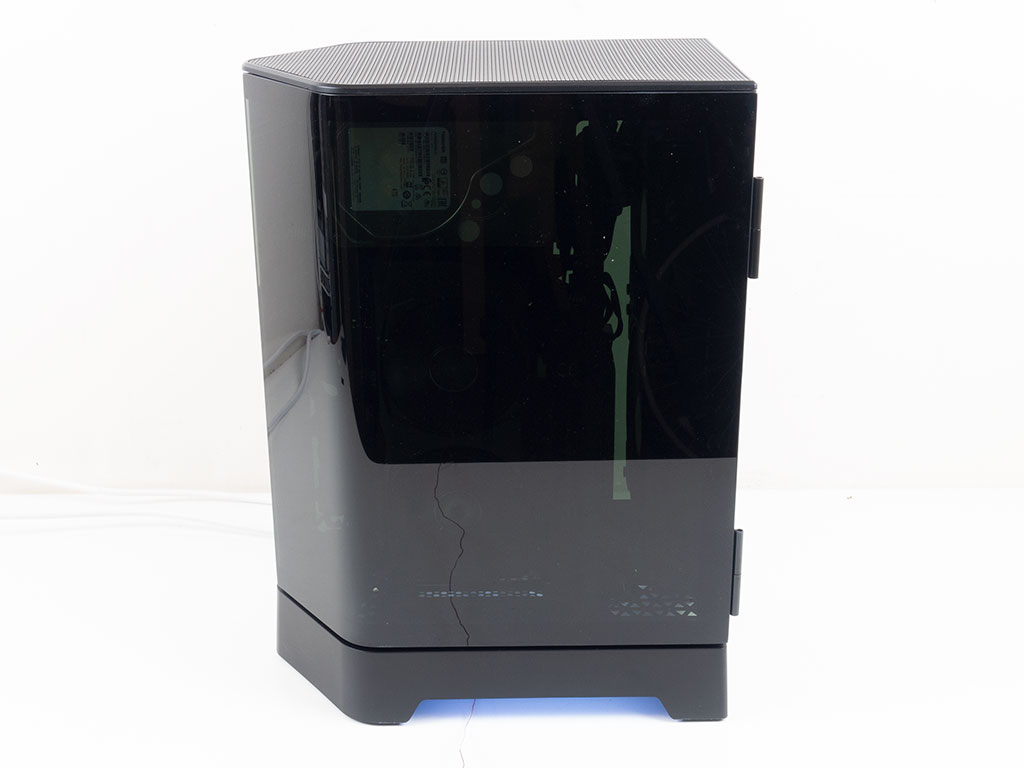
Looking straight at the two sides, it becomes apparent that the tint really blocks the details of the components within, with the illuminated elements taking all your attention.
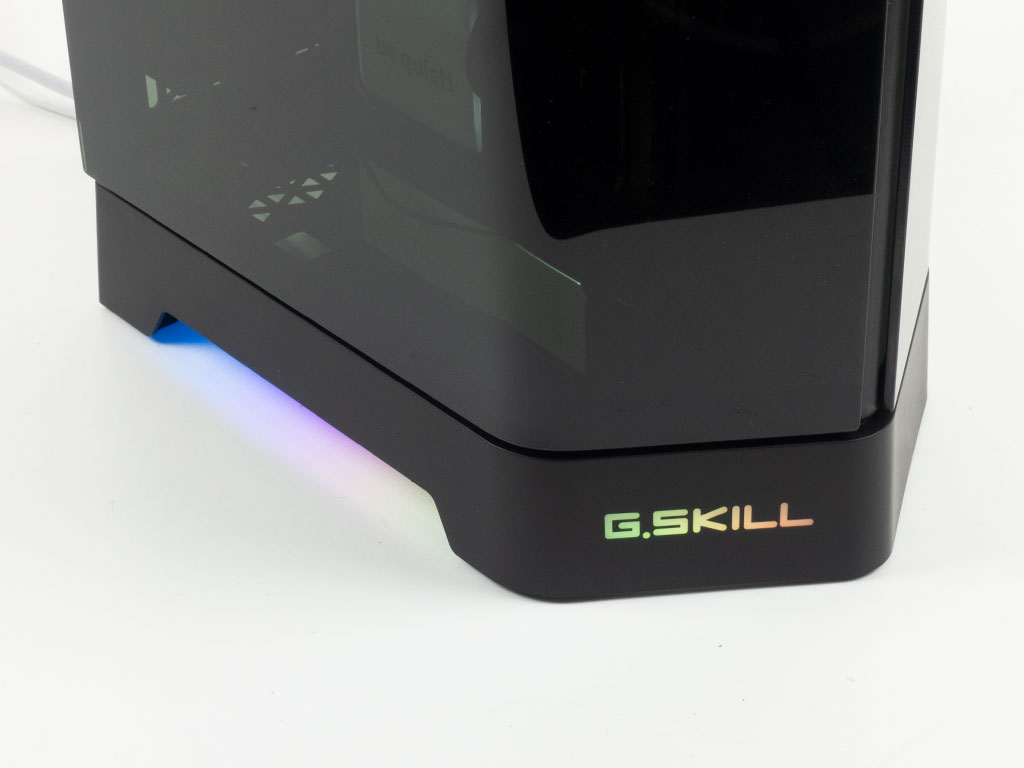
The lighting forming the underside glow in the base and the lit up G.Skill logo are both great little touches. While we usually show off solid color toggles at this point, we can skip that step with the motherboard controlling the ARGB elements. A quick peek at the underside of the G.Skill Z5I shows that the height of that base is just tall enough for traditional, straight power cables to be utilized without issue.
Feb 3rd, 2025 08:56 EST
change timezone
Latest GPU Drivers
New Forum Posts
- Will you buy a RTX 5090? (383)
- DTS DCH Driver for Realtek HDA [DTS:X APO4 + DTS Interactive] (2099)
- Just for lolz, Post your 3DMark2001SE Benchmark scores! (93)
- Cryptocoin Value and Market Trend Discussion (1600)
- RTX5000 Series Owners Club (24)
- Dlss4 + 4090 = lower max oc than with dlss3 (31)
- Microcenter GPU Stock status (6)
- QVL - Myth, Legend, Marketing/Advertising, what is your take? (84)
- Optane performance on AMD vs Intel (40)
- What's your latest tech purchase? (23055)
Popular Reviews
- NVIDIA GeForce RTX 5080 Founders Edition Review
- Spider-Man 2 Performance Benchmark Review - 35 GPUs Tested
- MSI GeForce RTX 5080 Vanguard SOC Review
- ASUS GeForce RTX 5080 Astral OC Review
- Gigabyte GeForce RTX 5080 Gaming OC Review
- MSI GeForce RTX 5080 Suprim SOC Review
- NVIDIA DLSS 4 Transformer Review - Better Image Quality for Everyone
- ASUS GeForce RTX 5090 Astral OC Review - Astronomical Premium
- Galax GeForce RTX 5080 1-Click OC Review
- Palit GeForce RTX 5080 GameRock OC Review
Controversial News Posts
- NVIDIA 2025 International CES Keynote: Liveblog (470)
- AMD Debuts Radeon RX 9070 XT and RX 9070 Powered by RDNA 4, and FSR 4 (349)
- AMD Radeon 9070 XT Rumored to Outpace RTX 5070 Ti by Almost 15% (259)
- AMD is Taking Time with Radeon RX 9000 to Optimize Software and FSR 4 (256)
- AMD Denies Radeon RX 9070 XT $899 USD Starting Price Point Rumors (239)
- AMD Radeon RX 9070 XT & RX 9070 Custom Models In Stock at European Stores (226)
- Edward Snowden Lashes Out at NVIDIA Over GeForce RTX 50 Pricing And Value (221)
- New Leak Reveals NVIDIA RTX 5080 Is Slower Than RTX 4090 (215)