 4
4
Gamdias Athena M6 Review
Assembly & Finished Looks »A Closer Look - Inside
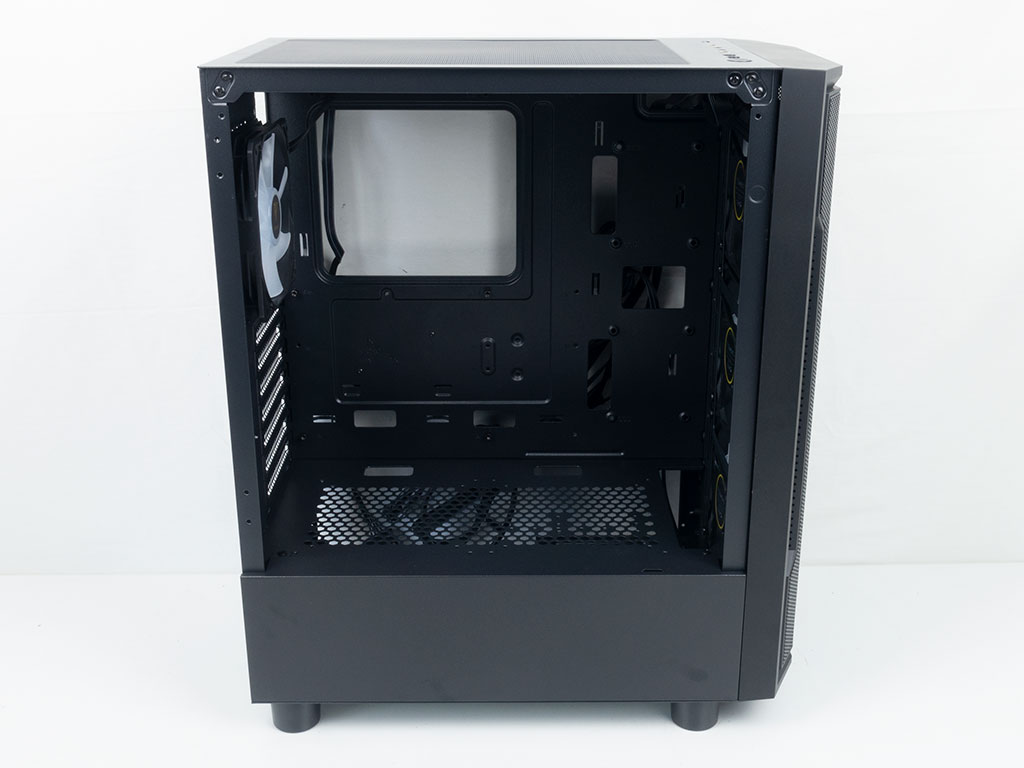
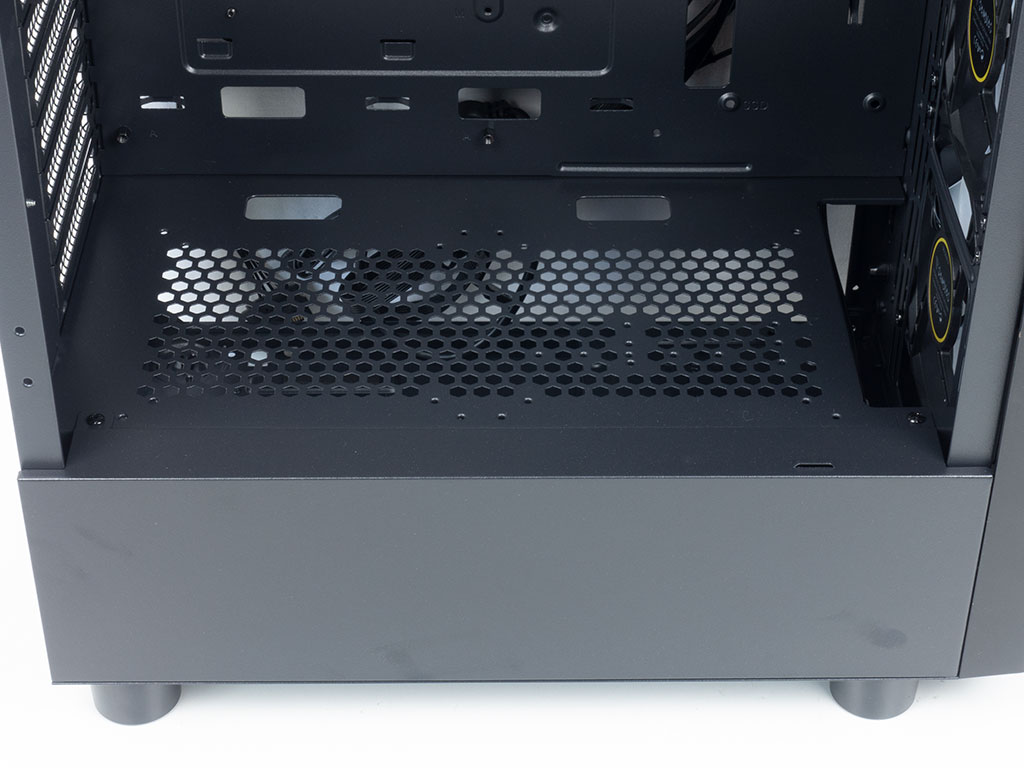
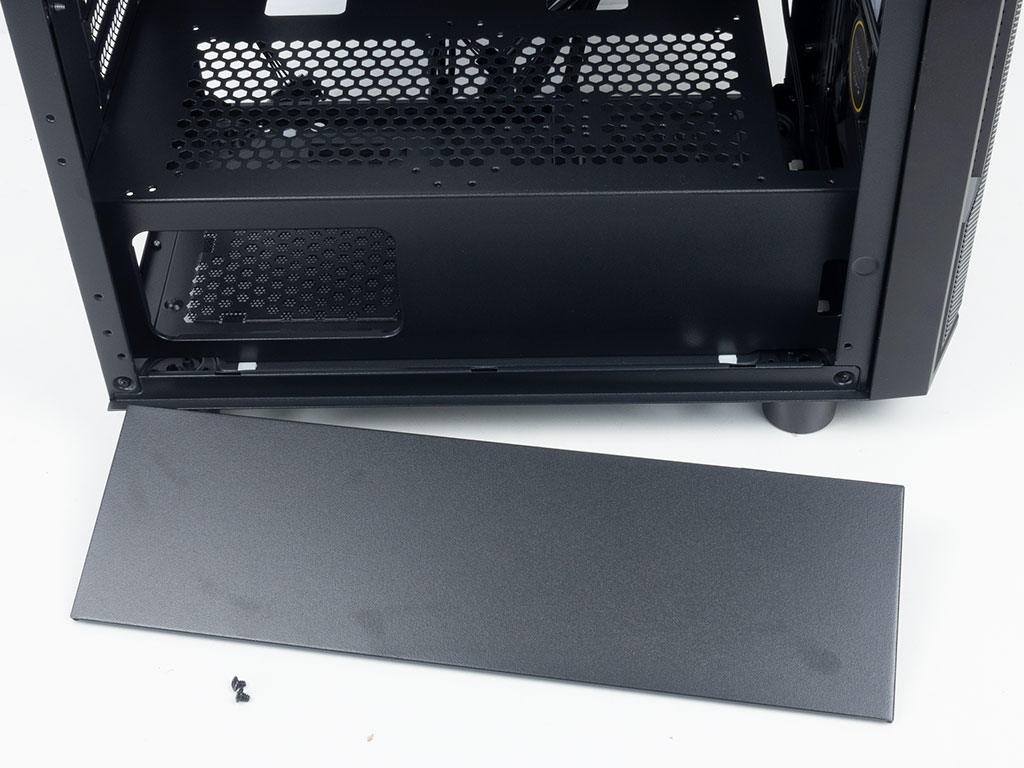
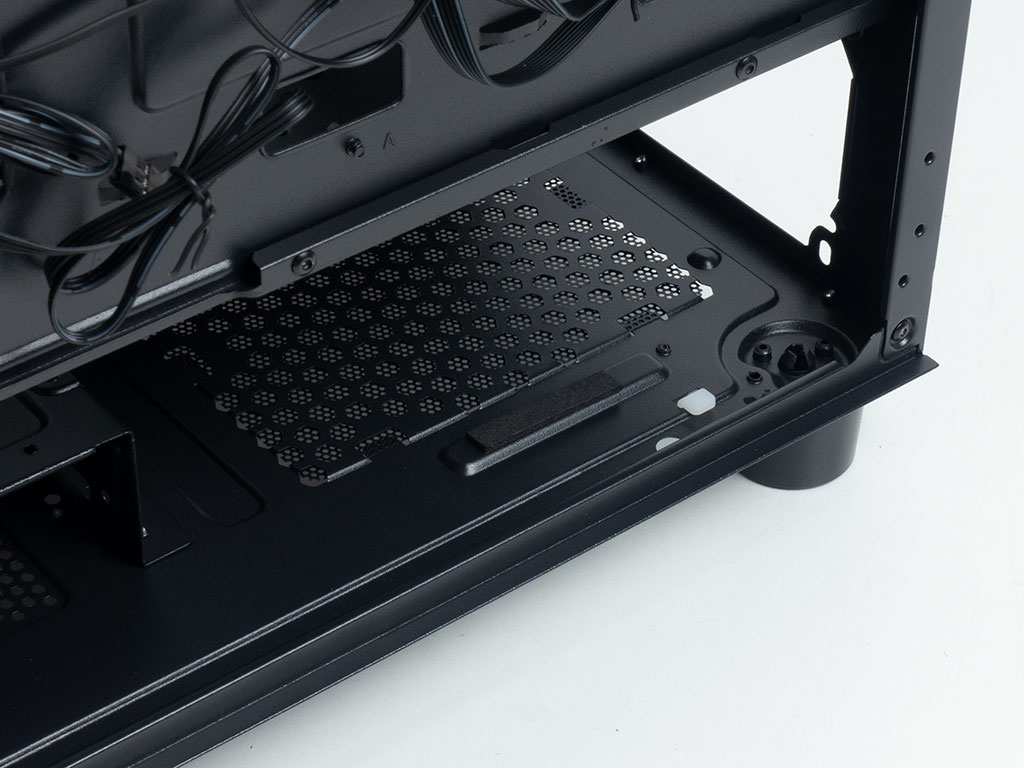
The interior of the Gamdias Athena M6 looks fairly traditional for a compact mid-tower. These type of cases tend to be a bit shorter than classic variants, while still providing ample room for your components. There is a metal shroud on the bottom to cover the PSU and HDD cage, coming with two well placed cutouts for cable management. There also seem to be mounting possibilities for two 120 or 140 mm fans, but Gamdias does not advertise this possibility, nor does the case include the necessary screws for such a setup. Interestingly enough, you may take off the exterior facing part of the shroud to reveal a classic shaped side of the interior cover, also including the opening to view the PSU.
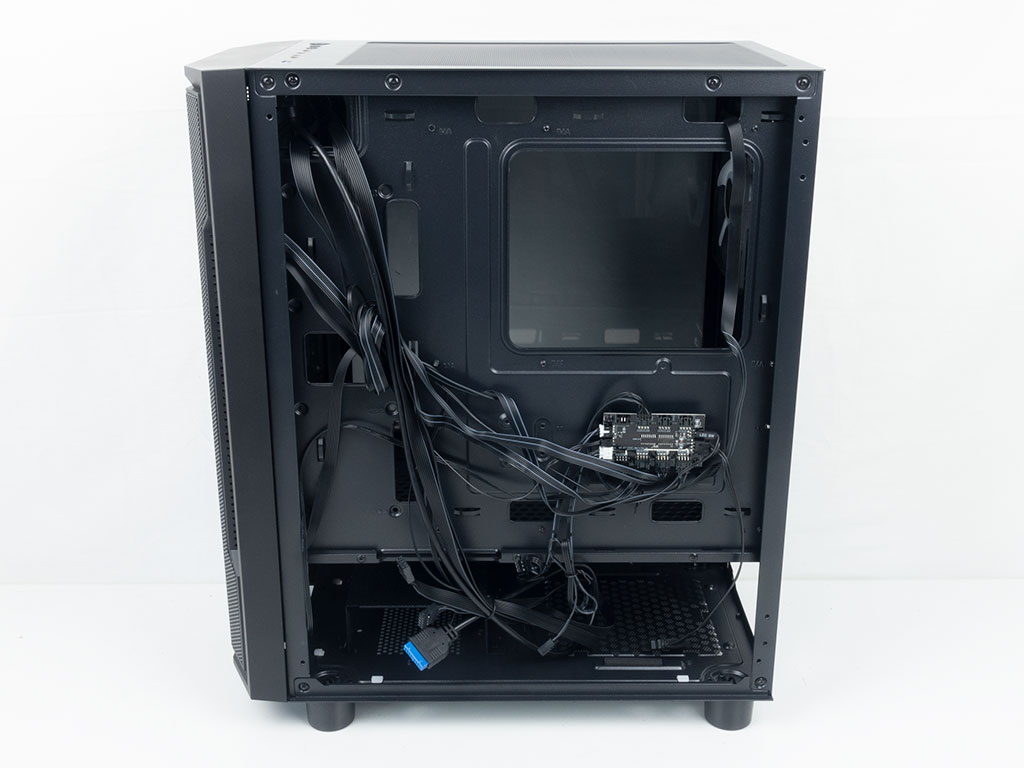
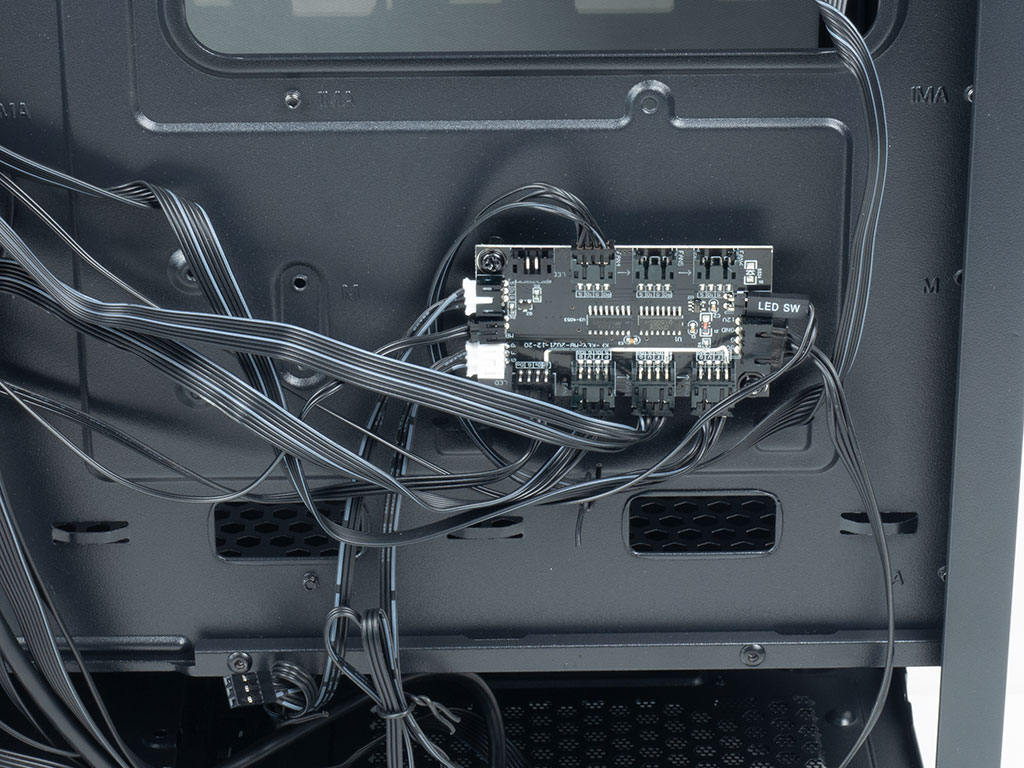
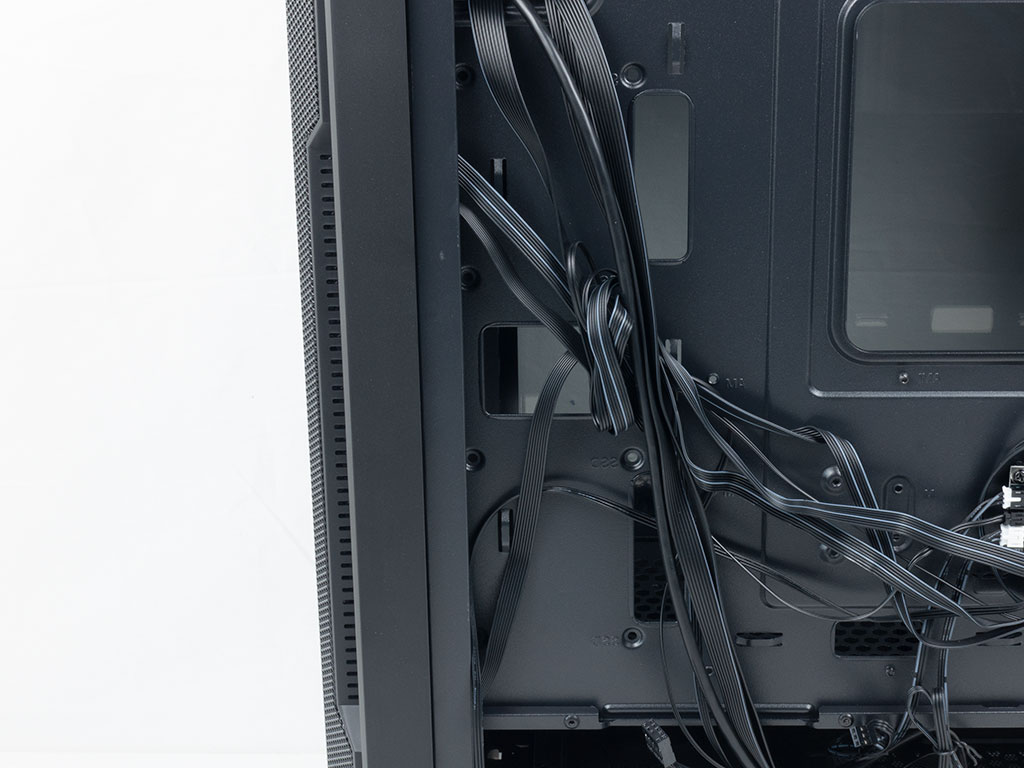
Looking at the back of the motherboard tray, there are several openings that allow for cable management, but none of them are equipped with grommets. The PCB for controlling the ARGB and providing power to the case fans has been placed in a position where you would usually find 2.5" mounting plates. The fans within the Athena M6 use proprietary connectors, which means that you will loose the benefits of the controller if you were to switch them out. While this budget ARGB implementation is fine as a means to provide functionality without breaking the bank, these days it feels a bit out of place. Other brands have managed to move onto generic ARGB compatibility with their PCBs these days.
In the front of the chassis there are two mounting positions for 2.5" drives with a central opening to route cables through. This means you are able to show off your storage nicely, as it will be visible when viewing the build through the glass panel.
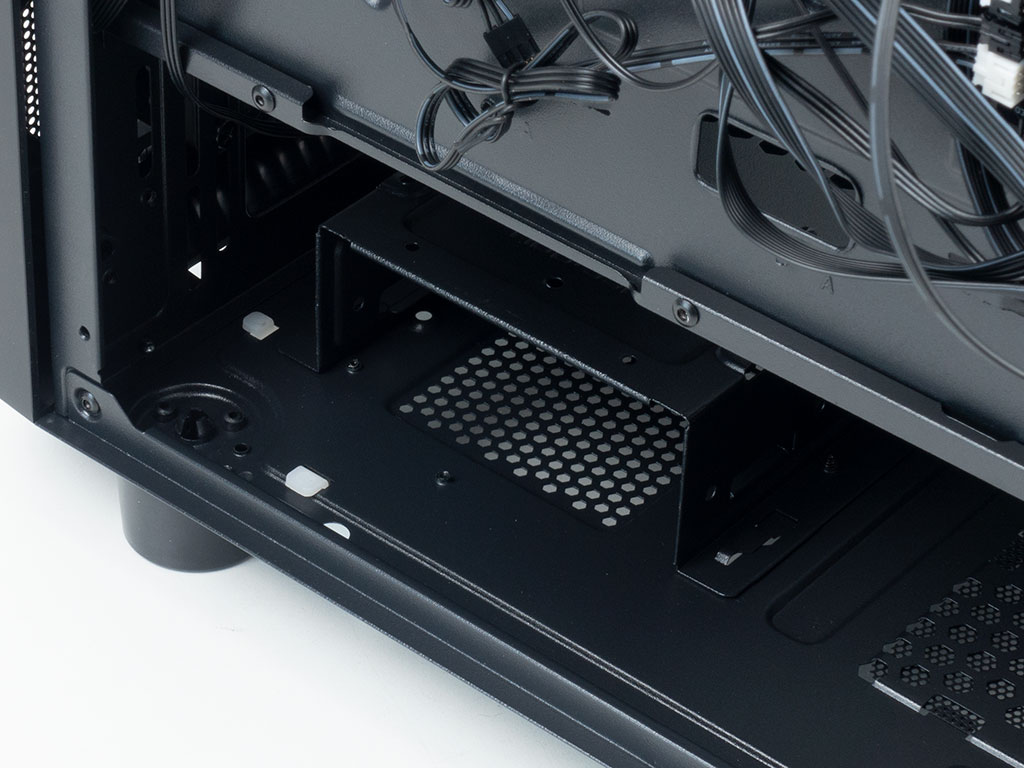
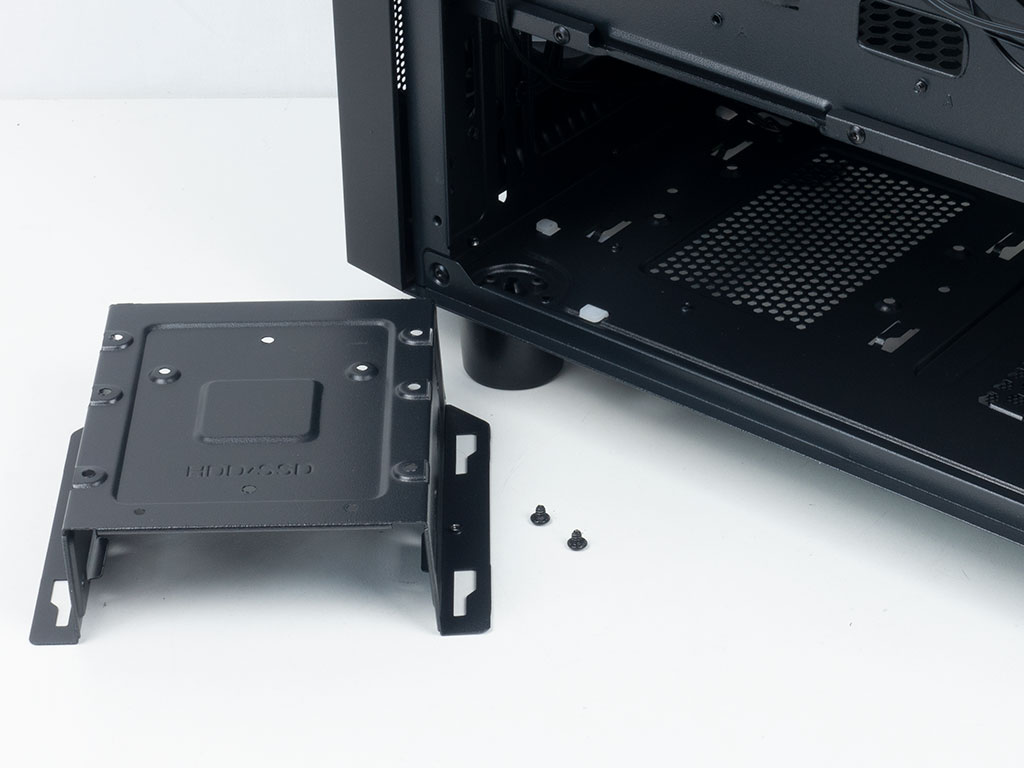

Underneath the shroud, in the front of the chassis you will find a 3.5" cage that is held in place by screws on the underside of the chassis. That means you will have to tip over your system to get to these. The cage itself can hold two 3.5" drives or a mix of 3.5/2.5" units. this brings the total possible storage expansion to a good four within the Athena M6. The shroud above has a cutout, so that you may install a radiator of up to 360 mm in size without any issues.
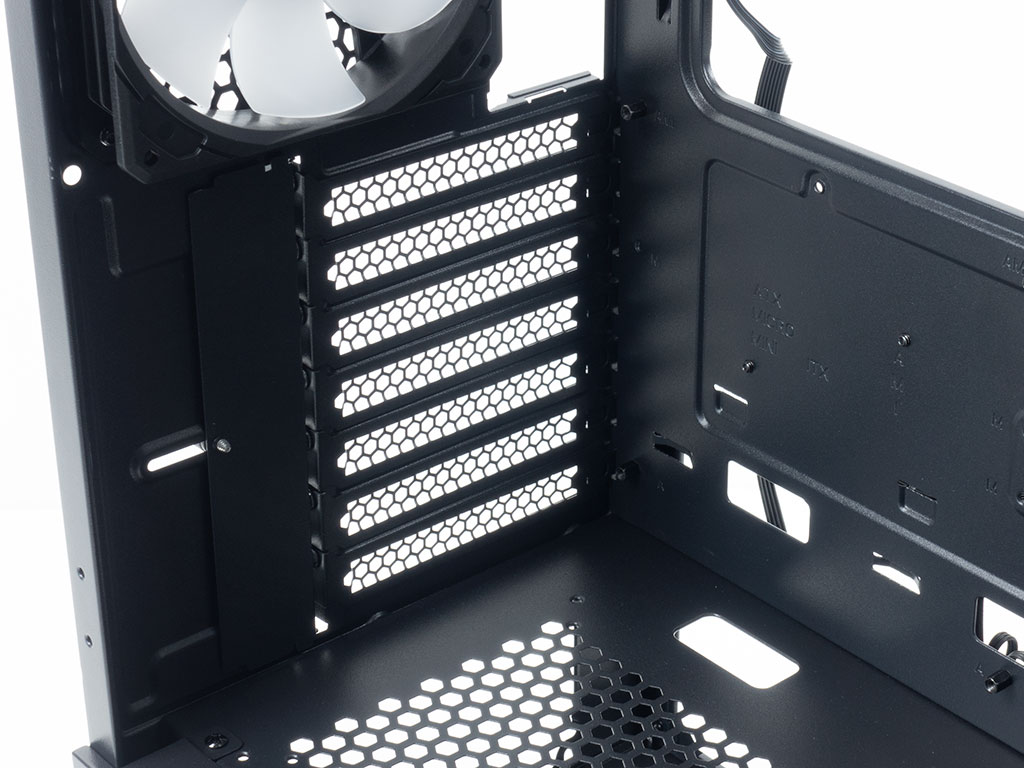
In the rear, the PSU bay is fairly straight forward, utilizing two foam strips for a power supply to rest on. Above that are the seven expansion slots and that fourth 120 mm exhaust fan.
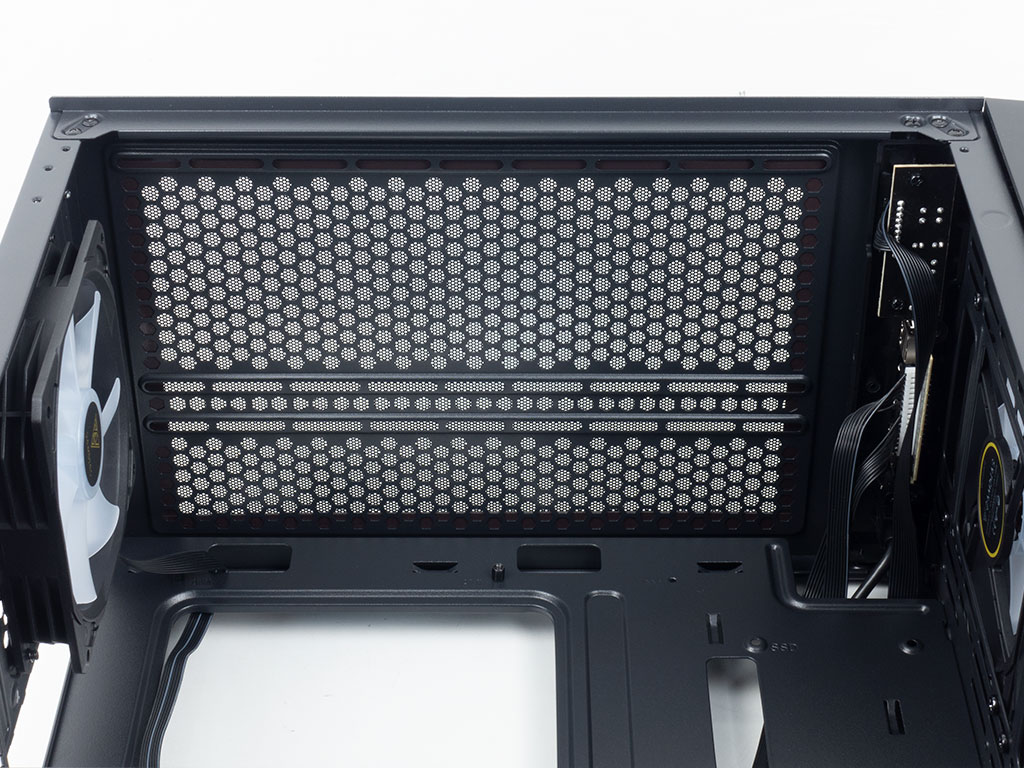
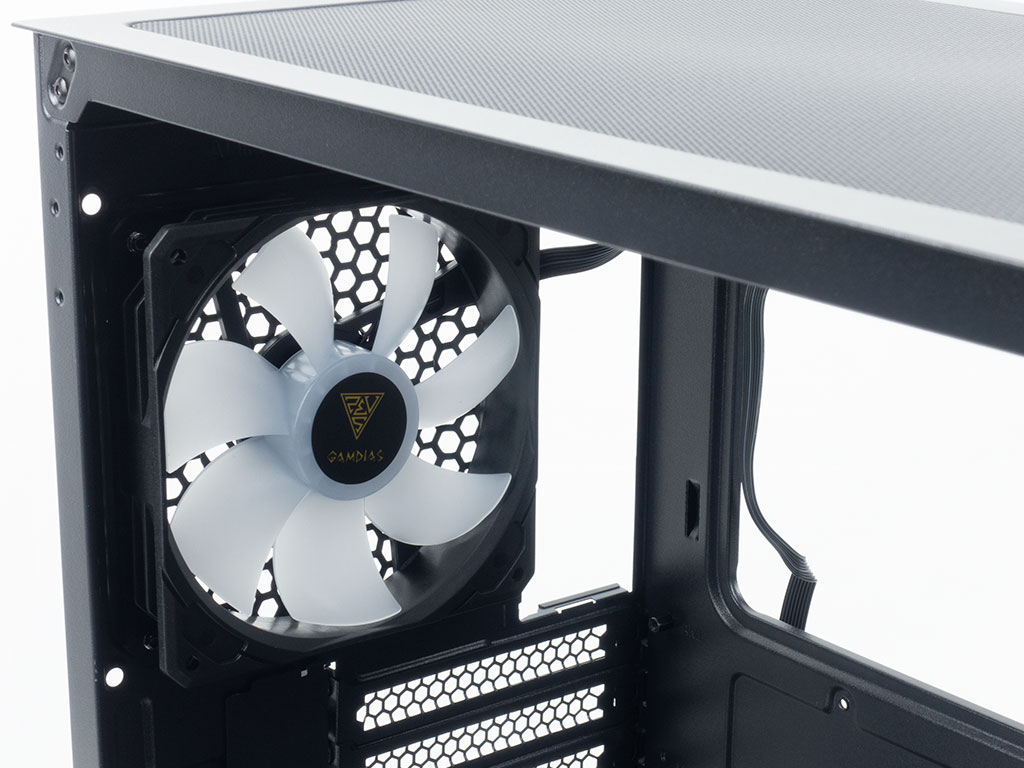
Looking at the ceiling, there are three rows of mounting holes for 120 or 140 mm fans, which should fit nicely, even after considering the motherboard components. However, if you opt to go for a radiator setup here, you will be limited to a 240 mm variant and the connections at the top edge of your motherboard may block access to the loops ports.

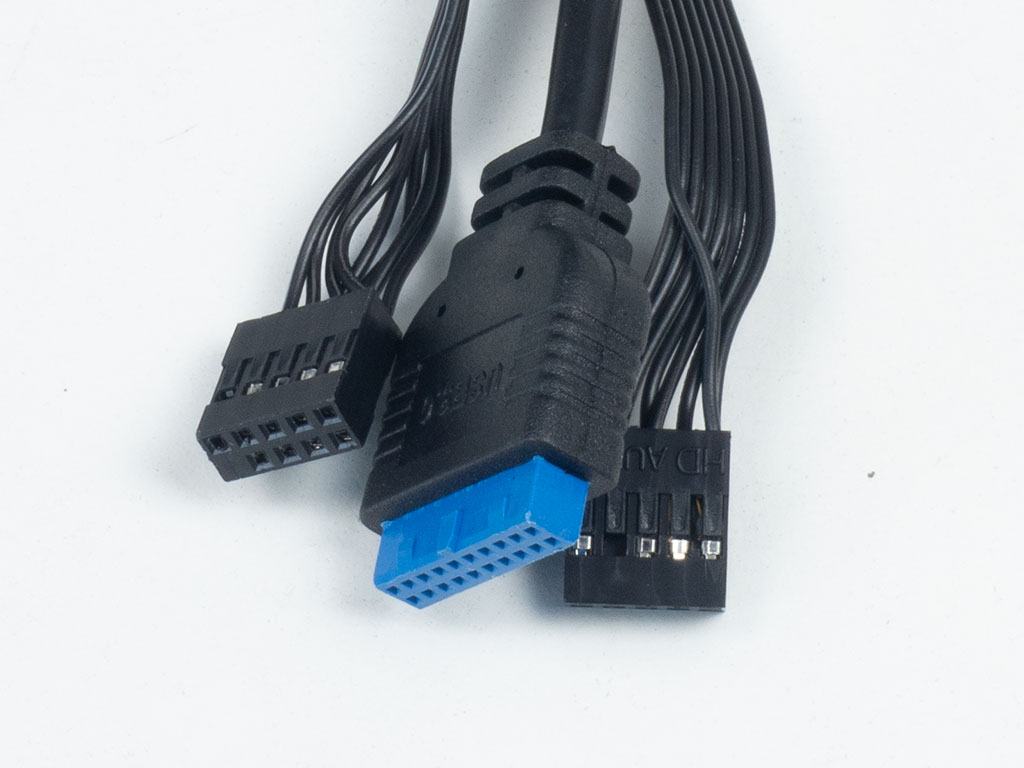
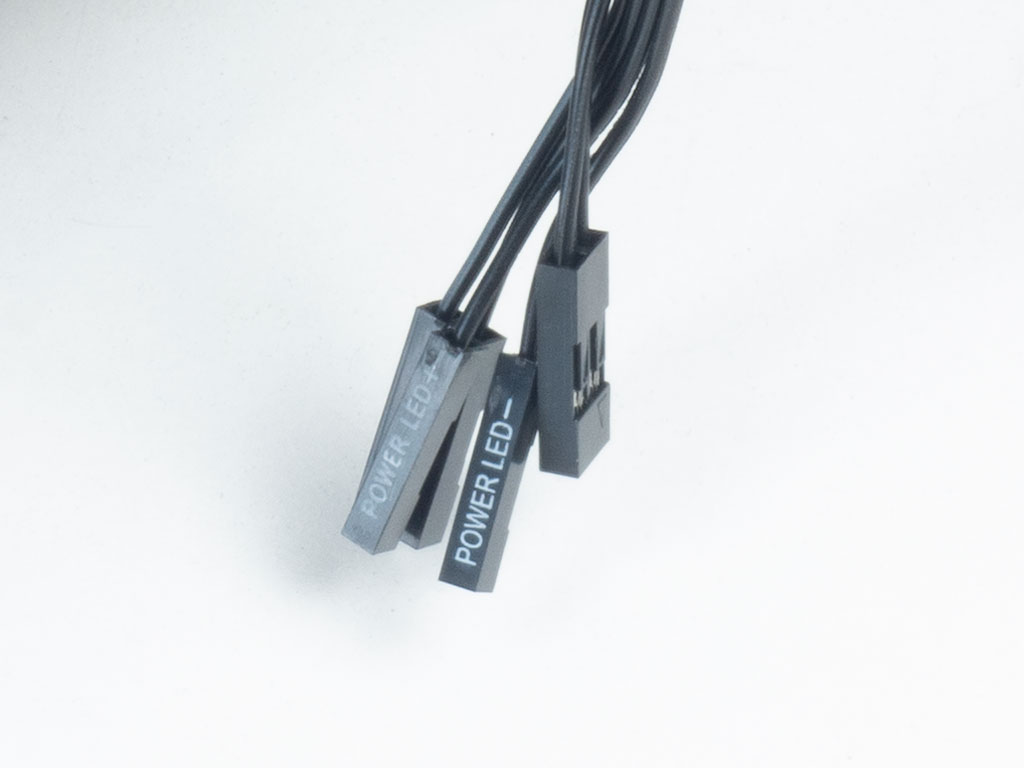
The PCB utilizes a SATA power connector to power fans and lighting. A PWM wire is used to adjust the speed of the fans and Gamdias also includes a generic ARGB interface cable, so that you may control the lighting with your motherboard instead of the PCB. Besides that, all the other wires are pretty generic, in the form of black sleeved variants. The one noteworthy mention are the flat-band cables used for USB 2.0 and the audio plugs, as this makes routing a little easier versus classic round wires.
Apr 17th, 2025 07:51 EDT
change timezone
Latest GPU Drivers
New Forum Posts
- Can,t download Windows 11 or 10. (8)
- RX 9000 series GPU Owners Club (352)
- help needed (4)
- Is it worth buying a pi5 with a broken hdmi connector (8)
- SK hynix A-Die (Overclocking thread) only for RYZEN AM5 users (47)
- The TPU UK Clubhouse (26136)
- Windows 11 General Discussion (5993)
- Intel Iris XE Graphics Driver Issue. (7)
- my new mini pc (2)
- Memory Compression On or Off? (59)
Popular Reviews
- G.SKILL Trident Z5 NEO RGB DDR5-6000 32 GB CL26 Review - AMD EXPO
- ASUS GeForce RTX 5060 Ti TUF OC 16 GB Review
- NVIDIA GeForce RTX 5060 Ti PCI-Express x8 Scaling
- ASUS GeForce RTX 5080 TUF OC Review
- DAREU A950 Wing Review
- Palit GeForce RTX 5060 Ti Infinity 3 16 GB Review
- ASUS GeForce RTX 5060 Ti Prime OC 16 GB Review
- Zotac GeForce RTX 5060 Ti AMP 16 GB Review
- MSI GeForce RTX 5060 Ti Gaming OC 16 GB Review
- The Last Of Us Part 2 Performance Benchmark Review - 30 GPUs Compared
Controversial News Posts
- NVIDIA GeForce RTX 5060 Ti 16 GB SKU Likely Launching at $499, According to Supply Chain Leak (182)
- NVIDIA Sends MSRP Numbers to Partners: GeForce RTX 5060 Ti 8 GB at $379, RTX 5060 Ti 16 GB at $429 (127)
- Nintendo Confirms That Switch 2 Joy-Cons Will Not Utilize Hall Effect Stick Technology (105)
- Over 200,000 Sold Radeon RX 9070 and RX 9070 XT GPUs? AMD Says No Number was Given (100)
- Nintendo Switch 2 Launches June 5 at $449.99 with New Hardware and Games (99)
- NVIDIA Launches GeForce RTX 5060 Series, Beginning with RTX 5060 Ti This Week (92)
- Sony Increases the PS5 Pricing in EMEA and ANZ by Around 25 Percent (85)
- NVIDIA PhysX and Flow Made Fully Open-Source (77)