 4
4
Gamdias Athena M6 Review
Thermal Stress Test »Review System
| System Parts for Case Reviews | |
|---|---|
| Processor: | Intel Core i5-12600K Provided by: Intel |
| Motherboards: | ATX: ASUS ROG Strix Z690-E Gaming WiFi mATX: ASUS TUF Gaming B660M-PLUS WiFi D4 ITX: ASUS ROG STRIX Z690-I Gaming WiFi Provided by: ASUS |
| Graphics Card: | Gigabyte Radeon RX 6600 Eagle Provided by: Gigabyte ZOTAC GAMING GeForce RTX 3060 Ti Twin Edge OC Provided by: Zotac |
| Memory: | 32 GB XPG LANCER RGB DDR5 6000 MHz 32 GB XPG CASTER DDR5 6400 MHz 32 GB XPG HUNTER DDR5 5200 MHz Provided by: ADATA |
| HDD: | Toshiba MG08ADA400E 7200 RPM SATA III Provided by: Toshiba |
| SSD: | ATX:XPG GAMMIX S70 BLADE 1 TB mATX: ADATA LEGEND 840 512 GB ITX: XPG SPECTRIX S20G 500 GB ADATA Ultimate SU800 512 GB ADATA Ultimate SU720 500 GB Provided by: ADATA |
| Power Supply: | ATX: Fractal Design ION+ 650W 80 Plus Gold SFX: Fractal Design ION SFX-L 650W 80 Plus Gold Provided by: Fractal Design |
| Cooling: | be quiet! Pure Loop 120/240/280/360 Provided by: be quiet! |
Assembly
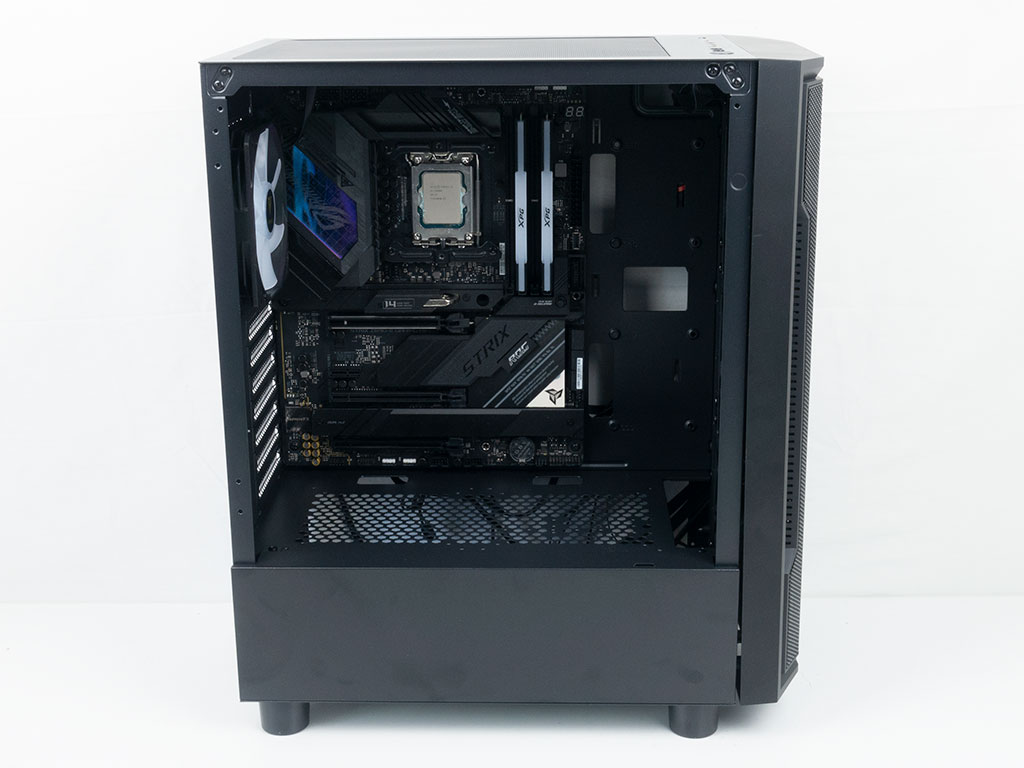
Installing the ATX motherboard is done by traditional means, using screws and spacers. The opening around the board line up well and should enable a pretty clean look once the system is fully assembled.
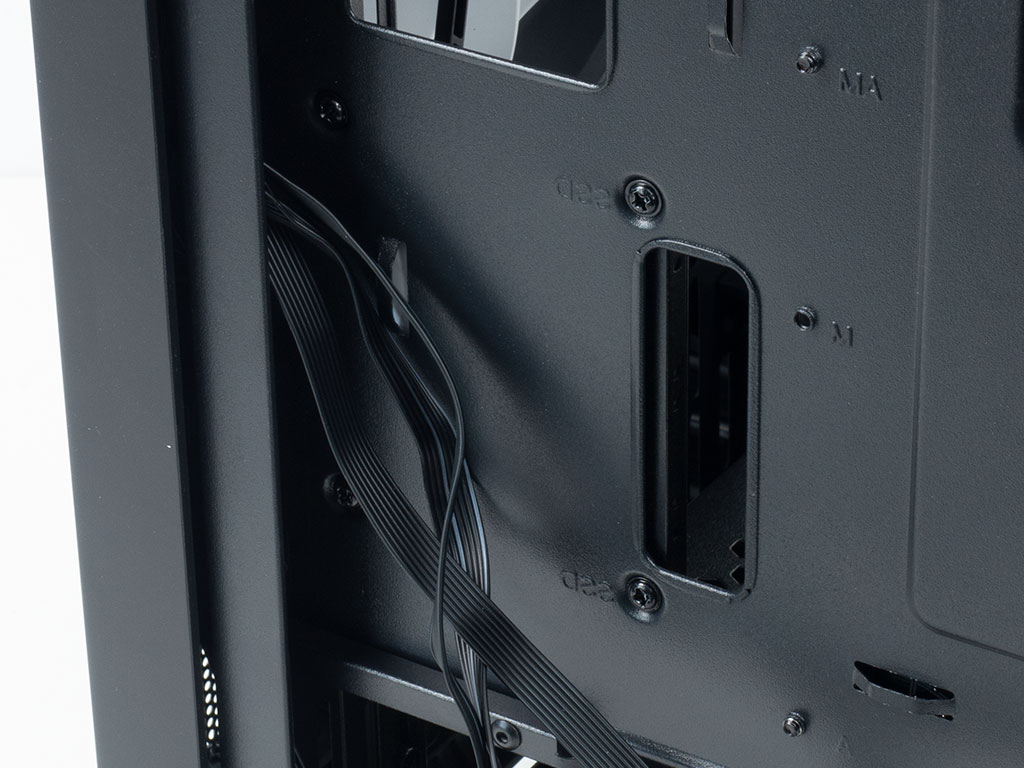
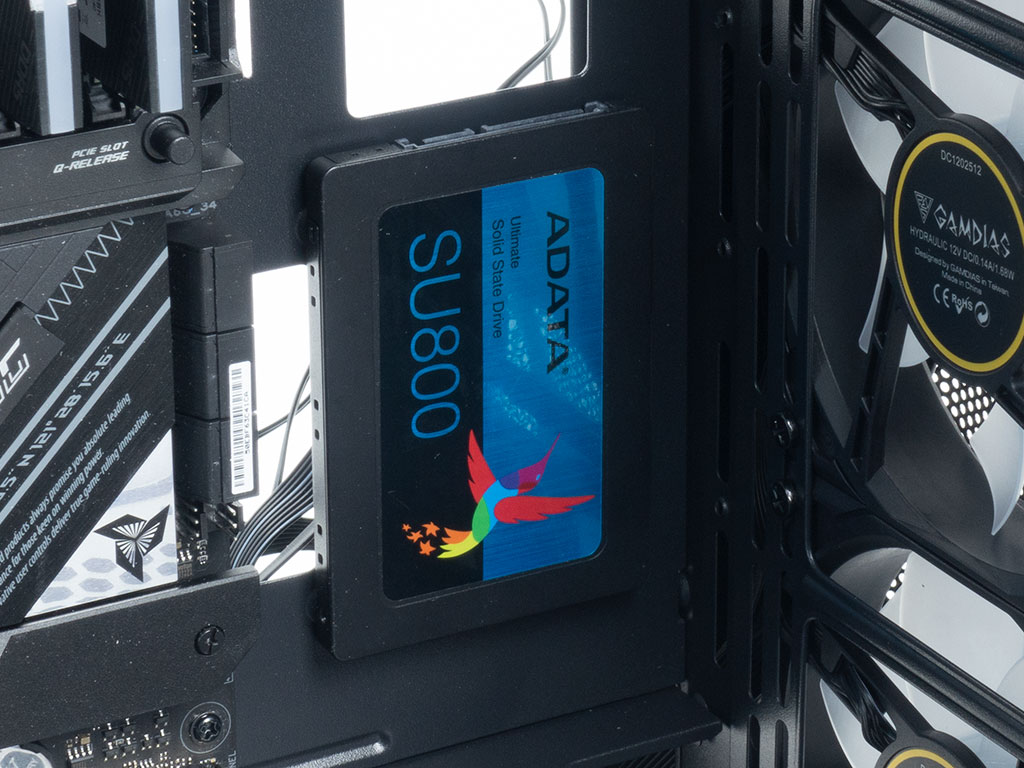
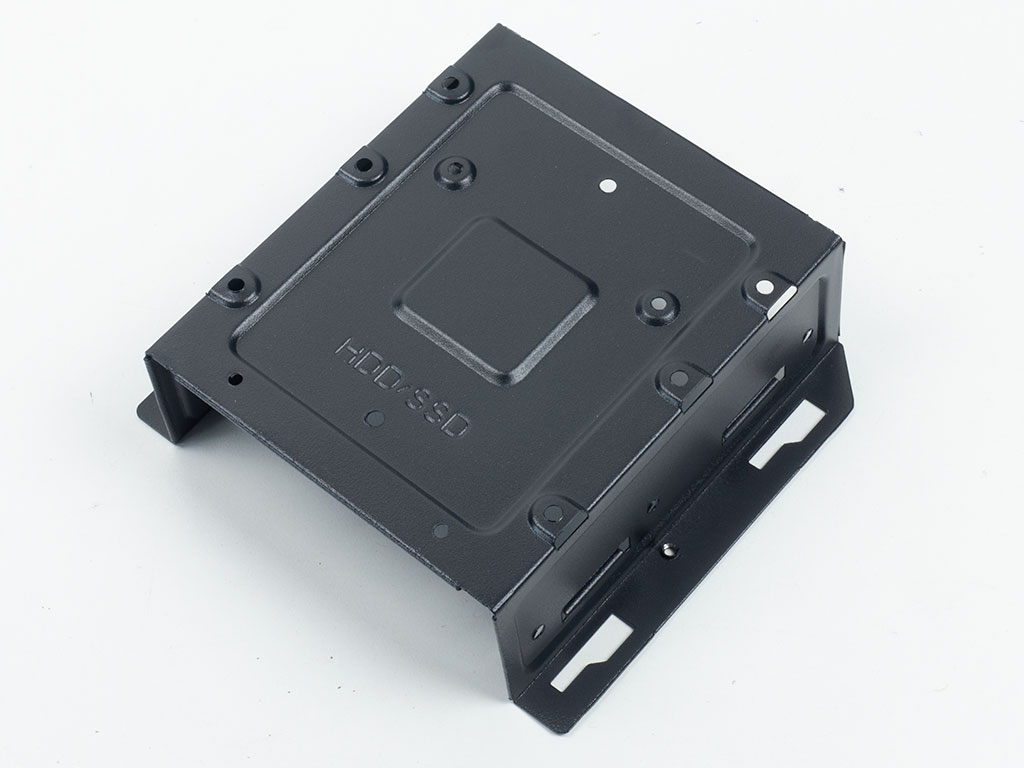
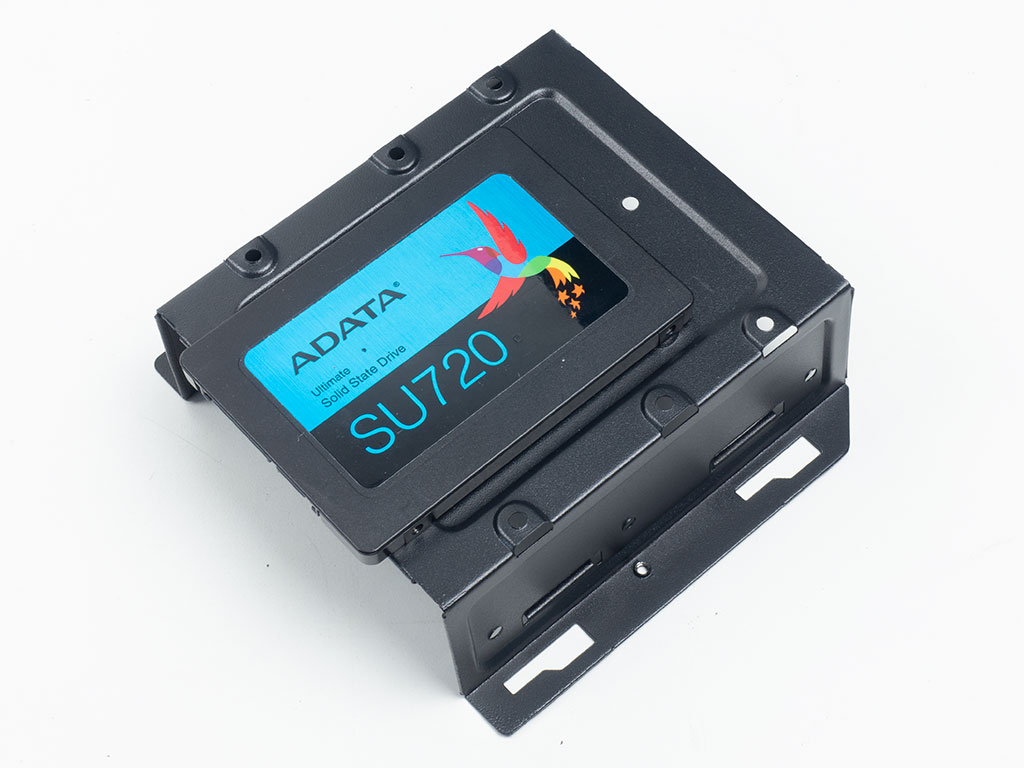
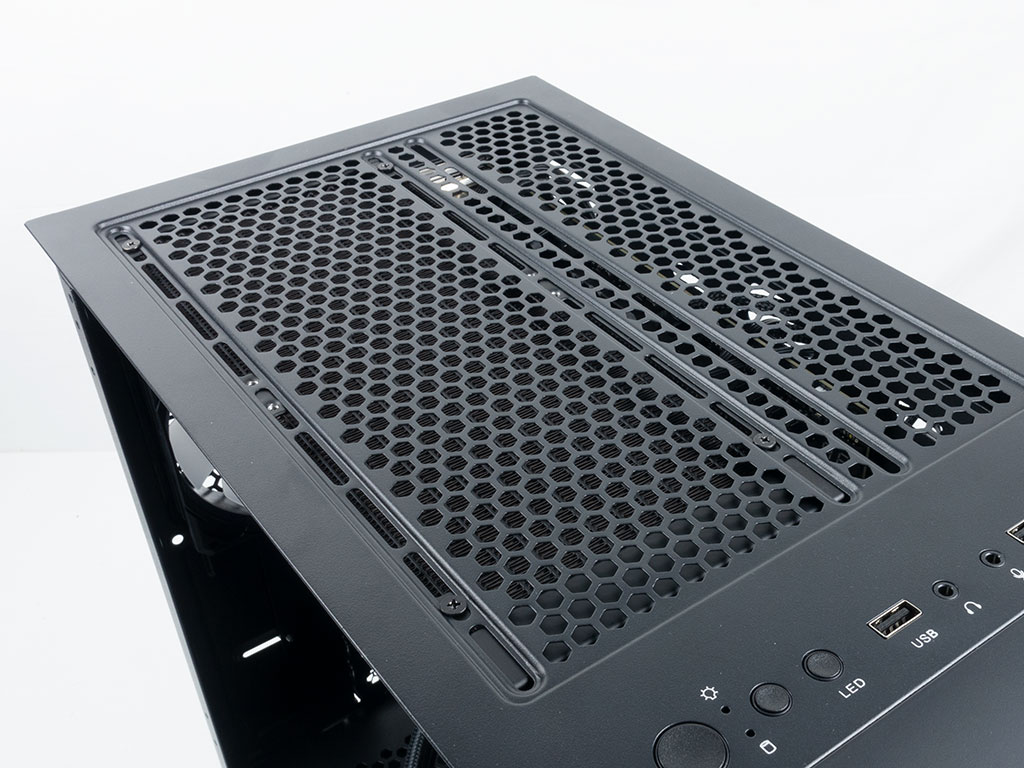
Adding an SSD in the visible spot within the chassis so that you may show it off requires you to use screws as well. Once again, the opening for cable routing is well placed to allow for a clean interior look. However, it seems like Gamdias does not include enough screws to install three 2.5" drives concurrently within the case, alongside the nine required for a full size motherboard. This is something we see from time to time with budget oriented cases, unfortunately.
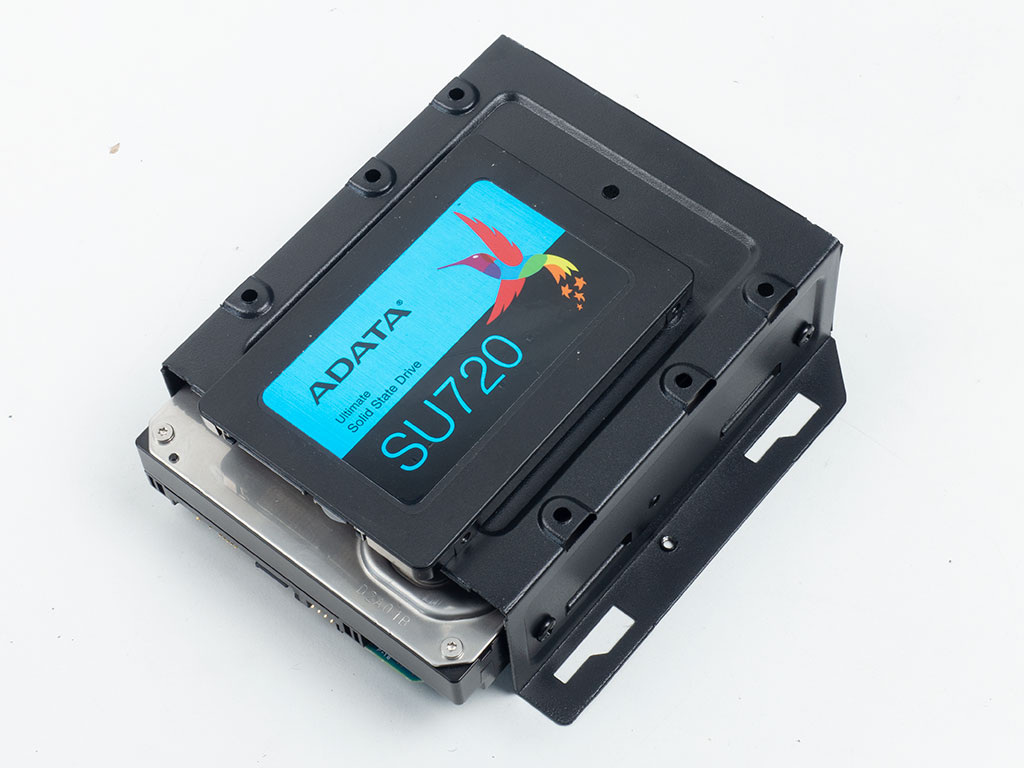
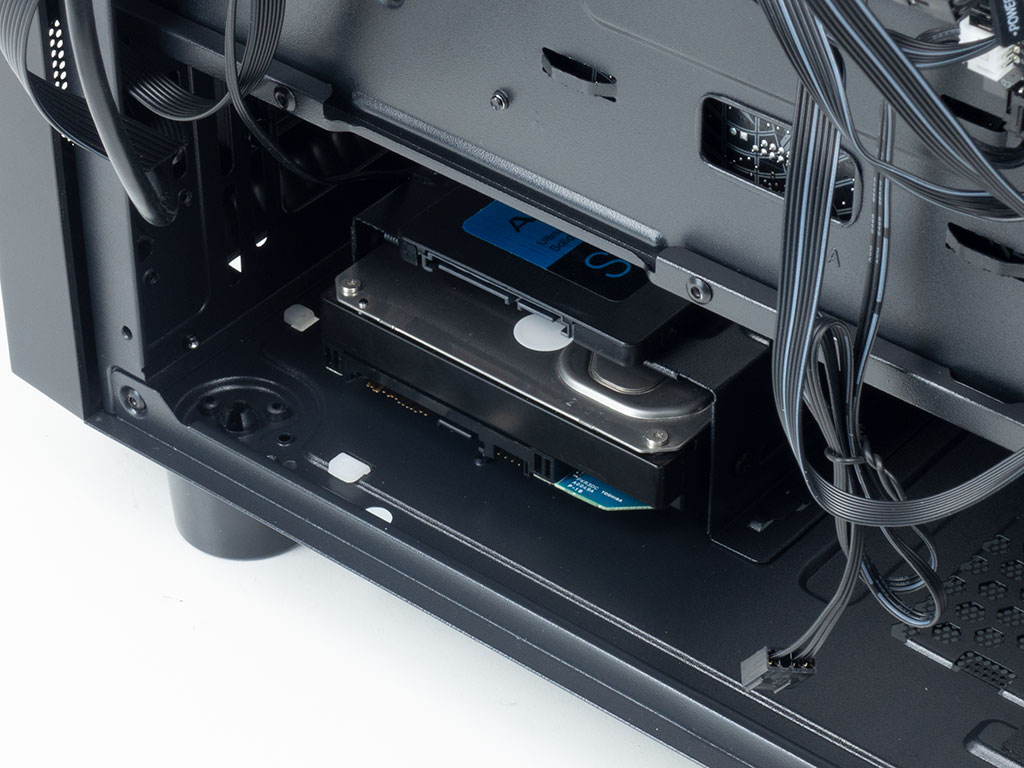
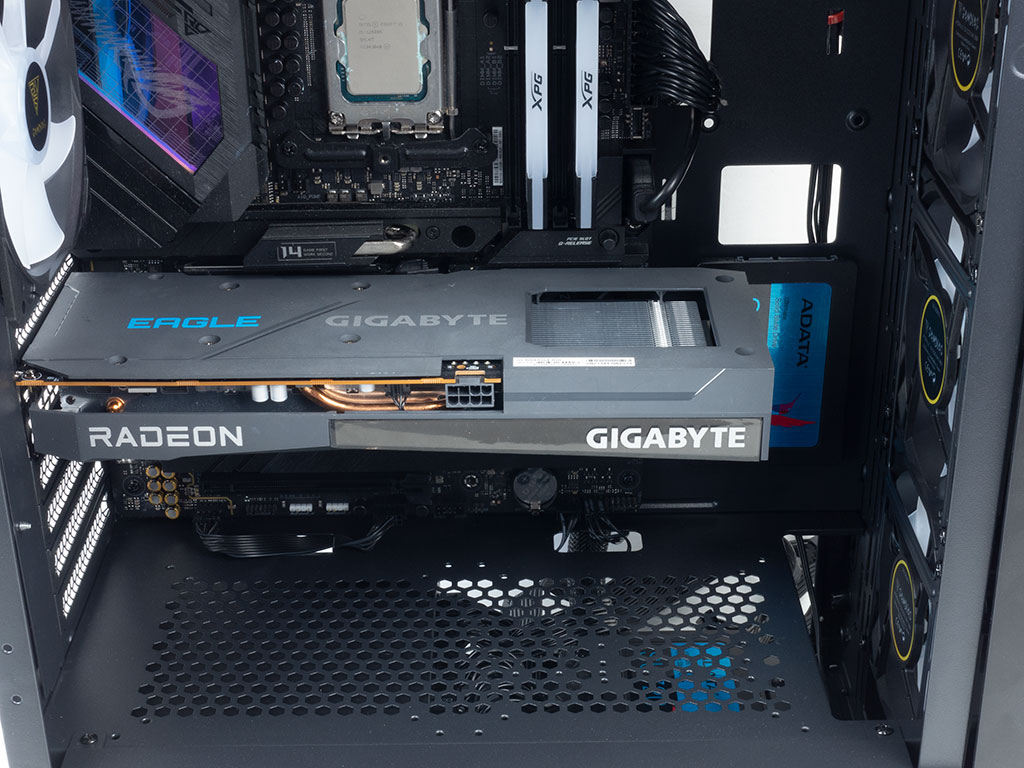
You may install a 2.5" drive on top of the hard drive cage and then place a 3.5" unit within it for a nice mix of storage. Both units are held in place with screws. A small, potential downside is the fact that the 3.5" placement doesn't utilize any anti-vibration measures, strange, since 3.5" drives will almost exclusively be mechanical. Once the cage is filled, simply slide the whole contraption into position, and secure it from underneath.
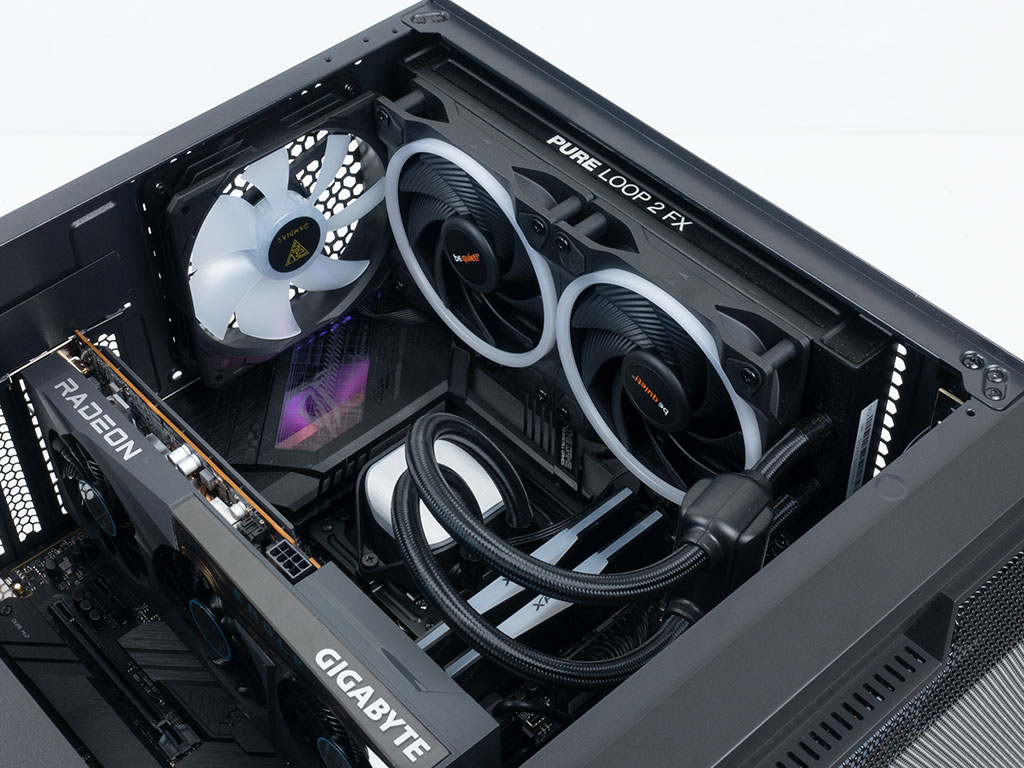
As you may install liquid cooling in the front and the top, we opted to utilize the ceiling position for a 240 mm radiator. It fits just fine, but does block all the connectivity on the top edge of the motherboard as expected. Thus, you will need to make all relevant connections before installing your cooling unit.
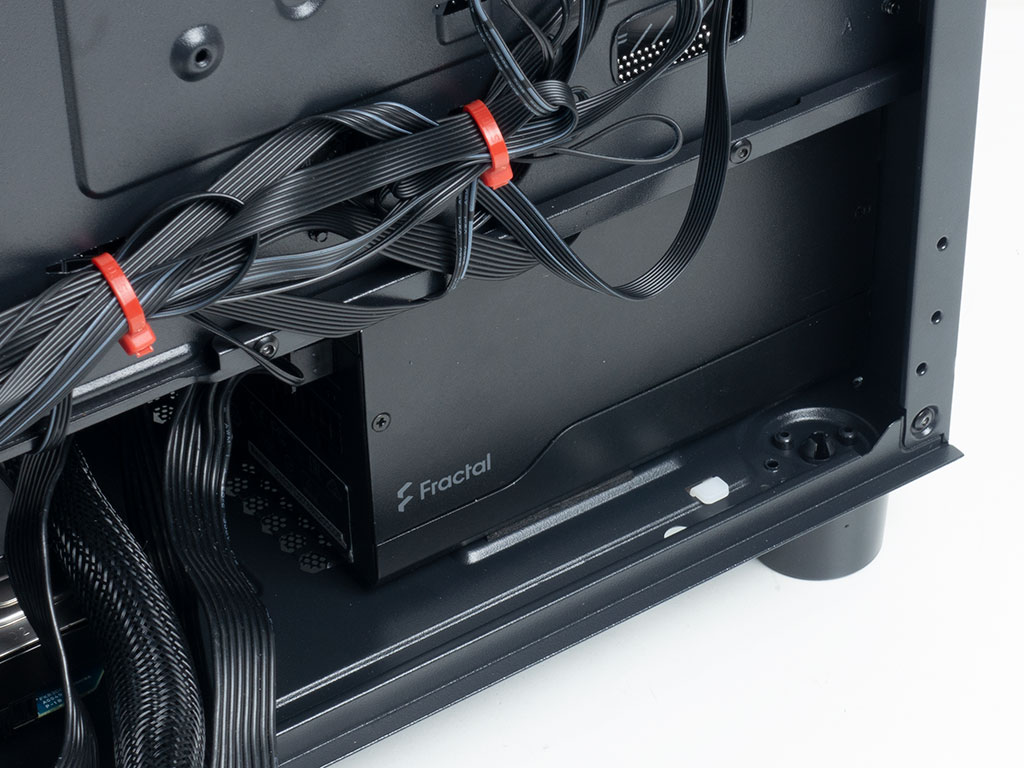
Lastly, adding the power supply underneath the shroud is straight-forward as well. There is enough room to wiggle it into place, with space for longer units as well.
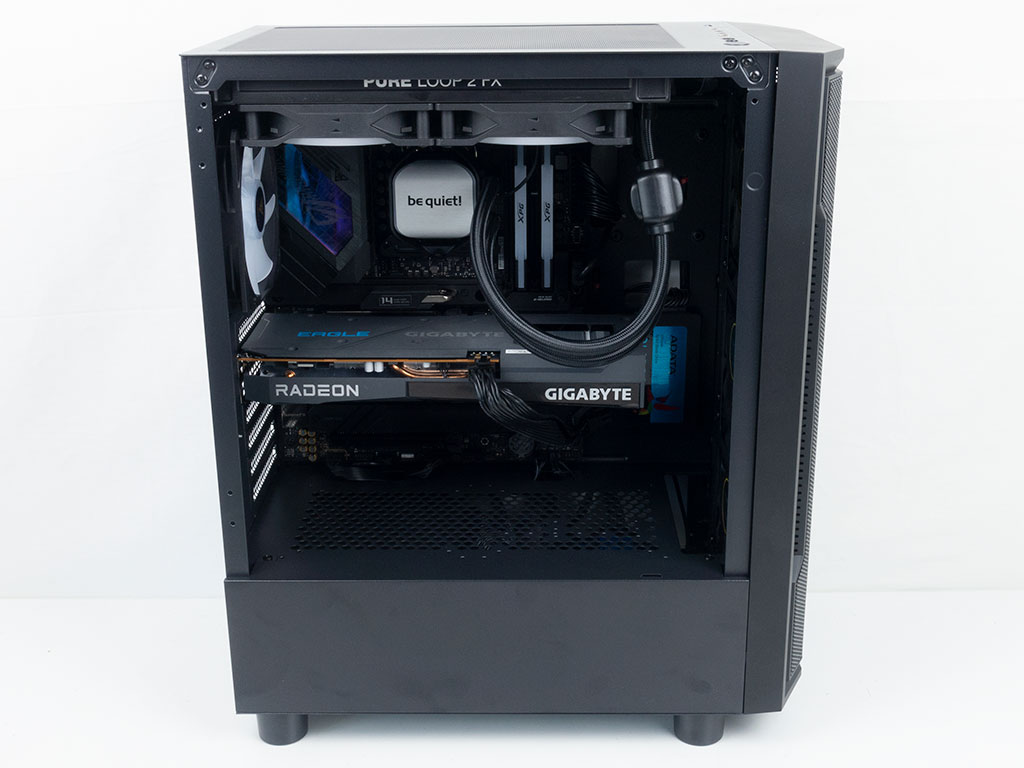
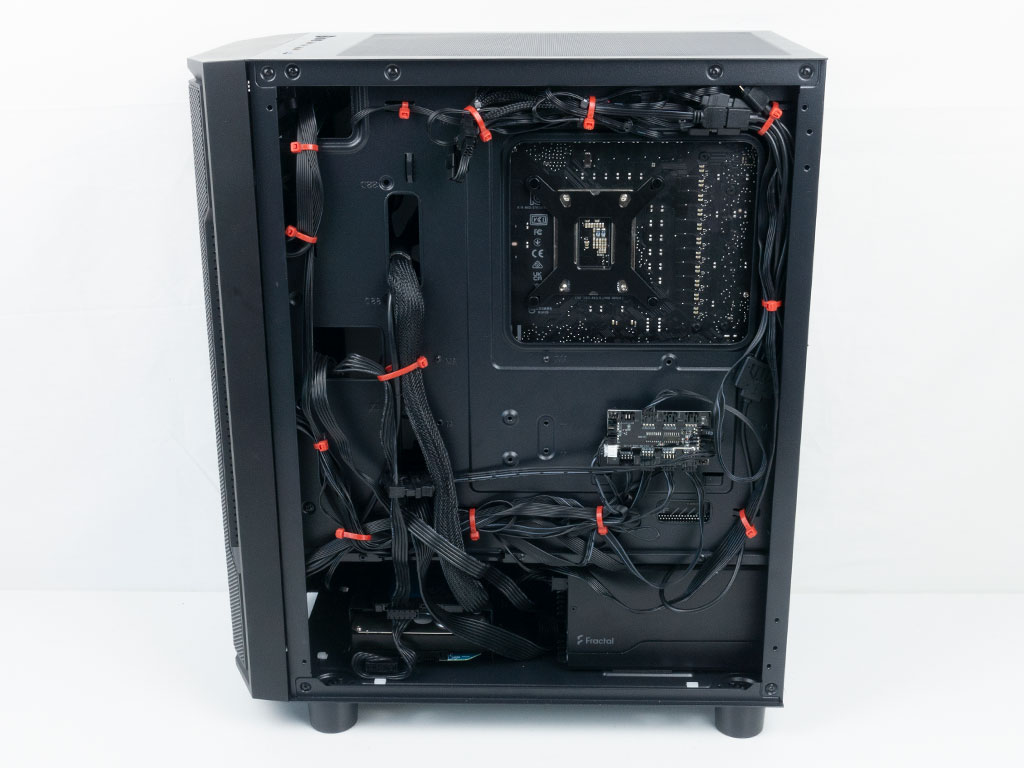
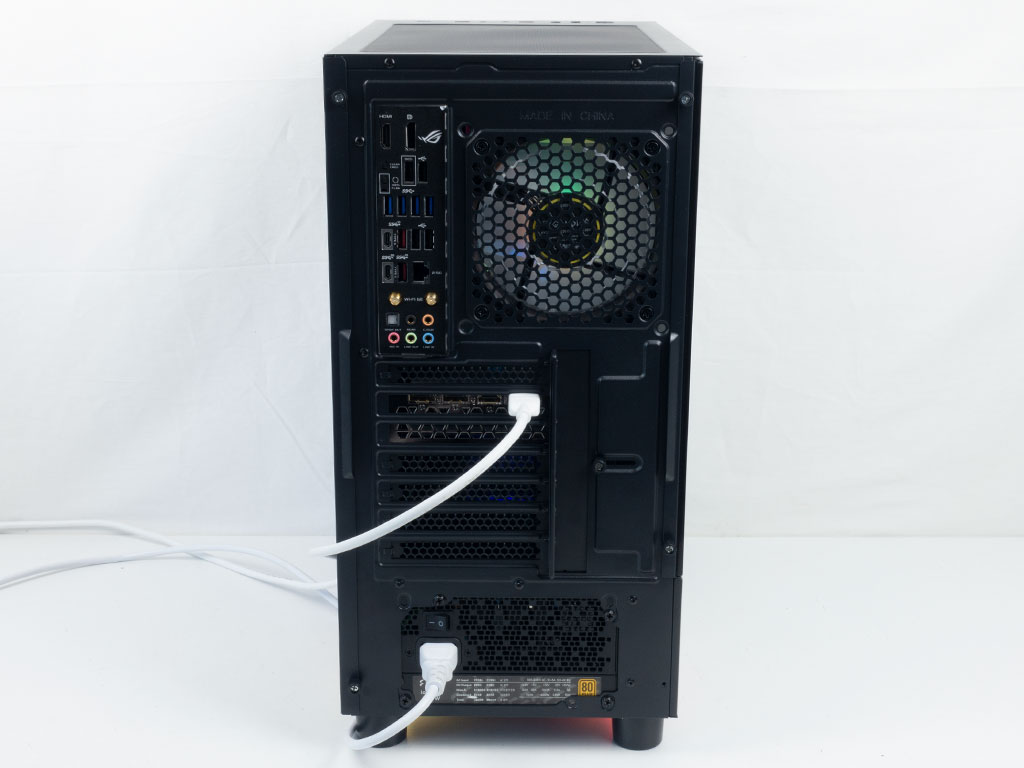
With everything installed, the interior of the Gamdias Athena M6 makes a very nice and clean impression. A bit of time was taken to cable manage the back as well, with the result being quite orderly, even with the additional ARGB and fan wiring from the AIO. This end result in this part of the case is made possible due to well placed zip tie hooks.
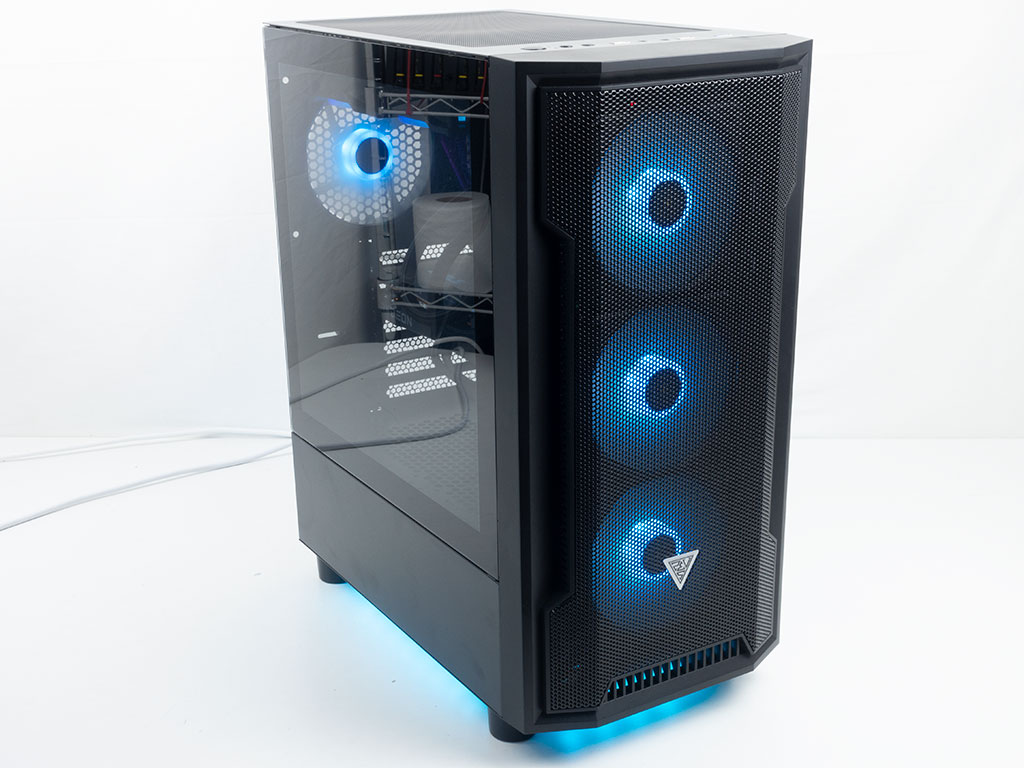
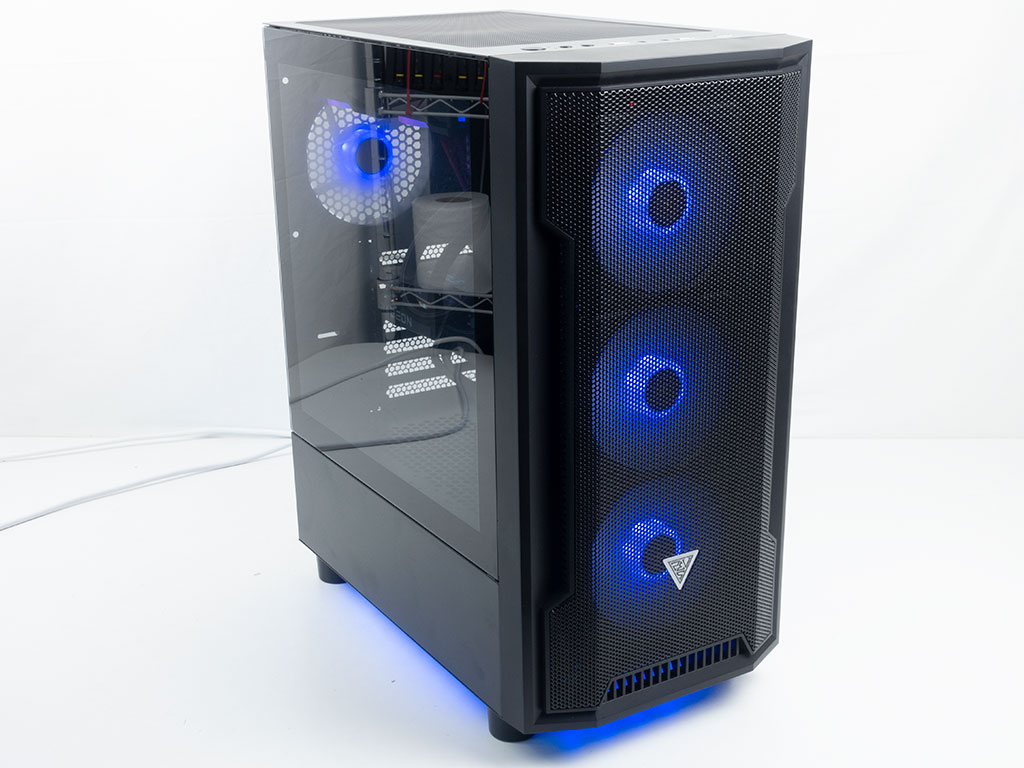
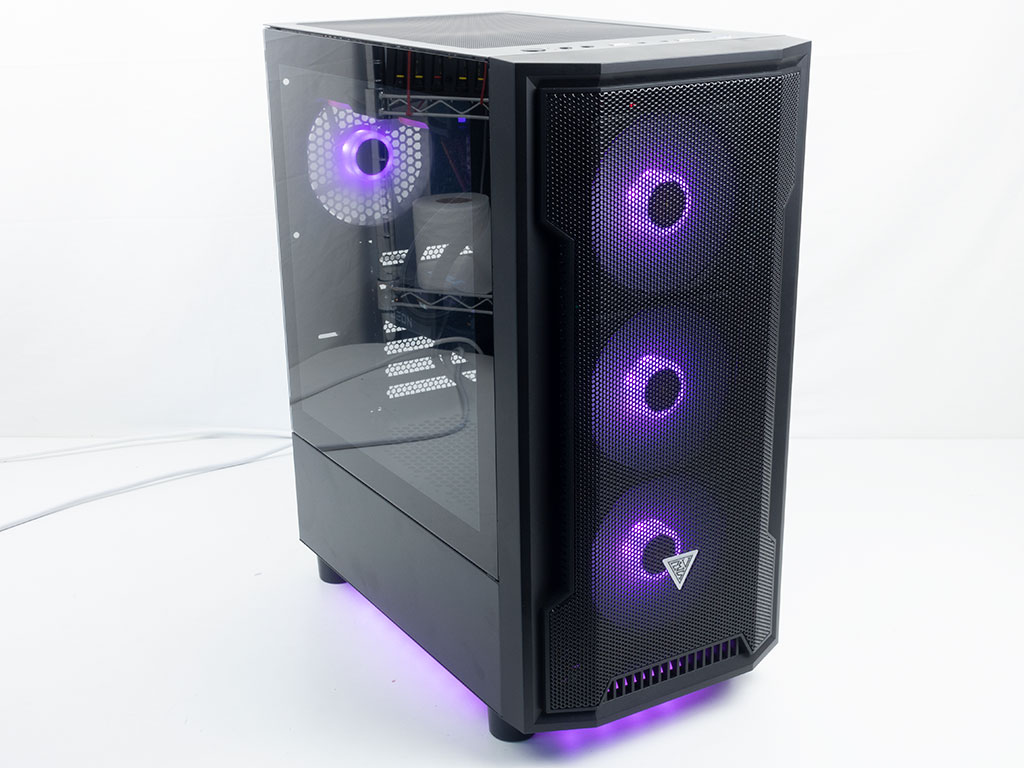
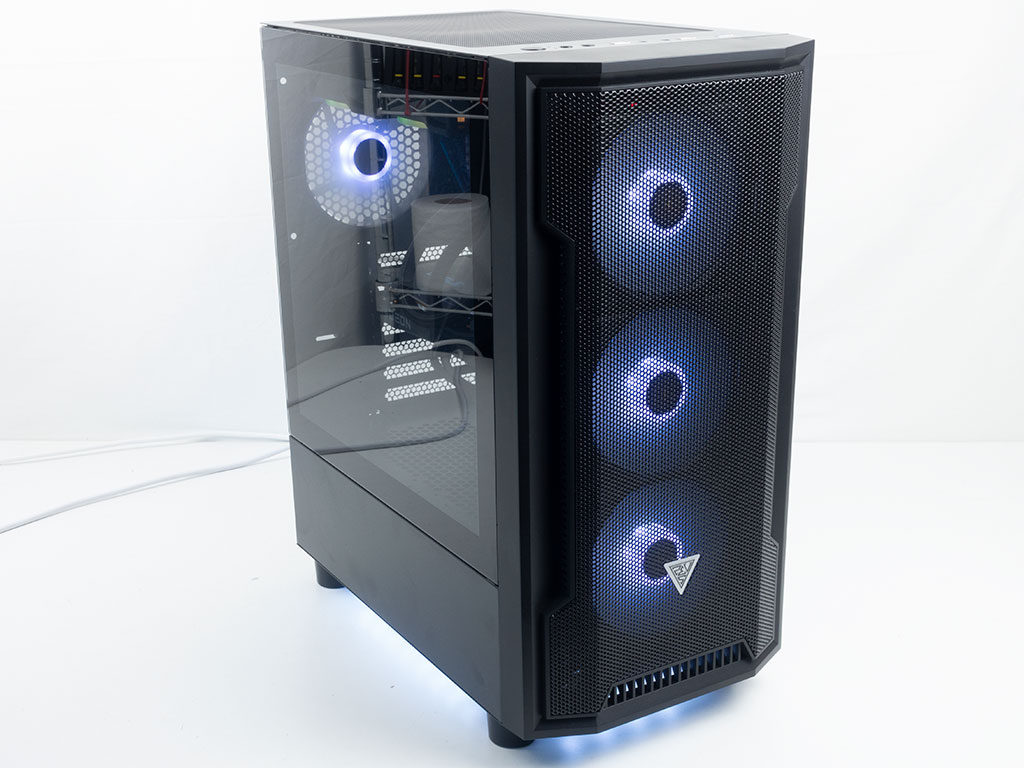
Finished Looks
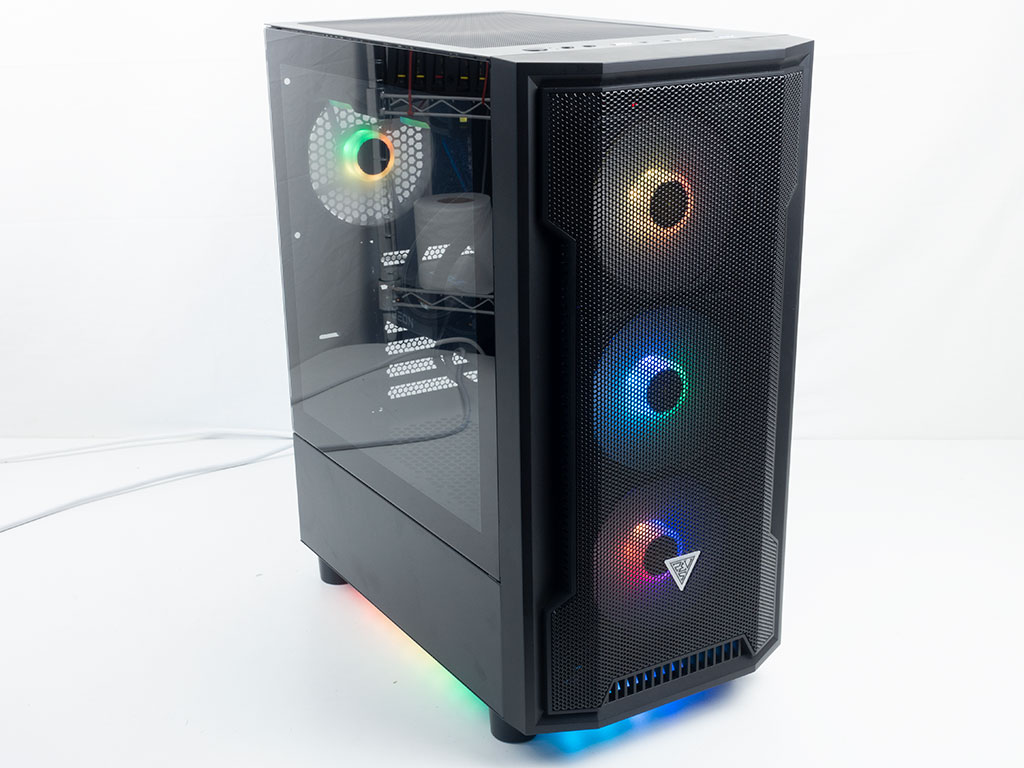
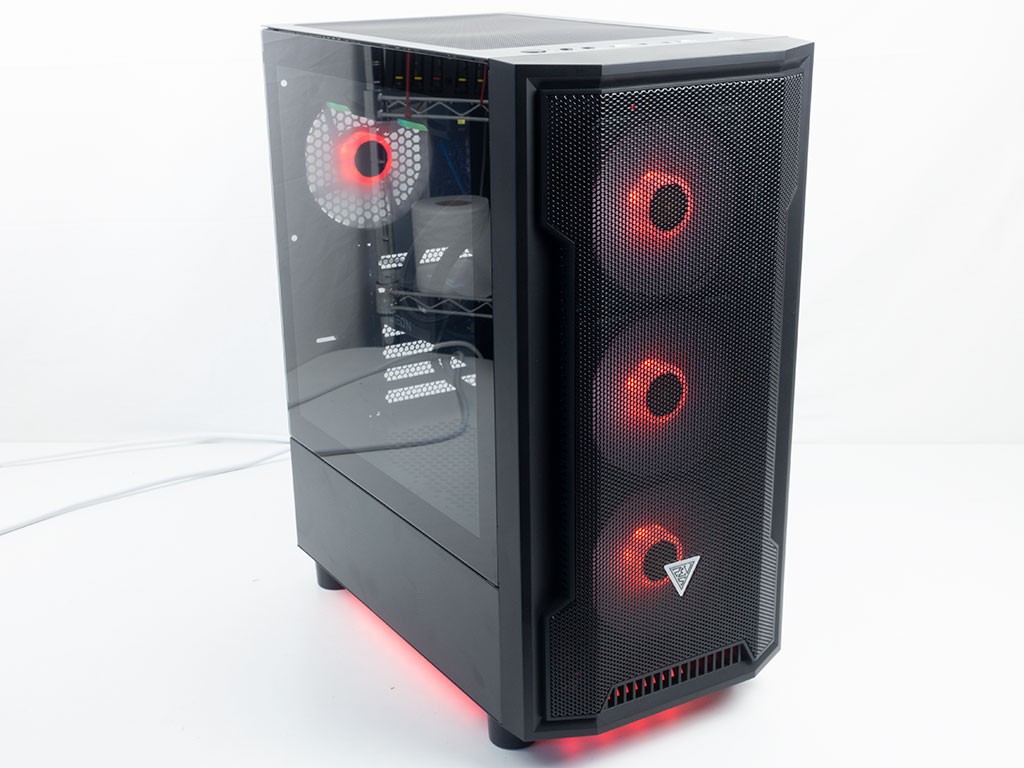
Turning the system on, you can clearly see the under-body lighting even within the bright studio environment. This element does really add to the whole build, which otherwise doesn't stand out much. The three hub-lit fans are also clearly visible through the mesh, so you really get your ARGB fix with the Athena M6.

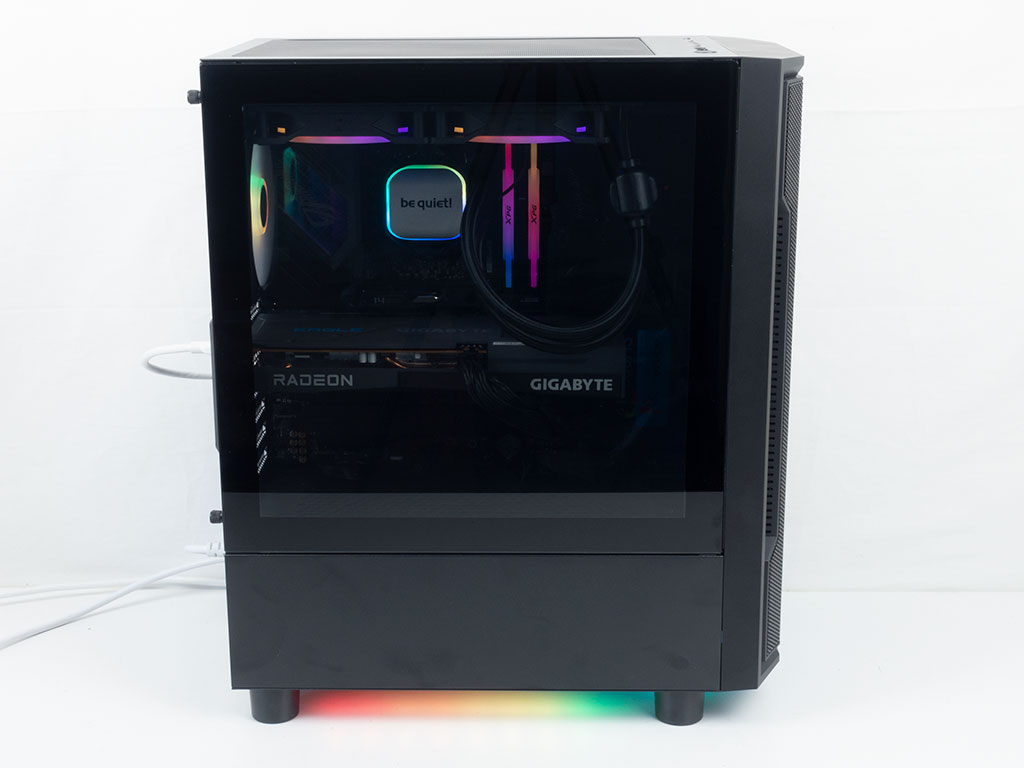
If you look closely at the front of the running system, you can still see some elements of the back of the chassis, which bodes well for air flow in general. Thanks to the gentle tint of the window, all your components will also remain clearly visible to show off, and in the rear, everything is where you would expect it to be for a chassis of this type.
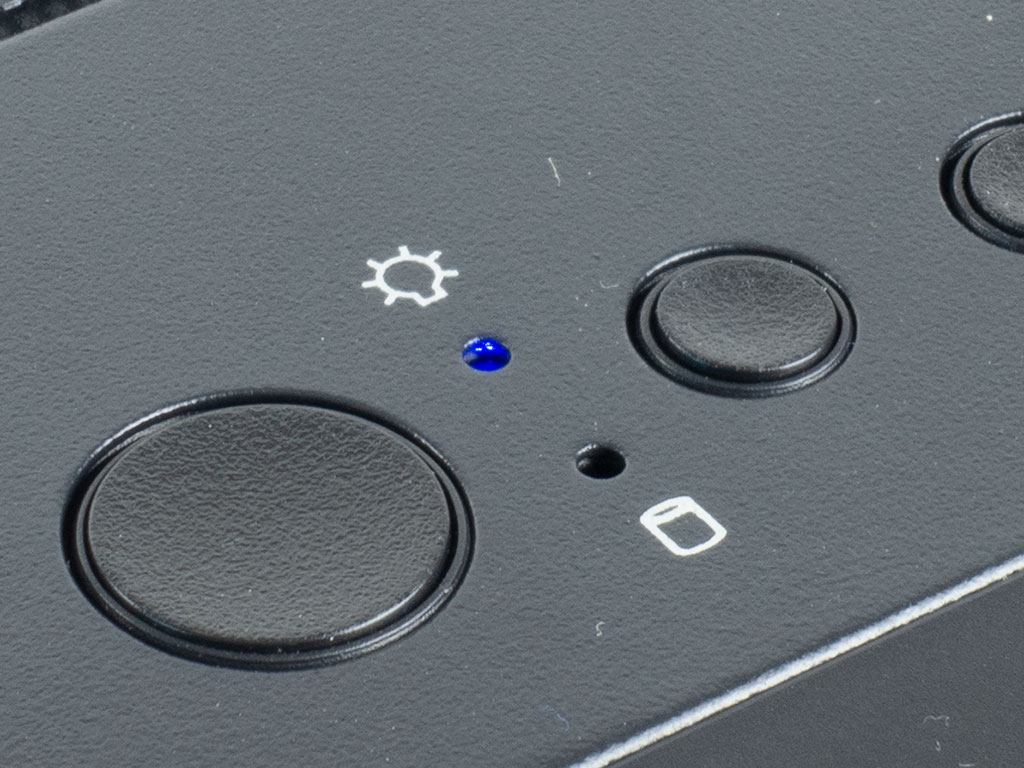
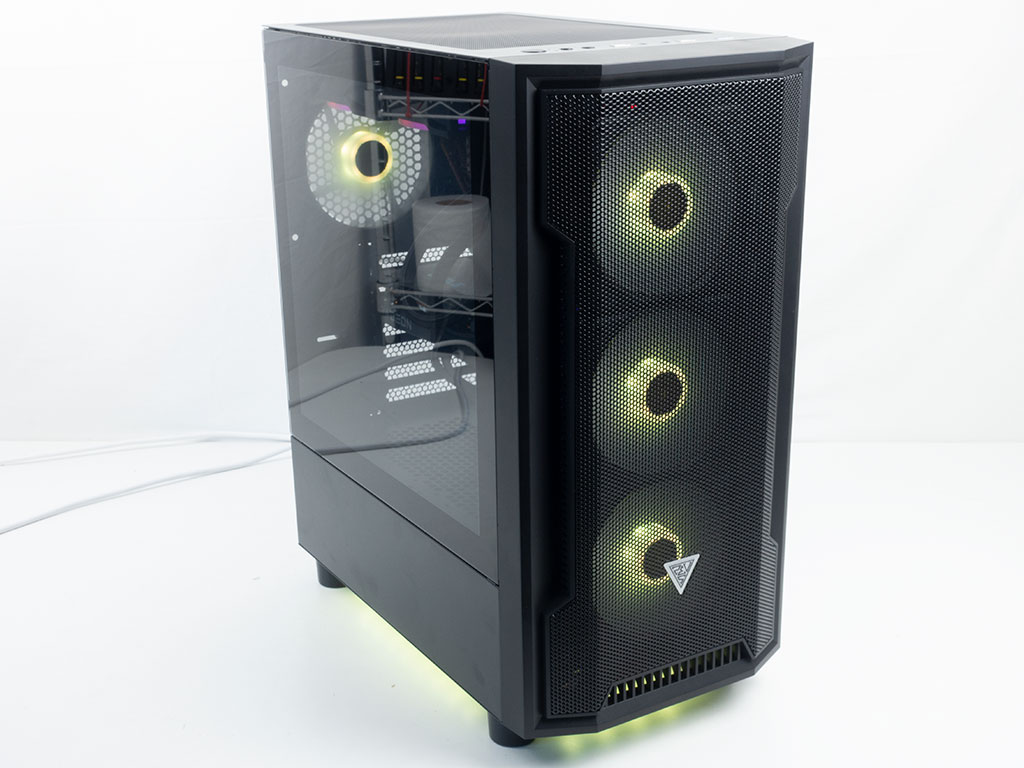
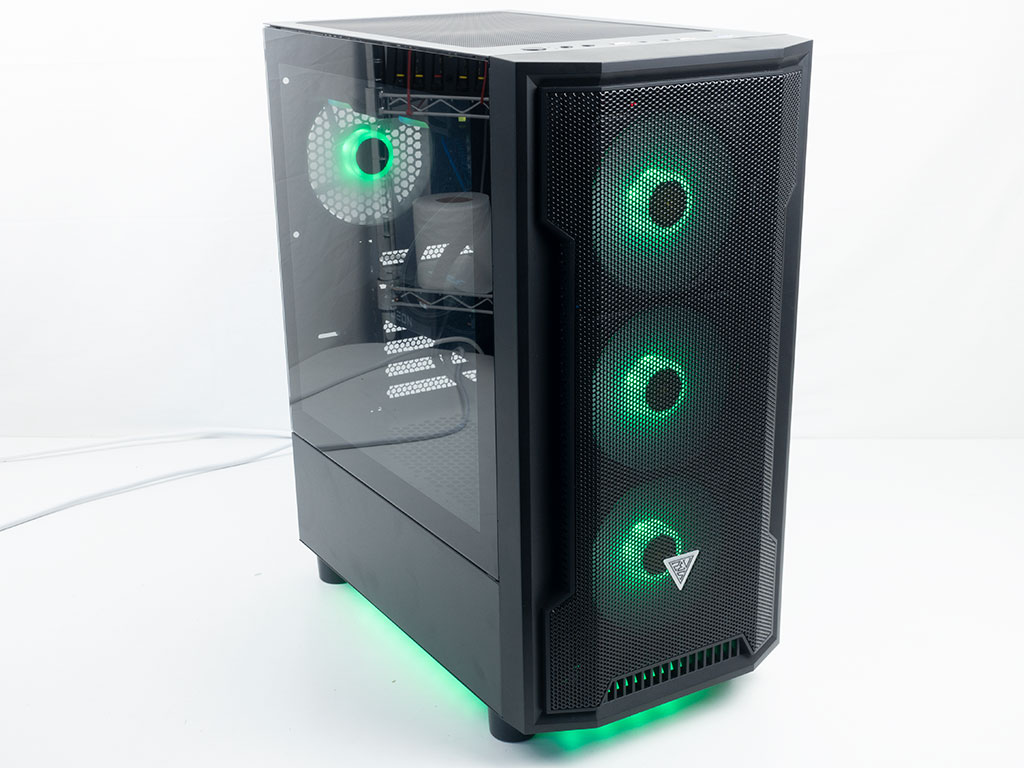
Thanks to the built-in ARGB controller, you may also toggle through several animations as well as solid colors. Those single color modes are shown below for you to feast your eyes upon.
Apr 8th, 2025 09:00 EDT
change timezone
Latest GPU Drivers
New Forum Posts
- The coffee and tea drinkers club. (252)
- Is RX 9070 VRAM temperature regular value or hotspot? (333)
- is it worth using ssd with usb2? (17)
- What's your latest tech purchase? (23499)
- RTX5000 Series Owners Club (165)
- STAR CITIZEN - RSI POLARIS Project (18)
- ## [Golden Sample] RTX 5080 – 3300 MHz @ 1.020 V (Stock Curve) – Ultra-Stable & Efficient (8)
- 5070 cards available below £550 in in the UK (79)
- 9070XT or 7900XT or 7900XTX (133)
- Will you buy a RTX 5090? (471)
Popular Reviews
- The Last Of Us Part 2 Performance Benchmark Review - 30 GPUs Compared
- UPERFECT UStation Delta Max Review - Two Screens In One
- PowerColor Radeon RX 9070 Hellhound Review
- ASUS Prime X870-P Wi-Fi Review
- Upcoming Hardware Launches 2025 (Updated Apr 2025)
- MCHOSE L7 Pro Review
- Sapphire Radeon RX 9070 XT Pulse Review
- Sapphire Radeon RX 9070 XT Nitro+ Review - Beating NVIDIA
- Corsair RM750x Shift 750 W Review
- DDR5 CUDIMM Explained & Benched - The New Memory Standard
Controversial News Posts
- NVIDIA GeForce RTX 5060 Ti 16 GB SKU Likely Launching at $499, According to Supply Chain Leak (161)
- MSI Doesn't Plan Radeon RX 9000 Series GPUs, Skips AMD RDNA 4 Generation Entirely (146)
- Microsoft Introduces Copilot for Gaming (124)
- AMD Radeon RX 9070 XT Reportedly Outperforms RTX 5080 Through Undervolting (119)
- NVIDIA Reportedly Prepares GeForce RTX 5060 and RTX 5060 Ti Unveil Tomorrow (115)
- Over 200,000 Sold Radeon RX 9070 and RX 9070 XT GPUs? AMD Says No Number was Given (100)
- NVIDIA GeForce RTX 5050, RTX 5060, and RTX 5060 Ti Specifications Leak (97)
- Nintendo Switch 2 Launches June 5 at $449.99 with New Hardware and Games (95)