 2
2
Genesis Irid 503 ARGB Review - A Mini-Tower with Four Fans
A Closer Look - Inside »A Closer Look - Outside

Out of the box, the Genesis Irid 503 ARGB is slightly taller than its 353 counterpart as the top panel offers more room, while still made out of metal. The design slightly more elaborate as well, as the material mix allows for more interesting angles.
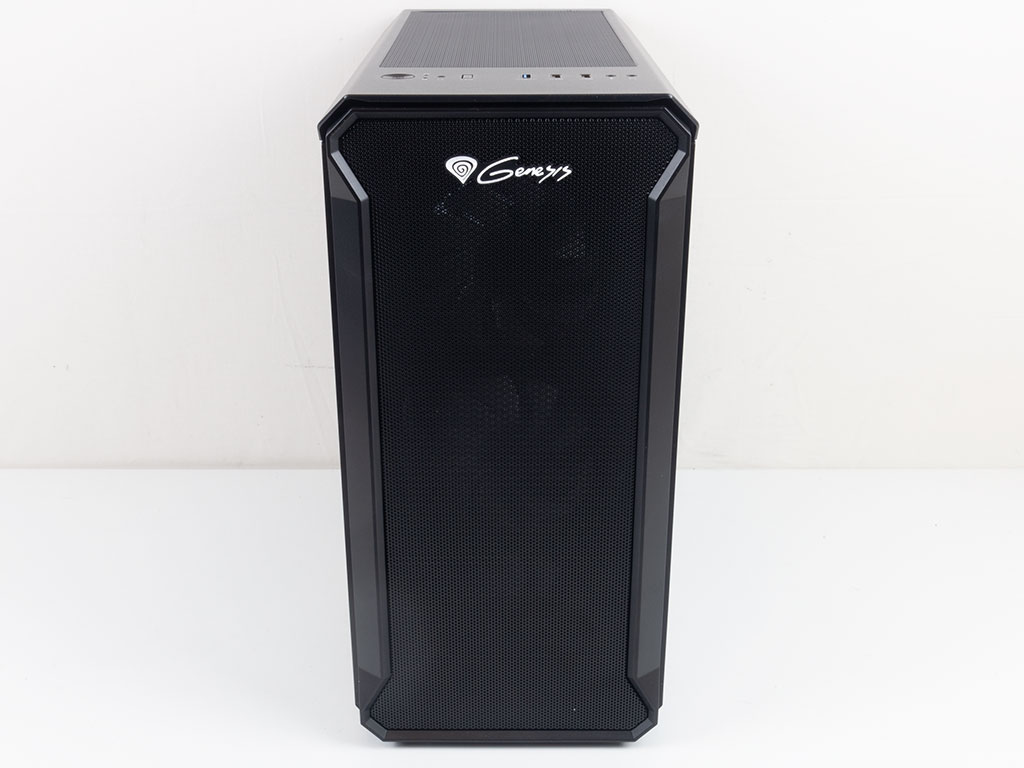
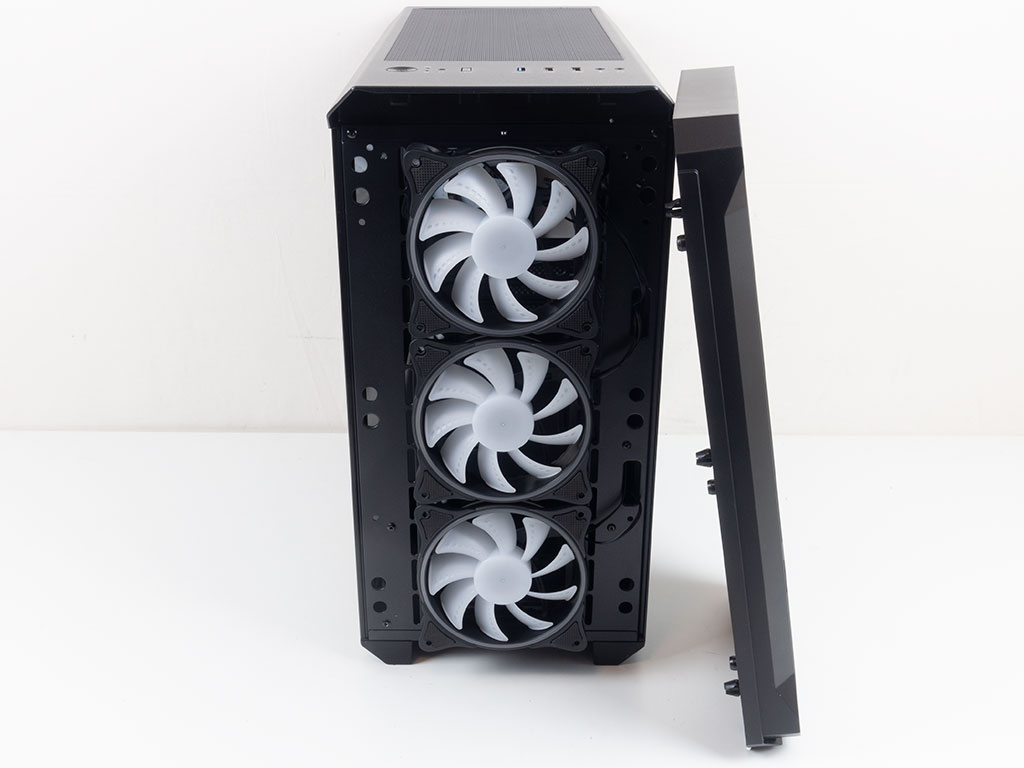
Looking at the front, the Irid 503 ARGB utilizes a traditional metal mesh framed in sturdy plastic. Behind the panel are three pre-installed 120 mm ARGB fans, which is nice to see. There is no secondary layer of dust filtration as the metals mesh in front acts as a filter, at least for the bigger dirt and dust particles.
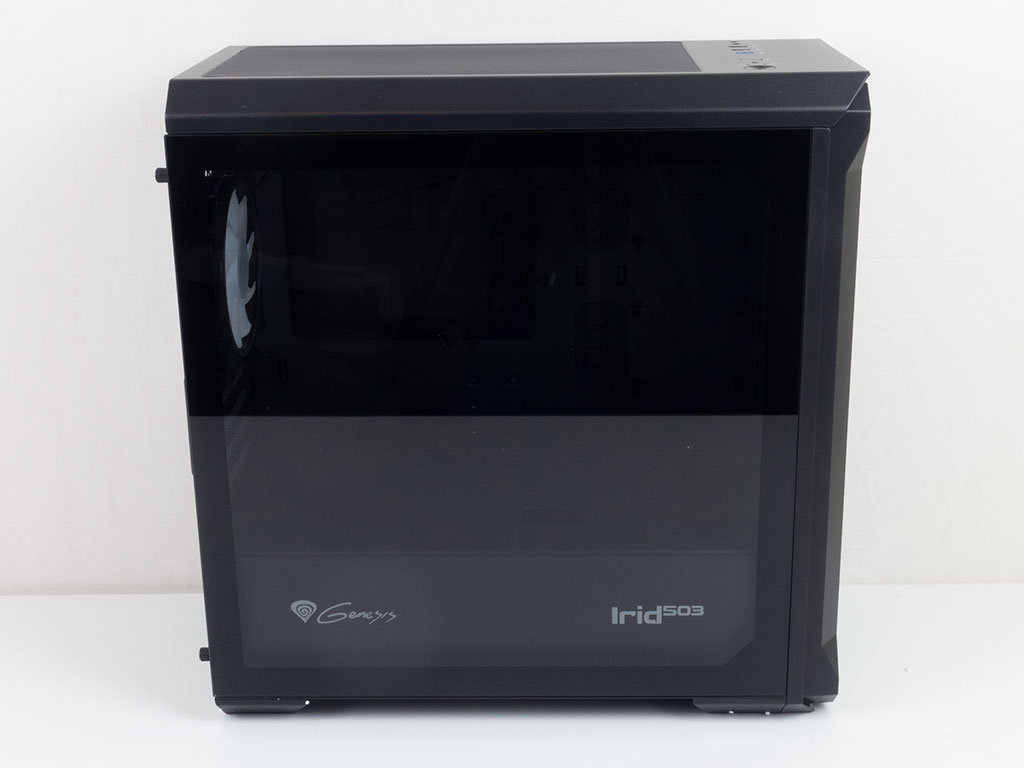
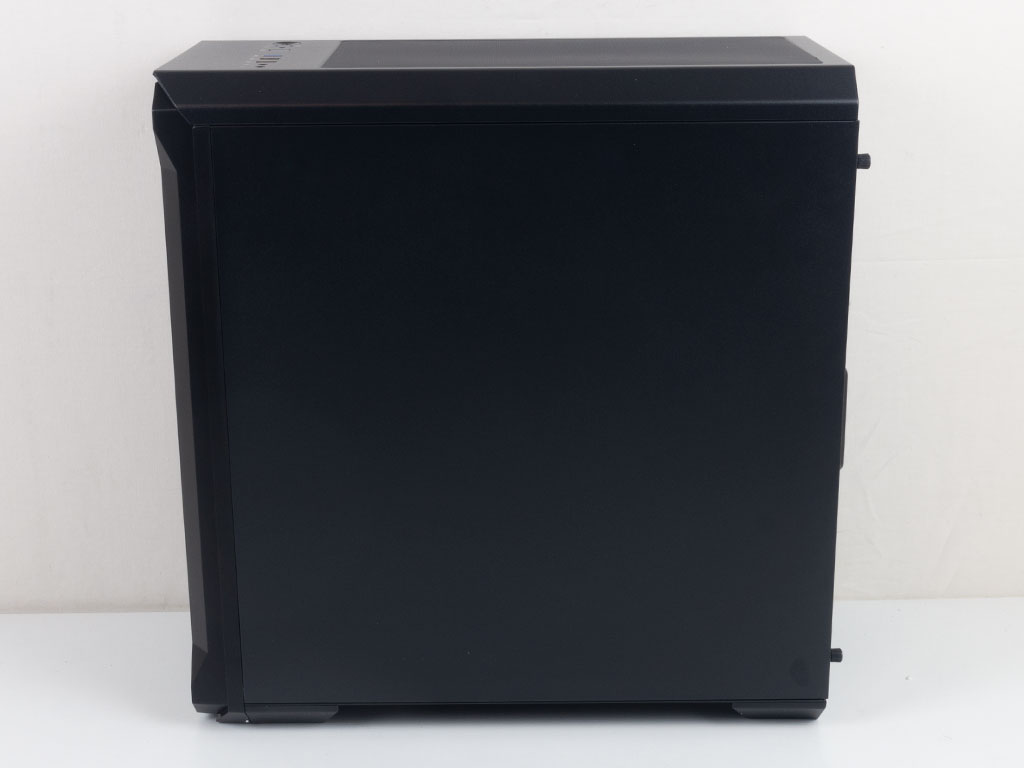
Looking at the side, the clear glass panel is framed nicely in black, so you will be able to see your hardware clearly with the system assembled. The branding is quite visible, with large company logos both on the front and side. You will find the case model number on the inside as well. All of the branding will make the chassis less interesting to system integrators, who want their own branding to prevail. On the opposite side is a solid steel panel.

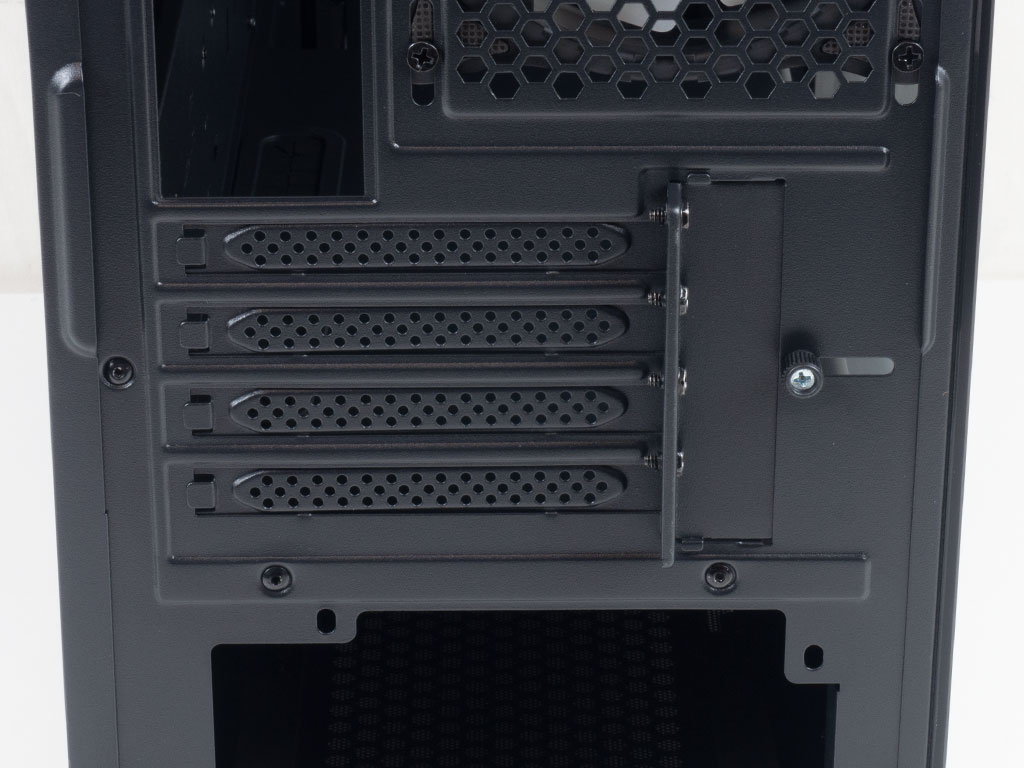
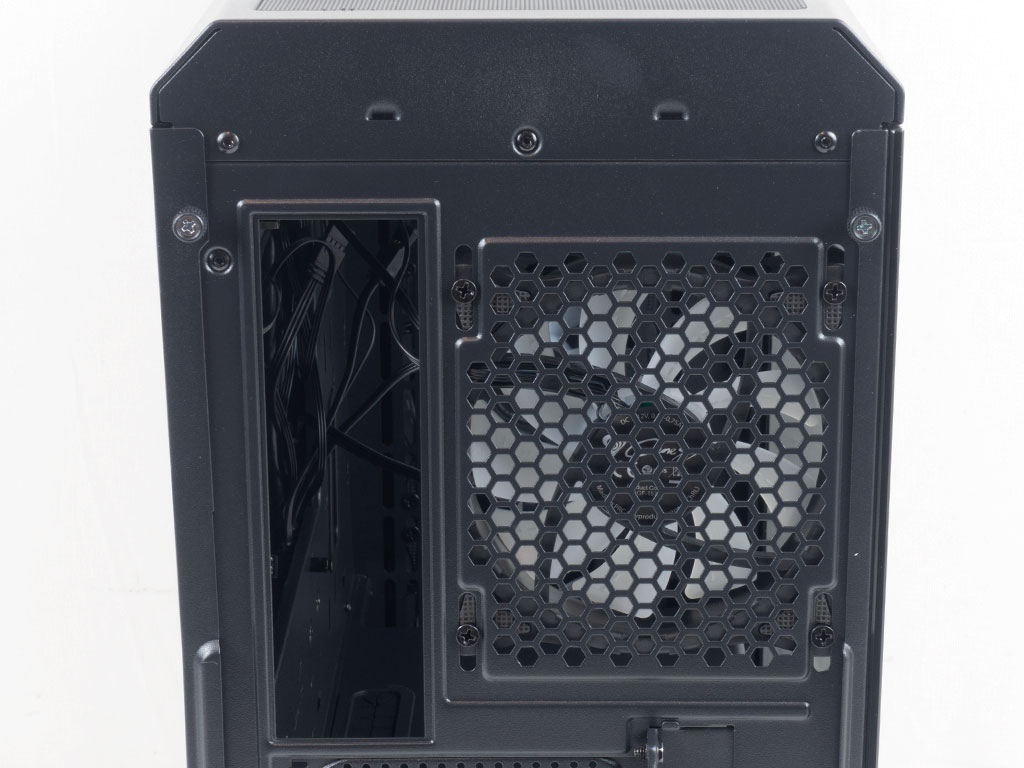
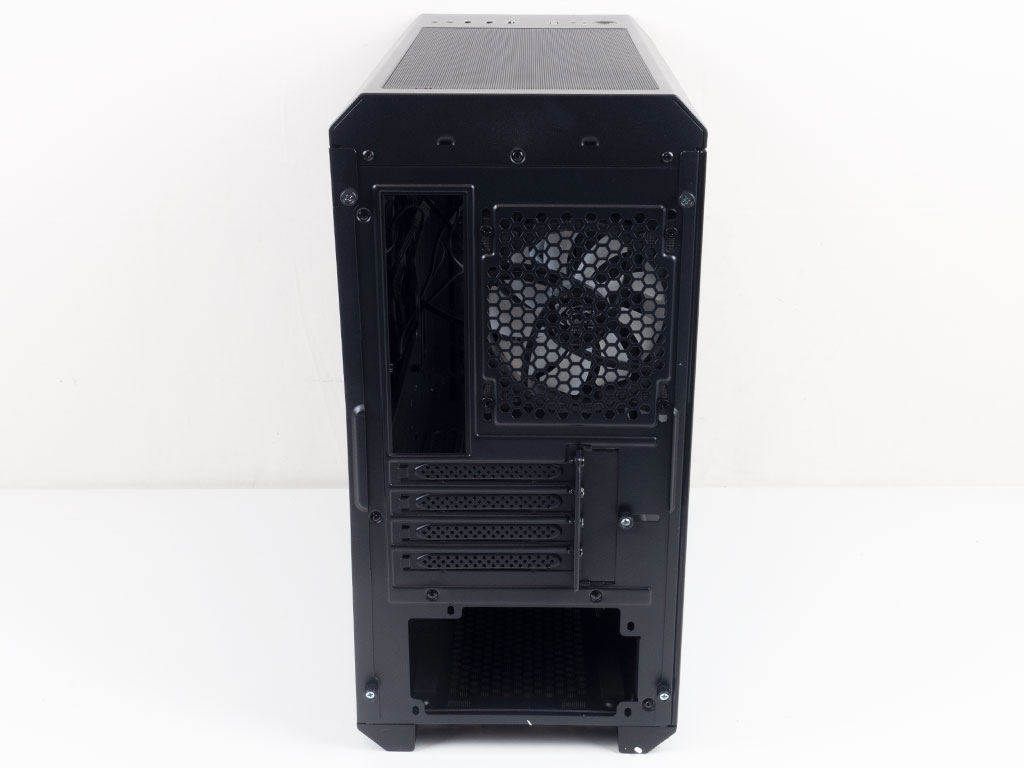
In the rear, the PSU bay comes with a single set of screw mounting holes as the fan is meant to face downwards. Above that are the four expansion slots for the M-ATX board, which come with reusable covers and classic screws. In the very top is the third 120 mm ARGB fan; it is set to push air out the back of the Irid 503 ARGB.
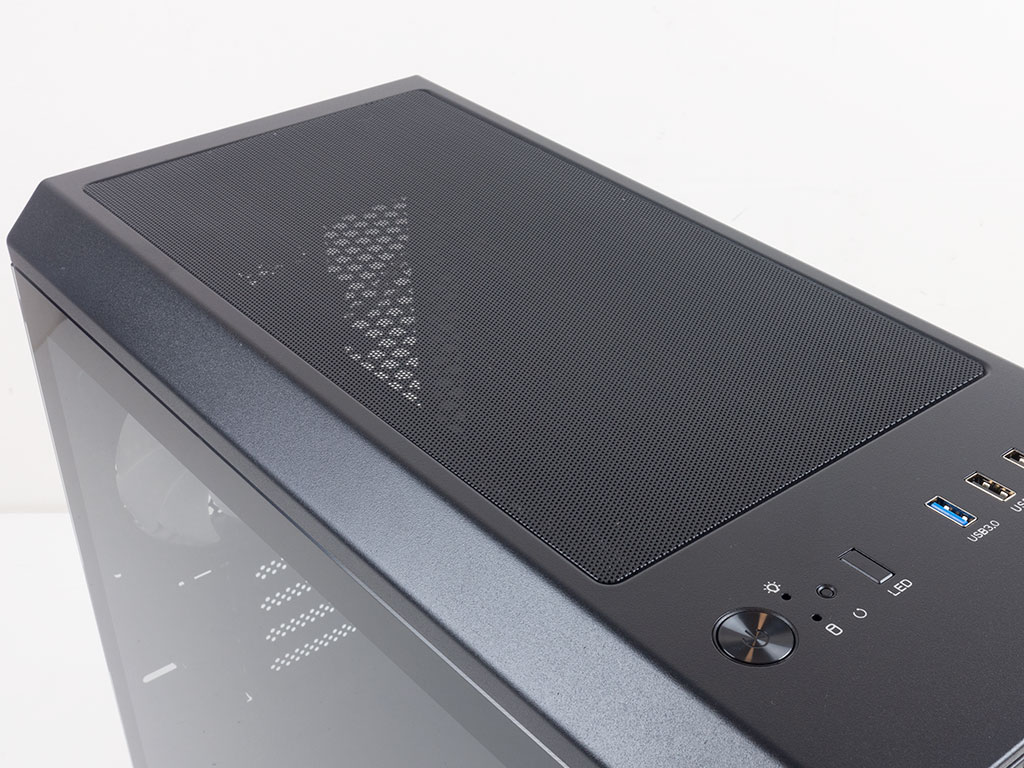
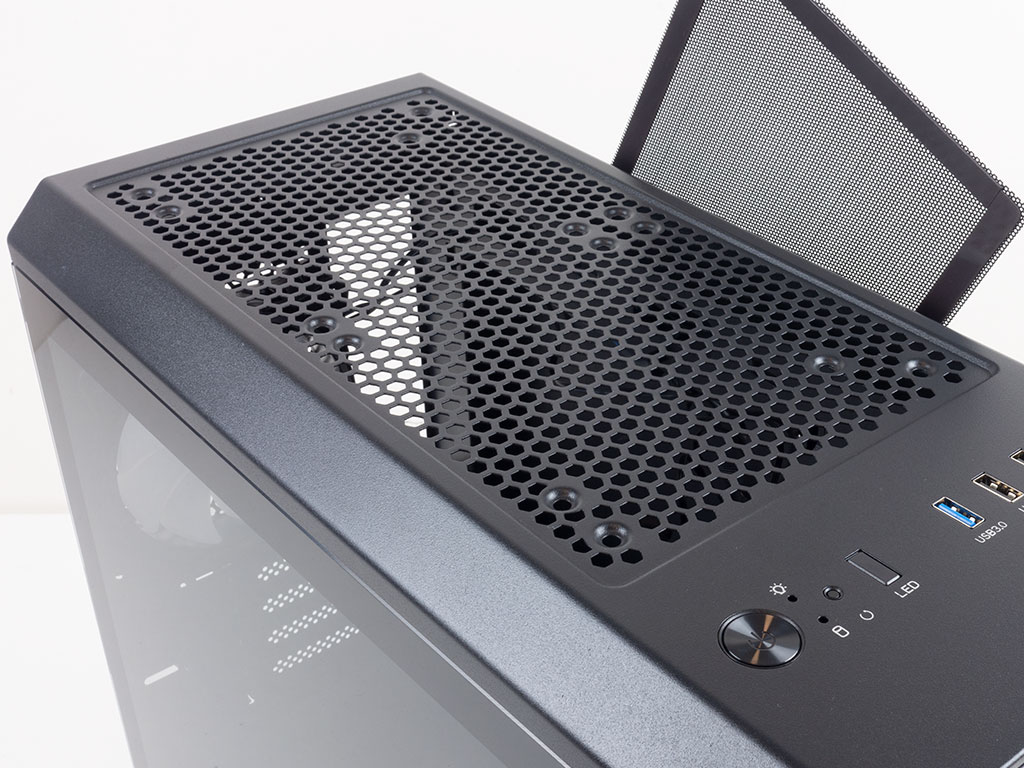
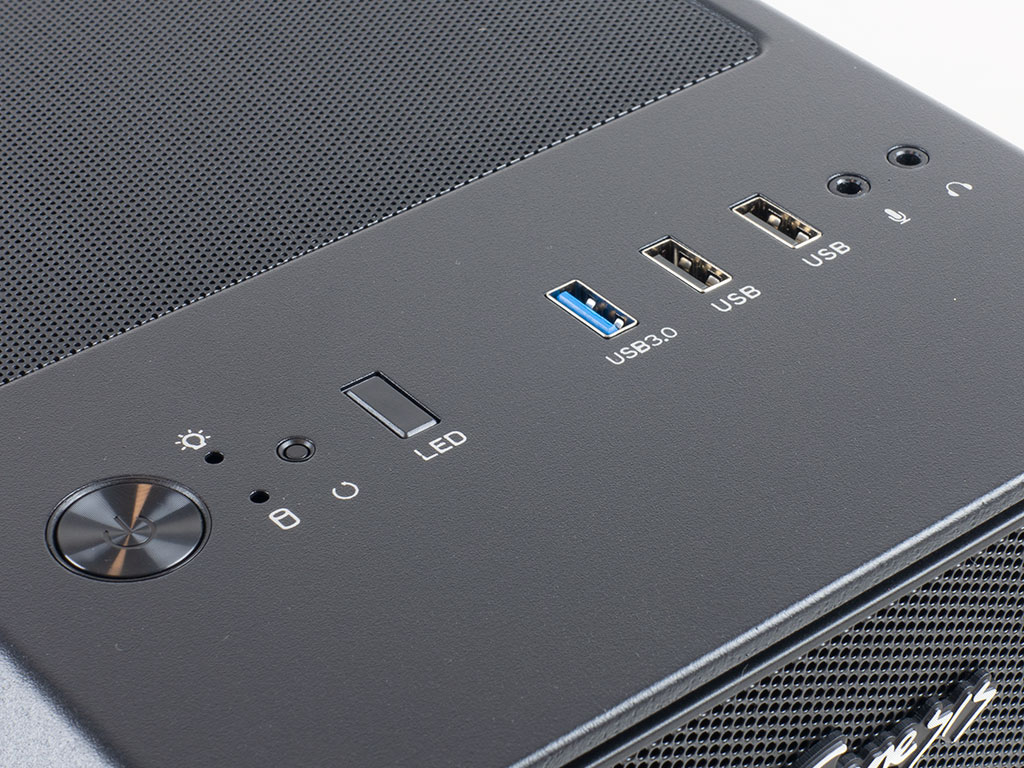
The top sports a magnetic mesh cover under which are mounting holes for two 120 or 140 mm fans. Alternatively, you may install a radiator of up to 280 mm here. Because of offset mounting holes, attaching such a unit here should not interfere with your motherboard. The Genesis Irid 503 ARGB comes with two USB 3.0, two USB 2.0, and usual audio plugs. While this is nice, doing away with the USB 2.0 would have been perfectly acceptable. In addition to the I/O, there is an LED button to toggle between lighting modes powered by an internal ARGB controller, while still having a reset button as well. Lastly, there is a larger power button with the power and HDD activity LEDs next to it.
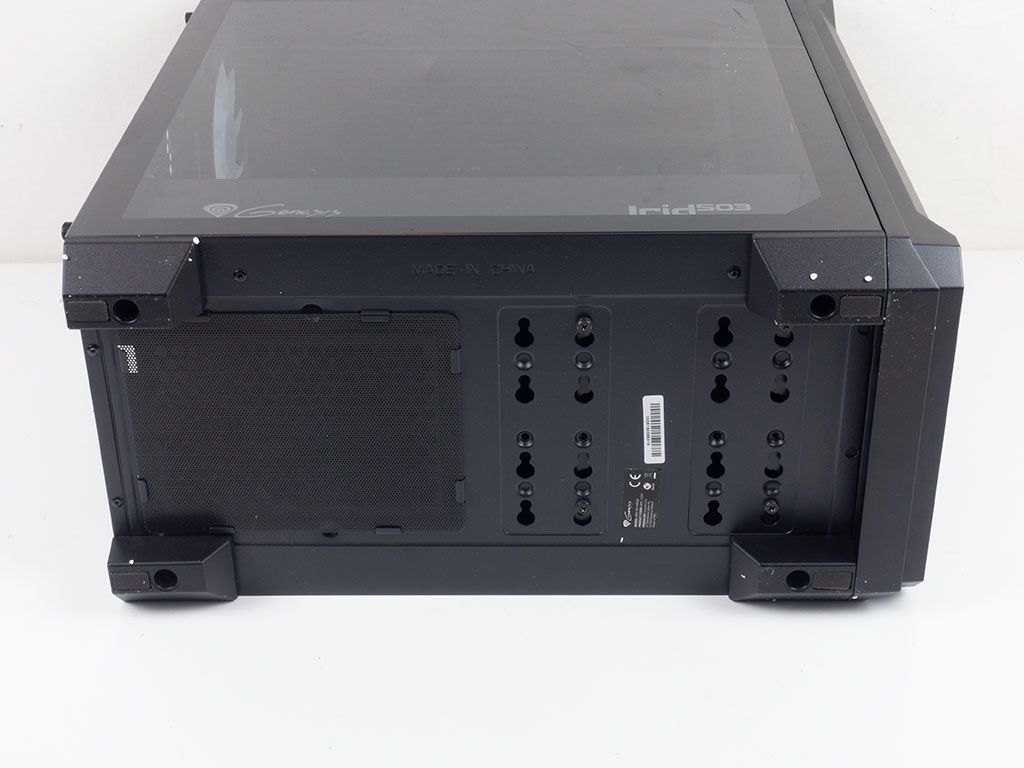
Taking a quick look at the underside of the chassis, there is another magnetic, metal-mesh dust filter for the PSU bay. Towards the front of the case, you can see the system that secures the HDD cage, which may be moved back slightly or removed completely. With it removed, the floor of the enclosure may be used to install a single hard drive of your choice.
Mar 9th, 2025 14:50 EDT
change timezone
Latest GPU Drivers
New Forum Posts
- What is a good real price for the RTX 5090? (14)
- RX 9070 availability (89)
- I'm looking for a good tool to make the 3D scanning of my mini-pc using the photogrammetry and my Kinect 2. (27)
- ThrottleStop, mistake (2)
- NVIDIA RTX owners only - your opinion on DLSS Image quality (471)
- Will I benefit from changing the thermal pad? (40)
- As we live the age of game remakes, which game you would like to see to have a remake? (350)
- USB hard disk box capacity limits (9)
- 3DMARK "LEGENDARY" (282)
- Nvidia's GPU market share hits 90% in Q4 2024 (gets closer to full monopoly) (735)
Popular Reviews
- Sapphire Radeon RX 9070 XT Nitro+ Review - Beating NVIDIA
- ASUS Radeon RX 9070 TUF OC Review
- XFX Radeon RX 9070 XT Mercury OC Magnetic Air Review
- NVIDIA GeForce RTX 5070 Founders Edition Review
- Corsair Vengeance RGB CUDIMM DDR5-8800 48 GB CL42 Review
- MSI MAG B850 Tomahawk Max Wi-Fi Review
- AMD Ryzen 7 9800X3D Review - The Best Gaming Processor
- AMD Radeon RX 9070 Series Technical Deep Dive
- ASUS GeForce RTX 5070 Ti TUF OC Review
- MSI GeForce RTX 5070 Ti Ventus 3X OC Review
Controversial News Posts
- NVIDIA GeForce RTX 50 Cards Spotted with Missing ROPs, NVIDIA Confirms the Issue, Multiple Vendors Affected (513)
- AMD Plans Aggressive Price Competition with Radeon RX 9000 Series (277)
- AMD Radeon RX 9070 and 9070 XT Listed On Amazon - One Buyer Snags a Unit (261)
- AMD RDNA 4 and Radeon RX 9070 Series Unveiled: $549 & $599 (257)
- AMD Mentions Sub-$700 Pricing for Radeon RX 9070 GPU Series, Looks Like NV Minus $50 Again (248)
- NVIDIA Investigates GeForce RTX 50 Series "Blackwell" Black Screen and BSOD Issues (244)
- AMD Radeon RX 9070 and 9070 XT Official Performance Metrics Leaked, +42% 4K Performance Over Radeon RX 7900 GRE (195)
- AMD Radeon RX 9070-series Pricing Leaks Courtesy of MicroCenter (158)