 2
2
Genesis Irid 503 ARGB Review - A Mini-Tower with Four Fans
Assembly & Finished Looks »A Closer Look - Inside
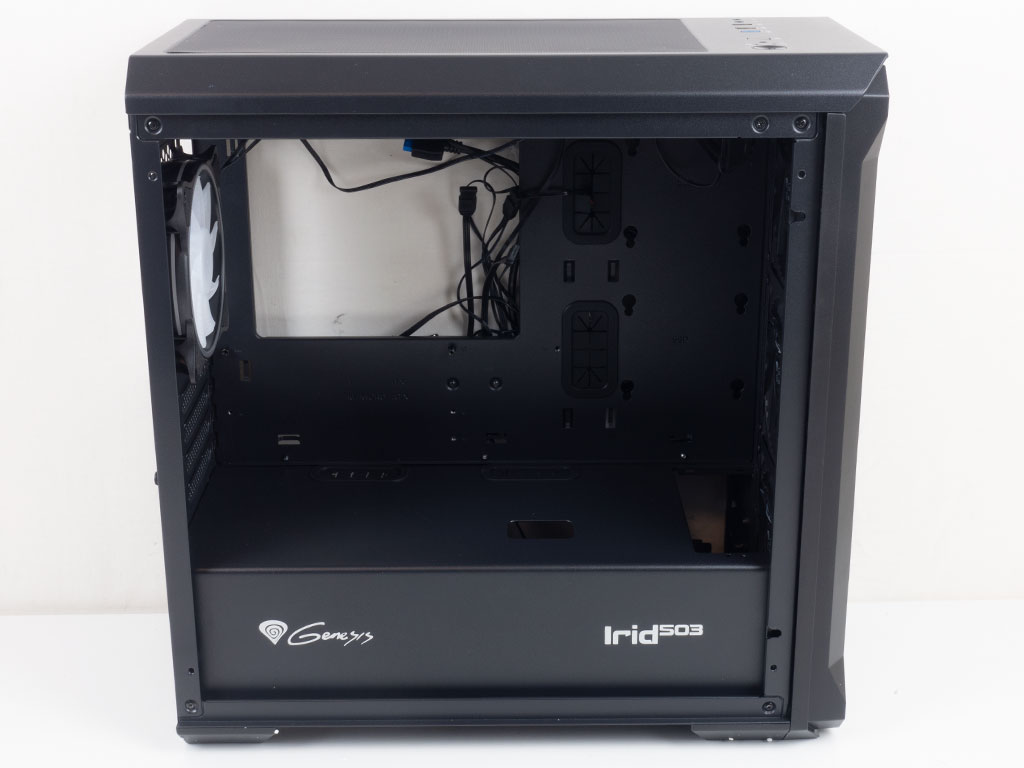
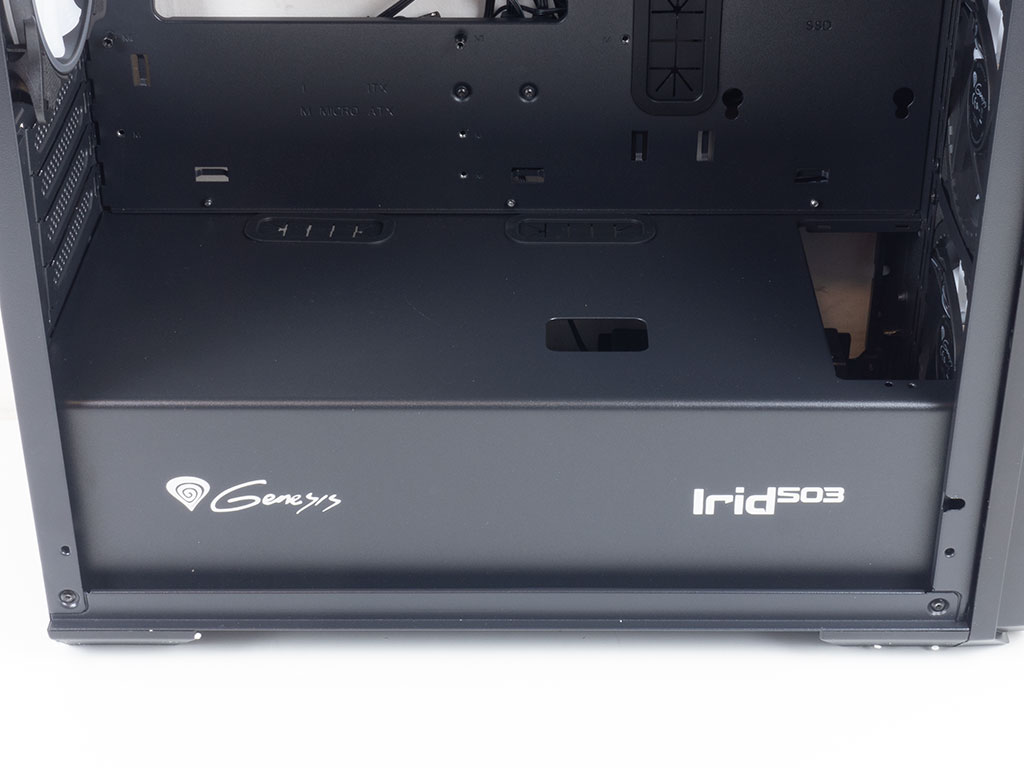
To access to the interior, simply remove the thumb screws holding each panel in place. The interior layout is traditional for a tower case in every sense. On the bottom is a solid steel shroud with the company and model branding. Two well-placed, grommet-covered holes in the back allow for easy cable routing to the ports on the bottom edge of the motherboard, while a third opening in the front is for routing power cables straight up to any GPU that requires them.
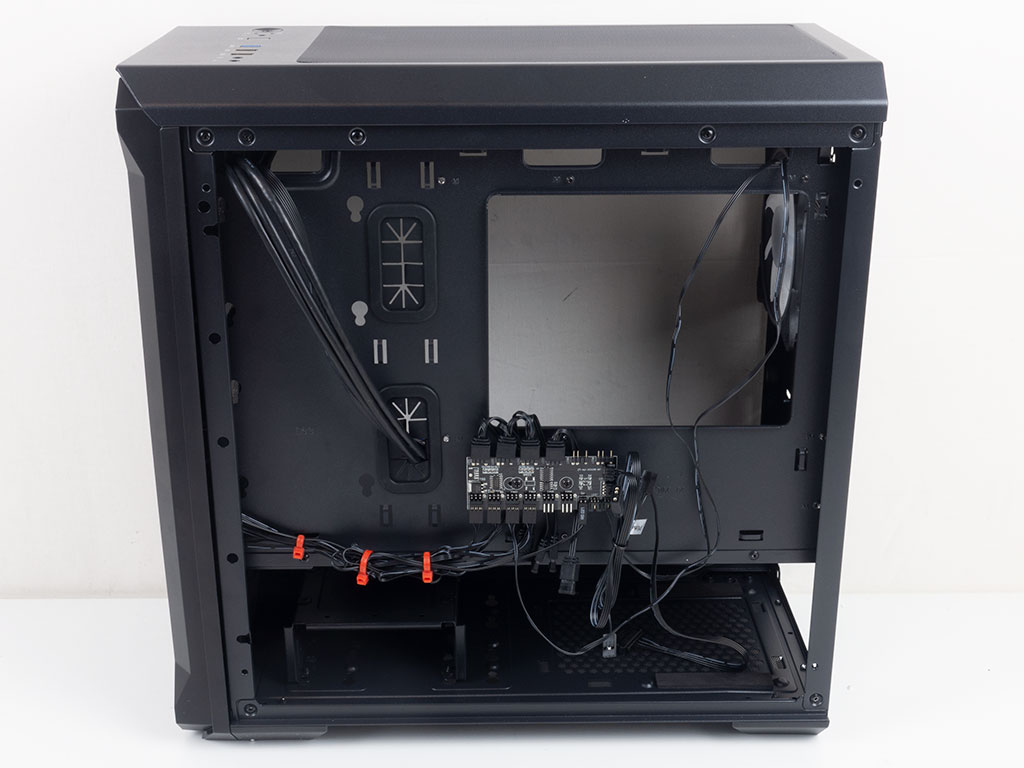

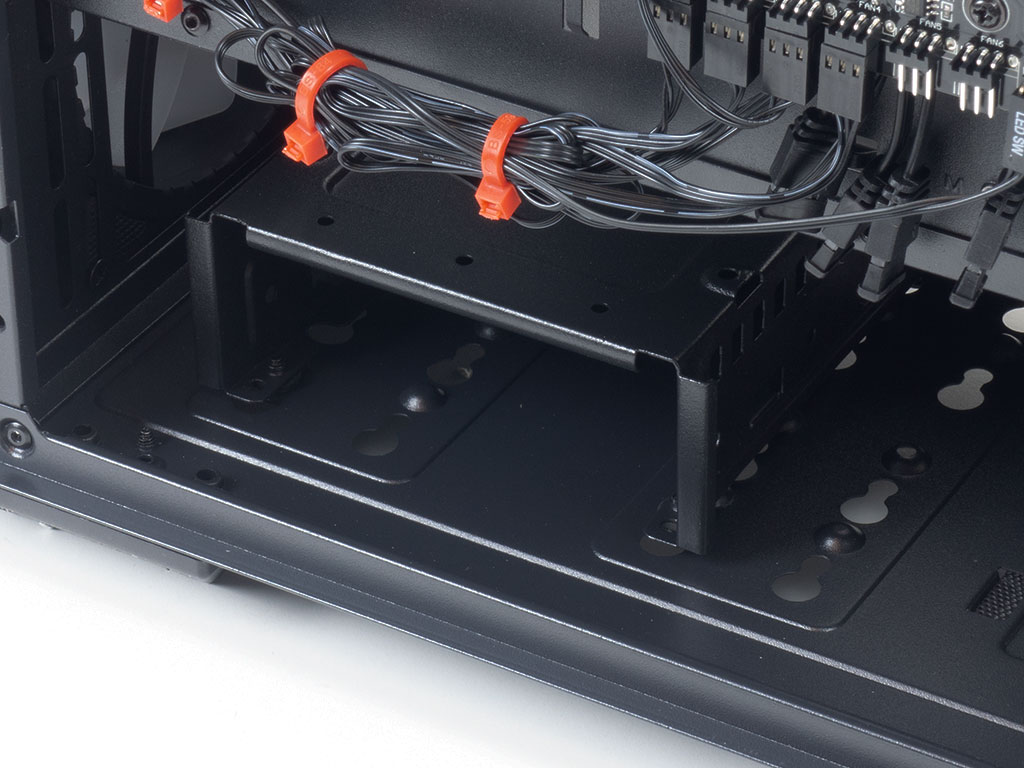
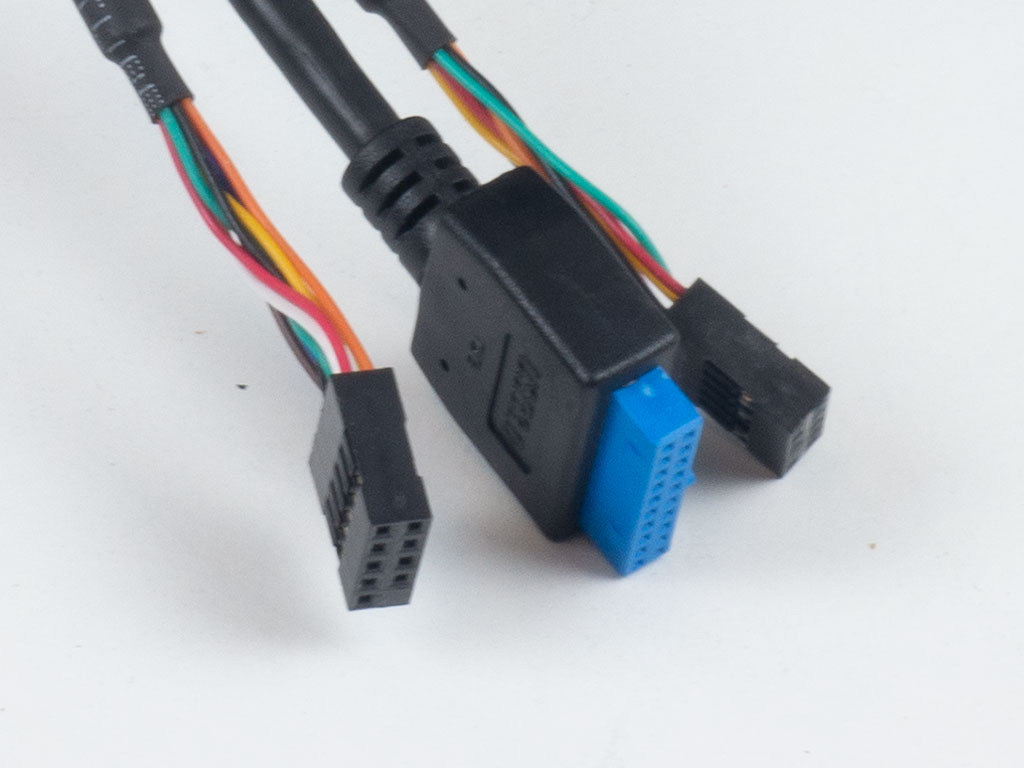
Out of the box, there is a bit of a mess with the ARGB and fan cables, so you will have to spend some time cleaning things up, which I have done in this image already. Towards the front are two sets of mounting holes for 2.5" drives, and you may opt to hide them by installing them on this side, or show them off by attaching them to the interior facing the glass panel. A generic ARGB controller with a built-in fan hub allows you to easily expand any lighting elements, as well as for a single motherboard fan header to control the speed/power of all attached cooling units. This all comes in quite handy as entry-level boards may not offer ARGB headers or enough fan connectors for all the cooling possibilities the Irid 503 ARGB provides.
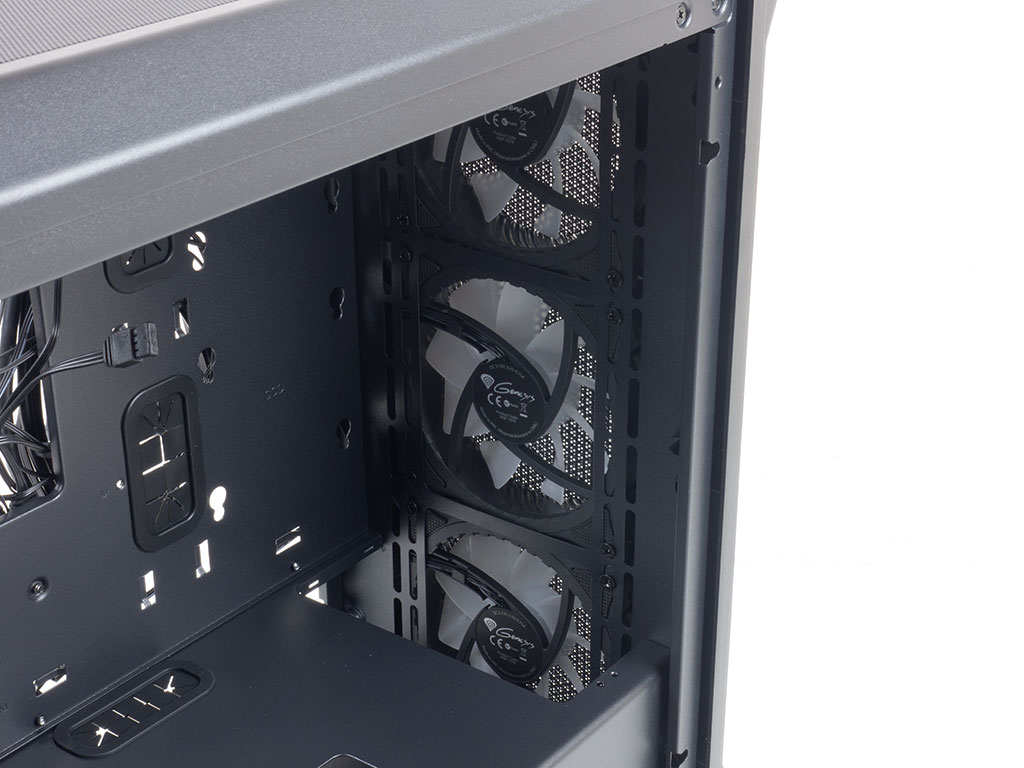
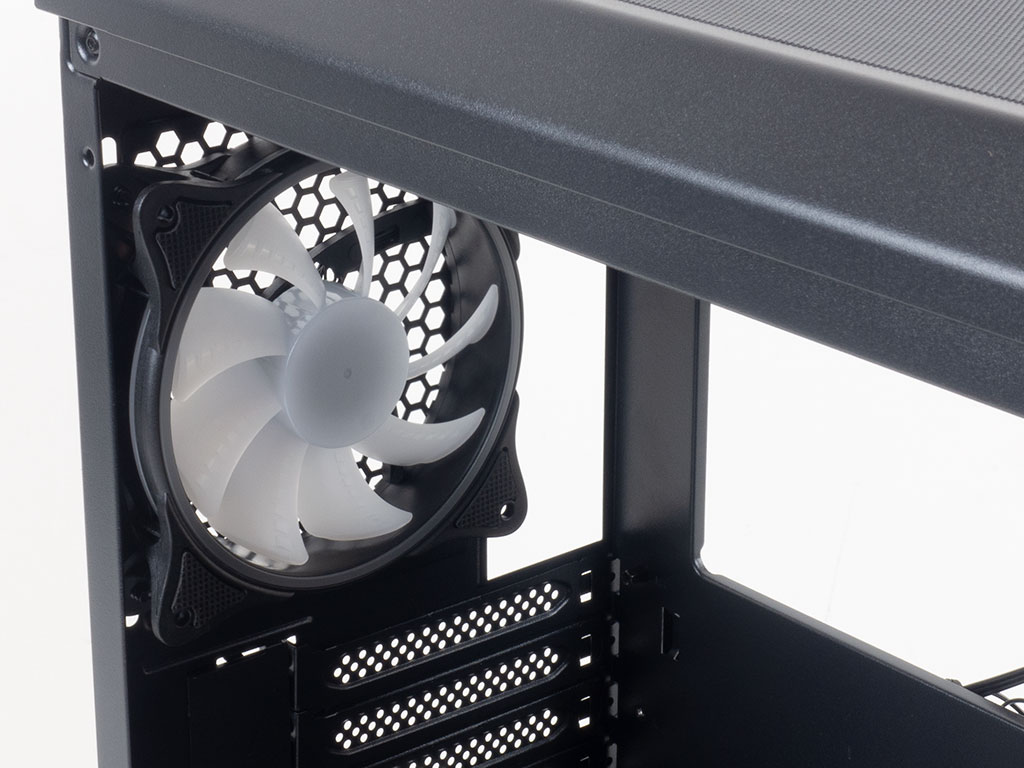
In the front, underneath the shroud, is a simple hard-drive cage that may hold a drive within and another such unit on top for a maximum of two 3.5" drives or a mix of one 3.5 and one 2.5" unit. Above that are the three 120 mm fans, as the entire front is meant to hold active cooling.
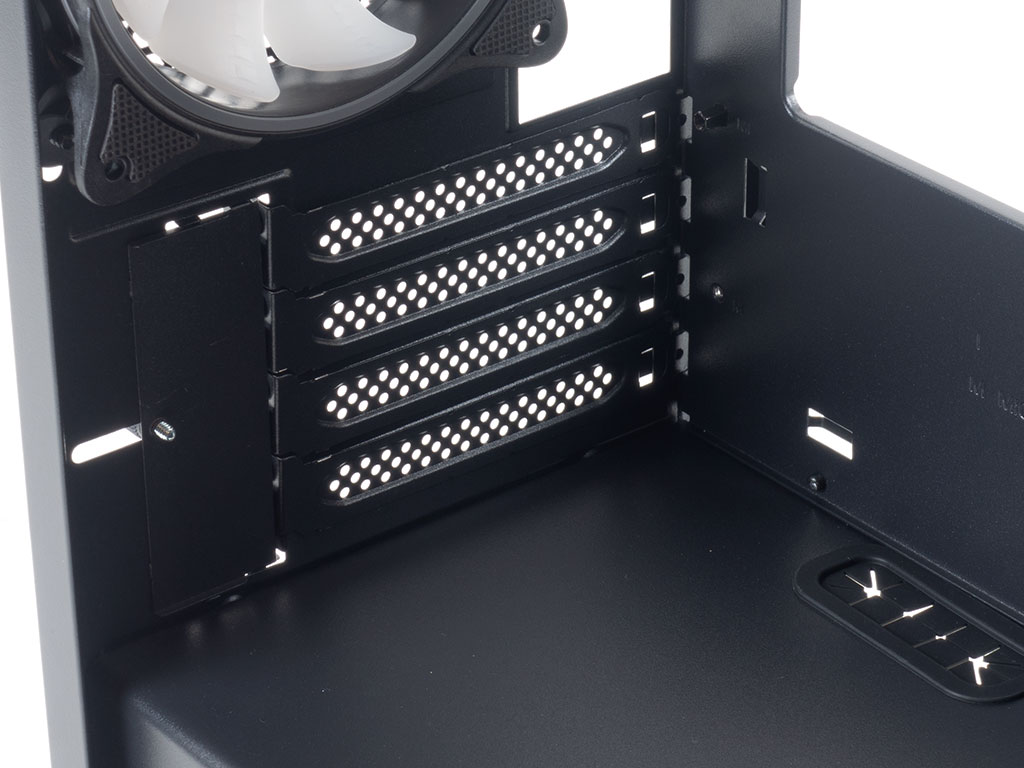
Looking at the rear of the chassis, the PSU bay comes with two foam stripes on which your unit will rest. There is generally enough room for a normal unit, but due to the compact nature of the Irid 503 ARGB, a huge PSU will force you to remove the HDD cage. The four expansion slots above that are accessed through the exterior; thus, there is a metal plate on the side that needs to be detached to pass the securing tip of your expansion card's backplate through. In the very top is that fourth 120 mm exhaust fan.
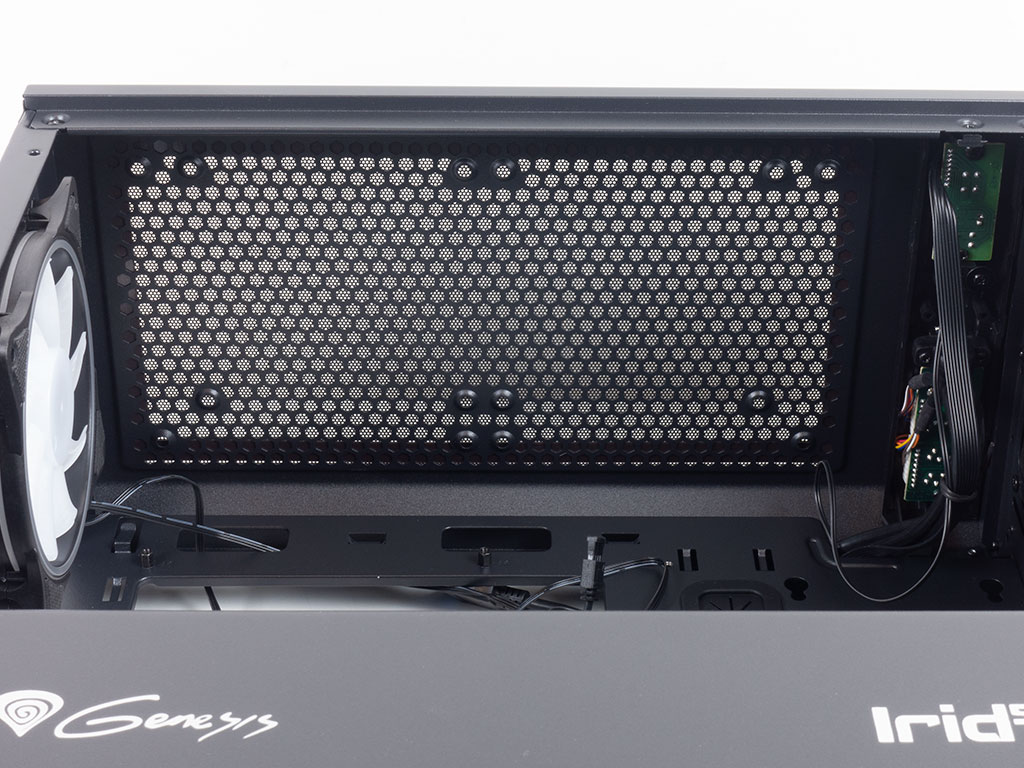
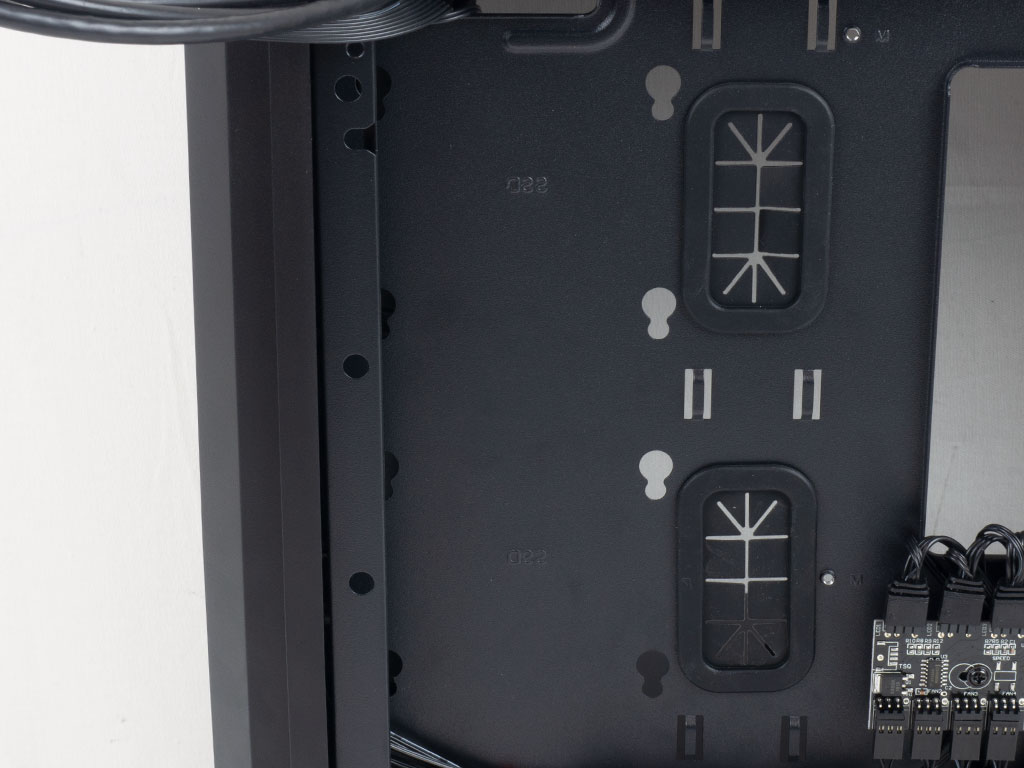
Looking at the ceiling, you can see how far the fan-mounting holes are from the motherboard, and the space you have towards the front of the case. With the higher ceiling, thick radiators or a push/pull configuration should fit as well.
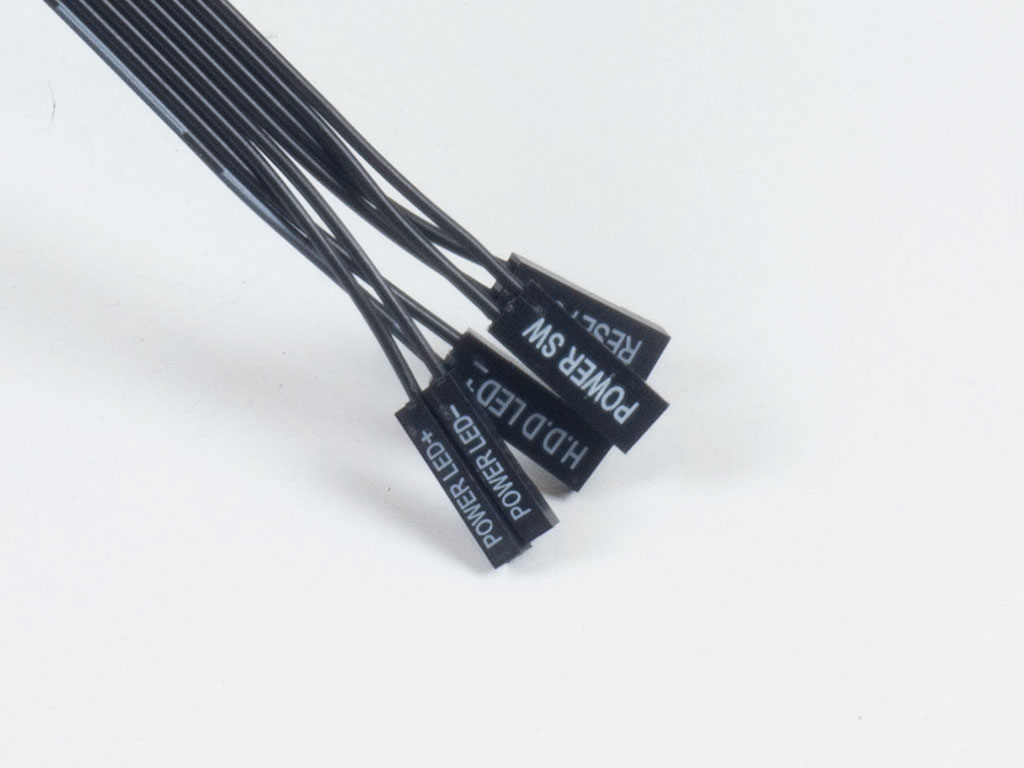
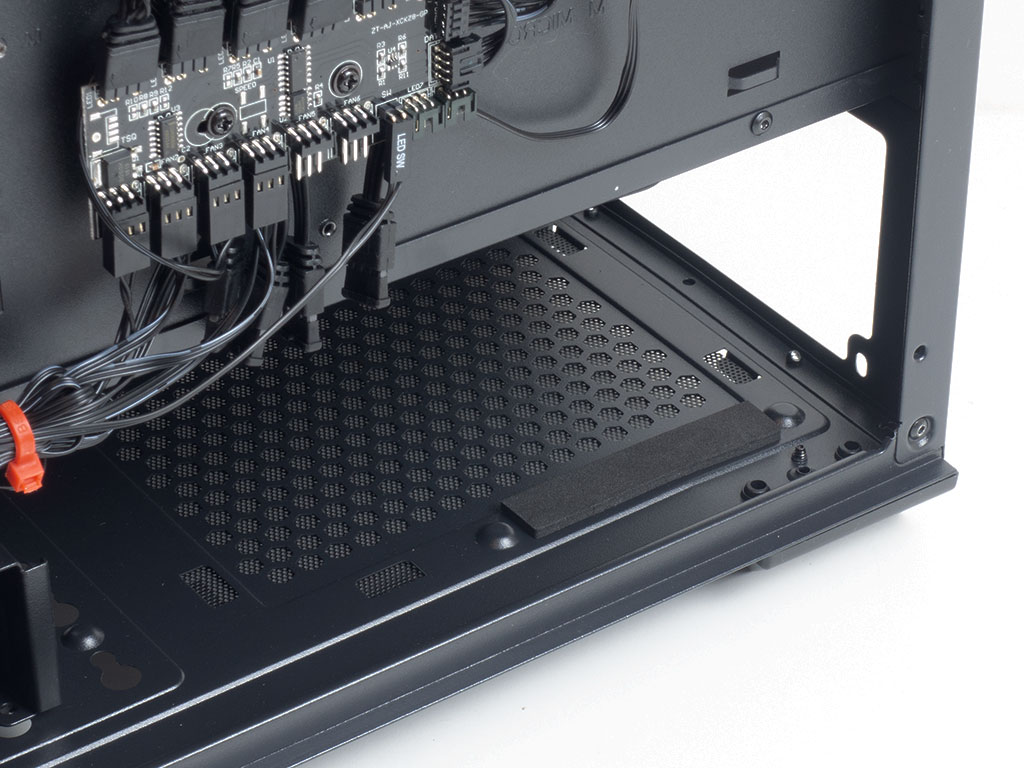
All the leads within the Genesis Irid 503 ARGB are sleeved black and of the default variety, so you should have no problems connecting them all to your motherboard.
Jul 12th, 2025 09:29 CDT
change timezone
Latest GPU Drivers
New Forum Posts
- No offense, here are some things that bother me about your understanding of fans. (36)
- Stupid buggy POS Realtek WiFi RTL8852BE (11)
- Swapping existing router w/ a replacement; any issues? (14)
- 'NVIDIA App' not usable offline? (13)
- Chrome has removed uBlock Origin 1.64.0 (remove google search suggestions) (12)
- Share your AIDA 64 cache and memory benchmark here (3097)
- The Official Linux/Unix Desktop Screenshots Megathread (778)
- [GPU-Z Test Build] New Kernel Driver, Everyone: Please Test (90)
- Gigabyte graphic cards - TIM gel SLIPPAGE problem (150)
- NVIDIA App (55)
Popular Reviews
- Fractal Design Epoch RGB TG Review
- Lexar NM1090 Pro 4 TB Review
- Corsair FRAME 5000D RS Review
- NVIDIA GeForce RTX 5050 8 GB Review
- NZXT N9 X870E Review
- Our Visit to the Hunter Super Computer
- Sapphire Radeon RX 9060 XT Pulse OC 16 GB Review - An Excellent Choice
- AMD Ryzen 7 9800X3D Review - The Best Gaming Processor
- Upcoming Hardware Launches 2025 (Updated May 2025)
- Chieftec Iceberg 360 Review
TPU on YouTube
Controversial News Posts
- Intel's Core Ultra 7 265K and 265KF CPUs Dip Below $250 (288)
- Some Intel Nova Lake CPUs Rumored to Challenge AMD's 3D V-Cache in Desktop Gaming (140)
- AMD Radeon RX 9070 XT Gains 9% Performance at 1440p with Latest Driver, Beats RTX 5070 Ti (131)
- NVIDIA Launches GeForce RTX 5050 for Desktops and Laptops, Starts at $249 (119)
- NVIDIA GeForce RTX 5080 SUPER Could Feature 24 GB Memory, Increased Power Limits (115)
- Microsoft Partners with AMD for Next-gen Xbox Hardware (105)
- Intel "Nova Lake‑S" Series: Seven SKUs, Up to 52 Cores and 150 W TDP (100)
- NVIDIA DLSS Transformer Cuts VRAM Usage by 20% (97)