 21
21
Gigabyte X99-Ultra Gaming (with Broadwell-E) Review
Power Consumption and Fan Control »Test System
| Test System | |
|---|---|
| CPU: | Intel Core i7-6950X Extreme Edition 3.0 GHz, 25 MB Cache |
| Memory: | 32 GB DDR4 (8x 4 GB) Crucial Ballistix Sport (2400 MHz C16) |
| Cooling: | Corsair H110 |
| Motherboard: | Gigabyte X99-Ultra Gaming Intel X99 Express, BIOS F3X |
| Video Card: | MSI GTX980 GAMING 4 GB |
| Harddisk: | 1 x Crucial M4 128 GB SATA 6 Gb/s SSD (OS) 1 x Crucial BX200 256 GB SATA 6 Gb/s SSD (DATA) 1 x Samsung M.2 950PRO(NVMe) |
| Power Supply: | Thermaltake ToughPower Platinum 1250W |
| Case: | Corsair Air 540 |
| Software: | Windows 10 Pro 64-bit, NVIDIA GeForce 353.62 |
Initial Setup
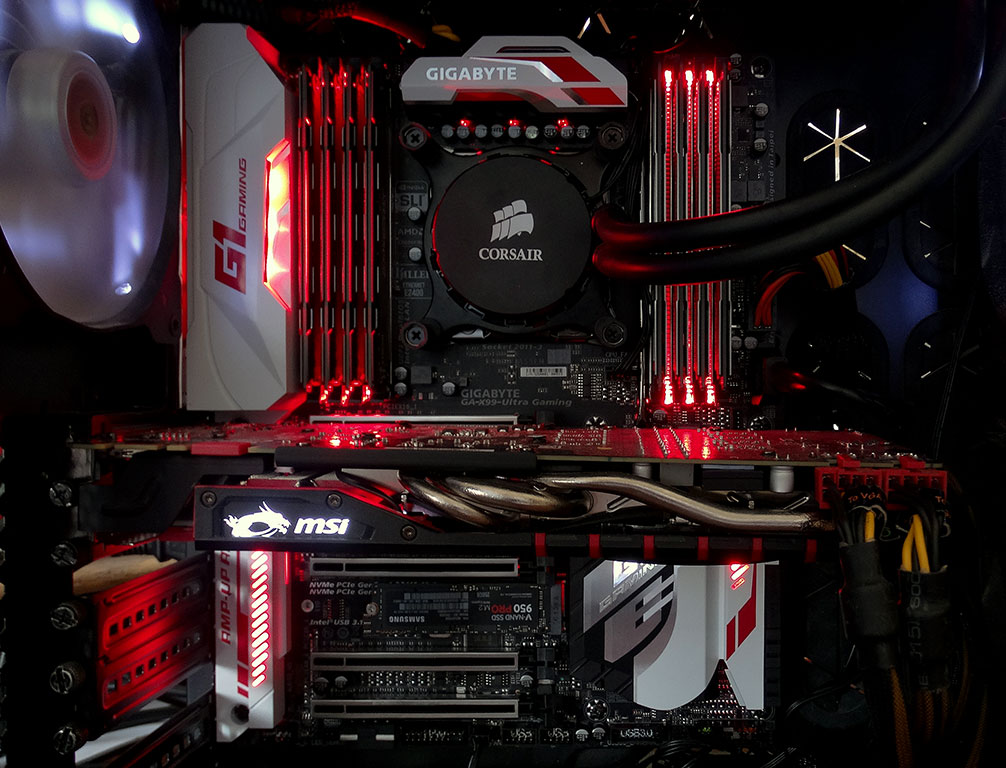
OH MY GERD!!! Since this is still an SKT2011-3 board and CPU, putting stuff together was no big deal, although I was a bit intimidated by having to toss in this CAD$2250 CPU. Please don't break it, PUH-LEEEZE!!! Once I had calmed down a bit and had made sure I had plugged everything in (or so I thought), I fired the system up. There was a flash of white that came out of the case and my heart skipped a beat. Then, this bright red laser shot out the window and melted my face off. Um...
I had to wait a few moments for the BIOS screen to show up, madly pressing delete to see what options I had. The BIOS was slow. Like molasses. I checked the monitoring page and saw 75°C in the BIOS. If you visit our forums, you've likely seen the pic I posted of the "X" of paste I had put on the CPU, which was more than ample. Fans? Check! Waterpump? Uh... Oops.
So, yeah, make sure you plug in ALL THE CABLES!!!
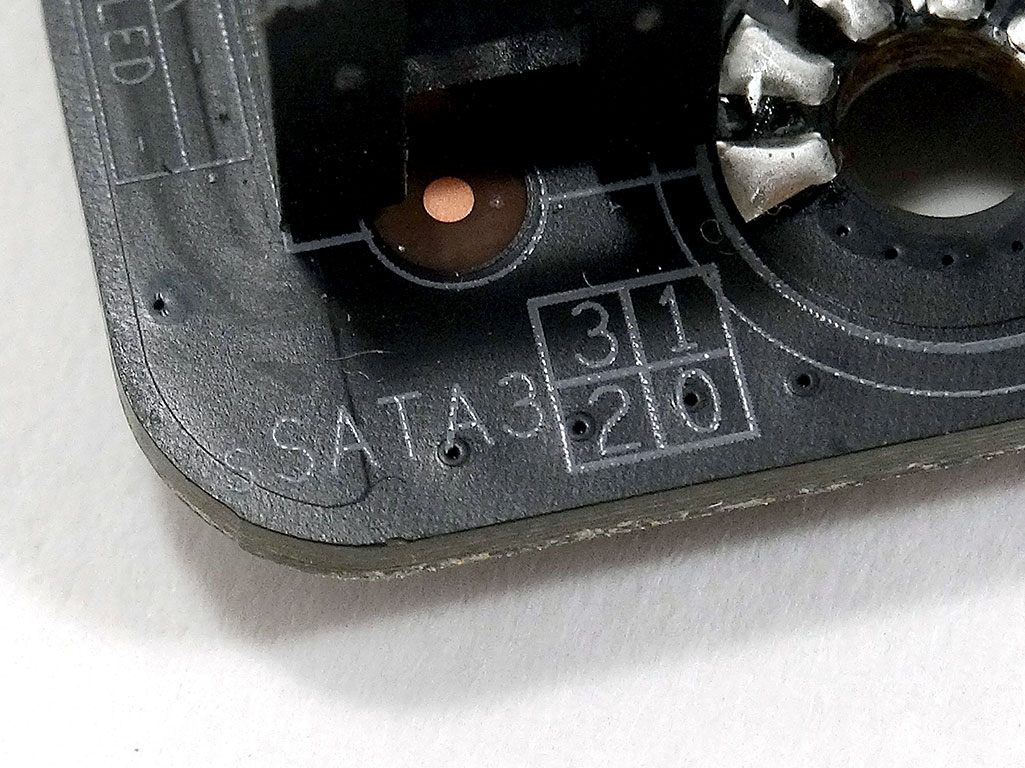

Speaking of plugging in cables, the SATA ports are nicely labeled by the way of prints on the PCB's surface close to each set of ports. That makes connecting all your drives to the controllers you want very simple indeed. I like stuff like this, and when combined with the provided cable labels, that hidden spaghetti of wiring behind the case's right (or left) door is easily dealt with should you need to swap out a drive or something similar.

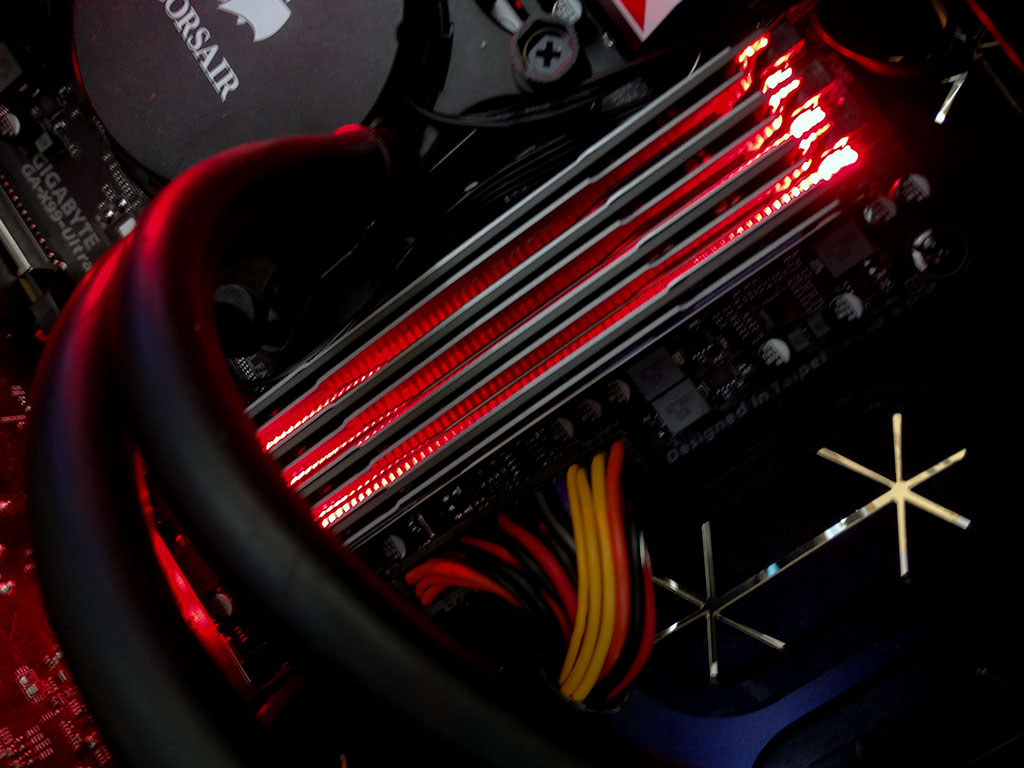
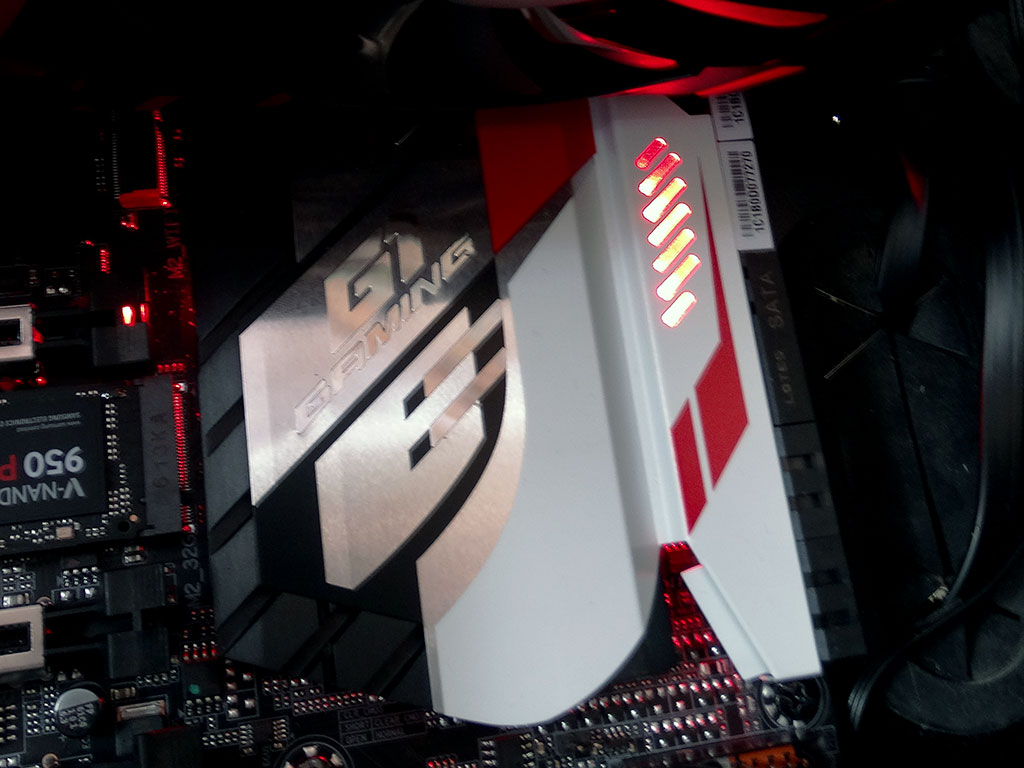
The lighting on this board is NOT understated. It is a face-melting laser. Memory slots, CPU VRM cooler, backplate cover, audio cover, PCH cooler - they all have lights. The strips between the DIMM slots are definitely different. Adding in some memory with LEDs attached to them as well seems like the perfect idea.
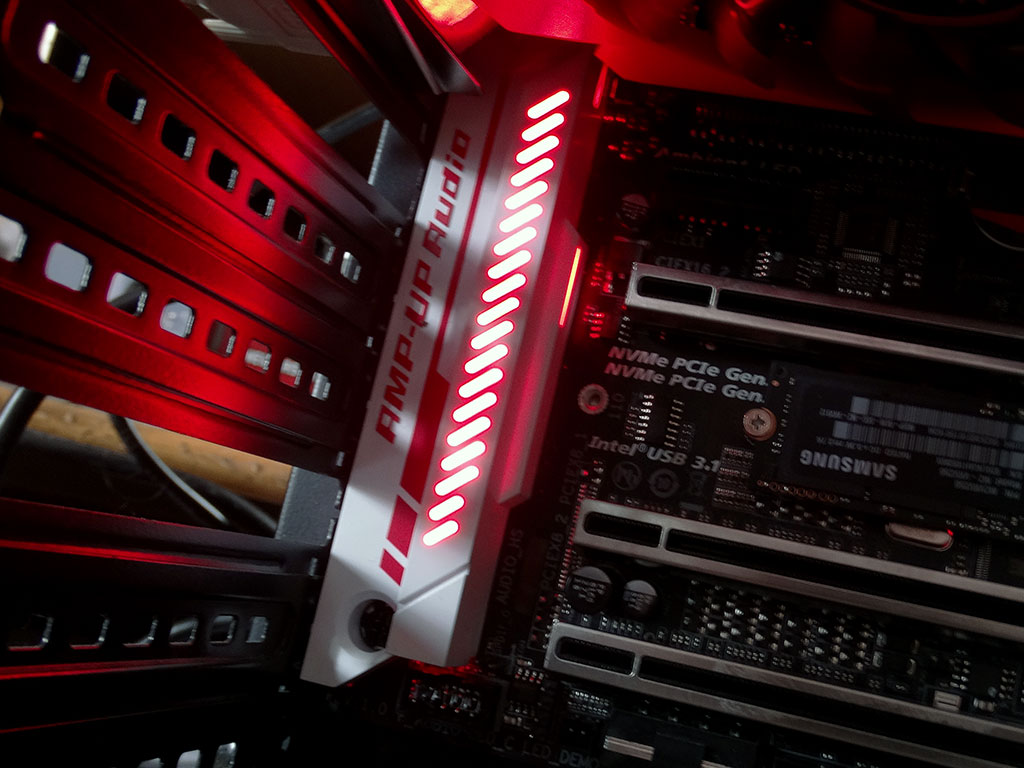
The Gigabyte X99-Ultra Gaming first fires up with a brief flash of "white-ish" LEDs. These quickly turn red, bathing the insides of your case in color. If you have a dark room and a windowed case, your room will be glowing red. Change the light to green using the provided software and you just might end up with a Haz-Mat team breaking your doors down. I think it's awesome.
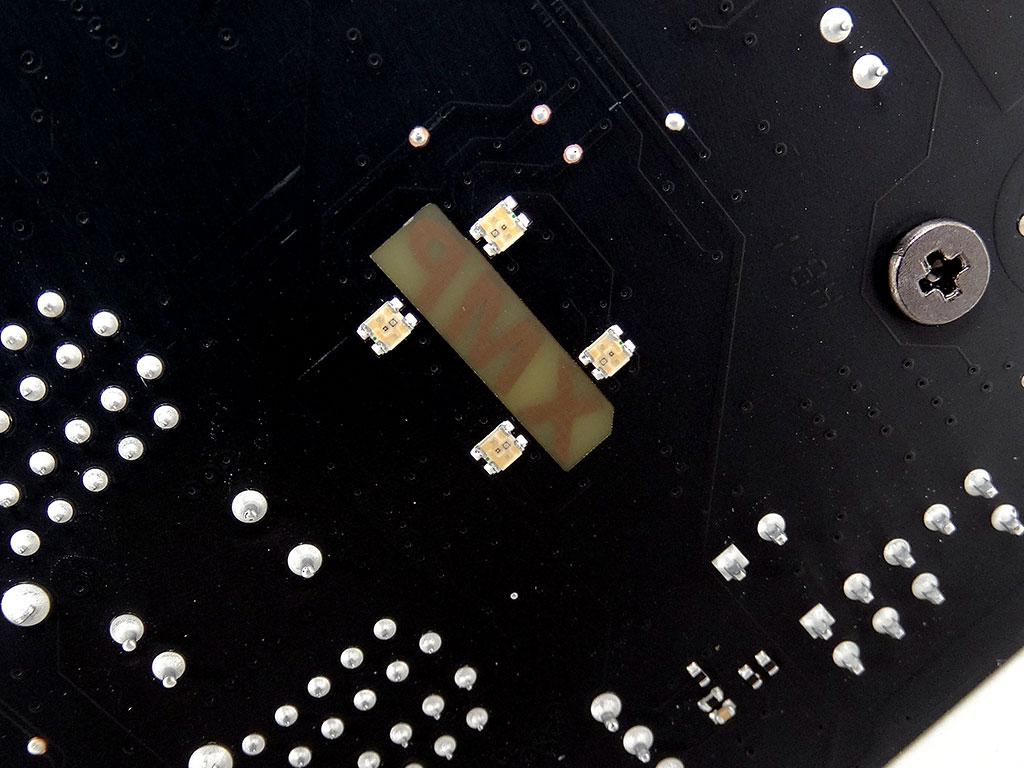
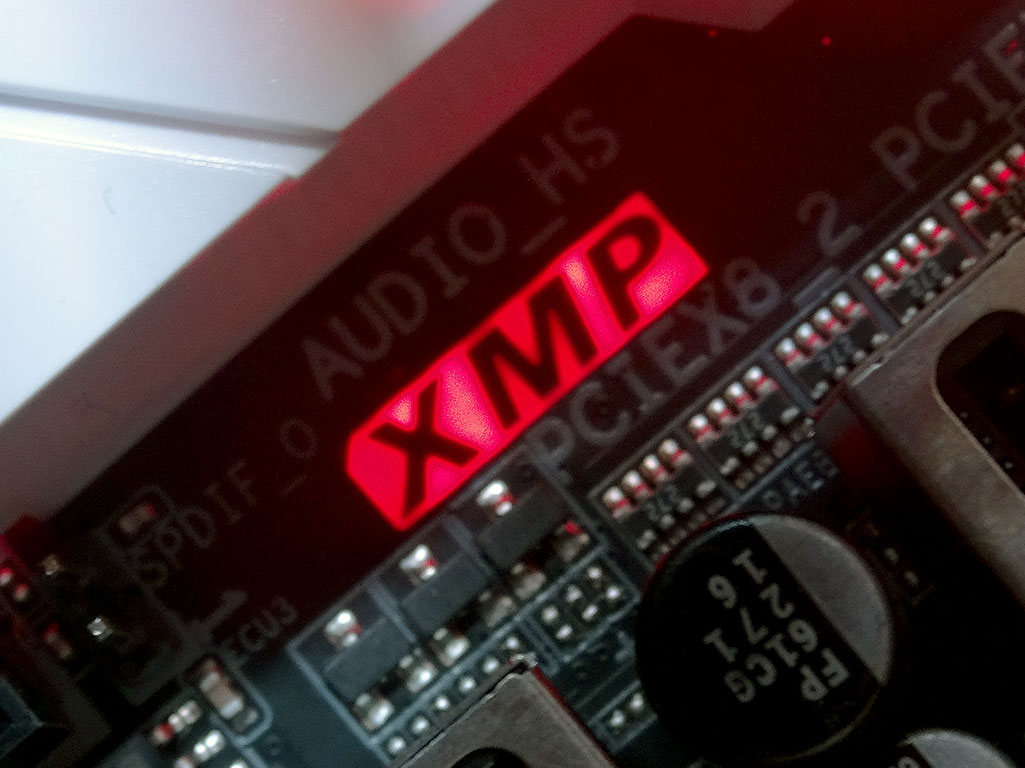
If you thought that is all there is for lights, you'd be wrong! There are even more here, enabled when you turn XMP on in the BIOS. The LEDS shown above light up and shine through the board, showing you that XMP is turned on.
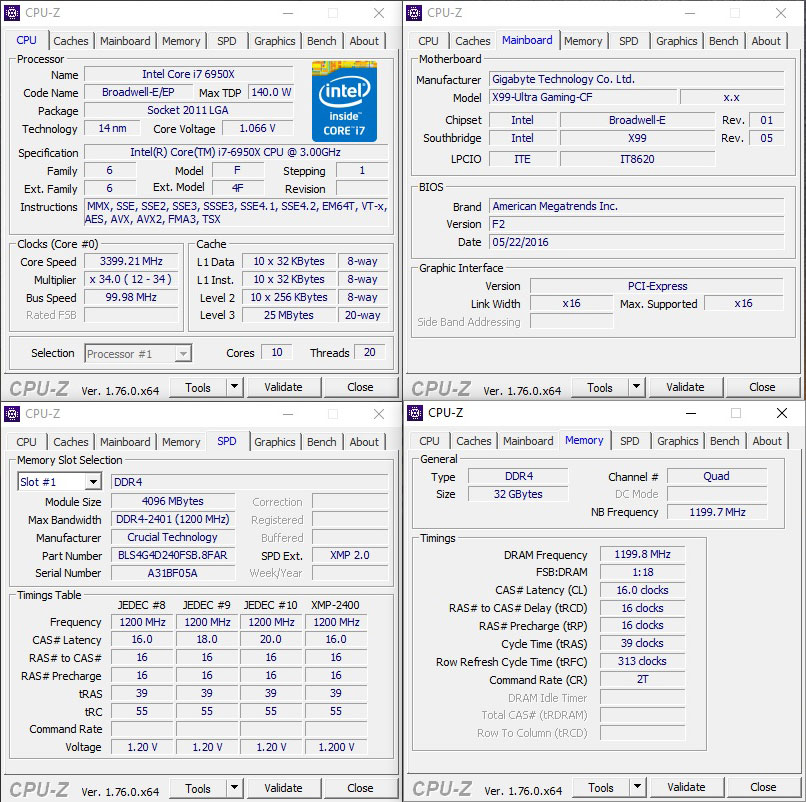
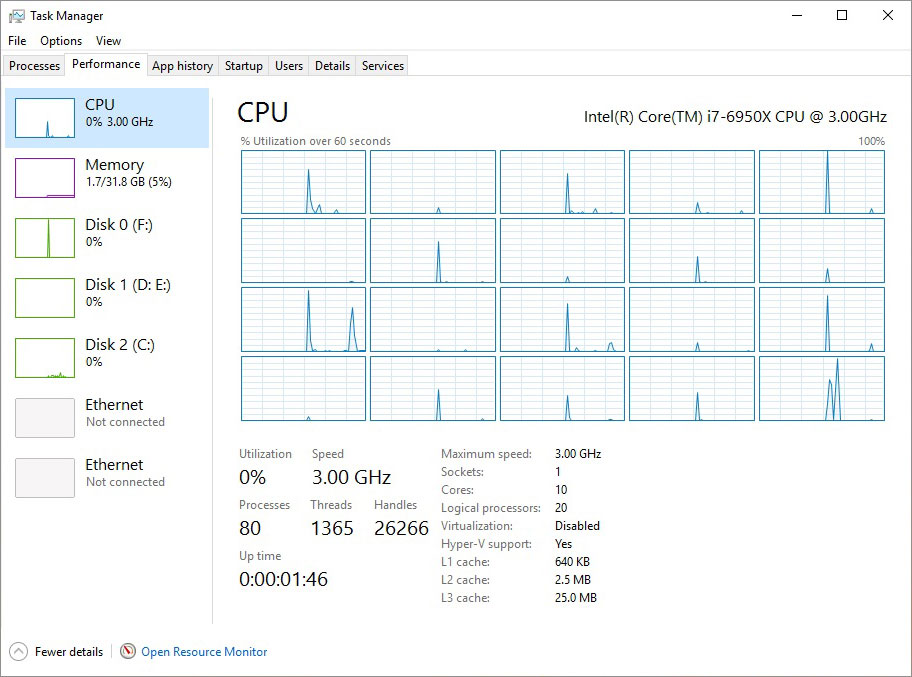
The Gigabyte X99-Ultra Gaming has the CPU running at high speed while "idle" in the OS. That might explain why I found idle power consumption a bit higher than expected. I chose to use eight Crucial 2400 MHz DIMMs since 2400 MHz is supported by Intel's i7-6950X and filling all slots just feels good. Almost as good as seeing all those cores in Task Manager! Although Crucial 2400 MHz Ballistix Sport Elite sticks come with an XMP profile, it was not required since the DIMMs default at 2400 MHz anyway. I did try using some 3200 MHz G.Skill DIMMs with XMP enabled while overclock testing, and the profile worked without any issues at all.
Feb 22nd, 2025 04:54 EST
change timezone
Latest GPU Drivers
New Forum Posts
- It's happening again, melting 12v high pwr connectors (849)
- PBO issues on ASRock B650 PG Lightning (9)
- Connector needed? (5)
- Modified drivers for X-Fi sound cards. (30)
- [PCGamer] Former Sony exec finally says the quiet part out loud: putting PlayStation games on PC is 'almost like printing money' (40)
- [Feature request] NIS and rBAR (13)
- RTX 5090 - Incorrect GPU-Z Clocks, when Overclocking with the Curve Tuner (6)
- As we live the age of game remakes, which game you would like to see to have a remake? (314)
- Share your AIDA 64 cache and memory benchmark here (3017)
- Asus TUF RTX 5080: Strange Power Readings GPUZ (0)
Popular Reviews
- MSI GeForce RTX 5070 Ti Ventus 3X OC Review
- Gigabyte GeForce RTX 5090 Gaming OC Review
- Galax GeForce RTX 5070 Ti 1-Click OC White Review
- ASUS GeForce RTX 5070 Ti TUF OC Review
- Ducky One X Inductive Keyboard Review
- MSI GeForce RTX 5070 Ti Vanguard SOC Review
- MSI GeForce RTX 5070 Ti Gaming Trio OC+ Review
- darkFlash DY470 Review
- MSI MAG Z890 Tomahawk Wi-Fi Review
- Palit GeForce RTX 5070 Ti GameRock OC Review
Controversial News Posts
- AMD Radeon 9070 XT Rumored to Outpace RTX 5070 Ti by Almost 15% (302)
- NVIDIA GeForce RTX 5090 Spotted with Missing ROPs, NVIDIA Confirms the Issue, Multiple Vendors Affected, RTX 5070 Ti, Too (287)
- AMD Plans Aggressive Price Competition with Radeon RX 9000 Series (269)
- AMD is Taking Time with Radeon RX 9000 to Optimize Software and FSR 4 (256)
- AMD Radeon RX 9070 and 9070 XT Listed On Amazon - One Buyer Snags a Unit (247)
- Edward Snowden Lashes Out at NVIDIA Over GeForce RTX 50 Pricing And Value (241)
- AMD Denies Radeon RX 9070 XT $899 USD Starting Price Point Rumors (239)
- New Leak Reveals NVIDIA RTX 5080 Is Slower Than RTX 4090 (215)