 30
30
GIGABYTE GA-Z87X-OC (Intel LGA 1150) Review
Overclocking Performance Summary »Overclocking - The Hardware

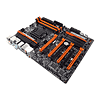
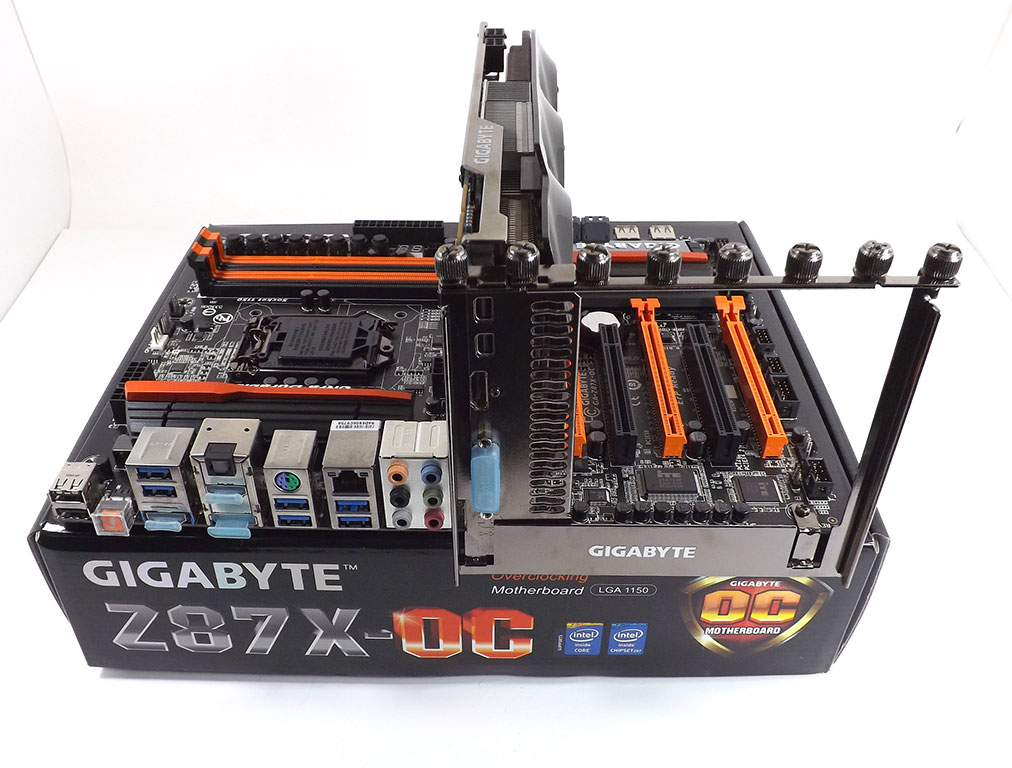
Gigabyte included both a 4-pin and 8-pin EPS connector to make sure you have enough power available and that providing it doesn't create one huge, hot path down the board's surface. You can use one or the other, or both. I say BOTH :p. The usual Dual BIOS feature Gigabyte has had for quite some time is here too, with a tweaked version that sees a third BIOS chip for all the add-on stuff I'll get to in just a minute.
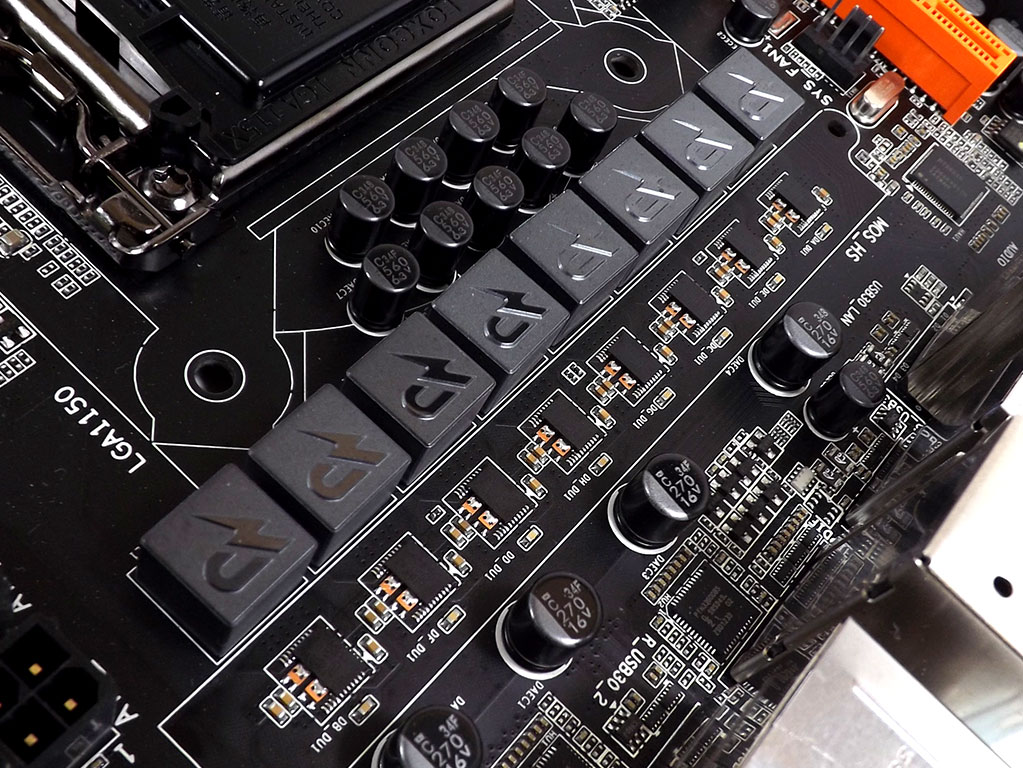
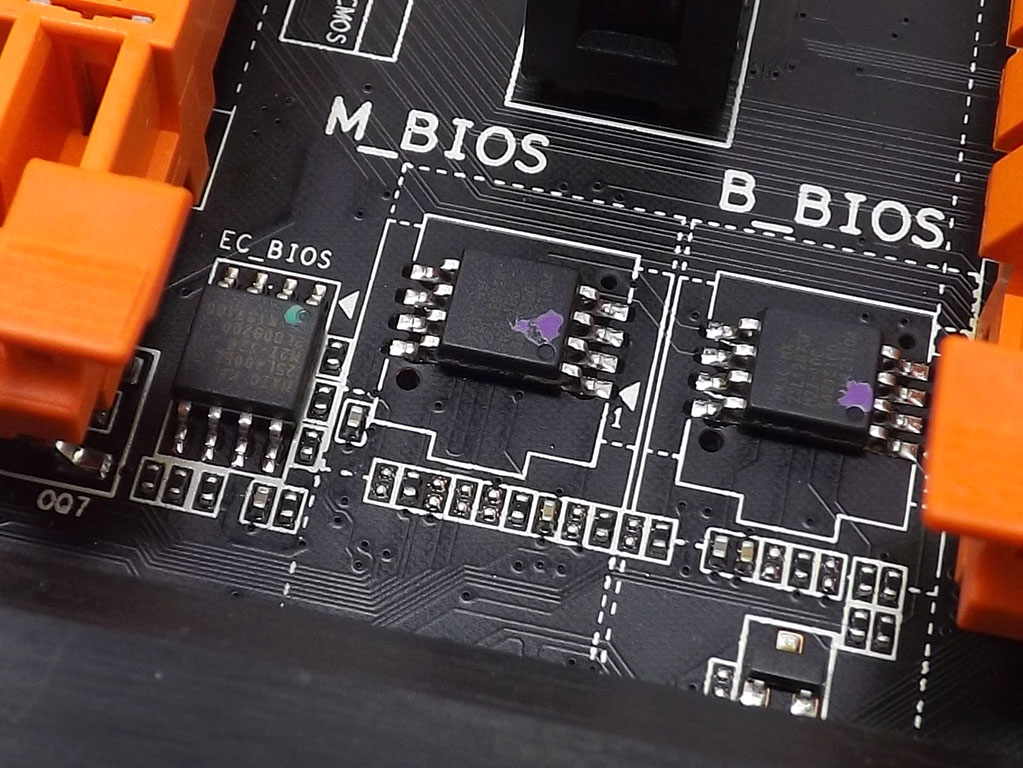
The CPU VRM is composed of eight main input phases that deliver power to the CPU's internal power regulation. They are all controlled by the International Recitifier 3563B controller.
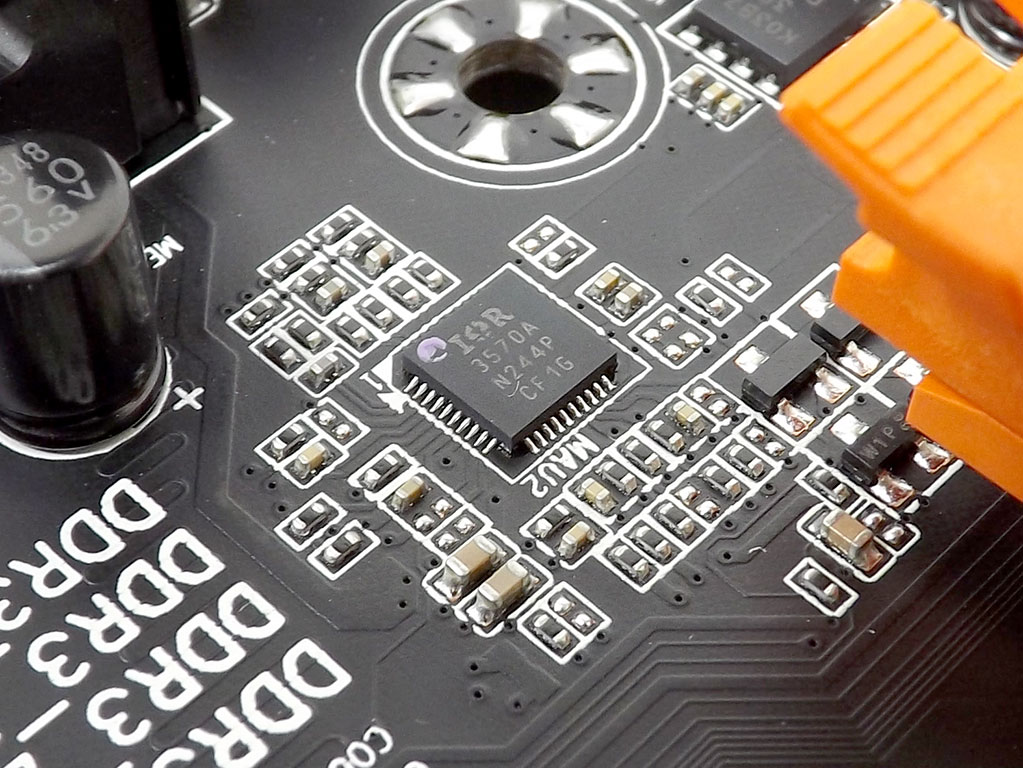
DIMM power is provided by dual phases at the bottom of the DIMMs. The International Recitifier controller is close by; more towards the socket.

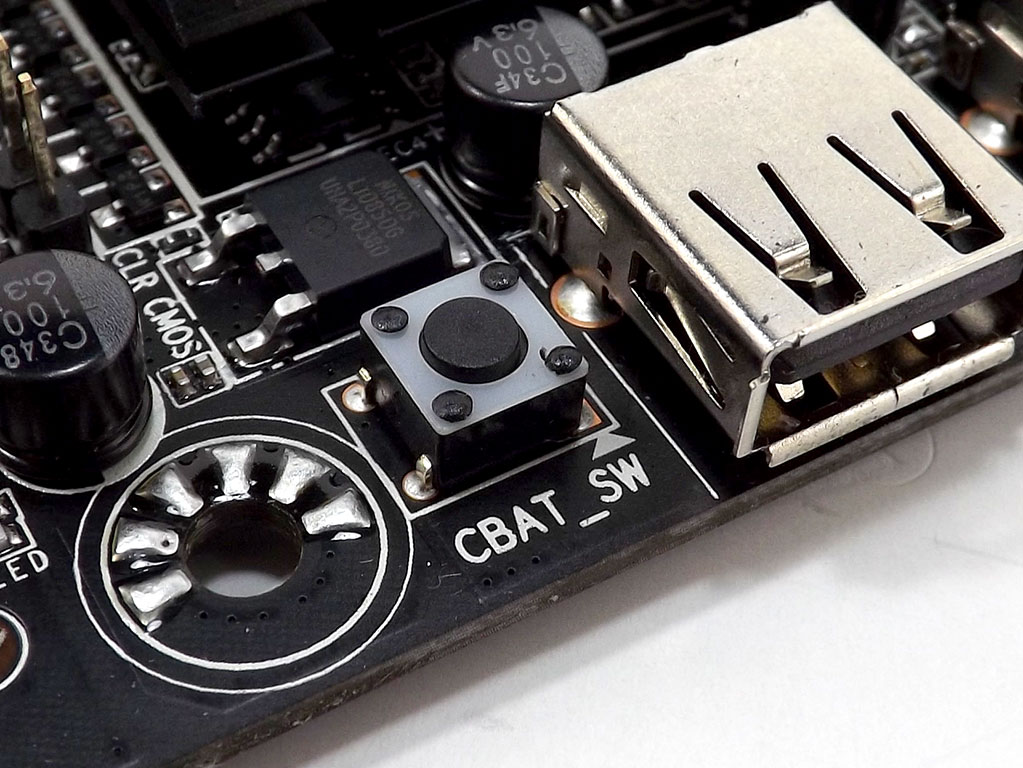
The main OC section of the board, found at the top-right of the board, is completely filled with buttons and switches, so you can tweak to your heart's content in real-time. Thirteen buttons and seven switches in total give you the ability to do anything you could think of--so much so that it would take me pages to explain it all. There's also a huge grouping of measuring points here. I would suggest downloading the manual for a full explanation, or buy the board and be ready to overclock. There's even another button, a Clear Battery button, at the bottom left of the board. This board was clearly never meant to be installed into a case.
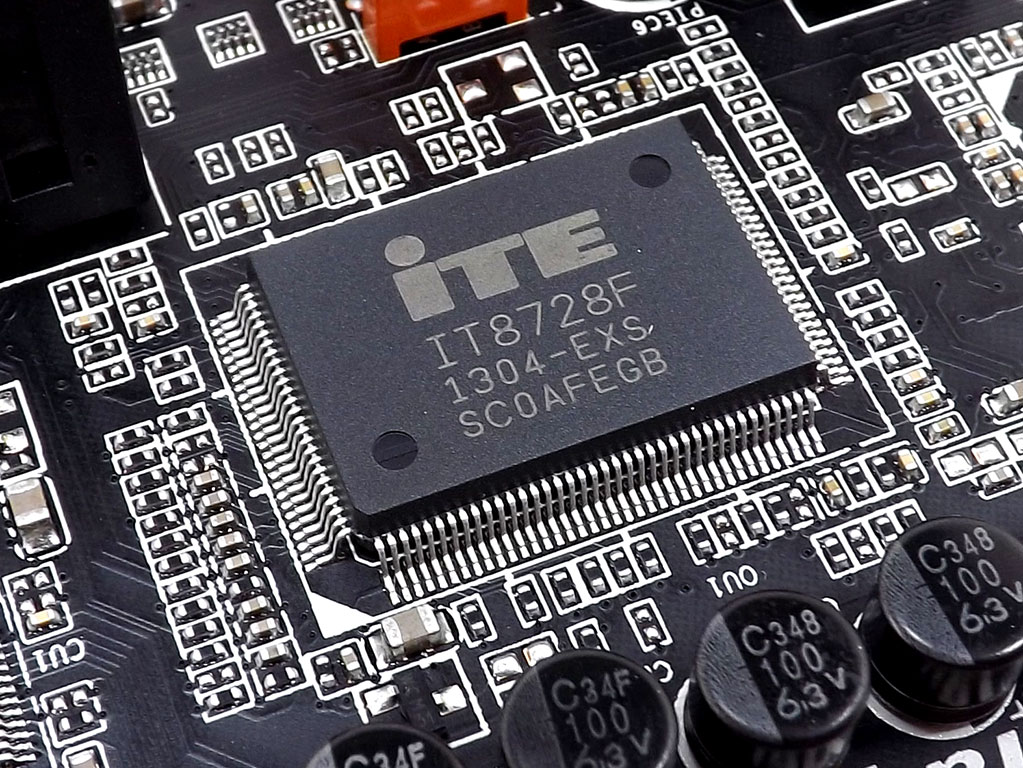
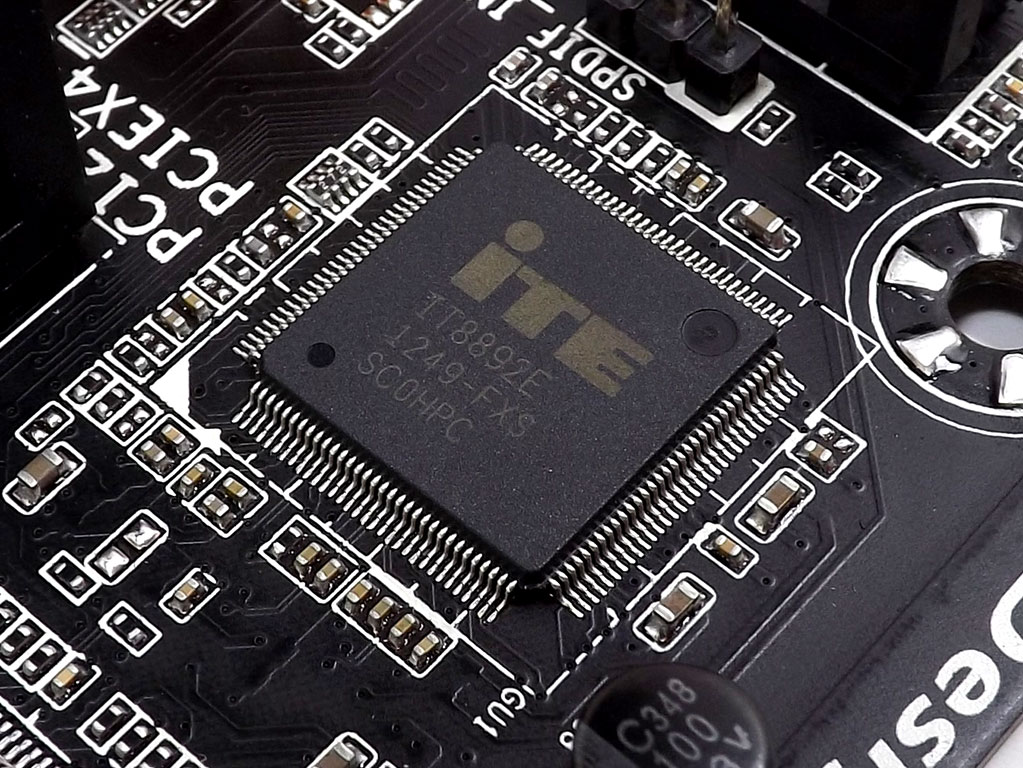
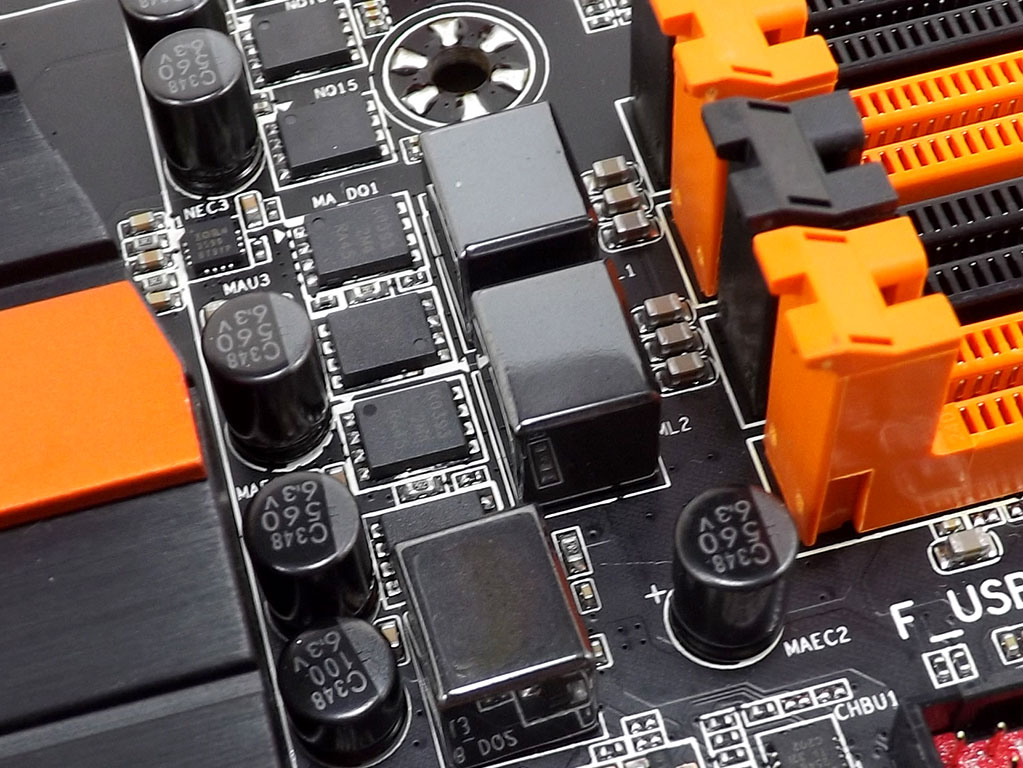
With the huge amount of monitoring functionality and all these buttons and doodads, quite a bit of supporting chipper is required, including a couple of Super I/O chips that are here to manage voltage reporting and fan control.
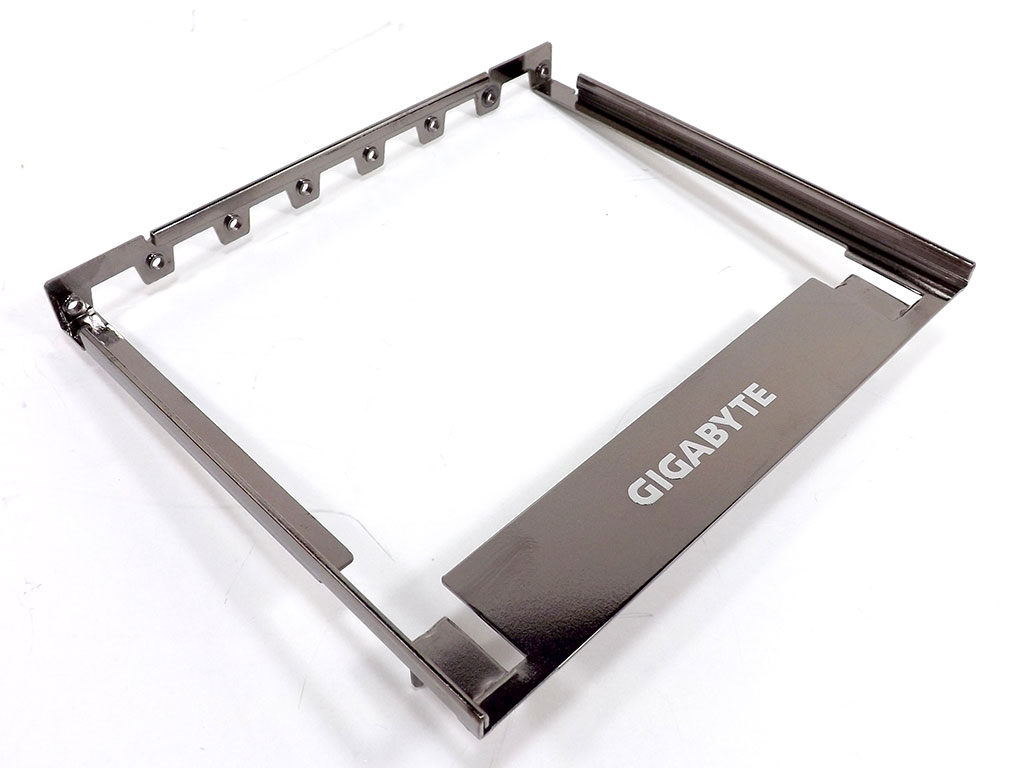
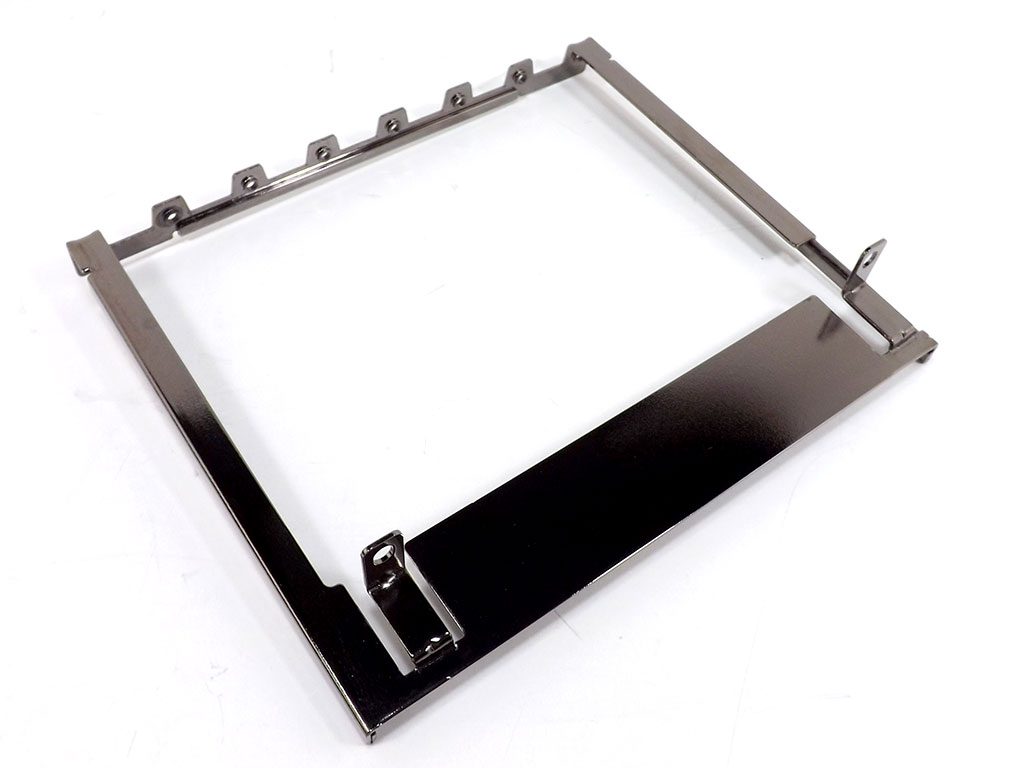
Gigabyte included one other accessory I didn't talk about earlier: the OC Brace. The OC Brace is a metal bracket that can be attached to the board using the provided hardware by way of the normal ATX mounting points found on the board's bottom-left edge. This provides the proper support for installating a device into every slot without a motherboard tray or case.

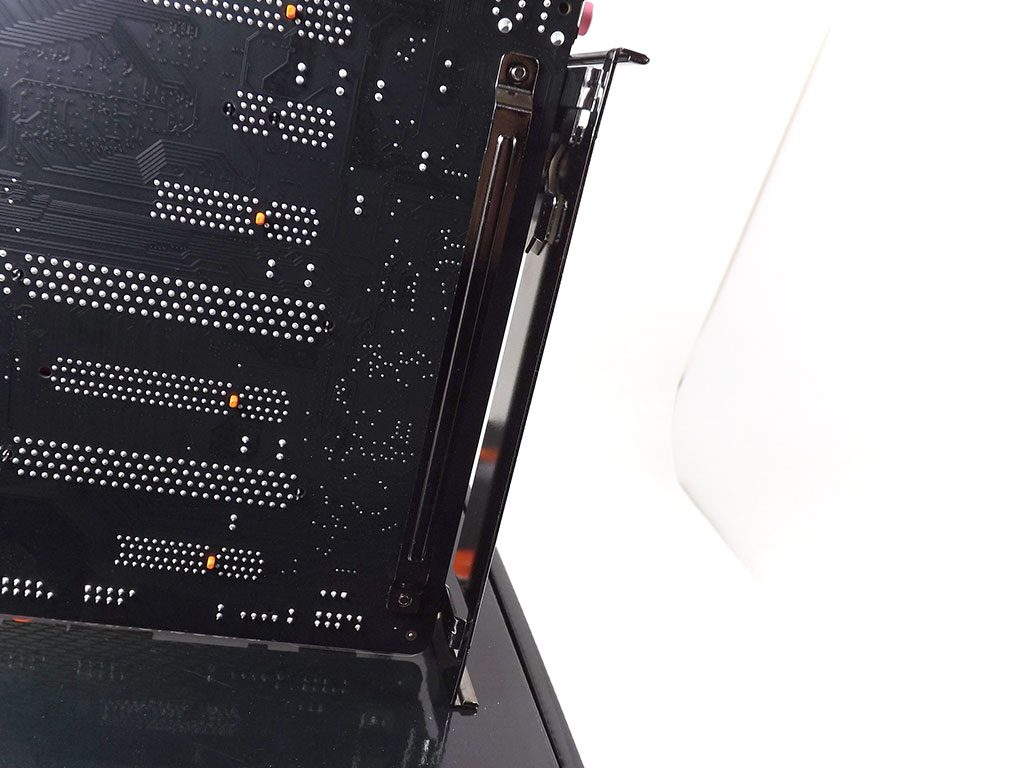
I attached the bracket as the instructions asked, including the metal support across the back of the board. I was at first worried about shorting something out, but that was a rather foolish thought. It's more than secure enough to act even as a stand for the board; that is, if it should stand up-right rather than laying on its back.

I placed the board back on its box. The OC Brace overhung the edge just a bit, keeping the board in the right place. Instant test bench. Add your favorite insulation and LN2 pot and you're ready to go.
Jun 30th, 2025 21:34 CDT
change timezone
Latest GPU Drivers
New Forum Posts
- Post your Cinebench 2024 score (657)
- Laptop overclocking adventures (1238)
- [INTEL]-How To Update Your Microcode for Intel HX 13/14th Gen. CPUs Laptops/Mobile Easily. (172)
- Will you buy a RTX 5090? (584)
- The TPU UK Clubhouse (26530)
- Optane and "enable write caching " (27)
- Question about Intel Optane SSDs (87)
- Do you use Linux? (664)
- Remember Fermi? Well here's my EVGA GTX 480 that I picked up for just 19 Euros! (9)
- Vega owners club (587)
Popular Reviews
- ASUS ROG Crosshair X870E Extreme Review
- Sapphire Radeon RX 9060 XT Pulse OC 16 GB Review - Samsung Memory Tested
- AVerMedia CamStream 4K Review
- Lexar NQ780 4 TB Review
- AMD Ryzen 7 9800X3D Review - The Best Gaming Processor
- Upcoming Hardware Launches 2025 (Updated May 2025)
- Sapphire Radeon RX 9070 XT Nitro+ Review - Beating NVIDIA
- AMD Ryzen 9 9950X3D Review - Great for Gaming and Productivity
- NVIDIA GeForce RTX 5060 8 GB Review
- ASRock Phantom Gaming Z890 Riptide Wi-Fi Review
TPU on YouTube
Controversial News Posts
- Intel's Core Ultra 7 265K and 265KF CPUs Dip Below $250 (288)
- NVIDIA Grabs Market Share, AMD Loses Ground, and Intel Disappears in Latest dGPU Update (204)
- Some Intel Nova Lake CPUs Rumored to Challenge AMD's 3D V-Cache in Desktop Gaming (140)
- NVIDIA Launches GeForce RTX 5050 for Desktops and Laptops, Starts at $249 (105)
- Microsoft Partners with AMD for Next-gen Xbox Hardware (105)
- Intel "Nova Lake‑S" Series: Seven SKUs, Up to 52 Cores and 150 W TDP (100)
- NVIDIA GeForce RTX 5080 SUPER Could Feature 24 GB Memory, Increased Power Limits (94)
- Reviewers Bemused by Restrictive Sampling of RX 9060 XT 8 GB Cards (88)