 16
16
GMC H-80 Review
Assembly & Finished Looks »A Closer Look - Inside
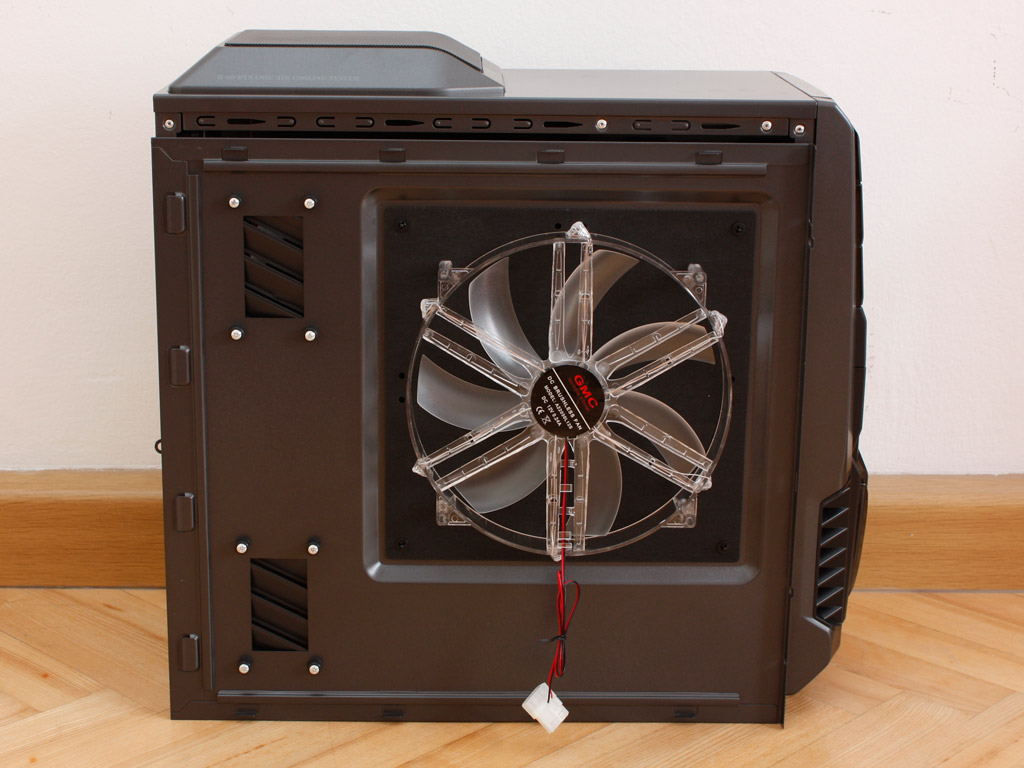
Before we dive into the interior of the GMC H-80, let us take a quick look at the 250 mm side intake fan. It is lit by several red LEDs, about an inch thick and comes with a Molex connector. While such a fan is a nice touch and certainly adds to the overall air flow, it will also make it impossible to use 120 mm tower coolers within the chassis.
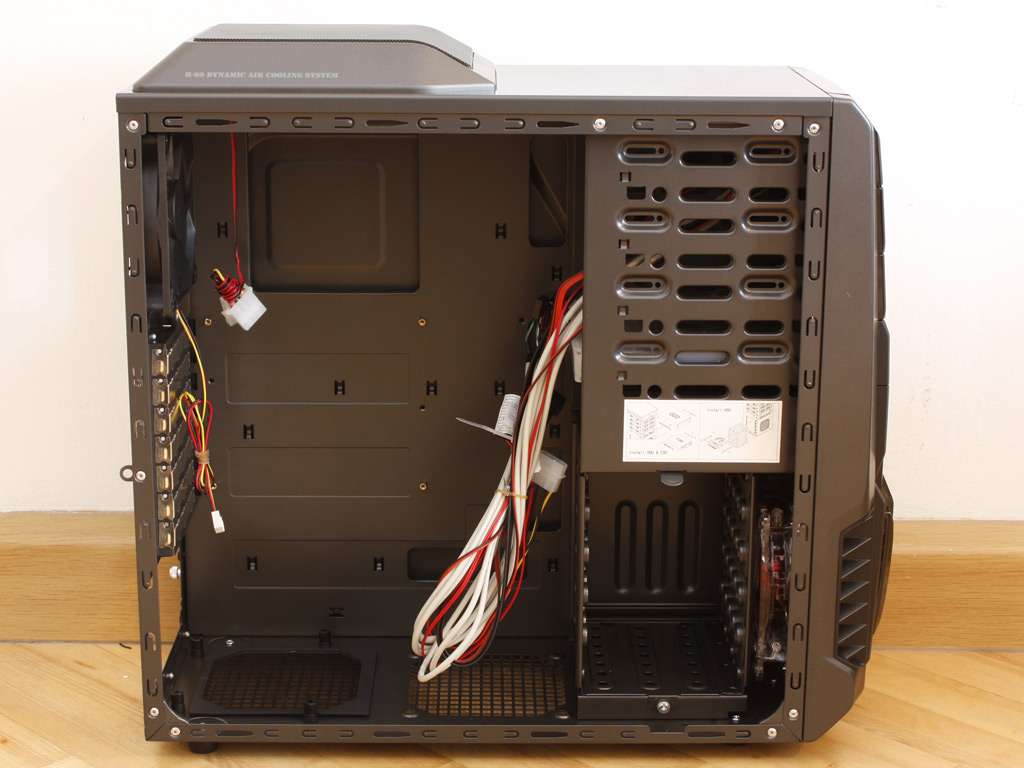
The interior looks rather clean and simple and has the same excellent paint job found on the exterior of the chassis. Due to the way the hard drives are stored, you will not be able to place the longest GPUs in the case. Turning the bare H-80 around, we have a large opening allowing access to cooler backplates without having to remove the entire mainboard.
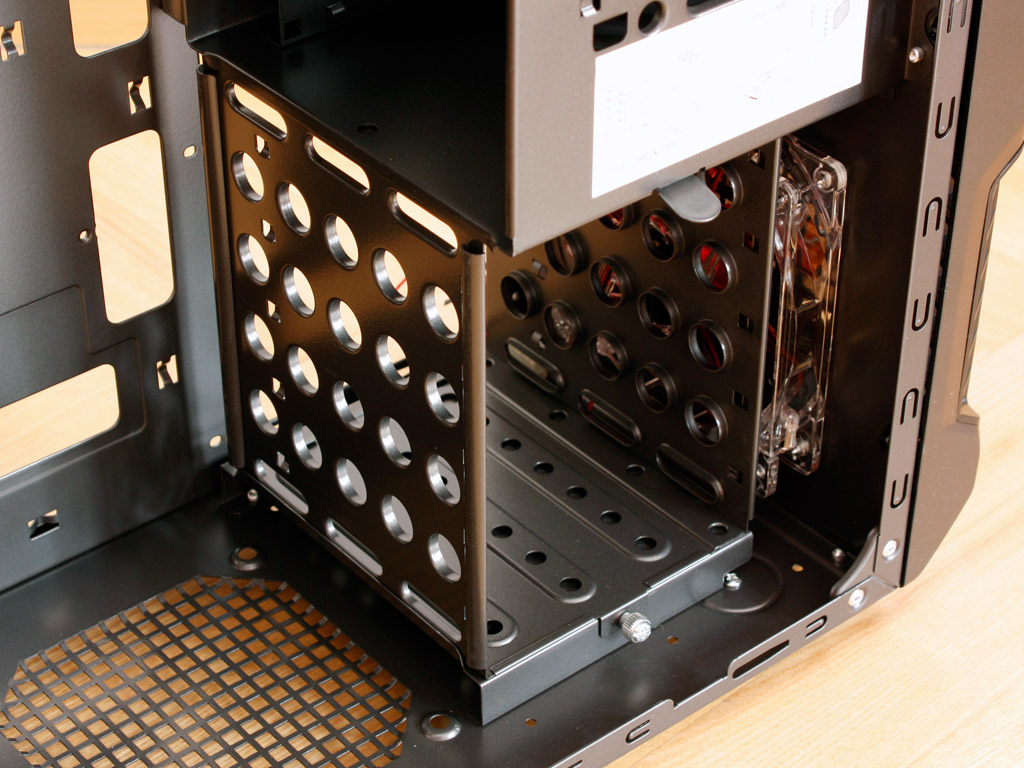
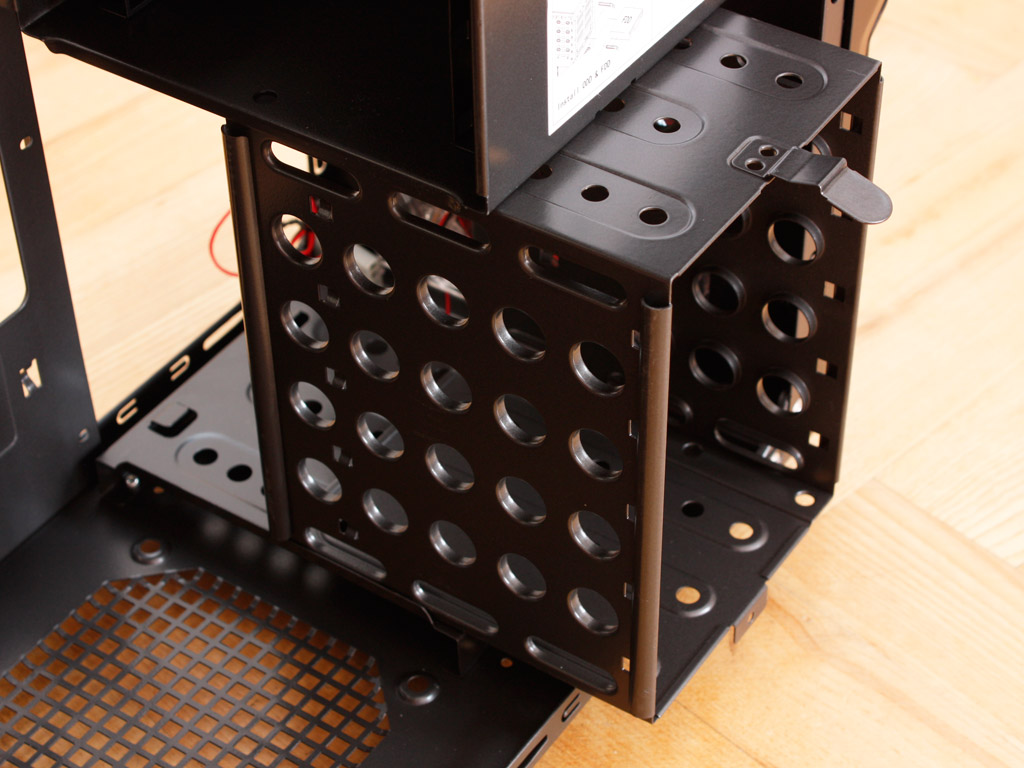
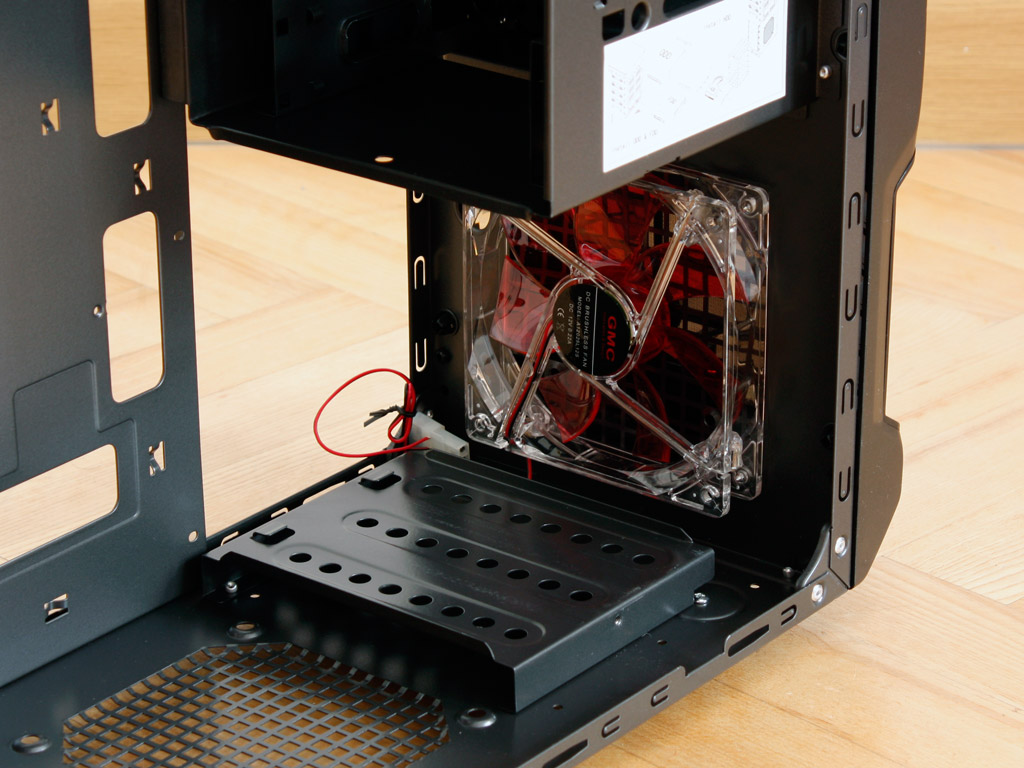

As mentioned before, the hard drive cage holds up to five drives at a 90% angle to the case. Luckily you may remove the entire cage by unscrewing a single thumb screw and pulling it out. This gives way to the 120 mm front intake fan and makes the use of any graphics card possible - no matter how long. You will then have to install the hard drives in the 3.5 or 5.25 inch bays. Considering the fact that the top 5.25 inch one is not accessible from the the outside anyways makes it a good alternative choice for a hard drive.
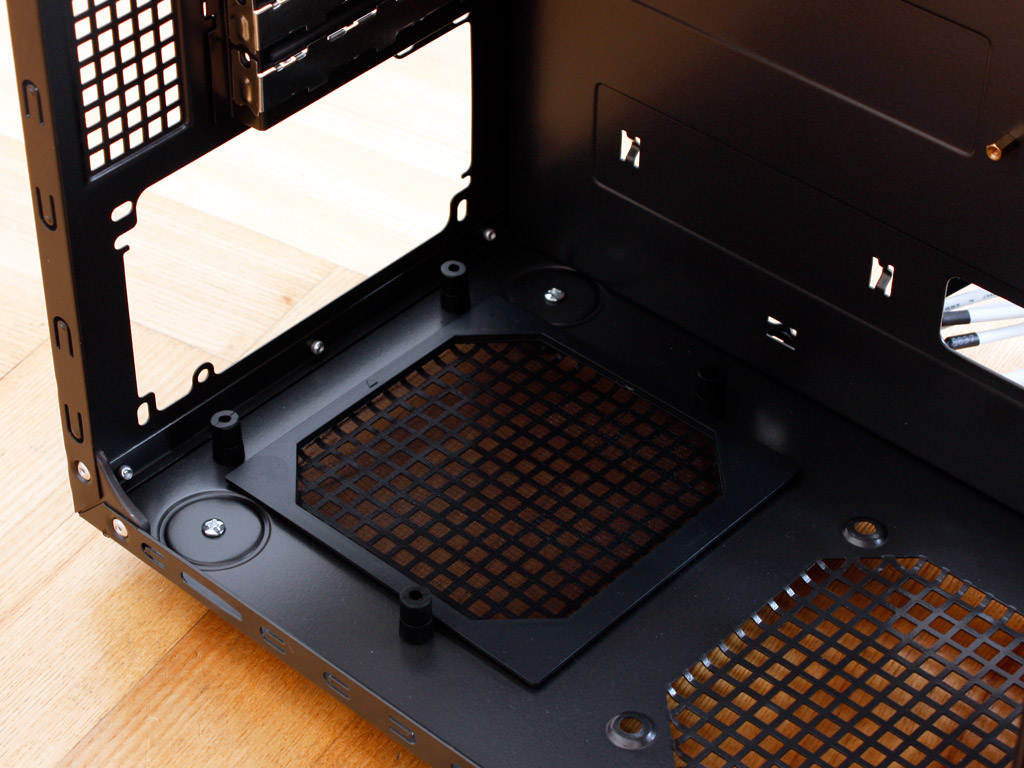
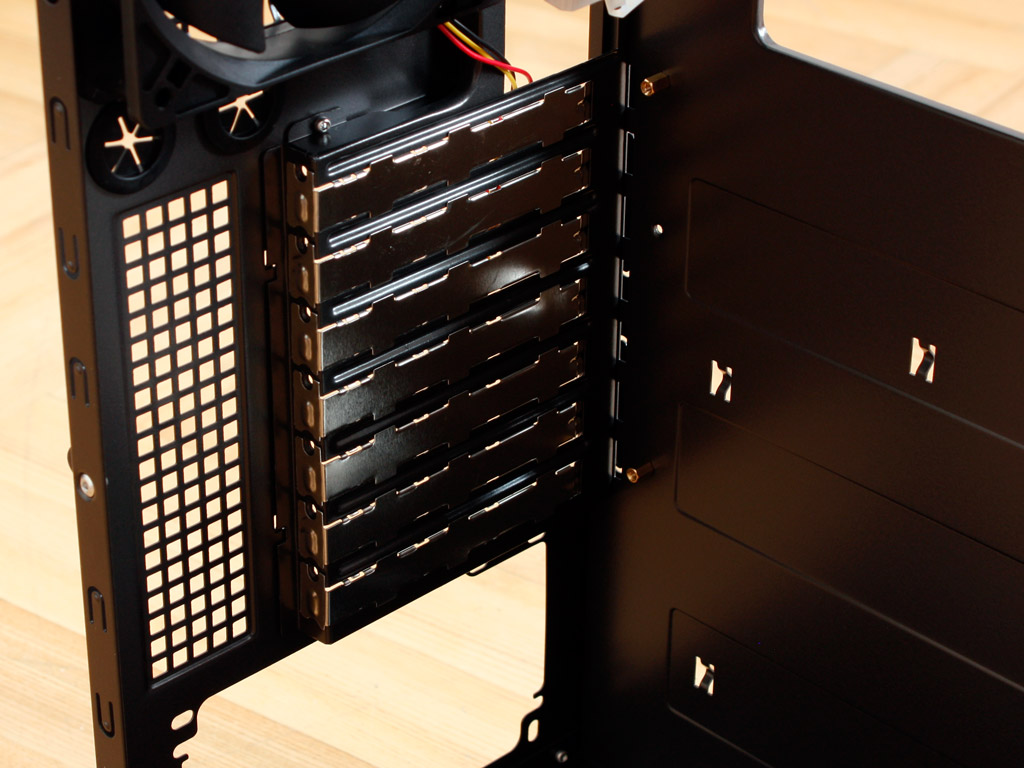

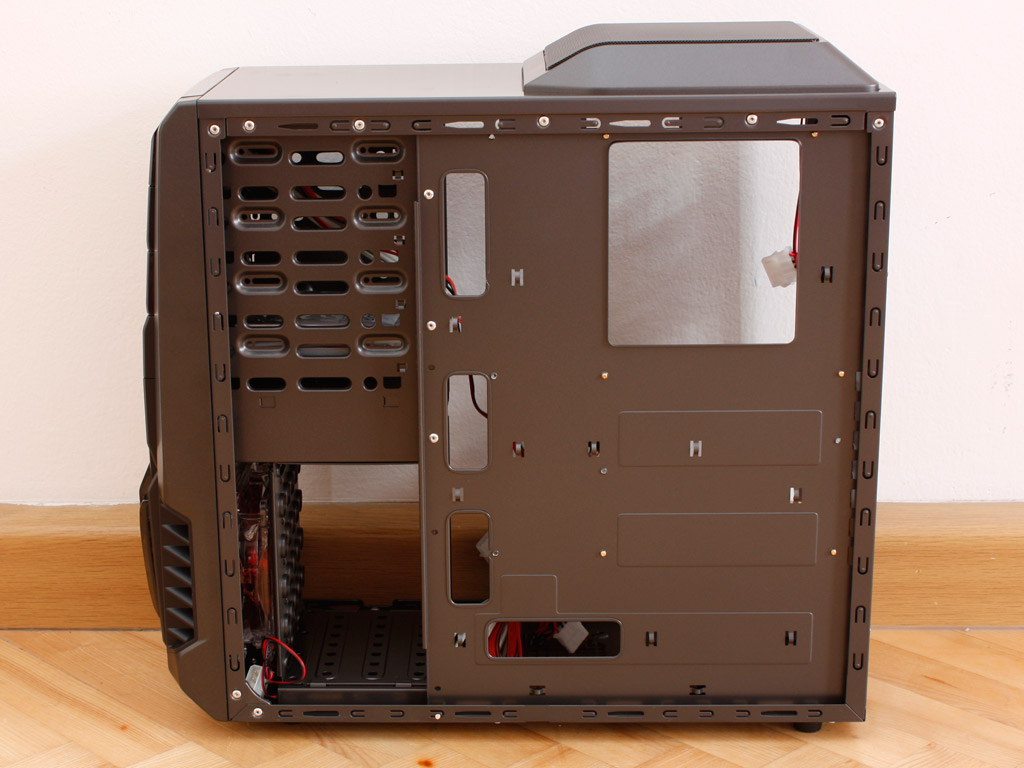
Turning our focus to the rear, the PSU bay is on the very bottom. As mentioned before, you can install the unit with the 120/140mm fan facing up- or downward. The latter is the best option, as it gives the power supply access to dust filtered, fresh air. Above that are the seven expansion slots for the mainboard. They are individually protected by generic clip-on covers, which do not require any screws to be held in place. In the very top you will find a 120 mm exhaust fan, which does not have any lighting elements and the two openings for water cooling tubes.
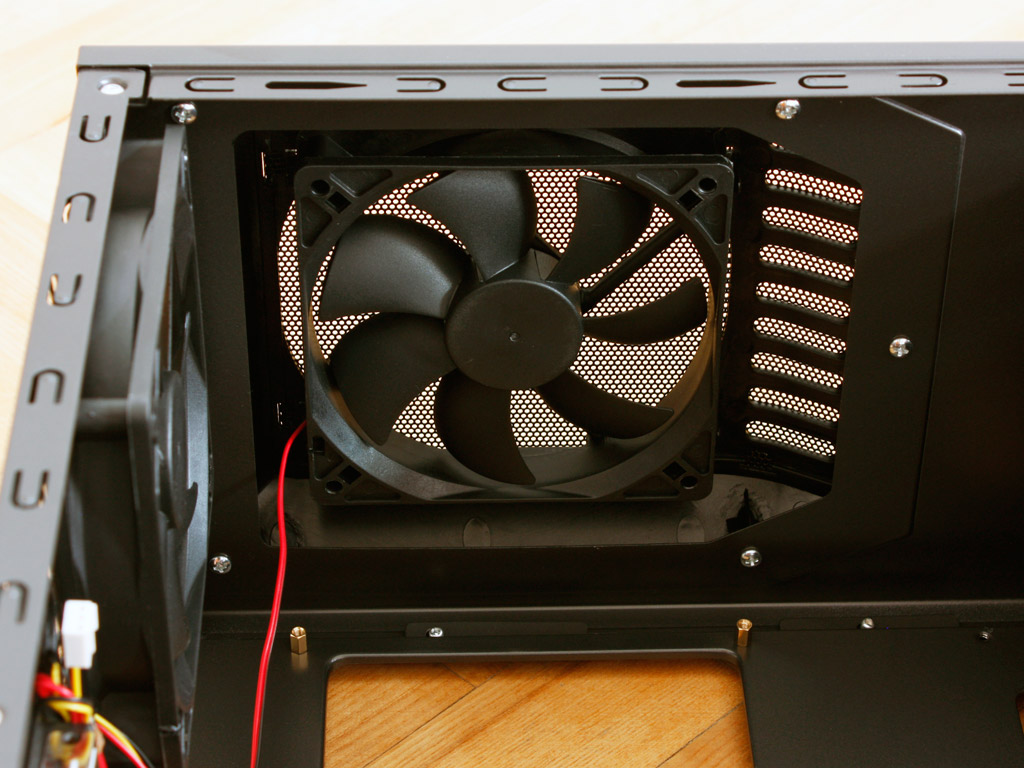
Taking a quick look at the top fan, we can clearly see, that GMC has cut a large hole into the ceiling of the H-80 and encased the cooling unit into the plastic dome. This means that the thickness of the fan does not interfere with the already tight interior dimensions in this area.

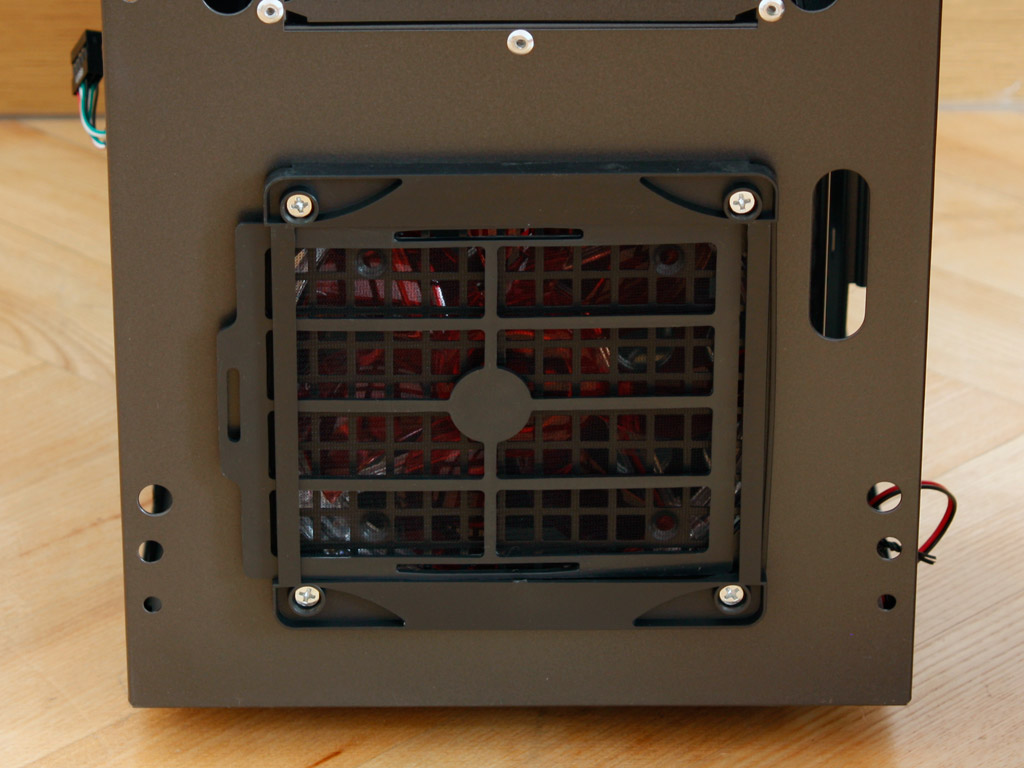
To gain access to the front, simply pull off the entire piece with a firm tug. This also reveals the dust filter on the front fan, which means that all openings with active air intakes are covered - good job GMC!
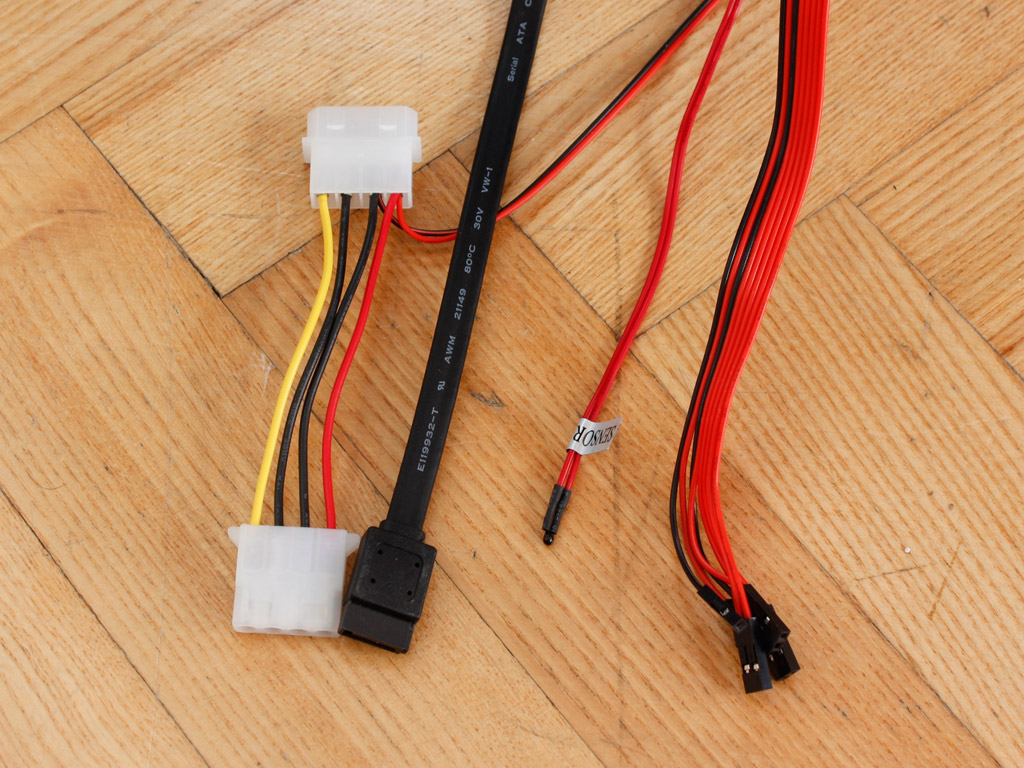

Before we continue into assembling everything, a quick check of the I/O cables reveals nothing out of the ordinary. You receive a single thermal diode which is actually round and bulky. This makes it impossible to sandwich between the cooler and CPU/GPU. A Molex connector for the thermal display is also present, to be connected directly to the power supply.
Apr 7th, 2025 05:30 EDT
change timezone
Latest GPU Drivers
New Forum Posts
- Windows 11 General Discussion (5926)
- Stock PSU with Razer Core X with adapter to 12VHPWR (4)
- 9070XT or 7900XT (51)
- Identify my GPU - RX 570 8GB (or what?) (9)
- gpu heirarchy/performance/benchmarks- whos lying? (41)
- What are you playing? (23352)
- RX 9000 series GPU Owners Club (204)
- Possible to stream your nintendo switch to discord ? (5)
- I have a bricked XFX Radeon RX 580 8GB GPU. HELP! (17)
- The Official Thermal Interface Material thread (1680)
Popular Reviews
- ASUS Prime X870-P Wi-Fi Review
- UPERFECT UStation Delta Max Review - Two Screens In One
- PowerColor Radeon RX 9070 Hellhound Review
- Upcoming Hardware Launches 2025 (Updated Apr 2025)
- Corsair RM750x Shift 750 W Review
- Sapphire Radeon RX 9070 XT Pulse Review
- Sapphire Radeon RX 9070 XT Nitro+ Review - Beating NVIDIA
- DDR5 CUDIMM Explained & Benched - The New Memory Standard
- AMD Ryzen 7 9800X3D Review - The Best Gaming Processor
- AMD Ryzen 9 9950X3D Review - Great for Gaming and Productivity
Controversial News Posts
- MSI Doesn't Plan Radeon RX 9000 Series GPUs, Skips AMD RDNA 4 Generation Entirely (146)
- NVIDIA GeForce RTX 5060 Ti 16 GB SKU Likely Launching at $499, According to Supply Chain Leak (146)
- Microsoft Introduces Copilot for Gaming (124)
- AMD Radeon RX 9070 XT Reportedly Outperforms RTX 5080 Through Undervolting (119)
- NVIDIA Reportedly Prepares GeForce RTX 5060 and RTX 5060 Ti Unveil Tomorrow (115)
- Over 200,000 Sold Radeon RX 9070 and RX 9070 XT GPUs? AMD Says No Number was Given (100)
- NVIDIA GeForce RTX 5050, RTX 5060, and RTX 5060 Ti Specifications Leak (97)
- Nintendo Switch 2 Launches June 5 at $449.99 with New Hardware and Games (92)