 24
24
HYTE Y60 Review
Thermal Stress Test »Review System
| System Parts for Case Reviews | |
|---|---|
| Processor: | ATX: Intel Core i5-11600K mATX/ITX: Intel Core i5-10600K Provided by: Intel |
| Motherboards: | ATX: Gigabyte Z590 AORUS PRO AX ITX: Gigabyte Z590I Vision D Provided by: Gigabyte mATX: ASRock B560M Steel Legend Provided by: ASRock |
| Graphics Card: | Gigabyte Radeon RX 6600 Eagle Provided by: Gigabyte ZOTAC GAMING GeForce RTX 3060 Ti Twin Edge OC Provided by: Zotac |
| Memory: | 16 GB XPG SPECTRIX D50 3200 MHz 16 GB XPG SPECTRIX D60G DDR4 3000 MHz 16 GB XPG GAMMIX D20 DDR4 3200 MHz Provided by: ADATA |
| HDD: | Toshiba MG08ADA400E 7200 RPM SATA III Provided by: Toshiba |
| SSD: | ATX:XPG SPECTRIX S20G 500 GB mATX: XPG GAMMIX S50 Lite 1 TB ITX: ADATA Falcon 512 GB ADATA Ultimate SU800 512 GB ADATA Ultimate SU720 500 GB Provided by: ADATA |
| Power Supply: | ATX: Fractal Design ION+ 650W 80 Plus Gold SFX: Fractal Design ION SFX-L 650W 80 Plus Gold Provided by: Fractal Design |
| Cooling: | be quiet! Pure Loop 120/240/280/360 Provided by: be quiet! |
Assembly
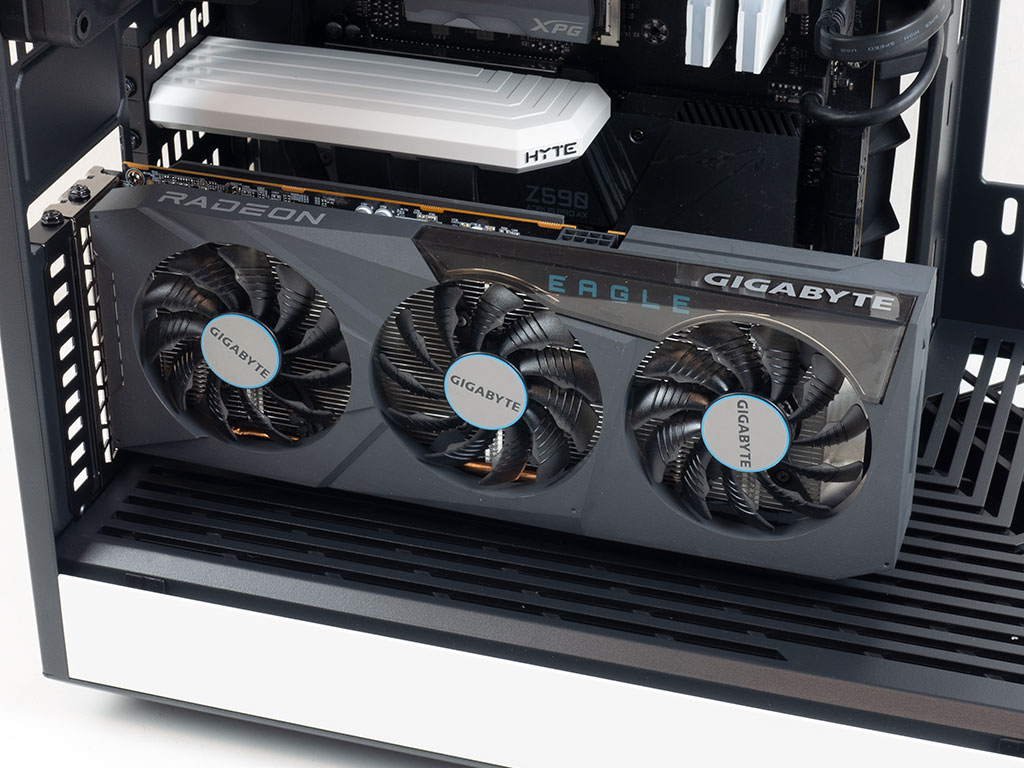
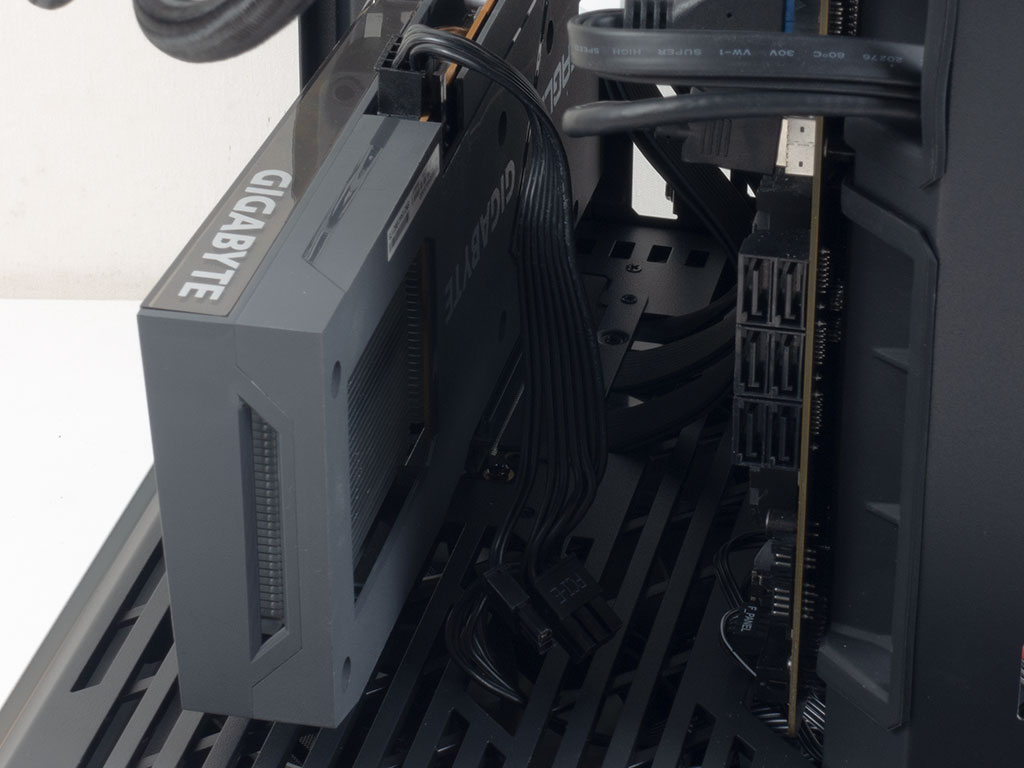
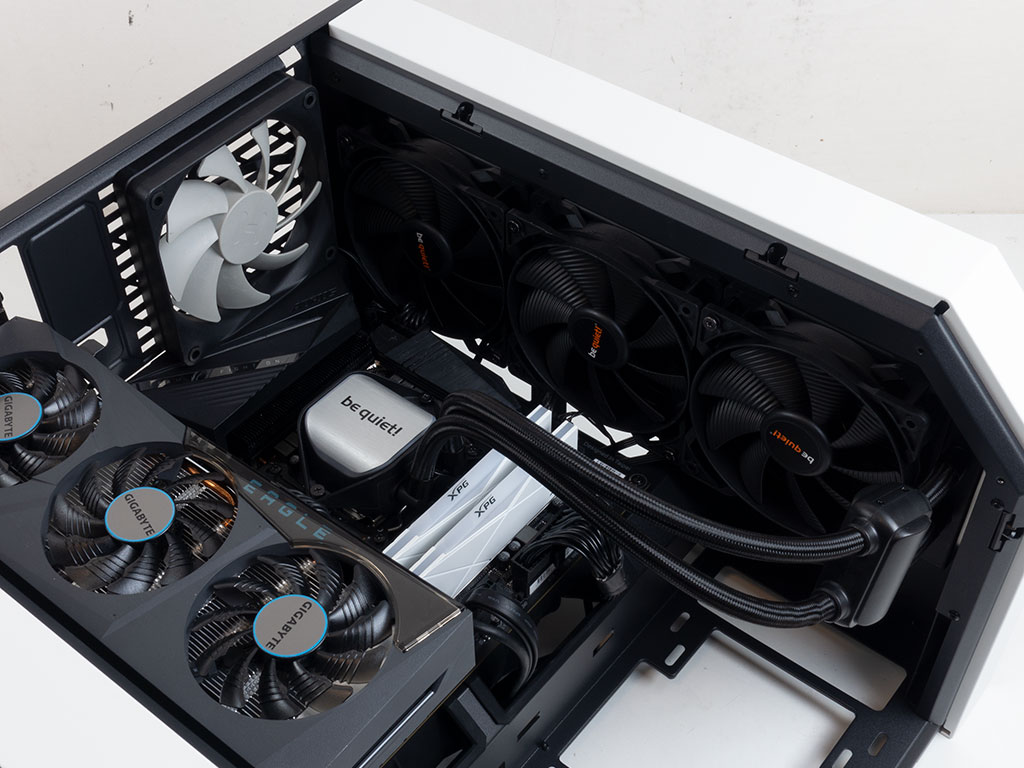
Installing the motherboard is done by traditional means, but you first have to detach the pre-installed PCIe riser cable from the expansion slot. As ATX boards these days usually skip the top-most slot, you have to move it down one slot in the process. While HYTE does advertise E-ATX support, there practically being room, it would also cover the cable-routing holes in the process. In that sense, the Y60 is just as impractical as most other enclosures, unfortunately. Adding a graphics card is super straightforward as you just plug it into the base of the riser cable and secure it with a screw. HYTE mentions a solid maximum length of 375 mm, but a dual-slot card could be even longer. As you can see, the power cable can be routed trough the opening in the floor between the GPU and motherboard, making for a really clean final setup.
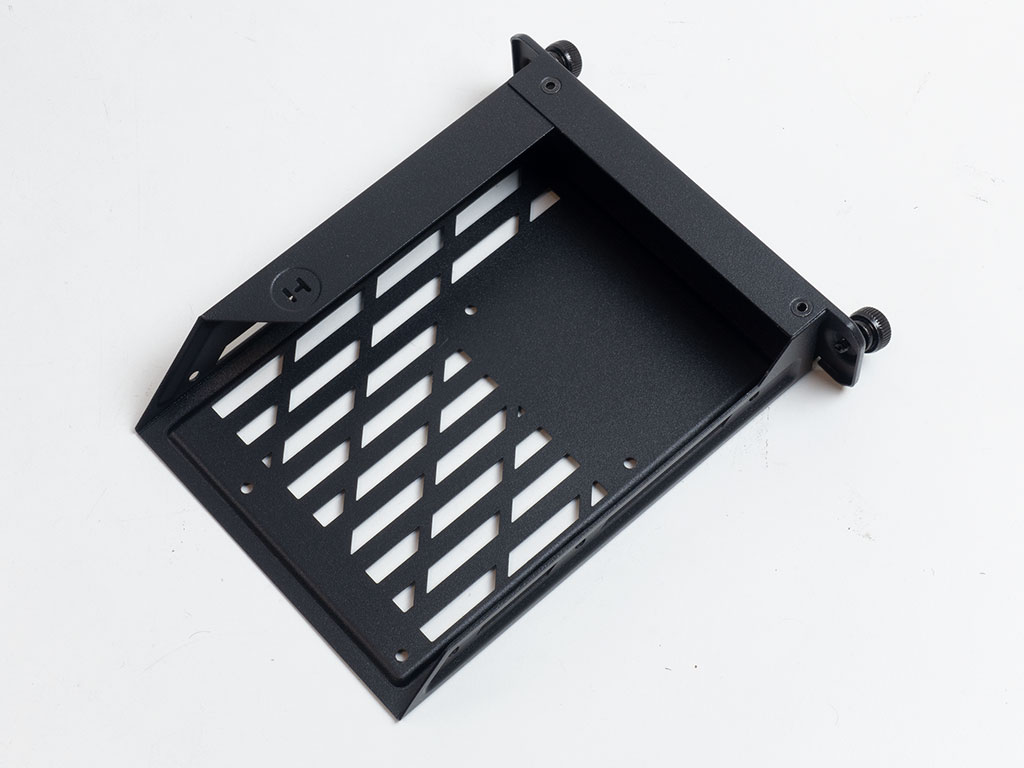


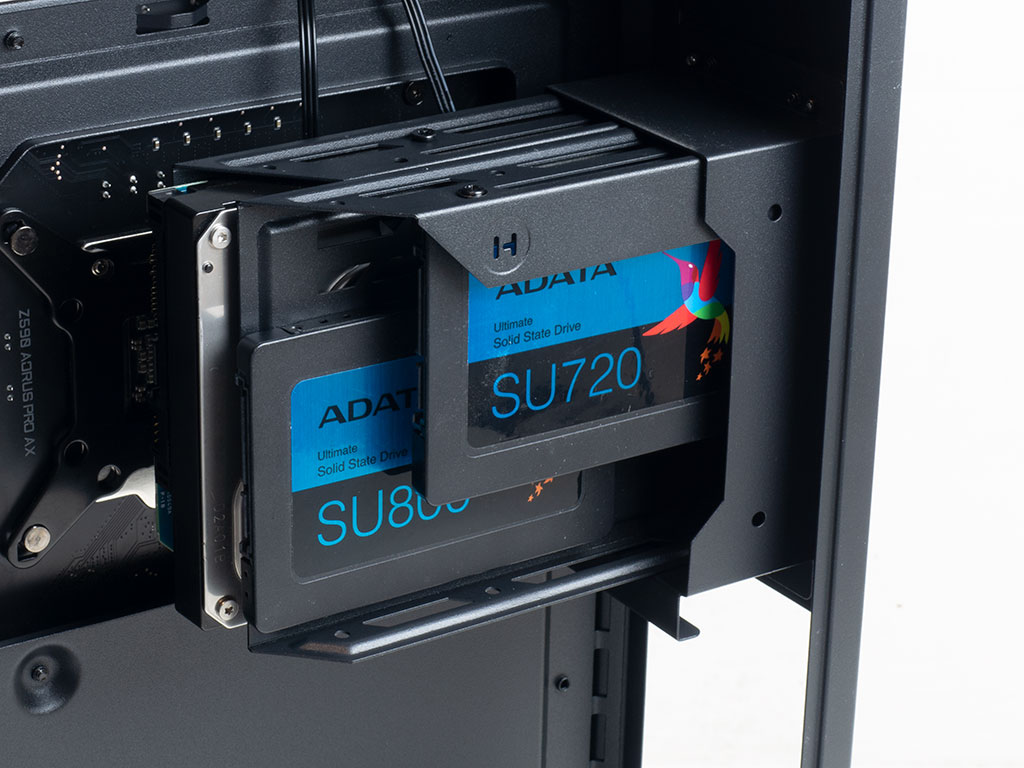
The hard-drive cage has company branding in the form of an "H" on the corner. It may hold either a single 3.5" or two 2.5" drives. Both variants are attached using the provided screws. Once filled, simply place them back into the hole through the back of the HYTE Y60.
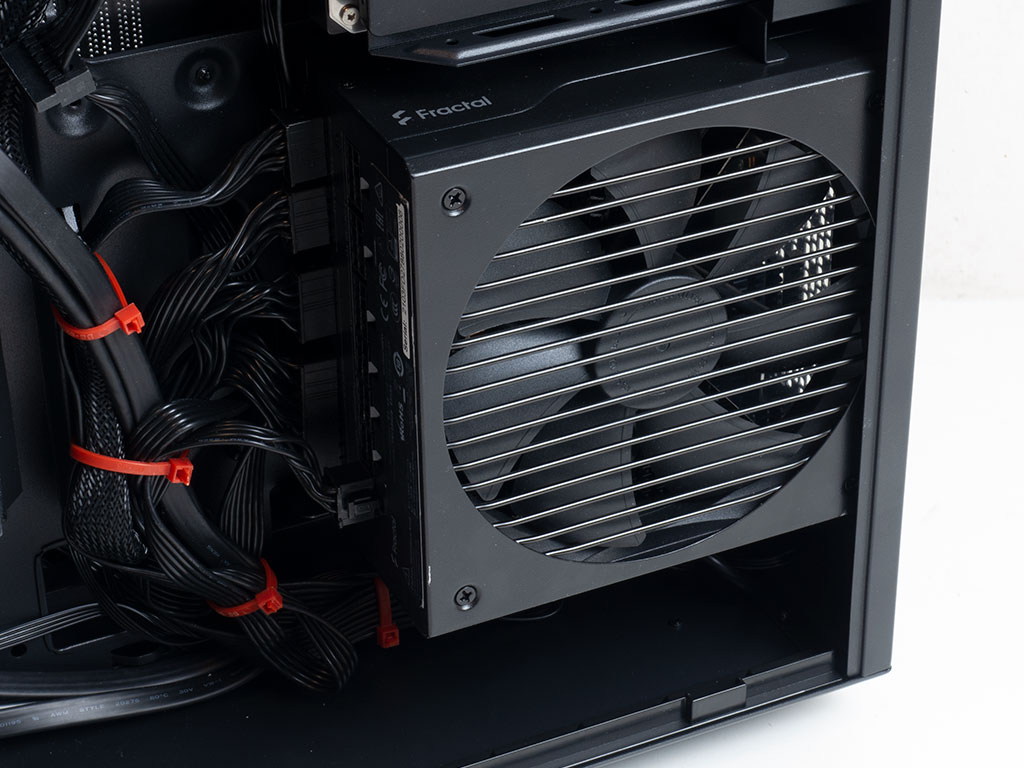
The PSU is also secured through the rear, with its fan facing the side panel it will draw fresh air in through. There is loads of space for units of up to 235 mm, so even potent PSUs should not pose a problem. You will lose a little room for cable management in the process, however.
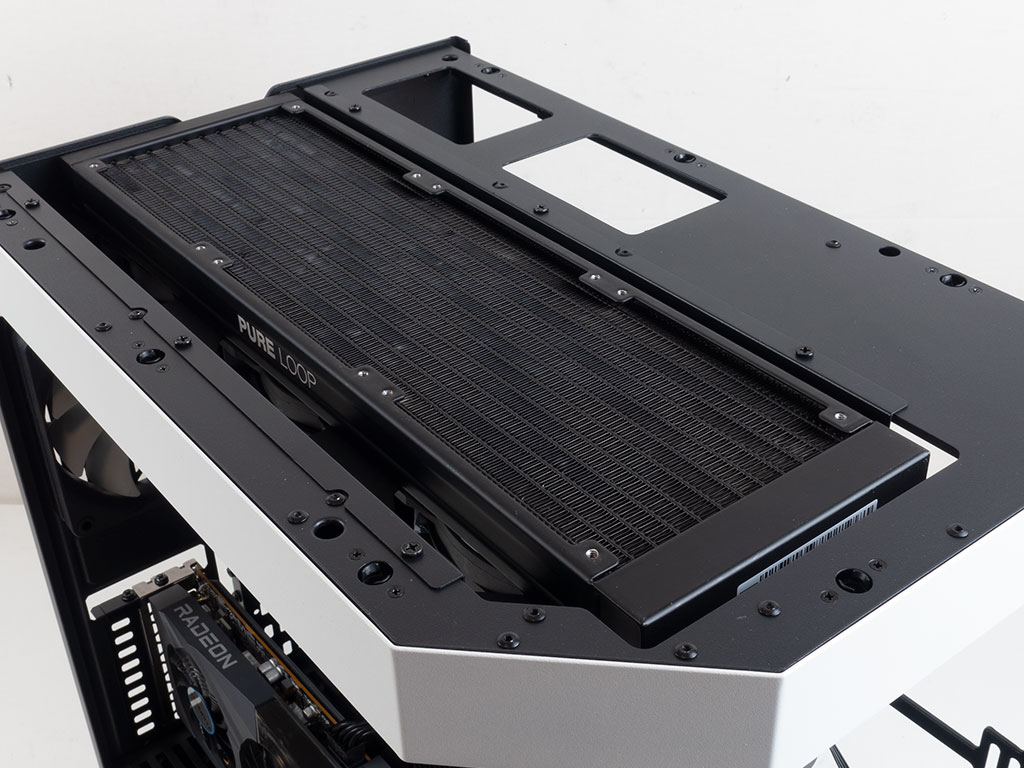
Going for an AIO in the ceiling is quite easy as you may assemble it around the removable bracket to then simply drop it in. Cable routing will become a little more difficult, especially around the CPU power plugs, but if those are connected first, the result is perfectly fine.
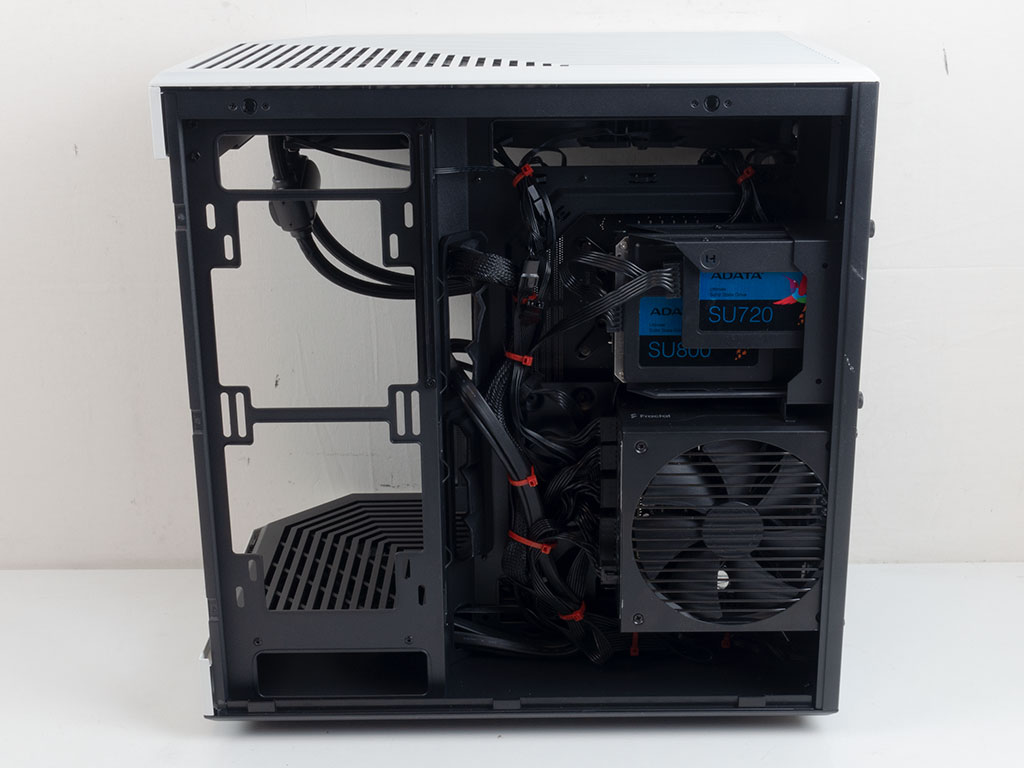
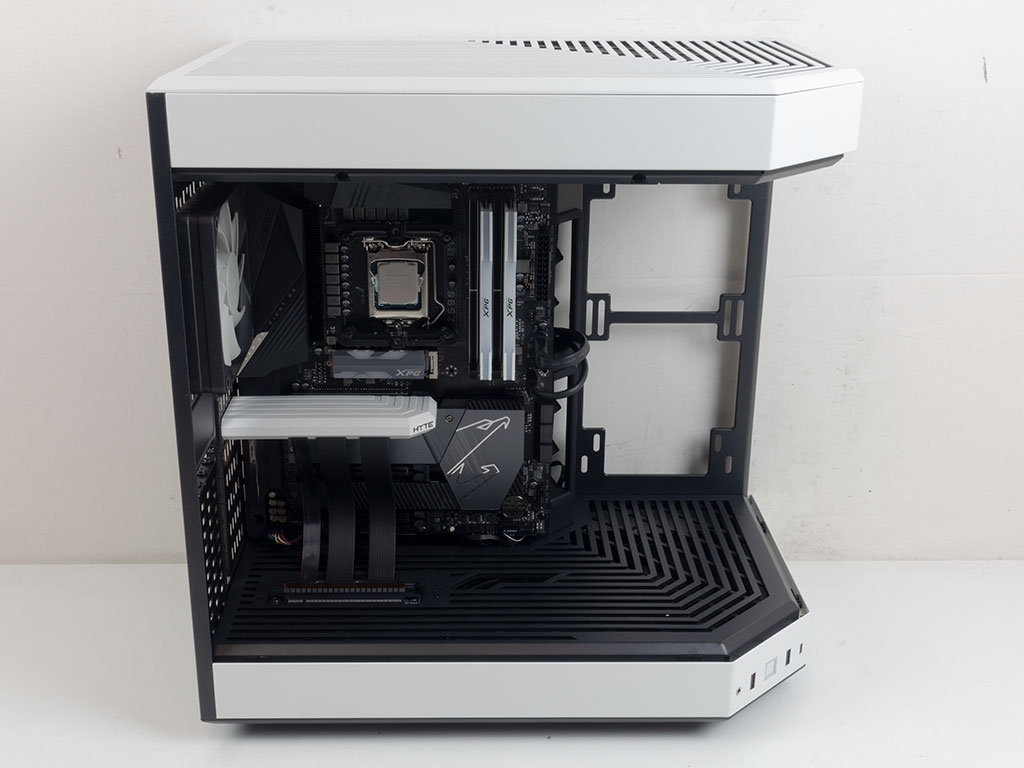
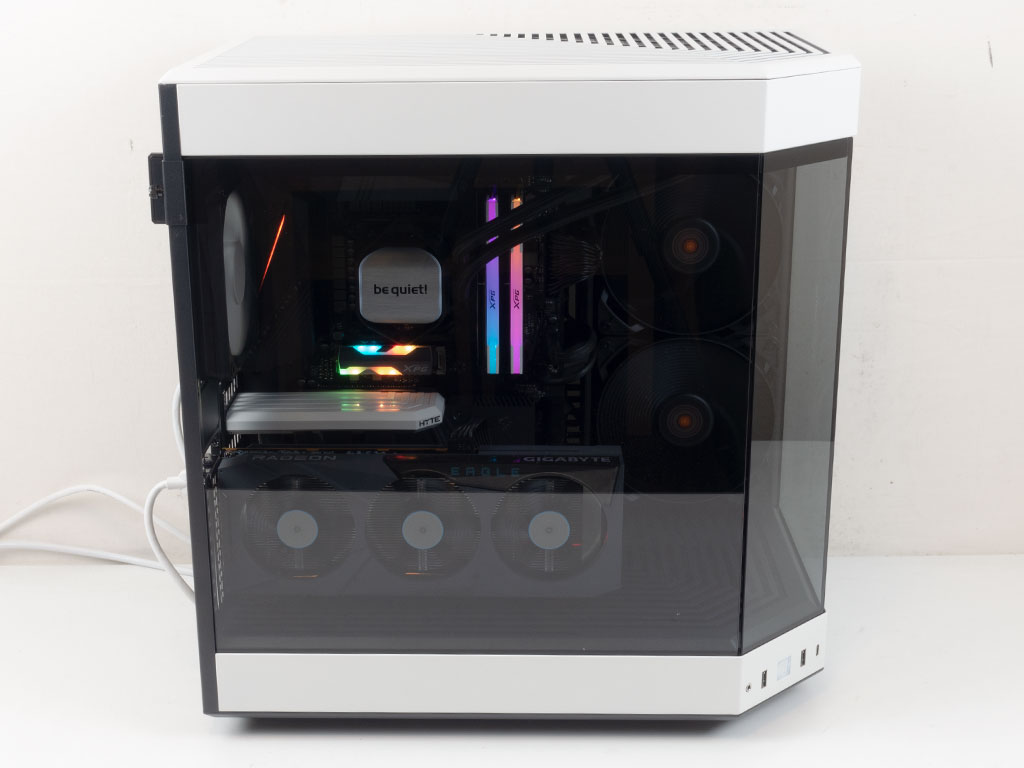
With everything installed, the interior looks incredibly clean, which is great to see in a chassis which heavily emphasizes looks and overall design. In the rear, all the cables are nicely secured thanks to the zip-tie hooks. I did avoid those to the left of the grommets, so the wires were not visible from inside the chassis.
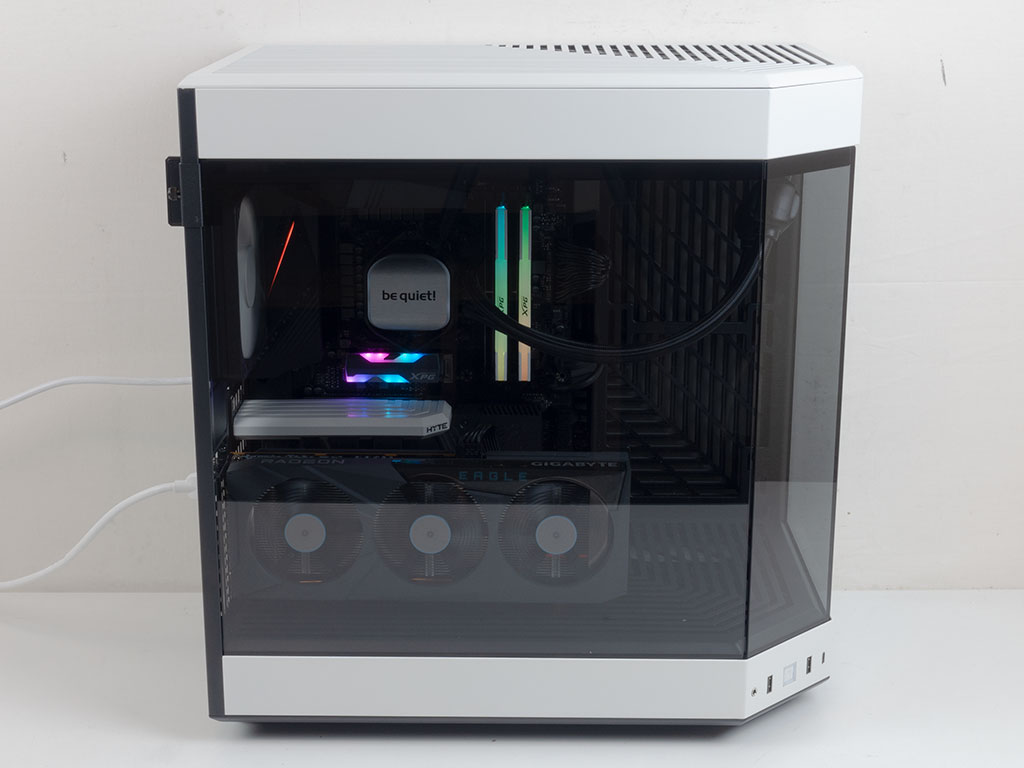
280 mm AIO Installation
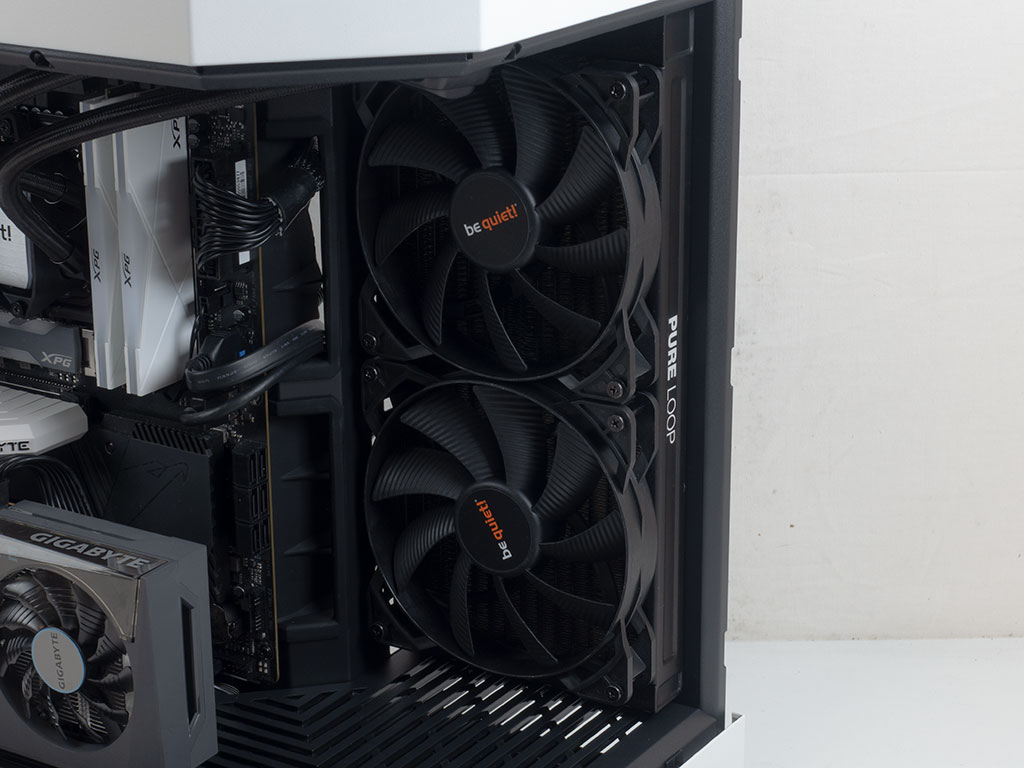
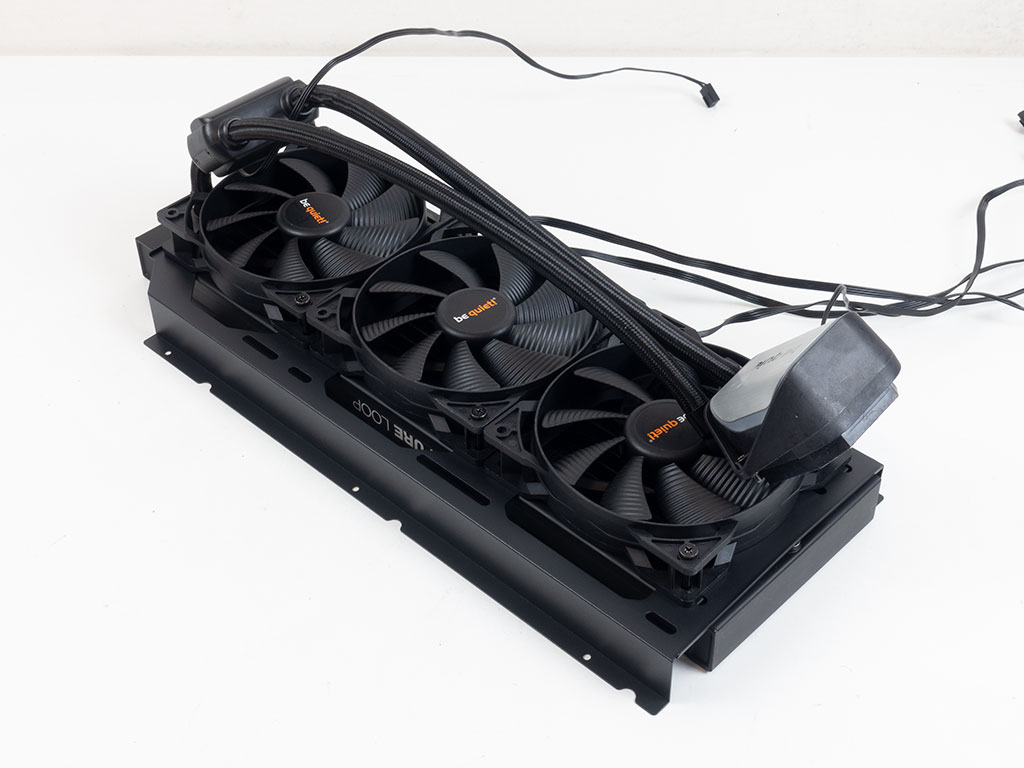
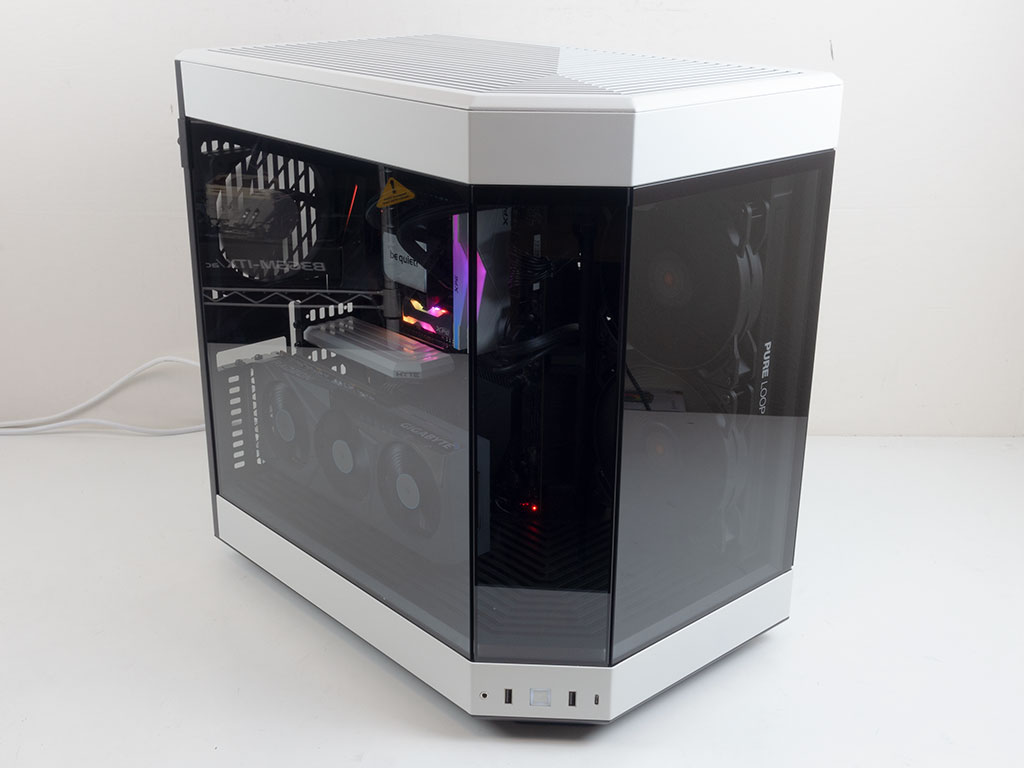
Alternatively, you may install a radiator setup of up to 280 mm on the side of the HYTE Y60. Some may argue that this would be the best setup for this chassis, and I tend to agree. It allows for the most amount of flexibility in fan setup and radiator thickness, while also filling that space nicely. Such a component is secured onto the frame of the chassis with simple screws.
Finished Looks
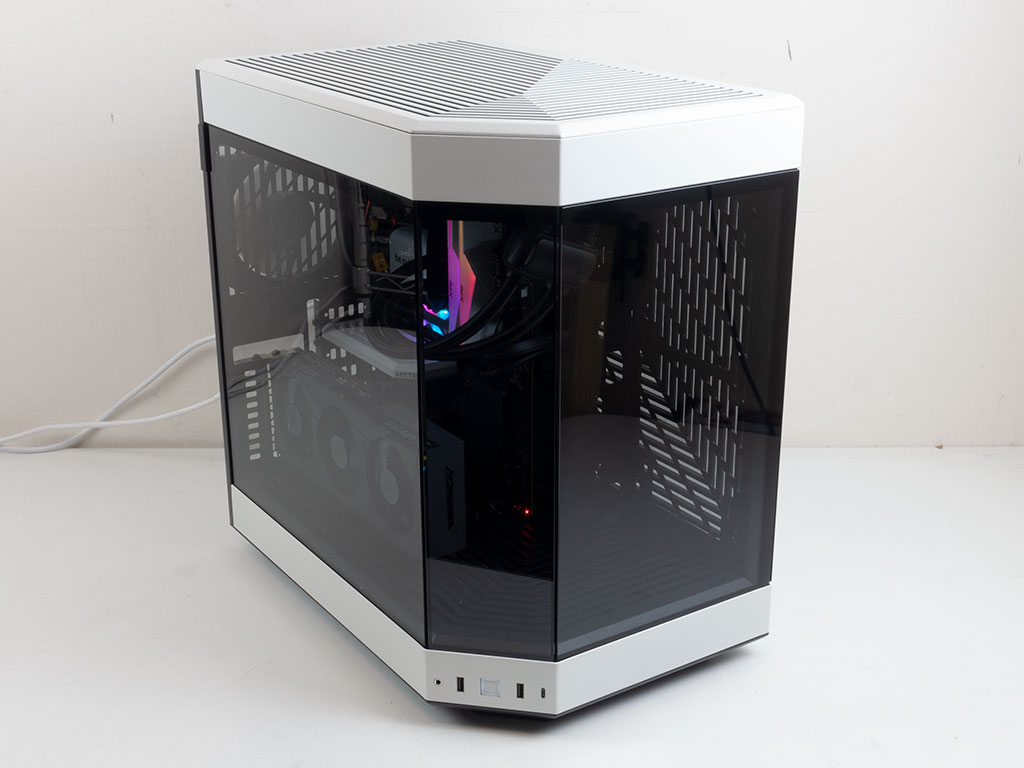
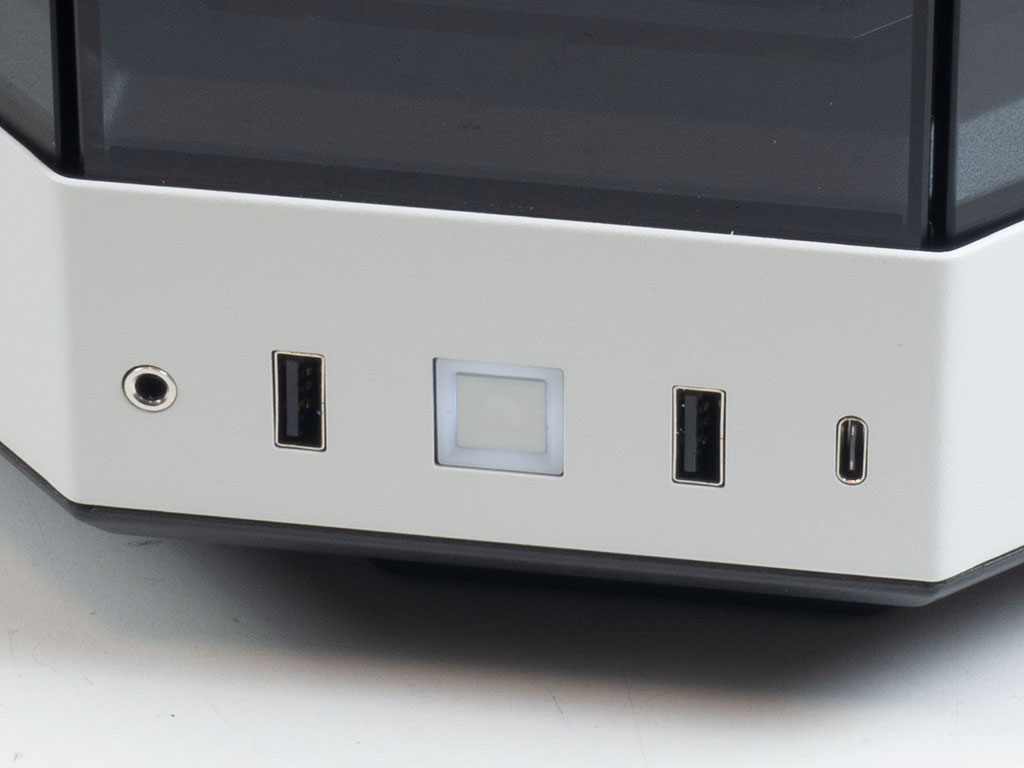
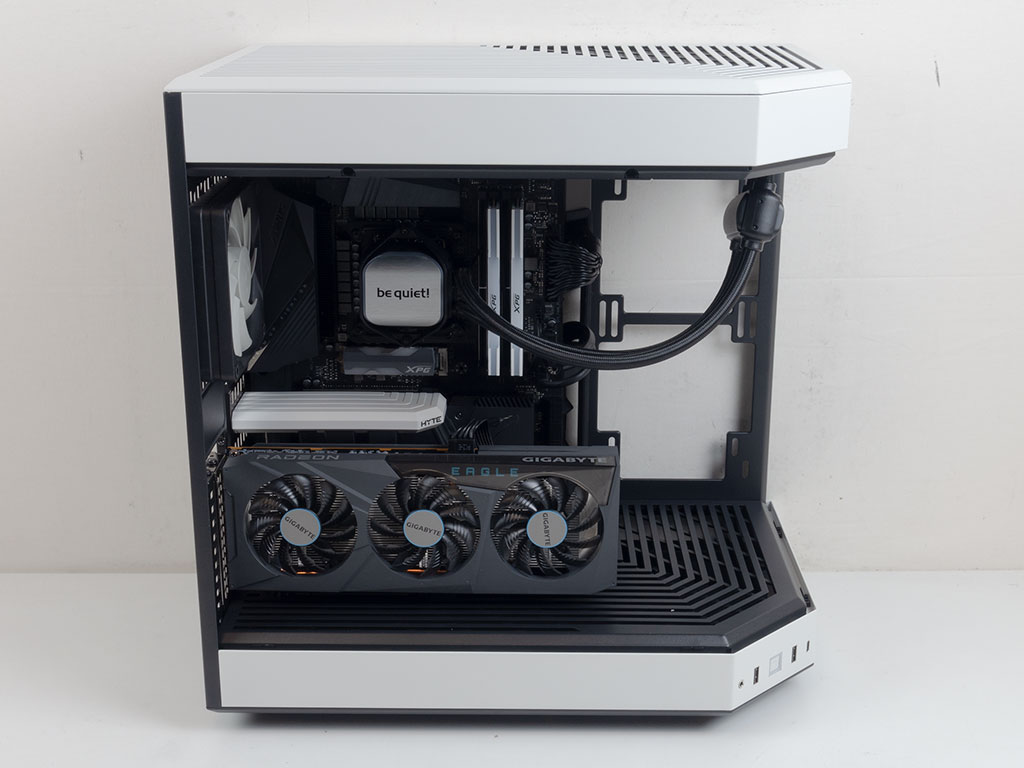
Turning the finished build on, the white LED in the power button lights up. The Y60 is one beautiful chassis, and quite the statement piece as the mere second product from a new and upcoming brand. Owing to the clean, gently tinted class panels, you should be able to see everything within, especially if you opt for a bit of LED lighting on your fans or AIO.
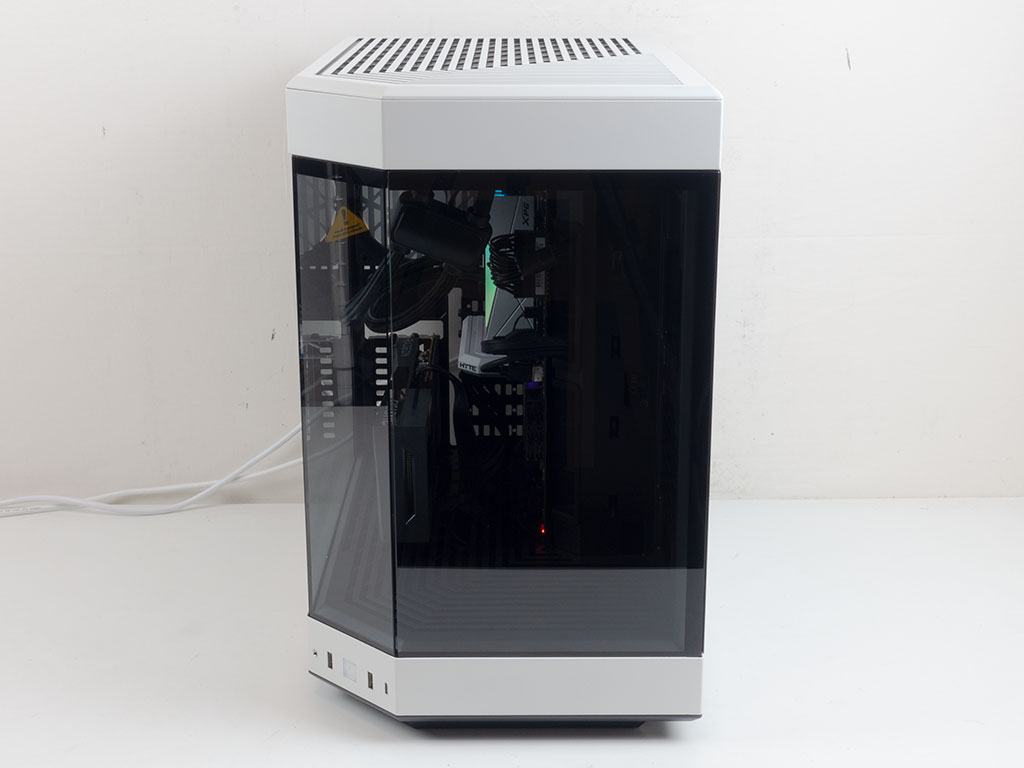
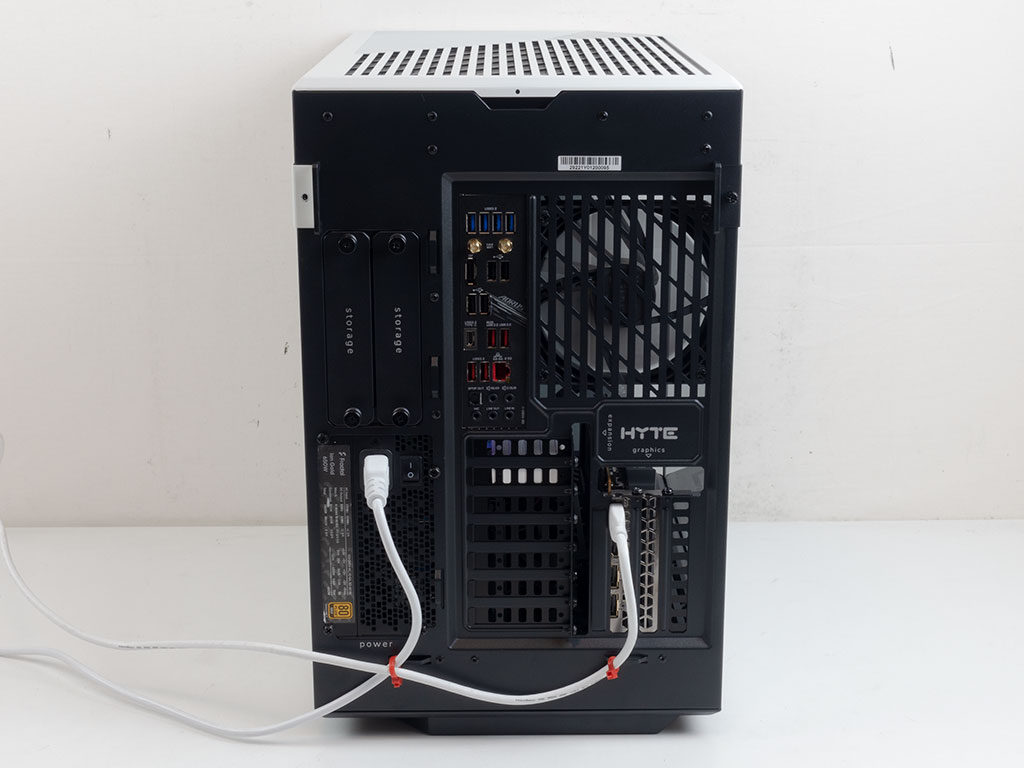
Looking at the front, you can clearly view the memory and PCIe riser housing, while the GPU is front and center when viewing the chassis from the side. In the rear, I have secured the two cables for power and video with zip ties on hooks to show what this looks like. Obviously, you should really use Velcro ones as odds of having to unplug things from time to time are pretty high.
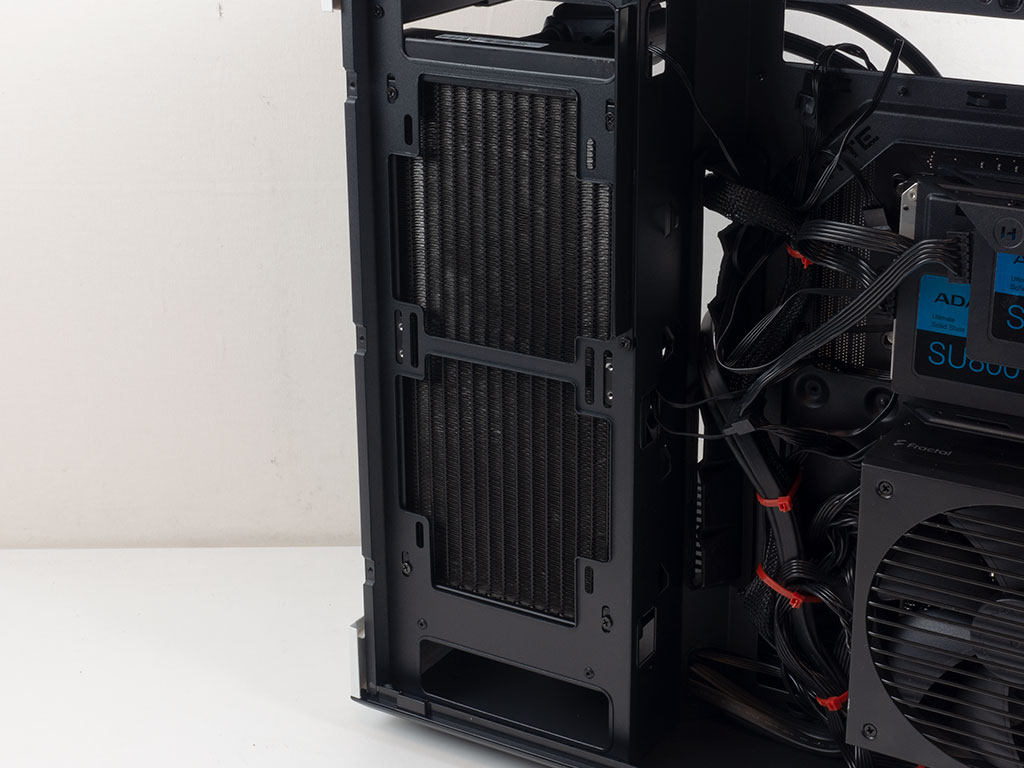
280 mm AIO Installation
Taking a quick peek at the side AIO setup, the HYTE Y60 makes an even better impression since the AIO fills the space nicely and showcases the cooling components even better.
Jun 30th, 2025 23:01 CDT
change timezone
Latest GPU Drivers
New Forum Posts
- GravityMark v1.89 GPU Benchmark (303)
- Post your Cinebench 2024 score (658)
- GPU PerfCap Reason PWR (8)
- Laptop overclocking adventures (1238)
- [INTEL]-How To Update Your Microcode for Intel HX 13/14th Gen. CPUs Laptops/Mobile Easily. (172)
- Will you buy a RTX 5090? (584)
- The TPU UK Clubhouse (26530)
- Optane and "enable write caching " (27)
- Question about Intel Optane SSDs (87)
- Do you use Linux? (664)
Popular Reviews
- ASUS ROG Crosshair X870E Extreme Review
- Sapphire Radeon RX 9060 XT Pulse OC 16 GB Review - Samsung Memory Tested
- AVerMedia CamStream 4K Review
- Lexar NQ780 4 TB Review
- AMD Ryzen 7 9800X3D Review - The Best Gaming Processor
- Upcoming Hardware Launches 2025 (Updated May 2025)
- Sapphire Radeon RX 9070 XT Nitro+ Review - Beating NVIDIA
- AMD Ryzen 9 9950X3D Review - Great for Gaming and Productivity
- NVIDIA GeForce RTX 5060 8 GB Review
- ASRock Phantom Gaming Z890 Riptide Wi-Fi Review
TPU on YouTube
Controversial News Posts
- Intel's Core Ultra 7 265K and 265KF CPUs Dip Below $250 (288)
- NVIDIA Grabs Market Share, AMD Loses Ground, and Intel Disappears in Latest dGPU Update (204)
- Some Intel Nova Lake CPUs Rumored to Challenge AMD's 3D V-Cache in Desktop Gaming (140)
- NVIDIA Launches GeForce RTX 5050 for Desktops and Laptops, Starts at $249 (105)
- Microsoft Partners with AMD for Next-gen Xbox Hardware (105)
- Intel "Nova Lake‑S" Series: Seven SKUs, Up to 52 Cores and 150 W TDP (100)
- NVIDIA GeForce RTX 5080 SUPER Could Feature 24 GB Memory, Increased Power Limits (94)
- Reviewers Bemused by Restrictive Sampling of RX 9060 XT 8 GB Cards (88)