 20
20
HYTE Y70 Touch Review
Review System Setup »A Closer Look - Inside
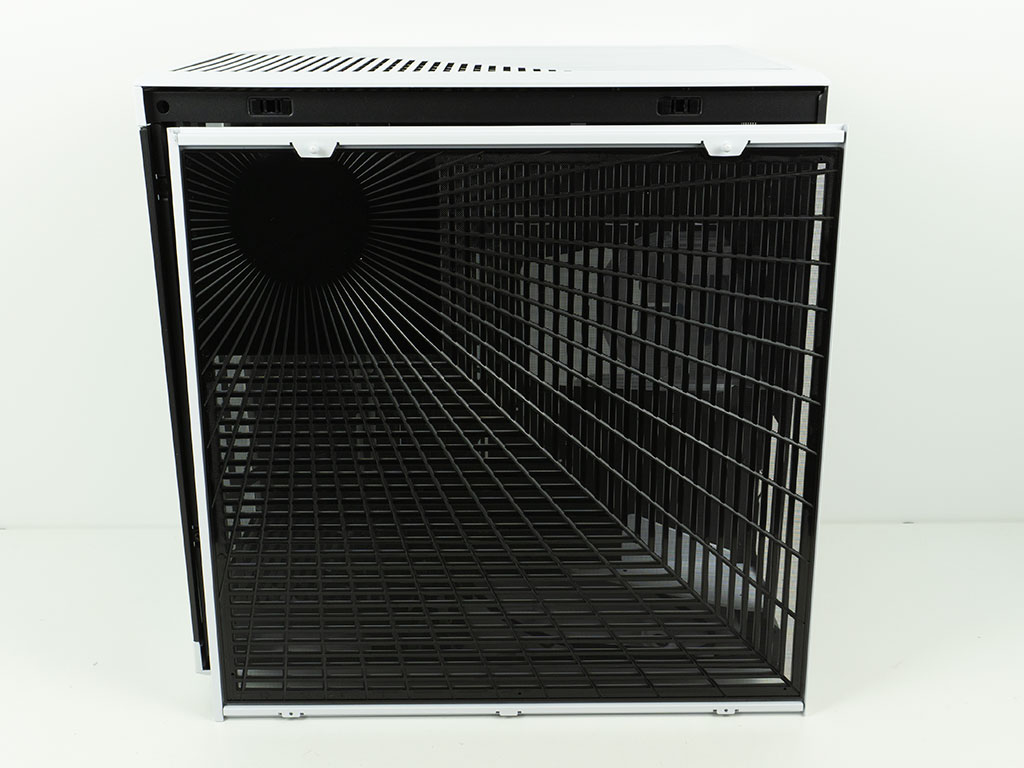
Just with all the other HYTE cases, the metal side comes with a full plastic layer that holds a fine mesh dust filter which lines up with the unique air-vent design. That said, the design of the one found on the Y70 is shaped like sun rays, whereas the panel on the Y60 is symmetrical in design. You can absolutely disassemble the case by removing all glass panels as well as the display. This is really helpful if you are planning an elaborate build, but for most - including us, the access through the main side panel is more than enough.
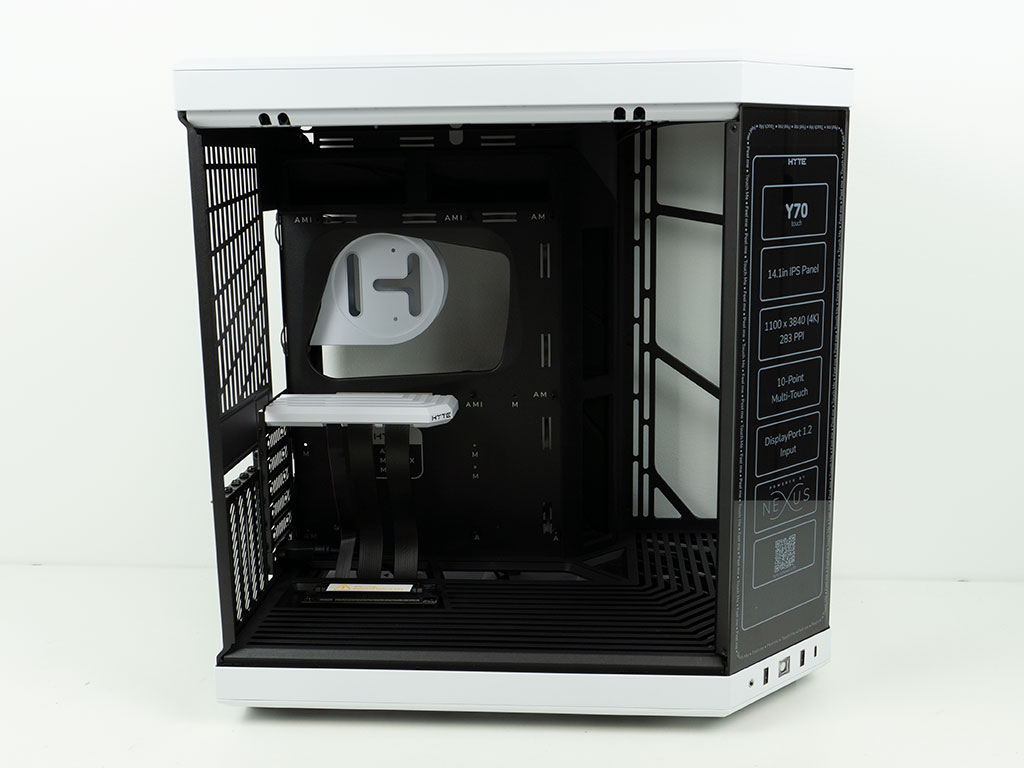
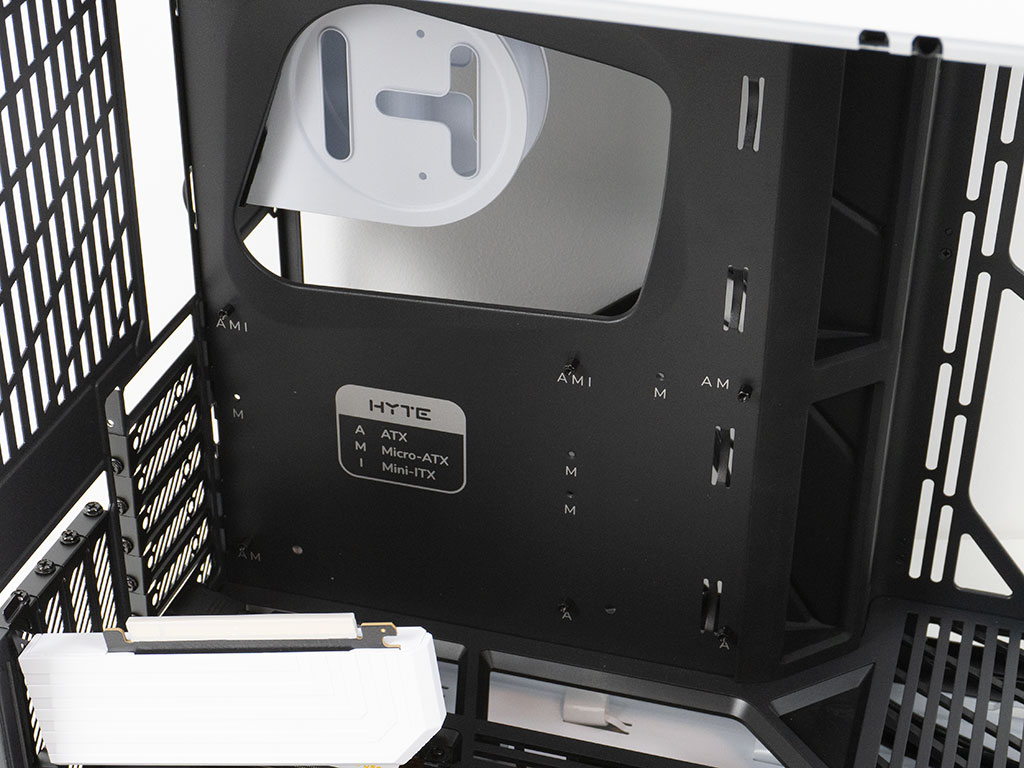
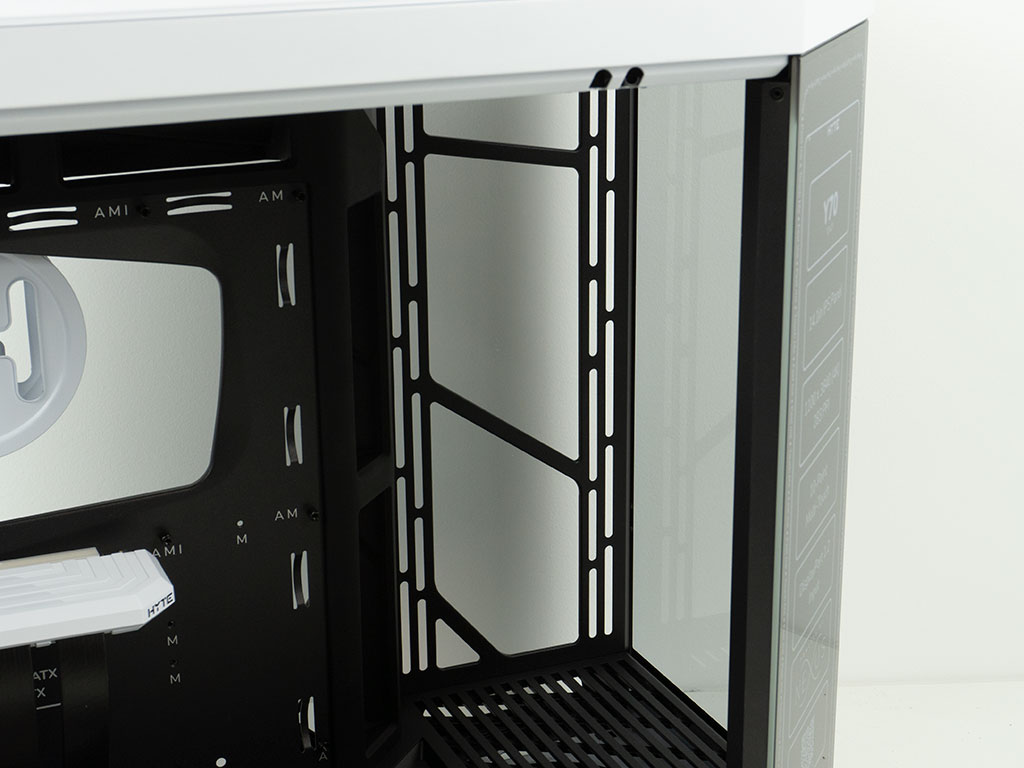
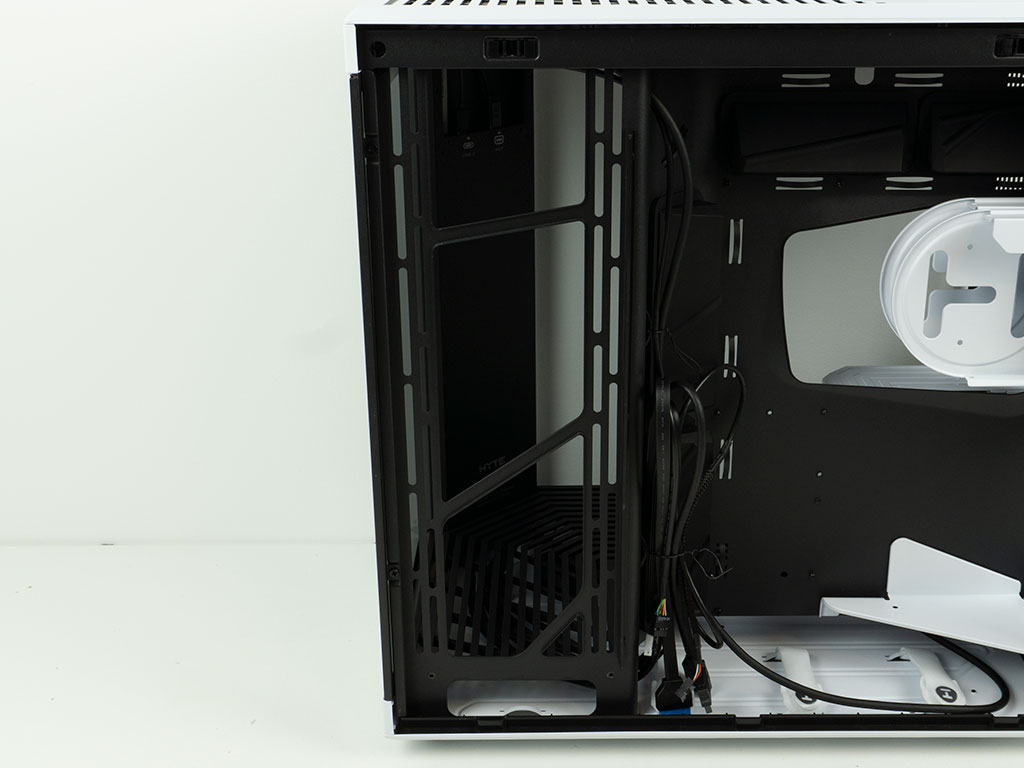
The expansion slot setup aside, the layout of the Y70 Touch is essentially similar to what we have seen with other dual-chamber cases. That said, HYTE has also managed to make all the bits and pieces within the chassis look unique. There is the asymmetrical cutout for the CPU cooler backplate and the large brand logo on the HDD cages you can clearly see when the chassis is empty. On top of that, HYTE has printed the labels for the screw setup unto the motherboard tray, which is a nice touch. The backside chamber feels a bit roomier than that of the Y60, thanks to the Y70's larger size. There are plenty of hooks for cable management as well as similar grommets which we have already seen on the Y40.
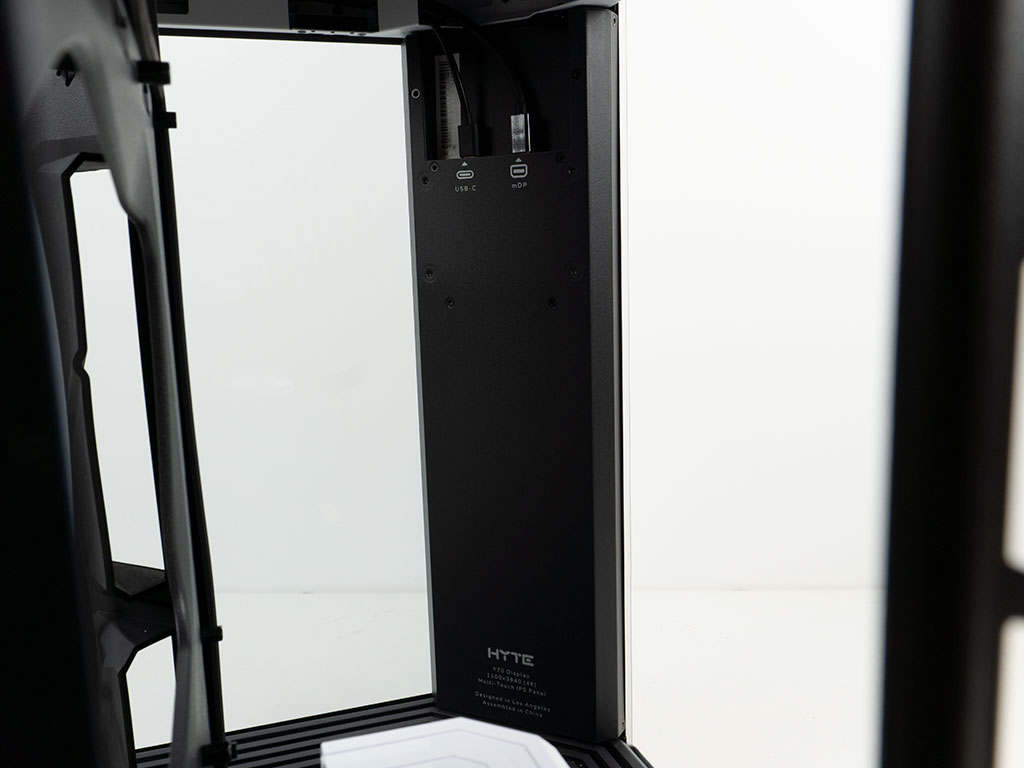
You will find another area on the side of the chassis that can hold three 120 or two 140 mm fans. It is far enough away from any thing so that even a thick or push/pull radiator assembly of up to 360 mm size will fit without interfering with any other components. HYTE has also paid a lot of attention to the display, to make it fit seamlessly into the chassis body. Even the backside of the screen is clean with two labeled wires coming out the top: one miniDP and one USB-C. Interestingly enough, the other end of that USB interface terminates into a SATA port for power along with a classic USB 2.0 header connector.
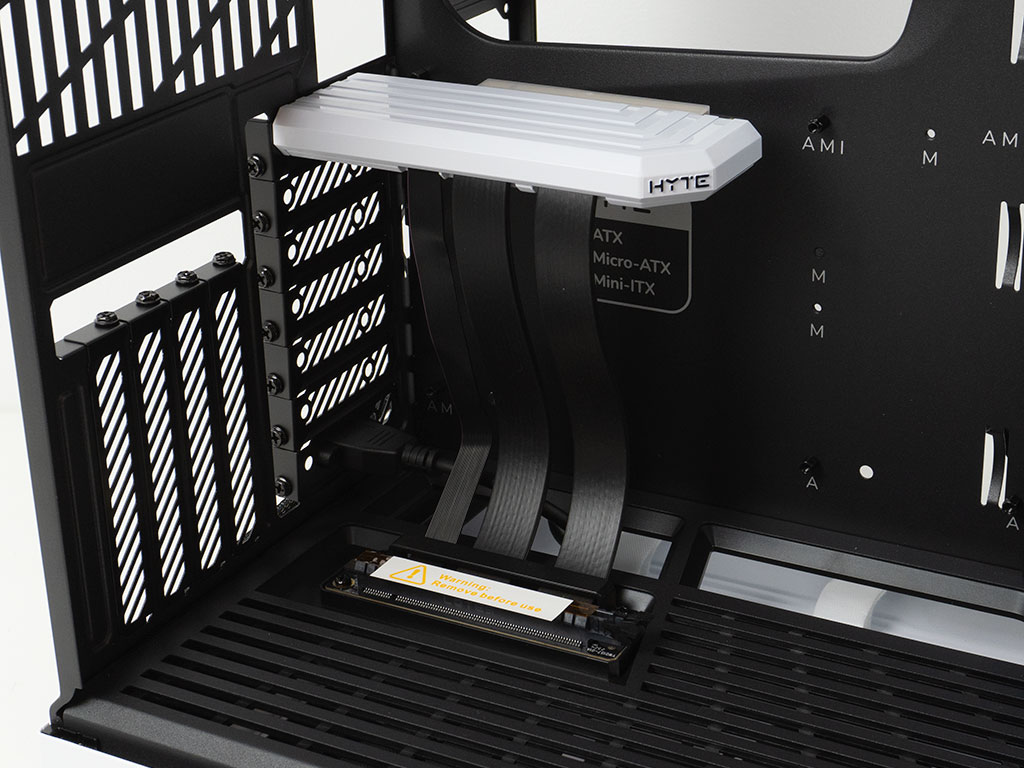
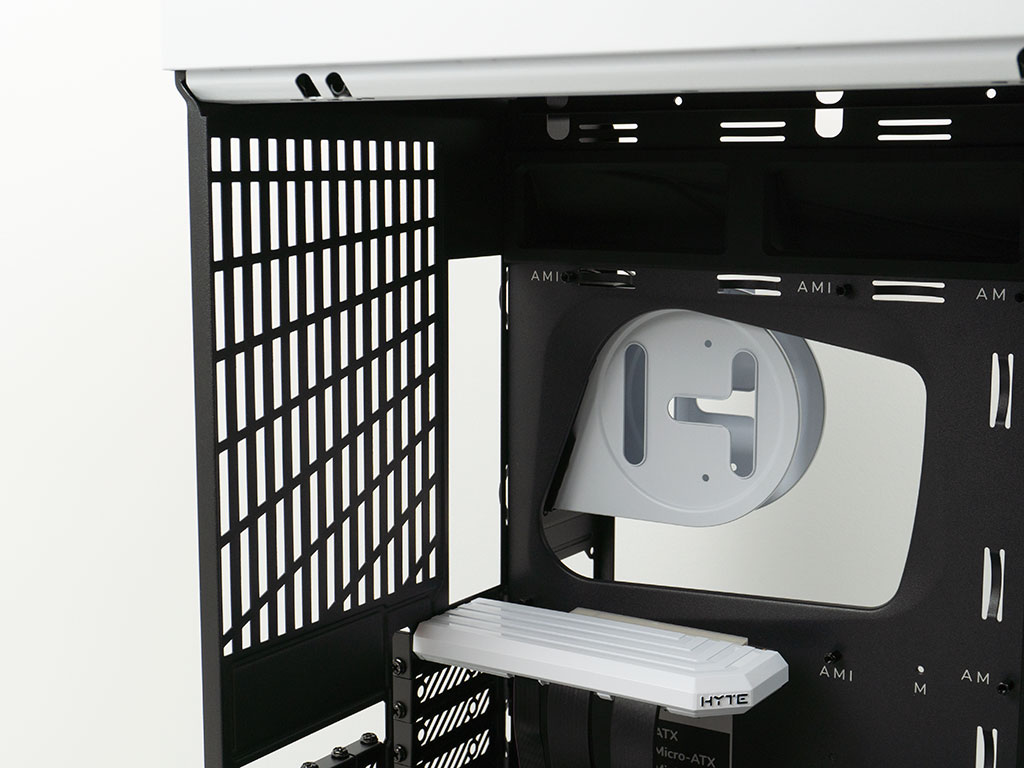
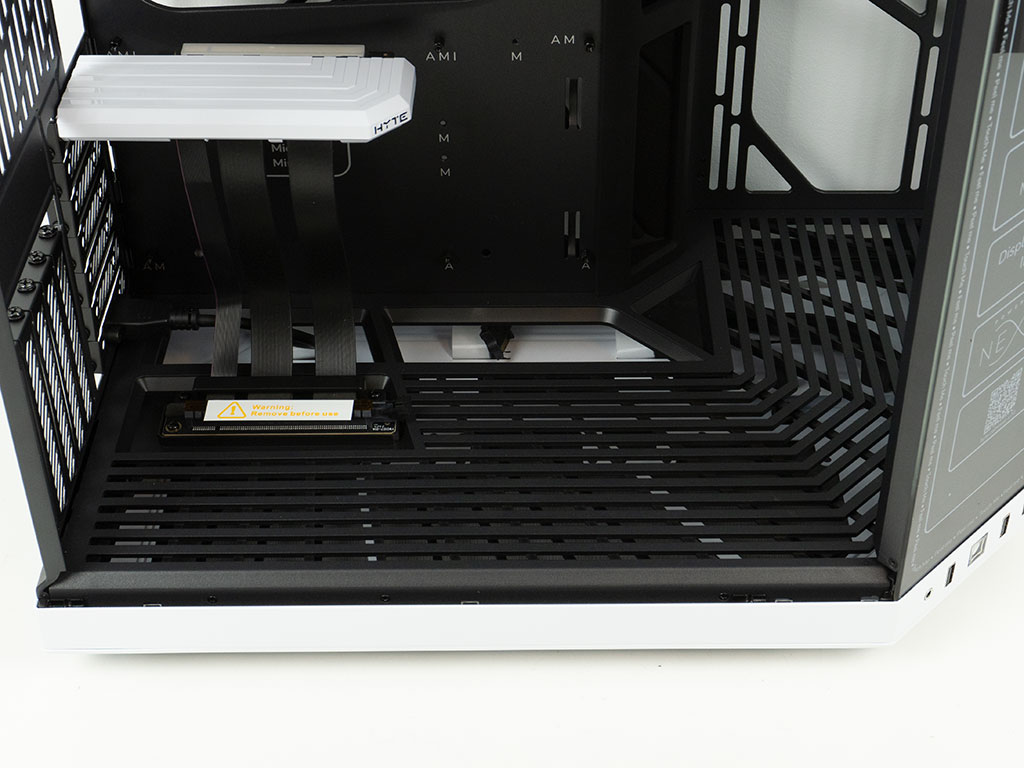
Towards the rear, in the main area of the Y70 Touch, are the aforementioned expansion slots. The PCIe riser cable is perfectly embedded into the floor of the chassis, right above the possible fan placement. On top of that, the connector for the motherboard is encased in a white shell with the company branding and another 45° design element. Above that is the previously mentioned vent which can take a fan or radiator of up to 140 mm in size.
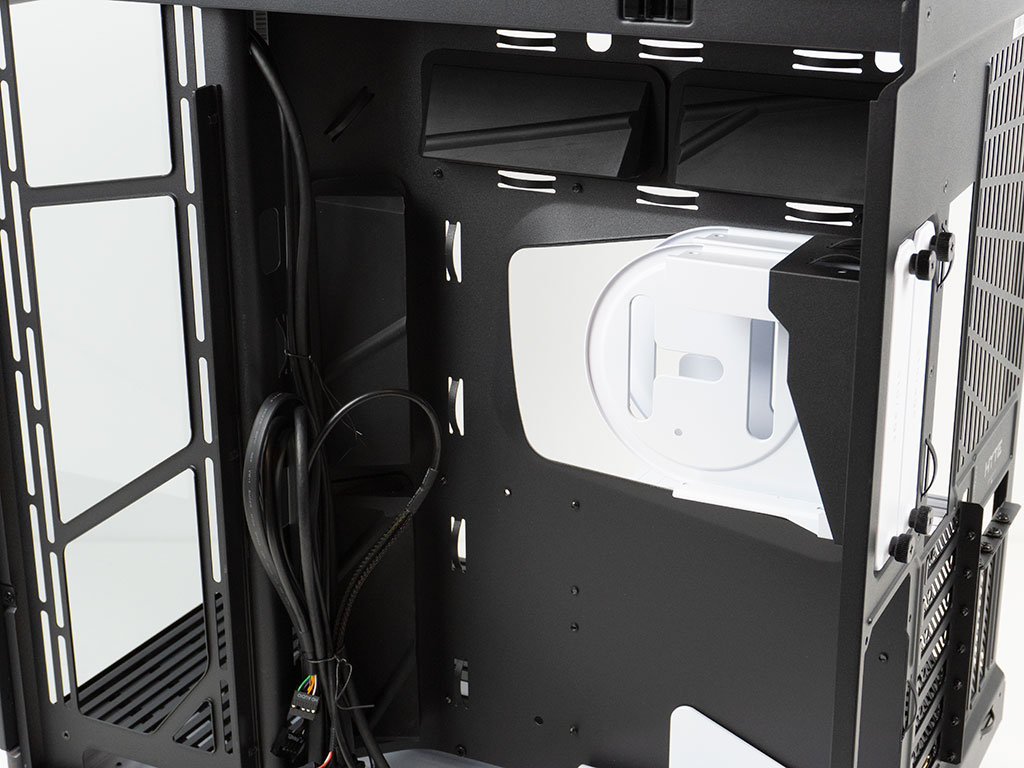
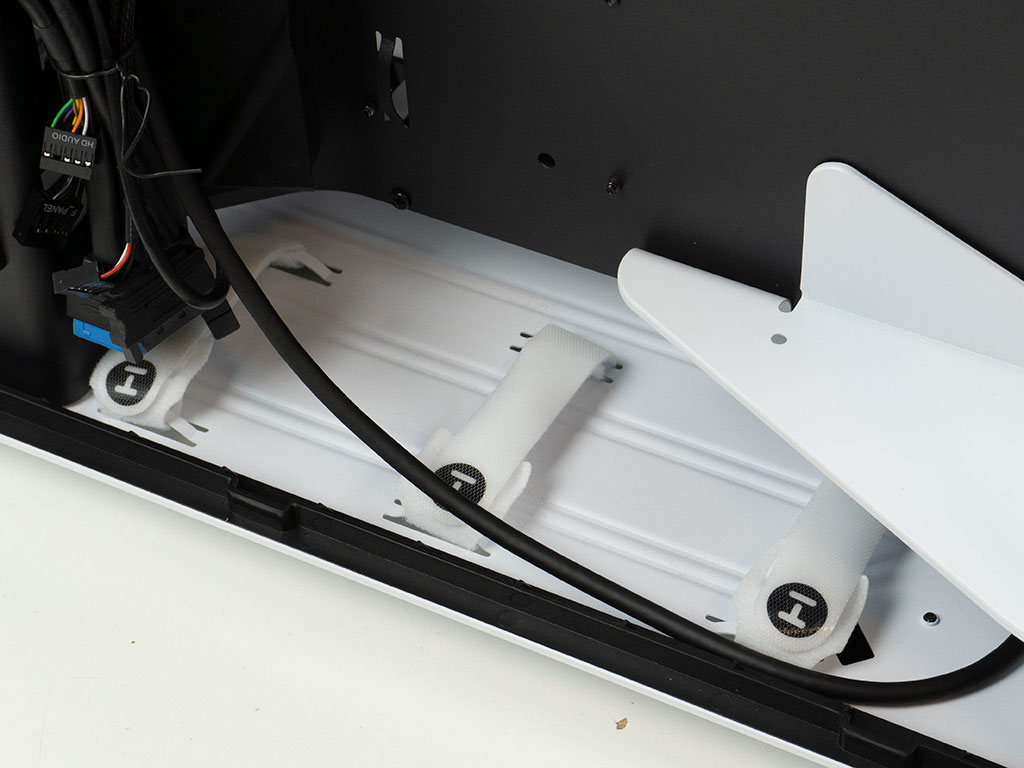
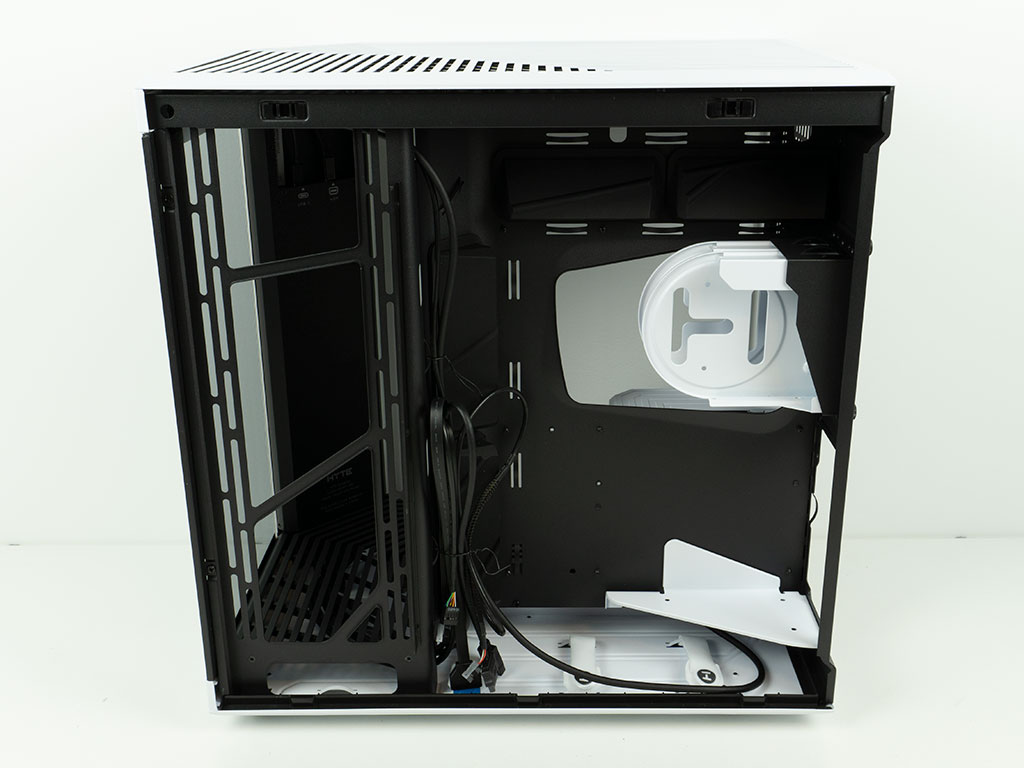
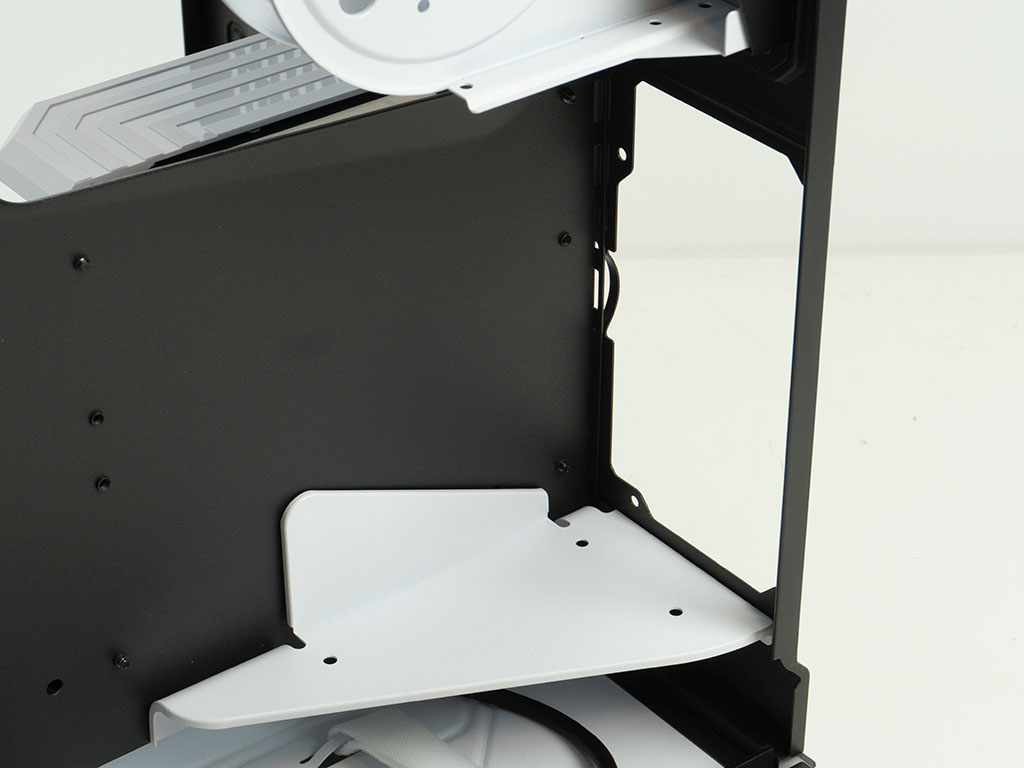
Viewing the side mounting possibility for cooling from behind the motherboard tray, it becomes apparent that any such units will have to be mounted on the interior of the case. HYTE has placed a barrier to the right to ensure that cool air from the exterior is pulled in instead of air from the interior of the chassis. While the Y60 had two individual grommets, the Y70 has one massive L-shaped piece with four deep openings so that you can make sure the interior of your system has the possibility to look spotless. On the floor of the case, there are three white Velcro strips for even more cable management flexibility.
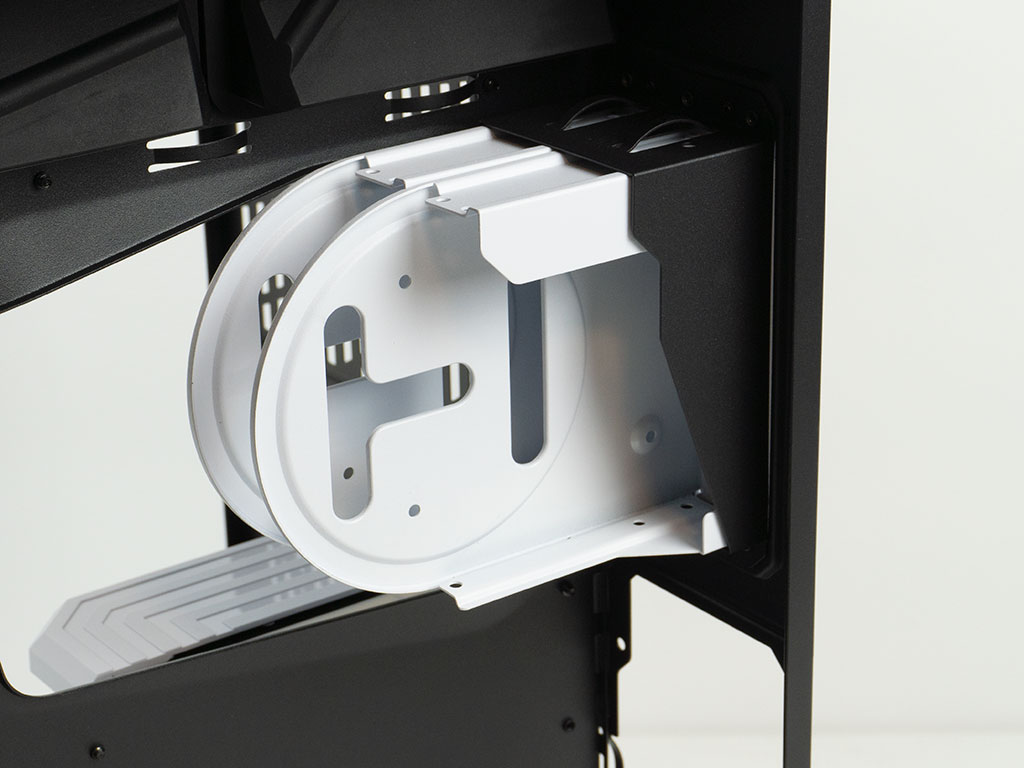
In the rear, behind the motherboard tray, you will find the two hard drive cages. Each of these can hold either a single 3.5" drive or two 2.5" units. As such, if you stick to the smaller form factor, the HYTE Y70 Touch will allow for a total of four such drives to be installed. The PSU bay is simple, with a support tray in white. This space allows for units of up to 230 mm in length, so you should have no problems opting for high-end, high-efficiency variants.
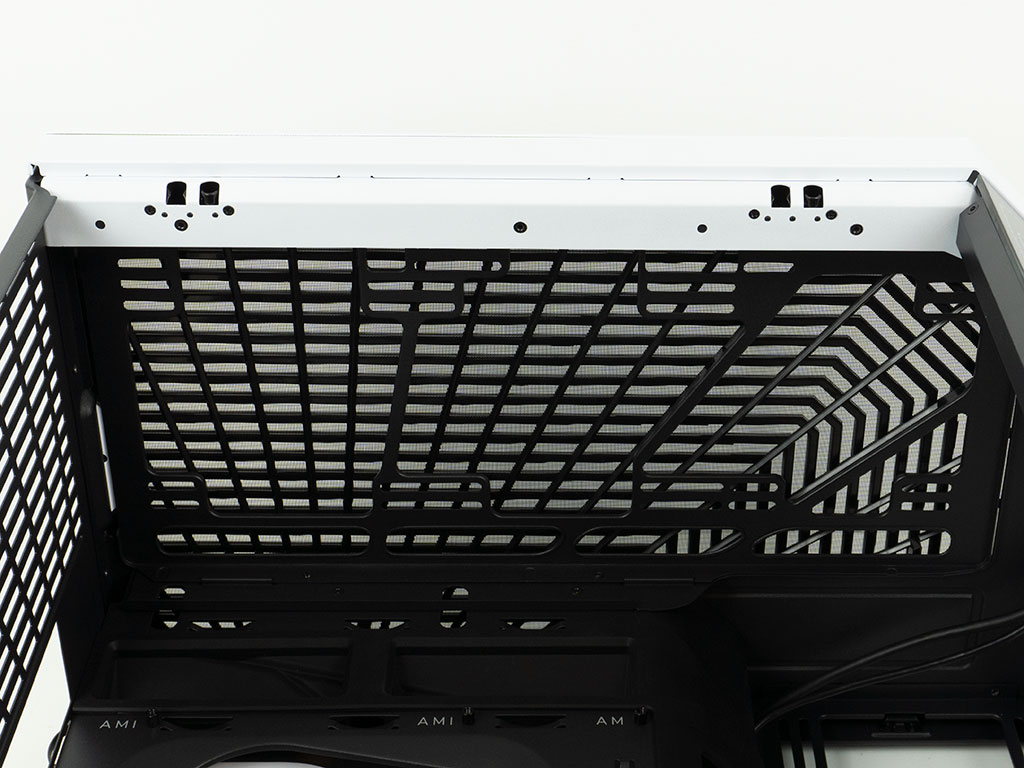
The floor of the Y70 Touch is one big air vent and there are two openings for cable routing. It is unfortunate that these don't have grommets of some sort, as you will see this area when viewing the system from the front, even with a GPU installed. In the ceiling you can see that the case utilizes the entire length of the case for cooling purposes, with the mounting holes for such units quite far away from the motherboard.
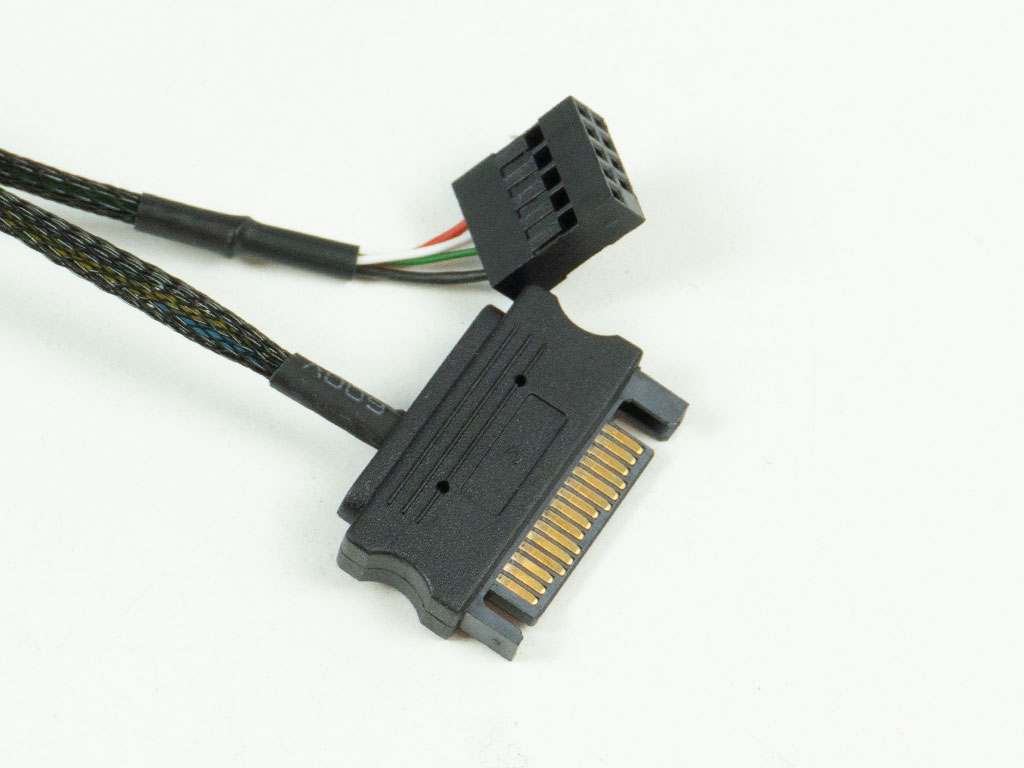
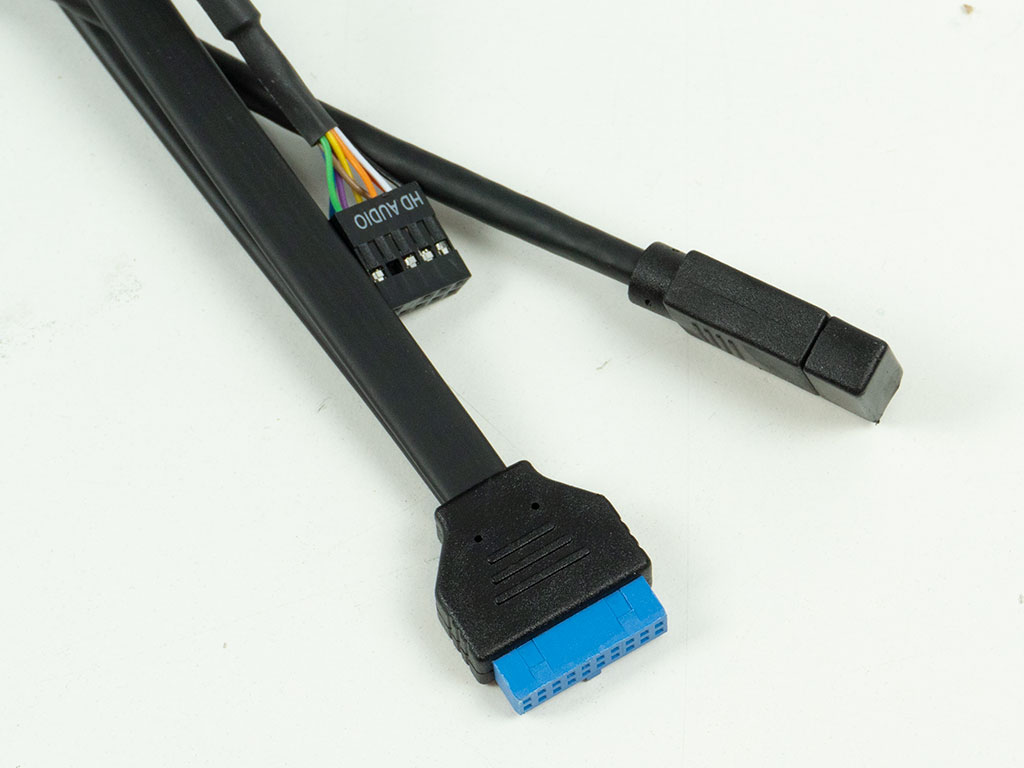
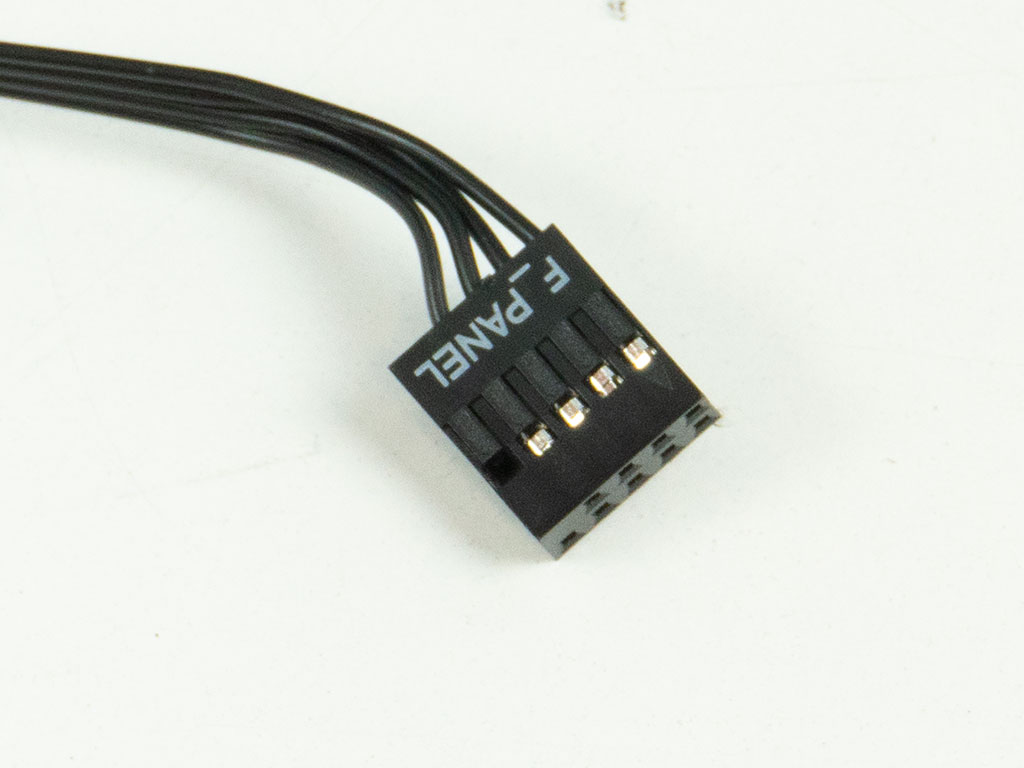
While all the wiring within the Y70 Touch is of default variety, there are a few things to point out. On one hand, the case uses a unified motherboard header connector, so you don't have fiddle with individual pins and wires. The other aspect is in regards to the display. As already mentioned, you will need a USB 2.0 header and SATA to interface to and power the screen.
Apr 8th, 2025 10:02 EDT
change timezone
Latest GPU Drivers
New Forum Posts
- is it worth using ssd with usb2? (23)
- 9070XT or 7900XT or 7900XTX (134)
- ## [Golden Sample] RTX 5080 – 3300 MHz @ 1.020 V (Stock Curve) – Ultra-Stable & Efficient (9)
- Is RX 9070 VRAM temperature regular value or hotspot? (334)
- 12v lines 0 reads occansionally (5)
- Steam Deck Owners Clubhouse (496)
- Microcenter GPU Stock status (70)
- The coffee and tea drinkers club. (252)
- What's your latest tech purchase? (23499)
- RTX5000 Series Owners Club (165)
Popular Reviews
- The Last Of Us Part 2 Performance Benchmark Review - 30 GPUs Compared
- UPERFECT UStation Delta Max Review - Two Screens In One
- PowerColor Radeon RX 9070 Hellhound Review
- ASUS Prime X870-P Wi-Fi Review
- MCHOSE L7 Pro Review
- Upcoming Hardware Launches 2025 (Updated Apr 2025)
- Sapphire Radeon RX 9070 XT Pulse Review
- Sapphire Radeon RX 9070 XT Nitro+ Review - Beating NVIDIA
- Corsair RM750x Shift 750 W Review
- DDR5 CUDIMM Explained & Benched - The New Memory Standard
Controversial News Posts
- NVIDIA GeForce RTX 5060 Ti 16 GB SKU Likely Launching at $499, According to Supply Chain Leak (161)
- MSI Doesn't Plan Radeon RX 9000 Series GPUs, Skips AMD RDNA 4 Generation Entirely (146)
- Microsoft Introduces Copilot for Gaming (124)
- AMD Radeon RX 9070 XT Reportedly Outperforms RTX 5080 Through Undervolting (119)
- NVIDIA Reportedly Prepares GeForce RTX 5060 and RTX 5060 Ti Unveil Tomorrow (115)
- Over 200,000 Sold Radeon RX 9070 and RX 9070 XT GPUs? AMD Says No Number was Given (100)
- NVIDIA GeForce RTX 5050, RTX 5060, and RTX 5060 Ti Specifications Leak (97)
- Nintendo Switch 2 Launches June 5 at $449.99 with New Hardware and Games (95)