 18
18
ID-Cooling IS-60 EVO ARGB Review
Finished Looks »Installation
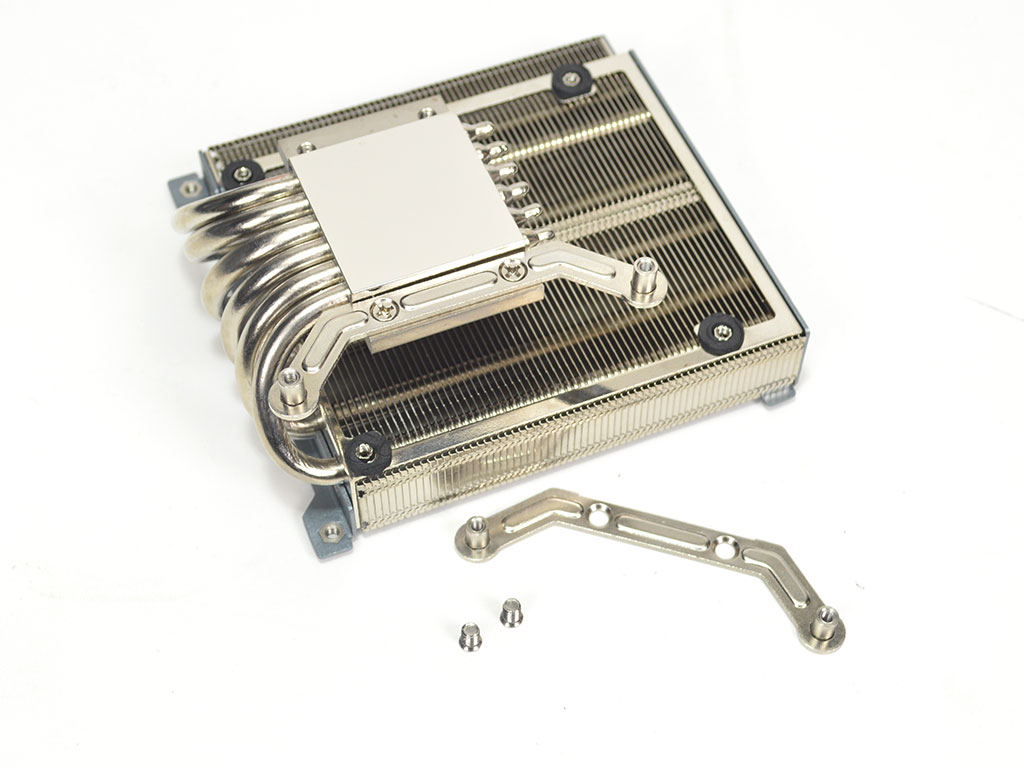


For the actual consumer, installing the ID-Cooling IS-60 EVO ARGB is a simple affair. First, you will need to attach the proper mounting brackets to the cooler. After this, I had to reinstall the fans after the previous disassembly. Once the mounting hardware is attached, the cooler is ready to be mounted.

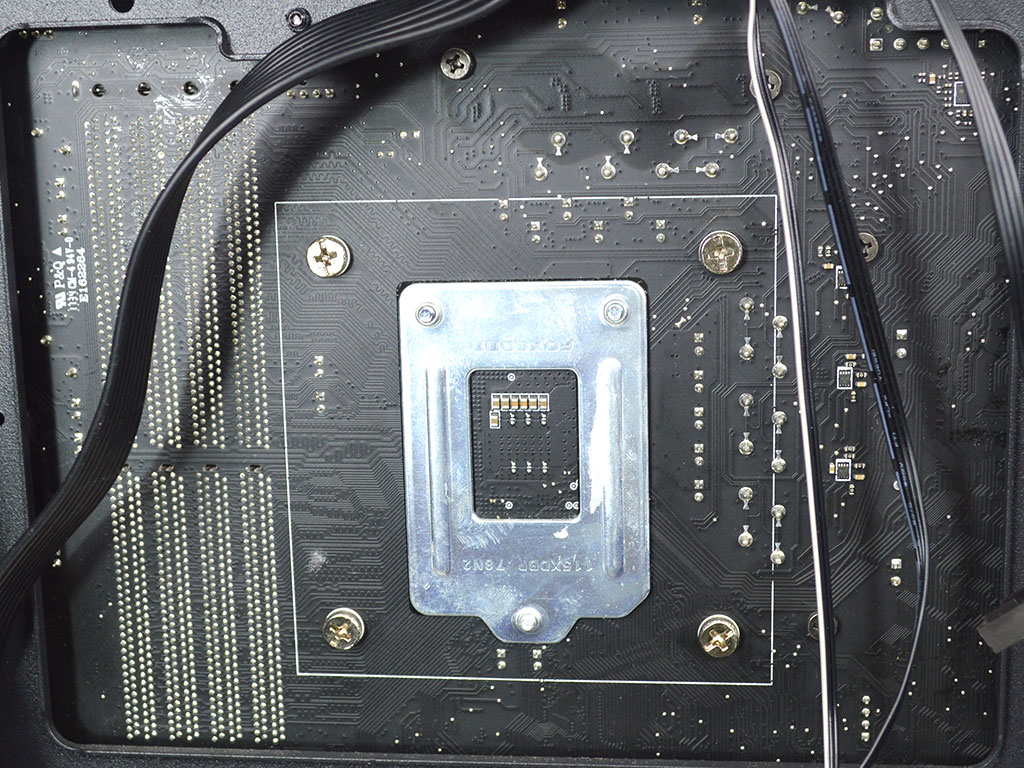
Before mounting the cooler, apply the thermal paste before positioning the cooler on the CPU and securing it with the included thumbscrews from the backside of the motherboard.
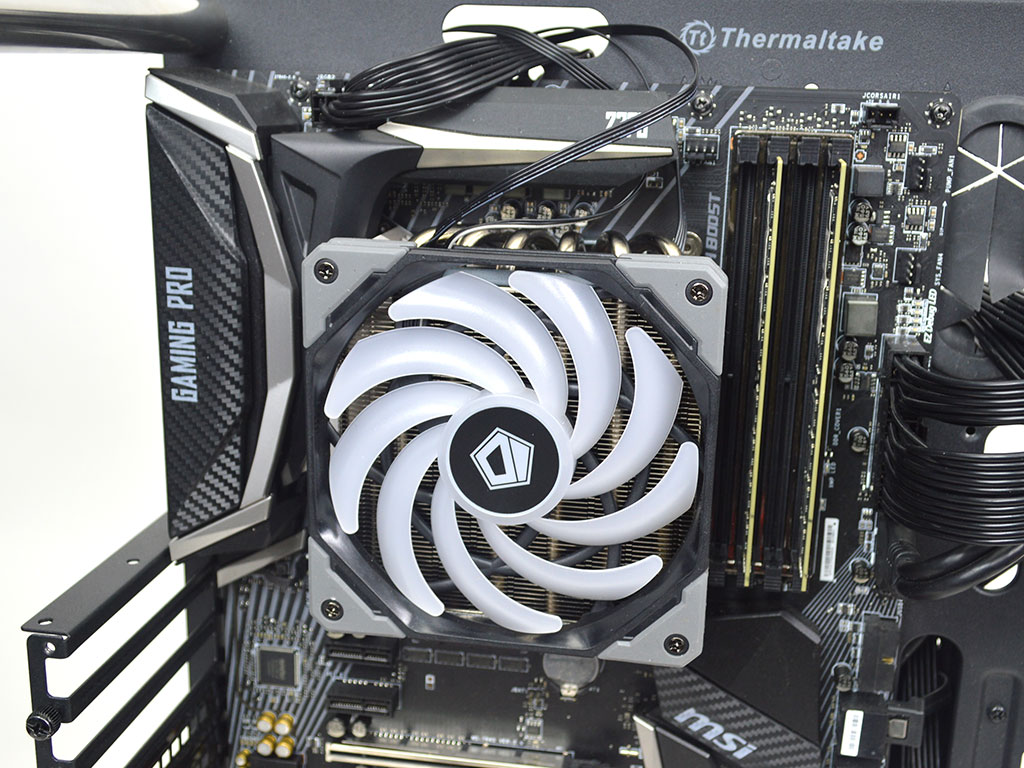
With the heatsink mounted, it's time to attach the fans and plug everything in. Make sure to connect the ARGB lighting to the proper motherboard header. For my motherboard, the MSI Z370 Gaming Pro Carbon AC, the ARGB header is in the bottom-right edge, and the ARGB cable on the fan was not long enough to reach. I had to use an extension cord to hook it up. On many newer motherboards, this isn't a problem, but on older setups, it means you will want to take a few moments to verify where your ARGB header is and, if necessary, get a 3-pin ARGB extension. At the IS-60 EVO ARGB's current price point of $45, an extension cable should have been provided since no ARGB controller is included. Thus, if you can't reach the header, you cannot make use of the feature.
Installation was pretty straightforward overall, and I would rate it a 10 on a scale of 1 (hardest) to 10 (easiest). The mounting hardware is very simplistic and easy to use; however, considering the IS-60 EVO ARGB weighs in at 650 g, I would have preferred a backplate for some peace of mind.
Feb 5th, 2025 16:47 EST
change timezone
Latest GPU Drivers
New Forum Posts
- I find the lack of Battle Mage owners threads disturbing. My Onix Odyssey B580 arrived. (28)
- 3D Printer Club (399)
- Bought new INTEL 1.5Tb SSD for 400$ - PCI SSD for my new PC (27)
- Are there videos or just more details on what parts of the games are used in the CPU, GPU, and game benchmarks? (0)
- What are you playing? (22766)
- ASUS Dual GeForce RTX 4070 SUPER EVO OC Edition - stay away from this card, very hot and loud (24)
- Advice for migrating from Windows 11 to Linux (46)
- What's your latest tech purchase? (23075)
- New 8700g build for a client. (11)
- RX 580 Aorus with wrong vbios (0)
Popular Reviews
- Spider-Man 2 Performance Benchmark Review - 35 GPUs Tested
- Corsair Frame 4000D Review
- Kingdom Come Deliverance II Performance Benchmark Review - 35 GPUs Tested
- NVIDIA GeForce RTX 5080 Founders Edition Review
- Gigabyte GeForce RTX 5080 Gaming OC Review
- MSI GeForce RTX 5080 Vanguard SOC Review
- AMD Ryzen 7 9800X3D Review - The Best Gaming Processor
- ASUS GeForce RTX 5080 Astral OC Review
- NVIDIA DLSS 4 Transformer Review - Better Image Quality for Everyone
- Cooler Master X Silent Edge Platinum 850 W Review - Fully Passive PSU
Controversial News Posts
- NVIDIA 2025 International CES Keynote: Liveblog (470)
- AMD Debuts Radeon RX 9070 XT and RX 9070 Powered by RDNA 4, and FSR 4 (349)
- AMD Radeon 9070 XT Rumored to Outpace RTX 5070 Ti by Almost 15% (283)
- AMD is Taking Time with Radeon RX 9000 to Optimize Software and FSR 4 (256)
- AMD Denies Radeon RX 9070 XT $899 USD Starting Price Point Rumors (239)
- Edward Snowden Lashes Out at NVIDIA Over GeForce RTX 50 Pricing And Value (235)
- AMD Radeon RX 9070 XT & RX 9070 Custom Models In Stock at European Stores (226)
- New Leak Reveals NVIDIA RTX 5080 Is Slower Than RTX 4090 (215)