 1
1
ID-Cooling SE 234 ARGB Review
Finished Looks »Installation
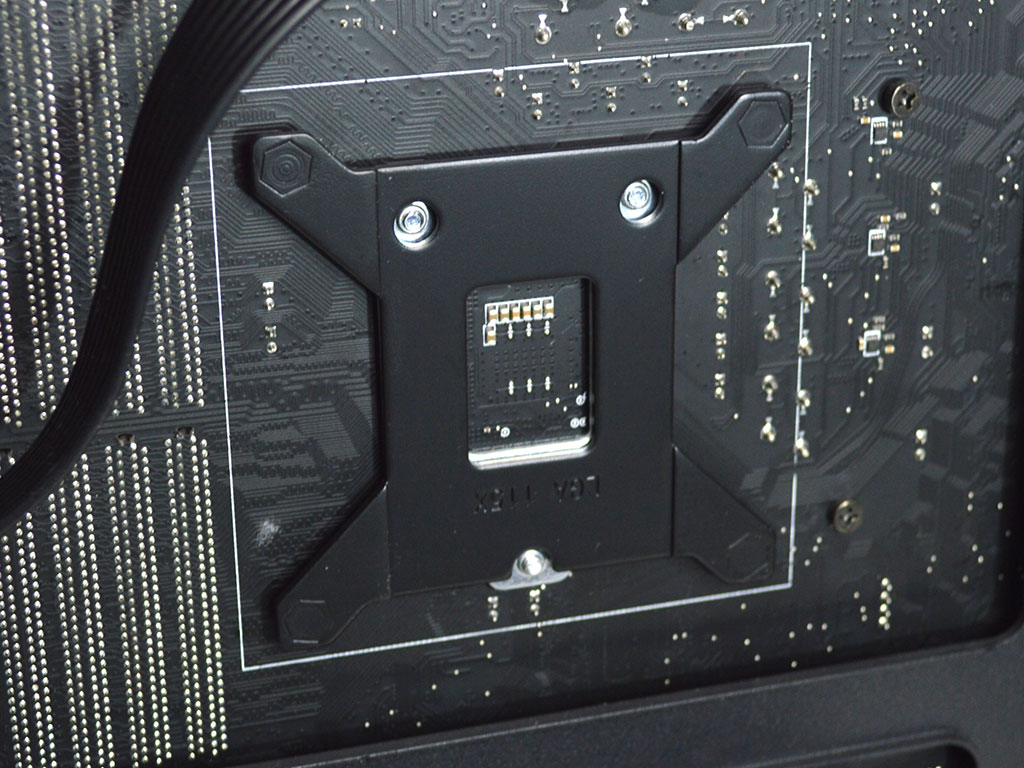
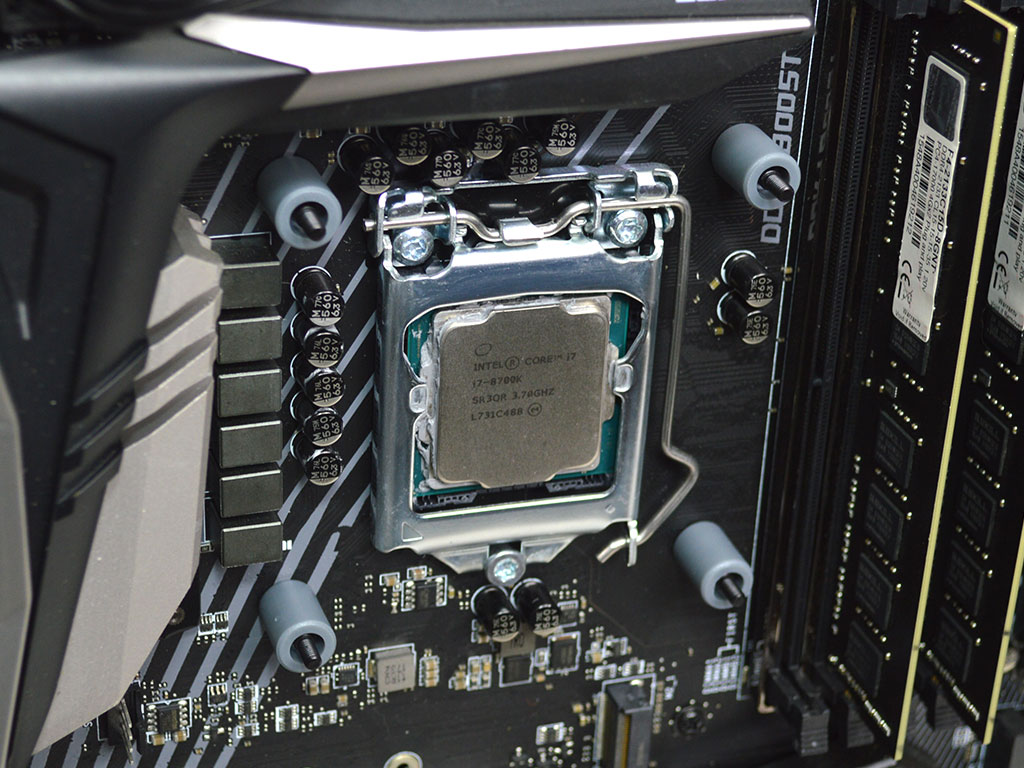
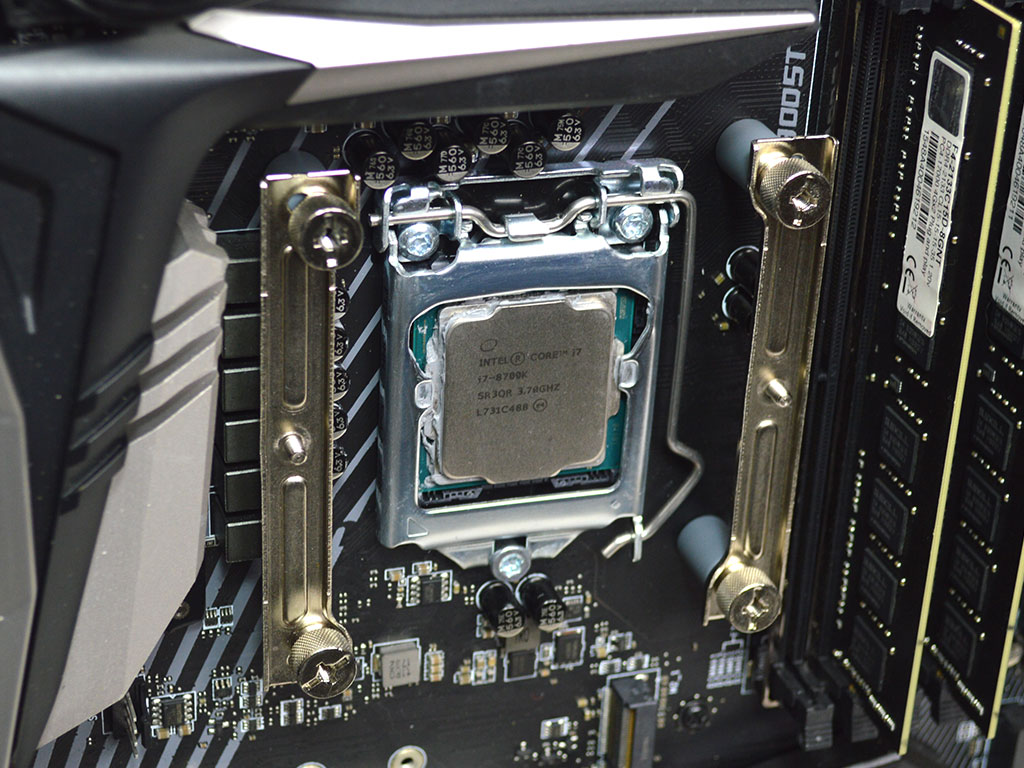
Installing the SE 234 ARGB is a simple process. First, position the backplate on the motherboard. With that done, slide the plastic washers over the posts and position the mounting arms on top, securing them with the provided nuts.
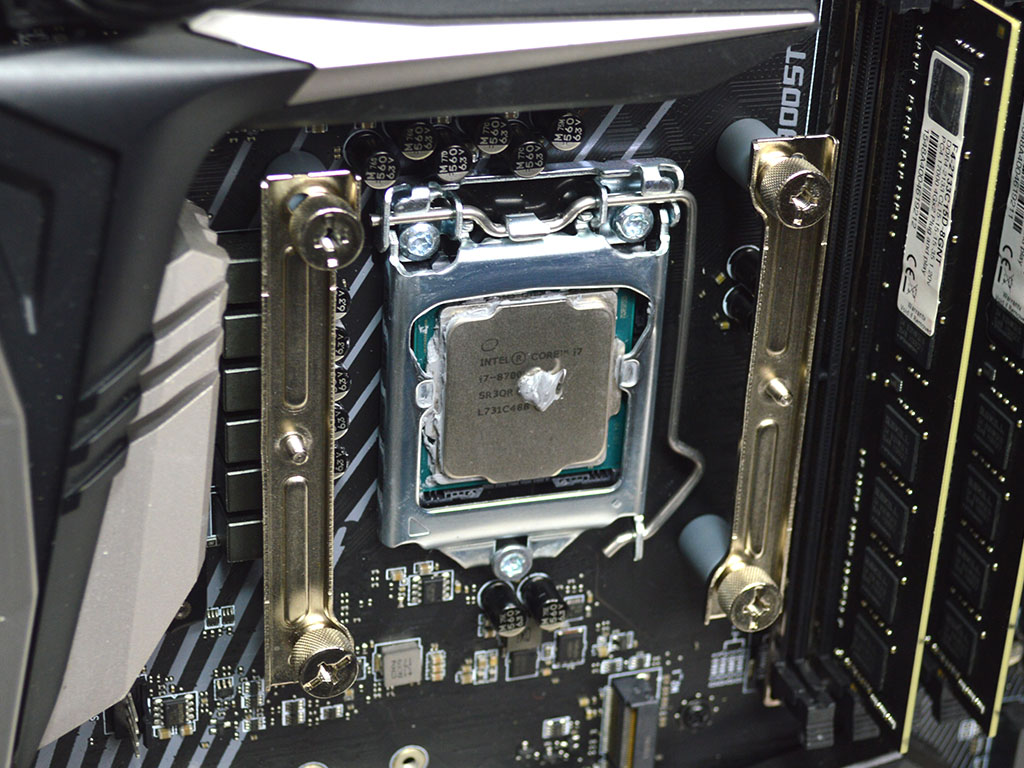

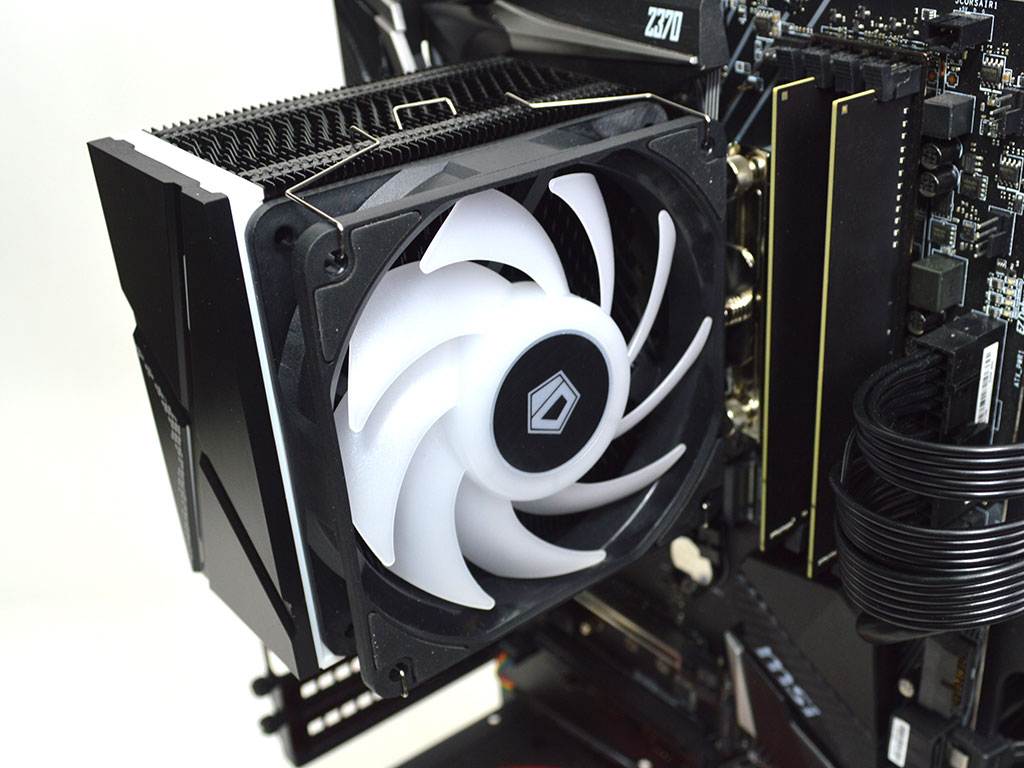
Now, apply some thermal paste and mount the cooler on the CPU, alternating every couple of turns to ensure even pressure. Once done, you can attach the fan to the heatsink using the included fan clips and plug the fan in. It is also a good idea to attach the ARGB cable from the heatsink to the open daisy chain on the fan ARGB cable.
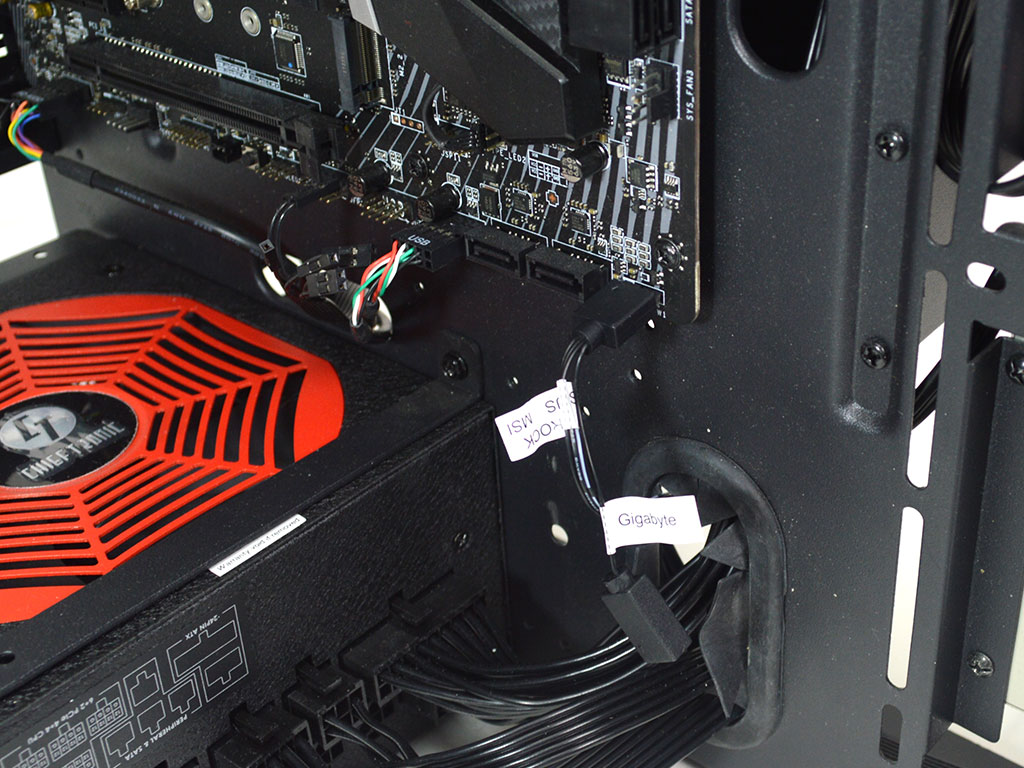
At this point, all that remains is to connect the ARGB wire from the fan/heatsink to the motherboard. Sadly, ID-Cooling doesn't include an extension cable, so I had to dig around and find one as my motherboard has its only ARGB header in the bottom-right corner. An extension cable should have been included by default, but if you don't have one or your motherboard just doesn't support ARGB lighting, you can use the included ARGB controller instead.
Overall, the installation was nearly effortless, and I would rate it a 9 on a scale of 1 (hardest) to 10 (easiest). The mounting hardware is simple and exceptionally easy to work with. Had ID-Cooling included an ARGB extension cable, they would have earned a perfect 10/10 here, and there is honestly no reason not to include one.
Feb 11th, 2025 09:25 EST
change timezone
Latest GPU Drivers
New Forum Posts
- Radeon RX 6700, 6700 XT & 6750 XT users club (1125)
- What are you playing? (22843)
- It's happening again, melting 12v high pwr connectors (144)
- Opinions on AI (431)
- Will you buy a RTX 5090? (422)
- ch341a 1.7 Not detected (1)
- The TPU UK Clubhouse (25733)
- Microcenter GPU Stock status (9)
- Dlss4 + 4090 = lower max oc than with dlss3 (68)
- What bios to flash in Asus RX 570 4gb from mining. (1)
Popular Reviews
- Civilization VII Performance Benchmark Review - 35 GPUs Tested
- Kingdom Come Deliverance II Performance Benchmark Review - 35 GPUs Tested
- ASRock Phantom Gaming B850I Lightning Wi-Fi Review
- Team Group T-Force XTREEM DDR5-7200 48GB CL34 Review
- Spider-Man 2 Performance Benchmark Review - 35 GPUs Tested
- NVIDIA GeForce RTX 5080 Founders Edition Review
- AMD Ryzen 7 9800X3D Review - The Best Gaming Processor
- Kingdom Come: Deliverance 2 Handheld Performance Review
- DAREU A980 Pro Max Review
- Corsair Frame 4000D Review
Controversial News Posts
- AMD Radeon 9070 XT Rumored to Outpace RTX 5070 Ti by Almost 15% (286)
- AMD is Taking Time with Radeon RX 9000 to Optimize Software and FSR 4 (256)
- AMD Denies Radeon RX 9070 XT $899 USD Starting Price Point Rumors (239)
- Edward Snowden Lashes Out at NVIDIA Over GeForce RTX 50 Pricing And Value (239)
- AMD Radeon RX 9070 XT & RX 9070 Custom Models In Stock at European Stores (226)
- New Leak Reveals NVIDIA RTX 5080 Is Slower Than RTX 4090 (215)
- AMD's Radeon RX 9070 Launch Faces Pricing Hurdles (175)
- AMD Radeon RX 9070 XT Tested in Cyberpunk 2077 and Black Myth: Wukong (169)