 2
2
In Win GD Review
Finished Looks »Assembly
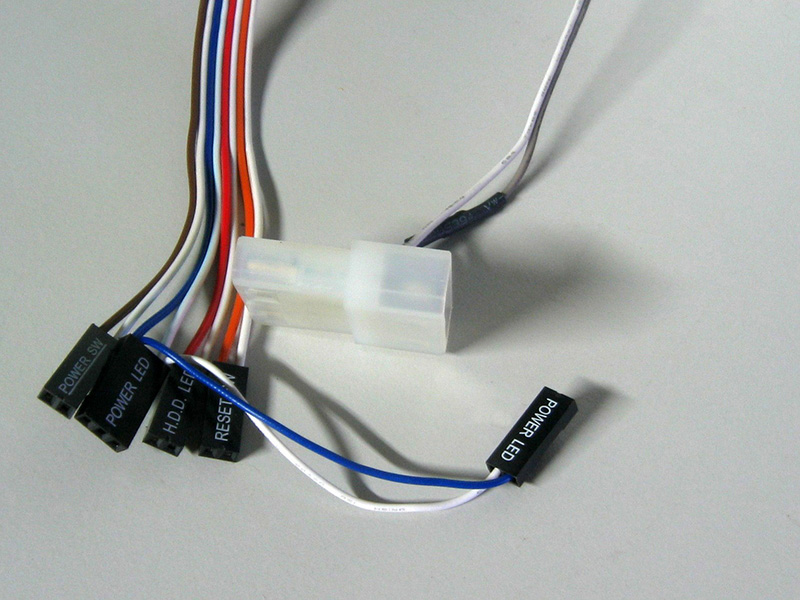
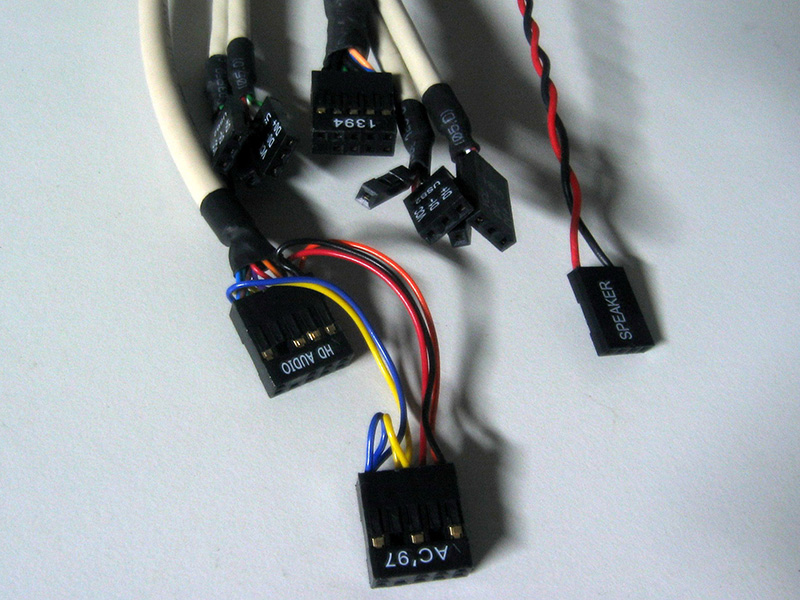
Most connectors supplied in the GD are of standard variety. They are all black, yet the wires on the front panel plugs have been colour coded. Everything has been kept standard except the secondary power LED plug. Instead of having two 1-pin connections, there is a two and three pin connector. This means that it doesn’t matter if the motherboard has the pins spaced out or together as the necessary plug can be used, saving the user having to fiddle with positive and negative connections.
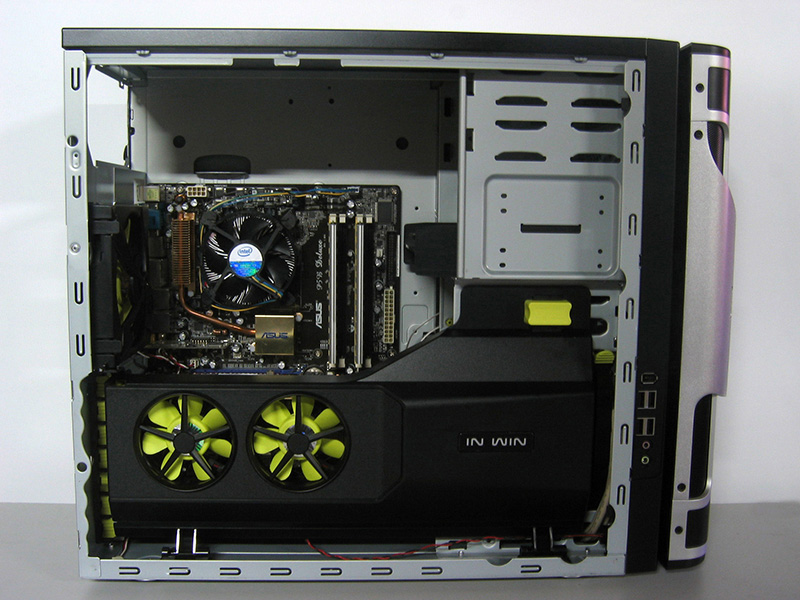
To install the motherboard you will need to open the VGA Turbo cooling module. This is actually an awkward process as you must hold up the turbo module while trying to screw in the motherboard screws (unless you install the motherboard with the case standing upright). This is obviously because gravity forces the turbo module down when the case is on its side panel. It would have been nice if the Turbo Module staid held up when in mid air. You will find that to install the motherboard you will use the standard spacer and screw method. That being said though, there are pre-risen holes in some places so you don’t need to put the spacers in. These mounds have been put in seven of the nine standard ATX holes so when installing an ATX motherboard, only two spacers are needed.

In Win have included the tool-less clips to install any drives in the front of the chassis within one of the optical drive slots. Each clip has been placed within a secure yet gentle lock. The user just has to pull their necessary clip(s) out of the bay. There are enough clips to install two external 3.5” drives, four internal 3.5” drives and two 5.25” drives, as this bay is double sided. Each clip is made of plastic but has a rubber outing which is definitely a nice finish and should help with vibration.
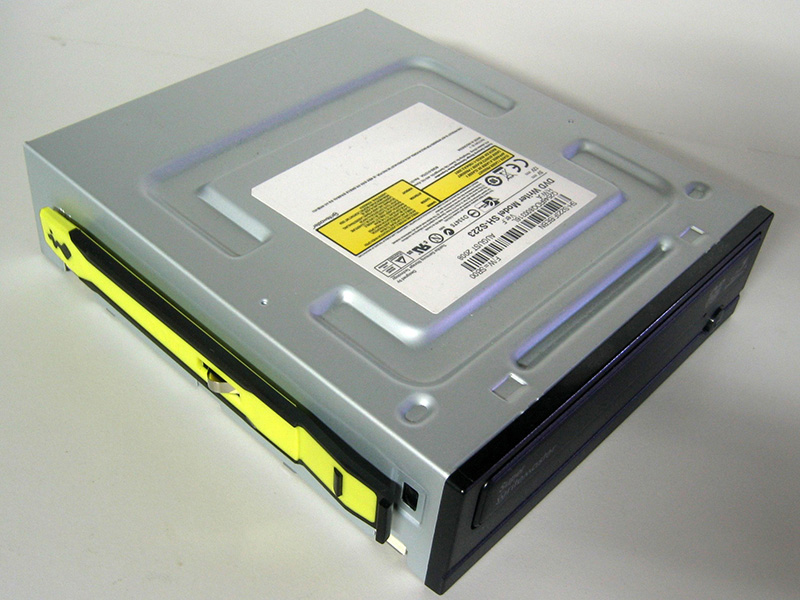
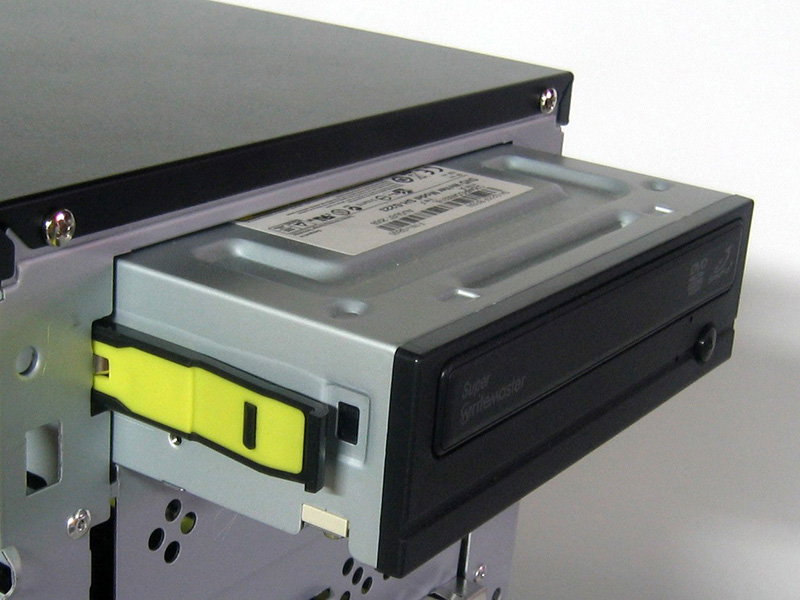
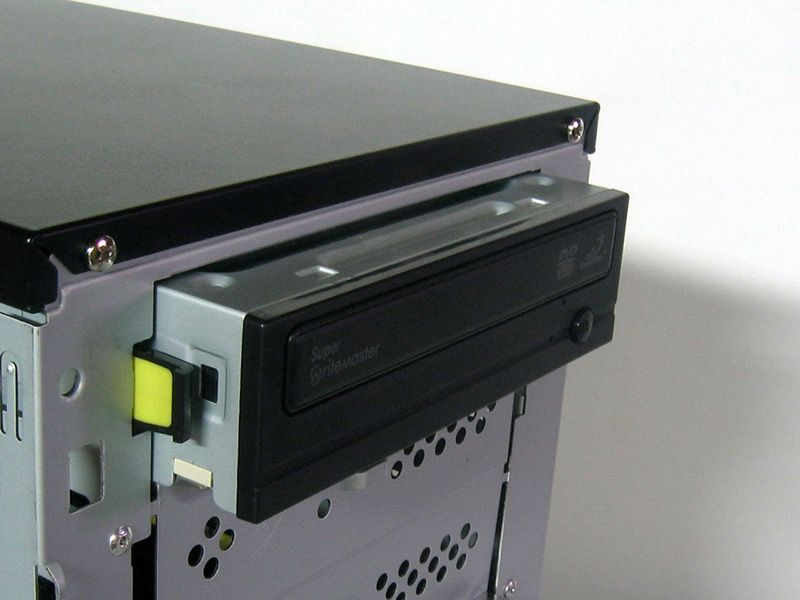
To install optical drives, you need to remove the entire front panel. Like most cases it is very simple to do, the front just needs to be pulled off from the bottom. To install the drive the necessary clip must be attached to it. Once you have attached this clip you just need to line the drive up and slide it in. Doing so holds the drive in securely. Whilst it is not as secure as the traditional screw in method it will be fine unless the case is moved around.
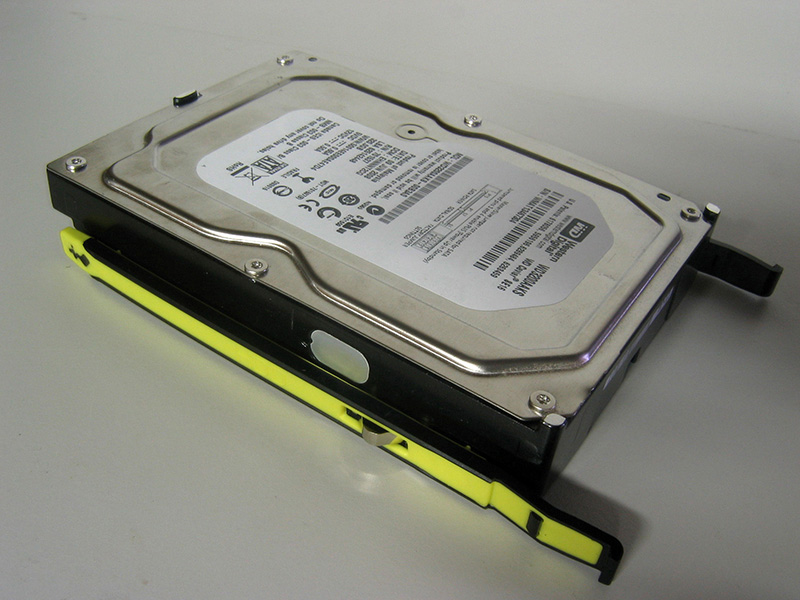
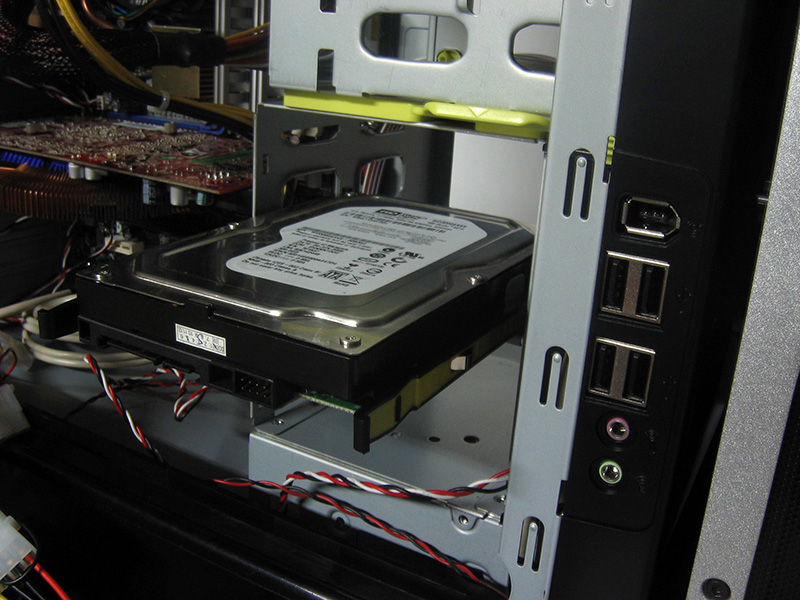
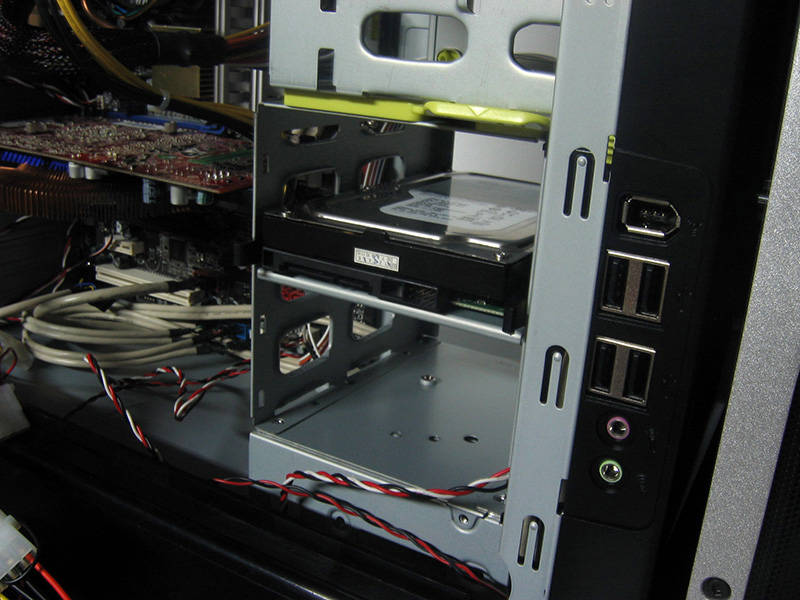
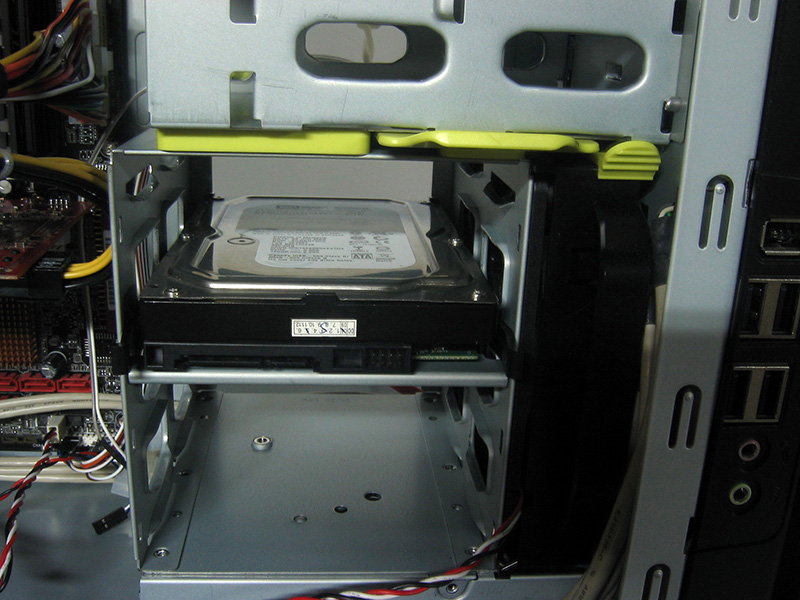
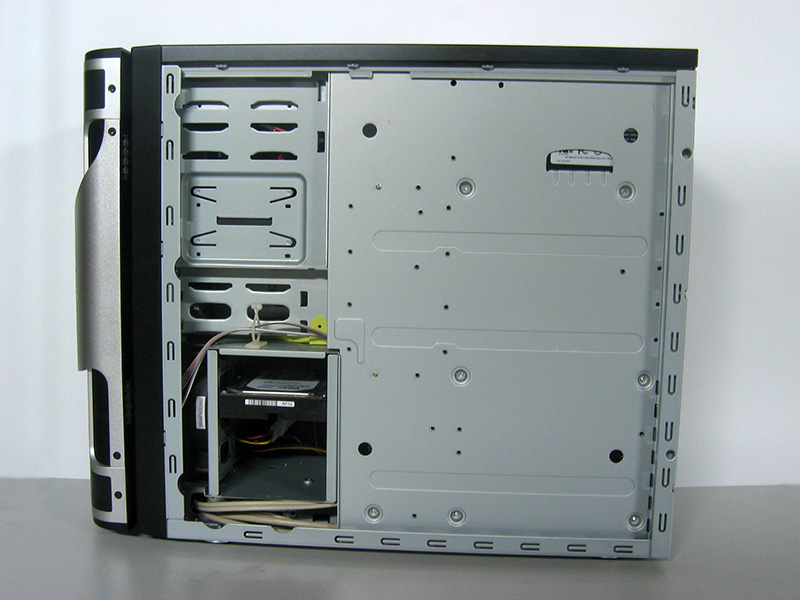
Installing the hard drive is easier than the optical drive. It is basically the same process (only the user doesn’t need to remove the front panel). Just get the HDD clips, attach them to the hard drives and slide the drive in. The hard drive bay has been put on a 90 degree angle, which isn’t uncommon, but a great feature which will give the user more room when installing graphics cards.

Installation of the power supply does unfortunately require the use of a screwdriver, as it is held in place with supplied screws.
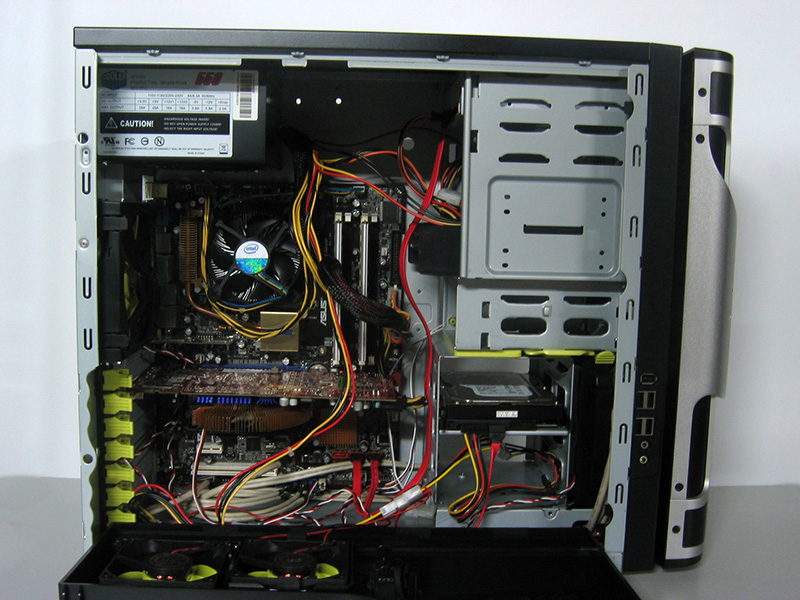
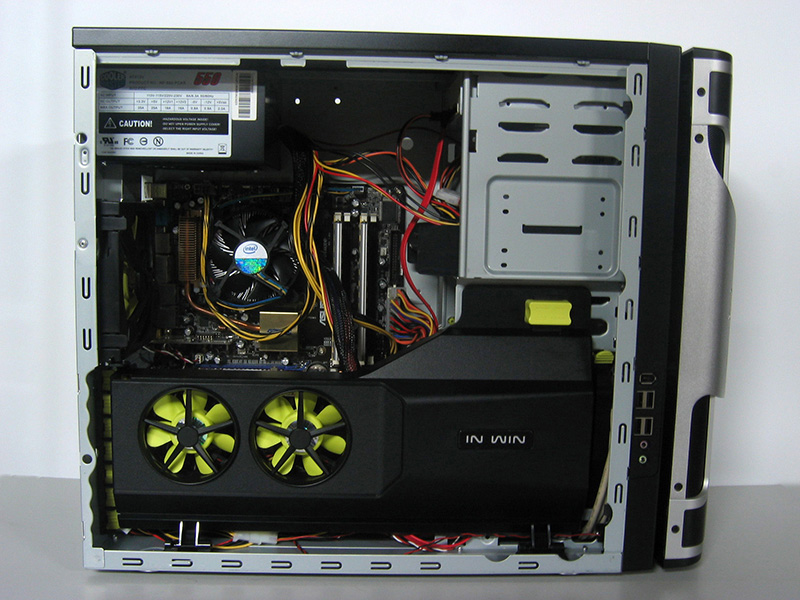
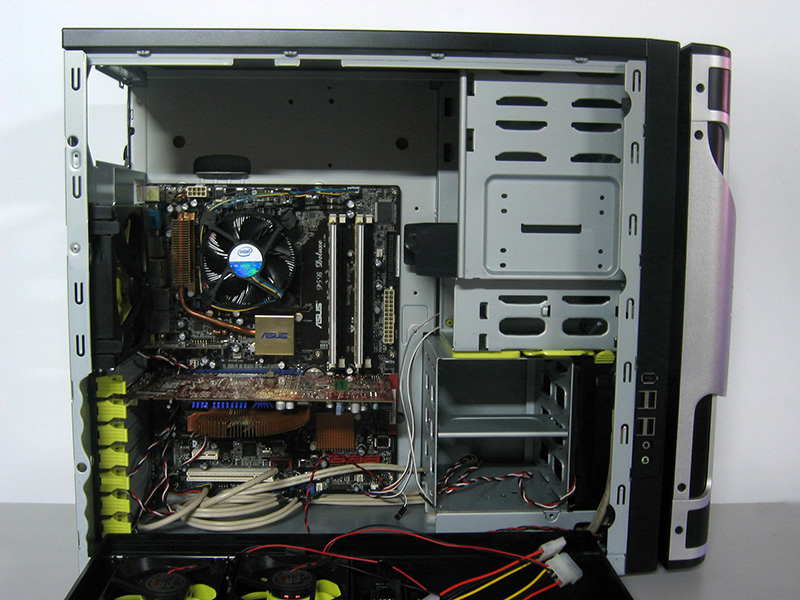
When everything is installed, the GD looks fairly cramped. While I didn’t spend much time trying to tidy up the wires, there weren’t any places to hide them or feed them through. The only place I could see was behind the external 3.5” bay, where there isn’t much room. You could hide them behind the VGA turbo cooler, yet you can only get a certain amount of wires down there. It doesn’t really matter though, as the case does not have a side panel window, so unless the wires are blocking airflow it is unnecessary to tidy them up. With all components installed the GD is not very roomy, but there is certainly enough room to hold your standard computer parts in.
Apr 6th, 2025 00:02 EDT
change timezone
Latest GPU Drivers
New Forum Posts
- gpu heirarchy/performance/benchmarks- whos lying? (24)
- The coffee and tea drinkers club. (243)
- need help choosing an upgrade (8)
- Game Soundtracks You Love (1033)
- [Intel AX1xx/AX2xx/AX4xx/AX16xx/BE2xx/BE17xx] Intel Modded Wi-Fi Driver with Intel® Killer™ Features (304)
- 9800x3d for 1440p gaming? (21)
- Rtx 3060 laptop no longer working after wrong vbios flash (21)
- Sapphire RX9070XT Nitro+ fan and high temperature problem (3)
- I have a bricked XFX Radeon RX 580 8GB GPU. HELP! (6)
- Rx5700 Burned hdmi? (7)
Popular Reviews
- ASUS Prime X870-P Wi-Fi Review
- PowerColor Radeon RX 9070 Hellhound Review
- Corsair RM750x Shift 750 W Review
- UPERFECT UStation Delta Max Review - Two Screens In One
- DDR5 CUDIMM Explained & Benched - The New Memory Standard
- Upcoming Hardware Launches 2025 (Updated Apr 2025)
- Sapphire Radeon RX 9070 XT Pulse Review
- Sapphire Radeon RX 9070 XT Nitro+ Review - Beating NVIDIA
- AMD Ryzen 7 9800X3D Review - The Best Gaming Processor
- Pwnage Trinity CF Review
Controversial News Posts
- MSI Doesn't Plan Radeon RX 9000 Series GPUs, Skips AMD RDNA 4 Generation Entirely (146)
- Microsoft Introduces Copilot for Gaming (124)
- AMD Radeon RX 9070 XT Reportedly Outperforms RTX 5080 Through Undervolting (119)
- NVIDIA Reportedly Prepares GeForce RTX 5060 and RTX 5060 Ti Unveil Tomorrow (115)
- NVIDIA GeForce RTX 5060 Ti 16 GB SKU Likely Launching at $499, According to Supply Chain Leak (102)
- Over 200,000 Sold Radeon RX 9070 and RX 9070 XT GPUs? AMD Says No Number was Given (100)
- NVIDIA GeForce RTX 5050, RTX 5060, and RTX 5060 Ti Specifications Leak (97)
- Nintendo Switch 2 Launches June 5 at $449.99 with New Hardware and Games (91)