 7
7
In Win GRone Review
Value & Conclusion »Assembly
Installing the motherboard is done by traditional means, with the use of the included spacers and screws. As you can see, there is loads of space around the board for you to route cables and reach all the connectors with ease. This holds especially true for the case's top edge, allowing you to install potent water-cooling radiators and fans in the ceiling without having those collide with components on the motherboard. The In Win GRone can then easily take a 240 or 280 mm radiator in the ceiling.
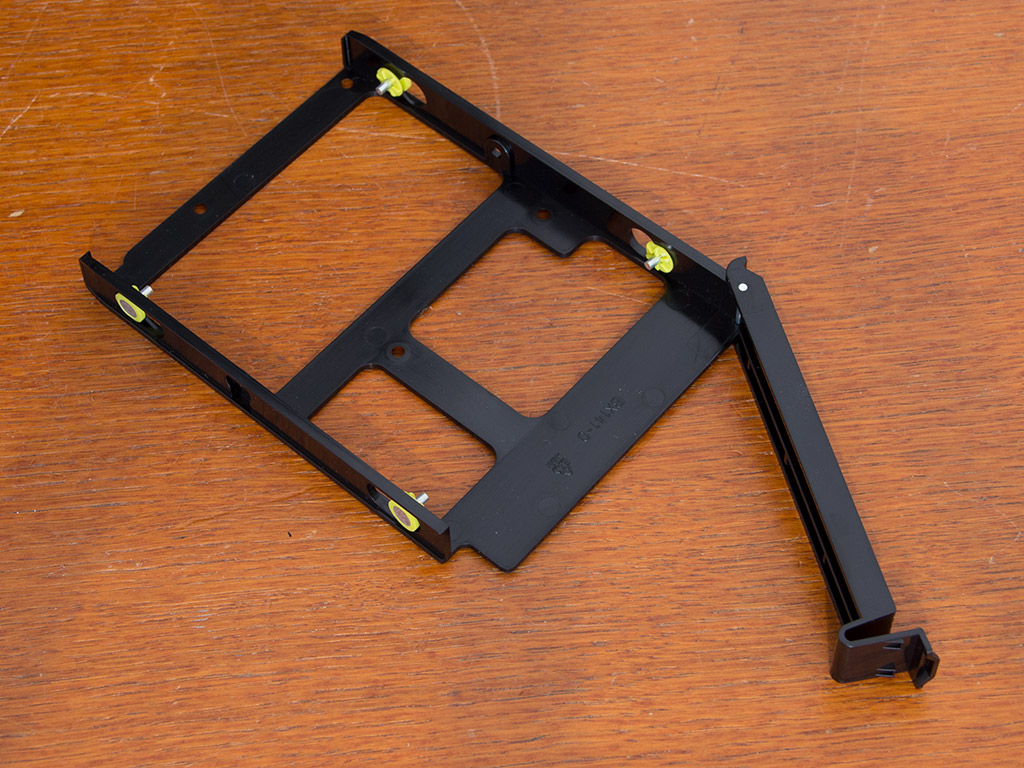
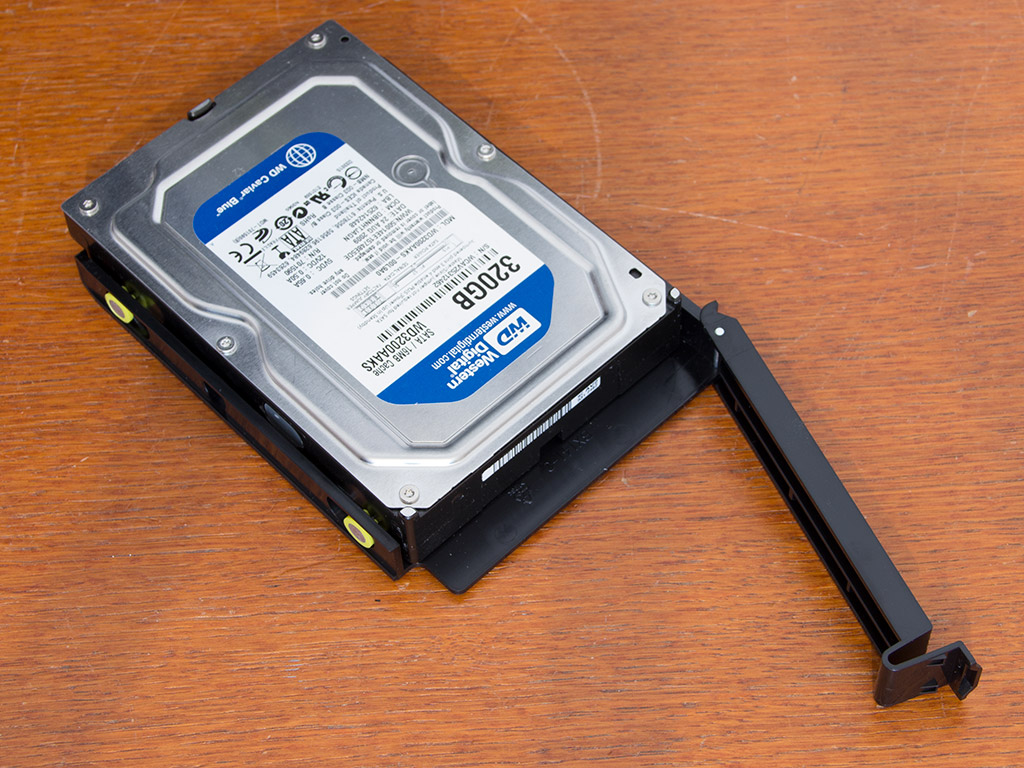
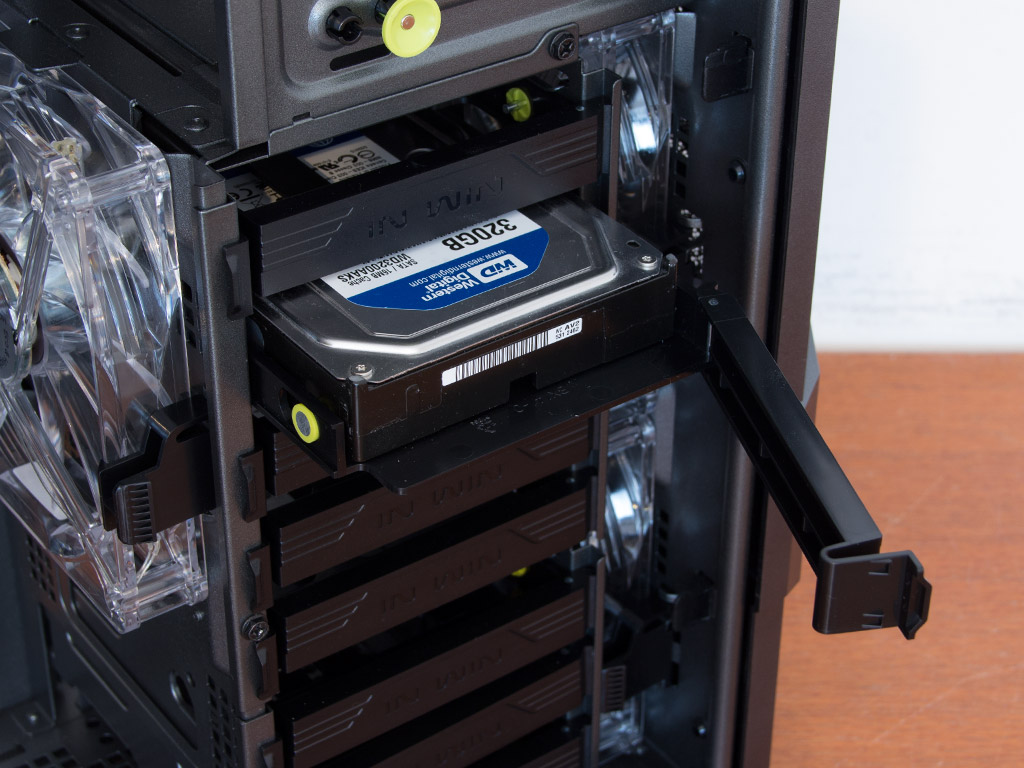
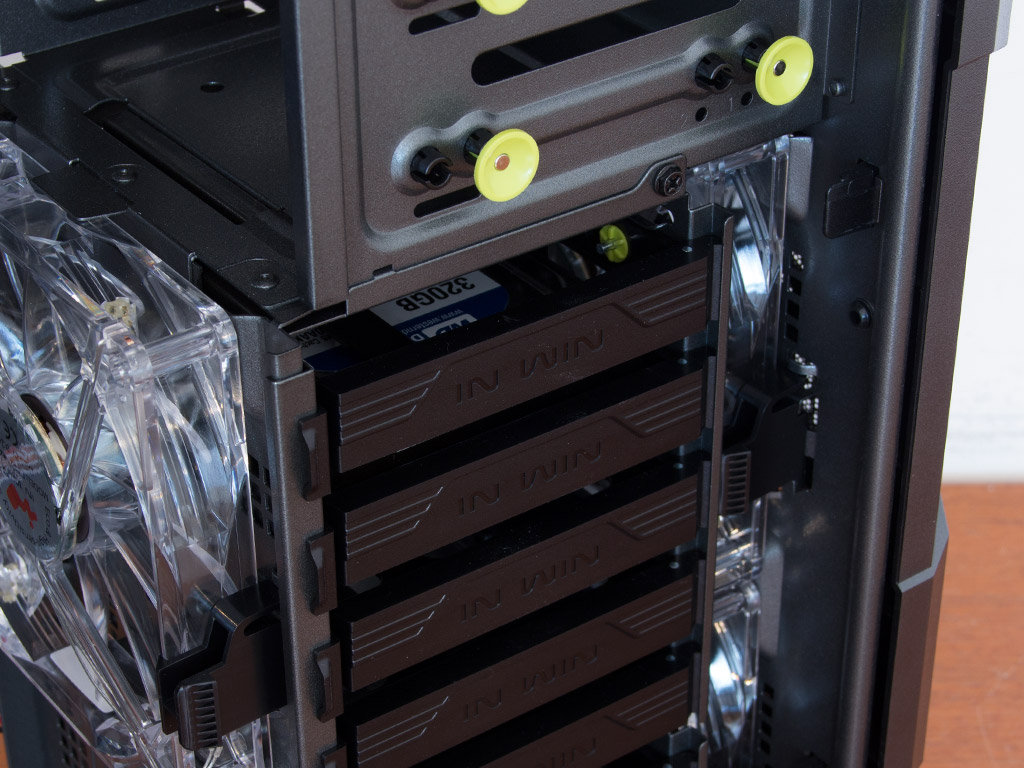
Installing a 3.5" hard drive within the GRone requires no tools at all. Simply take out the tray of your choice and squeeze the drive into place. Once installed, slide the unit back into the bay of your choice and close the front cover to secure it. For those wanting to install a 2.5" drive, like an SSD, traditional screws are required, but In Win even made a point of including those.
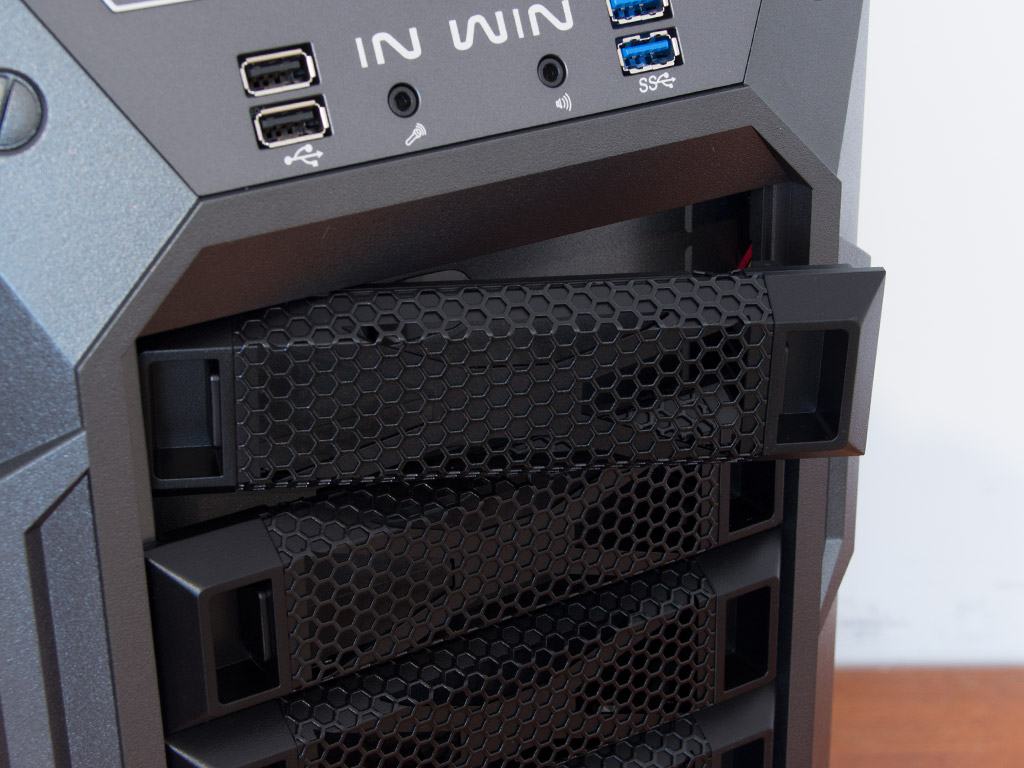


Adding a 5.25" device does not require tools either. Just release the cover of your choice and slide the drive into place. Once in position, push down on the green buttons to secure it. Optical drives will still have a bit of play, but you can easily sink a single screw into one of the remaining mounting holes to secure it completely. The top external bay is actually the second internal one, which makes accessing the very top internal bay externally impossible. It would have been nice of In Win to include a 5.25" to 2.5" adapter for two SSDs by, for example, leaving out the green buttons at the very top.
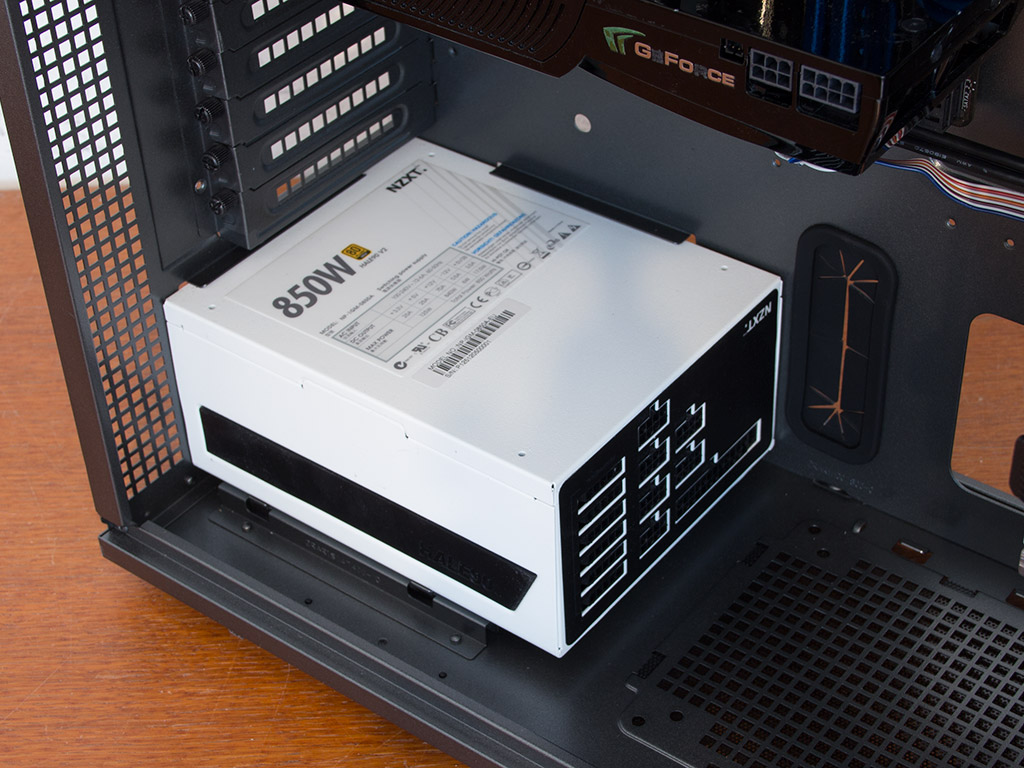
Installing the power supply is done by traditional means. Installing a larger unit is not a problem because of the spacious interior. A large PSU will fit even when using the alternative hard-drive cage location.
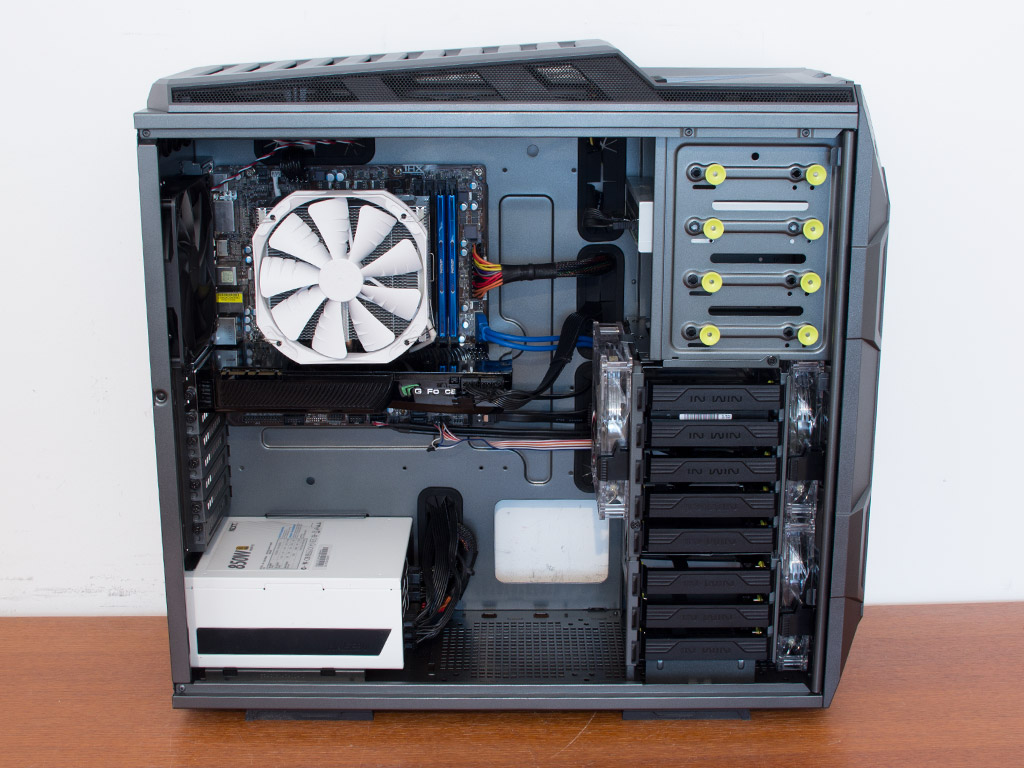
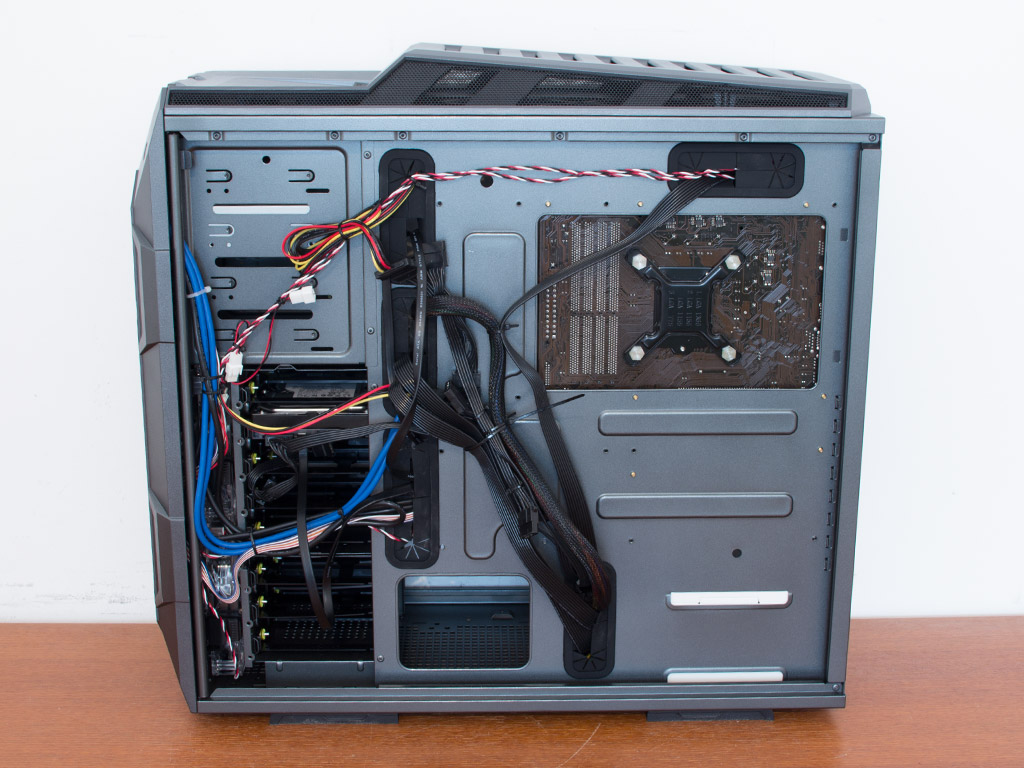
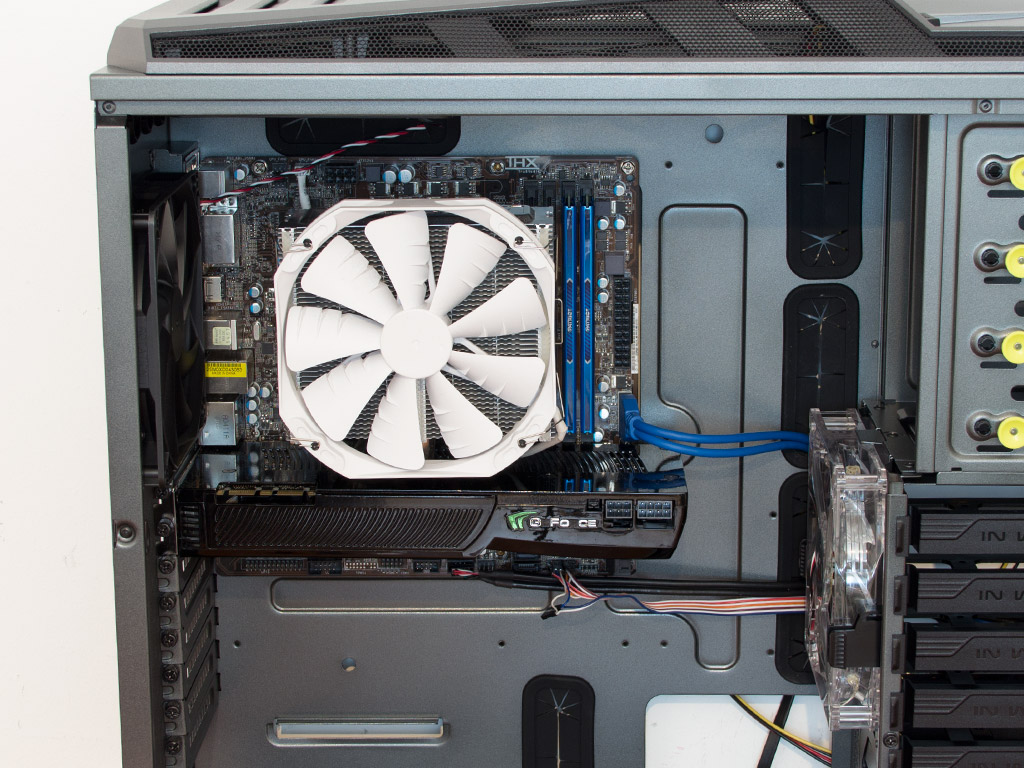
With everything in place, the interior of the GRone looks surprisingly clean. We used the opening closest to the PSU to route all the cables behind the motherboard tray, tying them together out of sight of the large opening in the bottom since there are no other means to secure them on the motherboard tray itself.
Finished Looks
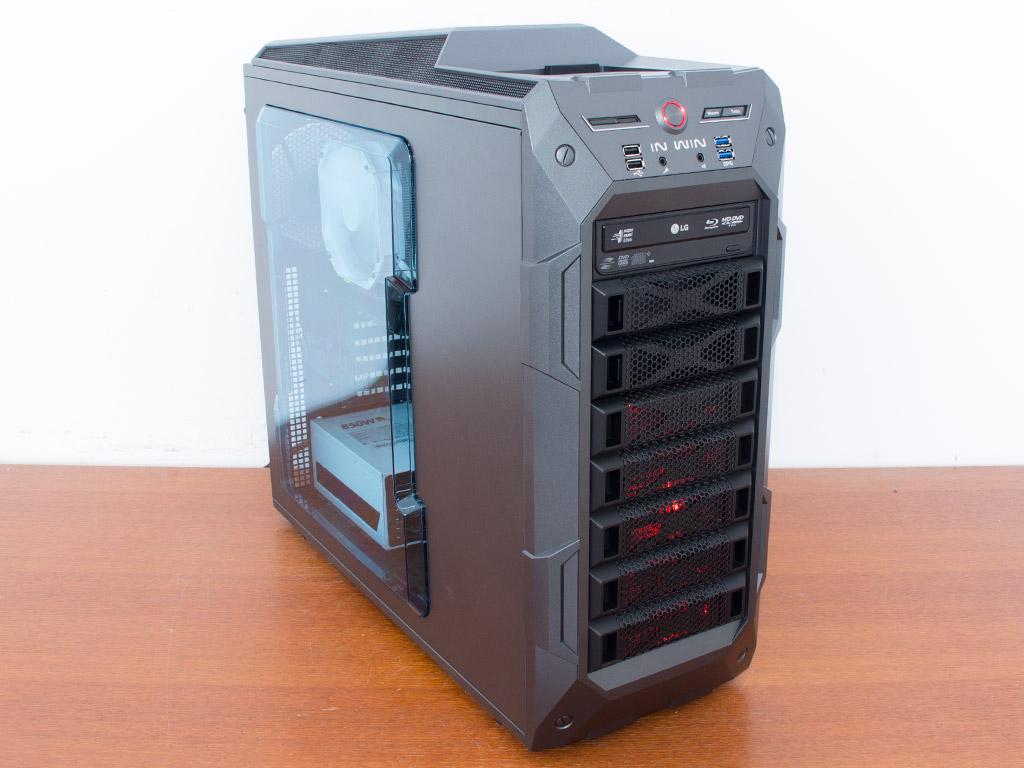
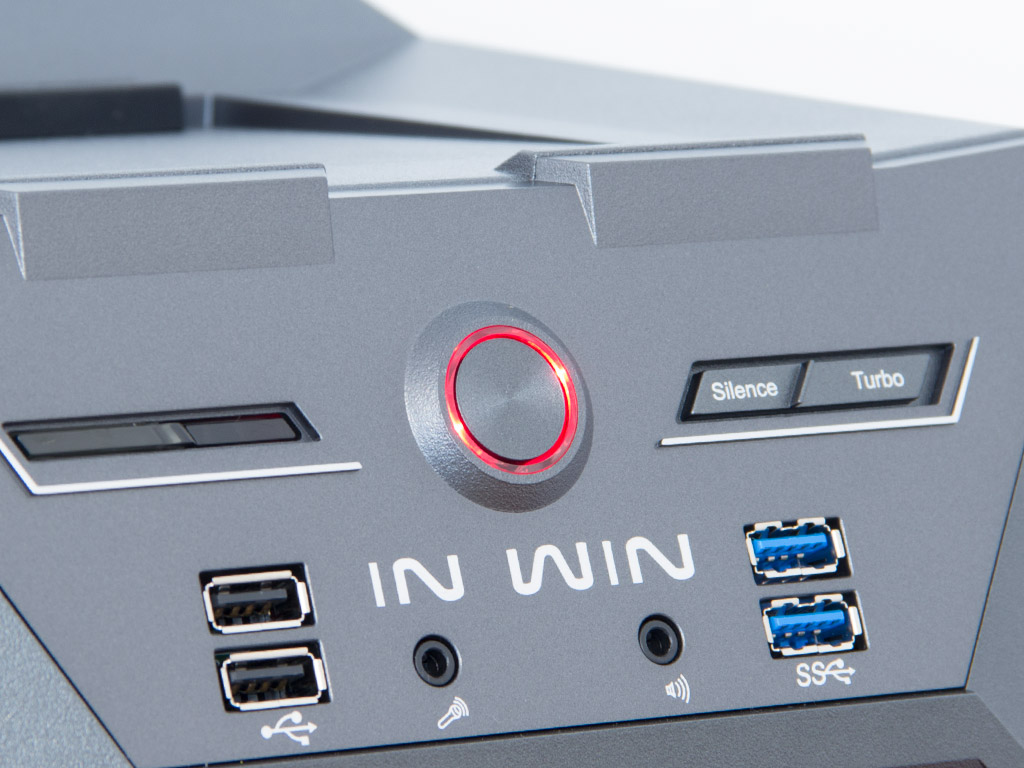
Replacing the panel is quite easy and does not require excessive amounts of force once everything is in place. The red power LED creating a ring around the power button and all three LED-equipped fans light up as soon as you turn the system on.
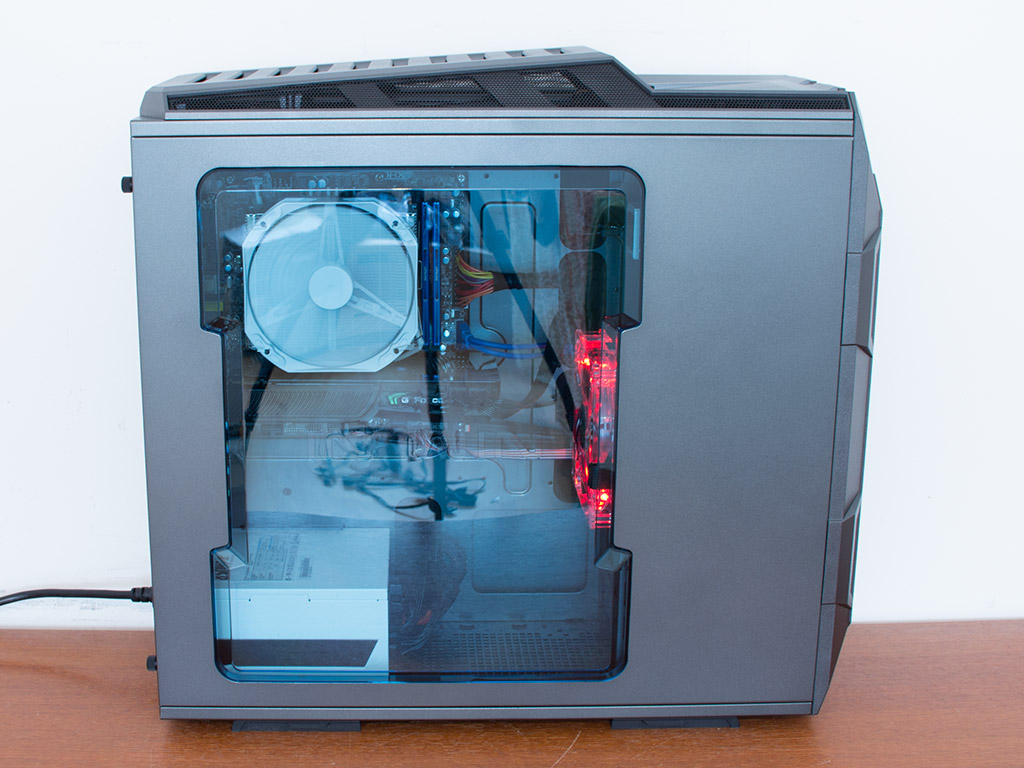
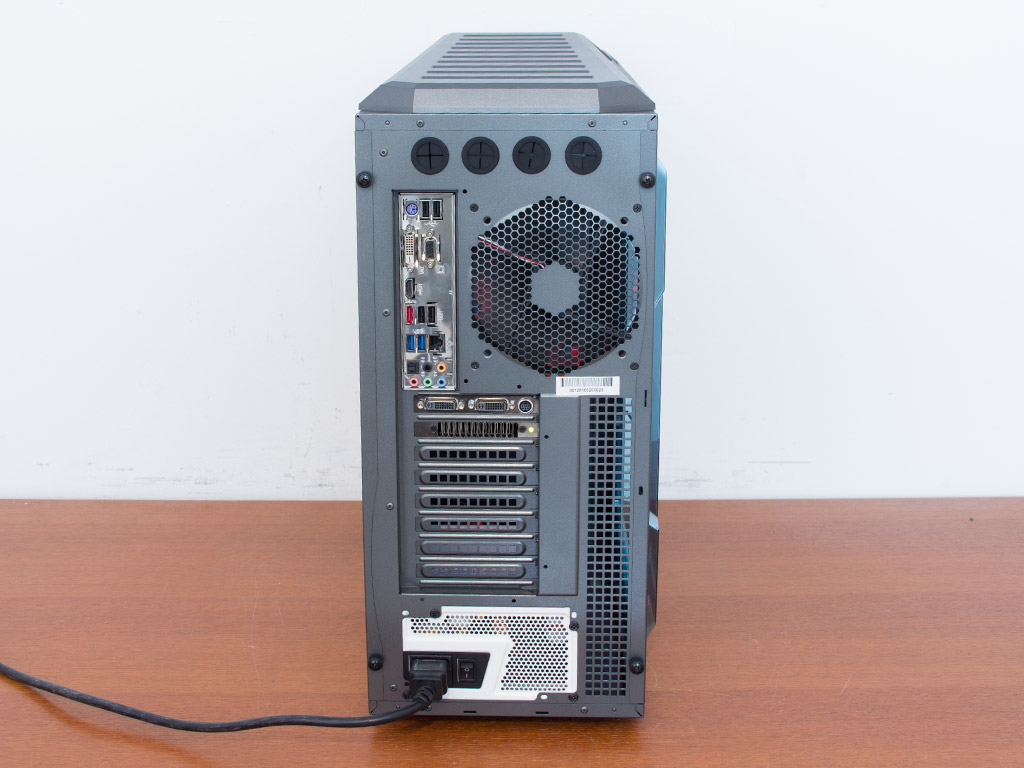
Looking through the fairly large window, the blue tint is a nice touch and goes well with the gray exterior of the GRone. The blue sheen even allows you to install components with differently colored PCBs, and the window is sized and positioned in a way to hide the drive bays nicely. Everything in the rear is also where you would expect it to be, and all the connectors are easily accessible.
Feb 23rd, 2025 21:00 EST
change timezone
Latest GPU Drivers
New Forum Posts
- Free Games Thread (4484)
- Keep a 4080s or take a 5070ti? (48)
- RTX 50 Series silently removed 32-bit PhysX support. (50)
- Gigabyte AORUS RTX5080 Missing 16 ROP's (26)
- eXtreme Outer Vision PSU Calculator Shutting Down :( (23)
- Dell Studio XPS 1640 CPU Upgrade (0)
- Will undervolting a 4090 keep the connector from melting? A discussion about electrical theory. (37)
- wood workstation project (23)
- What's your latest tech purchase? (23202)
- RDNA4 Prediction Time Part Deux!!! (32)
Popular Reviews
- ASUS GeForce RTX 5070 Ti TUF OC Review
- MSI GeForce RTX 5070 Ti Ventus 3X OC Review
- darkFlash DY470 Review
- MSI GeForce RTX 5070 Ti Vanguard SOC Review
- MSI GeForce RTX 5070 Ti Gaming Trio OC+ Review
- Galax GeForce RTX 5070 Ti 1-Click OC White Review
- Palit GeForce RTX 5070 Ti GameRock OC Review
- Fantech Aria II Pro Review
- Gigabyte GeForce RTX 5090 Gaming OC Review
- AMD Ryzen 7 9800X3D Review - The Best Gaming Processor
Controversial News Posts
- NVIDIA GeForce RTX 5090 Spotted with Missing ROPs, NVIDIA Confirms the Issue, Multiple Vendors Affected, RTX 5070 Ti, Too (449)
- AMD Radeon 9070 XT Rumored to Outpace RTX 5070 Ti by Almost 15% (304)
- AMD Plans Aggressive Price Competition with Radeon RX 9000 Series (271)
- AMD Radeon RX 9070 and 9070 XT Listed On Amazon - One Buyer Snags a Unit (247)
- Edward Snowden Lashes Out at NVIDIA Over GeForce RTX 50 Pricing And Value (241)
- AMD Denies Radeon RX 9070 XT $899 USD Starting Price Point Rumors (239)
- NVIDIA Investigates GeForce RTX 50 Series "Blackwell" Black Screen and BSOD Issues (226)
- New Leak Reveals NVIDIA RTX 5080 Is Slower Than RTX 4090 (215)