 48
48
Lian Li Lancool 207 Review
Thermal Stress Test »Assembly
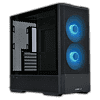
Adding the motherboard is done by traditional means using the spacers and screws. The board melts into the background a bit, thanks to its recessed location. The surrounding cutouts are well-placed, but you will notice the larger ones on the right edge due to the fact that these have no grommets - more so in the white version of the Lancool 207.
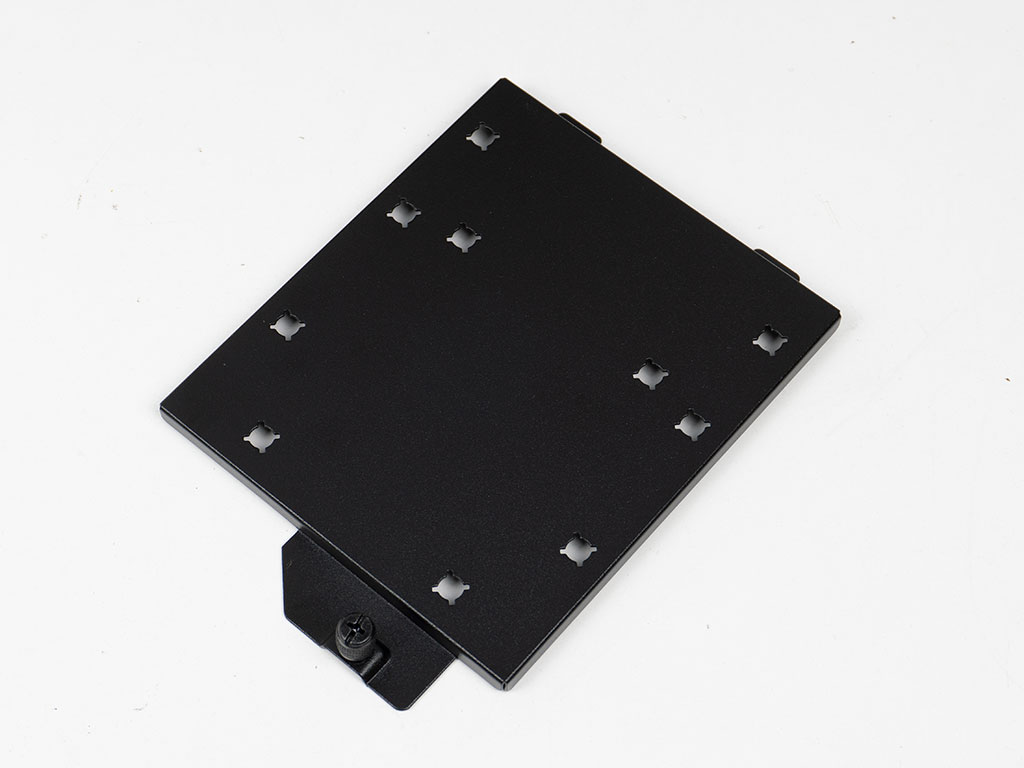
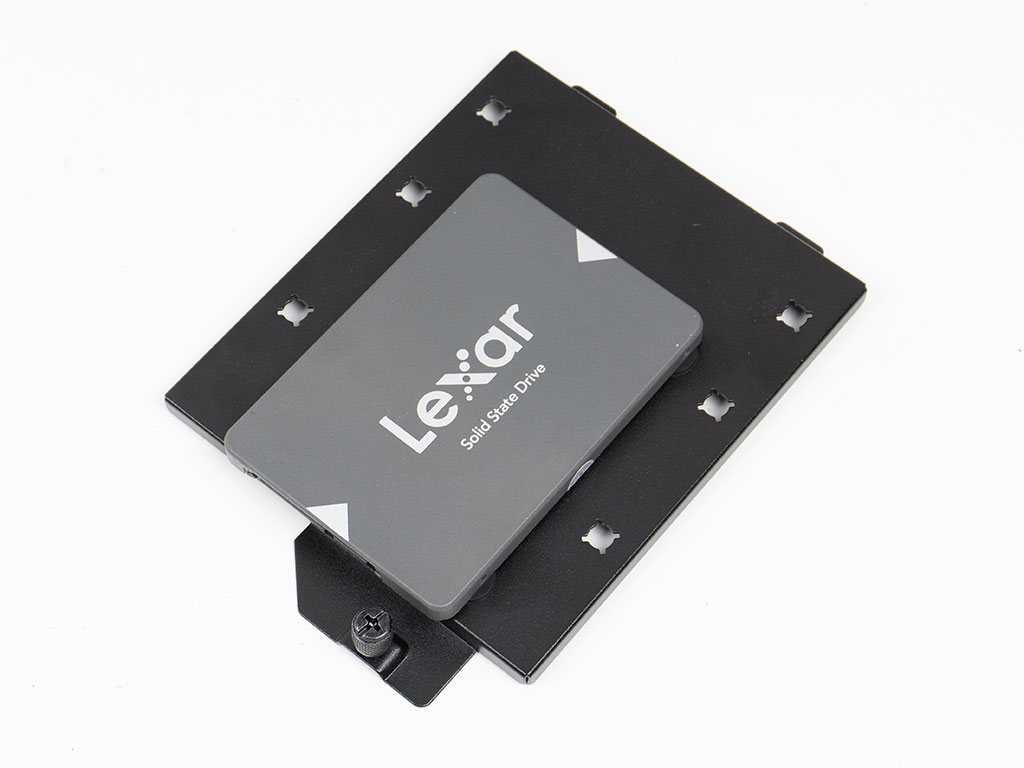
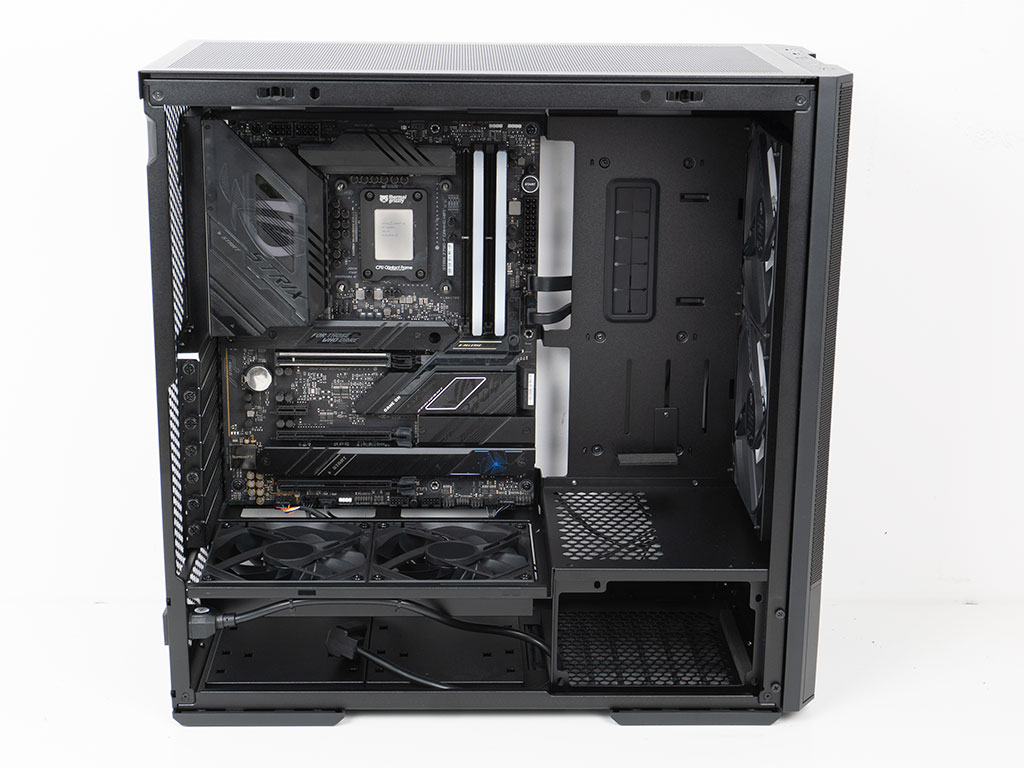
The storage plate comes with holes for both the drive sizes, so you first have to install the rubber rings in the right locations and then secure the drive into place with the special screws provided. The 2.5" drive sits in the center so its connector and the large thumb screw don't get in the way of each other.
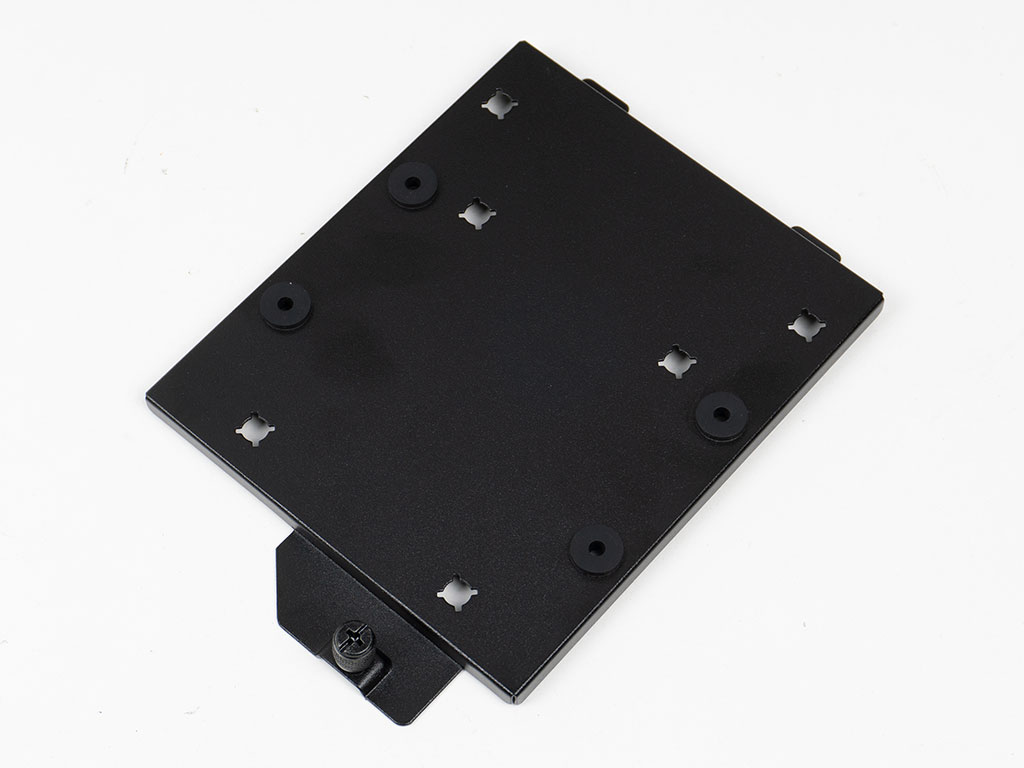
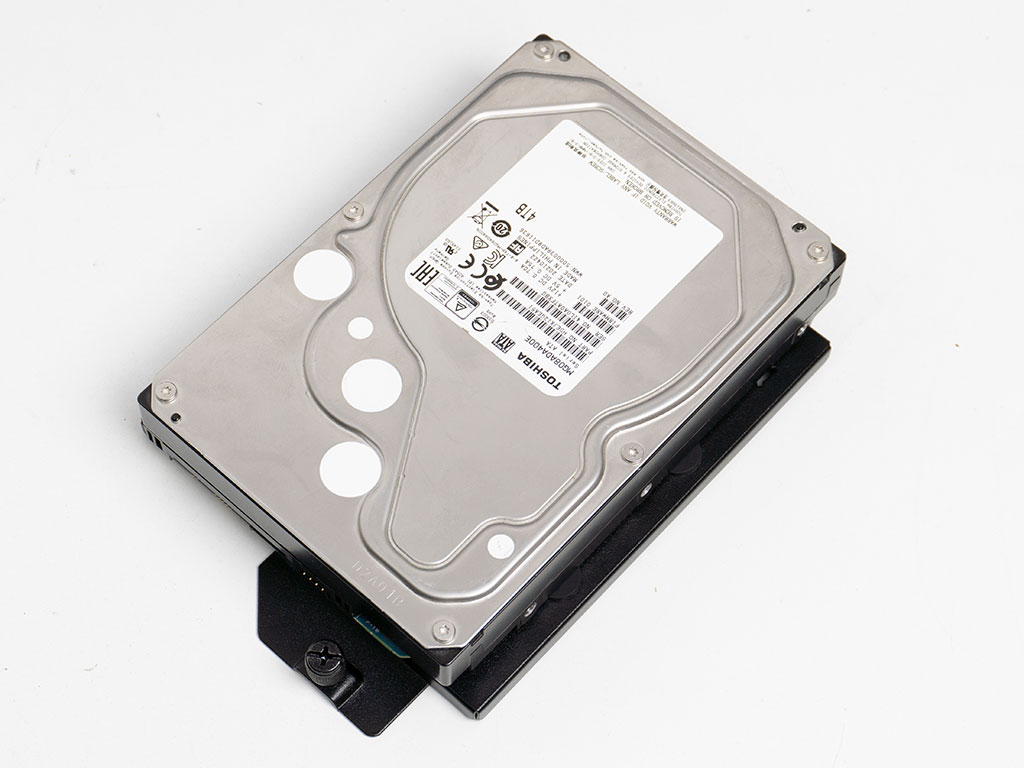
Adding a 3.5" drive is done the same way, but means that you have to push the rubber rings into other holes. The rest of the workflow is the same, using similar screws. With this unit in place, its data and power connectors are away from the screw as well.
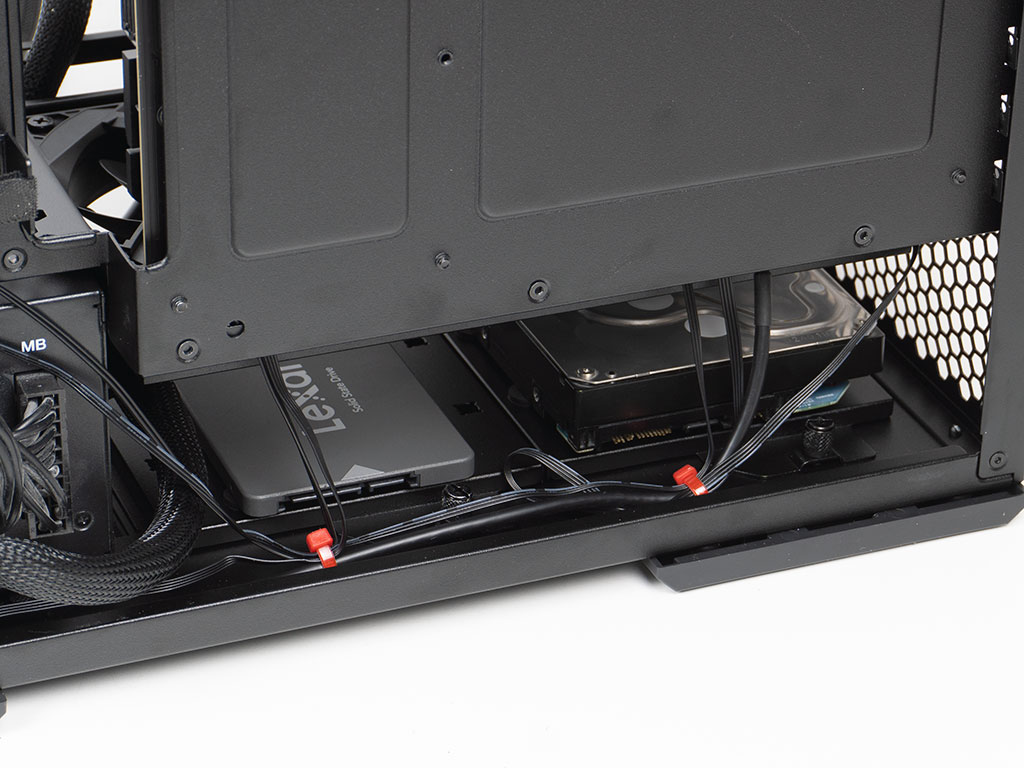
With both trays filled, you can slide them back into the chassis and secure them unto the floor with the captive thumb screws. As you can see, there are several hooks for cable management on the floor right in front of them, so having the ability to get to these trays from the other side is a welcome possibility.
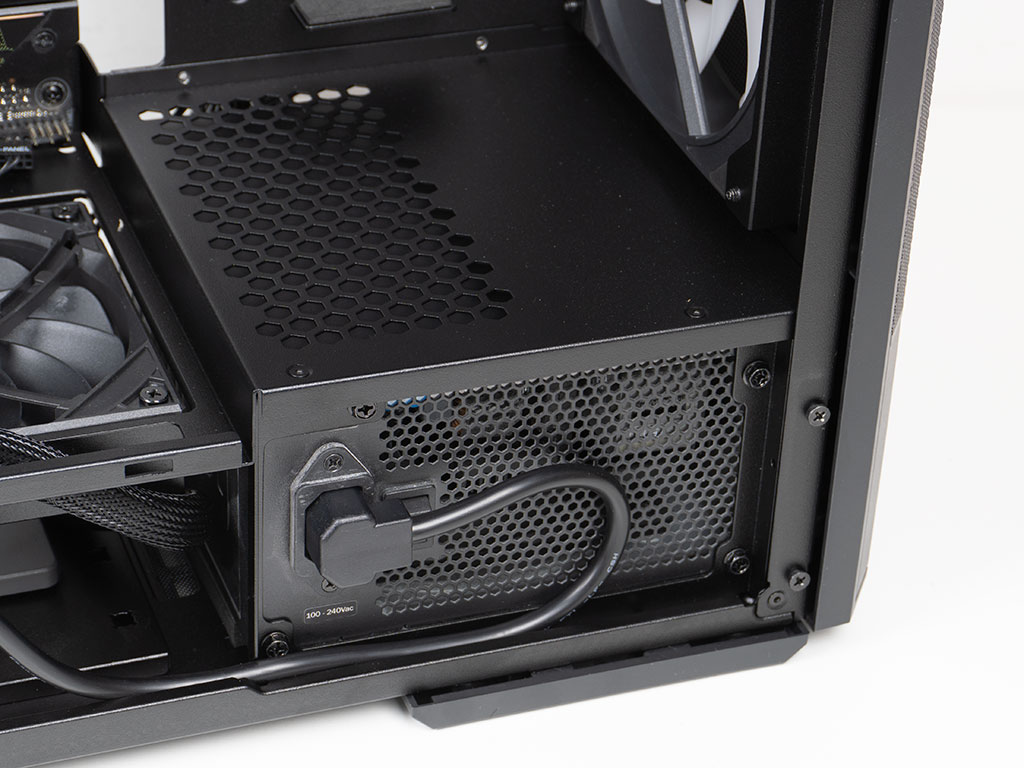
We installed a 750 Watt PSU which was listed at 160 mm, exactly the maximum which the Lancool 207 can hold officially. It fits perfectly with the needed room for the connectors of the modular leads. The angled power plug does require a little bit of creativity to accommodate all the different potential positions, but we installed two different PSUs during the review process and both were compatible with the provided cable and its plug shape. Since the on/off switch is on this side as well, you still have pretty easy access considering no tools are required to remove both the glass and then the mesh cover to reach it.
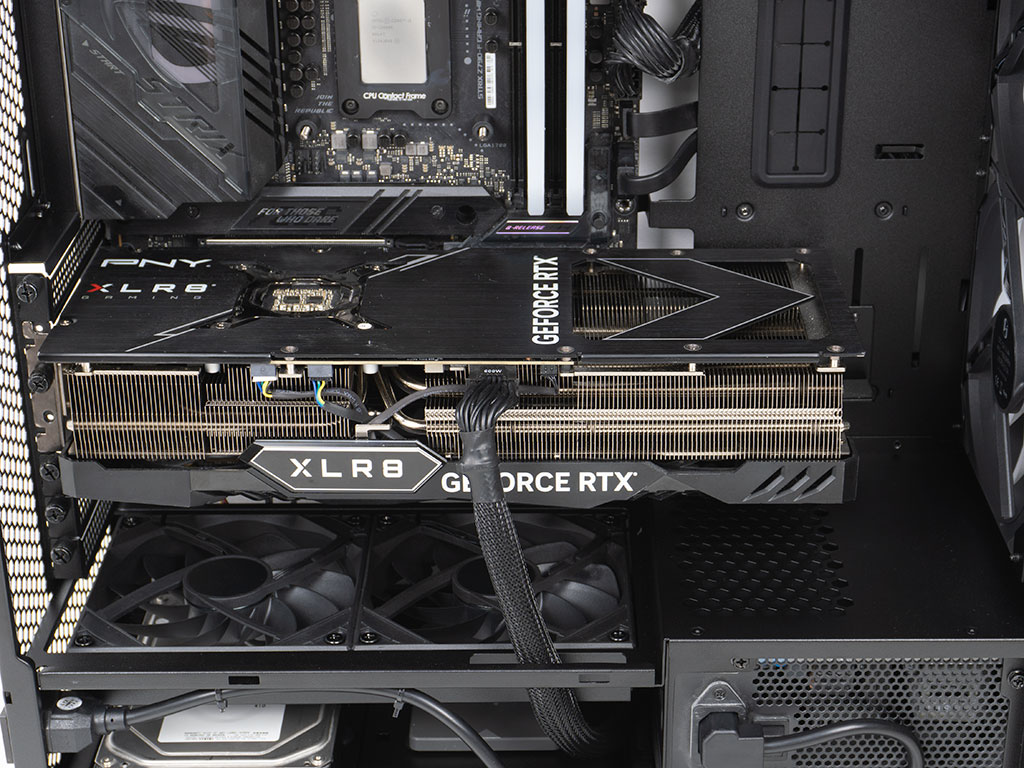
Adding a GPU was a breeze and the integrated GPU support bracket works really well. The Lancool 207 sports an opening in the shroud intended for the graphics card power cord, ensuring that things remain nice and tidy.
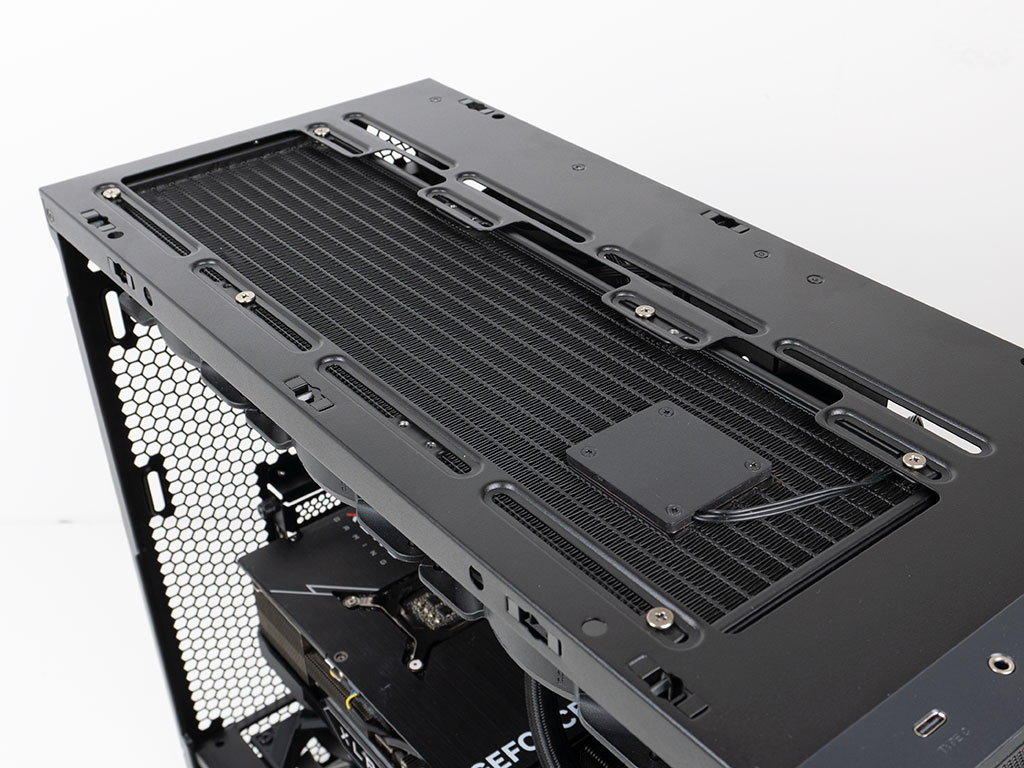
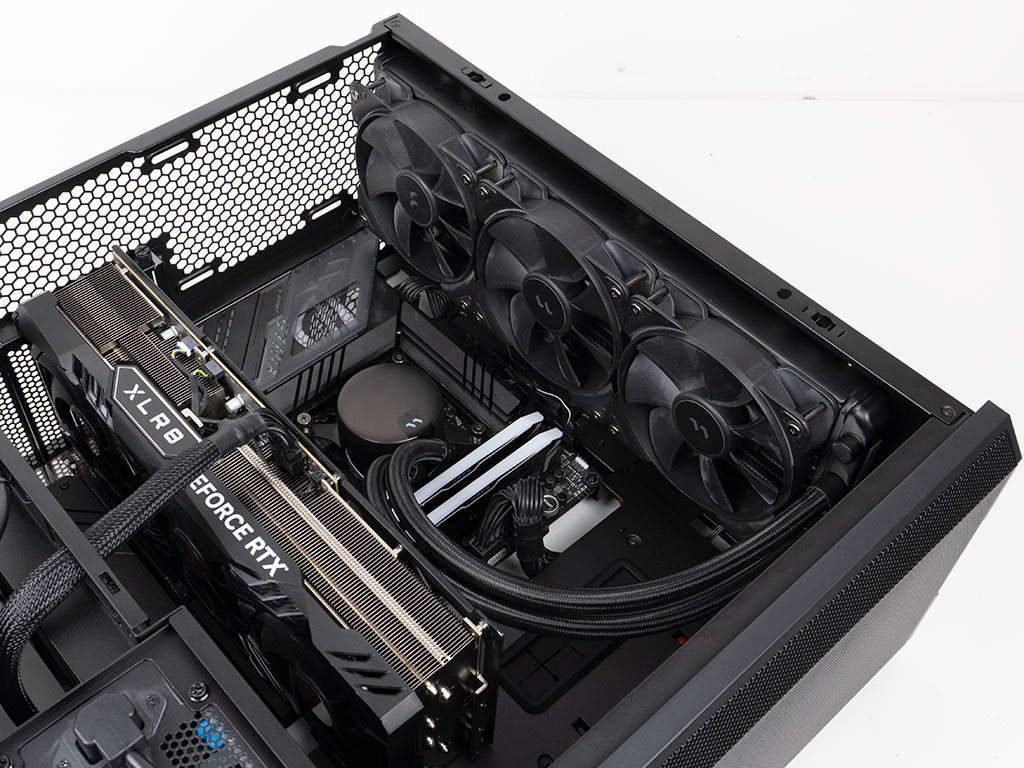
With all the components installed, adding the 360 mm AIO still provided lots of room to reach any headers at the top edge of the board and the rear fan mounting position remains completely accessible as well. There is a little bit of a cable mess you can't hide when viewing the system from the upward angle, but it won't be visible in a normal setup environment.
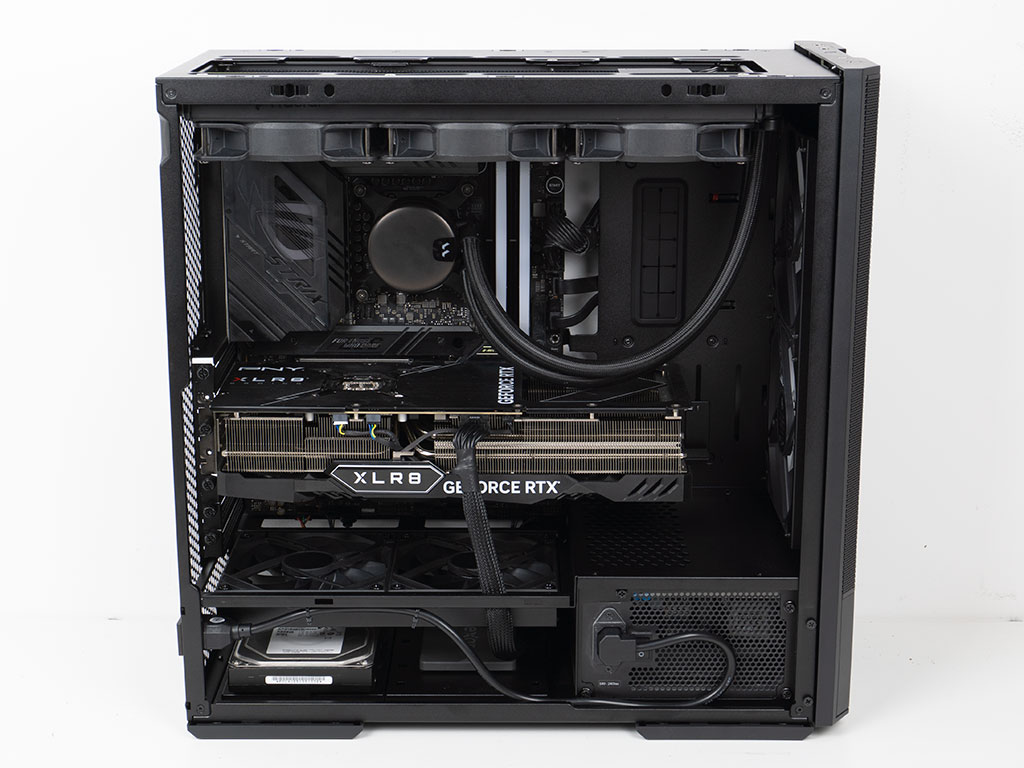
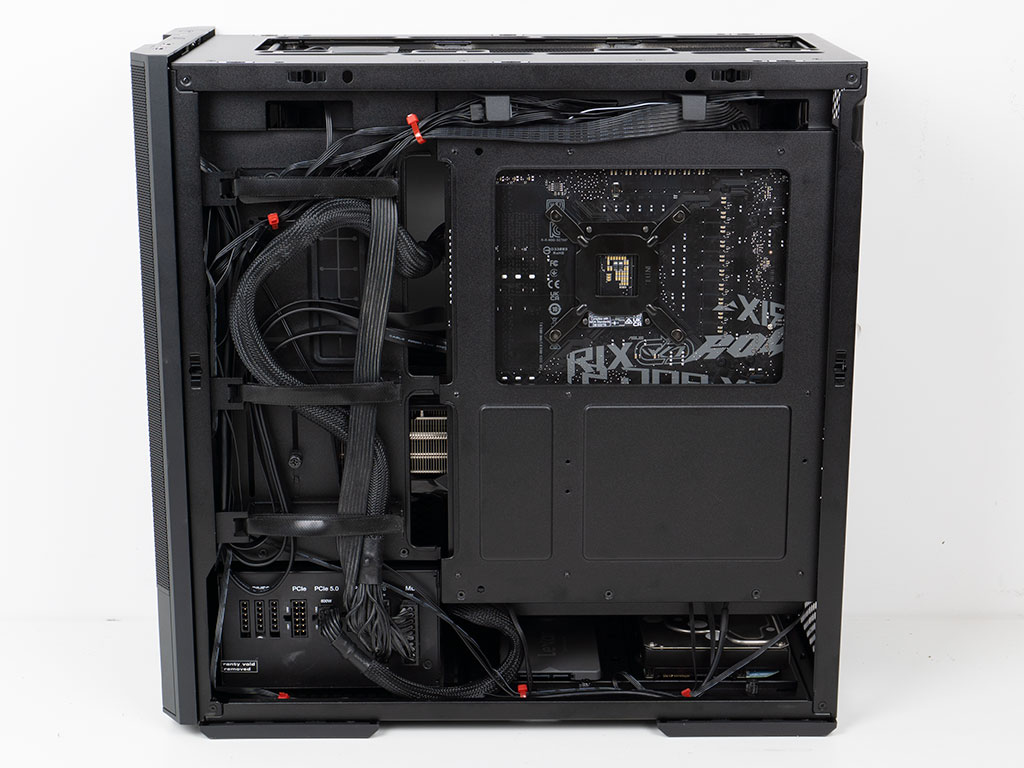
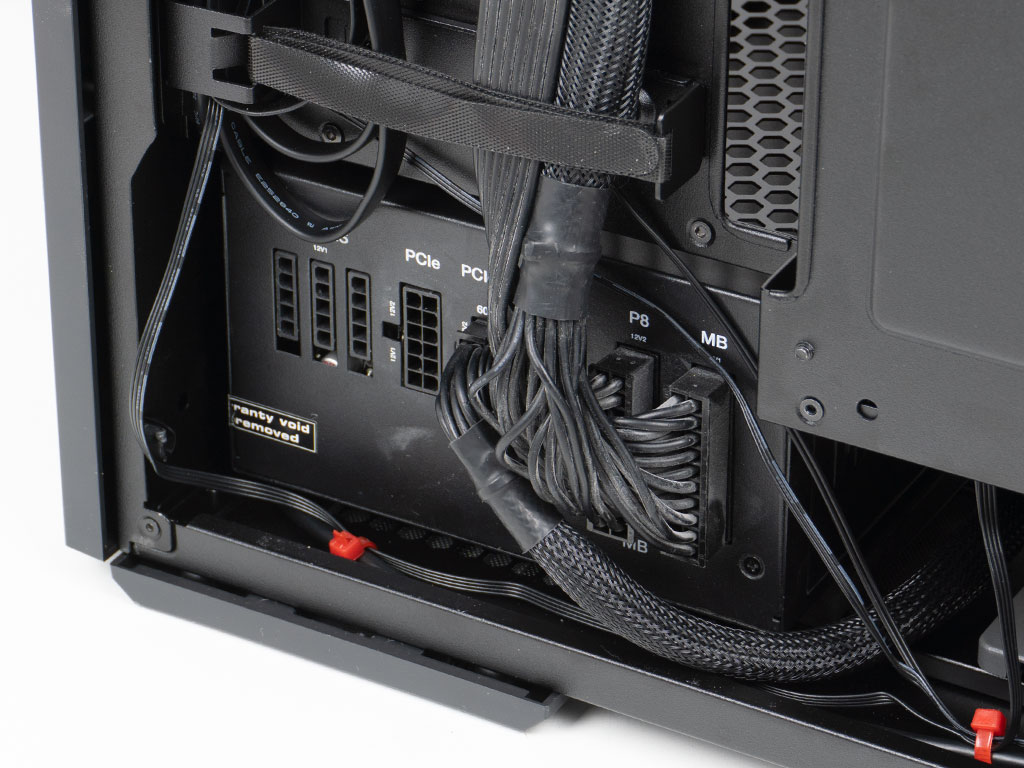
All assembled, the interior is nice and clean on the visible side. While the cable management on the back feels a little noisy, everything was easy to sort and keep in place. We did end up using a few Zip Ties here and there - especially to keep the small wiring at the top contained, but you can and should opt for the included Velcro strips on most of these.
Finished Looks
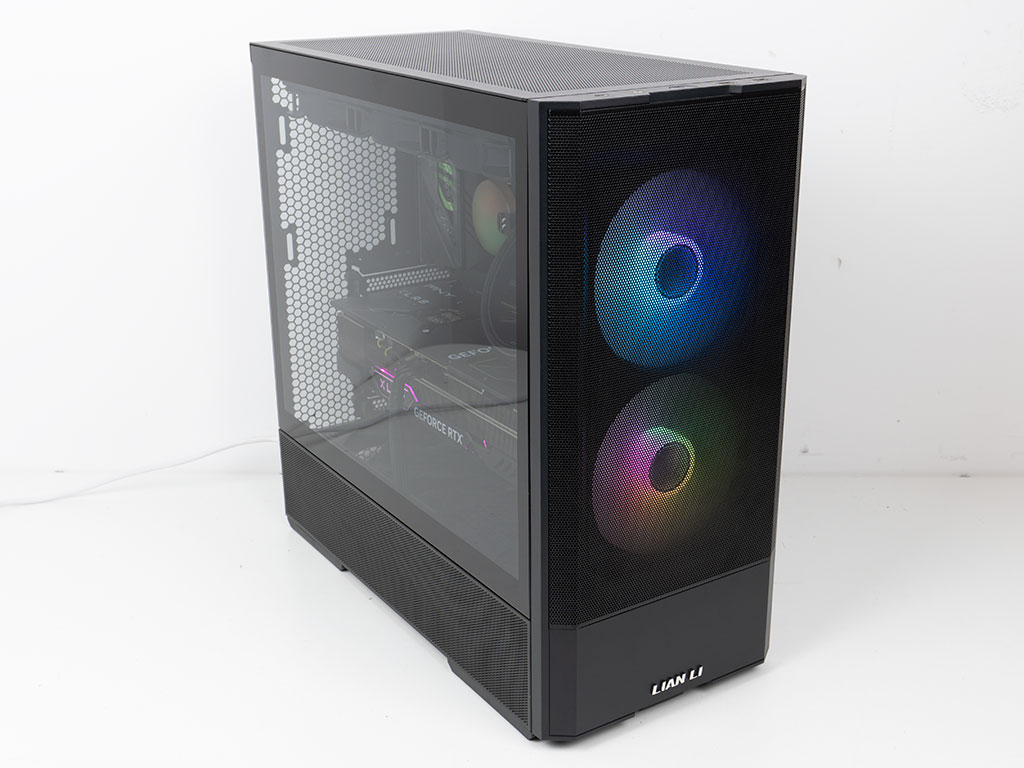
Turning on the Lian Li Lancool 407, you will immediately notice the two 140 mm ARGB fans in the front. Thanks to the design with these units in mind, the case looks gorgeous in that part of the chassis. While there is no power LED, none is needed anyway. If there was an LED, one for HDD activity would have been more useful, but including that is no longer a given in modern times anyway.
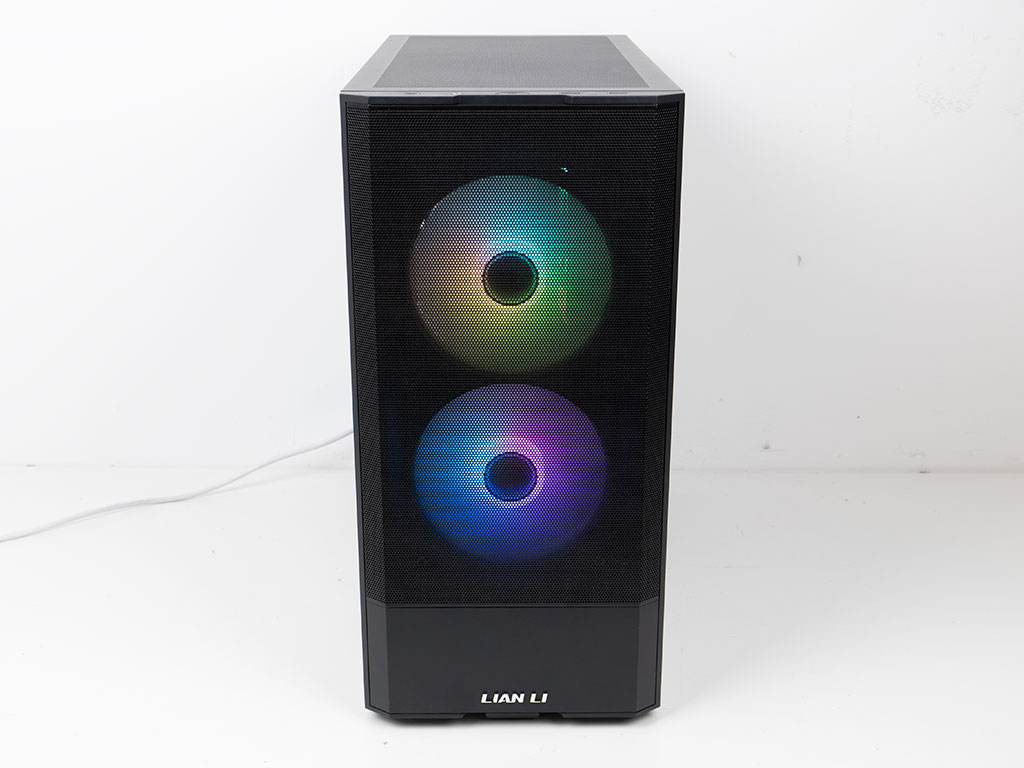
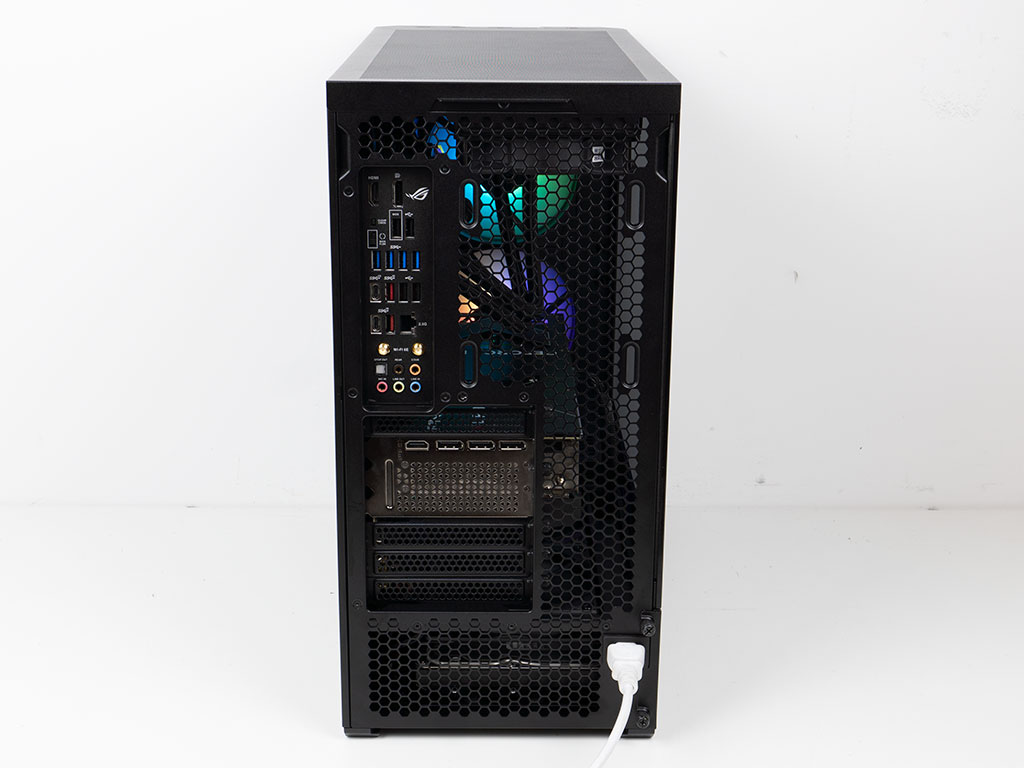
The fans in the front can be seen in all their glory right behind the metal mesh, without any visible obstructions like structural components of the case. Lian Li has done an excellent job by embedding these 30 mm units here. In the rear, the large vented area allows for air to flow past the components out the back with as little restriction as possible.
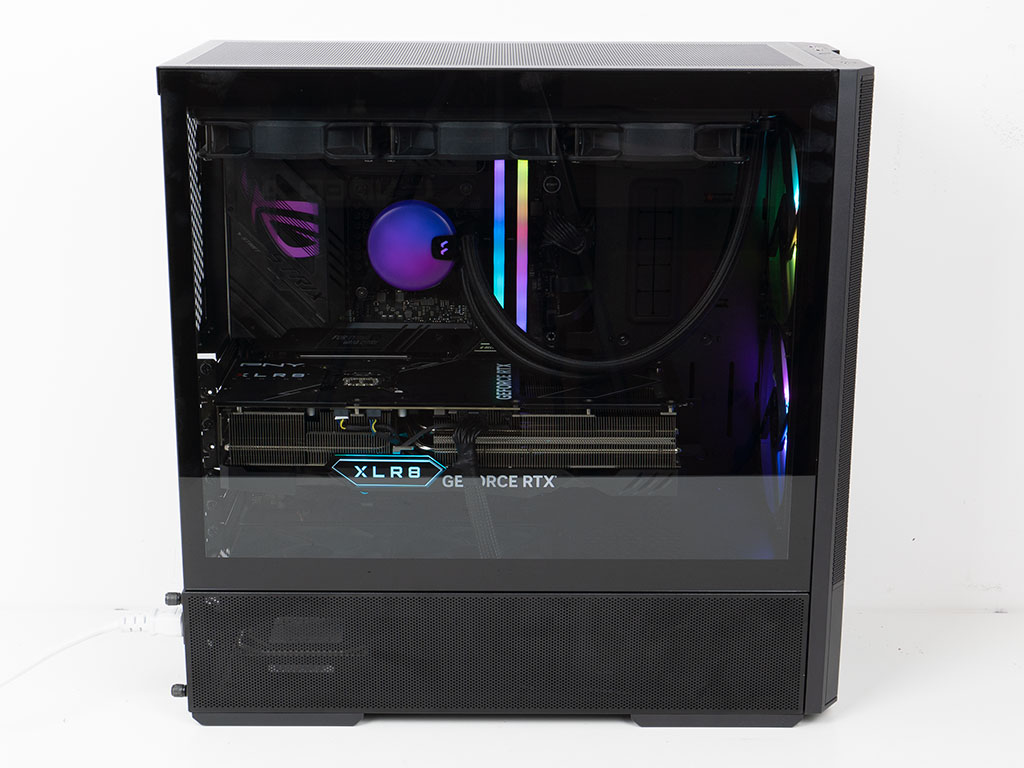
Thanks to the clear glass with its black framing, you can feast your eyes on your components. In a darker environment the glow of the fans and your ARGB components will certainly make for a nice end-result - especially if you opt for cooling using ARGB equipped fans.
Mar 13th, 2025 03:32 EDT
change timezone
Latest GPU Drivers
New Forum Posts
- The future of RDNA on Desktop. (130)
- I'm looking for a good tool to make the 3D scanning of my mini-pc using the photogrammetry and my Kinect 2. (78)
- Nvidia's GPU market share hits 90% in Q4 2024 (gets closer to full monopoly) (908)
- Missing nvidia control panel after using nvcleanstall with latest drivers (0)
- RX 9070 availability (223)
- Choosing the Perfect Motherboard to Complete My PC Build (9)
- Dell Workstation Owners Club (3309)
- What's your latest tech purchase? (23290)
- How's your old spinner holding up? (47)
- Shadow of the Tomb Raider benchmark (541)
Popular Reviews
- AMD Ryzen 9 9950X3D Review - Great for Gaming and Productivity
- XFX Radeon RX 9070 XT Mercury OC Magnetic Air Review
- Sapphire Radeon RX 9070 XT Nitro+ Review - Beating NVIDIA
- Dough Spectrum Black 32 Review
- FSP MP7 Black Review
- ASUS Radeon RX 9070 TUF OC Review
- AMD Ryzen 7 9800X3D Review - The Best Gaming Processor
- NVIDIA GeForce RTX 5070 Founders Edition Review
- ASUS GeForce RTX 5090 TUF Review
- MSI MAG B850 Tomahawk Max Wi-Fi Review
Controversial News Posts
- NVIDIA GeForce RTX 50 Cards Spotted with Missing ROPs, NVIDIA Confirms the Issue, Multiple Vendors Affected (513)
- AMD Radeon RX 9070 and 9070 XT Listed On Amazon - One Buyer Snags a Unit (261)
- AMD RDNA 4 and Radeon RX 9070 Series Unveiled: $549 & $599 (260)
- AMD Mentions Sub-$700 Pricing for Radeon RX 9070 GPU Series, Looks Like NV Minus $50 Again (249)
- NVIDIA Investigates GeForce RTX 50 Series "Blackwell" Black Screen and BSOD Issues (244)
- AMD Radeon RX 9070 and 9070 XT Official Performance Metrics Leaked, +42% 4K Performance Over Radeon RX 7900 GRE (195)
- AMD Radeon RX 9070-series Pricing Leaks Courtesy of MicroCenter (158)
- AMD Radeon RX 9070 XT Reportedly Outperforms RTX 5080 Through Undervolting (101)