 42
42
Lian Li O11 AIR MINI Review
Assembly & Finished Looks »A Closer Look - Inside
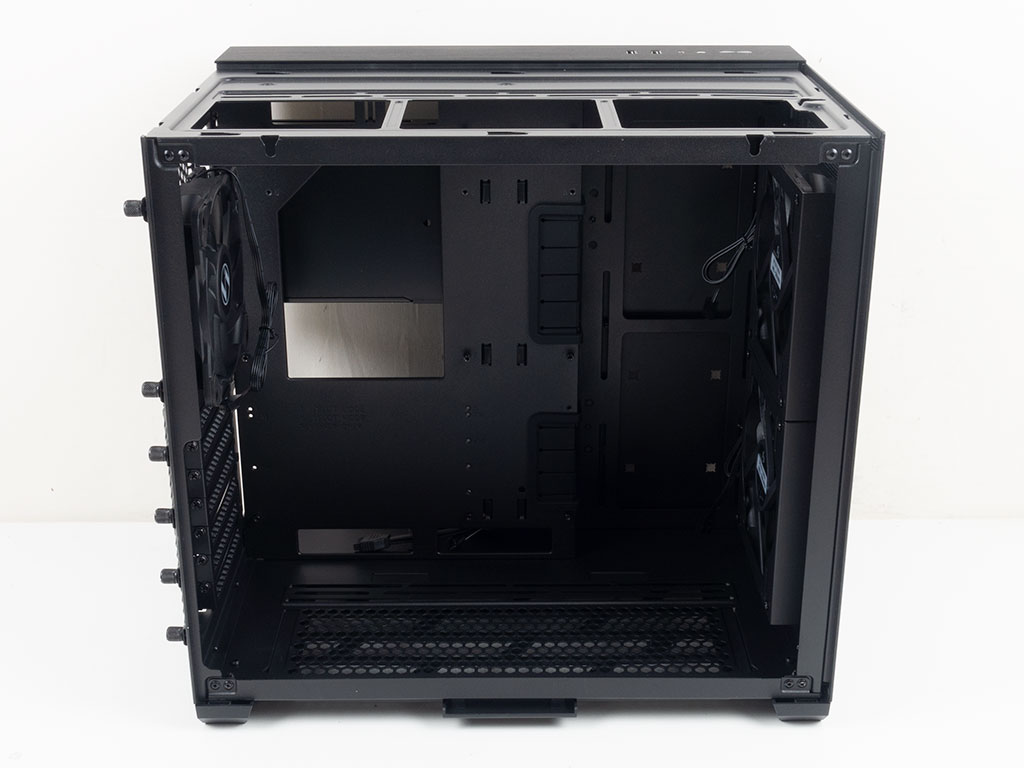
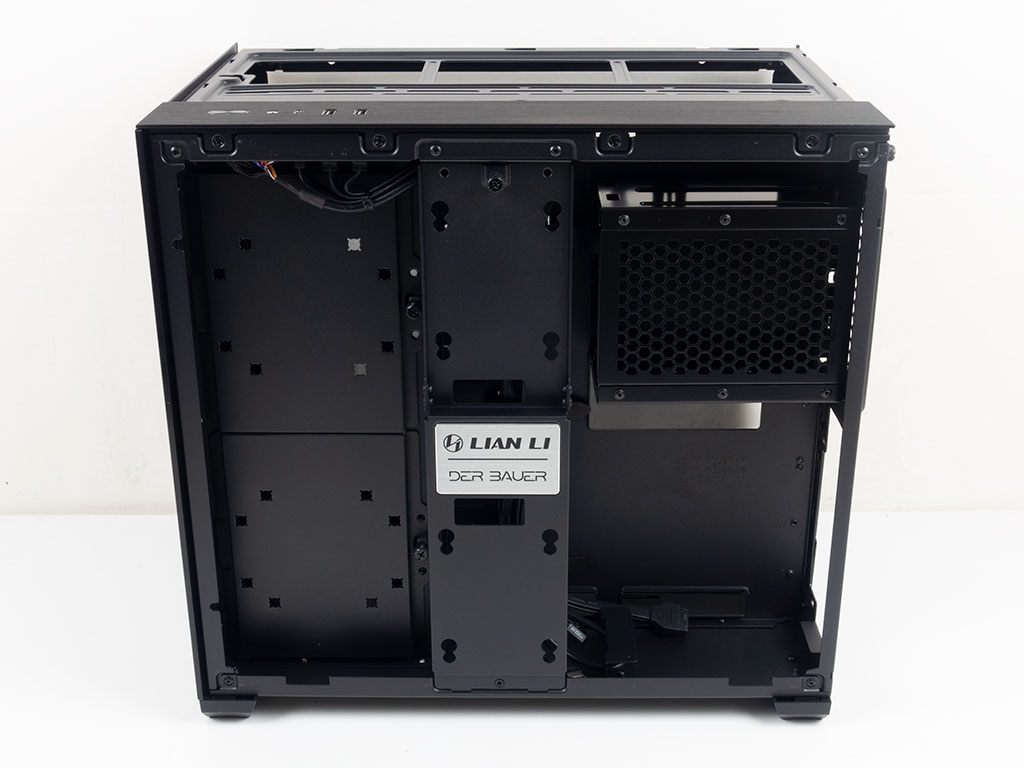
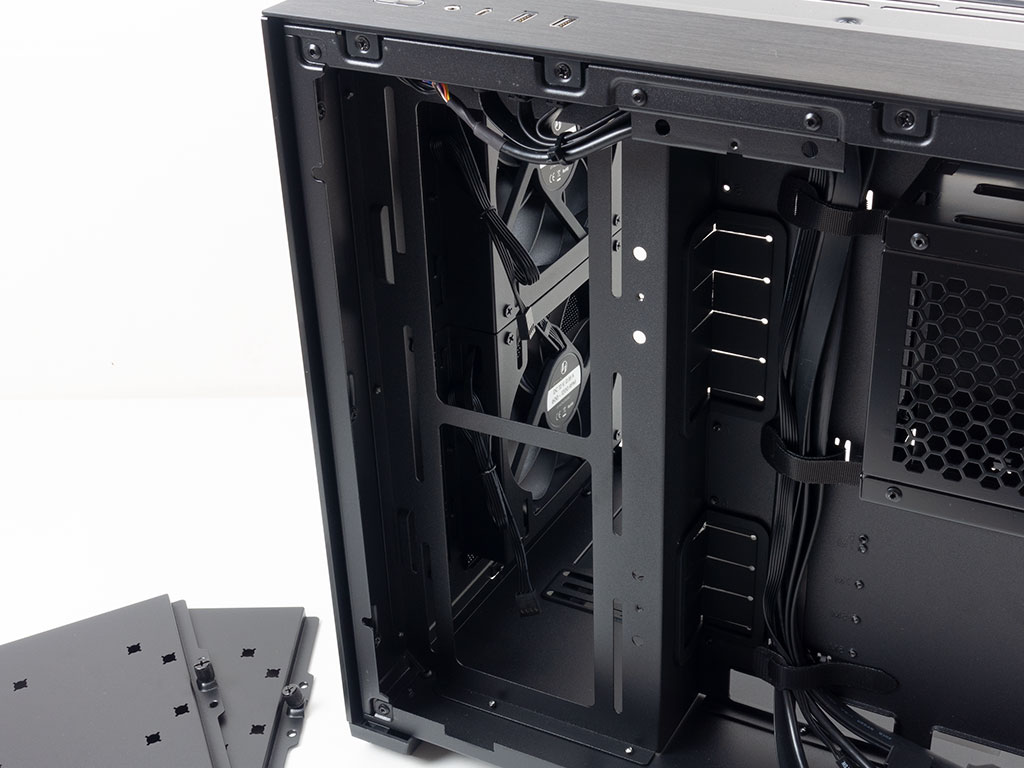
The general interior layout of the Lian Li O11 Air Mini has not changed much from its predecessors, but Lian Li has tweaked it considerably to improve upon it. The main difference in the frame is why there is now a 90° angle for the cable management, so you no longer need that extra mounting plate the O11 Dynamic Mini featured to install a wide ATX board. On top of that, Lian Li has included additional parts to allow for more hard drives within the chassis. There is also a redesigned cove plate with the "Der Bauer" branding at the center, behind the motherboard tray—it may also hold two SSDs, and you may remove it to access the rest of the space.

Within the main chamber of the chassis, the rear is simply where you would find your expansion slots with each cover held in place by a traditional screw. The 120 mm PWM fan can be found in the very top.
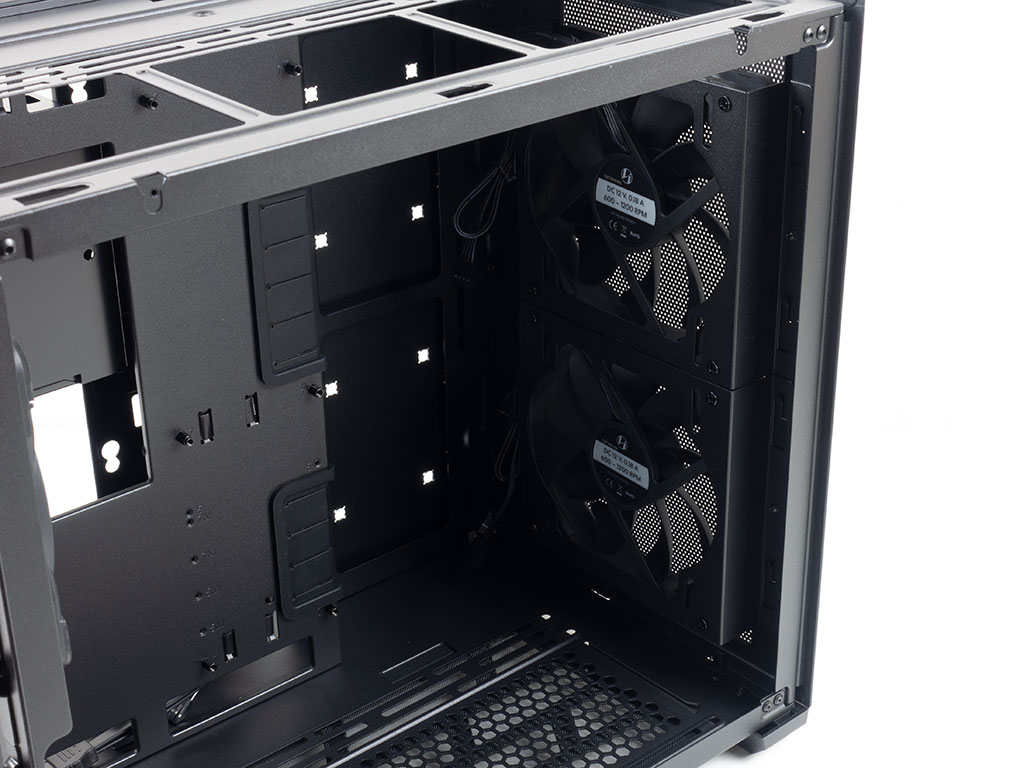
In the front, the space is taken up by two pre-installed 140 mm fans. All the fans within the Lian Li O11 Air Mini are retail-grade, so there should be no reason for you to want to replace them. There is still the ability to install liquid cooling of up to 280 mm on the side of the case, but Lian Li has placed two HDD plates there as well, so you may use the space for storage purposes instead.
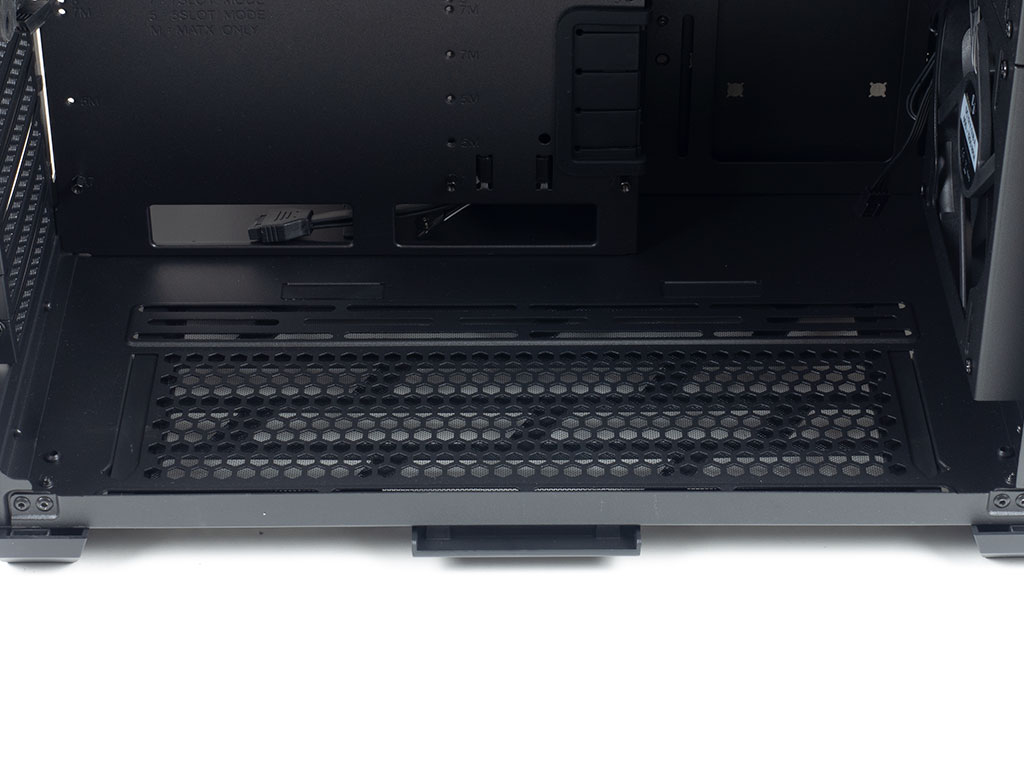
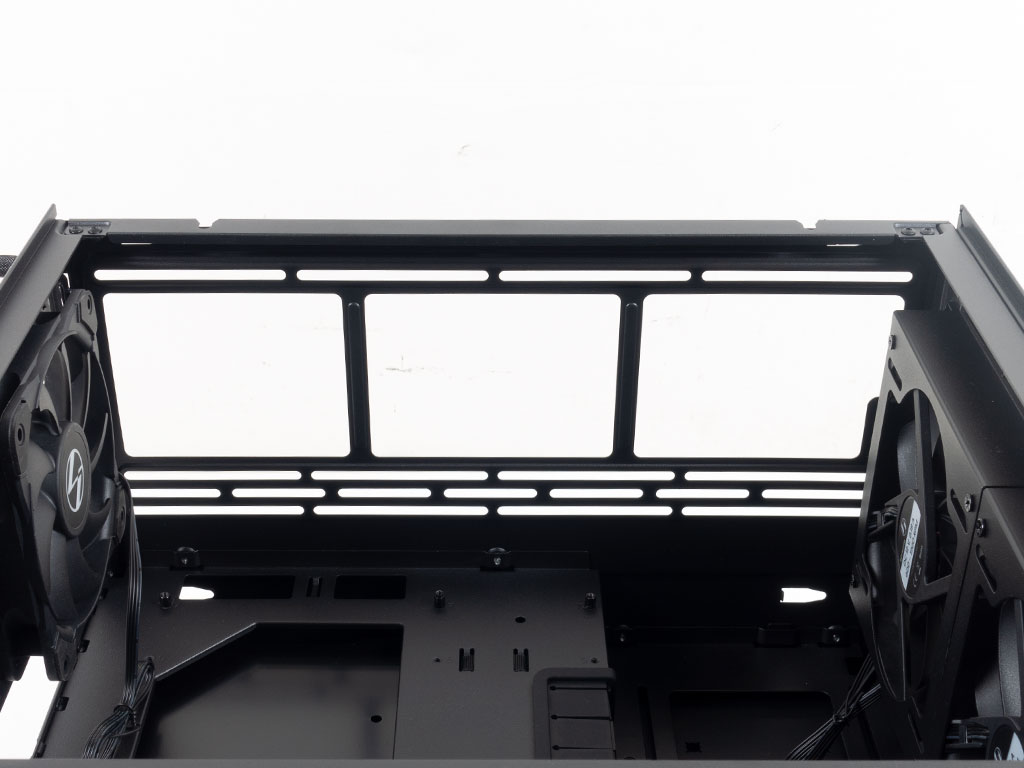
As is the case with all other O11 Dynamic variants, the Air Mini features another mounting position for two 120 or 140 mm fans with the option of up to a 280 mm radiator on the floor of the chassis. Exactly the same setup is seen in the ceiling. Obviously, the thickness of what you can install really depends on the motherboard size and how you have set up the rear motherboard backplate.
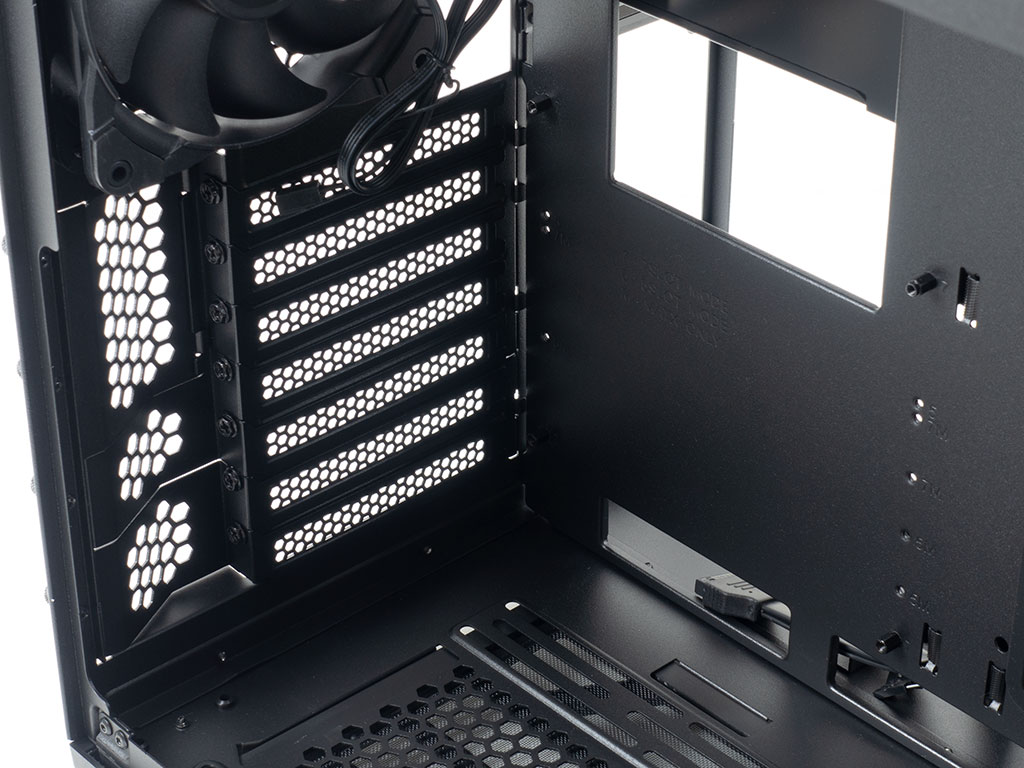
The two mounting plates for hard drives allows for either 2.5 or 3.5" drives to be installed here. Each plate is held in place by a thumb screw, and removing these reveals the mounting for either fans or radiators.

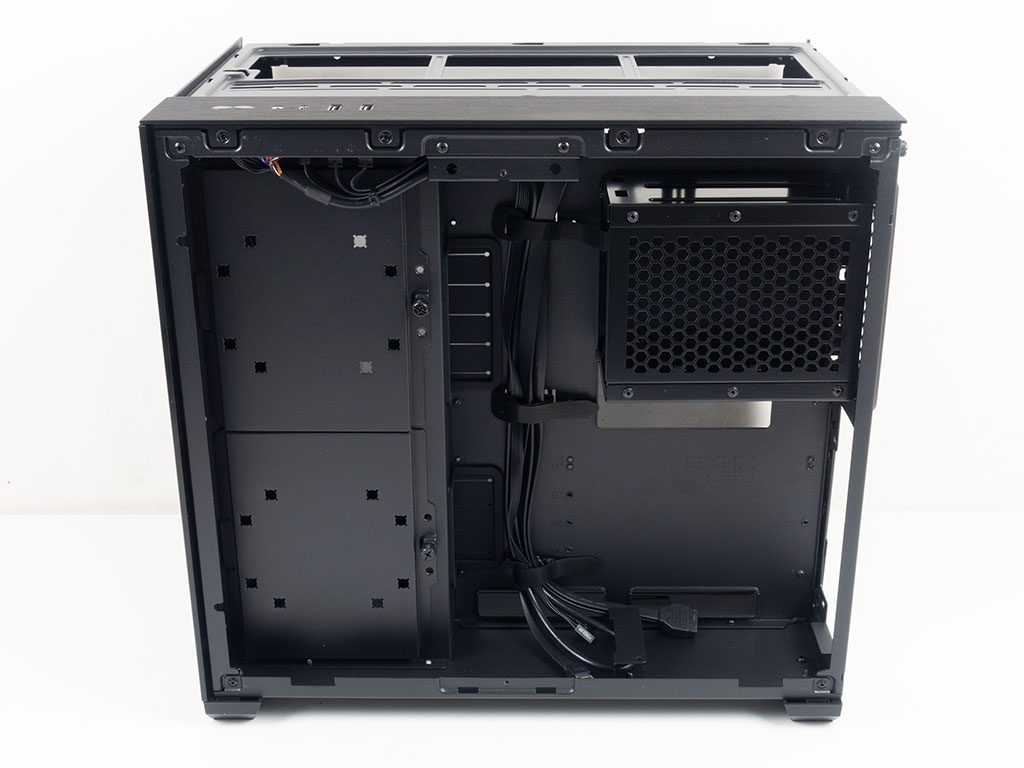
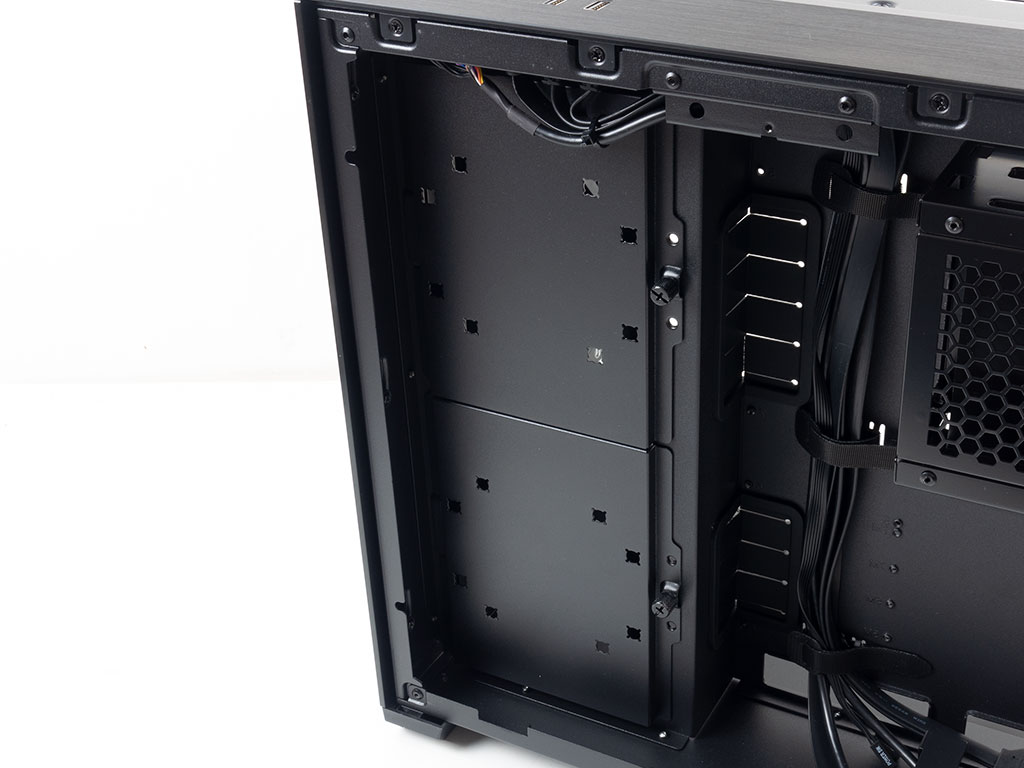
Then there is the hard-drive cage towards the rear of the chassis. It has been slightly redesigned to be a bit simpler. By using a different tray style, a few additional parts found on the original O11 Dynamic Mini are no longer needed. The only downside here is that there no longer any obvious way to install any type of SATA power and data PCB to allow for hot-swap capability, which is something the original O11 Dynamic Mini allowed for with an optional accessory.
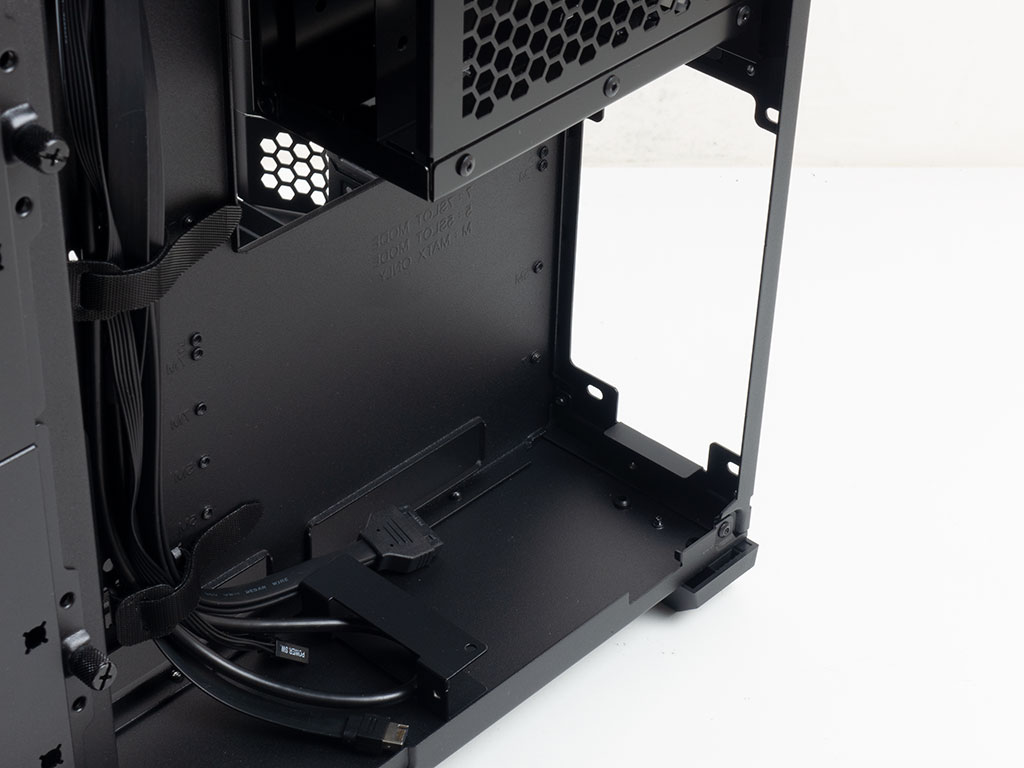
Below that, the ATX PSU bay is pretty straightforward, with plenty of room to allow for longer, more potent variants. It sits on a little frame to give you some room below it for cable-routing audio and USB cables to the motherboard.
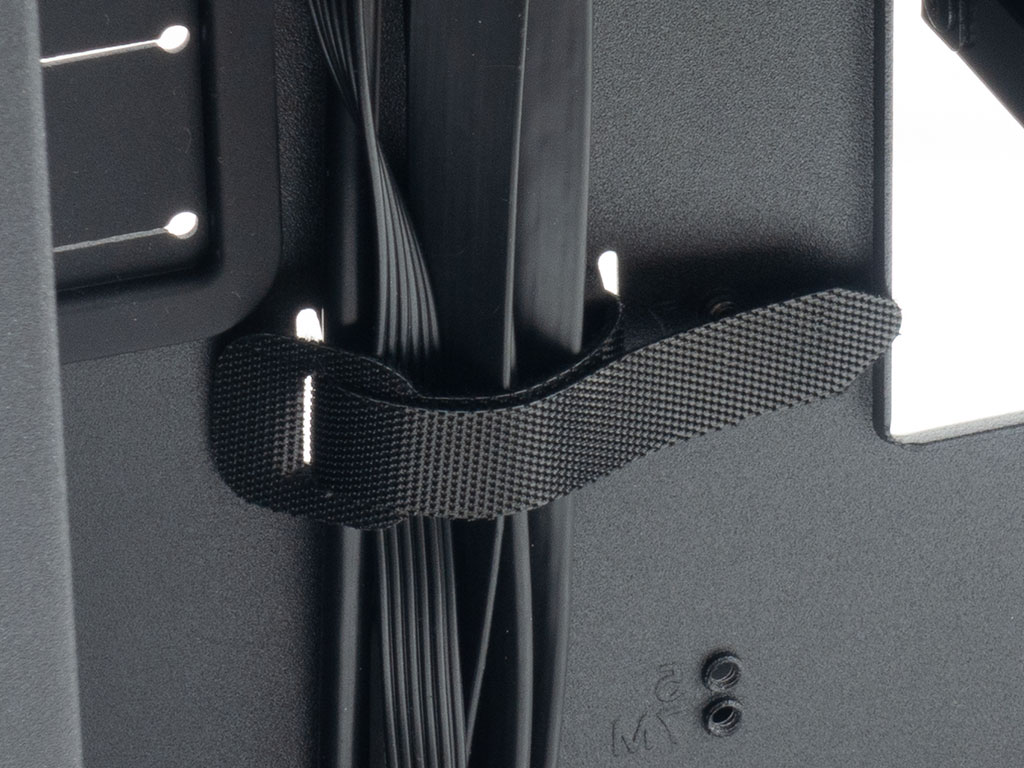
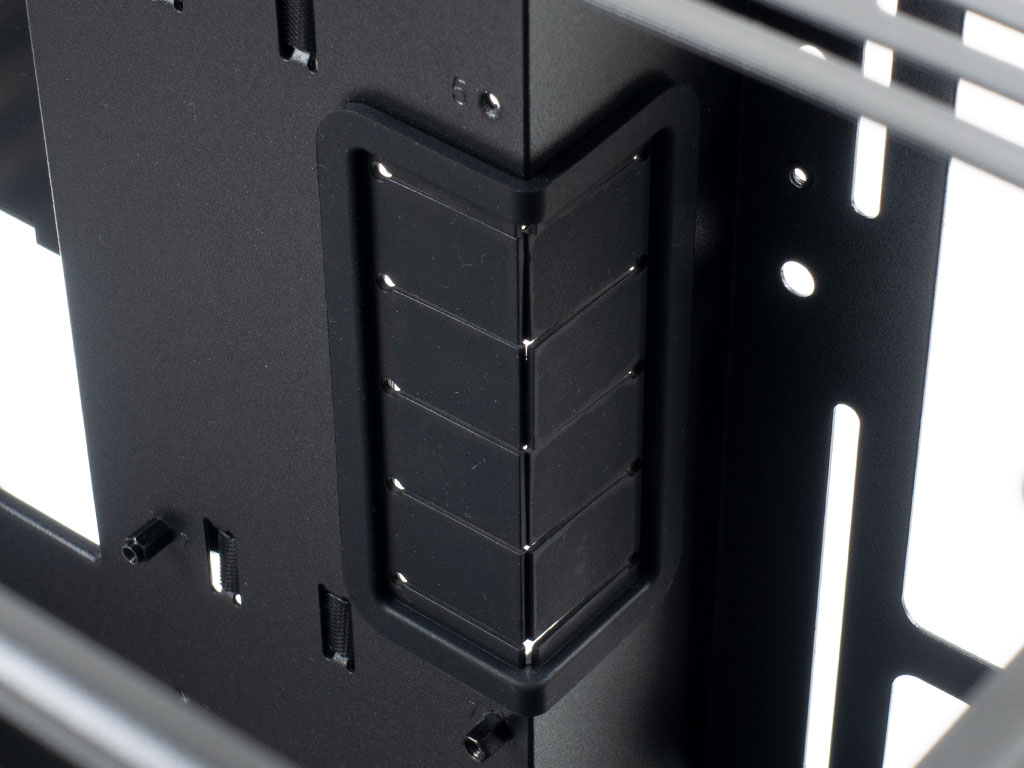
You will still find several Velcro strips next to the openings for cable-routing and management. The major openings are also covered with grommets that now feature a 90° angle, which should improve the ability to route cables easily as well.
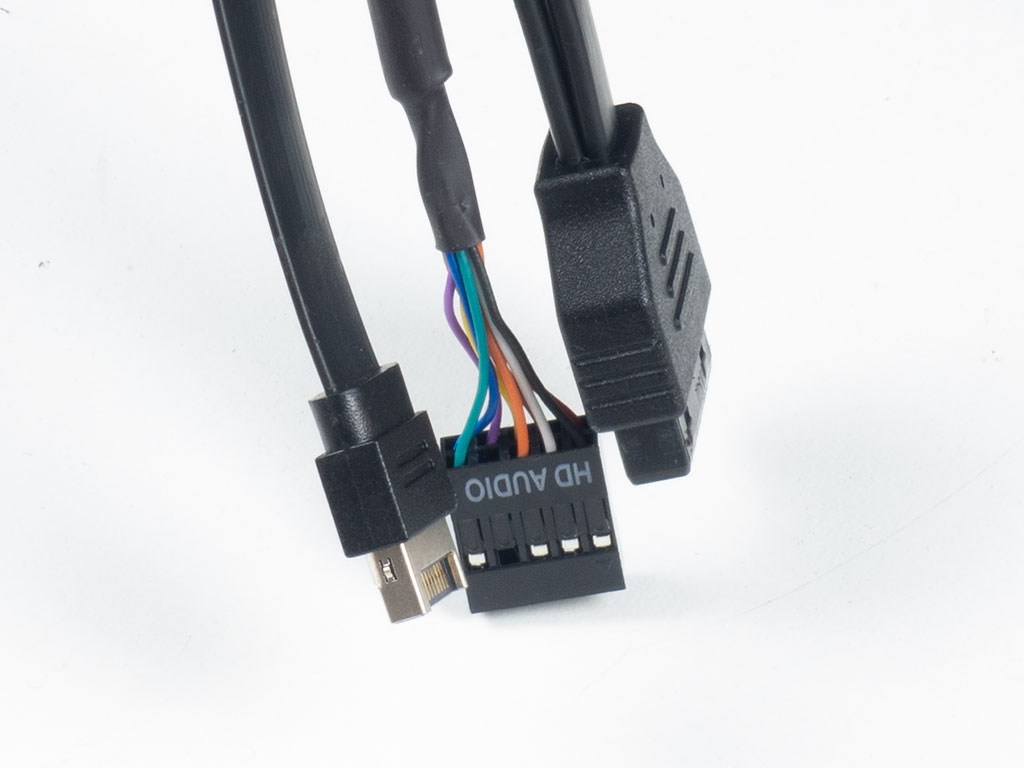
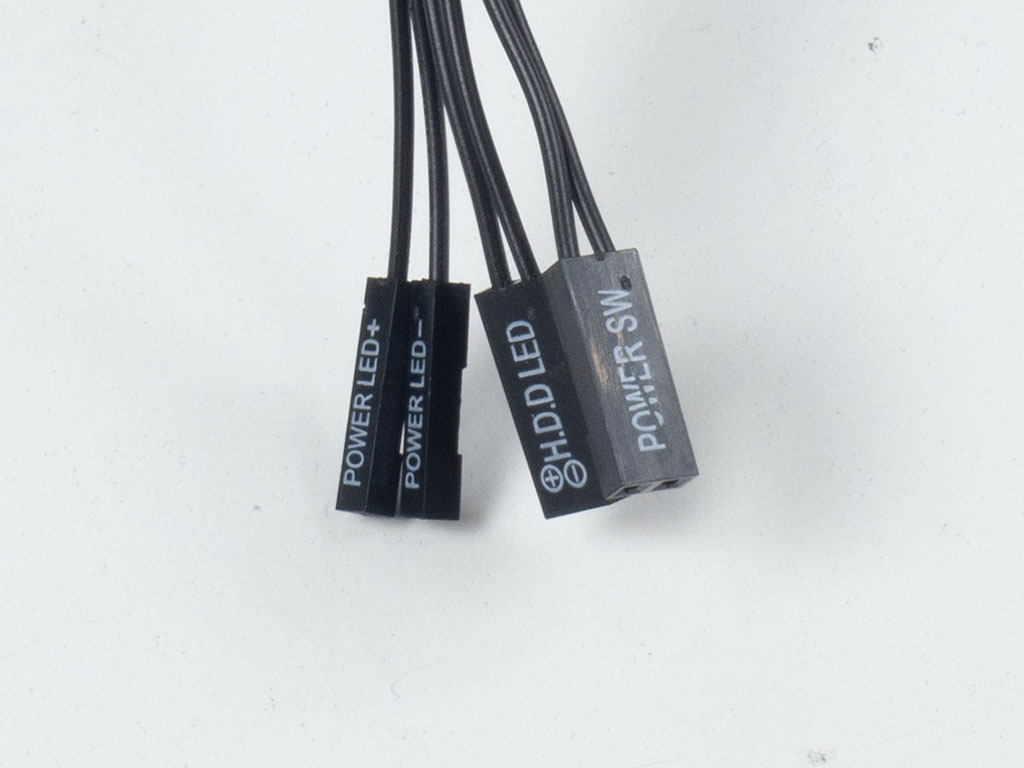
All the leads within the chassis are sleeved black and plenty long. As such, you should have no issues connecting these to their respective plugs on your motherboard, no matter which form factor you pick.
Apr 8th, 2025 23:14 EDT
change timezone
Latest GPU Drivers
New Forum Posts
- 9070XT or 7900XT or 7900XTX (161)
- TPU's Nostalgic Hardware Club (20192)
- Comet Lake vs Rocket Lake Lga1200. (19)
- (Some of) What I'd like to See From a Final Fantasy IX Remake (1)
- Cache Ratio stuck at 600hz lower than Turbo Cores with Ring Down Bin on (0)
- Sexy Hardware Close-Up Pic Clubhouse. (10273)
- Cyberpunk 2077 Game Discussion (2169)
- Have you got pie today? (16654)
- ThrottleStop - 14900HX, 4090RTX MSI laptop (7)
- Post your cooling. (207)
Popular Reviews
- The Last Of Us Part 2 Performance Benchmark Review - 30 GPUs Compared
- MCHOSE L7 Pro Review
- UPERFECT UStation Delta Max Review - Two Screens In One
- PowerColor Radeon RX 9070 Hellhound Review
- Sapphire Radeon RX 9070 XT Pulse Review
- Upcoming Hardware Launches 2025 (Updated Apr 2025)
- Sapphire Radeon RX 9070 XT Nitro+ Review - Beating NVIDIA
- ASUS Prime X870-P Wi-Fi Review
- AMD Ryzen 7 9800X3D Review - The Best Gaming Processor
- DDR5 CUDIMM Explained & Benched - The New Memory Standard
Controversial News Posts
- NVIDIA GeForce RTX 5060 Ti 16 GB SKU Likely Launching at $499, According to Supply Chain Leak (164)
- MSI Doesn't Plan Radeon RX 9000 Series GPUs, Skips AMD RDNA 4 Generation Entirely (146)
- Microsoft Introduces Copilot for Gaming (124)
- AMD Radeon RX 9070 XT Reportedly Outperforms RTX 5080 Through Undervolting (119)
- NVIDIA Reportedly Prepares GeForce RTX 5060 and RTX 5060 Ti Unveil Tomorrow (115)
- Over 200,000 Sold Radeon RX 9070 and RX 9070 XT GPUs? AMD Says No Number was Given (100)
- Nintendo Switch 2 Launches June 5 at $449.99 with New Hardware and Games (97)
- NVIDIA GeForce RTX 5050, RTX 5060, and RTX 5060 Ti Specifications Leak (97)