 28
28
Lian Li O11 Dynamic Mini Review - Compact but Impressive
Assembly & Finished Looks »A Closer Look - Inside
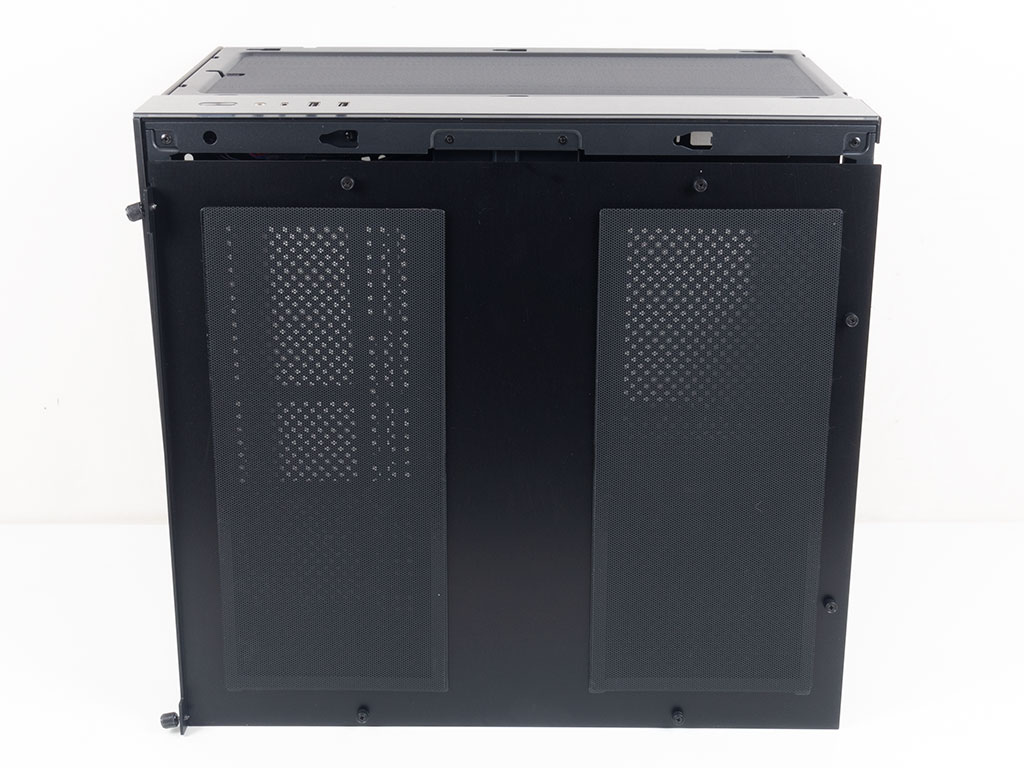

Before we dive into the chassis interior, let's take a quick look inside the aluminium side panel. As you can see, there are two magnetic dust filters here to keep grime out of the case. You may wonder what witchery is being cast here as magnets would not adhere to aluminium. Fear not: Lian Li placed metal strips here to secure them, which is a nice touch.

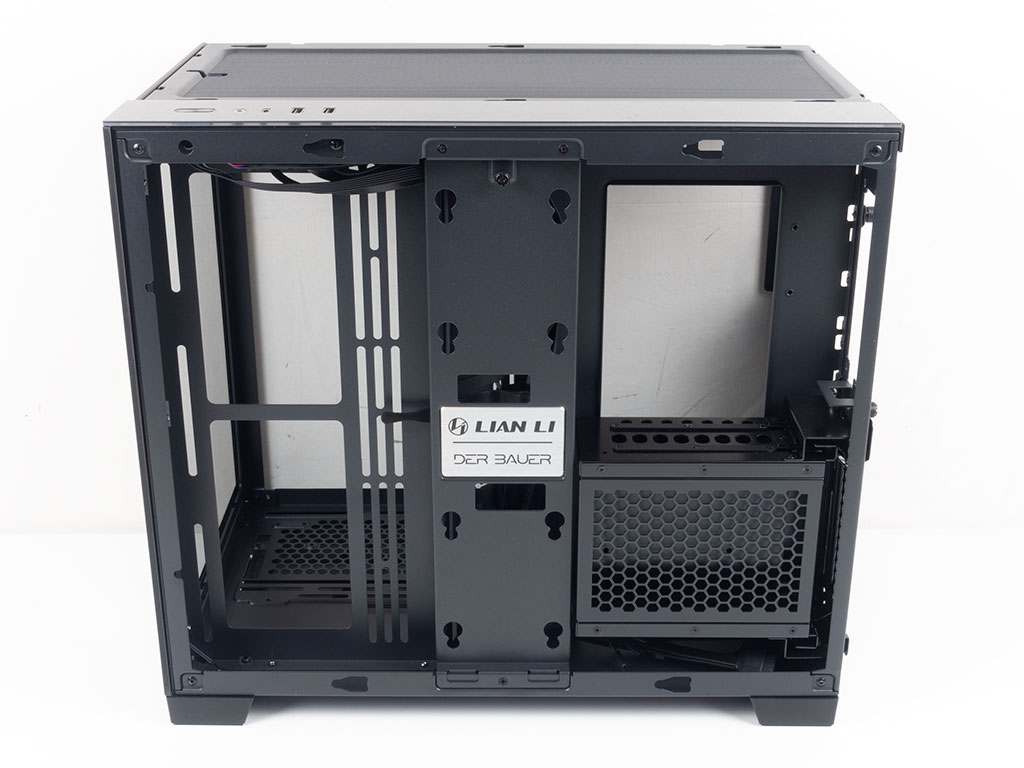
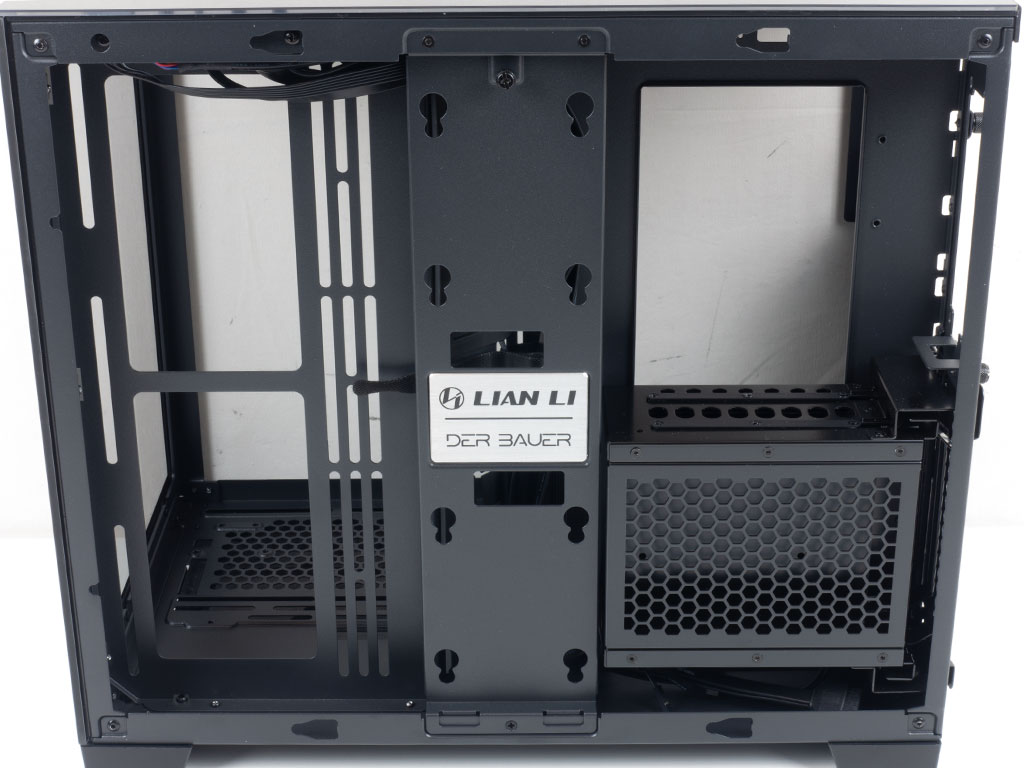
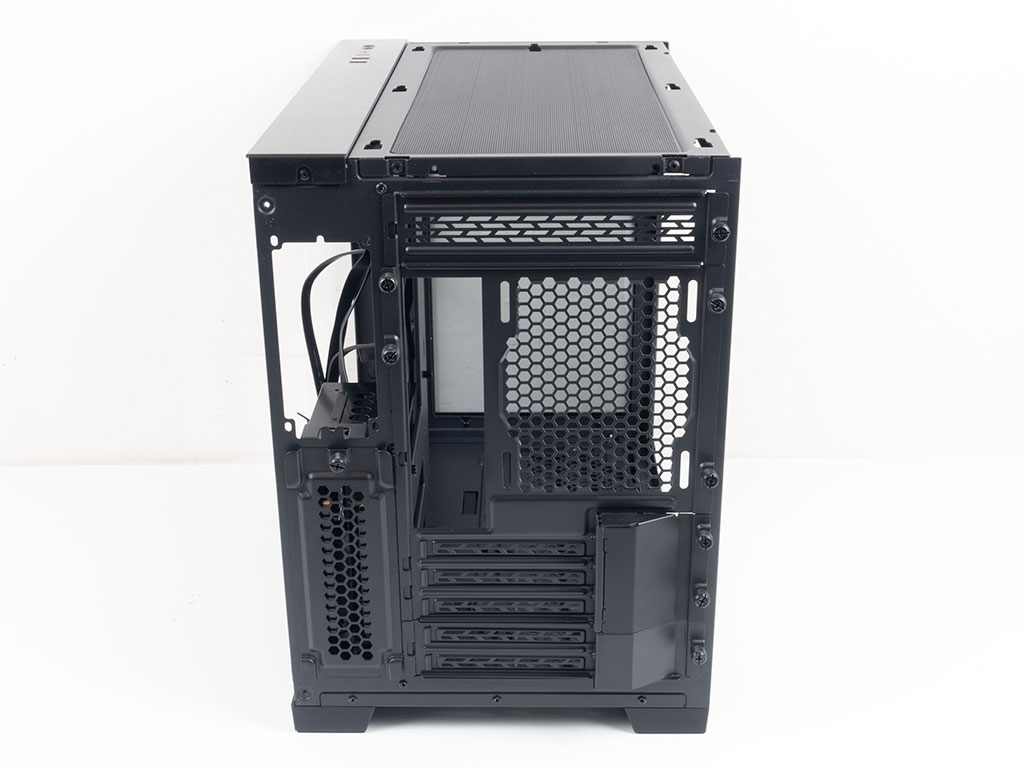
Looking at the interior, it is clear that Lian Li has taken the same layout we have seen in the normal and XL variants of the O11 Dynamic family and essentially shrunk it down. The biggest engineering challenge had to be how to fit an ATX motherboard with as little compromise as possible. ATX motherboard compatibility is great to see as Lian Li could have just kept things simple and uneventful by excluding that board format for this chassis. Behind the motherboard tray is a metal plate for two 2.5" SSDs, which is also where you find the Der8auer (Der Bauer) plate since this whole case family has been designed in collaboration with the well-known overclocker.
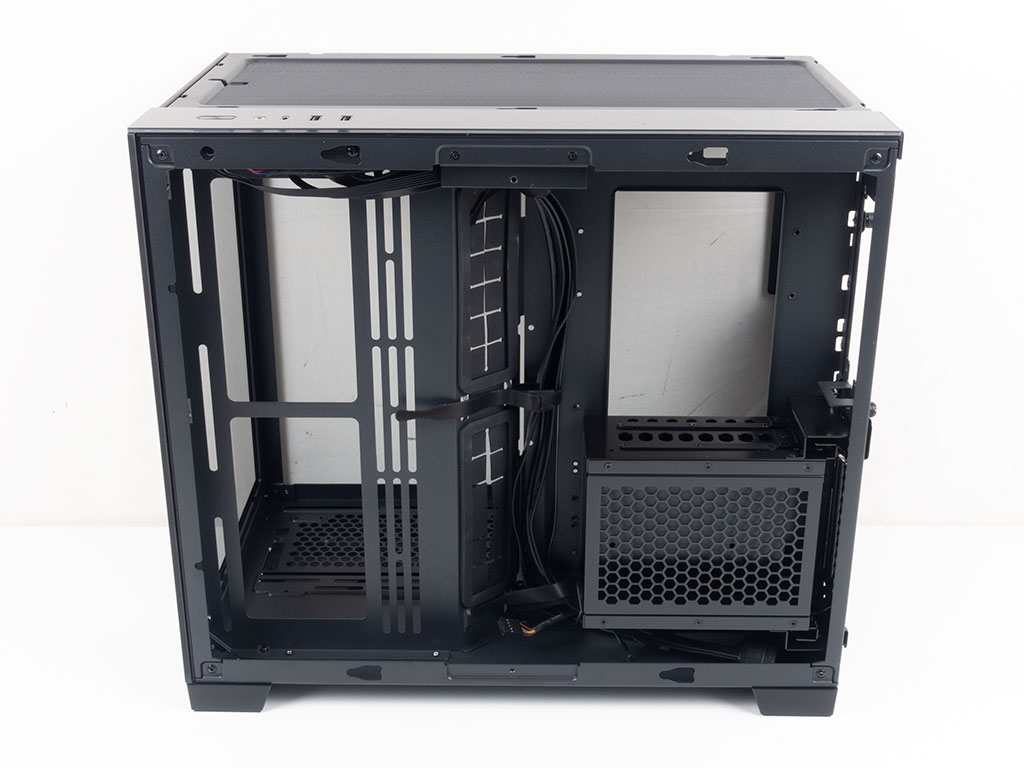

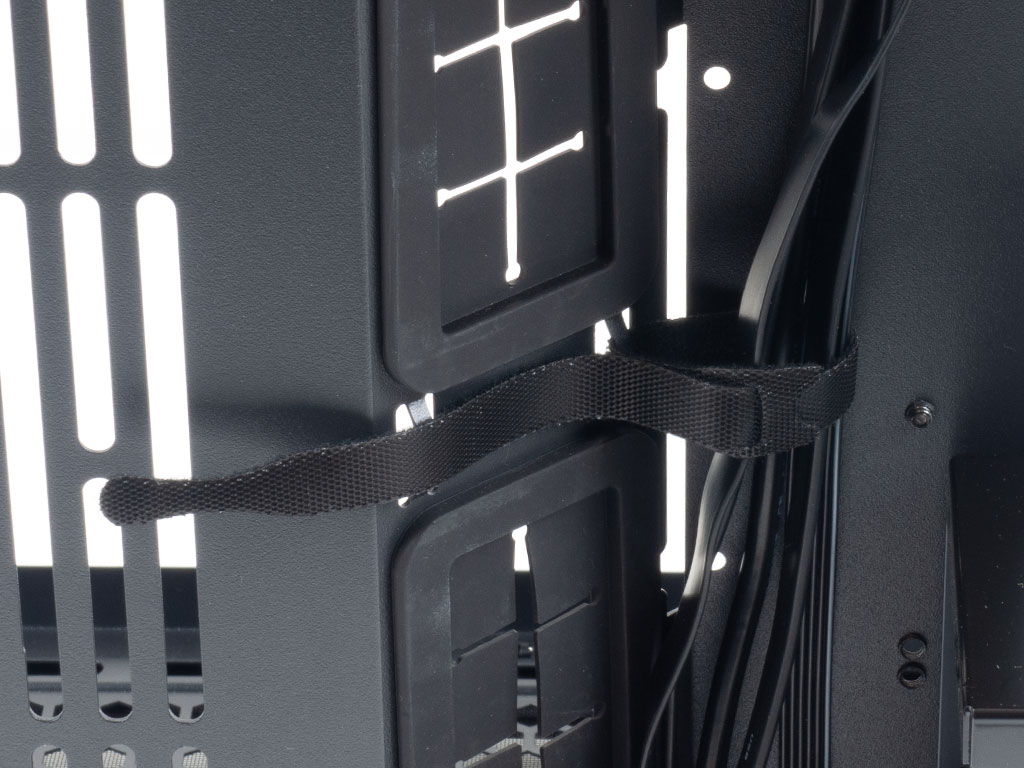
With the center plate removed, you can see the entire layout of this backside clearly. It is once again very similar to what we have seen in the two larger O11 Dynamic cases. There are mounting possibilities for two 140 mm fans or a 280 mm radiator towards the side, as well as Velcro strips to hold your cables in place next to angled, grommet-equipped openings.
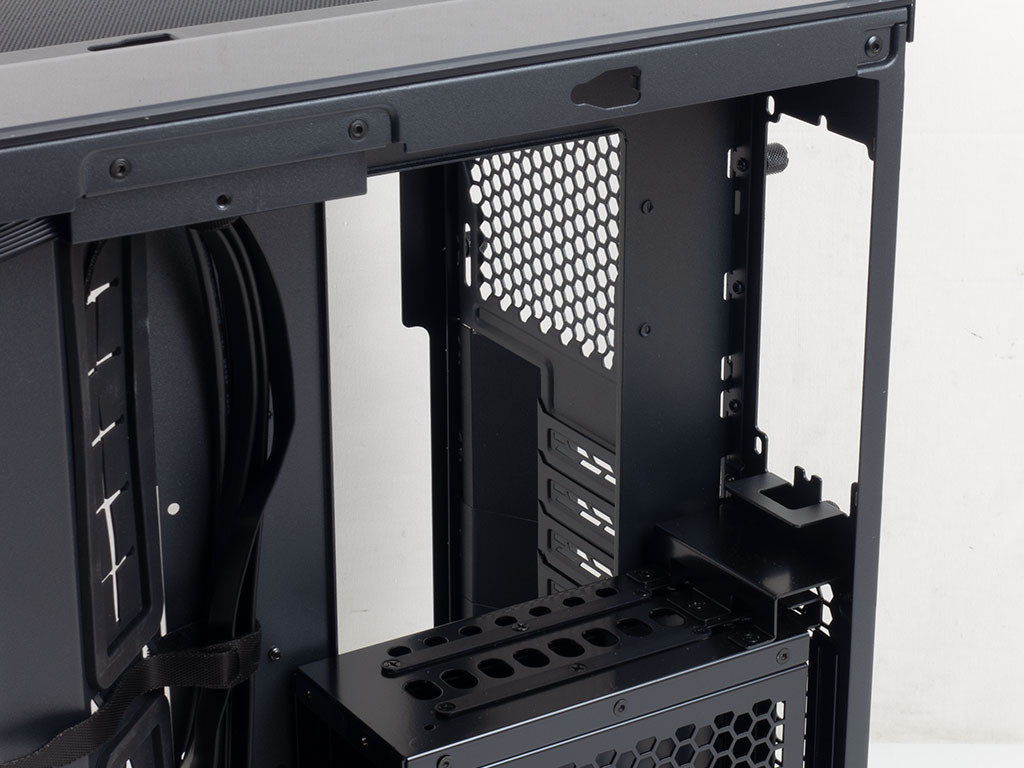
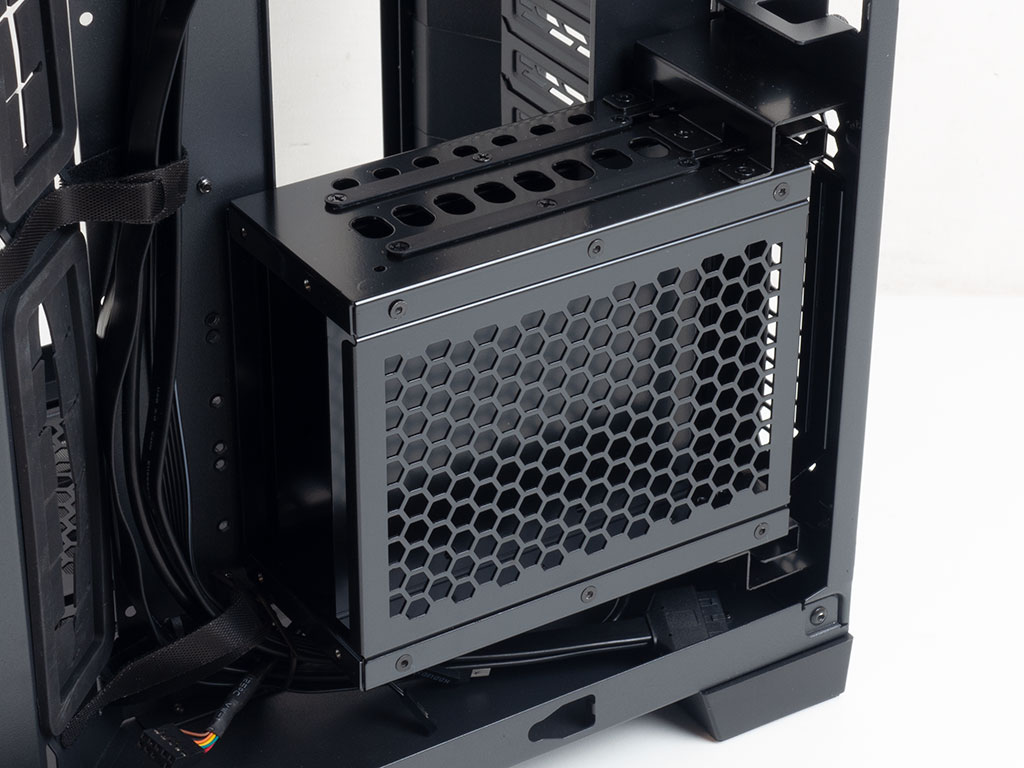
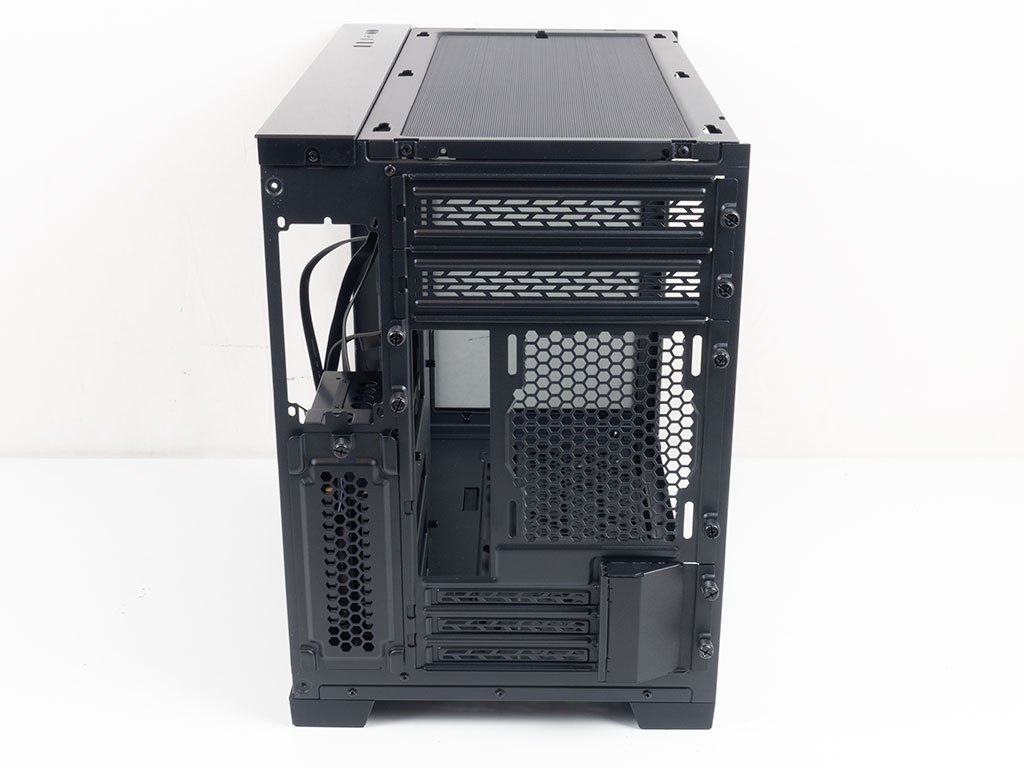
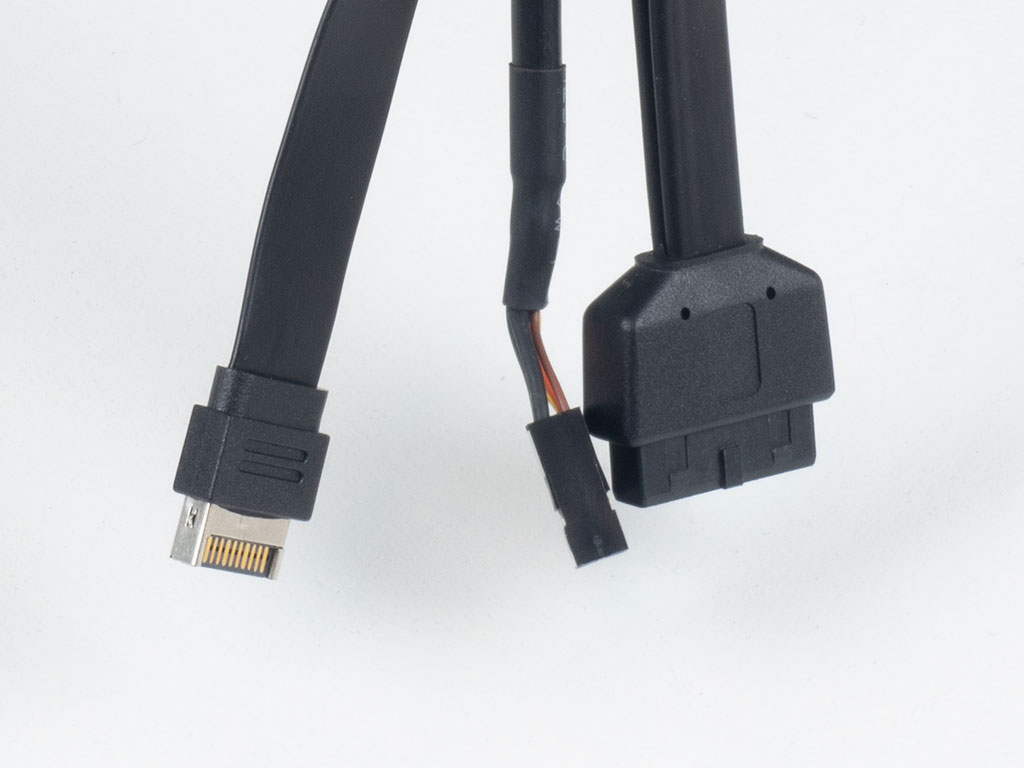
All the way towards the back, the PSU bay is exactly where we would expect it in a case like this, with the vented dual-HDD cage below. The honeycomb is a nice touch, giving the drives a tad more breathing room towards the vent in the aluminium side panel of the O11 Dynamic Mini. While you get two metal trays and every possibility to allow for real hot-swappability with the ability to mount hot-swap connectors to the cage, those are optional accessories.


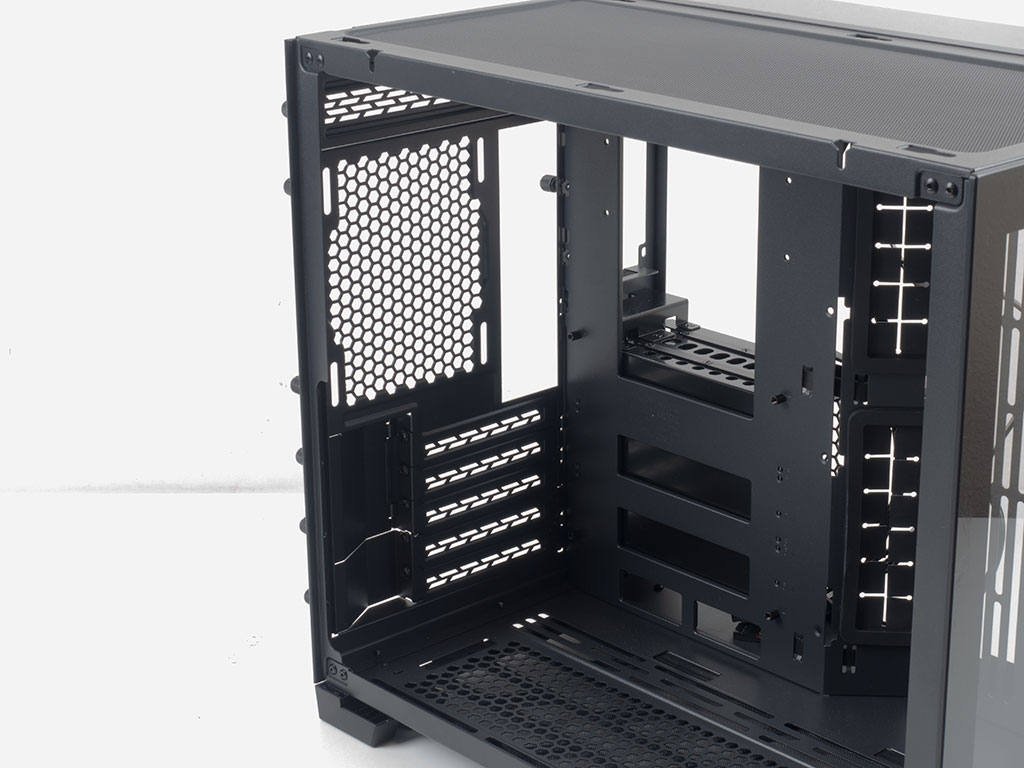
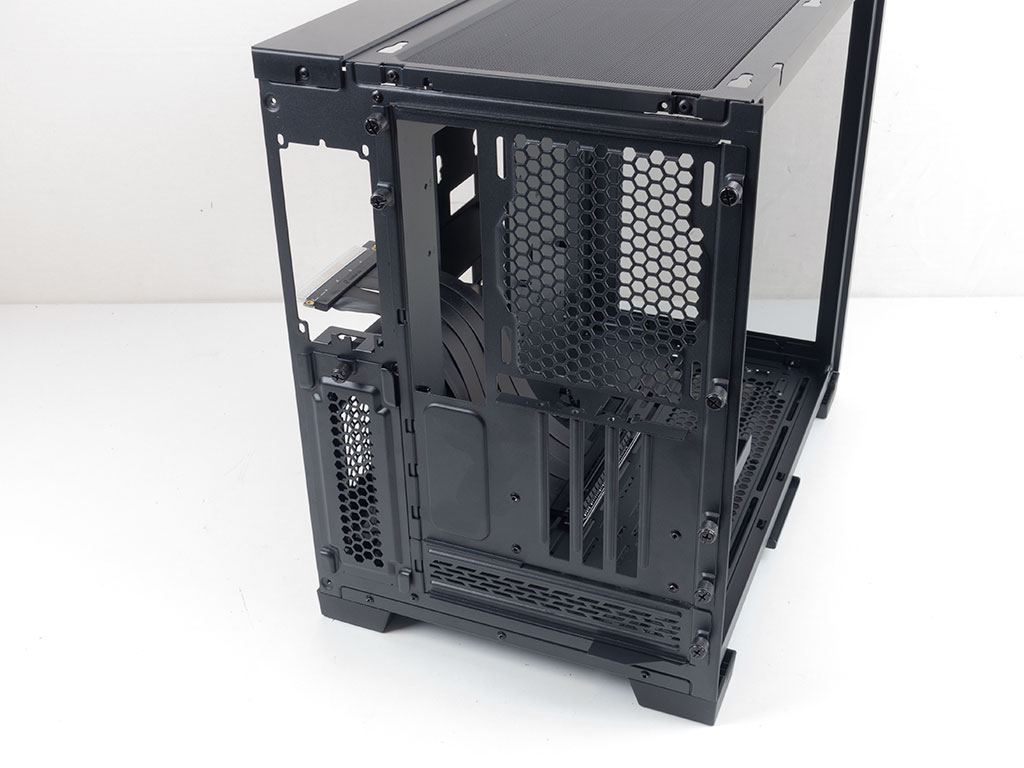
Within the main chamber of the chassis, the rear is simply where you would find your expansion slots, with the 120 mm fan-placement possibility above them.
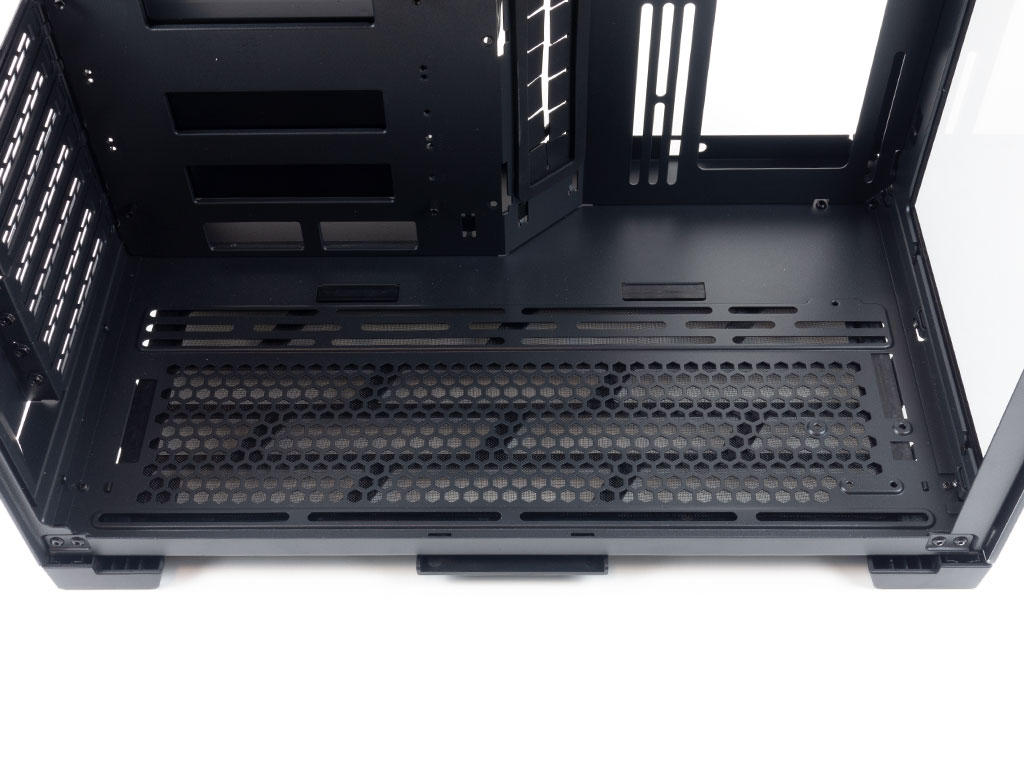
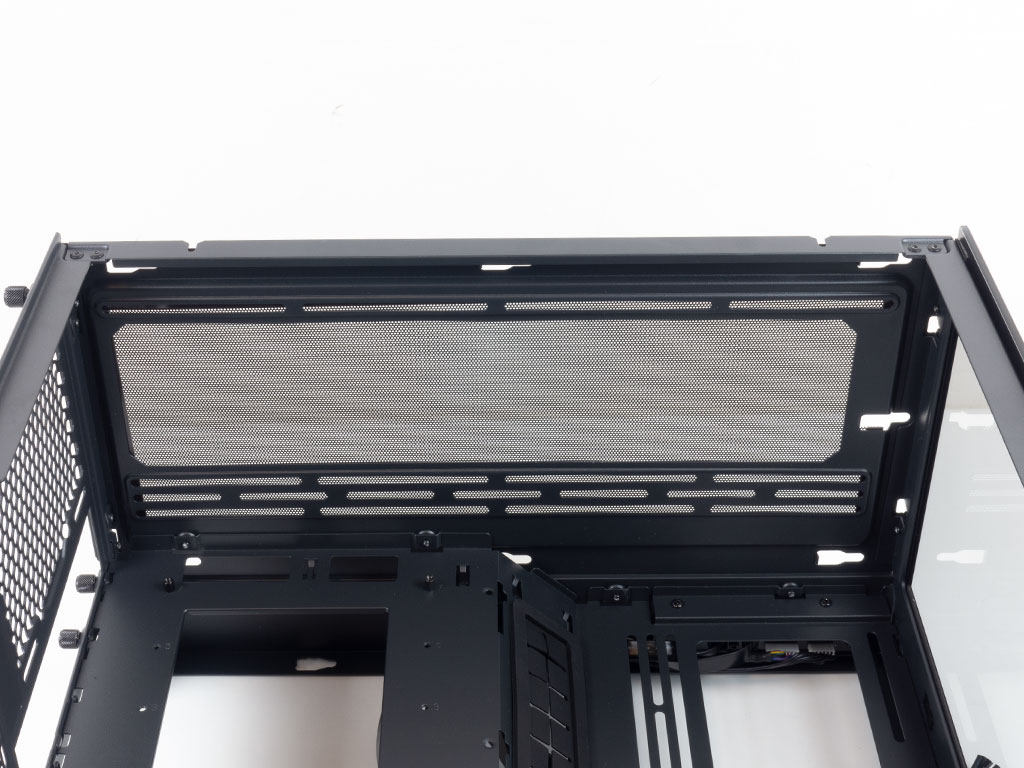
As is the case with all other O11 Dynamic variants, the Mini features another mounting position for three 120 or two 140 mm fans with the option of up to a 360 mm radiator on the floor of the chassis. This exact same setup can be seen in the ceiling.
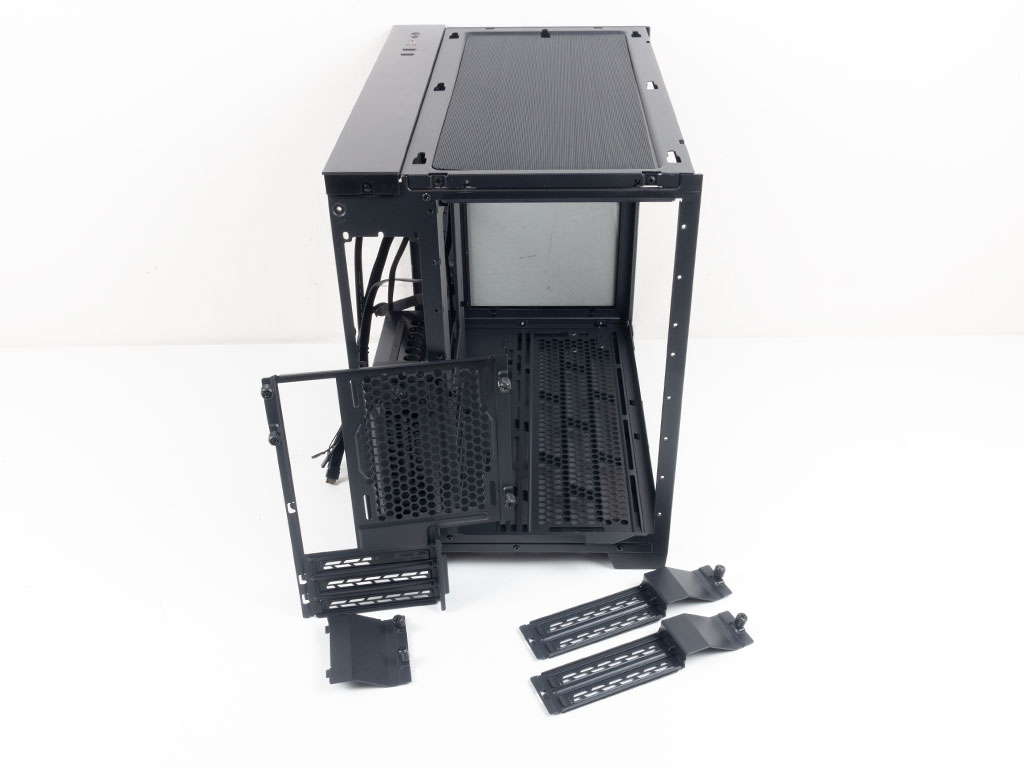
A unique aspect of the Lian Li O11 Dynamic Mini is its modular rear—you can move things around a little bit to allow for more space above the motherboard area when using mATX or ITX boards. A slew of thumb screws hold everything in place, but are easy and quick to detach.
With the mATX setup, there is around an inch of extra space above the motherboard area, which should allow you to install a thin radiator and fans without even coming close to the top edge of the board. This could be a nice, balanced setup for those still wanting a board in that format and a ceiling-mounted liquid-cooling setup.
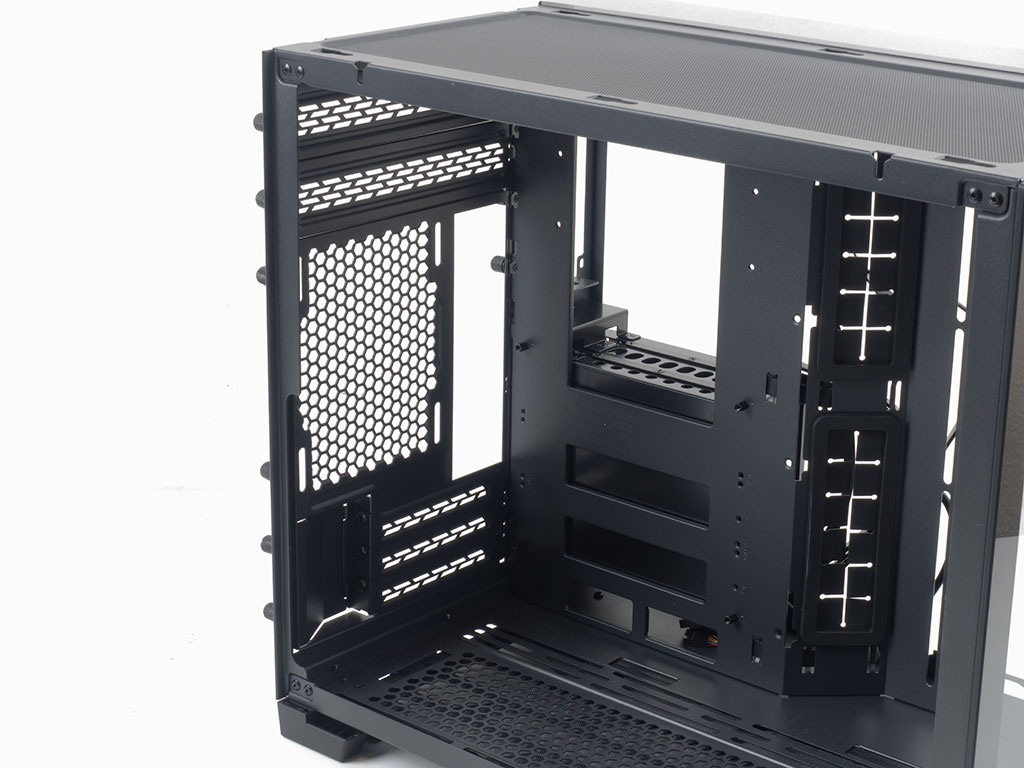
The other option is the ITX configuration, which gives you around two inches of extra space for a thick push/pull configuration in the ceiling and access to the entire motherboard real-estate.

All the leads within the chassis are sleeved black and plenty long. As such, you should have no issues connecting these to their respective plugs on your motherboard, no matter which form factor you pick.
Lian Li O11 Dynamic Mini Vertical GPU Mount
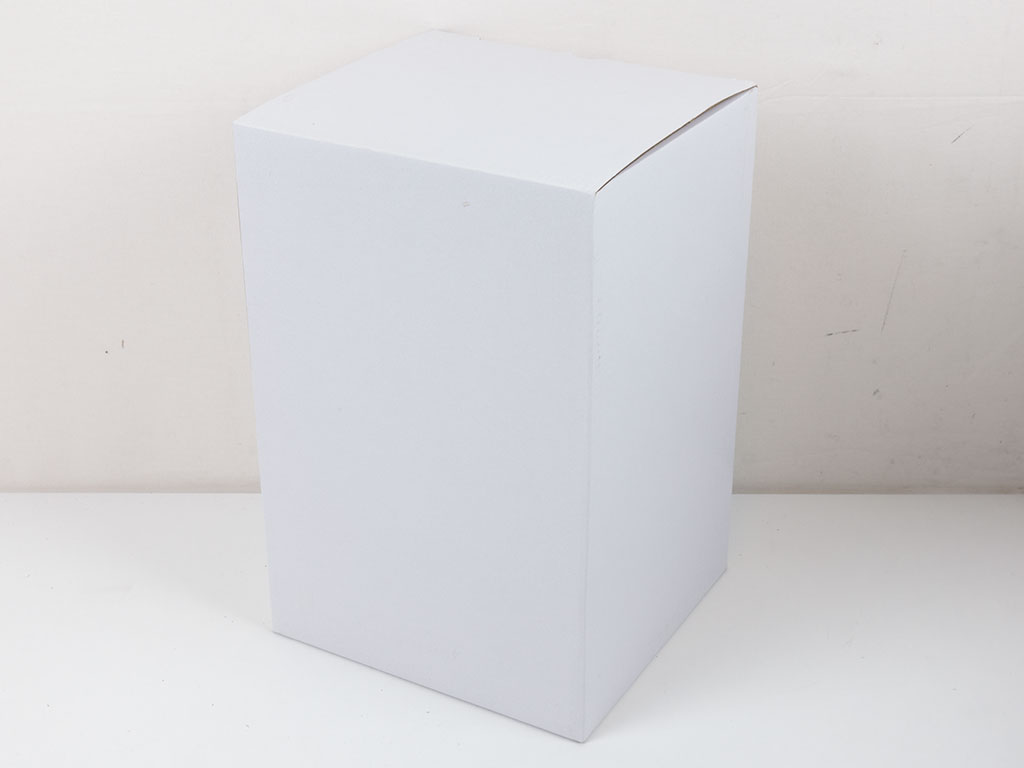
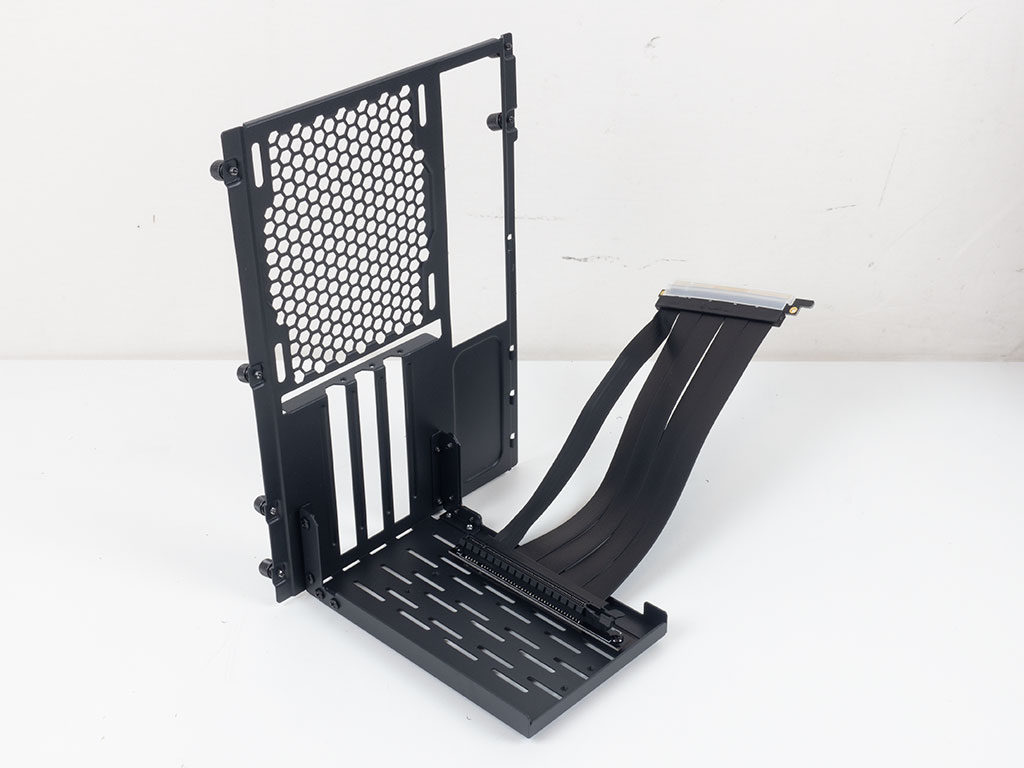
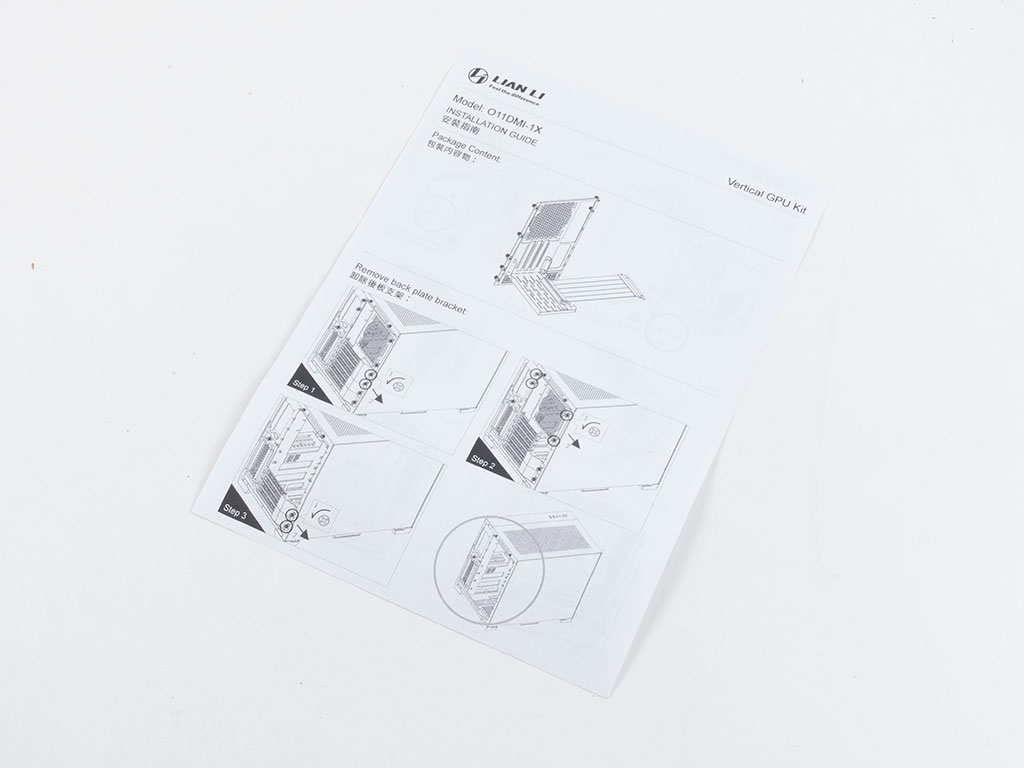
In addition to the chassis, we also received the vertical GPU mounting bracket specifically for the Lian Li O11 Dynamic Mini. While ours came in a plain white box, the retail version will at least have a sticker on it to let you know what is inside. The bracket comes fully assembled and essentially replaced the rear plates of the case to allow for such an internal layout. A basic manual goes over how to install it.

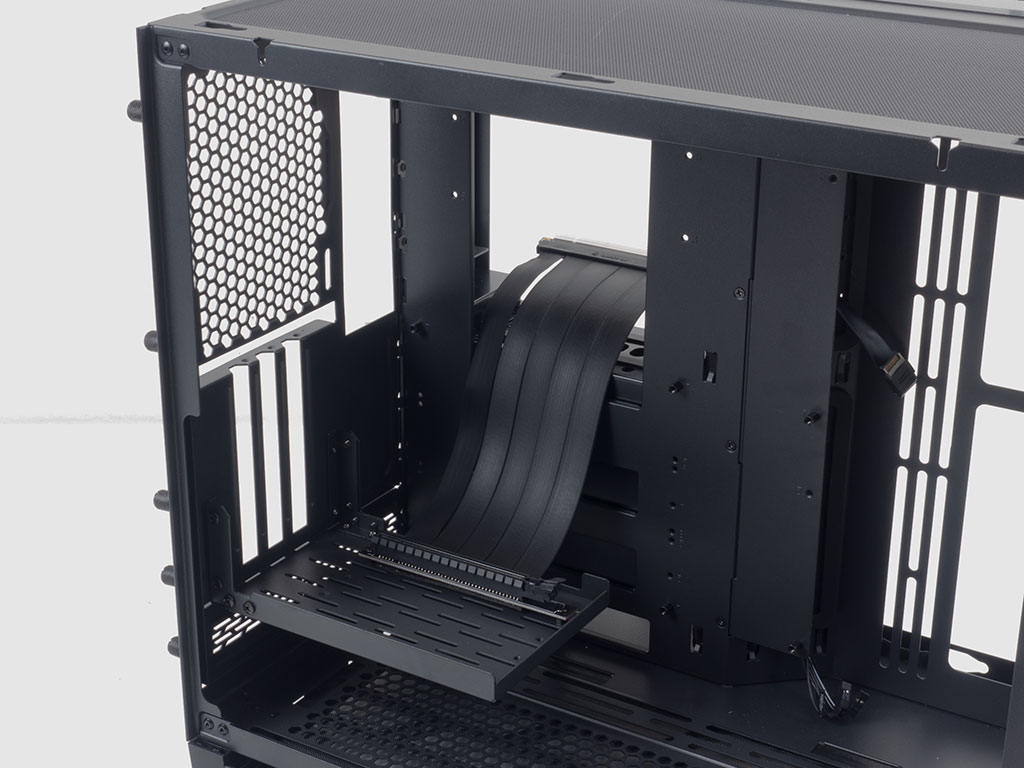
You may add the GPU to the bracket outside of the chassis, which is handy if you are expecting a tight fit otherwise. That was actually the issue with our review parts as the large air cooler got in the way of the whole installation. The easiest way to fix that would have been to make this bracket a little taller and add some distance above the vertical GPU slots. That said, by doing so, users would no longer take advantage of the flexibility provided by the modular rear of the chassis and the additional space an mATX board setup could provide.
Feb 23rd, 2025 15:43 EST
change timezone
Latest GPU Drivers
New Forum Posts
- Advice needed for buying a new PSU (16)
- Why is coil whine still a nuisance? (25)
- TPU's Nostalgic Hardware Club (19991)
- Your PC ATM (35249)
- What are you playing? (22981)
- EFI partition too small, can't update Windows 11 on laptop (9)
- RTX 5090 - Incorrect GPU-Z Clocks, when Overclocking with the Curve Tuner (7)
- Solidigm NVMe Custom Modded Driver for All NVMe Brands SSDs & Any NVMe SSDs (204)
- It's happening again, melting 12v high pwr connectors (892)
- March Benchoff - socket 754 AMD - PiFast (1)
Popular Reviews
- MSI GeForce RTX 5070 Ti Ventus 3X OC Review
- ASUS GeForce RTX 5070 Ti TUF OC Review
- Ducky One X Inductive Keyboard Review
- Galax GeForce RTX 5070 Ti 1-Click OC White Review
- darkFlash DY470 Review
- MSI GeForce RTX 5070 Ti Vanguard SOC Review
- Gigabyte GeForce RTX 5090 Gaming OC Review
- MSI GeForce RTX 5070 Ti Gaming Trio OC+ Review
- Palit GeForce RTX 5070 Ti GameRock OC Review
- Fantech Aria II Pro Review
Controversial News Posts
- NVIDIA GeForce RTX 5090 Spotted with Missing ROPs, NVIDIA Confirms the Issue, Multiple Vendors Affected, RTX 5070 Ti, Too (435)
- AMD Radeon 9070 XT Rumored to Outpace RTX 5070 Ti by Almost 15% (302)
- AMD Plans Aggressive Price Competition with Radeon RX 9000 Series (271)
- AMD Radeon RX 9070 and 9070 XT Listed On Amazon - One Buyer Snags a Unit (247)
- Edward Snowden Lashes Out at NVIDIA Over GeForce RTX 50 Pricing And Value (241)
- AMD Denies Radeon RX 9070 XT $899 USD Starting Price Point Rumors (239)
- NVIDIA Investigates GeForce RTX 50 Series "Blackwell" Black Screen and BSOD Issues (218)
- New Leak Reveals NVIDIA RTX 5080 Is Slower Than RTX 4090 (215)