 9
9
Montech Air X Review - Big Fans on a Tight Budget
Assembly & Finished Looks »A Closer Look - Inside
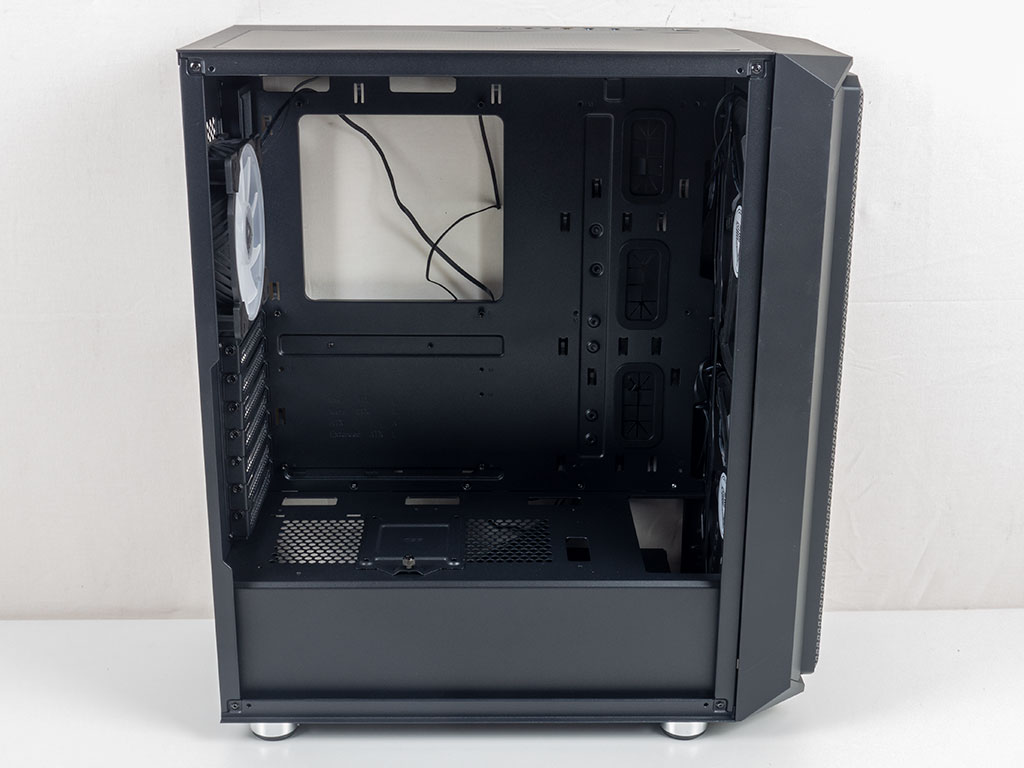

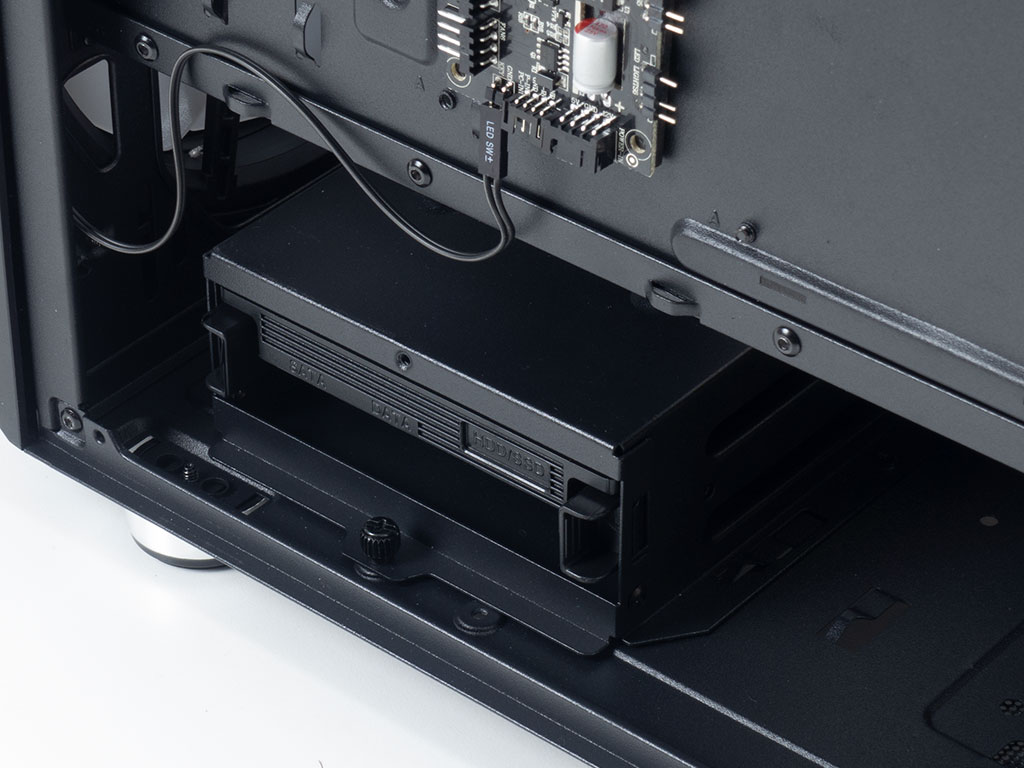
To access the insides, simply remove the two thumb screws holding each panel in place. Inspecting the interior layout, it becomes apparent that Montech is not aiming to re-invent the framing of a good ATX chassis, but instead goes with a trusted and true setup we have seen in a few other cases as well. This includes a solid metal shroud with a cutout in the front to allow for a thick radiator to be installed—mostly because the front panel is so deep it can easily house any fans. A single HDD tray has been placed on the shroud out of the box as well.
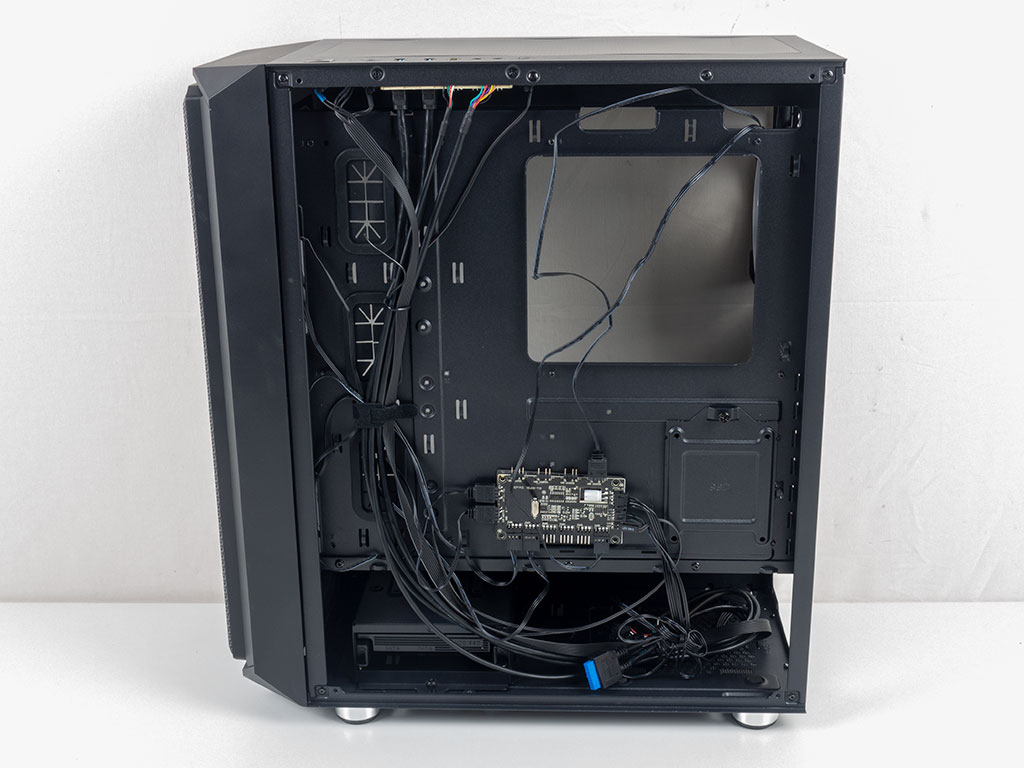
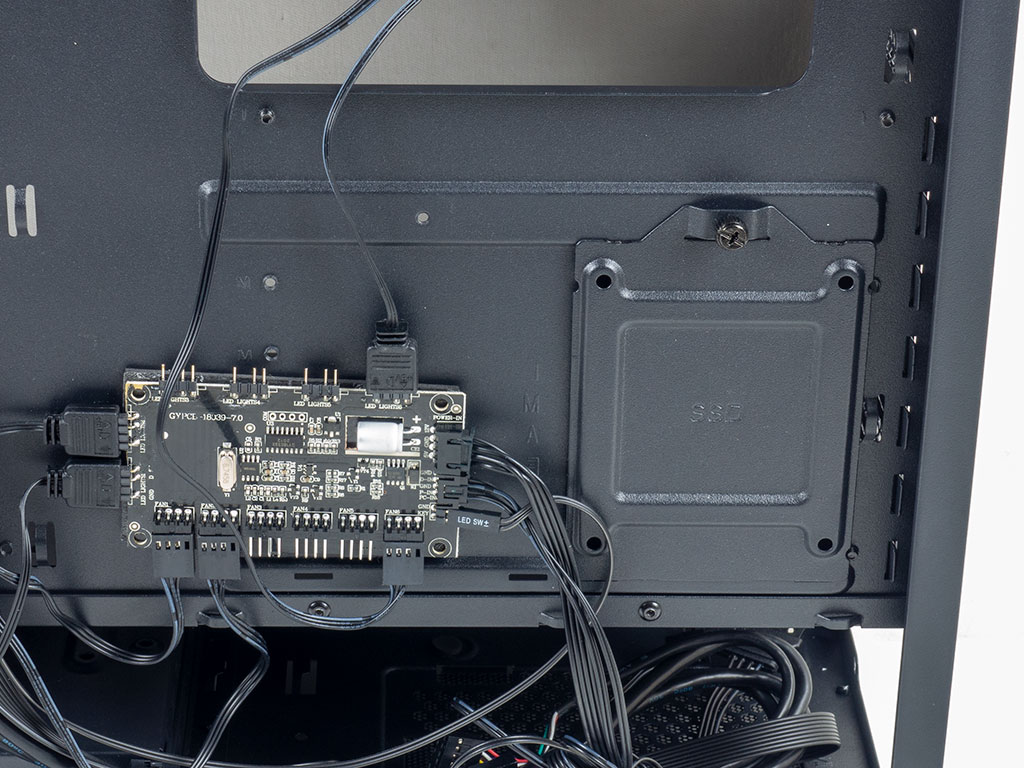
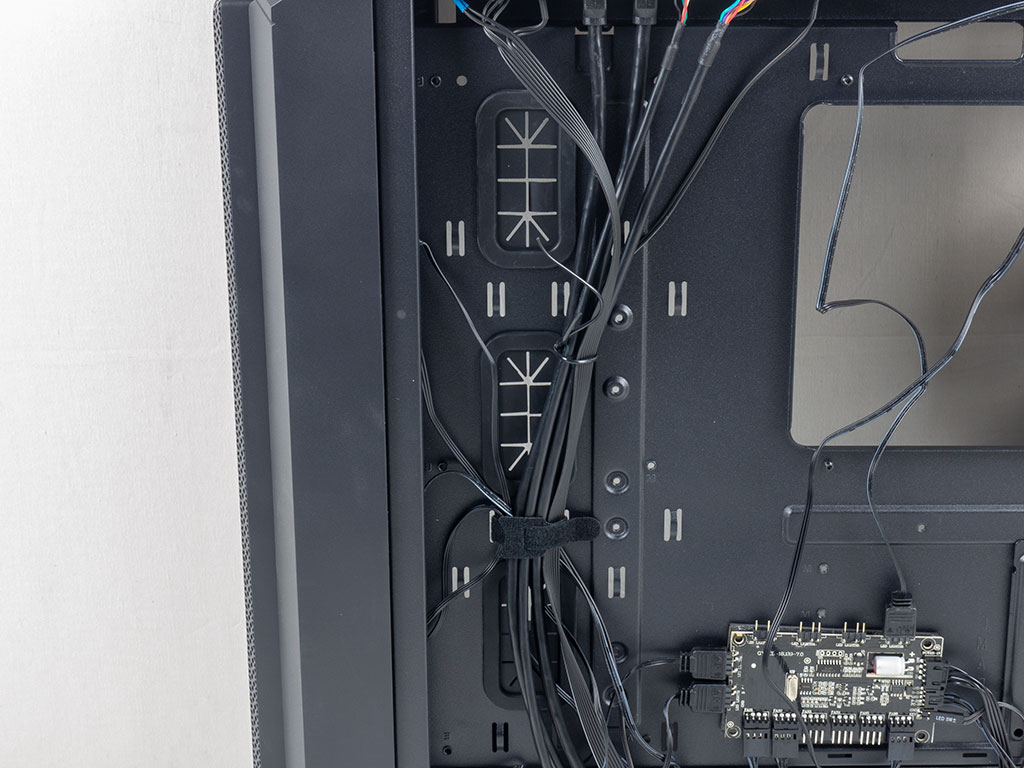
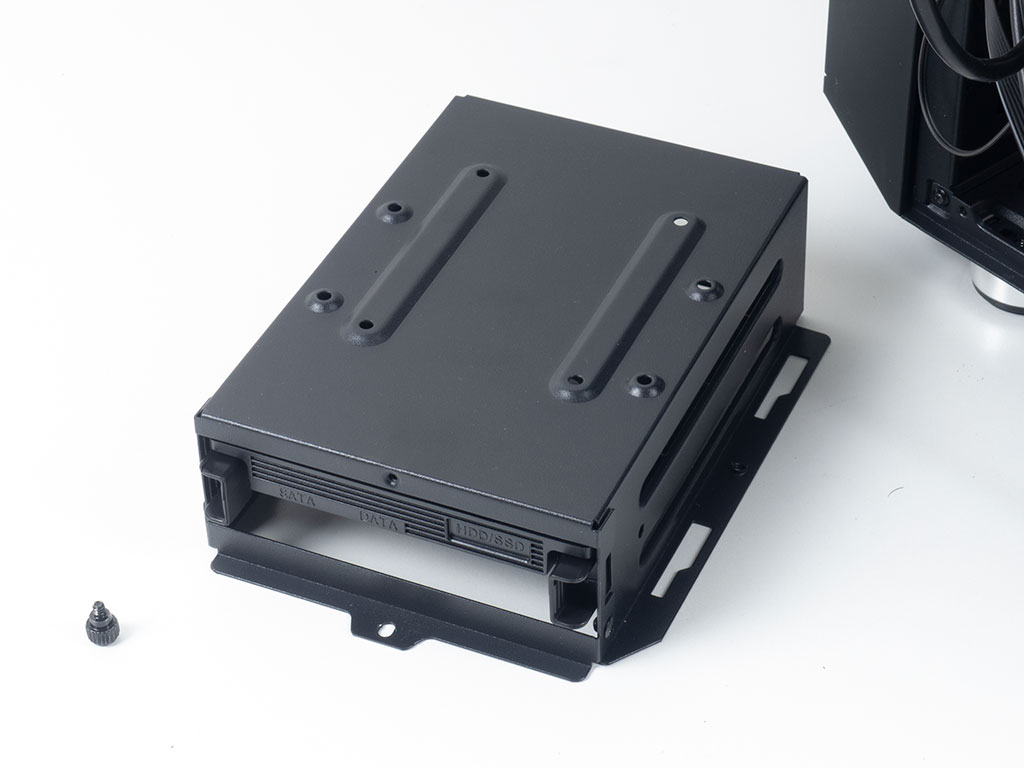
Taking a look at the backside of the motherboard tray, why that single tray can be found inside becomes apparent. Montech placed a fully functional ARGB controller and fan-hub PCB where the drive would be. While this is fine, I managed to move the PCB to a more advantageous position so that I could actually place that second HDD tray here as well. Interestingly enough, even though the marketing materials for the chassis show multiple Velcro strips, our sample only came with a single piece, which is disappointing.

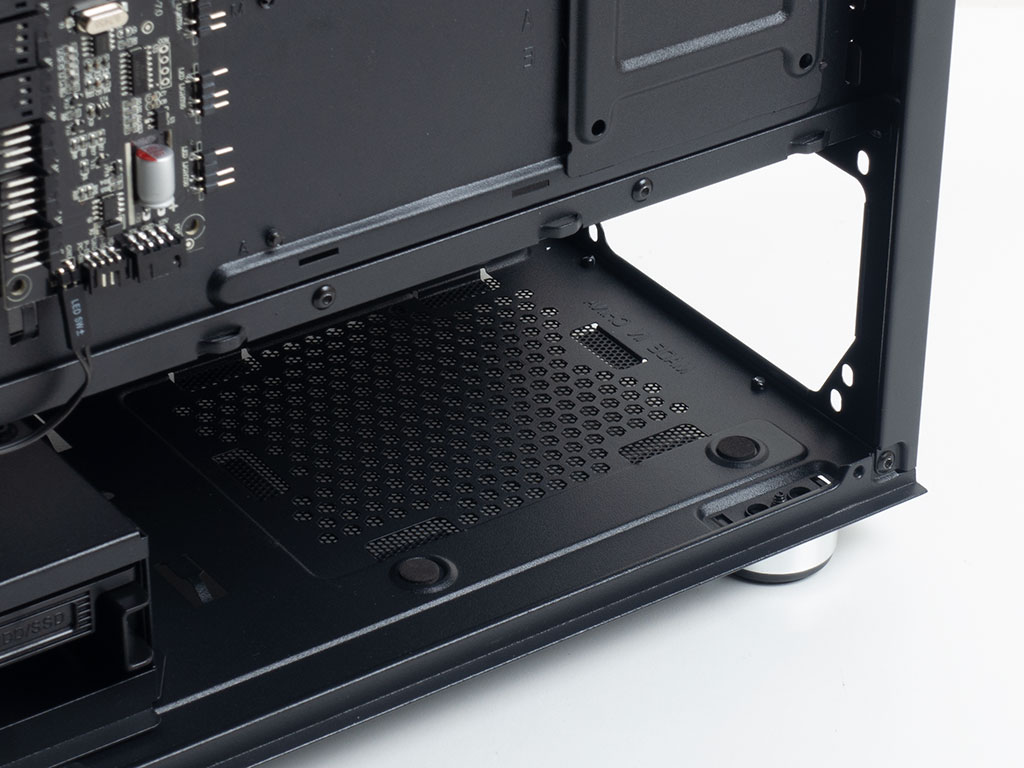
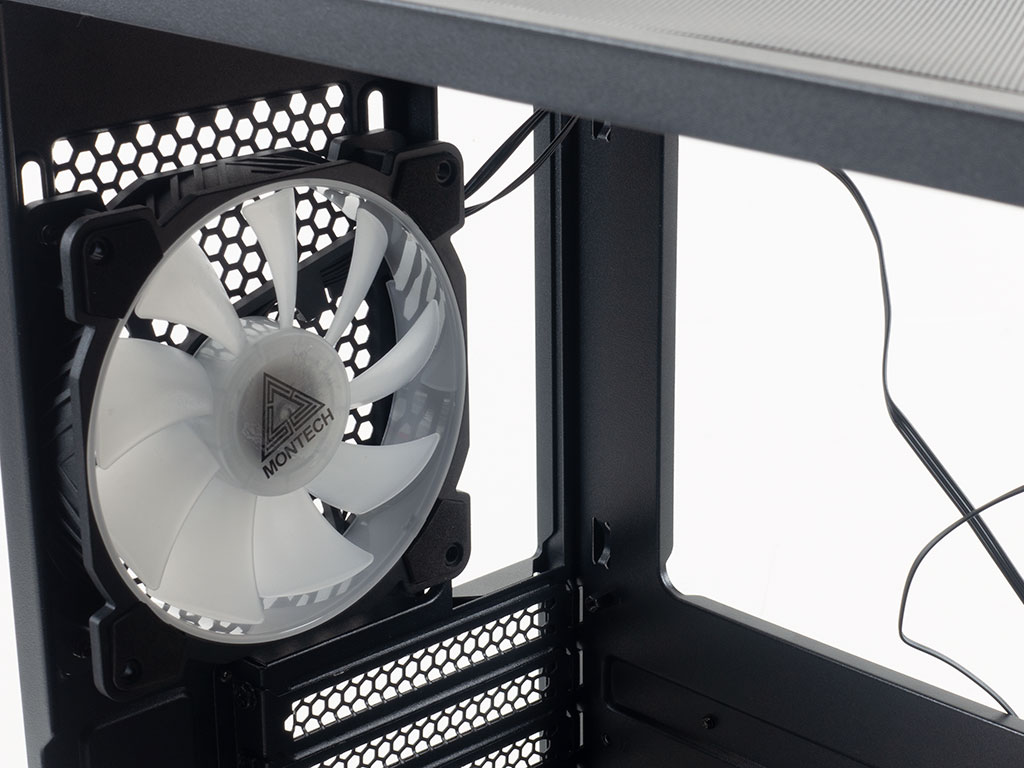
Underneath the shroud is a basic HDD cage, which we have also come across before. I am not a fan of the tray personally as the two tabs to pull it out don't make it easy to do so. You may remove the whole cage as there is a secondary HDD mounting position for either a 2.5" or 3.5" drive on top of it. In the front, you can clearly see the two 200 mm fans, with the bottom one also pushing some cool air underneath the shroud to cool your storage.
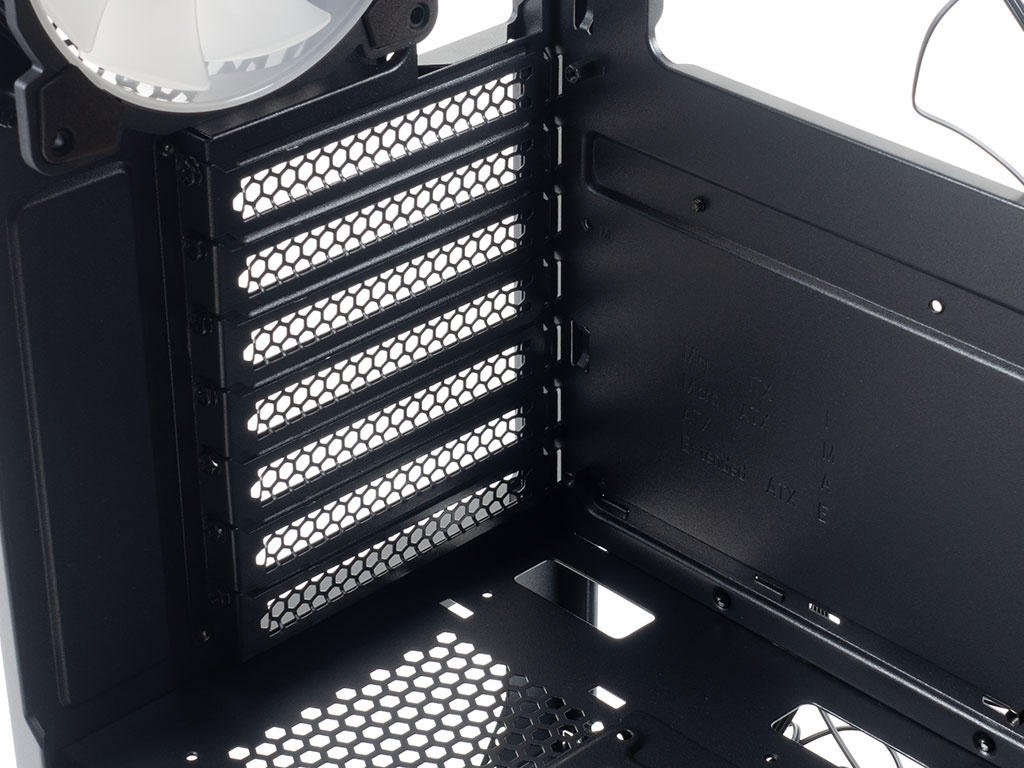
The PSU bay underneath the shroud is pretty straightforward, with small foam tips to keep the unit in place. Above that are the seven expansion slots and removable covers, with a 120 mm RGB exhaust fan in the very top. Placement of the fan may be adjusted to align it with your installed air cooler.
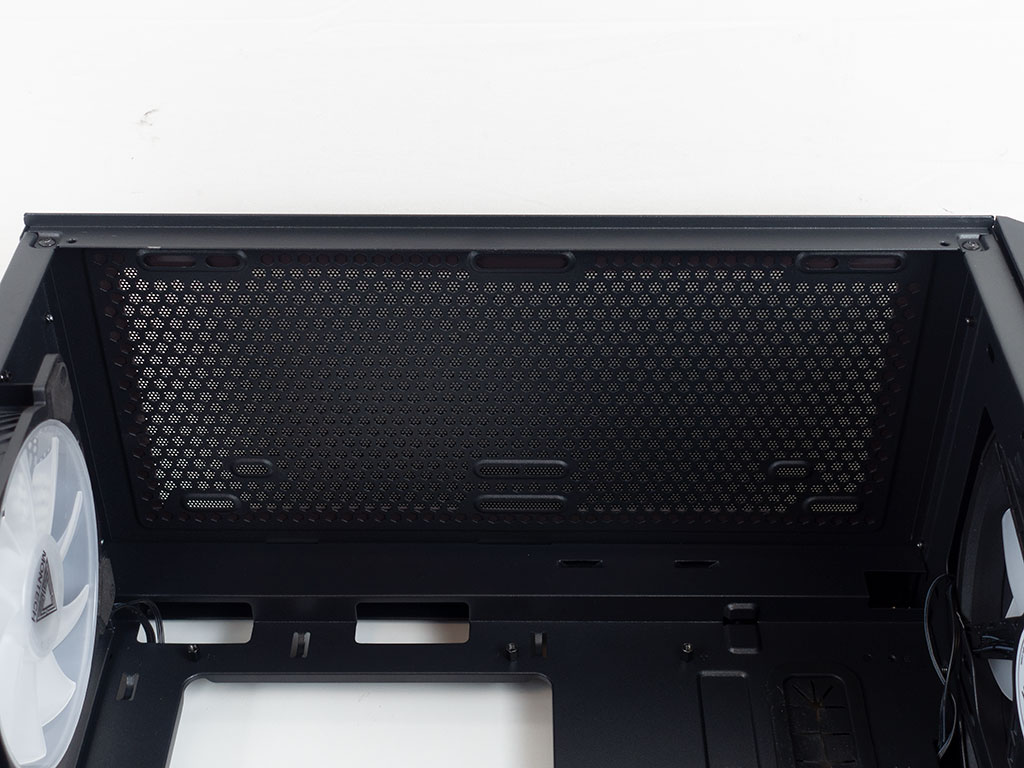
A quick look at the ceiling reveals nothing out of the ordinary with the exception of a little lip on the motherboard side, which is due to how the I/O on top has been arranged.
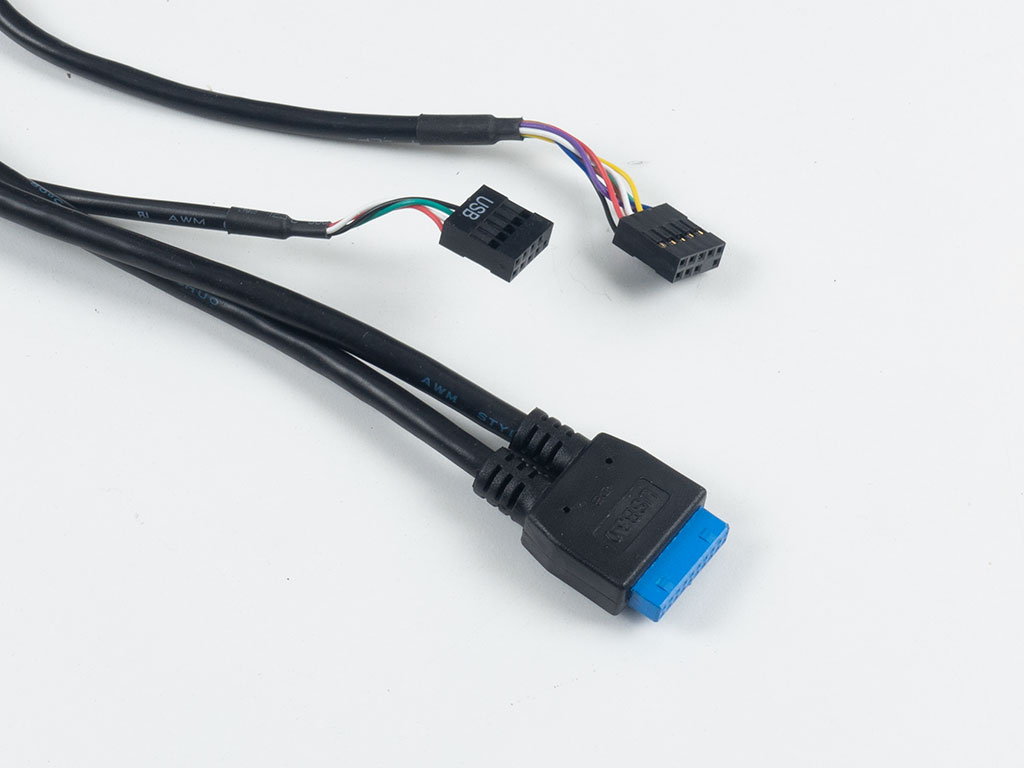
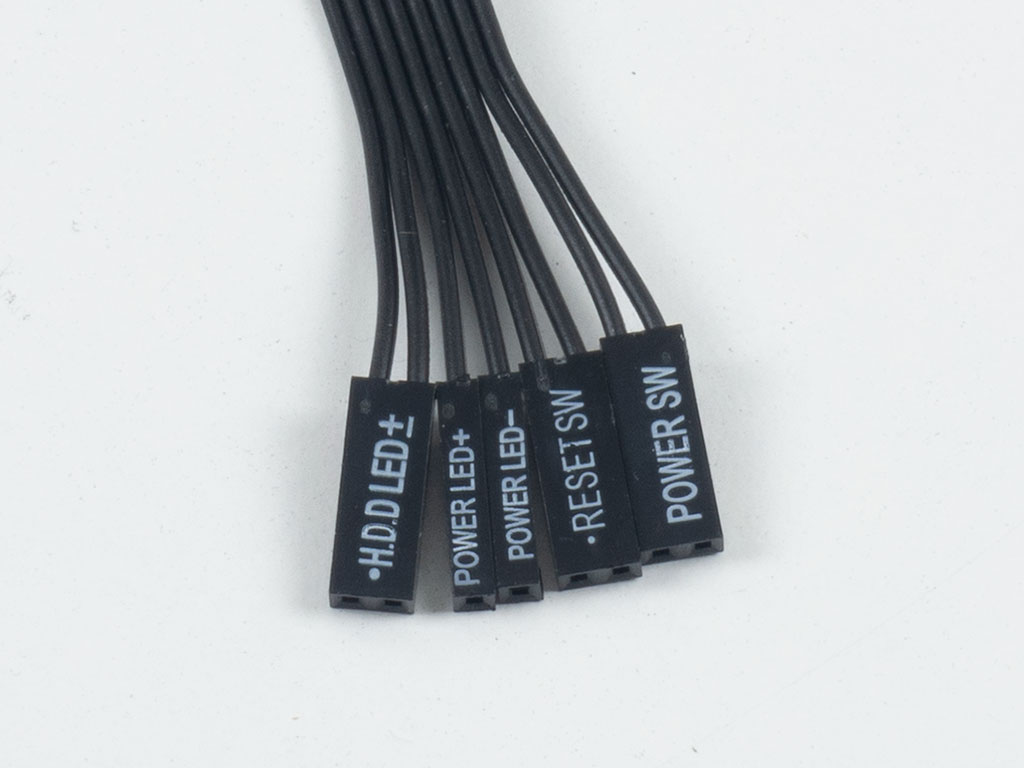
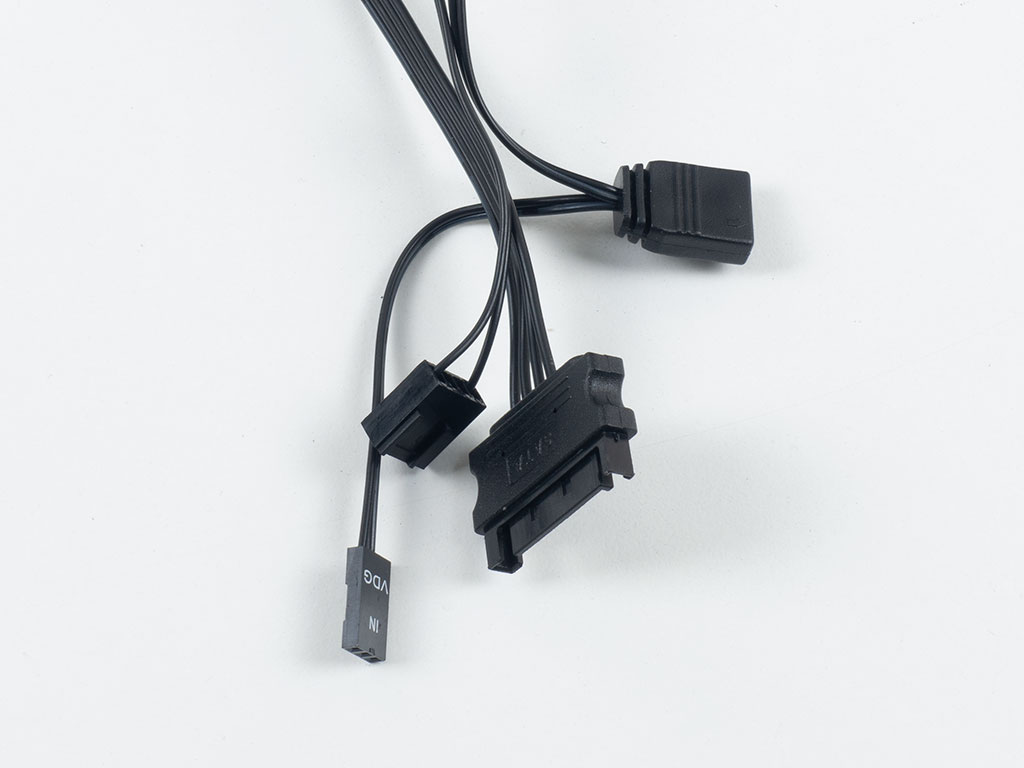
All the cables within the chassis are of the default variety and sleeved black. Thanks to the universal ARGB and fan hub, you should have no issues expanding both the cooling as well as any lighting elements.
May 7th, 2025 21:27 EDT
change timezone
Latest GPU Drivers
New Forum Posts
- Free Games Thread (4667)
- Half Life 3 soon ? (51)
- Game Soundtracks You Love (1069)
- Question about photos (17)
- What are you playing? (23559)
- How high of a ram frequency can i run on a Z690 with an 14700Kf processor? (20)
- Ssd failure, I don’t know what to do (47)
- Steam Deck Owners Clubhouse (514)
- Precautions before using Dual PSU in my PC? (0)
- Do you use Linux? (613)
Popular Reviews
- Arctic Liquid Freezer III Pro 360 A-RGB Review
- Clair Obscur: Expedition 33 Performance Benchmark Review - 33 GPUs Tested
- ASUS Radeon RX 9070 XT TUF OC Review
- ASRock Radeon RX 9070 Steel Legend OC Review
- SCYROX V6 Review
- Upcoming Hardware Launches 2025 (Updated Apr 2025)
- Sapphire Radeon RX 9070 XT Nitro+ Review - Beating NVIDIA
- ASUS ROG Maximus Z890 Hero Review
- AMD Ryzen 7 9800X3D Review - The Best Gaming Processor
- ASUS GeForce RTX 5090 Astral Liquid OC Review - The Most Expensive GPU I've Ever Tested
Controversial News Posts
- AMD Radeon RX 9060 XT to Roll Out 8 GB GDDR6 Edition, Despite Rumors (142)
- NVIDIA Sends MSRP Numbers to Partners: GeForce RTX 5060 Ti 8 GB at $379, RTX 5060 Ti 16 GB at $429 (128)
- NVIDIA Launches GeForce RTX 5060 Series, Beginning with RTX 5060 Ti This Week (115)
- Microsoft Forces Automatic Windows 11 24H2 Update on Pro and Home PCs (91)
- Sony Increases the PS5 Pricing in EMEA and ANZ by Around 25 Percent (84)
- Parts of NVIDIA GeForce RTX 50 Series GPU PCB Reach Over 100°C: Report (78)
- Intel "Bartlett Lake-S" Gaming CPU is Possible, More Hints Appear for a 12 P-Core SKU (78)
- NVIDIA GeForce RTX 5060 Ti 8 GB Variant Benched by Chinese Reviewer, Lags Behind 16 GB Sibling in DLSS 4 Test Scenario (73)