 10
10
Montech X3 Mesh Review
Assembly & Finished Looks »A Closer Look - Inside
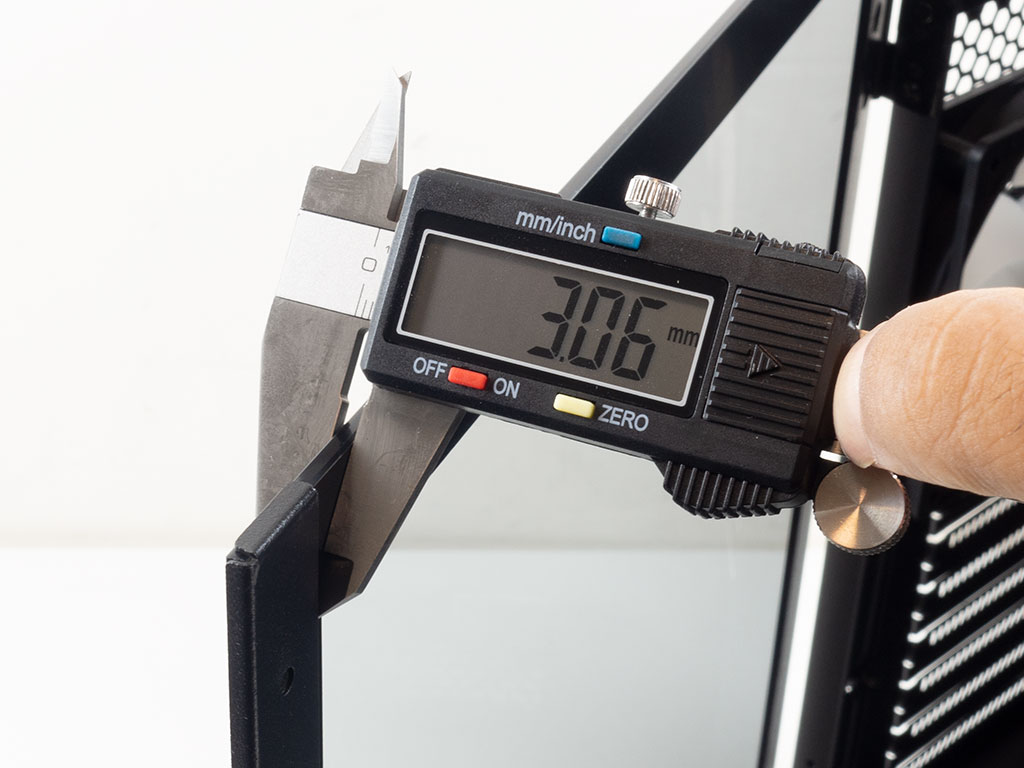
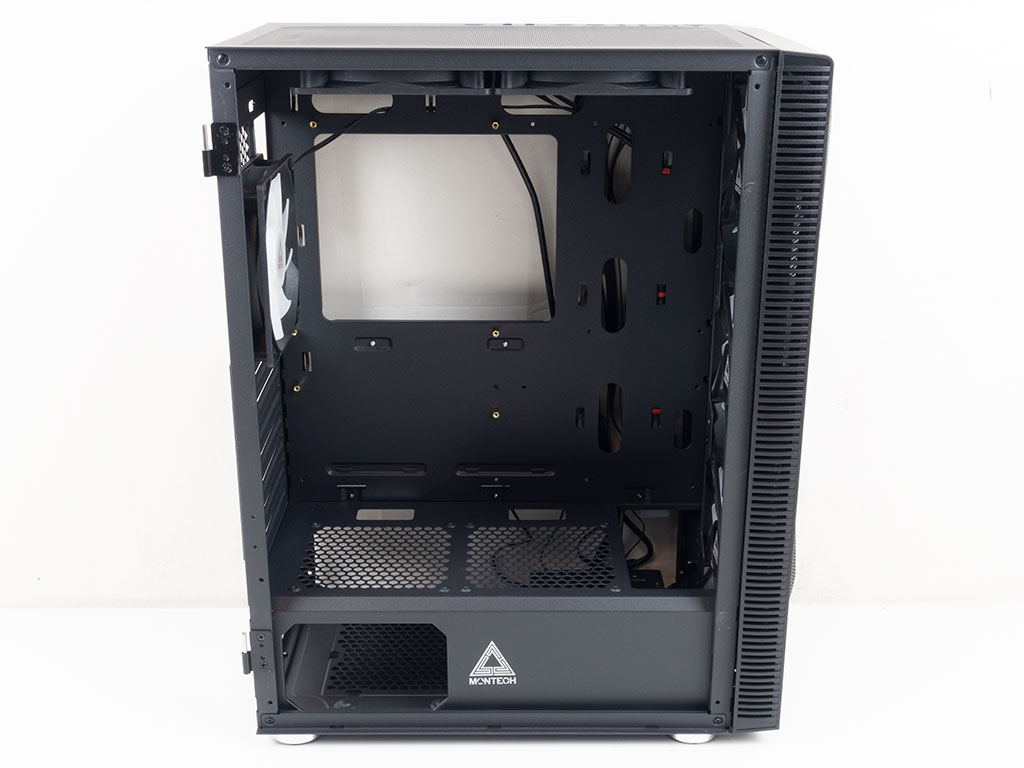
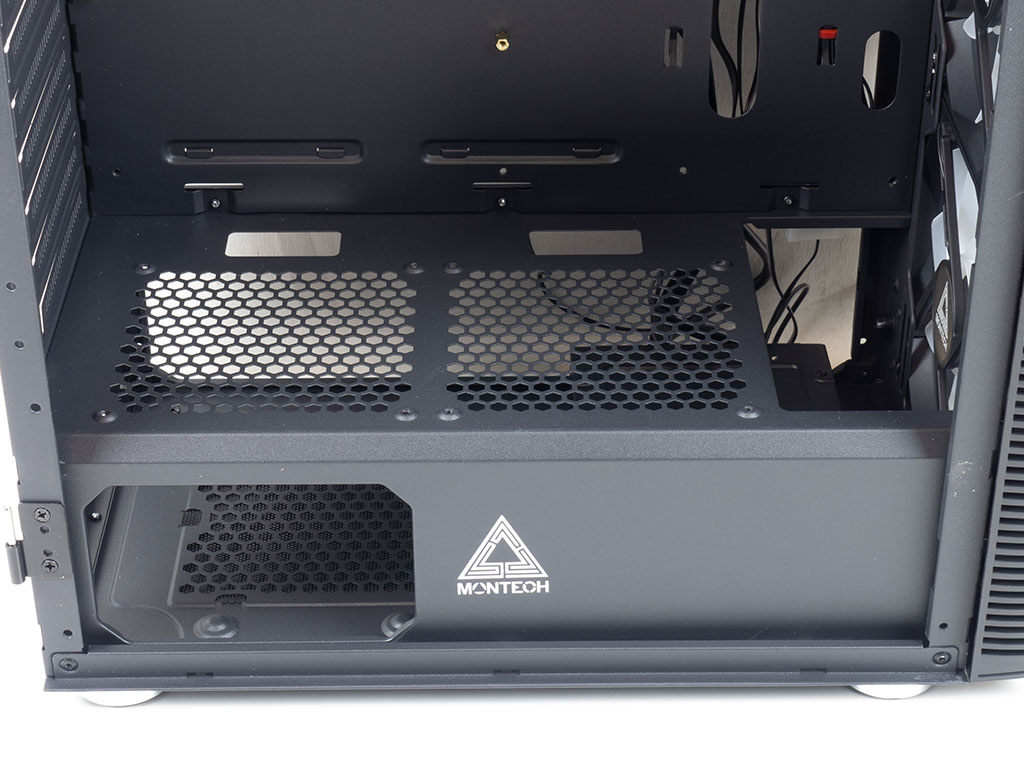
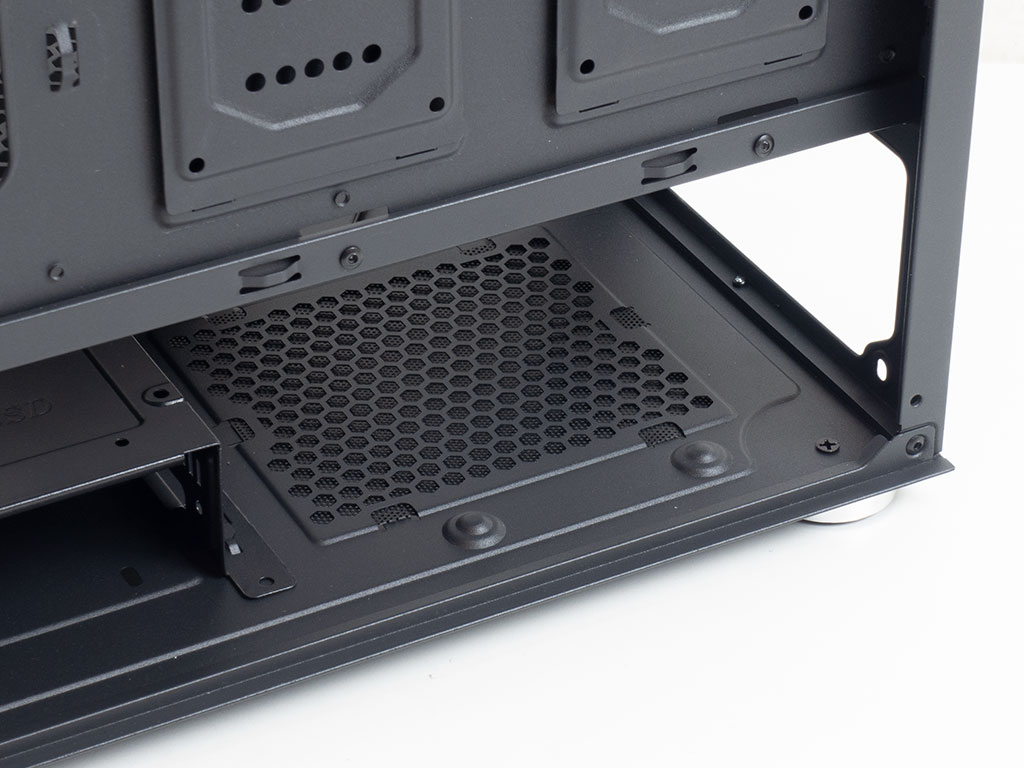
Before we dive into the interior of the Montech X3 Mesh, a quick measurement of the glass panel reveals that it is indeed 3 mm thick, which is pretty much standard for both entry-level and mainstream cases these days. You may and should pull the panel off the hinges for system assembly, which reveals the traditional internal layout of the chassis. A metal shroud covers both the PSU and hard-drive cage. There is an opening towards the front, so you should be able to install a radiator of up to 360 mm into the front. There are two additional cable-routing holes and two 120 mm fan-mounting possibilities. Look closely and you will notice that the Montech branding on the shroud looks slightly different than on their site, as do the stickers of the included fans—a future branding update may be incoming.
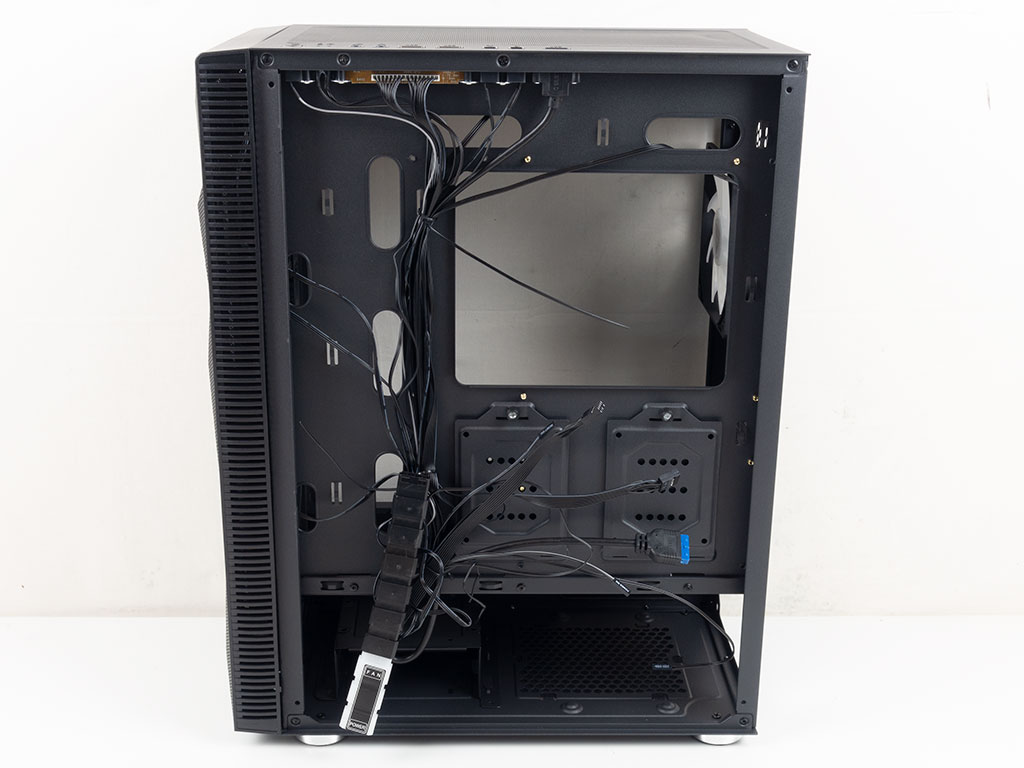
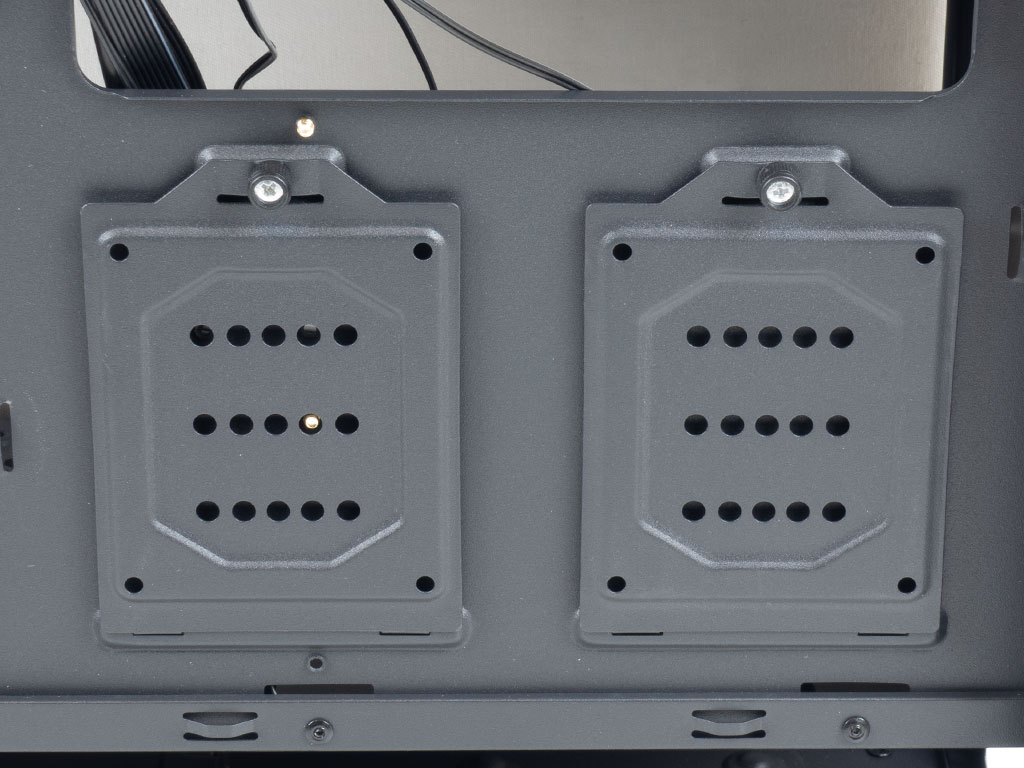
Turning the case over, the layout looks quite traditional as well, but with the array of holes in them, the details of the two 2.5" drive trays are a bit different from what we are used to. There are several rather compact cable-routing holes and a large opening to access the mounting plates of CPU coolers. Montech has done well with the hooks for cable-tie placement even if no ties are included with the chassis.
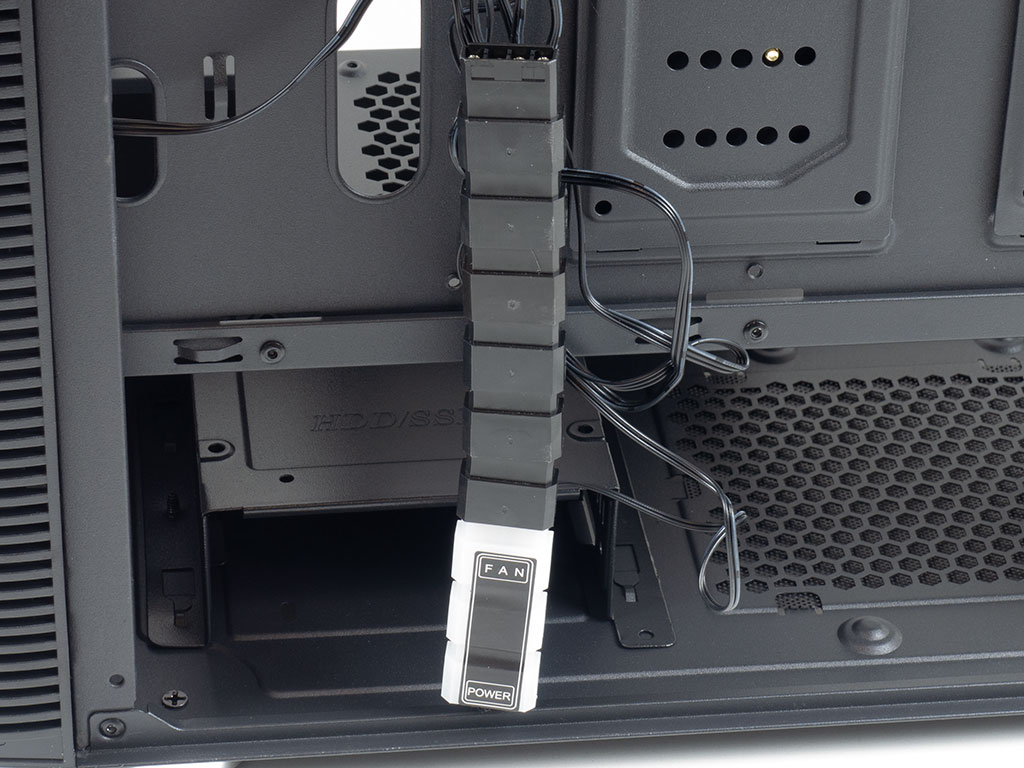
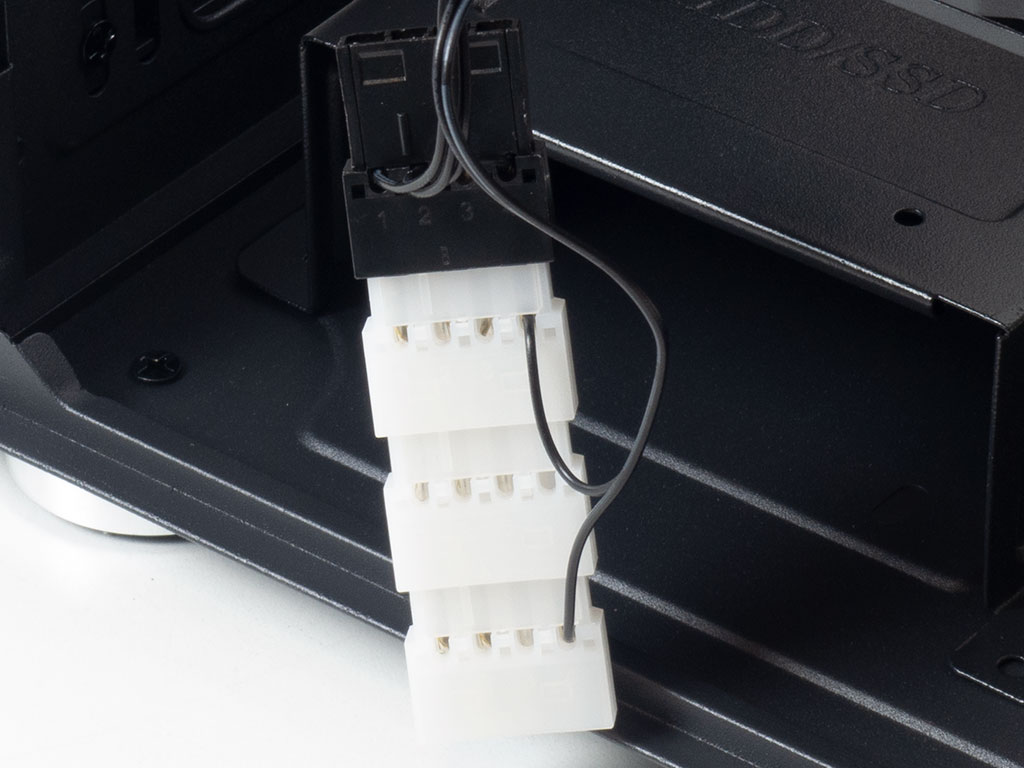
But lets talk about the elephant in the room. All six fans come with Molex connectors. The 12 V+, the ground pin next to it, and the +5 V on the end are connected to each of the black connectors. Montech then utilizes three white, taped together Molex connectors of which the central one missing that fourth +5 V pin creates a gap. The on/off switch bridges that gap in the on position. This means that the fans run at a full 12 V, while the embedded LEDs run on 5 V.
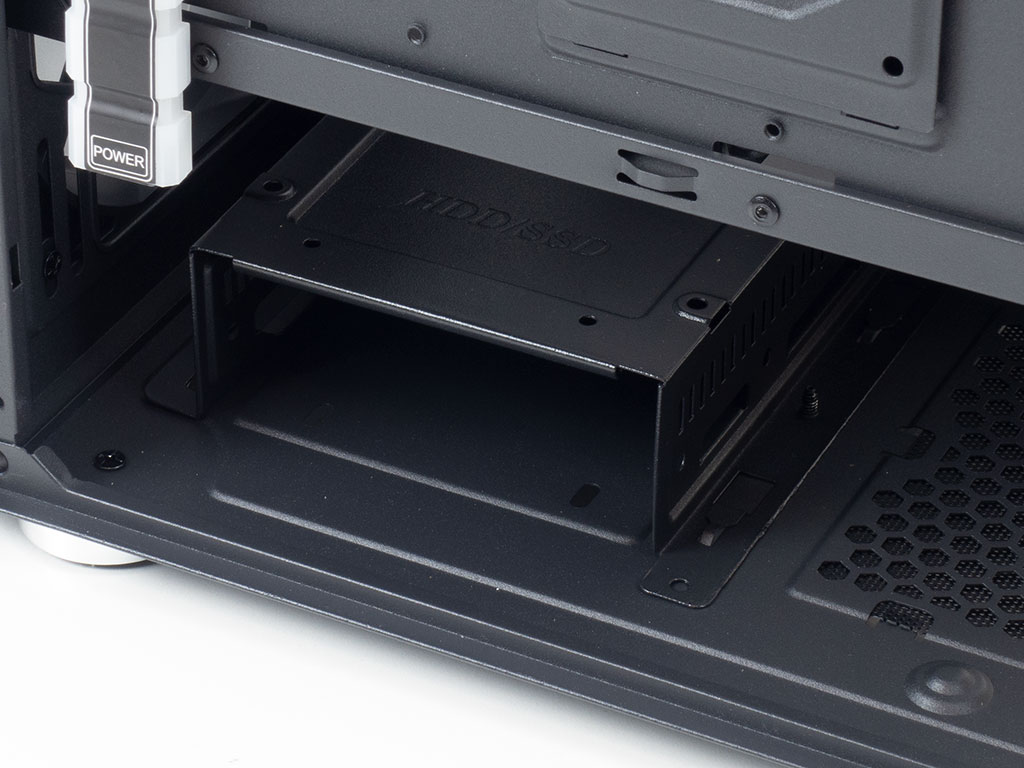
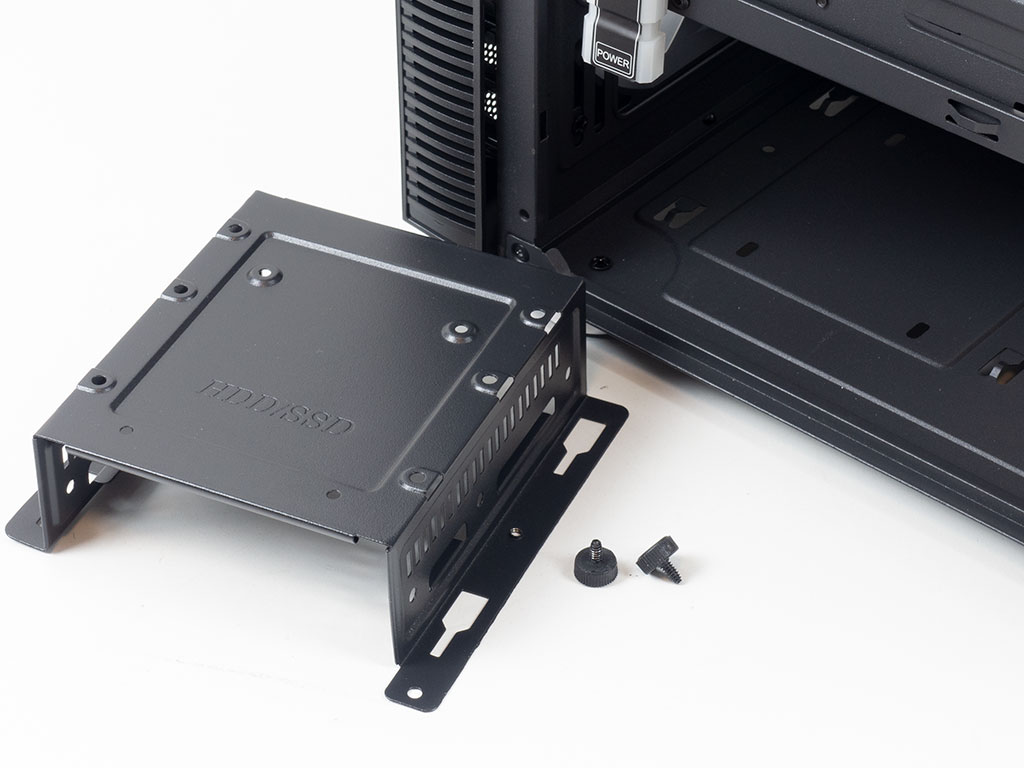
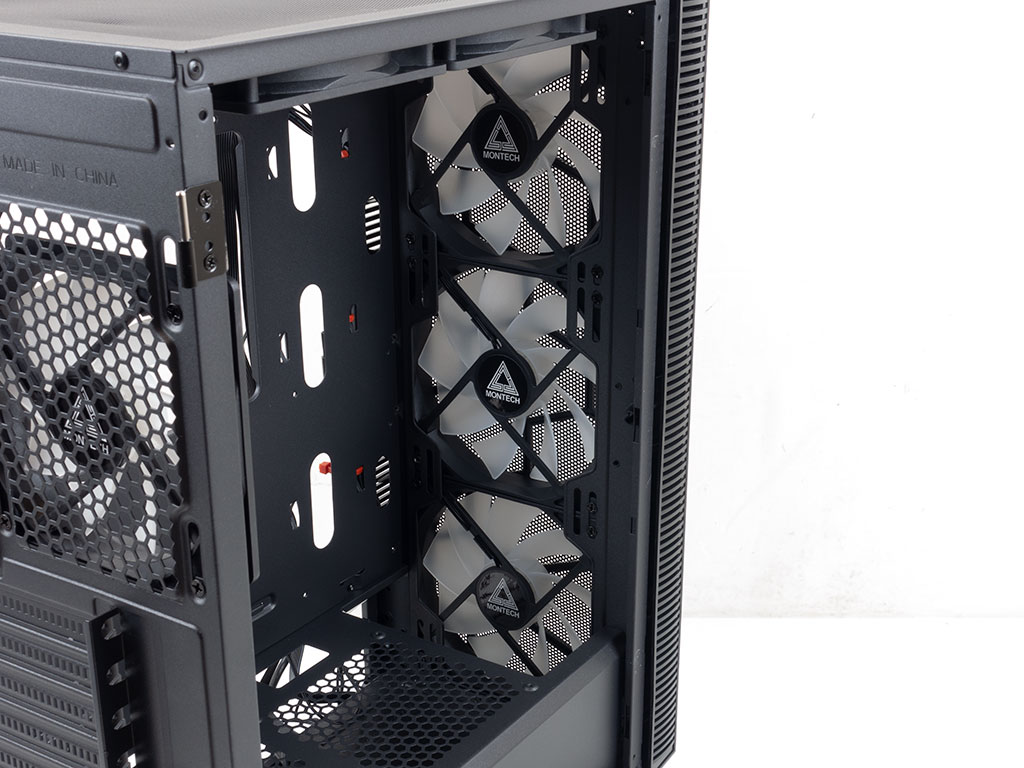
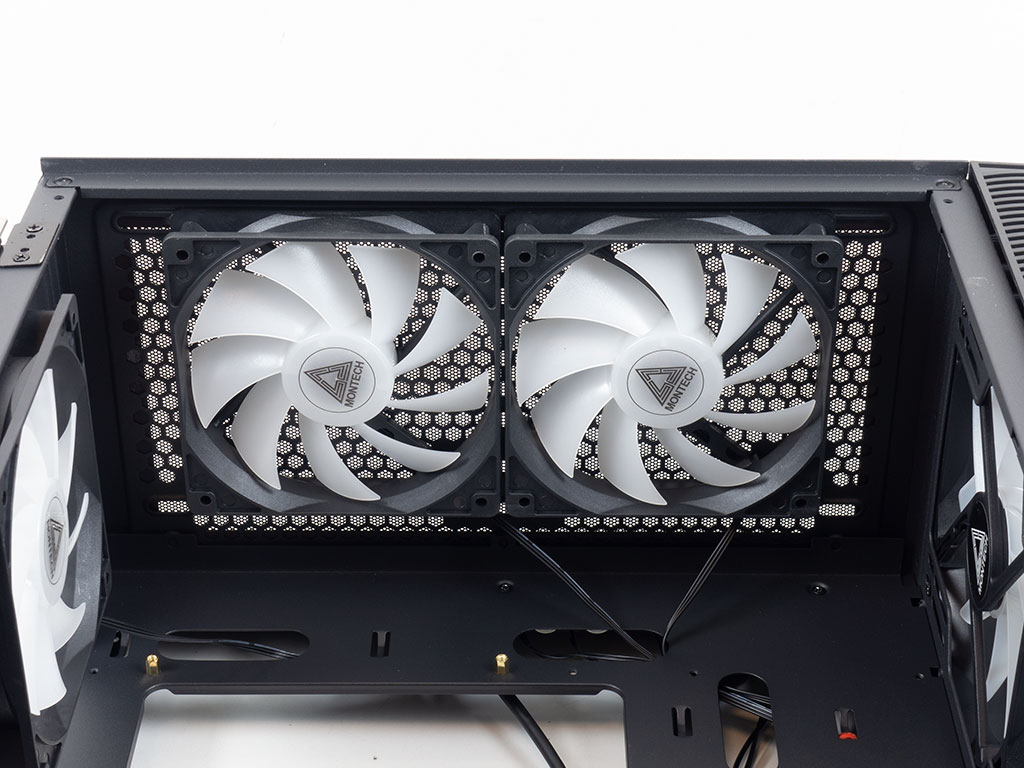
The 3.5" hard-drive cage towards the front is simple. It has to be pulled out of the chassis for drives to be added and utilizes classic screws to do so. You may either install two 3.5" units or one 2.5" and one 3.5" drive. The whole area above that is meant for cooling purposes; thus, the three 140 mm intake units are clearly visible.
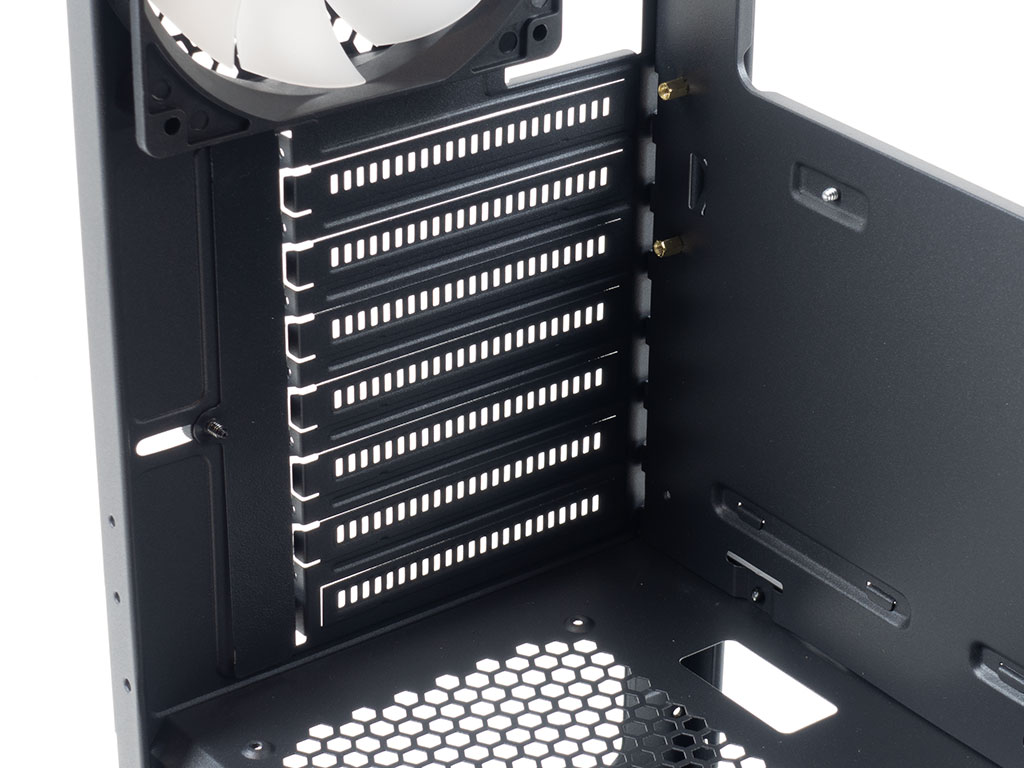
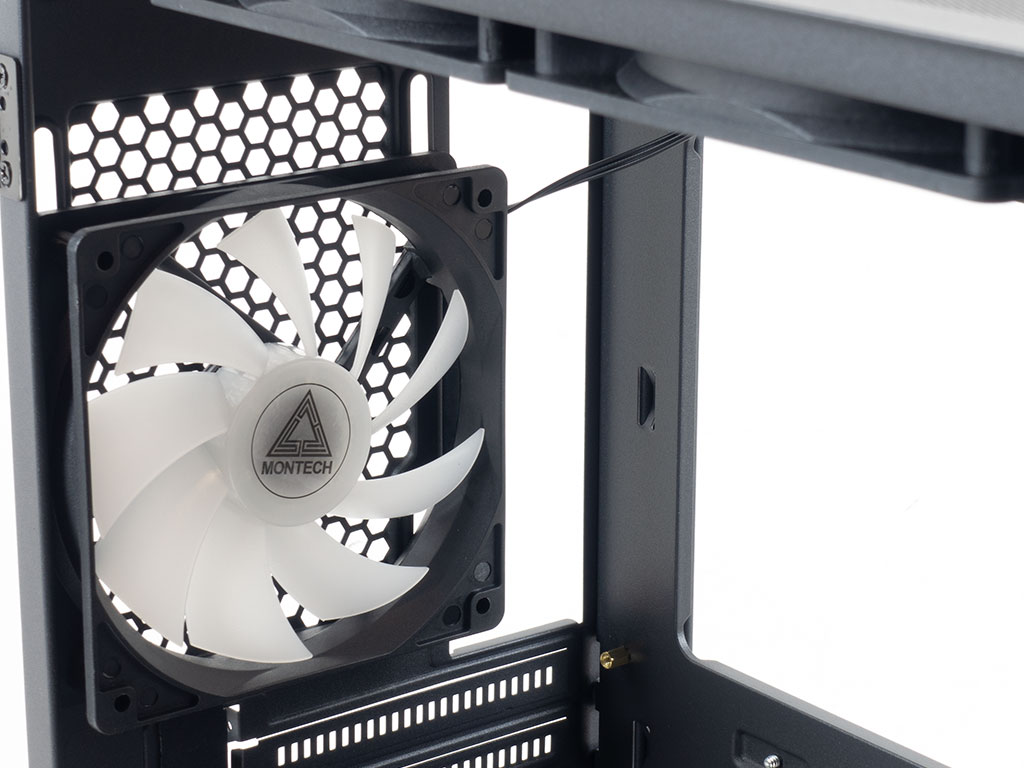
In the rear, the PSU bay is basic but functional. Above that, the seven expansion slots and their vented break-out covers are simple as well, but should do just fine. In the very top is that 120 mm exhaust fan again.
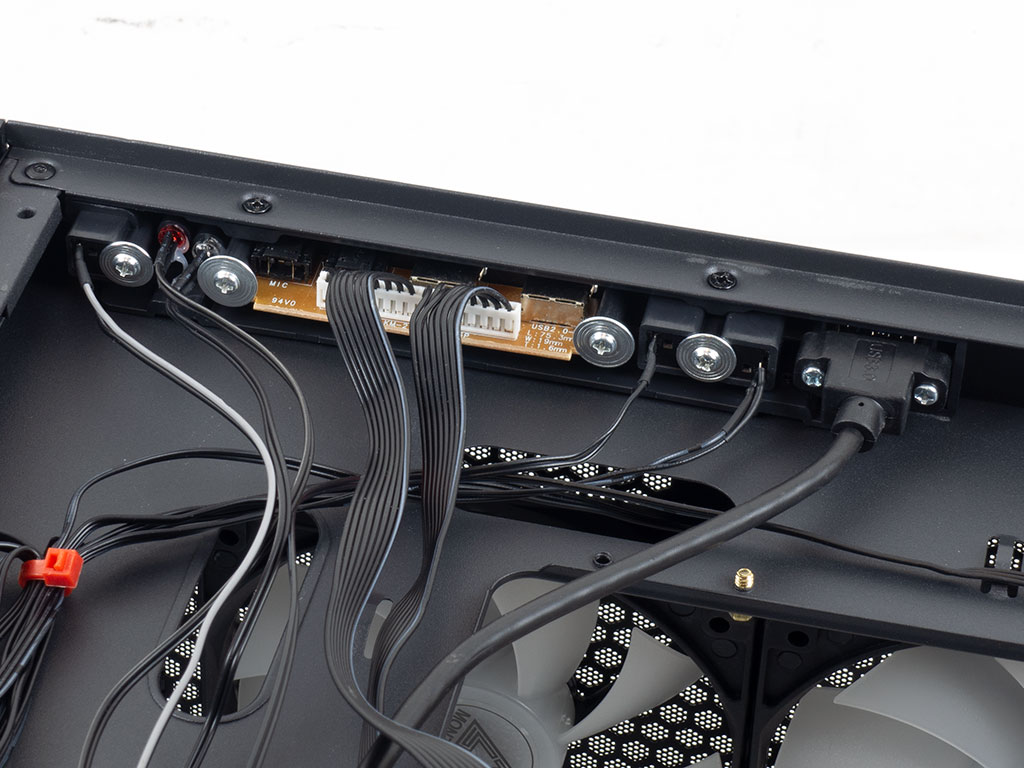
A quick look at the ceiling shows that the 120 mm fan mounts are offset to be as far away from the motherboard as possible. On the other side of the motherboard tray, the PCB for all the buttons and I/O is clearly left exposed in the ceiling. While the USB 3.0 plug is of high quality, everything else is decisively fragile. The button connections, for example, are known to snap off right at the soldering point between the cable and switch. Most brands dab hot glue on these types of connectors to make them more rigid and add a layer of protection.

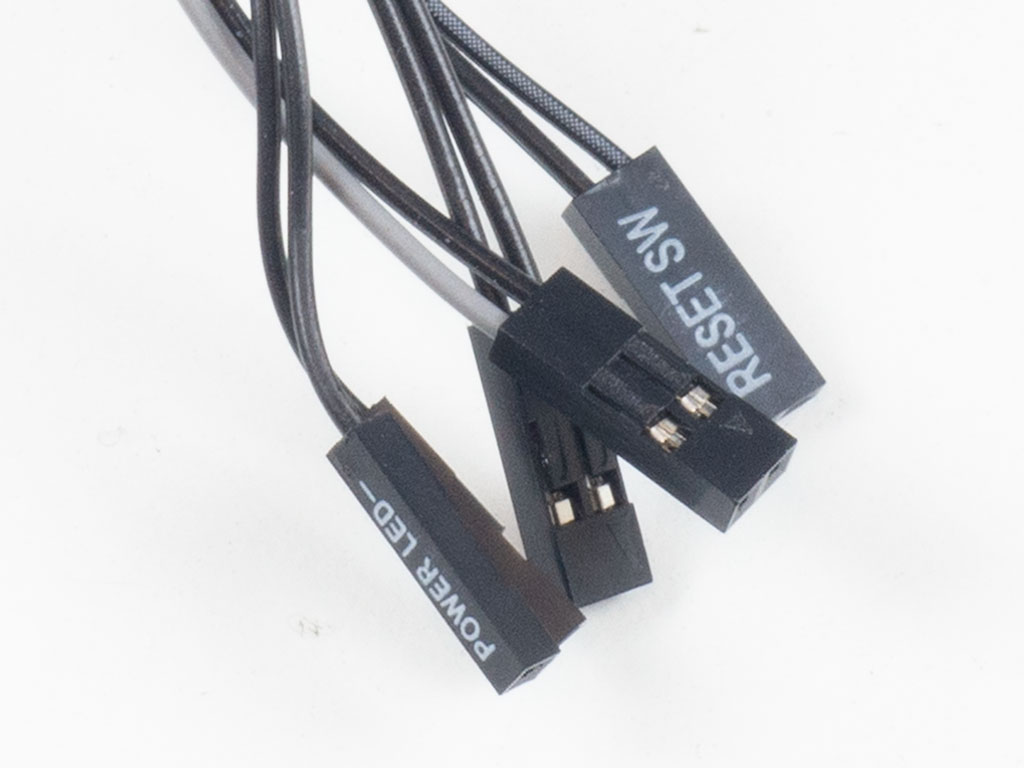
Almost all the cables of the case and and I/O are sleeved black and of the default variety. The exception are the audio leads and USB 2.0 cable. These are flat-band cables, which is a nice touch.
Jun 30th, 2025 20:38 CDT
change timezone
Latest GPU Drivers
New Forum Posts
- Laptop overclocking adventures (1238)
- [INTEL]-How To Update Your Microcode for Intel HX 13/14th Gen. CPUs Laptops/Mobile Easily. (172)
- Will you buy a RTX 5090? (584)
- The TPU UK Clubhouse (26530)
- Optane and "enable write caching " (27)
- Question about Intel Optane SSDs (87)
- Do you use Linux? (664)
- Remember Fermi? Well here's my EVGA GTX 480 that I picked up for just 19 Euros! (9)
- Vega owners club (587)
- Can you guess Which game it is? (194)
Popular Reviews
- ASUS ROG Crosshair X870E Extreme Review
- Sapphire Radeon RX 9060 XT Pulse OC 16 GB Review - Samsung Memory Tested
- AVerMedia CamStream 4K Review
- Lexar NQ780 4 TB Review
- AMD Ryzen 7 9800X3D Review - The Best Gaming Processor
- Upcoming Hardware Launches 2025 (Updated May 2025)
- Sapphire Radeon RX 9070 XT Nitro+ Review - Beating NVIDIA
- AMD Ryzen 9 9950X3D Review - Great for Gaming and Productivity
- ASRock Phantom Gaming Z890 Riptide Wi-Fi Review
- NVIDIA GeForce RTX 5060 8 GB Review
TPU on YouTube
Controversial News Posts
- Intel's Core Ultra 7 265K and 265KF CPUs Dip Below $250 (288)
- NVIDIA Grabs Market Share, AMD Loses Ground, and Intel Disappears in Latest dGPU Update (204)
- Some Intel Nova Lake CPUs Rumored to Challenge AMD's 3D V-Cache in Desktop Gaming (140)
- NVIDIA Launches GeForce RTX 5050 for Desktops and Laptops, Starts at $249 (105)
- Microsoft Partners with AMD for Next-gen Xbox Hardware (105)
- Intel "Nova Lake‑S" Series: Seven SKUs, Up to 52 Cores and 150 W TDP (100)
- NVIDIA GeForce RTX 5080 SUPER Could Feature 24 GB Memory, Increased Power Limits (94)
- Reviewers Bemused by Restrictive Sampling of RX 9060 XT 8 GB Cards (88)