 29
29
MSI Aegis Ti GAMING PC (Dual-GPU) Review
Powered Up »Physical Teardown

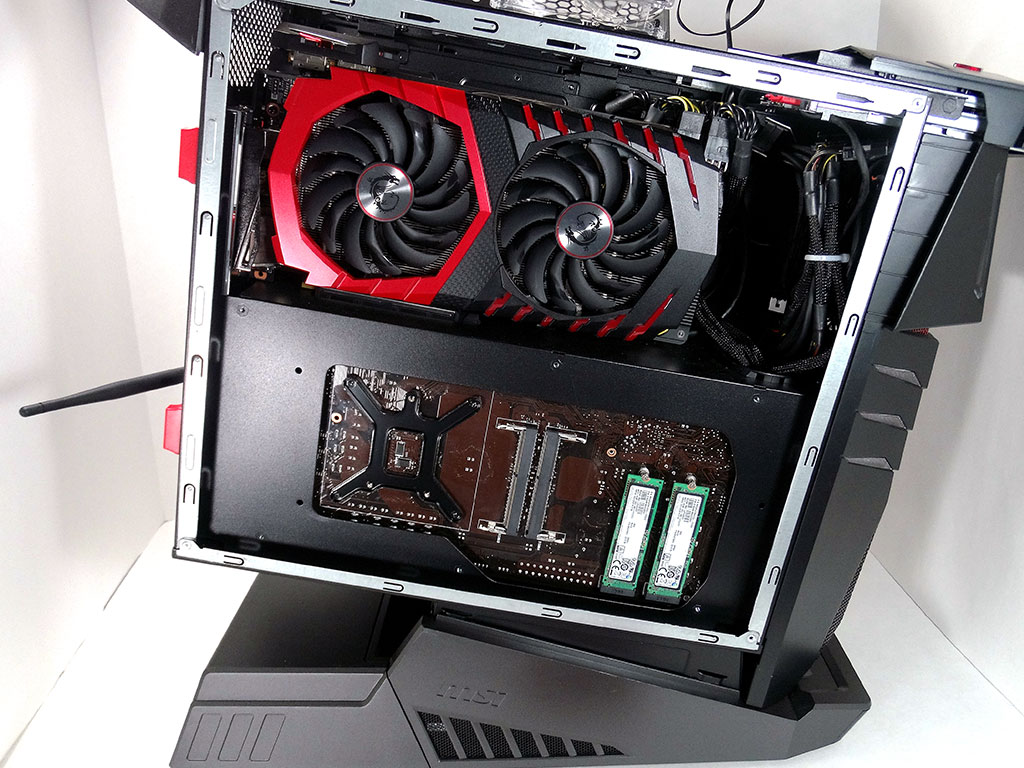
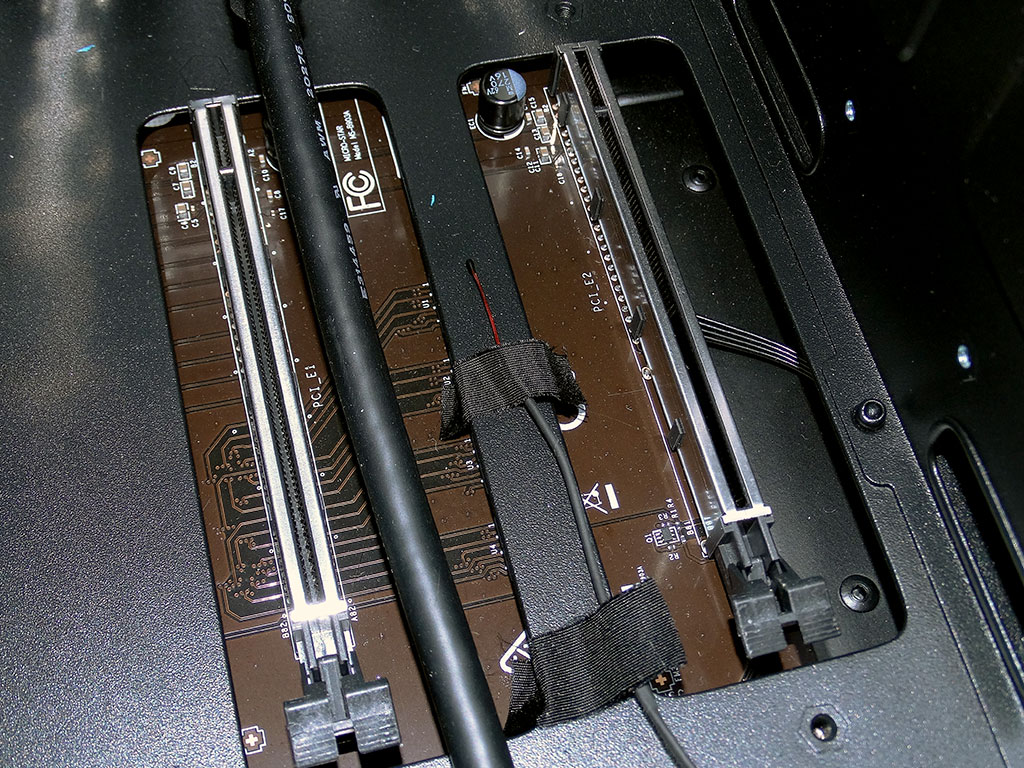
To get inside the MSI Aegis Ti, you have to remove a screw and slide the top latch down and the bottom latch up. The screw prevents the latch from moving while carrying the PC around, which is another nice touch. Opening the left side reveals the installed VGAs and gives access to the third and fourth DIMM slots and the M.2 ports.


The right side presents a spot for an SSD up top, while the bottom... uh... where's the motherboard! Removing the plastic thing at the bottom reveals the board itself. The plastic tray holds the CPU cooler right at the edge to help ensure warm air from the CPU gets exhausted out of the case as soon as possible.
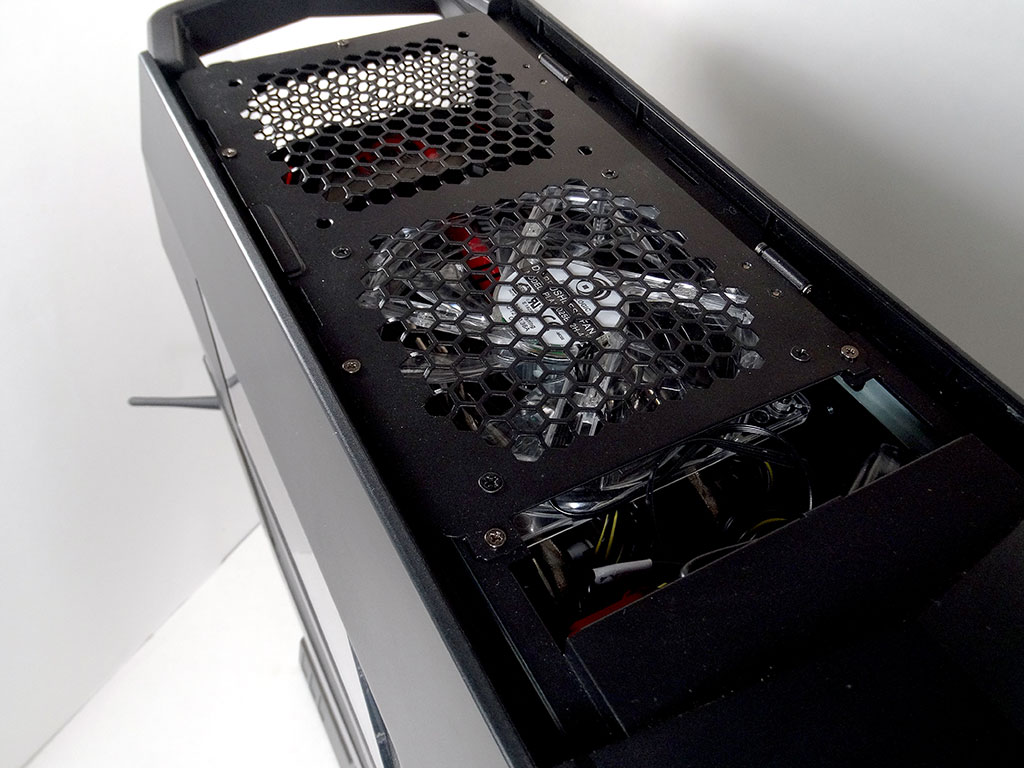
Removing the louvers at the top of the case reveals the metal case top. Removing five screws releases the top, which flips open to give you full access to the VGAs.
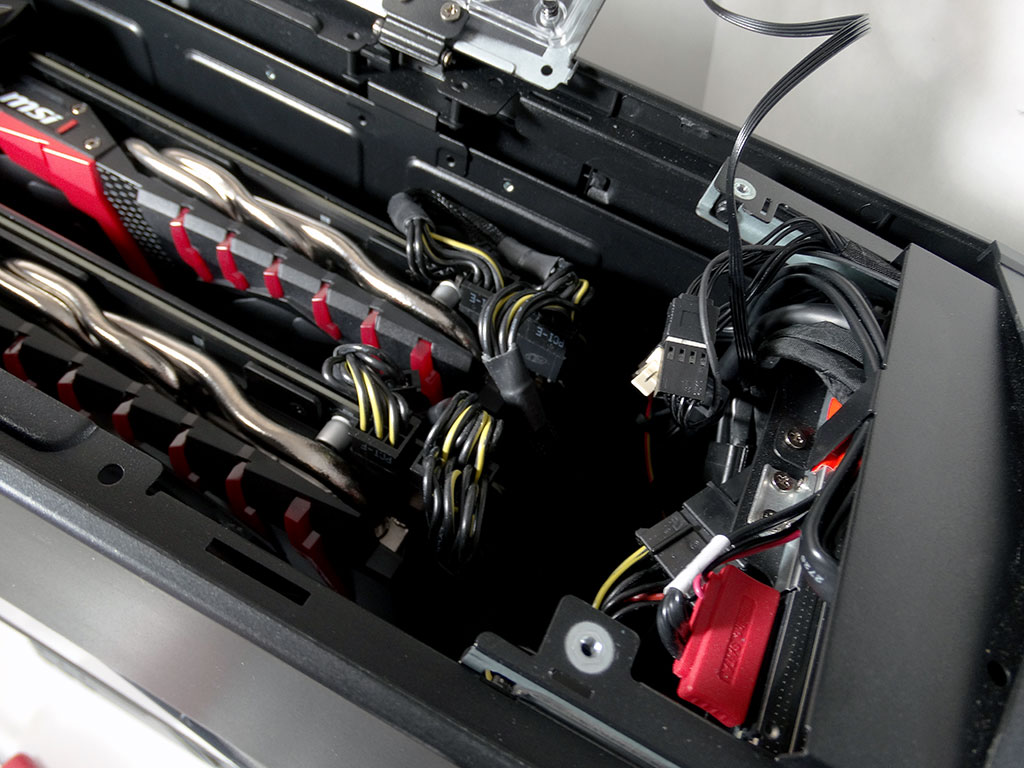
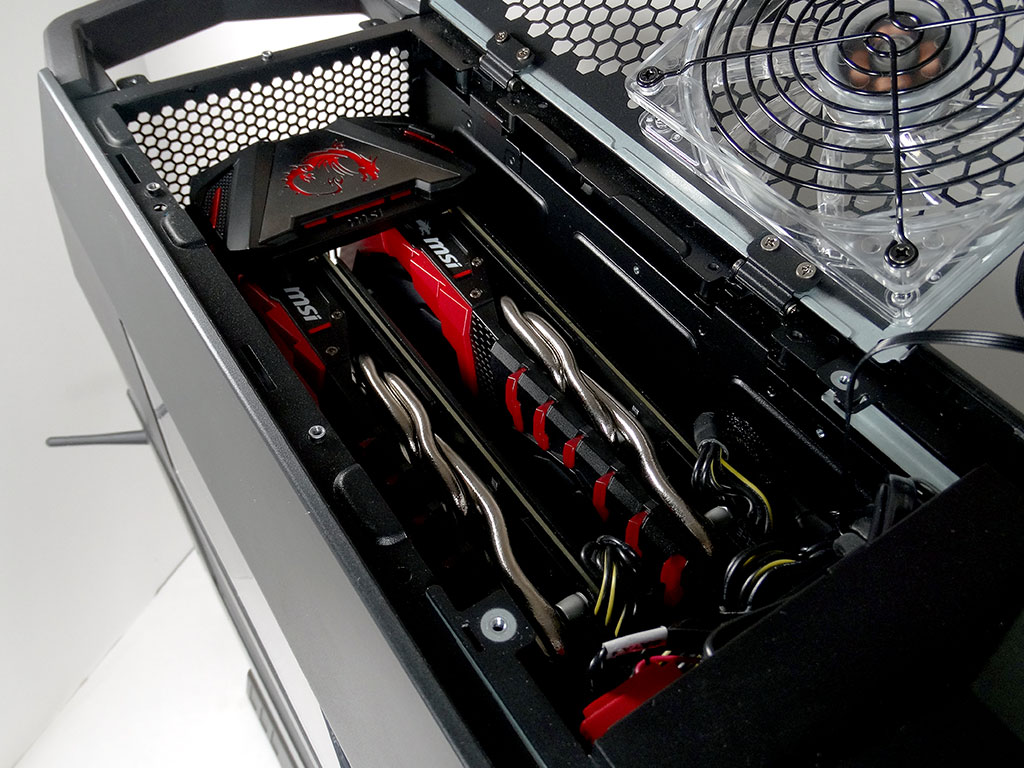
However, because of the smallish depth of the case, the power wires for the VGAs are hidden at first, but you can slide the front I/O assembly forward, which then provides easy access to the power plugs and large MSI GAMING VGAs that came pre-installed with my unit.
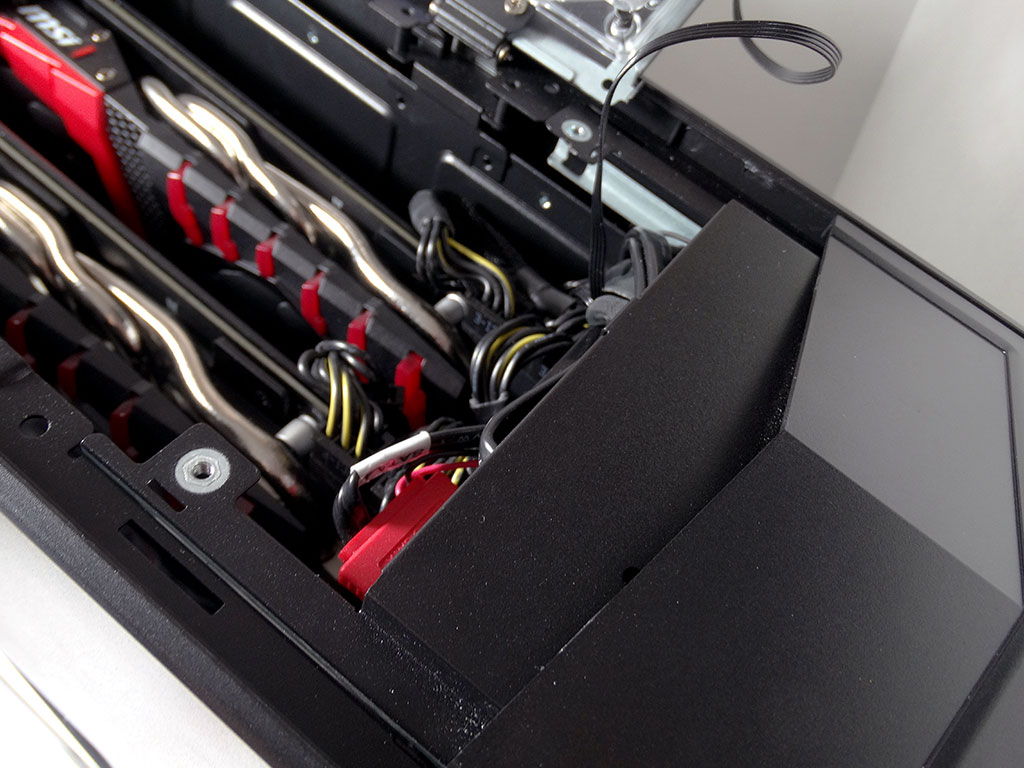
Removing the VGAs reveals yet more thoughtful design cues; clips are holding wires in place and there is a thermal probe between the VGAs to control the intake fan for the GPU area. No overheating GPUs here!

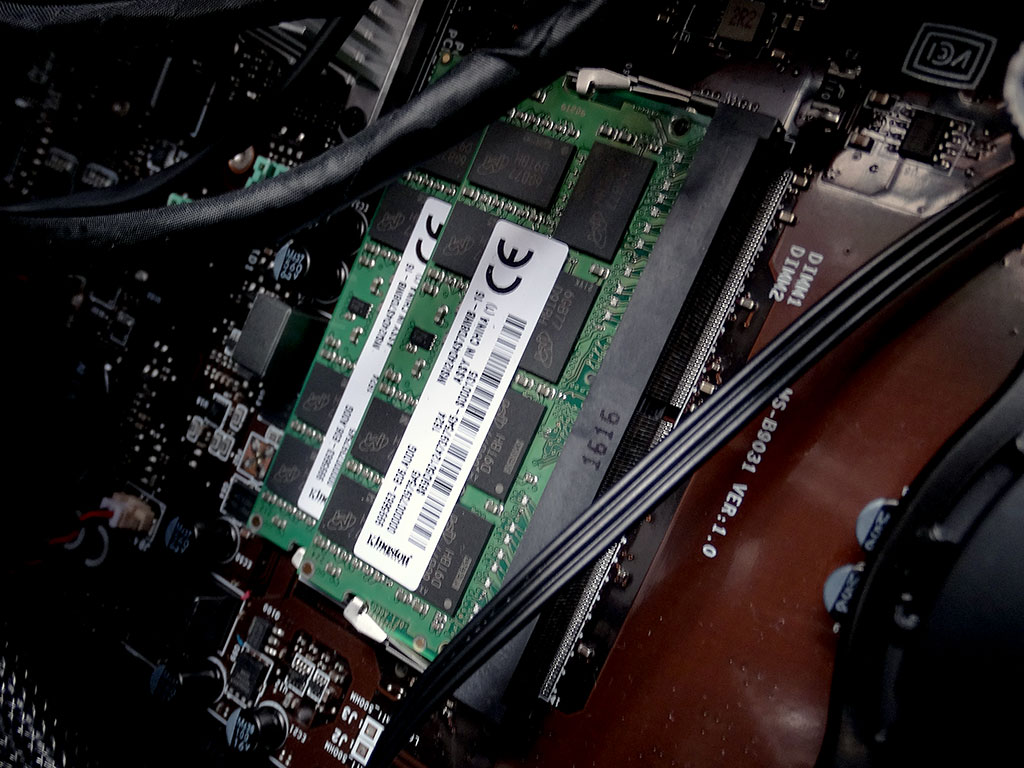
If you choose to use M.2 SSDs, you can put them in RAID. MSI placed dual OEM Samsung 950 PRO drives into my test unit. They also included dual 16 GB SO-DIMMs for me, providing a total of 32 GB of 2400 MHz RAM here (the board does support XMP). I could buy two more sticks of the same memory and install them next to the M.2 drives for a total of 64 GB of RAM!
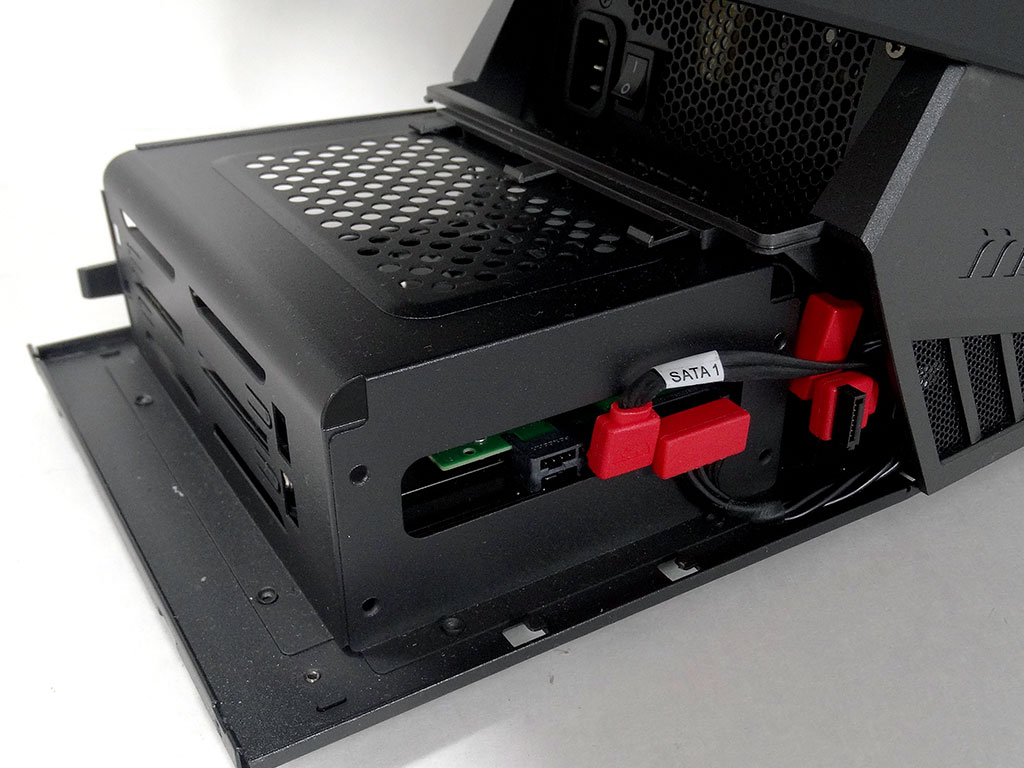
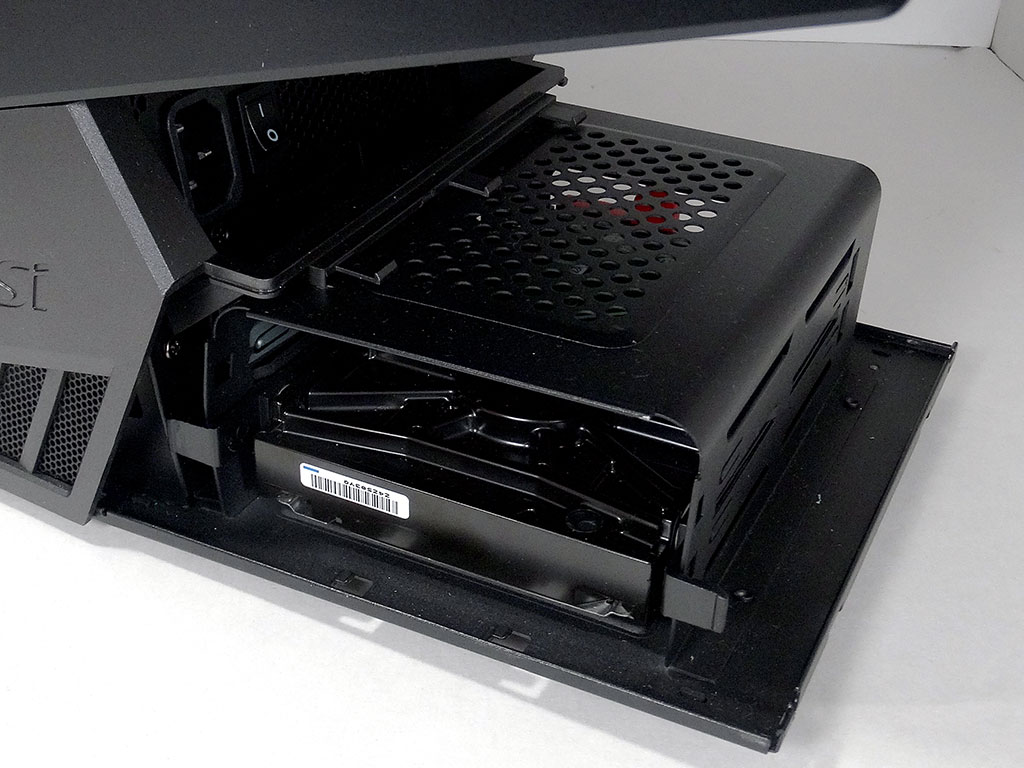
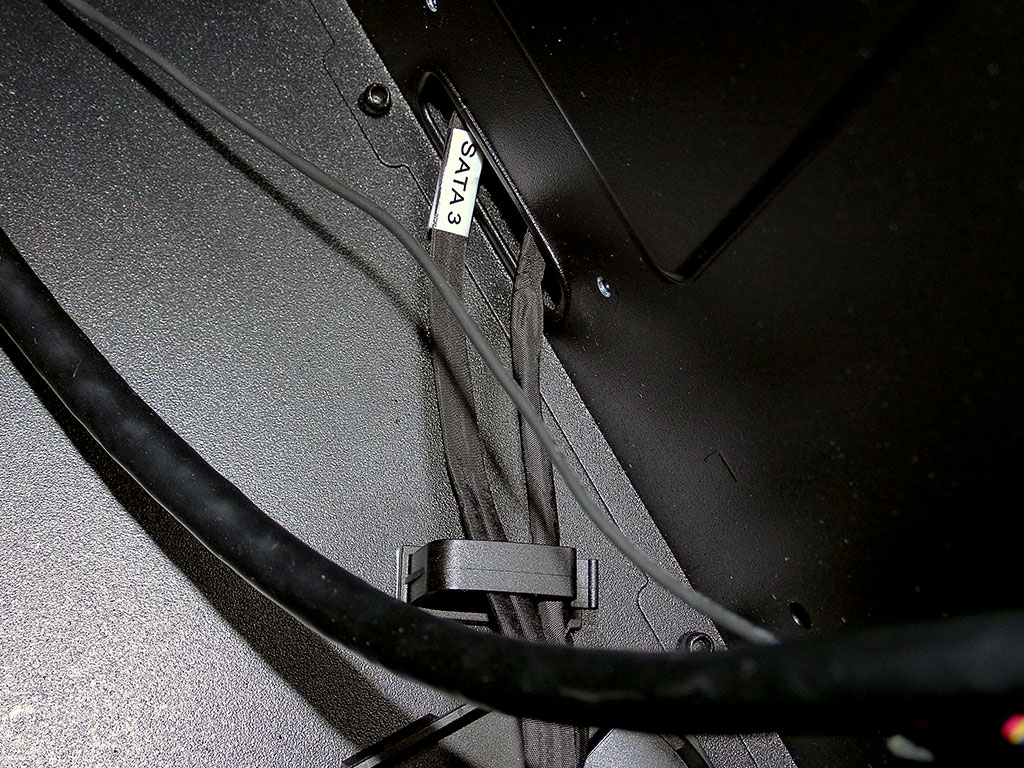
Where are the mechanical drives, you ask? Hidden in the base! Remove two screws, slide off the cover, and the cage for 3.5-inch devices is revealed. Cabling for another drive is already in place, so you simply need to mount the drive to the tray, slide it into place, and plug it in.
My test system includes MSI's HB SLI bridge, but not all builds will feature one. I did talk to MSI about this and they mentioned that they plan to include a HB bridge with all future SLI-capable PCs like this one. If you buy this case as a barebones or have it pre-built for you, make sure you ask for one to be installed, especially if pushing 4K or VR. This bridge will affect FPS a little bit, but also helps with micro-stutter thanks to its added available bandwidth, and micro-stutter is something I am personally very sensitive to. You do need a very expensive FCAT system to measure such problems, but my eyes can do it too. :P
Mar 10th, 2025 15:36 EDT
change timezone
Latest GPU Drivers
New Forum Posts
- Microprose: Falcon 5.0 - Well under development- yeay (1)
- €2000 Austrian gaming build (4)
- Gaming PC instabiliity (19)
- What's your latest tech purchase? (23275)
- Company of Heroes 3 (4)
- BIOS request 10DE:25A2 1043:13DC (10)
- What are you playing? (23131)
- I'm looking for a good tool to make the 3D scanning of my mini-pc using the photogrammetry and my Kinect 2. (49)
- AMD RX 9070 XT & RX 9070 non-XT thread (OC, undervolt, benchmarks, ...) (4)
- Cryptocoin Value and Market Trend Discussion (1645)
Popular Reviews
- Sapphire Radeon RX 9070 XT Nitro+ Review - Beating NVIDIA
- XFX Radeon RX 9070 XT Mercury OC Magnetic Air Review
- ASUS Radeon RX 9070 TUF OC Review
- MSI MAG B850 Tomahawk Max Wi-Fi Review
- NVIDIA GeForce RTX 5080 Founders Edition Review
- NVIDIA GeForce RTX 5070 Founders Edition Review
- Corsair Vengeance RGB CUDIMM DDR5-8800 48 GB CL42 Review
- AMD Ryzen 7 9800X3D Review - The Best Gaming Processor
- ASUS GeForce RTX 5070 Ti TUF OC Review
- MSI GeForce RTX 5070 Ti Gaming Trio OC+ Review
Controversial News Posts
- NVIDIA GeForce RTX 50 Cards Spotted with Missing ROPs, NVIDIA Confirms the Issue, Multiple Vendors Affected (513)
- AMD Plans Aggressive Price Competition with Radeon RX 9000 Series (277)
- AMD Radeon RX 9070 and 9070 XT Listed On Amazon - One Buyer Snags a Unit (261)
- AMD RDNA 4 and Radeon RX 9070 Series Unveiled: $549 & $599 (260)
- AMD Mentions Sub-$700 Pricing for Radeon RX 9070 GPU Series, Looks Like NV Minus $50 Again (248)
- NVIDIA Investigates GeForce RTX 50 Series "Blackwell" Black Screen and BSOD Issues (244)
- AMD Radeon RX 9070 and 9070 XT Official Performance Metrics Leaked, +42% 4K Performance Over Radeon RX 7900 GRE (195)
- AMD Radeon RX 9070-series Pricing Leaks Courtesy of MicroCenter (158)