 14
14
MSI Trident 3 Gaming Desktop (Kaby Lake) Review
A Look Inside »Physical Teardown

While how the outside looks is important, what goes on inside is maybe even more important.

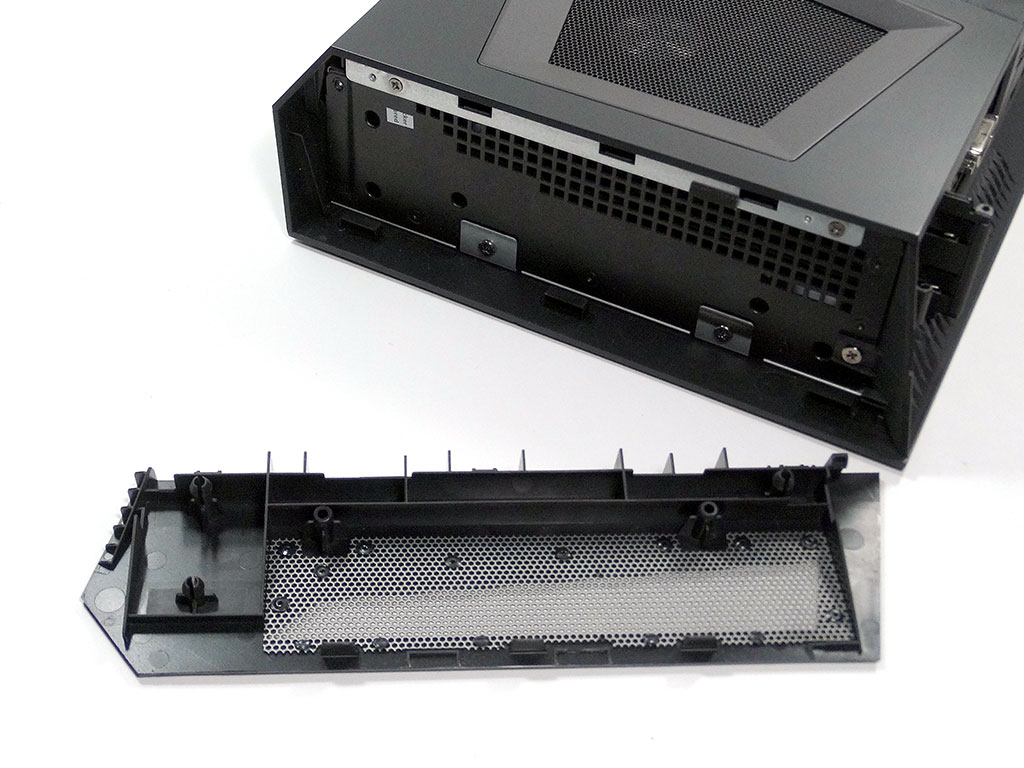
Getting inside the MSI Trident 3 GAMING Desktop is actually far easier than you'd expect. It starts with prying open one end, which can be done with your bare hands, no tools required. It just pops right off, and goes back with equal ease. Designing a piece that can be removed so easily, yet returns to its place so securely is a bit of an engineering marvel; MSI could have simply used screws here and taken the easy route, but they didn't.
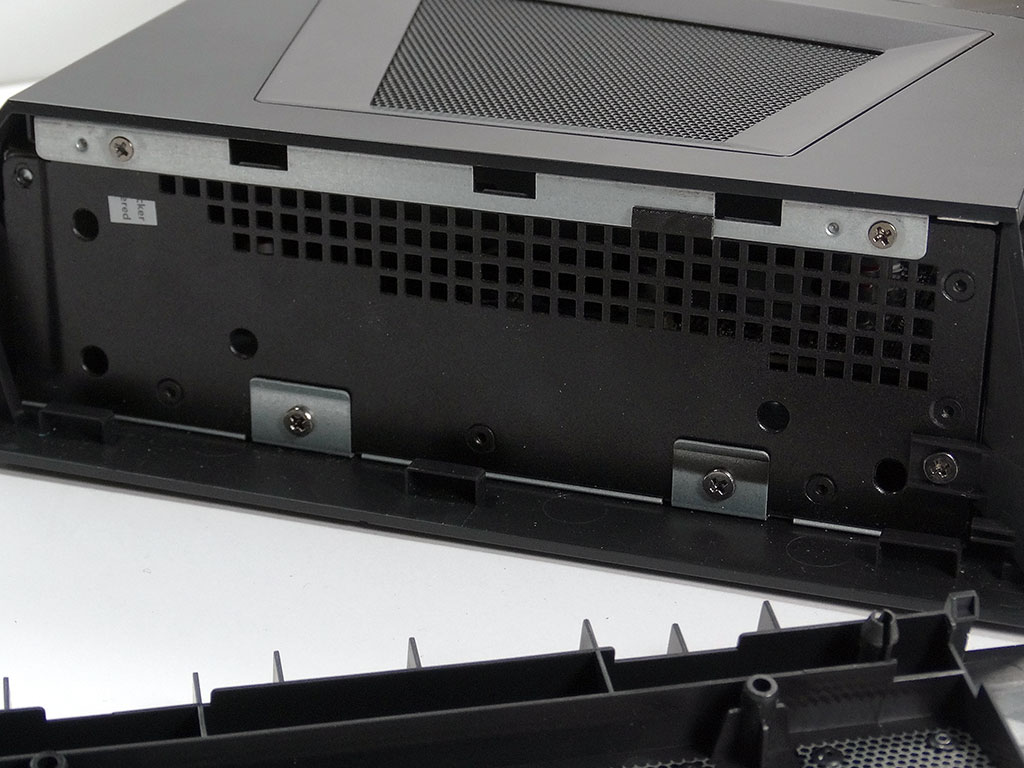

Inside the holes that that removed piece came from you'll find four screws that do need to be removed; two are to open the top, and two for the bottom. Remove all four, and then you can slide off the top.

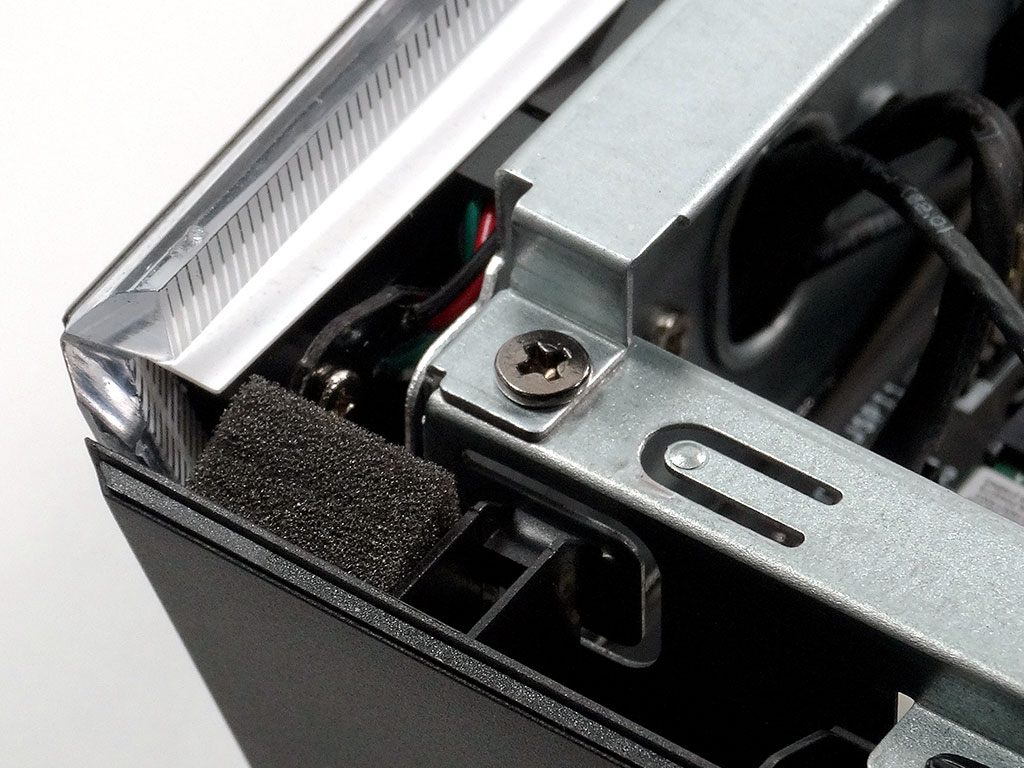
Getting the bottom part off requires you remove three more screws; one is hidden in a hole in the board. There are two more that secure the front panel to the rest of the main chassis; one at either end. With those three removed, you can then slide the bottom off.
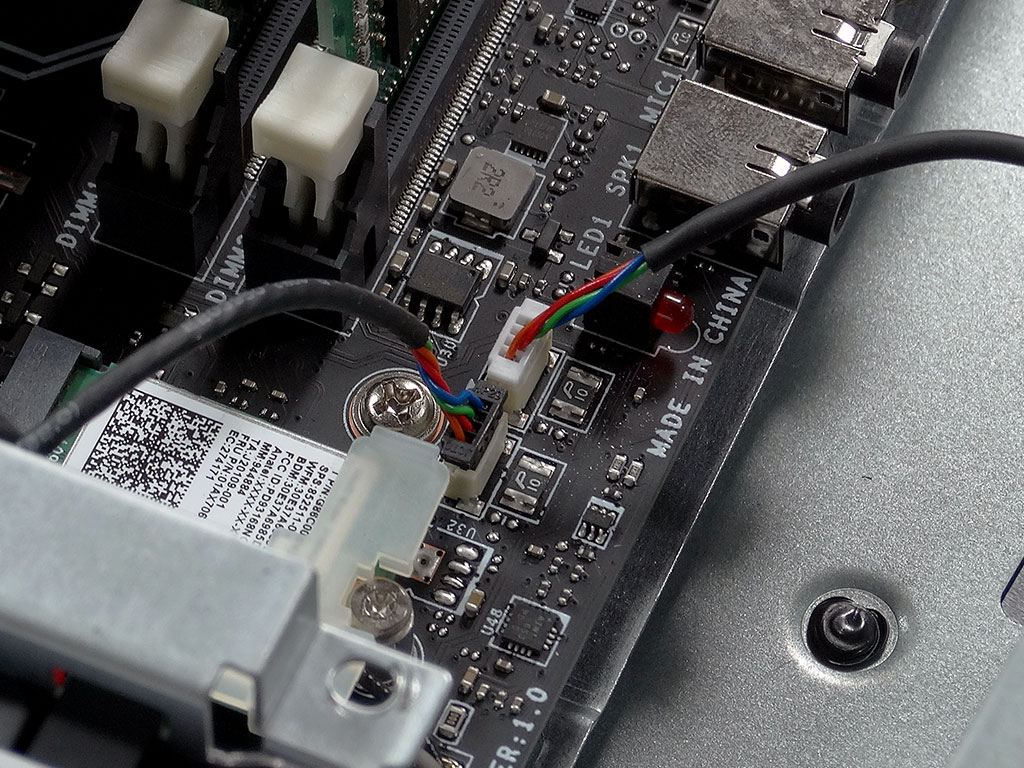

You'll also need to disconnect one cable; the cable for the front LED. The rest of the front panel is not a problem. A total of seven screws removed, and you have complete access to everything inside. With the panel off, the PC is still fully functional, just the front panel and top seem removed. There is elegance in this design and how it provides you access to the parts contained here within the MSI Trident 3.
Mar 19th, 2025 04:23 EDT
change timezone
Latest GPU Drivers
New Forum Posts
- The Official Thermal Interface Material thread (1665)
- What's your latest tech purchase? (23366)
- AMD RX 9070 XT & RX 9070 non-XT thread (OC, undervolt, benchmarks, ...) (45)
- Zotac firestorm vs Msi afterburner, for Zotac 5070 solid oc card. (0)
- Intel to AMD upgrade, re-using 2x24Gb memory? (16)
- 5070 Ti power limit questions (17)
- Is RX 9070 VRAM temperature regular value or hotspot? (27)
- Do you prefer factory overclocked GPUs? (28)
- Adding 2 more sticks of DDR5 Ram 64gb for a total of 4 (49)
- HalfLife2 RTX Demo Is out! (114)
Popular Reviews
- Corsair SF750 750 W Review
- Sapphire Radeon RX 9070 XT Nitro+ Review - Beating NVIDIA
- AMD Ryzen 9 9950X3D Review - Great for Gaming and Productivity
- ASRock Radeon RX 9070 XT Taichi OC Review - Excellent Cooling
- MSI GeForce RTX 5070 Gaming Trio OC Review
- Kioxia Exceria Plus G4 2 TB Review - Energy-Efficient PCIe Gen 5
- XFX Radeon RX 9070 XT Mercury OC Magnetic Air Review
- ASUS Radeon RX 9070 TUF OC Review
- ASUS GeForce RTX 5090 TUF Review
- AVerMedia Core Go & Elite Go Review
Controversial News Posts
- NVIDIA GeForce RTX 50 Cards Spotted with Missing ROPs, NVIDIA Confirms the Issue, Multiple Vendors Affected (519)
- AMD RDNA 4 and Radeon RX 9070 Series Unveiled: $549 & $599 (260)
- AMD Mentions Sub-$700 Pricing for Radeon RX 9070 GPU Series, Looks Like NV Minus $50 Again (250)
- NVIDIA Investigates GeForce RTX 50 Series "Blackwell" Black Screen and BSOD Issues (244)
- AMD Radeon RX 9070 and 9070 XT Official Performance Metrics Leaked, +42% 4K Performance Over Radeon RX 7900 GRE (195)
- AMD Radeon RX 9070-series Pricing Leaks Courtesy of MicroCenter (158)
- MSI Doesn't Plan Radeon RX 9000 Series GPUs, Skips AMD RDNA 4 Generation Entirely (138)
- Microsoft Introduces Copilot for Gaming (123)