 2
2
MUSE HiFi Power Planar Magnetic In-ear Earphones Review
Fit, Comfort & Audio Performance »Closer Examination
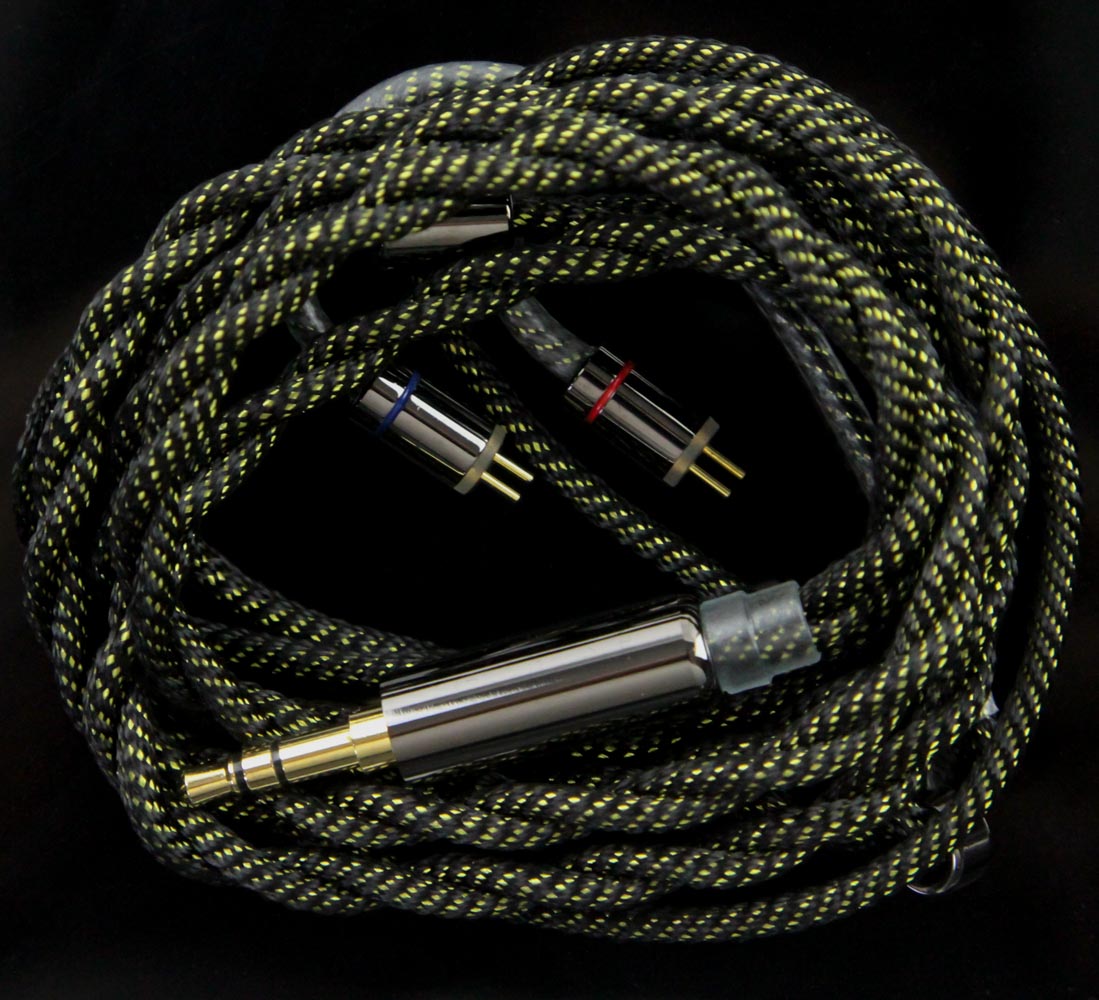
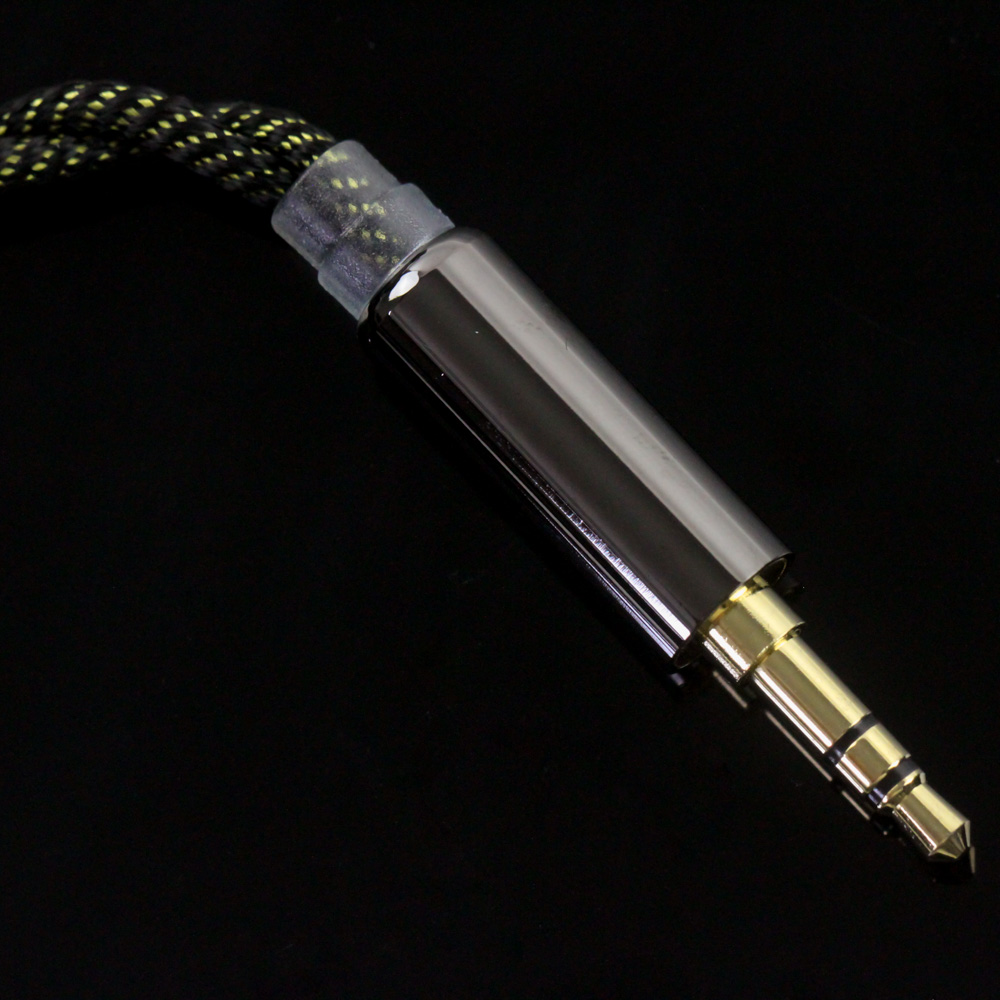
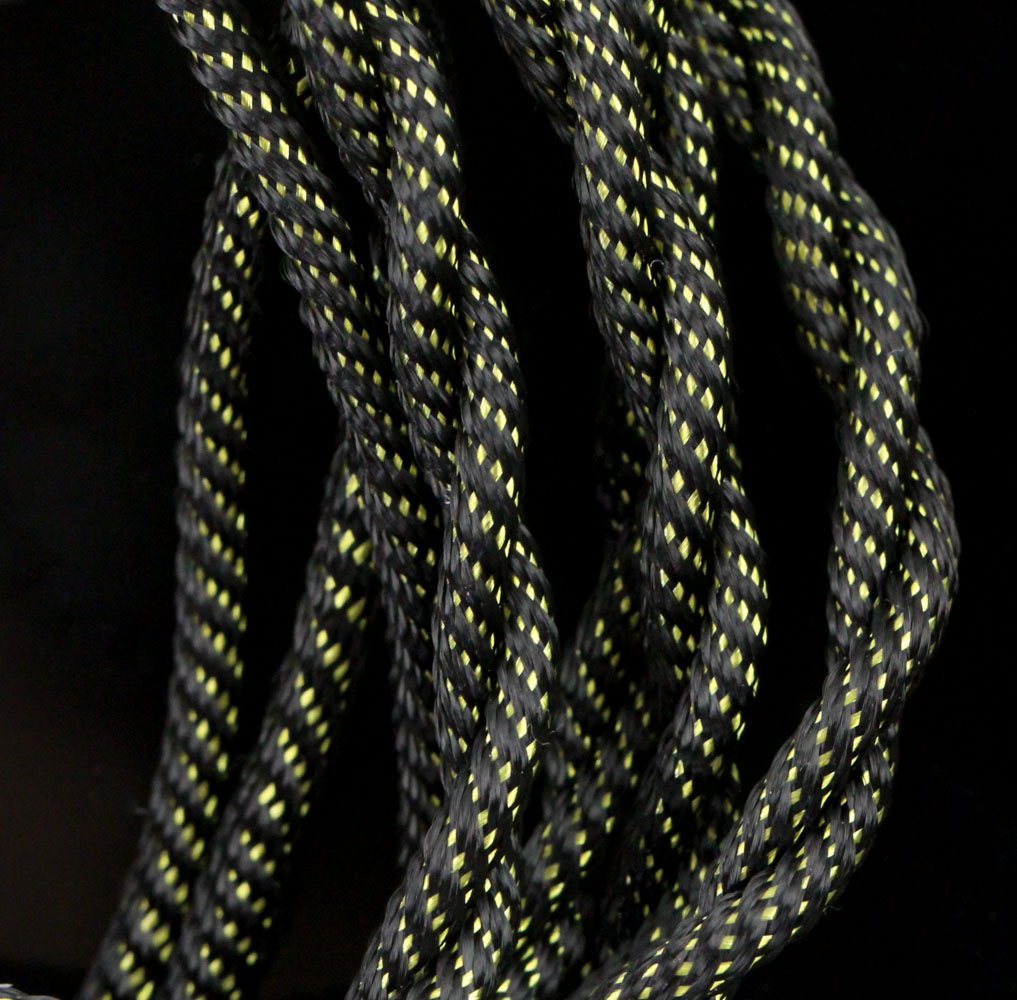
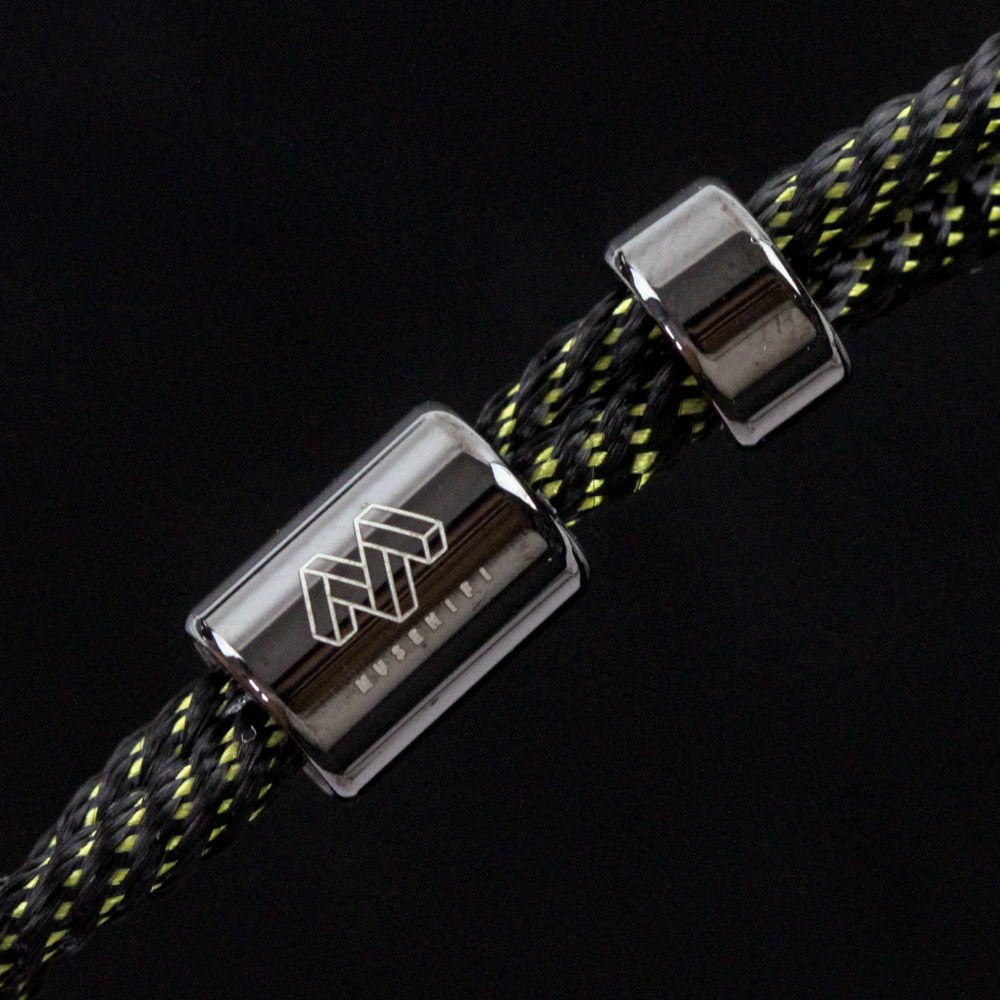
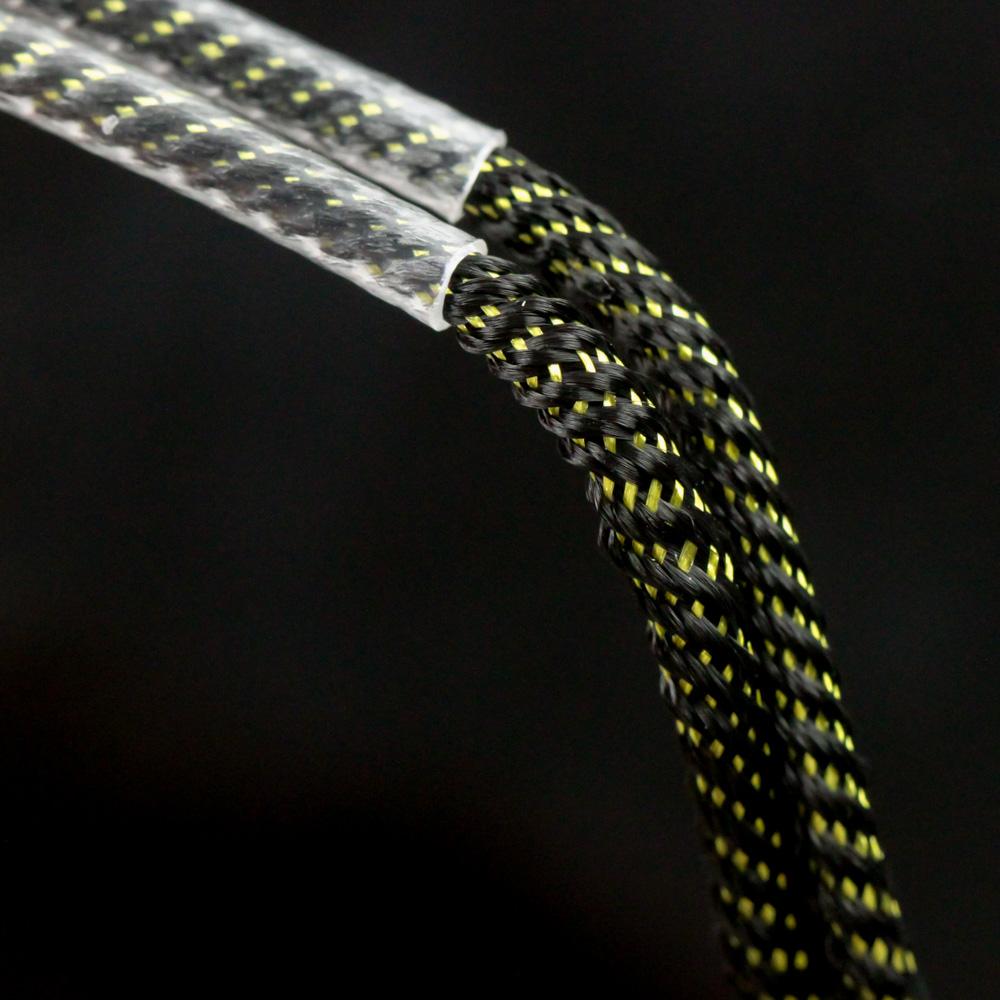
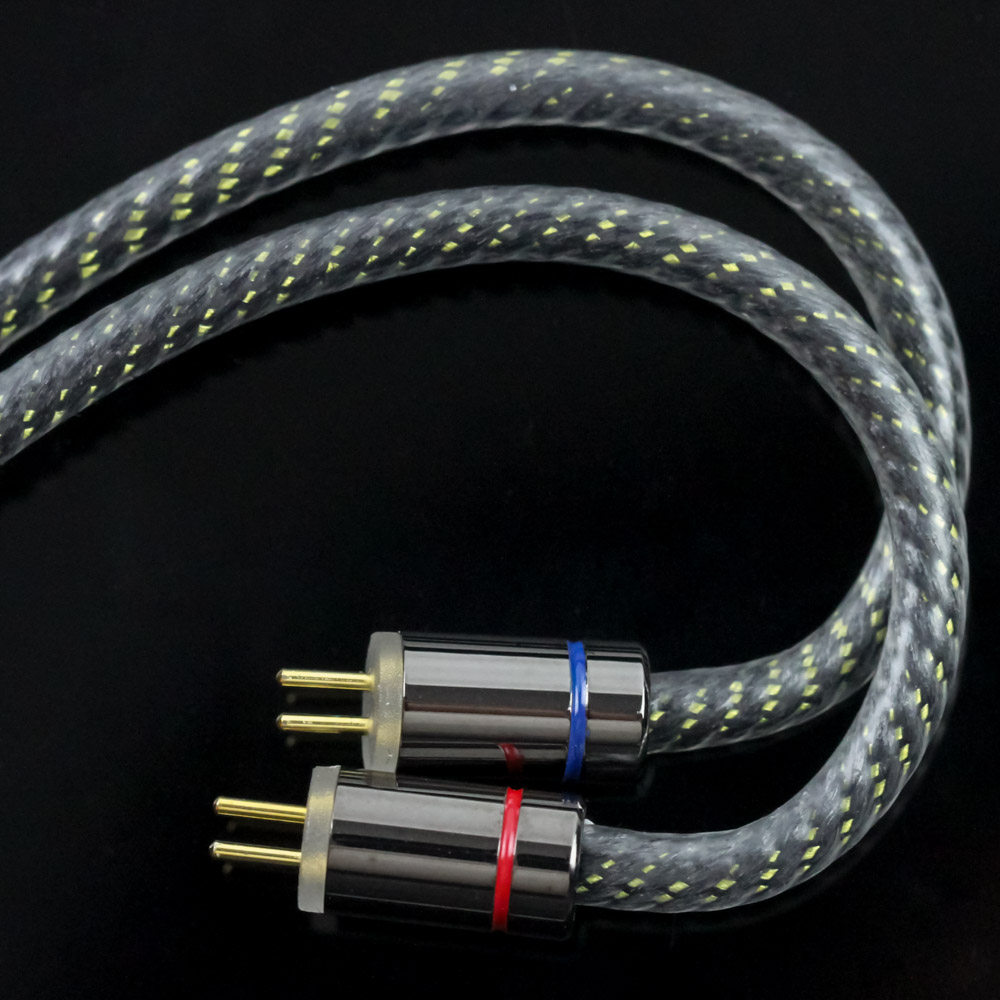
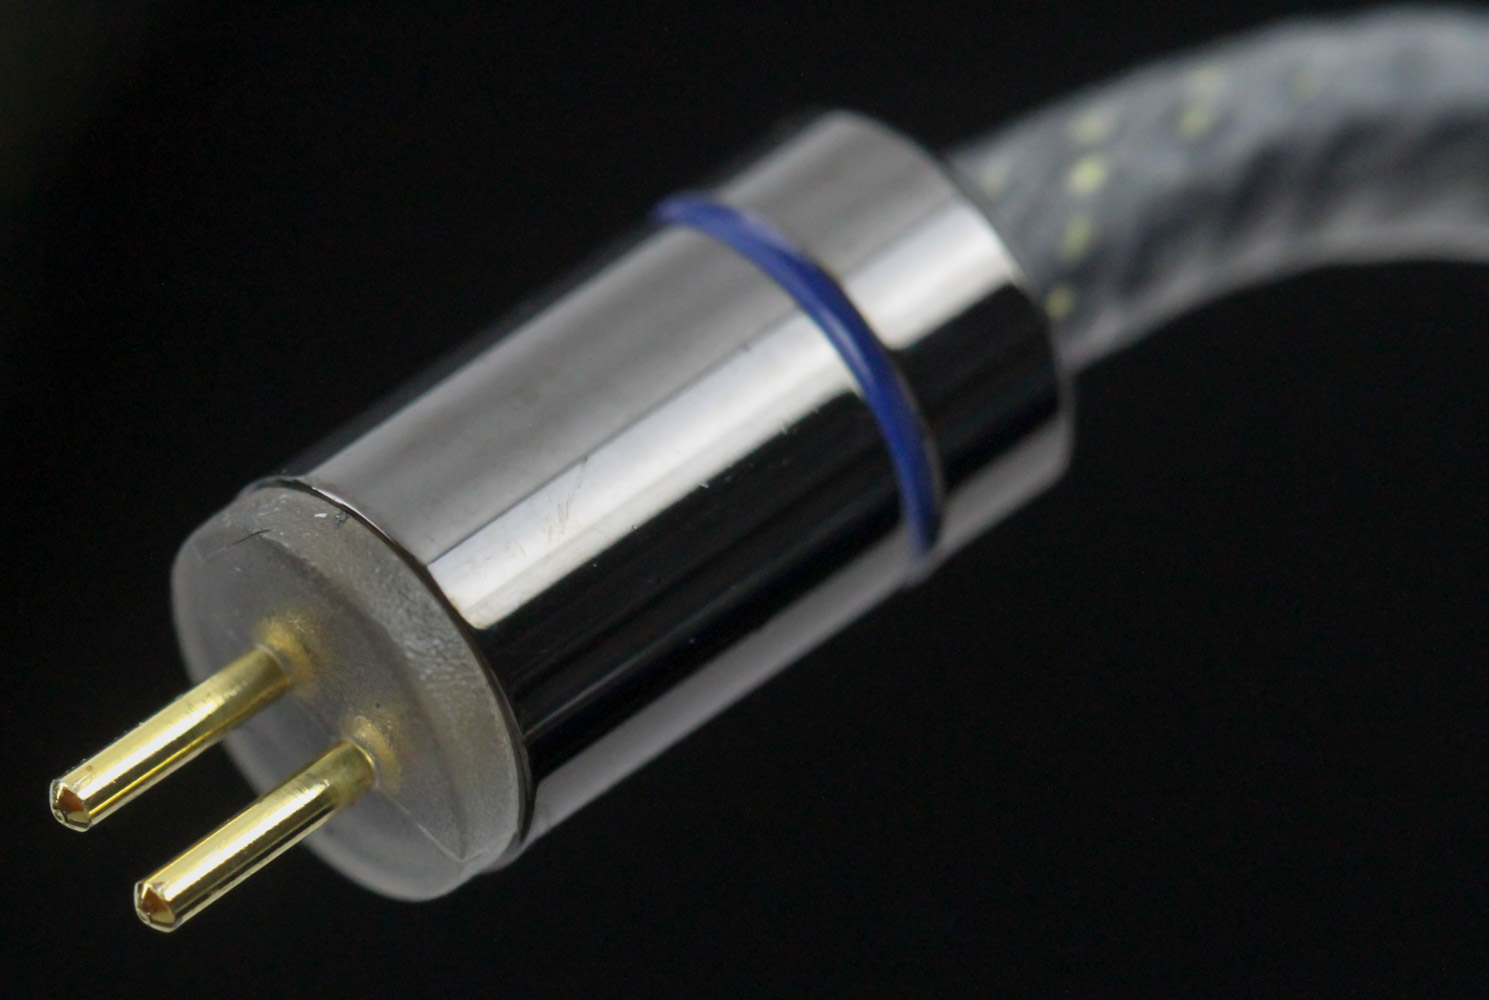
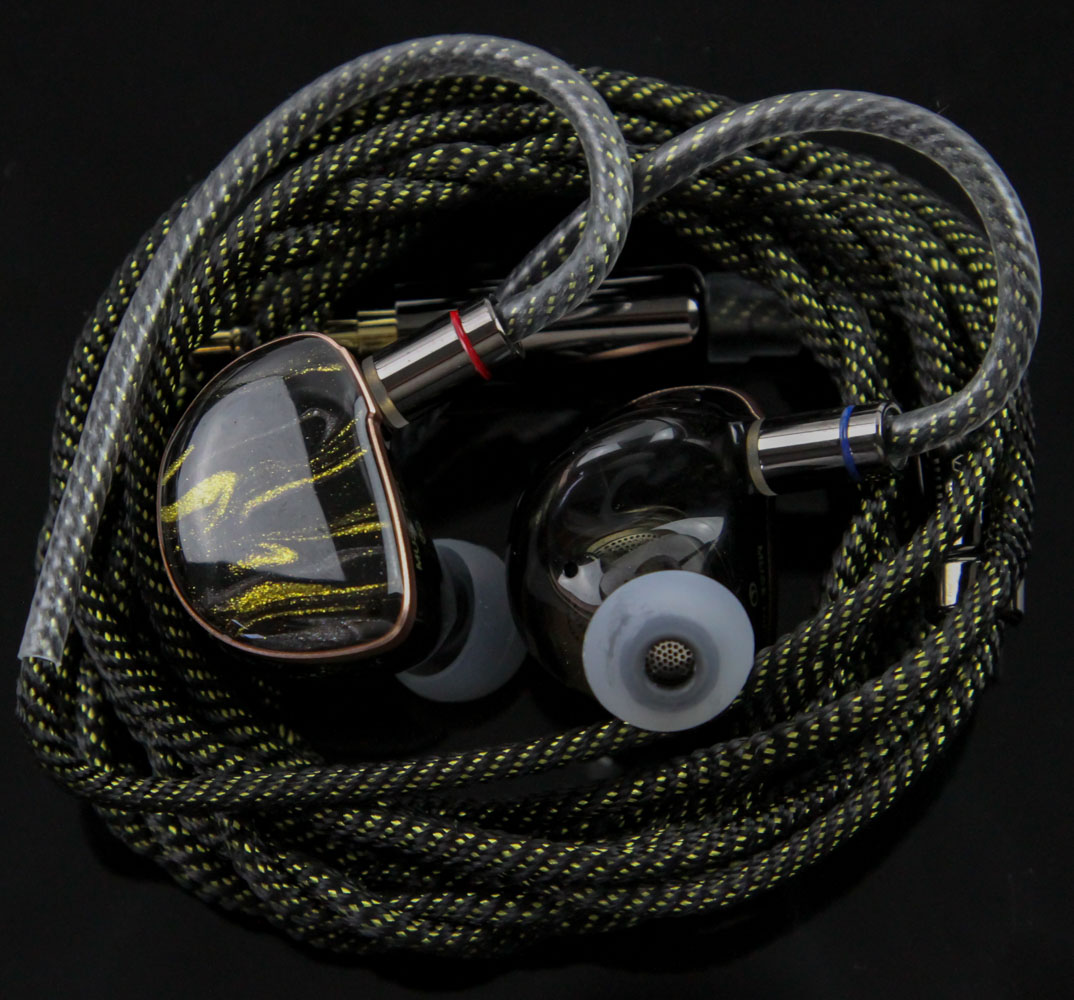
When I first laid eyes upon the cable that ships with the MUSE HiFi Power, I thought perhaps it was the same as what came with the Raptgo Hook-X we saw before. But a quick comparison revealed that to not be the case, especially with the different insulation colors being used along with the Power's cable not being modular. Indeed, you get a single-ended 3.5 mm TRS plug headed to the source here, tied to an aluminium housing that is given a glossy gunmetal finish. It then leads to a fairly fancy cable using a mixed braid of 6N (99.9999% pure) single crystal copper and silver-plated single crystal copper leading to 130 cores of wiring, given a coaxial shielding and presented in a Litz structure before being insulated in a PVC sleeving that has a mixed black and gold-colored nylon weave you can see in the photos above, to better match the black and gold used on the IEMs themselves. The splitter is similarly designed with a gunmetal gray aluminium housing that has the MUSE HiFi logo laser etched on it, and there is an actually functional cable cinch too! Then we get to the pre-formed ear hooks, and the only issue I have with the cable, where it's a bit too firm and aggressively curved. I was okay with it, but chances are you may have to take a hairdryer and open it up slightly. The translucent sheath also makes takes away from the aesthetics unfortunately, and these lead to two more metal housings that host 0.78 mm two-pin connectors headed to the IEMs. There are blue/red rings here to help distinguish the left and right channels, and all the connector plugs are gold-plated for oxidation resistance, perhaps the aggressive ear hooks are to help compensate for the lack of angled housings on this end.
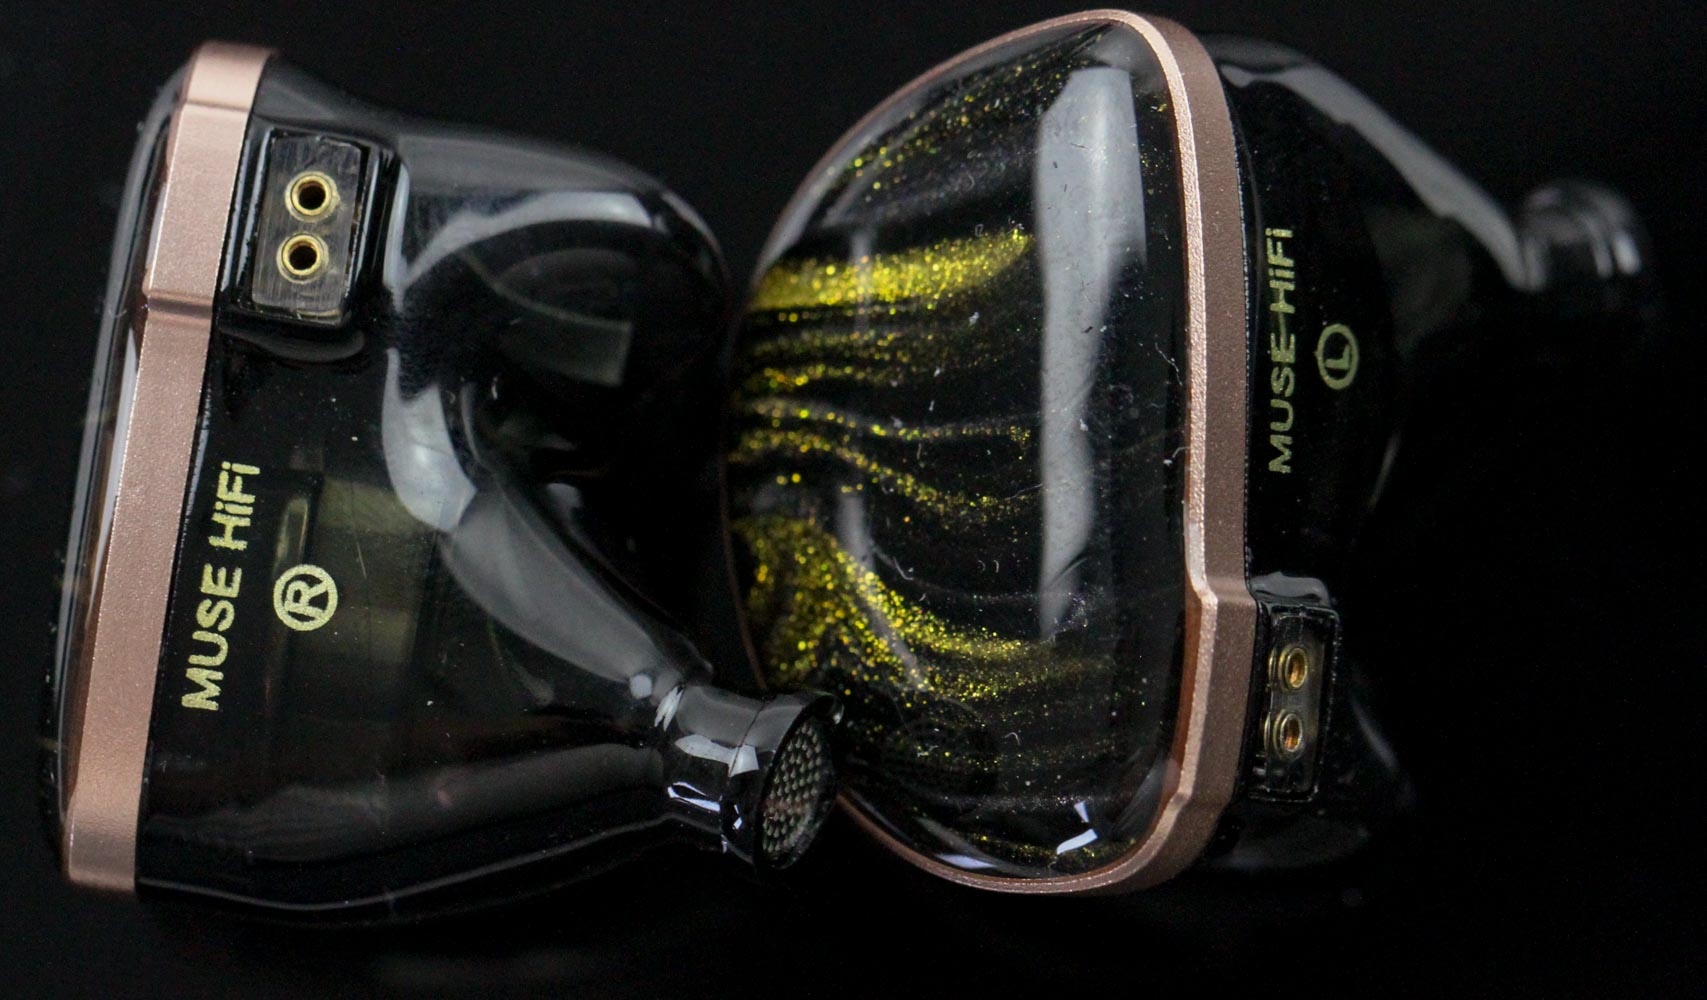
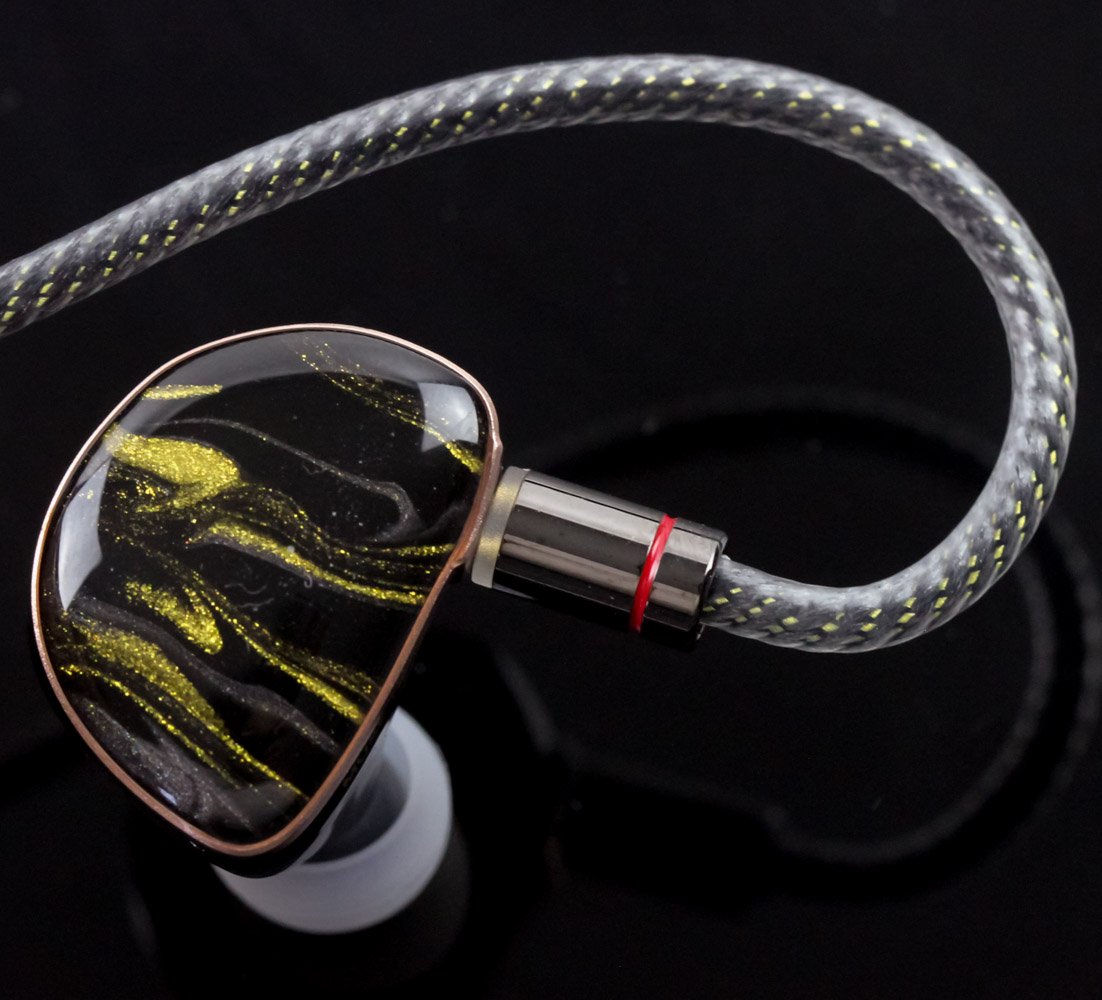
The shells make a strong statement the first time you see them, and then you realize there's more to note each time you observe them carefully. These are made for MUSE HiFi by Heygears, a 3D printing design and manufacturing company that has worked with more established brands including FiiO and MOONDROP when it comes to resin shell IEMs. Heygears typically uses DLP (digital light processing) 3D printing of various different resins to get the same detailed prints that SLA printing offers but at a much faster rate, enabling true mass volume production. However, MUSE HiFi says the Power IEM shells are manufactured by a new method called "crystal process" to allow for a tougher, clearer external chassis that is separate from the acoustic chamber inside. There is also a CNC-machined metal trim going around the outside at the top, and this provides not only a visual contrast but also helps hide telltale signs of where the face plate is glued in place. But really, the first thing you will notice here is how physically large these shells are, and I will discuss this more on the next page, as it pertains to fit and comfort.
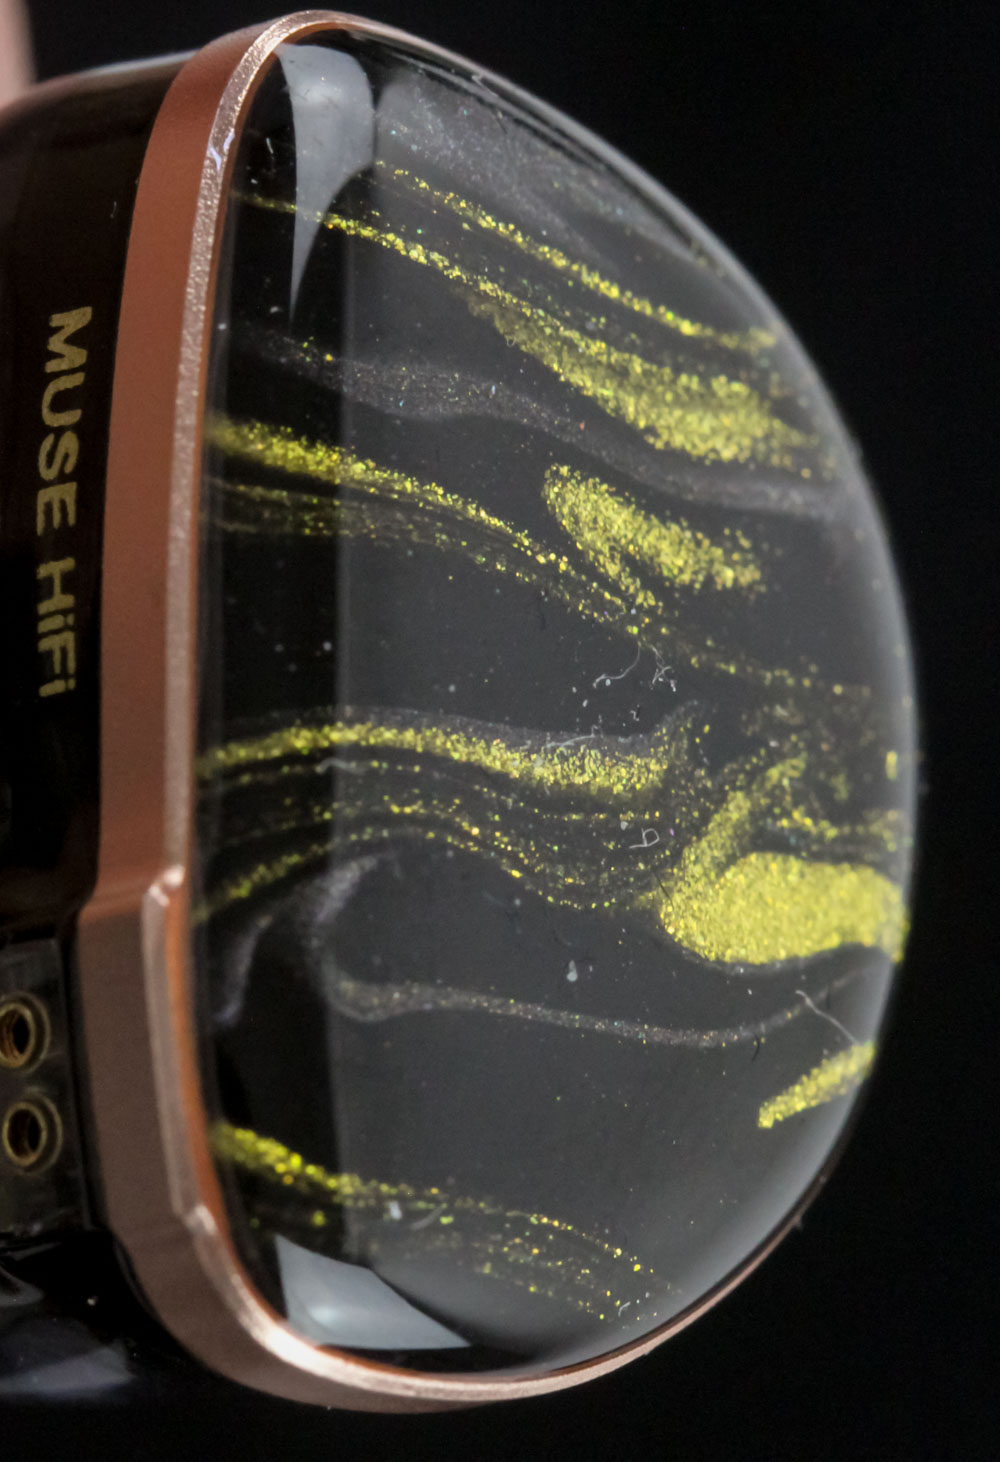
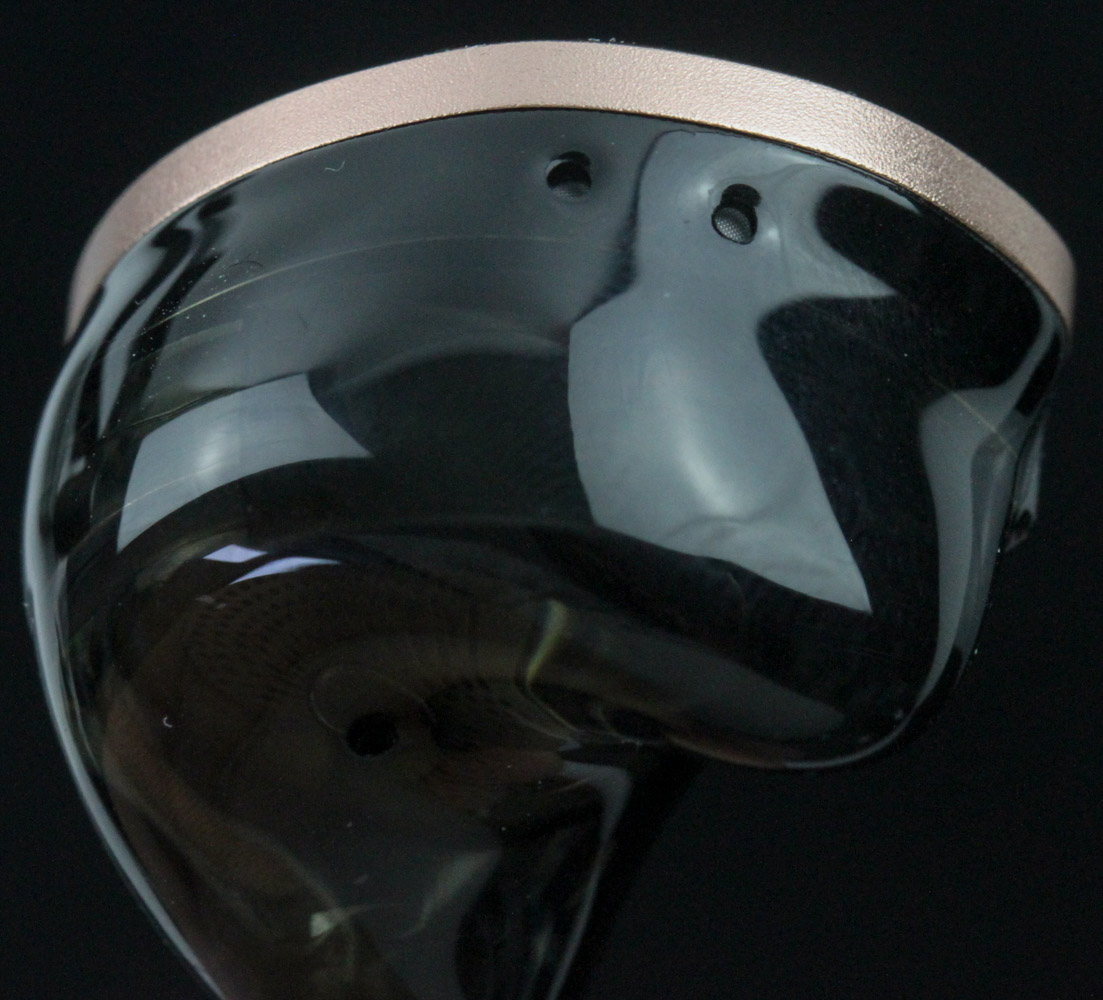
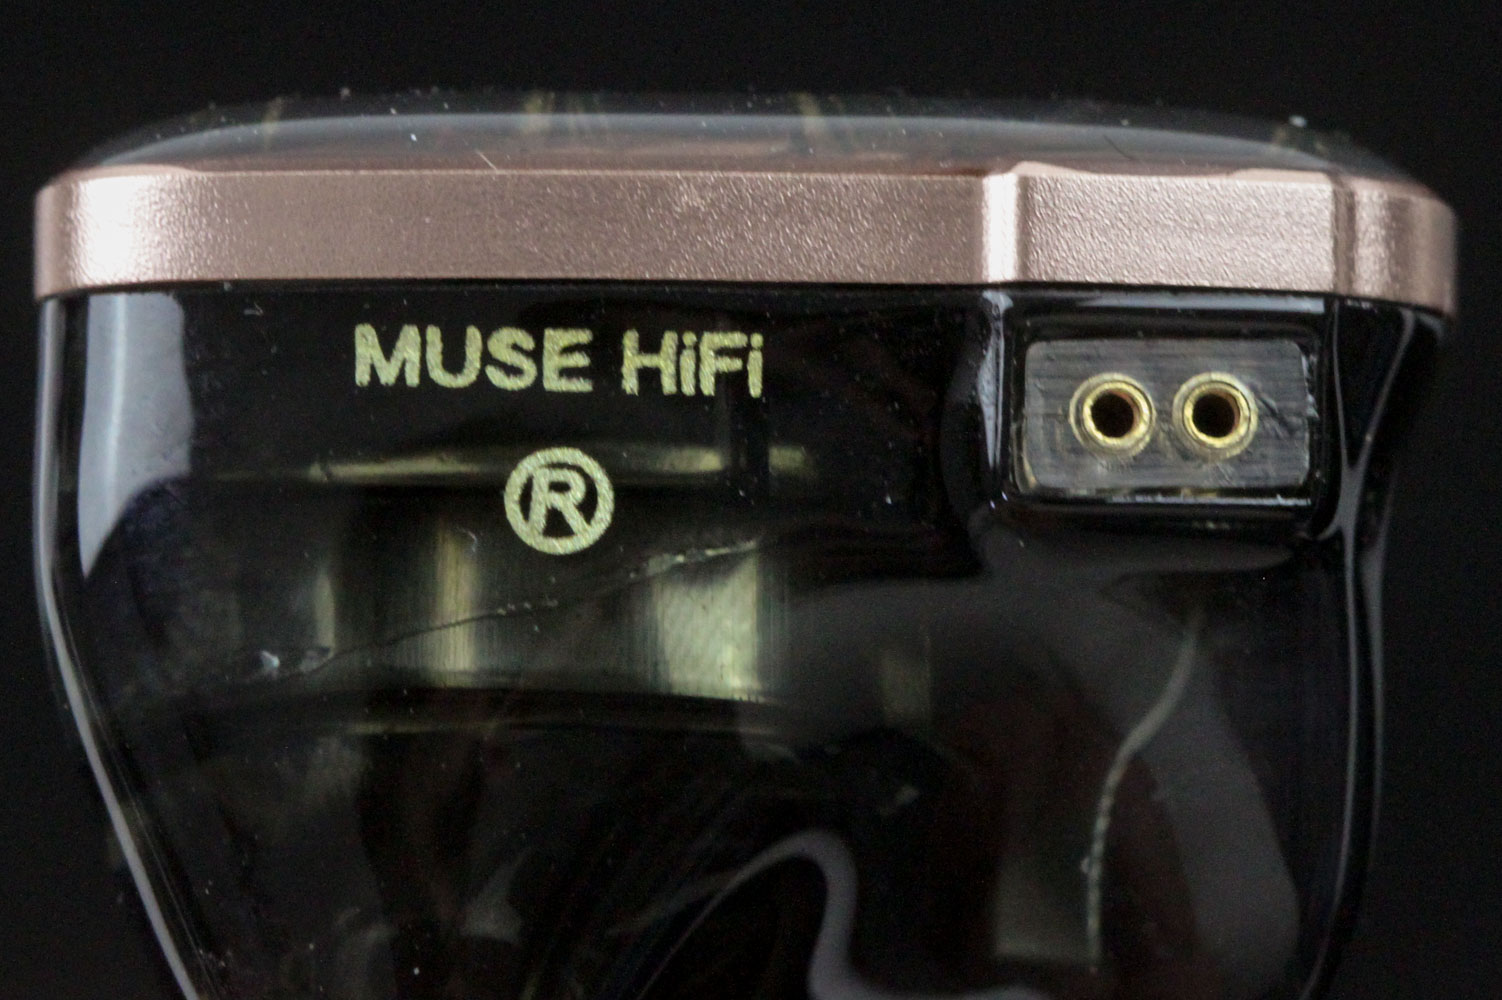
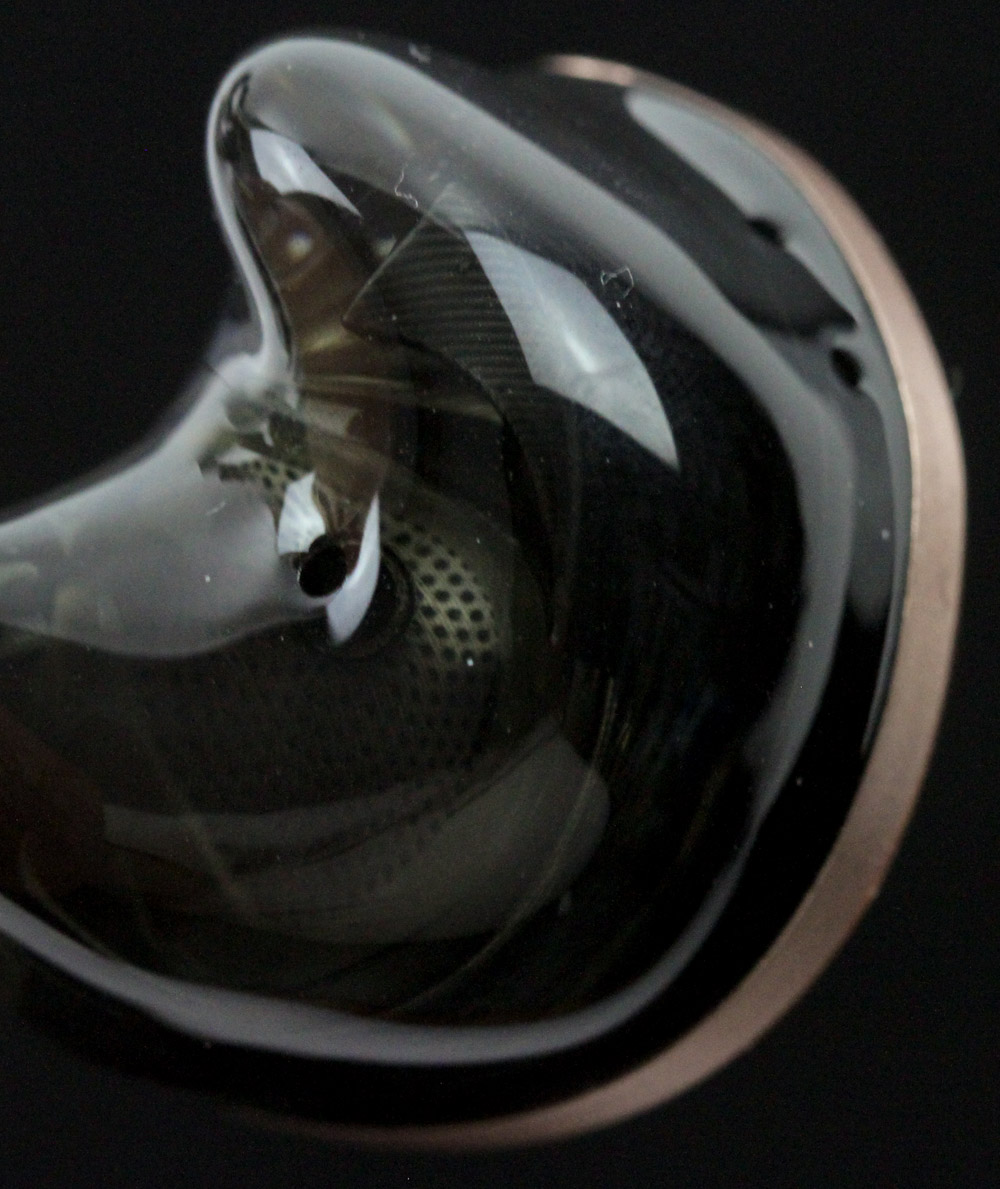
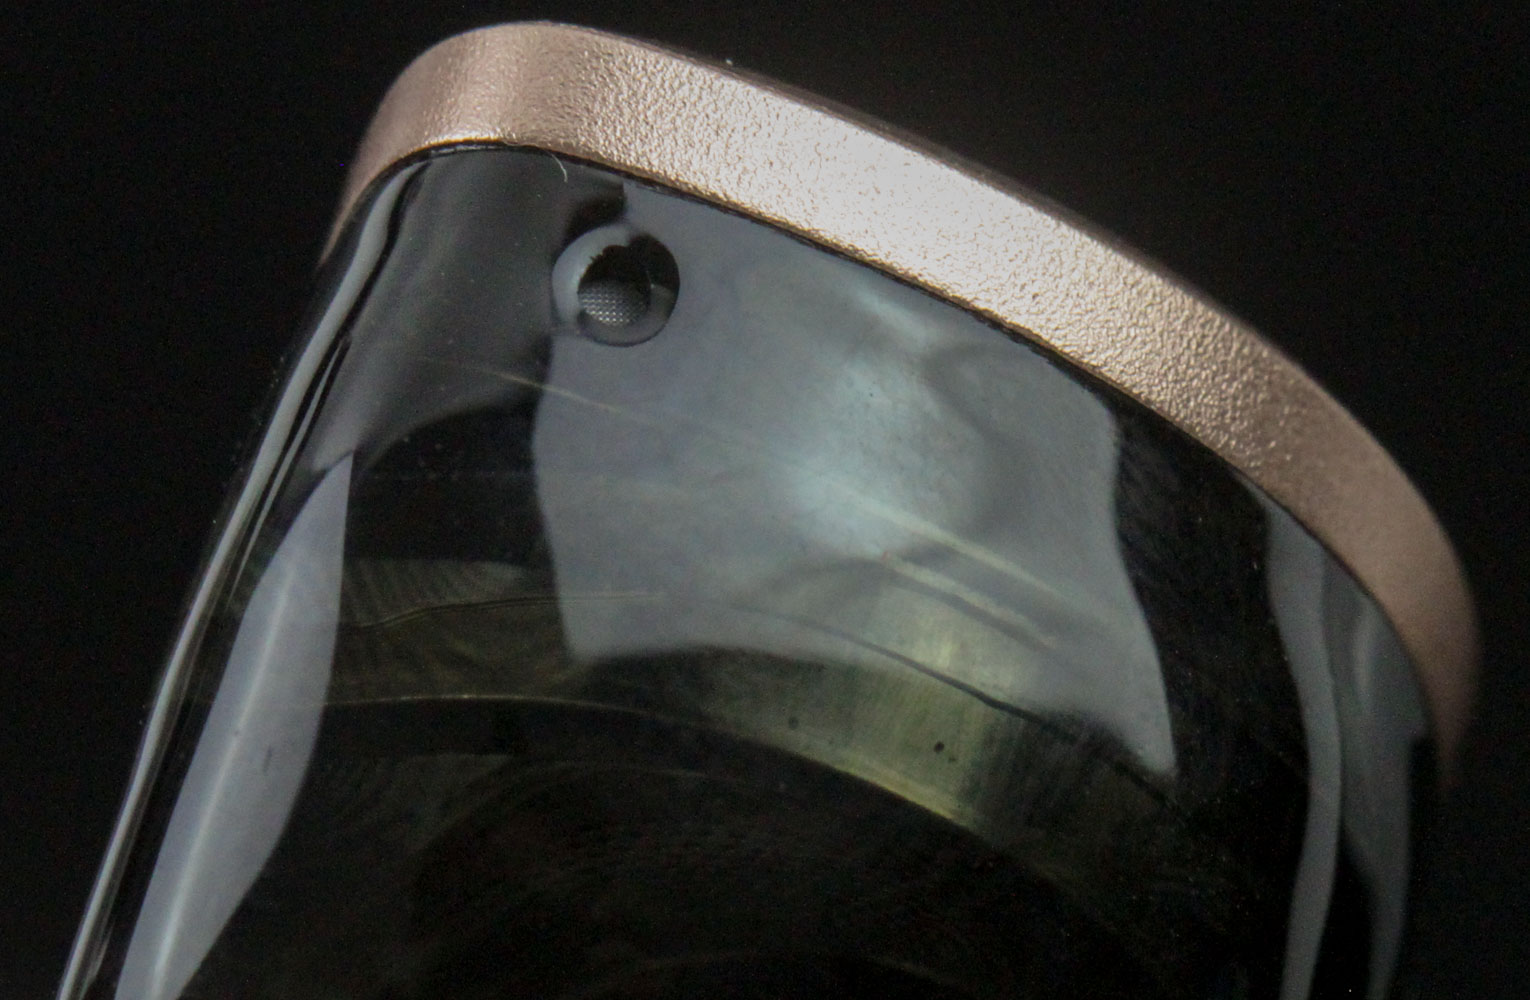
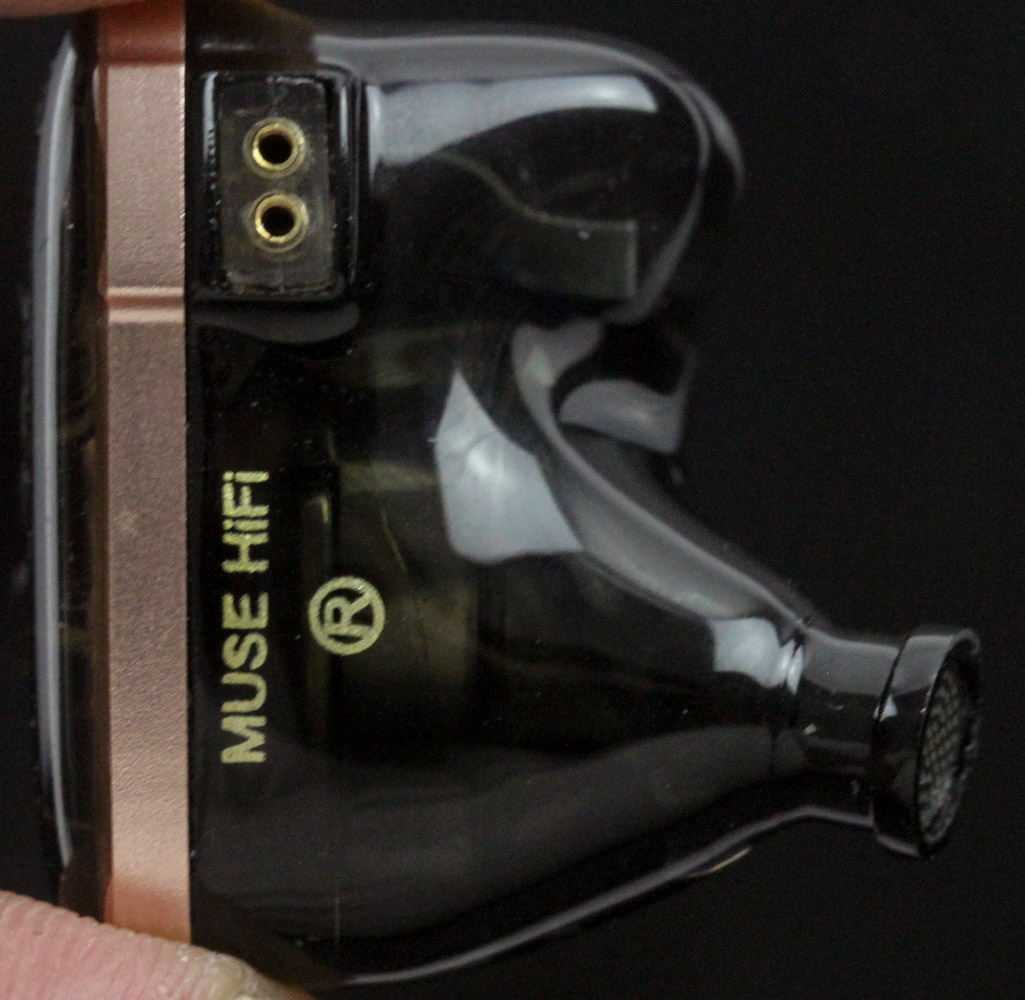
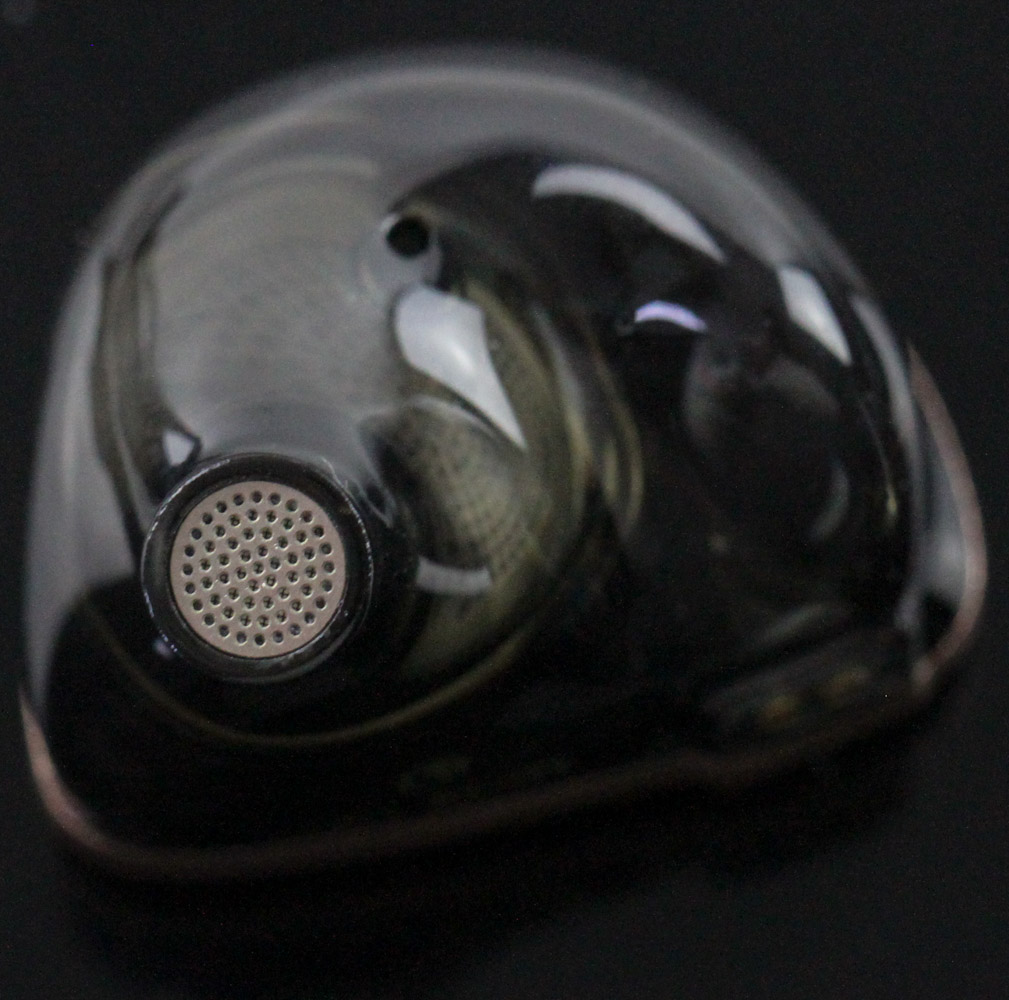
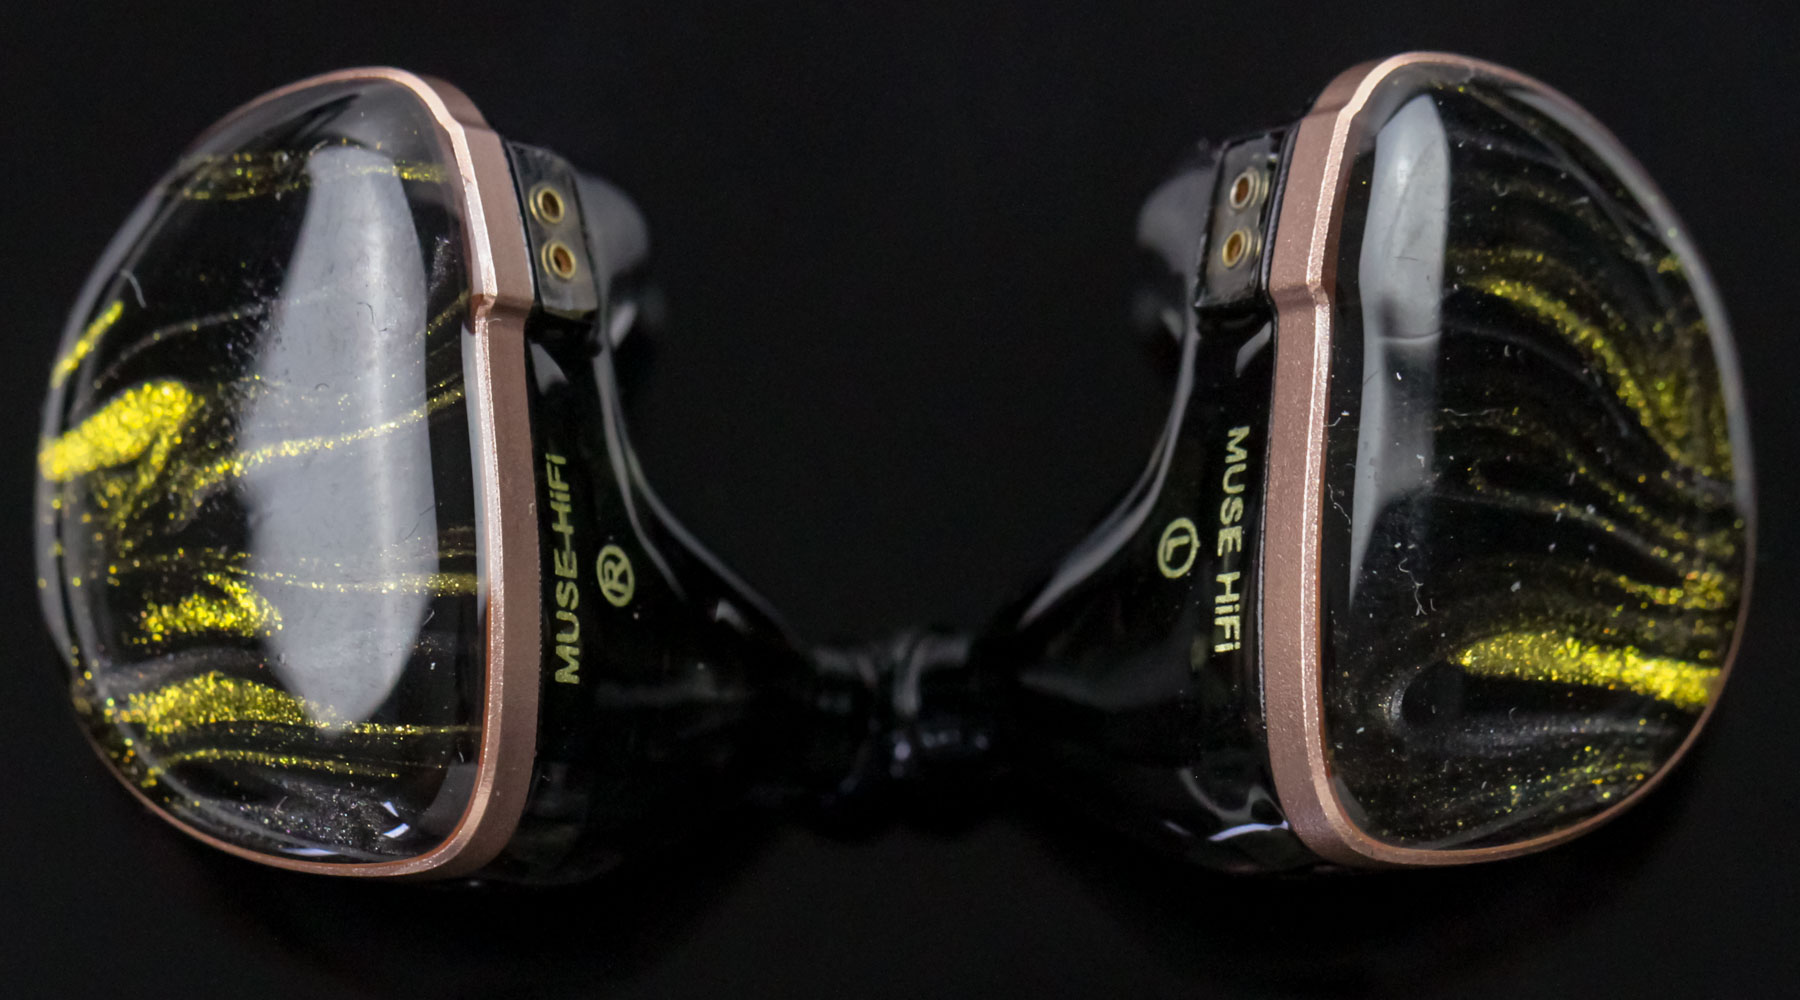
A closer look at the hand-painted face plates reveals more of the black and gold color scheme employed here, especially with the specks of gold interspersed in the black background. No two patterns are identical though, so your own two shells may not match up exactly either, as was the case here. The colors appear more muted head on, but overall, I would say these are among the more bling IEMs on the market today. Branding is subtle, in the form of MUSE HiFi printed on the side, along with L/R markings, then we see multiple vents all around the sides in an interesting move given the use of a single planar magnetic driver inside. The shells also have an aggressive inward curve at the top that is intended to sit in the concha, but this too might pose some fit challenges. We also see the use of 2-pin connectors that are in-line with the IEM surface, meaning it's a good fit with the non-recessed connector plugs on the cable. The shells themselves are a smoky black and will provide a teaser of the drivers inside, when light is shined directly. The nozzle is also printed as part of the shells, and is relatively short and stubby at ~6 mm wide at the edge. There is a retaining notch built-in to help secure ear tips in place, and a pre-installed metal filter prevents contaminants from entering the acoustic chamber.
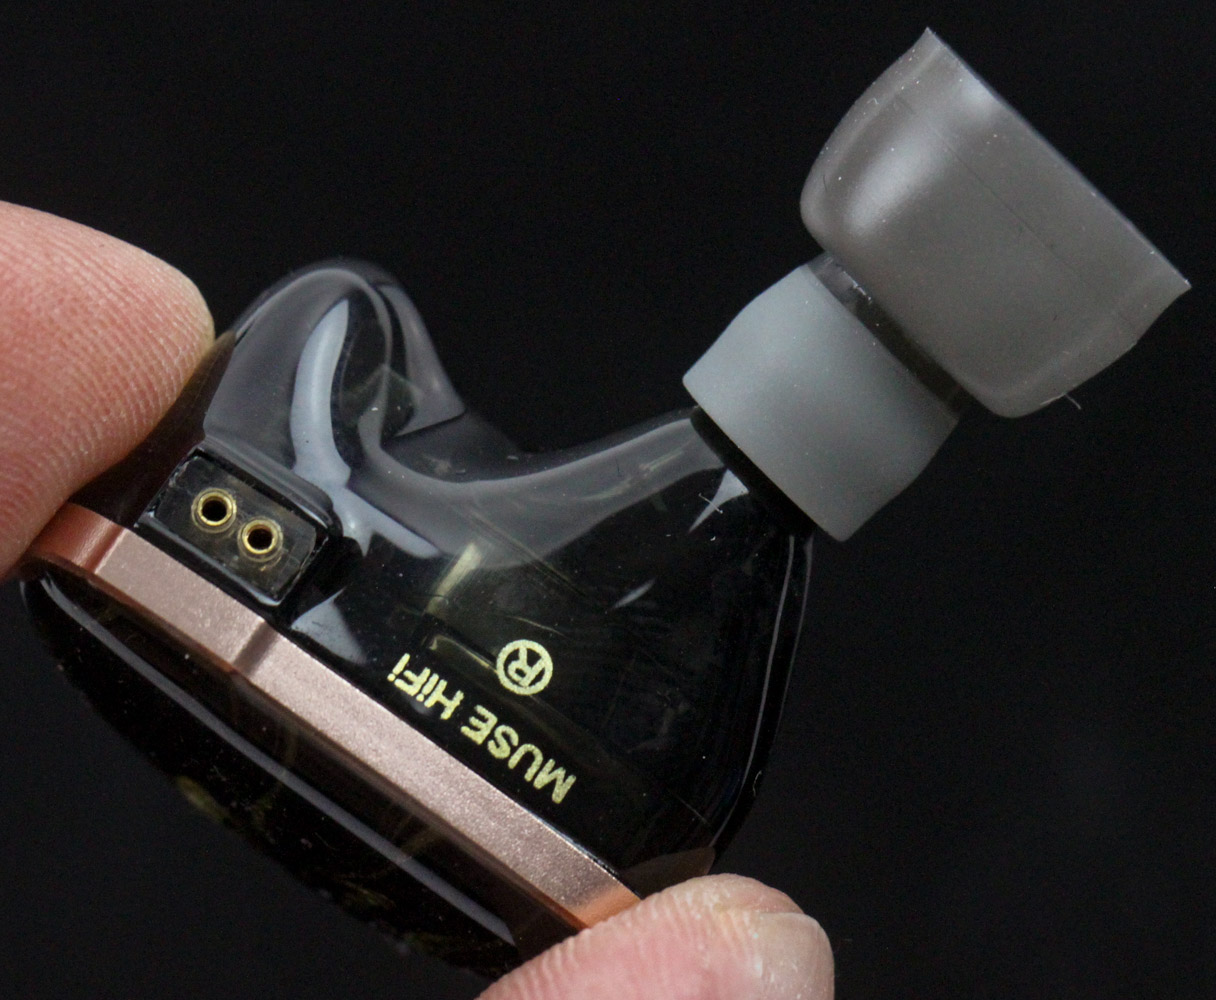
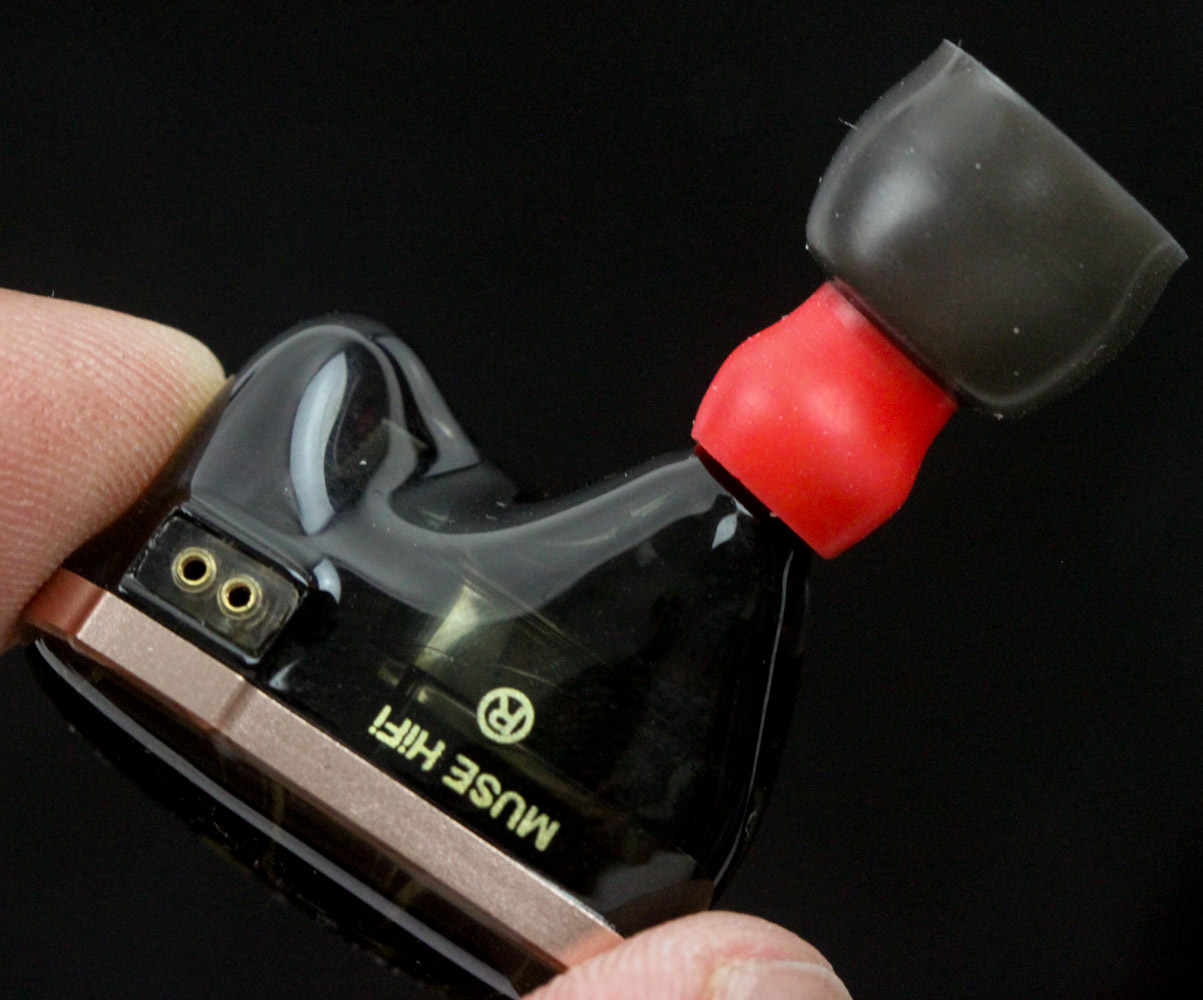
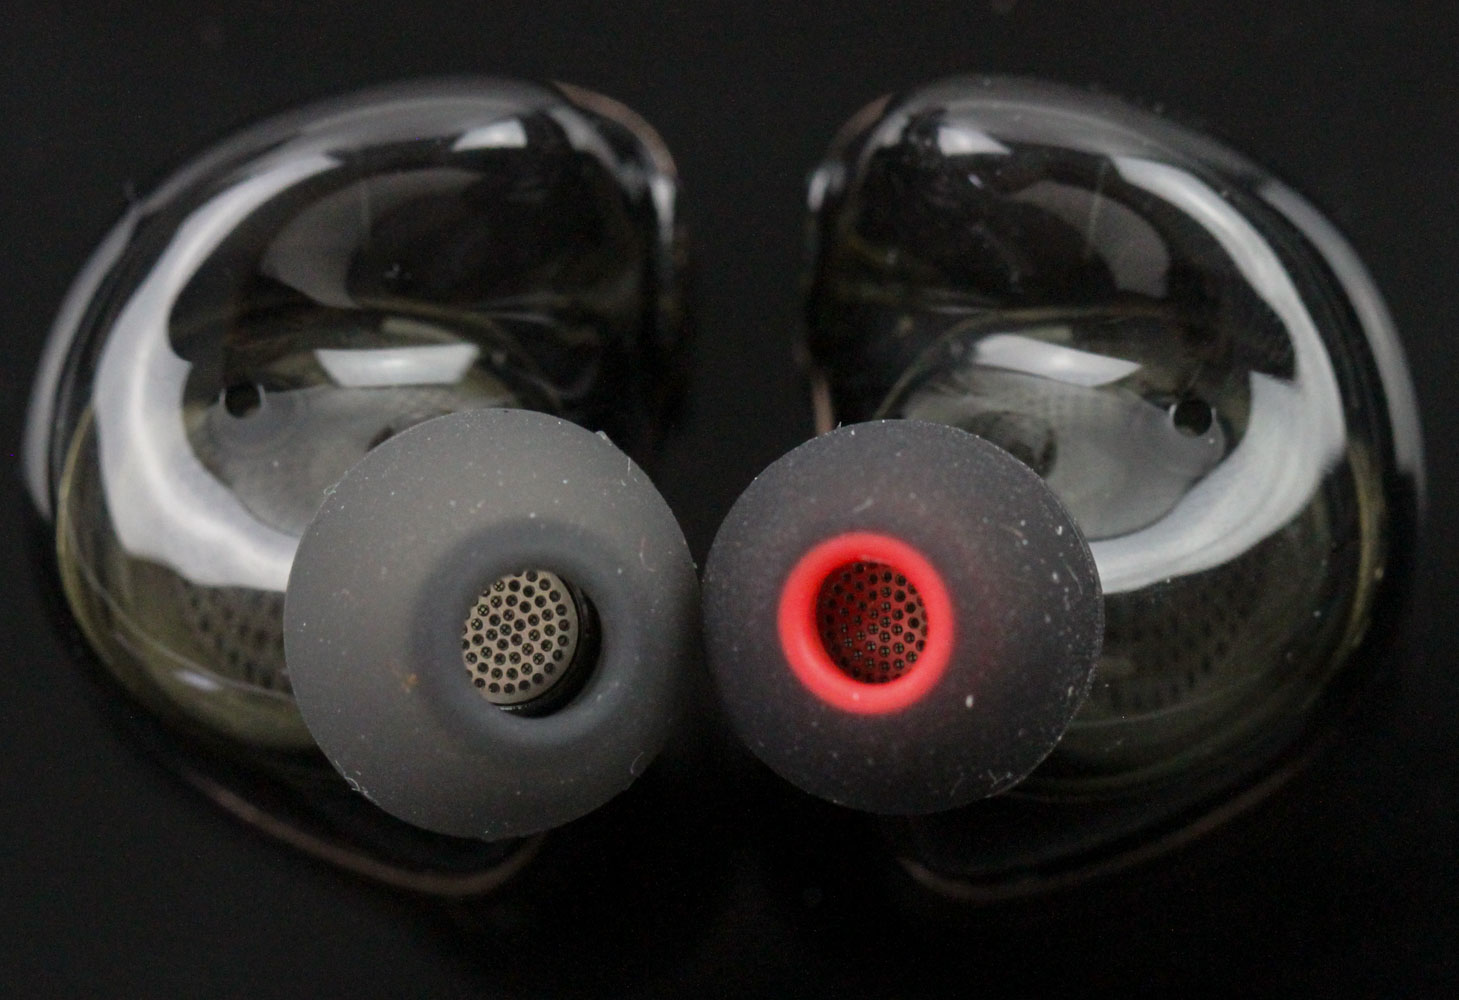
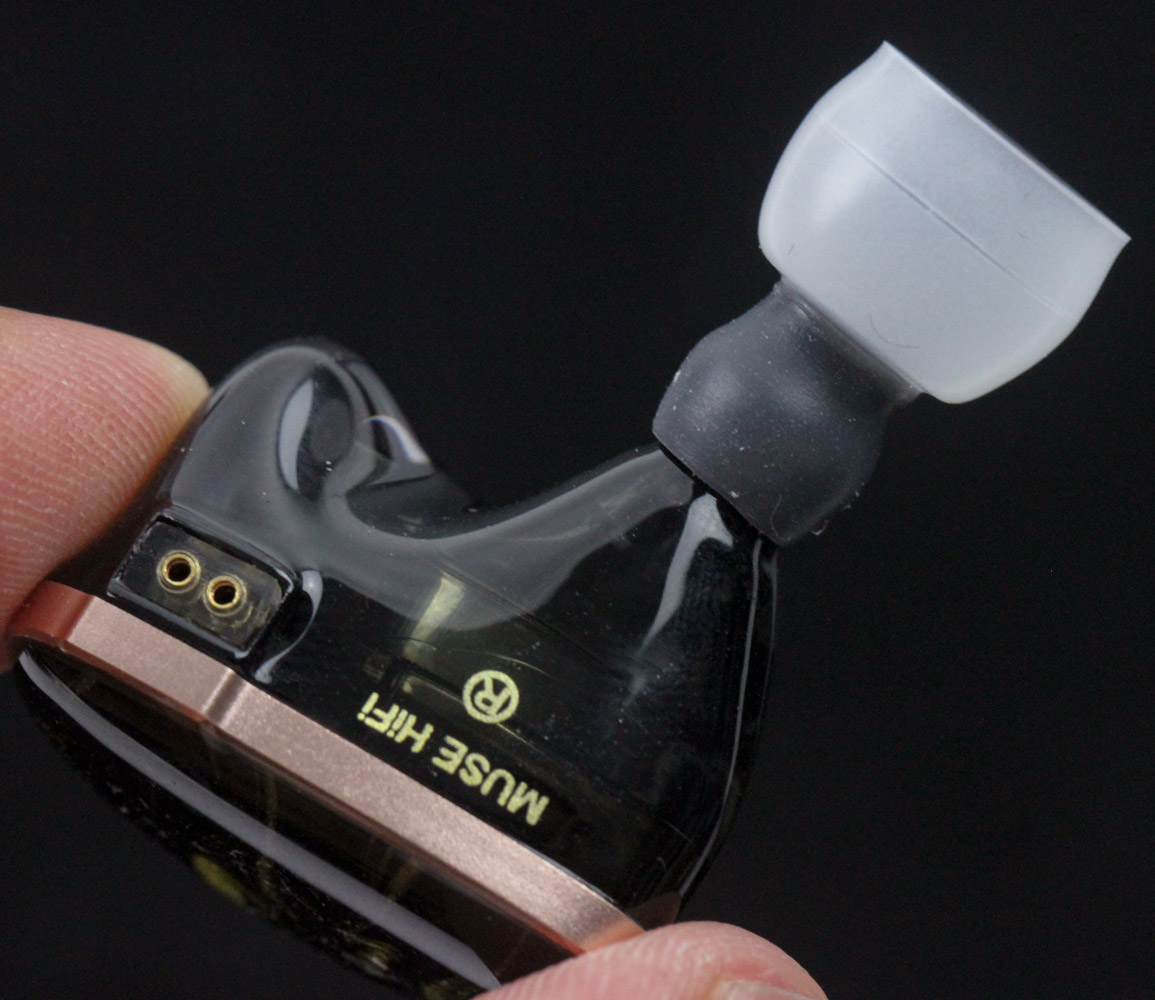
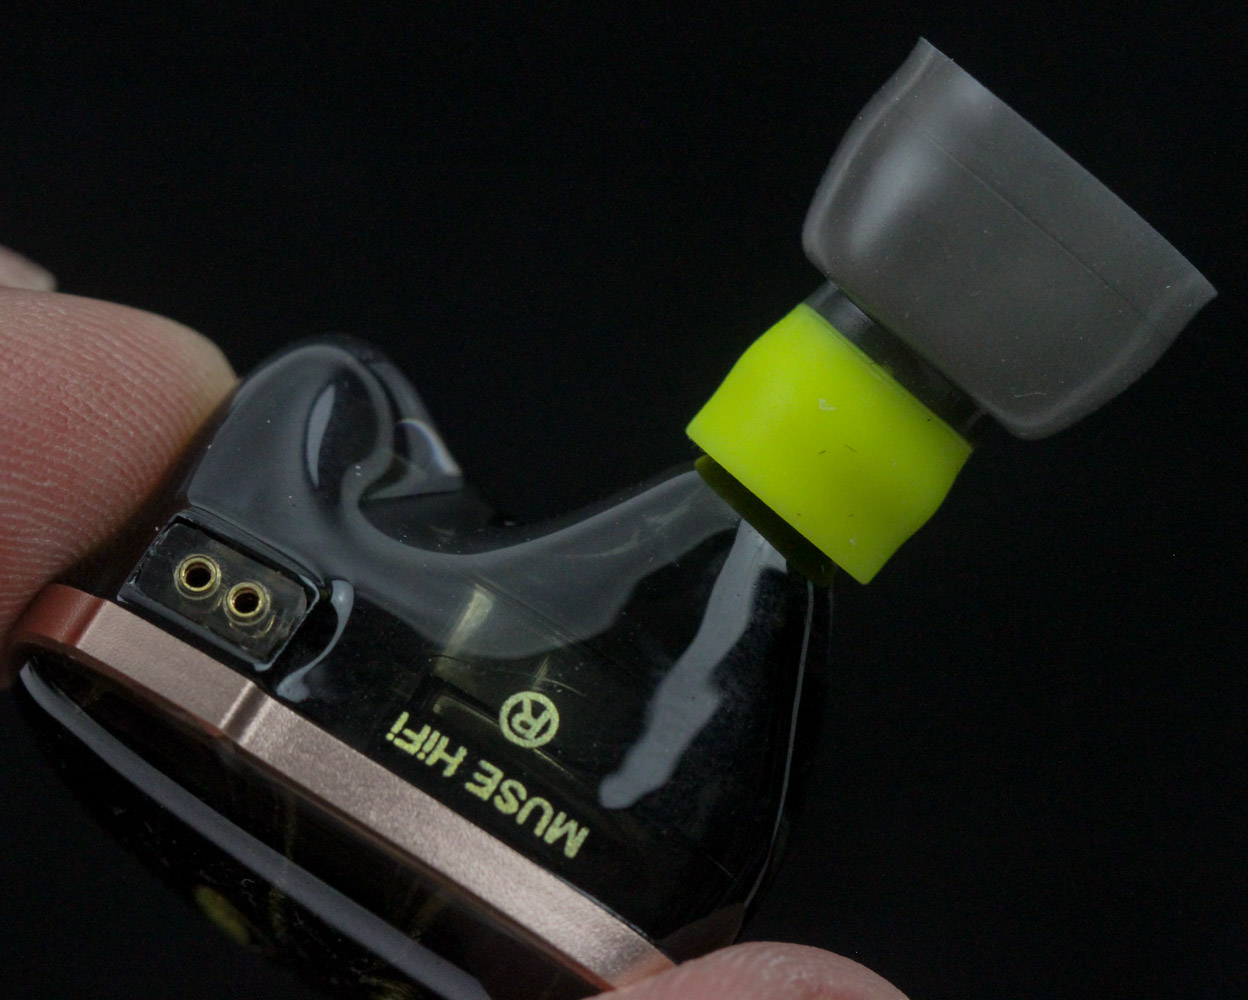
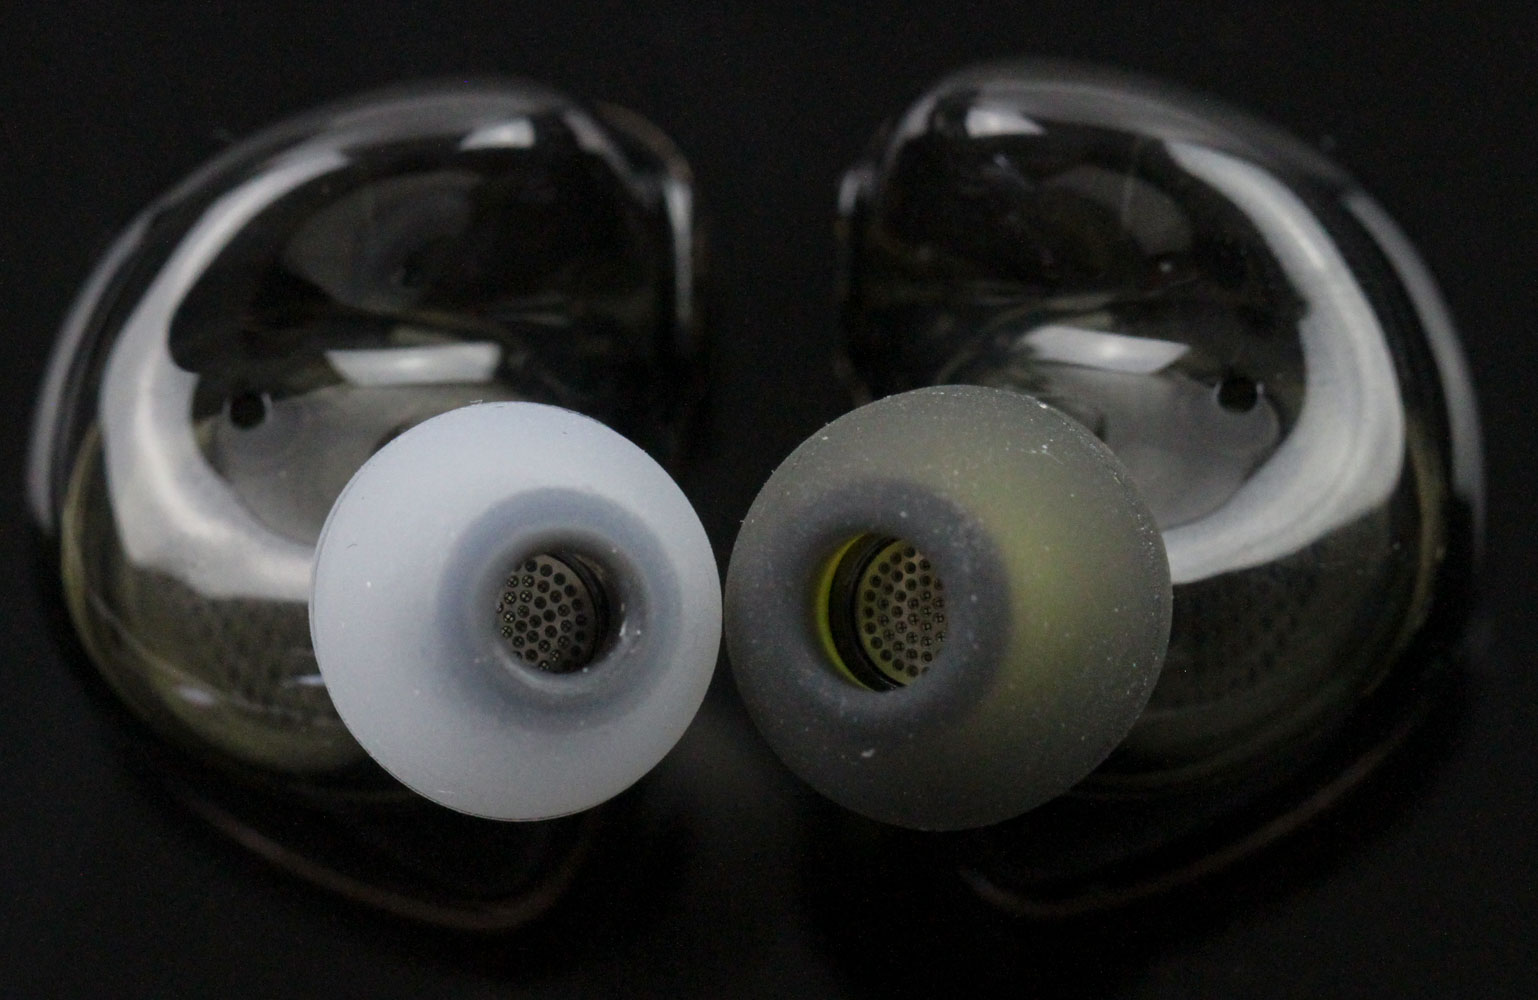
Fitting the different ear tips will require you to slightly stretch the inner bore to fit over the nozzle, before pushing them in and going around to ensure they are not at an angle. The notch in the nozzle help with this process and also provides a hard stop to indicate the ear tips are in all the way. Seen above are each of the included size M silicone and foam ear tips installed on the MUSE HiFi Power. Do try out the various ear tips and sizes, and keep in mind that both ear canals don't need to have the best seal with the same size or set, either.
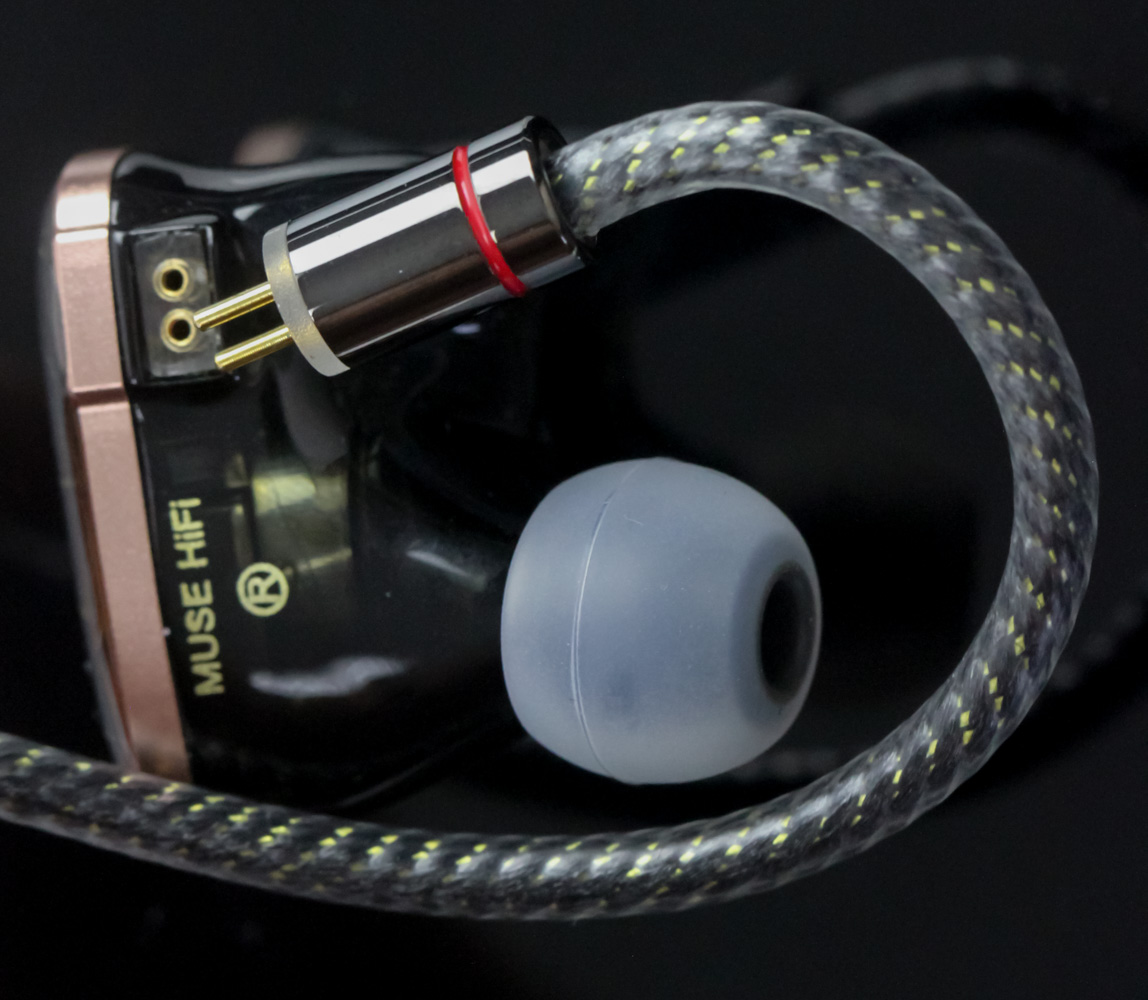
Regardless of which ear tips you go with, the next step is to connect the cable by carefully identifying the matching channels and orienting the ear hooks around your ear when connecting the IEMs. Doing so is simple, as you just push the pins on the cable into the receptacle on the IEMs, and here we see the black and gold color scheme works well, within the package at least—not exactly my style though. Now connect the 3.5 mm TRS single-ended plug with the source of your choice. I know there are many who prefer using IEMs throughout, but I like to use over-ear headphones when sitting down and IEMs on the go. I paired the MUSE HiFi Power with many of the portable DAC/amps tested to date, and personally like the cleaner profile and handy EQ options of the Qudelix-5K.
Feb 24th, 2025 09:09 EST
change timezone
Latest GPU Drivers
New Forum Posts
- atx 12v vs eps 12v (2)
- Help choose M.2 Key E Wifi card (8)
- RTX 5090 ridiculous price! (179)
- can i connect a sata3 ssd 120GB to dell latitude c600 (18)
- Need help dumping/imaging Lenovo laptop BIOS (4)
- [Intel AX1xx/AX2xx/AX4xx/AX16xx/BE2xx/BE17xx] Intel Modded Wi-Fi Driver with Intel® Killer™ Features (278)
- Nvidia's GPU market share hits 90% in Q4 2024 (gets closer to full monopoly) (532)
- It's happening again, melting 12v high pwr connectors (910)
- What are you playing? (22984)
- RDNA4 Prediction Time Part Deux!!! (46)
Popular Reviews
- ASUS GeForce RTX 5070 Ti TUF OC Review
- MSI GeForce RTX 5070 Ti Ventus 3X OC Review
- darkFlash DY470 Review
- MSI GeForce RTX 5070 Ti Vanguard SOC Review
- MSI GeForce RTX 5070 Ti Gaming Trio OC+ Review
- Galax GeForce RTX 5070 Ti 1-Click OC White Review
- Palit GeForce RTX 5070 Ti GameRock OC Review
- Fantech Aria II Pro Review
- Gigabyte GeForce RTX 5090 Gaming OC Review
- AMD Ryzen 7 9800X3D Review - The Best Gaming Processor
Controversial News Posts
- NVIDIA GeForce RTX 5090 Spotted with Missing ROPs, NVIDIA Confirms the Issue, Multiple Vendors Affected, RTX 5070 Ti, Too (458)
- AMD Radeon 9070 XT Rumored to Outpace RTX 5070 Ti by Almost 15% (304)
- AMD Plans Aggressive Price Competition with Radeon RX 9000 Series (271)
- AMD Radeon RX 9070 and 9070 XT Listed On Amazon - One Buyer Snags a Unit (247)
- Edward Snowden Lashes Out at NVIDIA Over GeForce RTX 50 Pricing And Value (241)
- AMD Denies Radeon RX 9070 XT $899 USD Starting Price Point Rumors (239)
- NVIDIA Investigates GeForce RTX 50 Series "Blackwell" Black Screen and BSOD Issues (238)
- New Leak Reveals NVIDIA RTX 5080 Is Slower Than RTX 4090 (215)