 8
8
Nanoxia Deep Silence 2 Review
Assembly & Finished Looks »A Closer Look - Inside
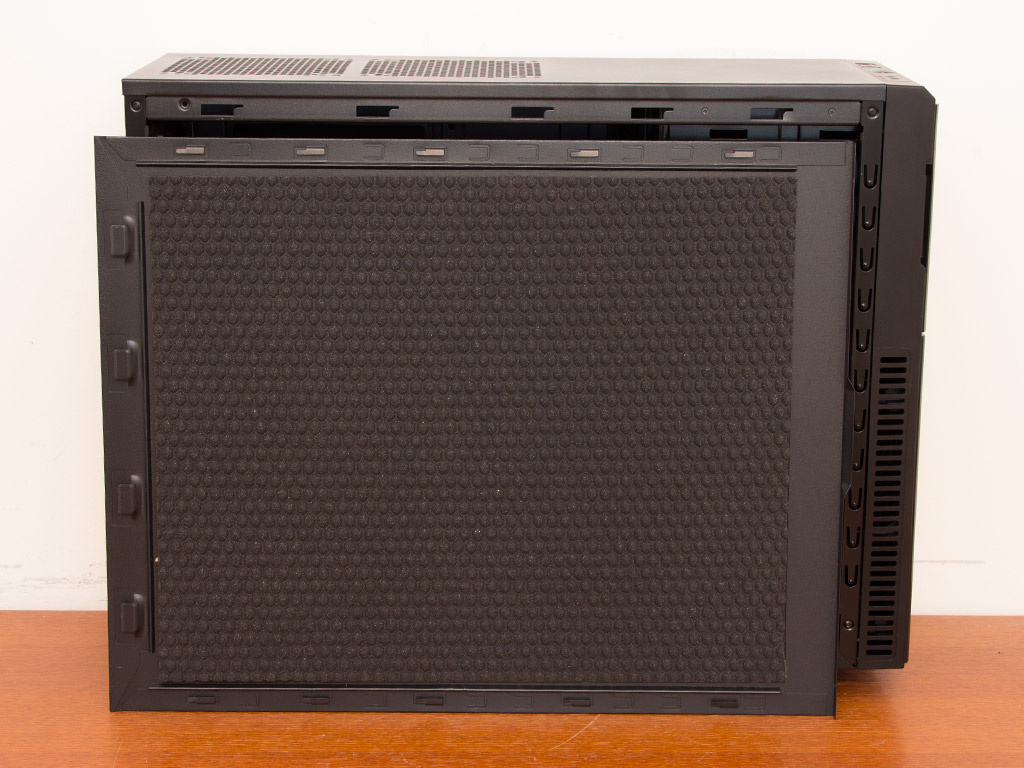
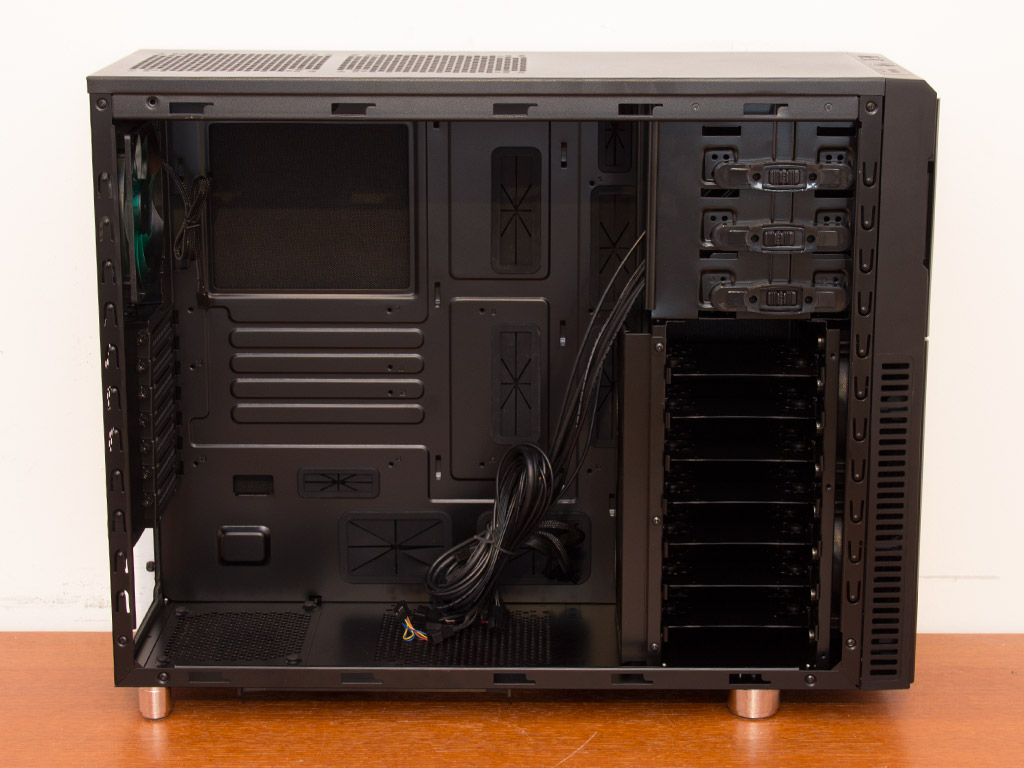
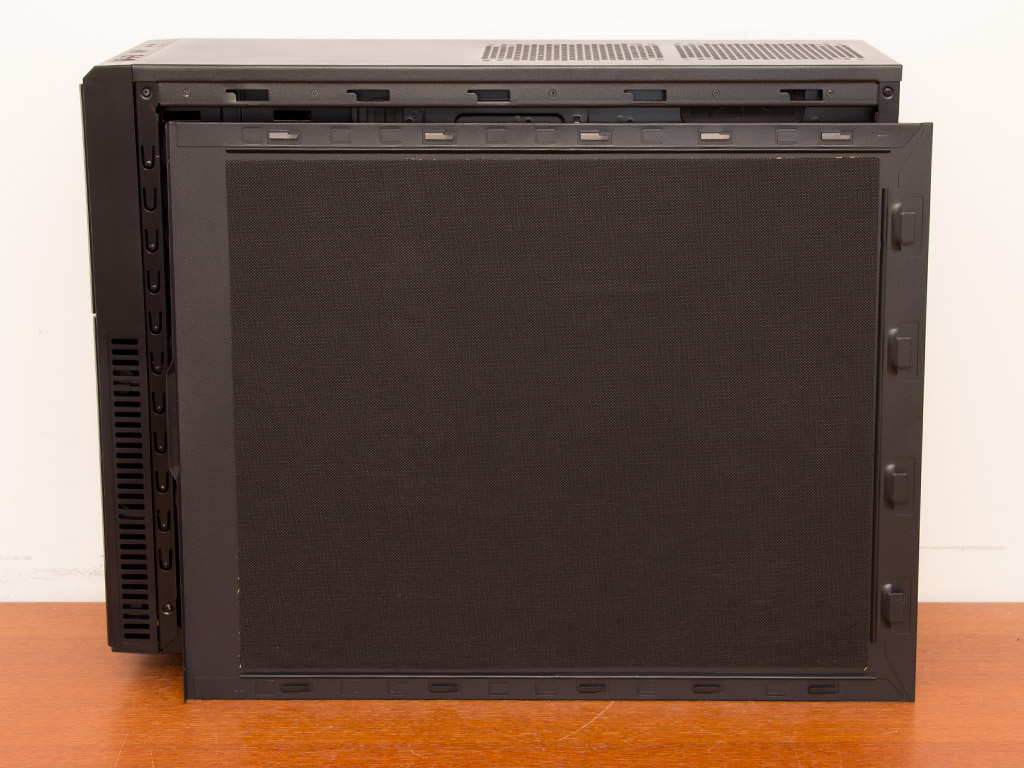
To gain access to the interior of the chassis, simply remove the thumb screws holding each panel in place. The main panel is lined with a thick but soft sound-dampening material. Looking at the interior, the general layout looks much like what we have seen in the DS1, but things have been simplified a bit this time around.
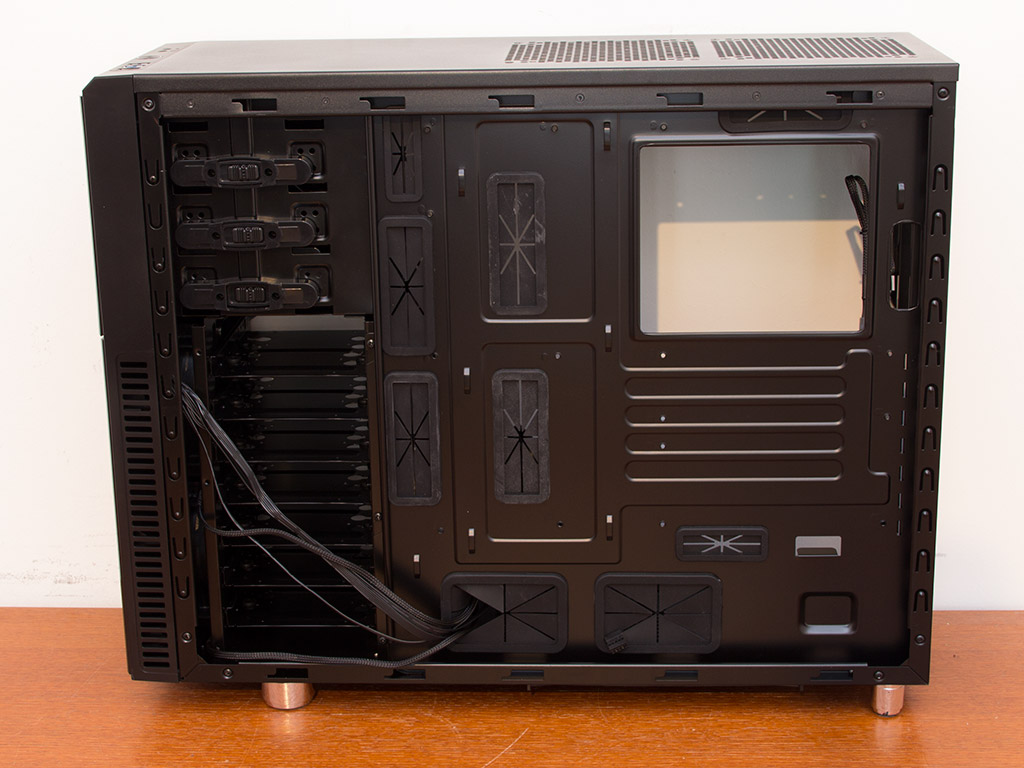

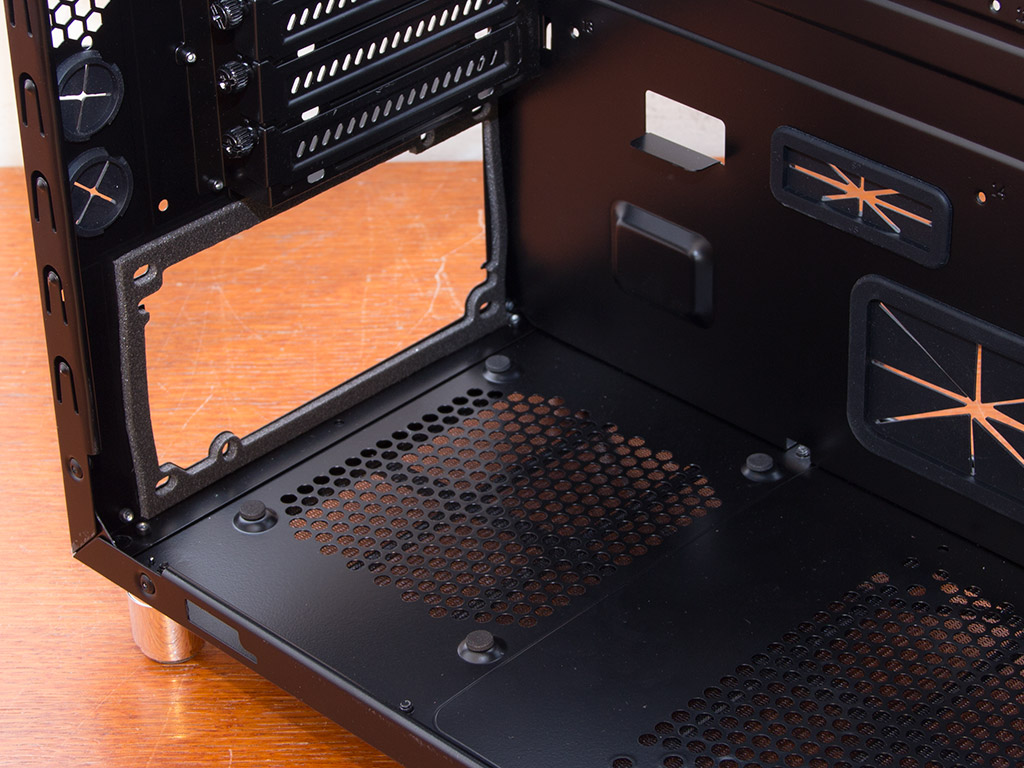
You will find a thinner type of dampening material on the other panel, leaving you with as much free space for cable management as possible. Multiple openings in the motherboard tray and many spots for cable ties should make a clean system a possibility. You have around 15 mm of space, which may not be as much as with other cases, but it should still be enough.
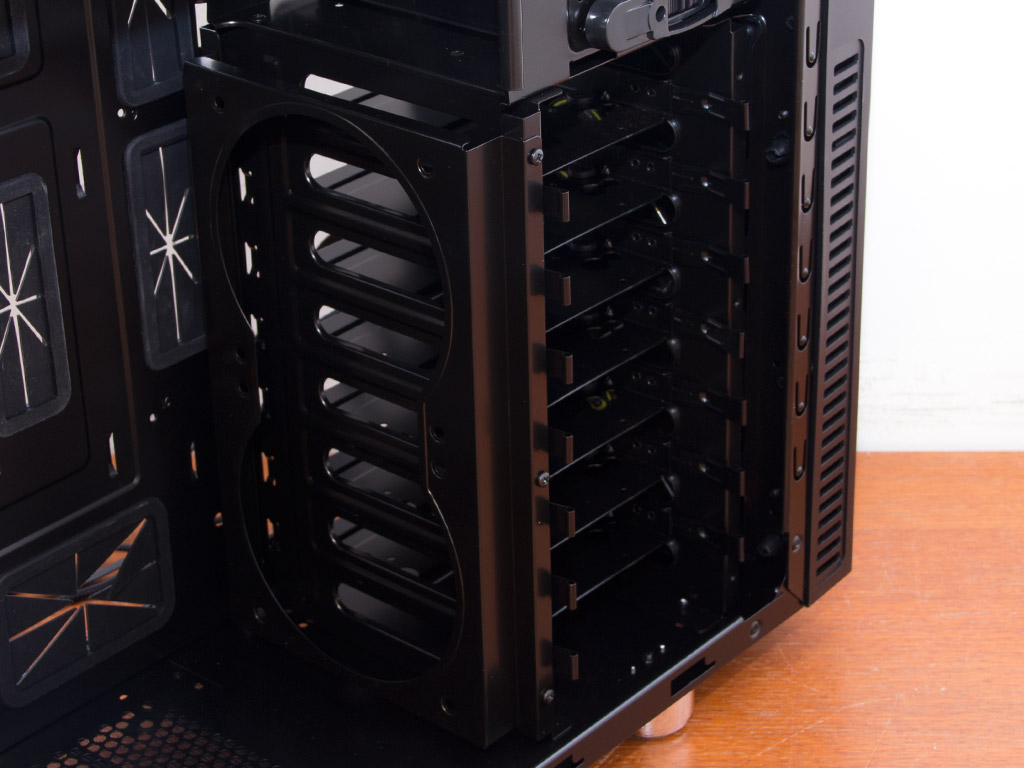
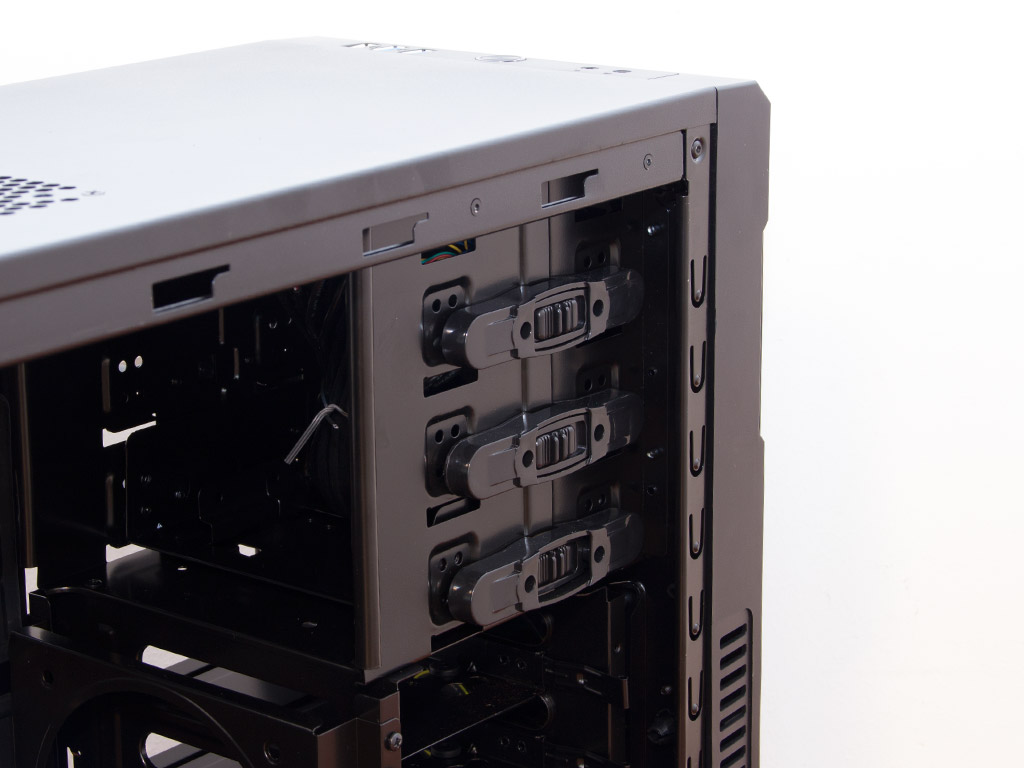
Taking a closer look at the front, the hard drive cage is not divided. It can hold a total of seven 2.5" or 3.5" drives. These are cooled by two 120 mm units that come pre-installed right out of the box. You may also install two fans onto the cage or even go for a water-cooling setup in this spot. Above that are the three external 5.25" bays, each equipped with a fairly good locking mechanism that won't require you to use any screws or tools.


The aforementioned PSU bay in the back comes equipped with four little bumps that have foam lining on them to eliminate any vibrations. Above that are the motherboard expansion slots with a cover each held in place by a black thumb screw for easy and tool-less access. In the very top is the third fan--a 140 mm fan that pushes air out the back of the case.
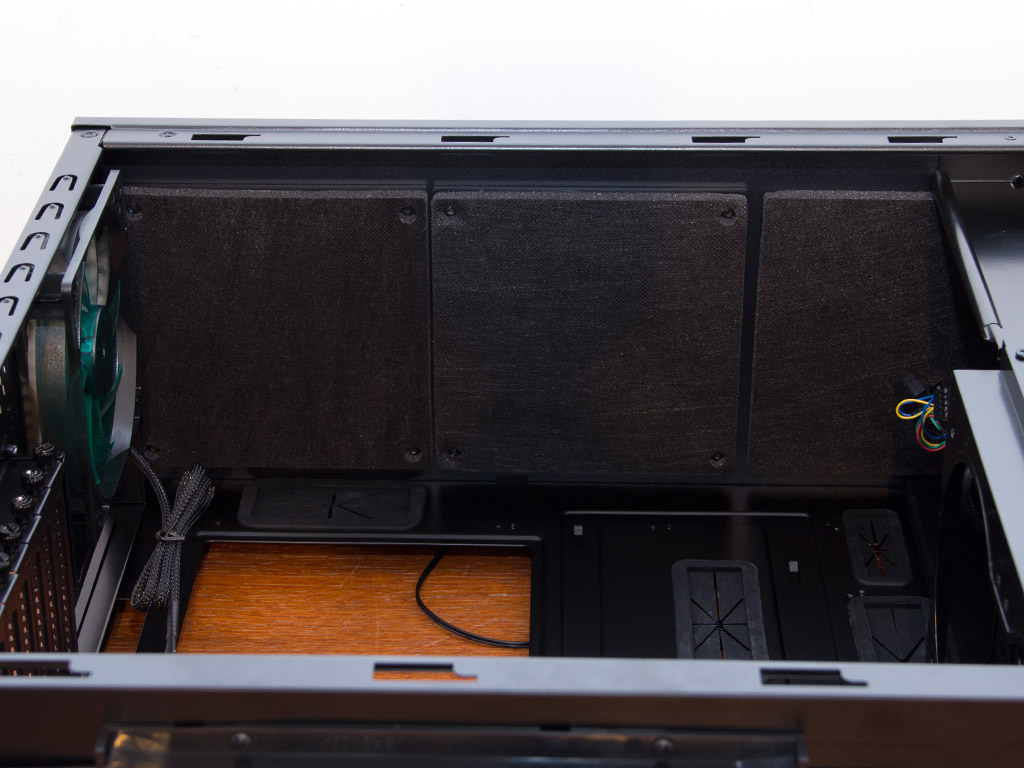
Both vents in the top of the chassis are covered by plastic covers that are lined with thick sound-dampening material. This ensures that there are no openings on the top-, sides-, or front of the case through which system components can be heard.
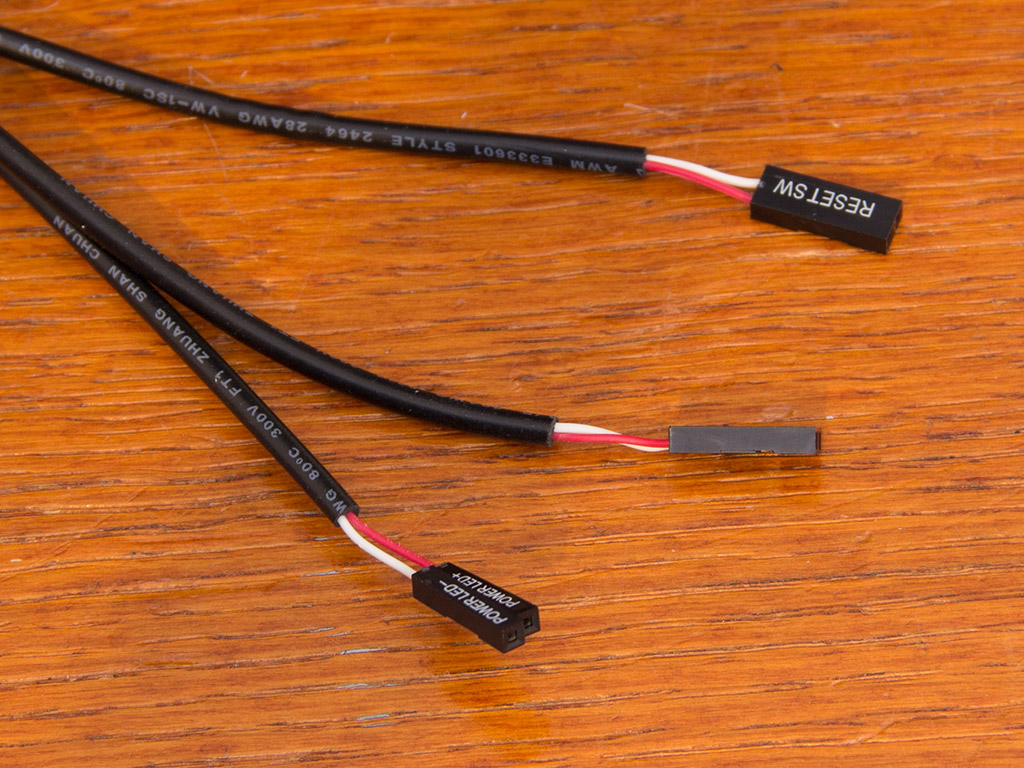


All cables within the Deep Silence 2 are sleeved black to match the interior of the chassis. Besides the standard plugs for both case connectivity and I/O, you will also find a single Molex plug to power the two fan controllers and a total of six connectors for 3-pin cooling units. You can control each set of three with the sliders in the front of the chassis.
Feb 26th, 2025 20:38 EST
change timezone
Latest GPU Drivers
New Forum Posts
- Installing Classic Zalman Flower cooler to a modern system (42)
- RX 6600XT & ROG STRIX B460 I GAMING = black screen (2)
- Share your AIDA 64 cache and memory benchmark here (3024)
- The TPU UK Clubhouse (25809)
- AM3 build, uses in 2025 (12)
- VRR Flicker when using Frame Generation (3)
- TECHPOWERUP HWBOT Contest with Cash Prizes (87)
- TPU's Nostalgic Hardware Club (20012)
- RTX5000 Series Owners Club (138)
- Help with integrated gpu. (62)
Popular Reviews
- Corsair Xeneon 34WQHD240-C Review - Pretty In White
- Corsair Virtuoso MAX Wireless Review
- ASUS GeForce RTX 5070 Ti TUF OC Review
- Gigabyte X870 Aorus Elite WiFi 7 Review
- MSI GeForce RTX 5070 Ti Ventus 3X OC Review
- MSI GeForce RTX 5070 Ti Vanguard SOC Review
- Montech HyperFlow Silent 360 Review
- AMD Ryzen 7 9800X3D Review - The Best Gaming Processor
- MSI GeForce RTX 5070 Ti Gaming Trio OC+ Review
- Montech TITAN PLA 1000 W Review
Controversial News Posts
- NVIDIA GeForce RTX 50 Cards Spotted with Missing ROPs, NVIDIA Confirms the Issue, Multiple Vendors Affected (496)
- AMD Radeon 9070 XT Rumored to Outpace RTX 5070 Ti by Almost 15% (304)
- AMD Plans Aggressive Price Competition with Radeon RX 9000 Series (274)
- AMD Radeon RX 9070 and 9070 XT Listed On Amazon - One Buyer Snags a Unit (247)
- NVIDIA Investigates GeForce RTX 50 Series "Blackwell" Black Screen and BSOD Issues (244)
- Edward Snowden Lashes Out at NVIDIA Over GeForce RTX 50 Pricing And Value (241)
- AMD Denies Radeon RX 9070 XT $899 USD Starting Price Point Rumors (239)
- AMD Mentions Sub-$700 Pricing for Radeon RX 9070 GPU Series, Looks Like NV Minus $50 Again (194)