 8
8
Nanoxia Deep Silence 2 Review
Value & Conclusion »Assembly
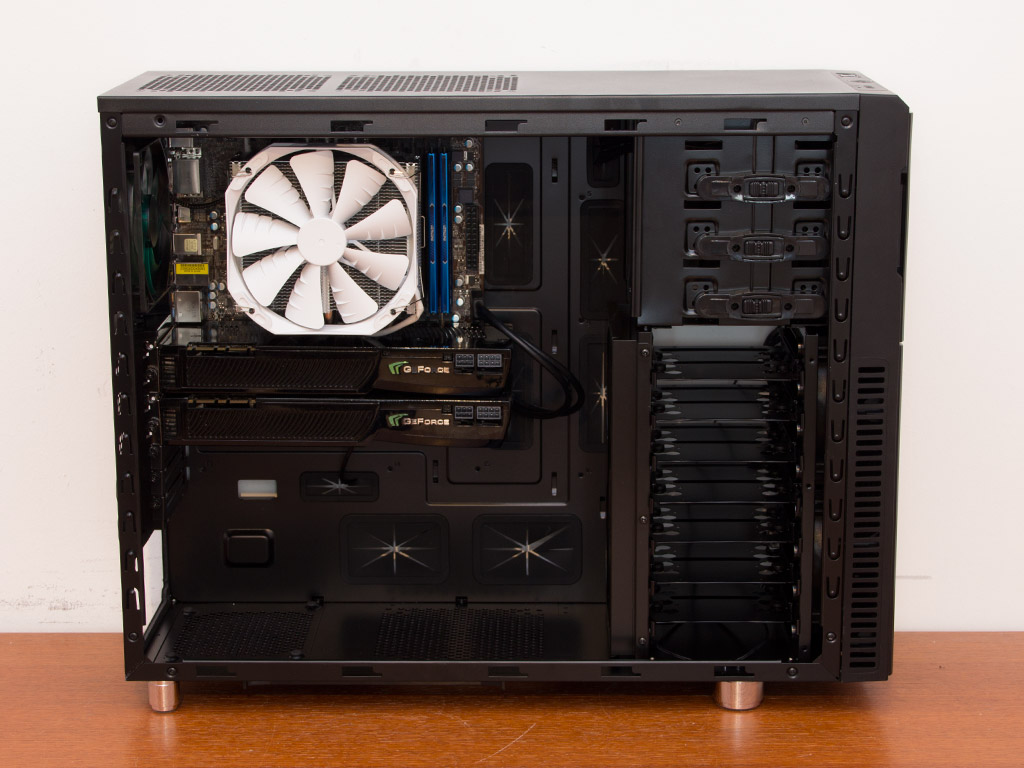
Installing the motherboard within the Deep Silence 2 is done through the use of the supplied spacers and screws. Once in place, things above the CPU cooler are somewhat of a tight fit, but this is mostly due to the fact that the CPU socket of the AsRock board is in a weird location. Nonetheless, the cooler and the two large graphic cards fit into the case well, with plenty of room to the right side and down below.
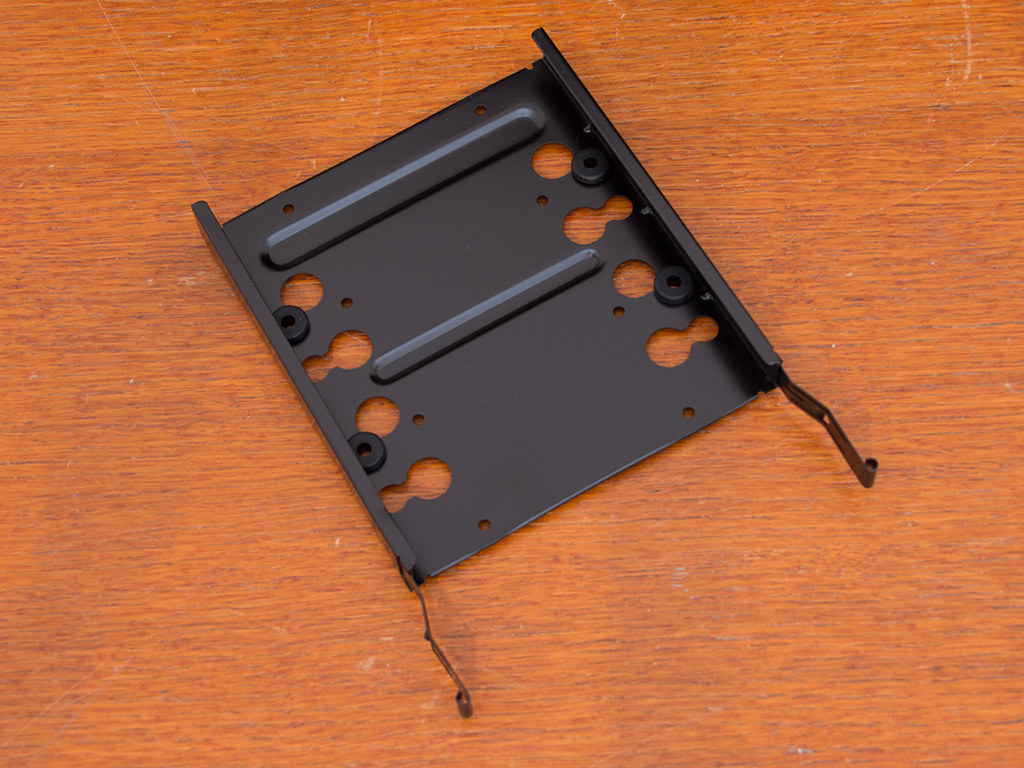
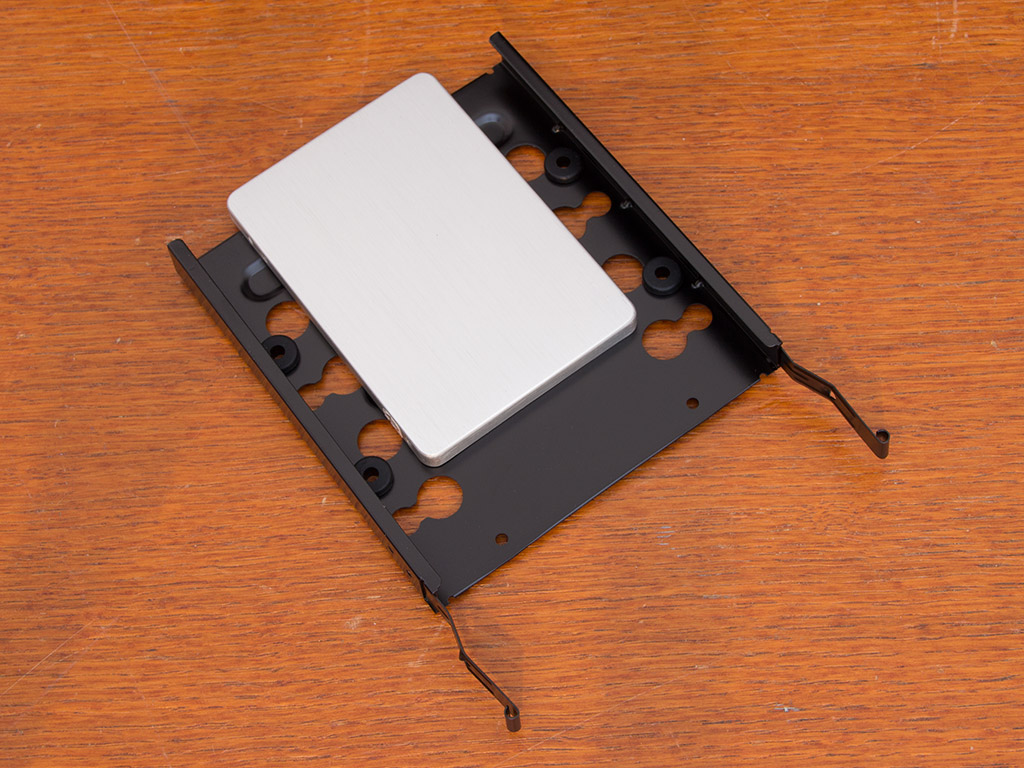

Each hard drive needs to be placed on one of the seven metal hard-drive trays. 2.5" drives can be installed in the center with traditional screws, while 3.5" ones rest on rubber rings as an anti-vibration measure. The latter require the use of special screws. All small parts have naturally been provided.
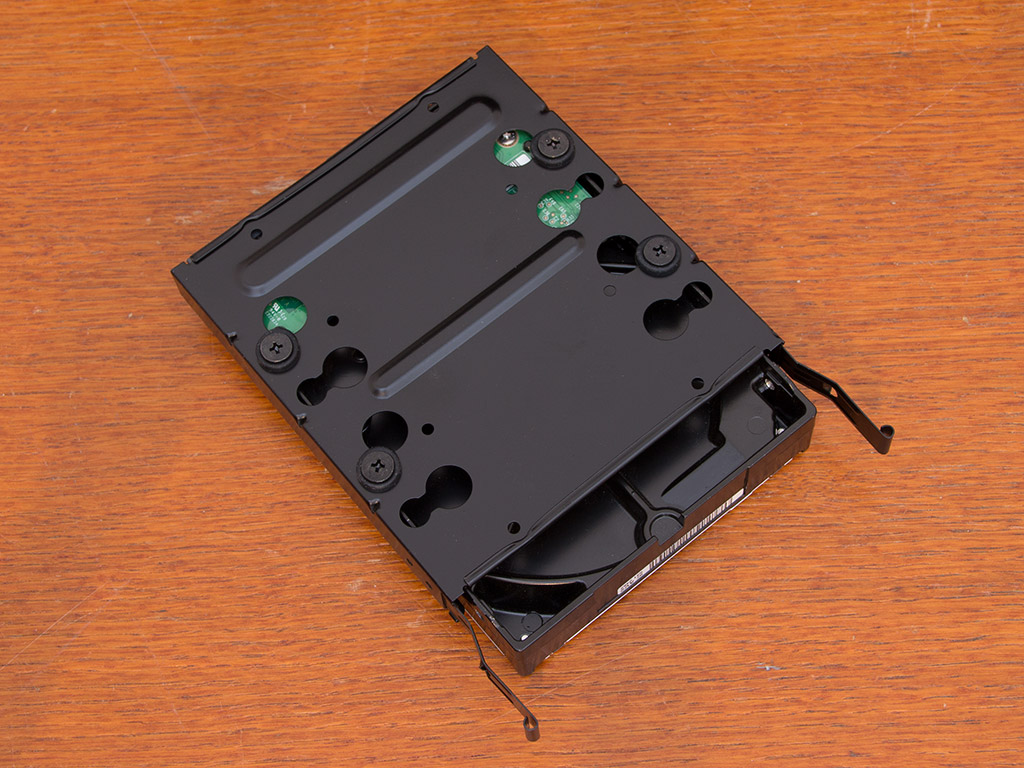
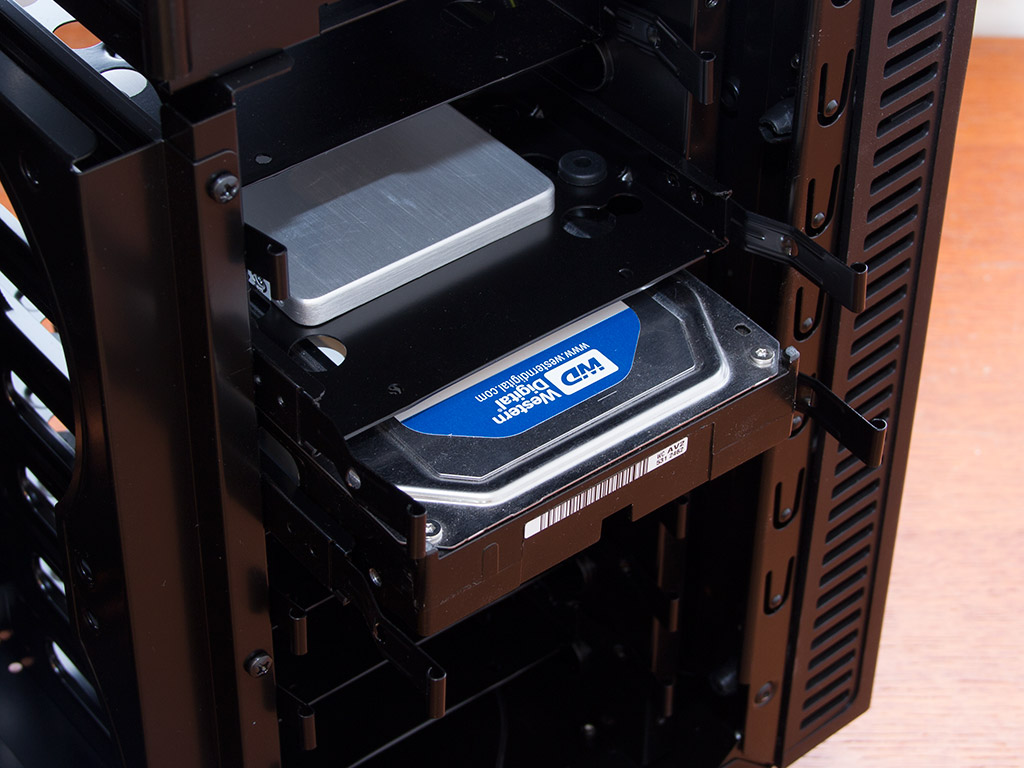
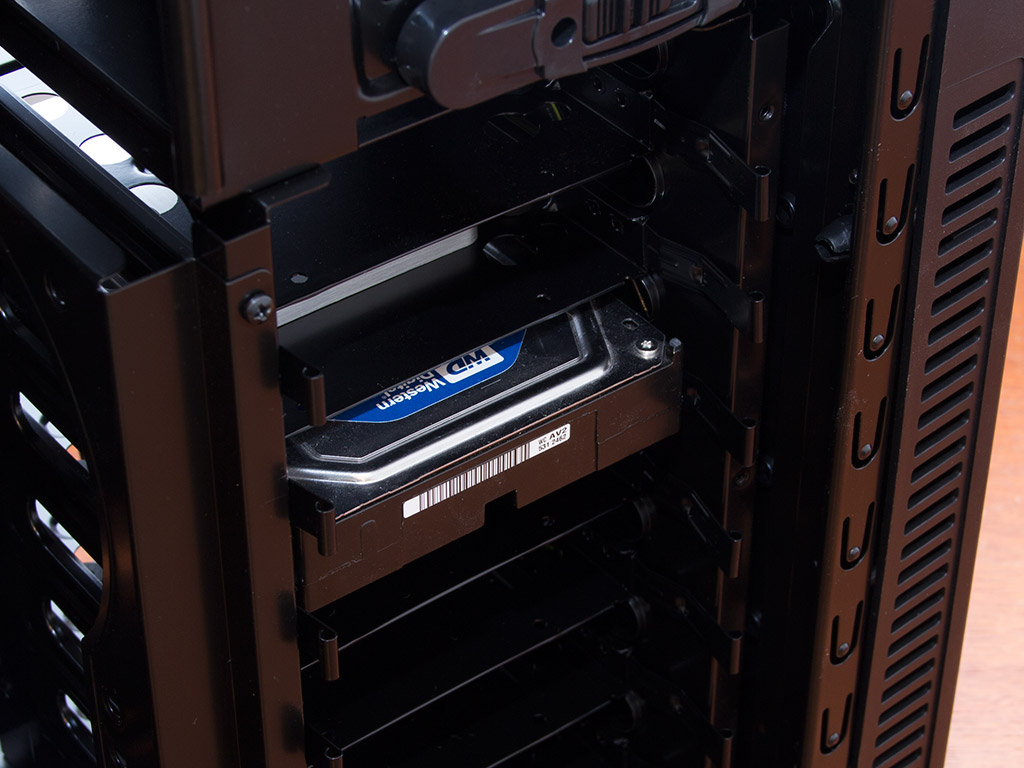
Both drives are secured through the underside and can be pushed into the bay of your choice once in place. The metal trays ensure that it will snap into place perfectly. You won't have to worry about the drives coming loose during transport.
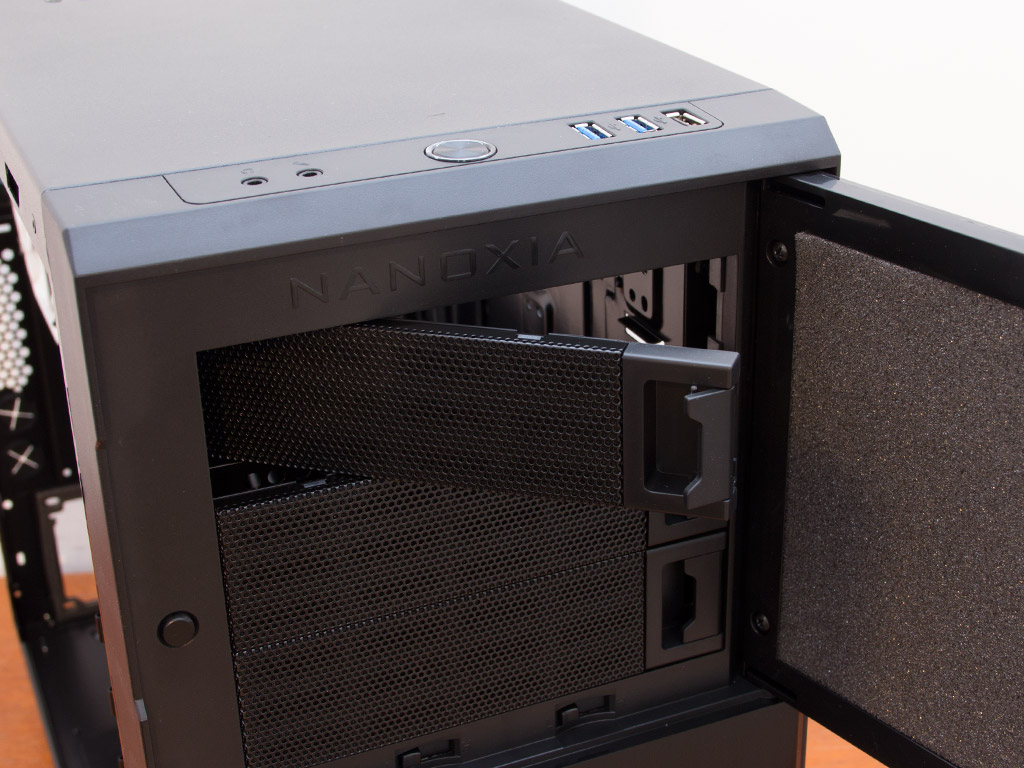
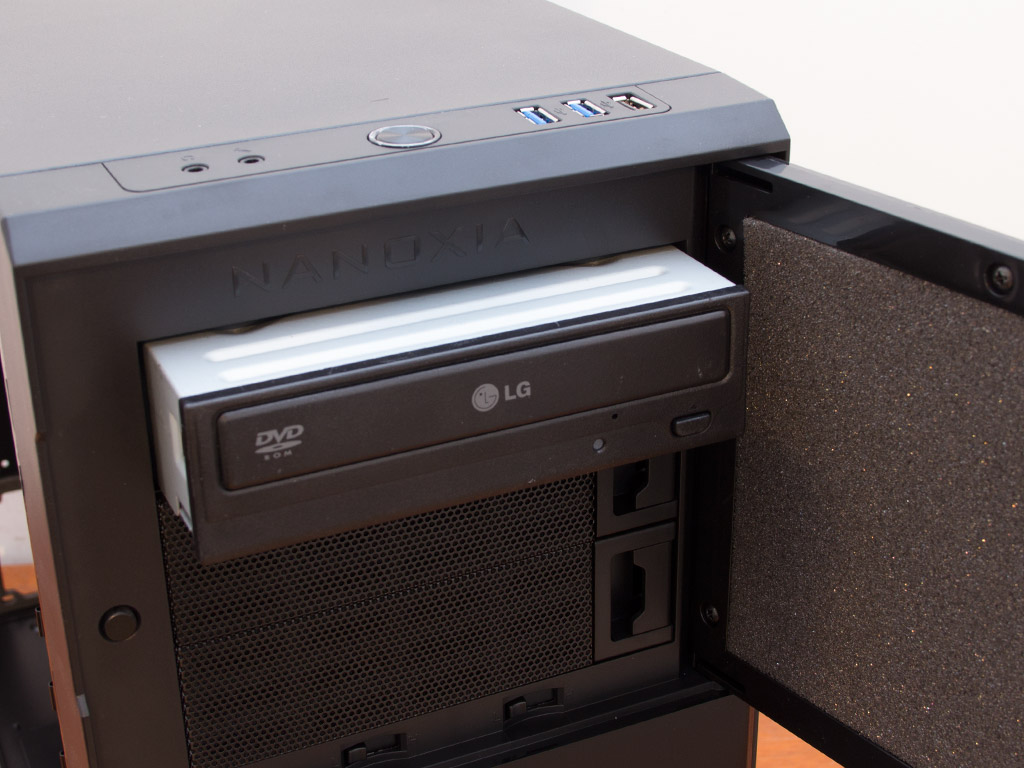
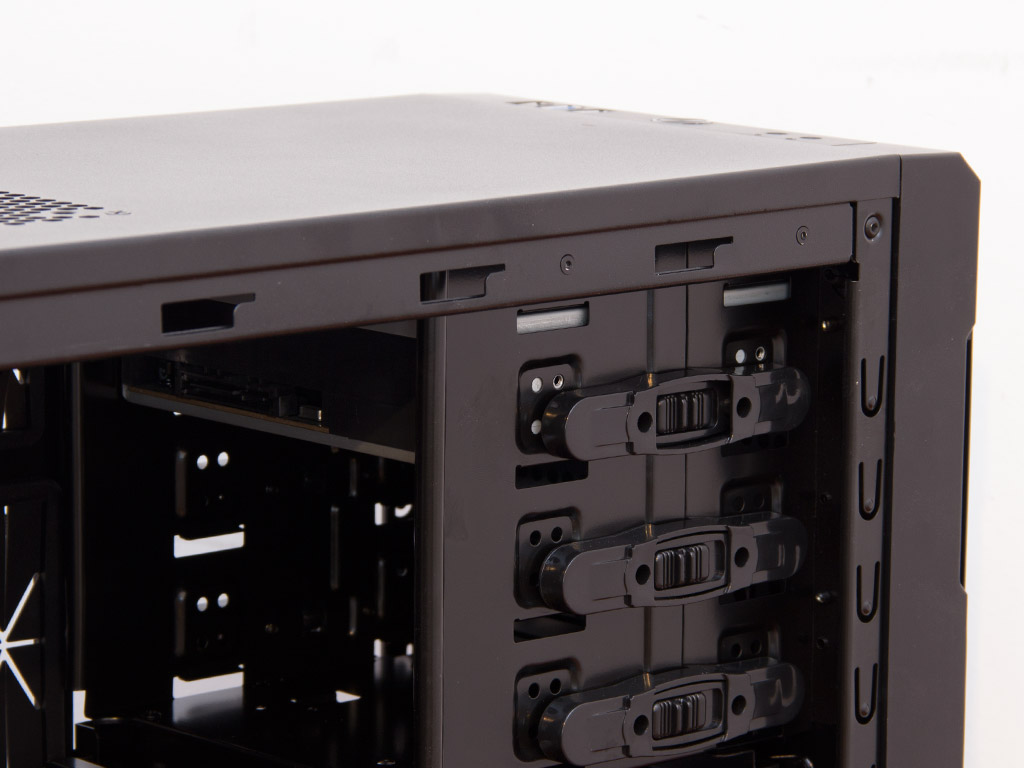
Installing an optical drive is quite simple and does not require any screws or tools. Simply remove the cover of your choice, slide the drive into place, and use the locks on each side to secure it in place. These hold quite well; you can rest assured that things will not move around in this area of the chassis. This is interesting as the same locks did not clamp down quite as well on the Deep Silence 1, leaving around 2 mm of wiggle room.
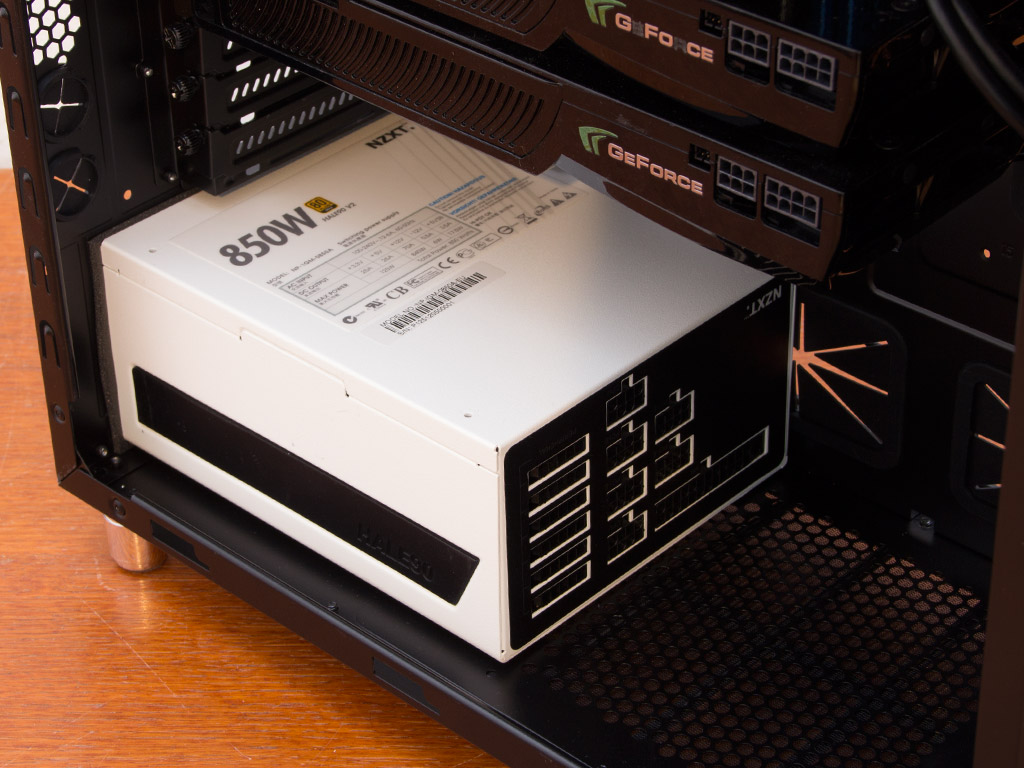
You will still need to use traditional screws to secure the PSU within the Deep Silence 2. There is plenty of space, so you can, for example, install both a long unit and a water-cooling radiator on the hard drive cage.
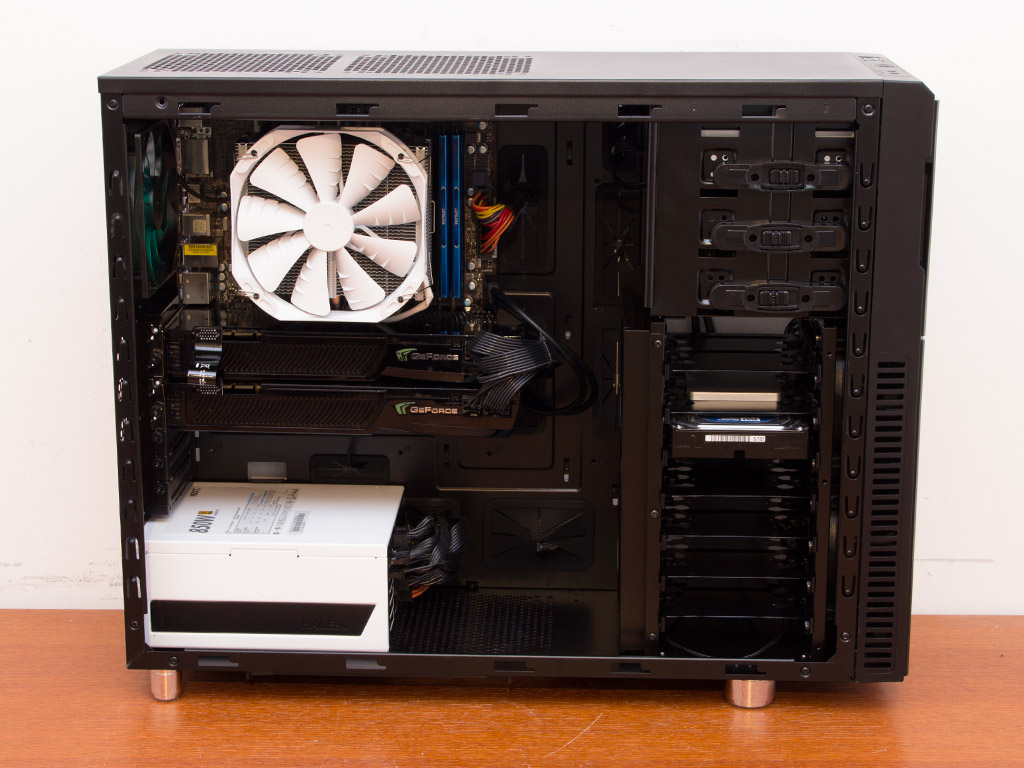
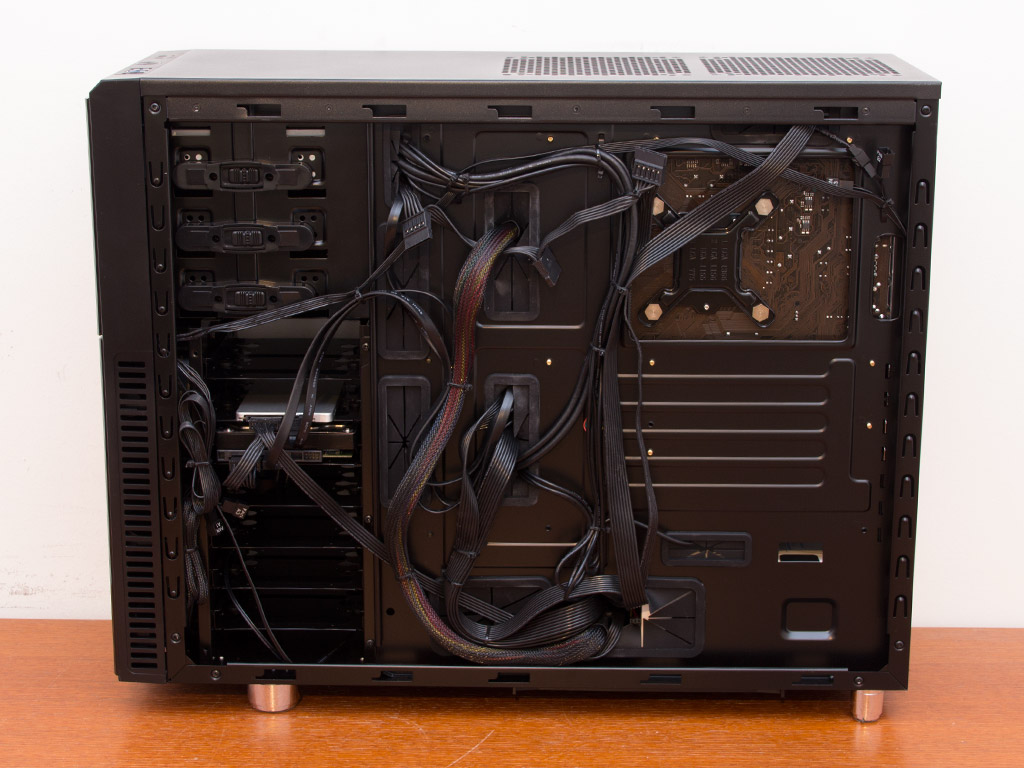
With everything in place, the chassis looks incredibly clean. This is due to the fact that all cables have been hidden behind the motherboard tray. This would not be possible if Nanoxia did not include as many openings and hooks to secure the cables onto properly with zip ties.
Finished Looks
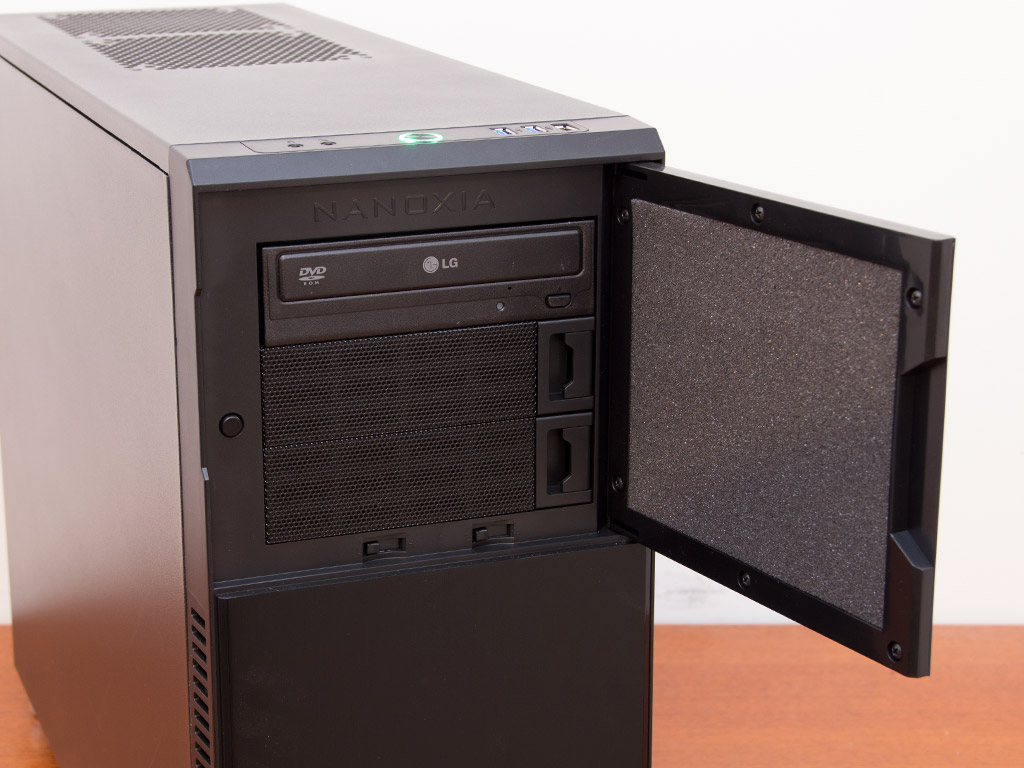
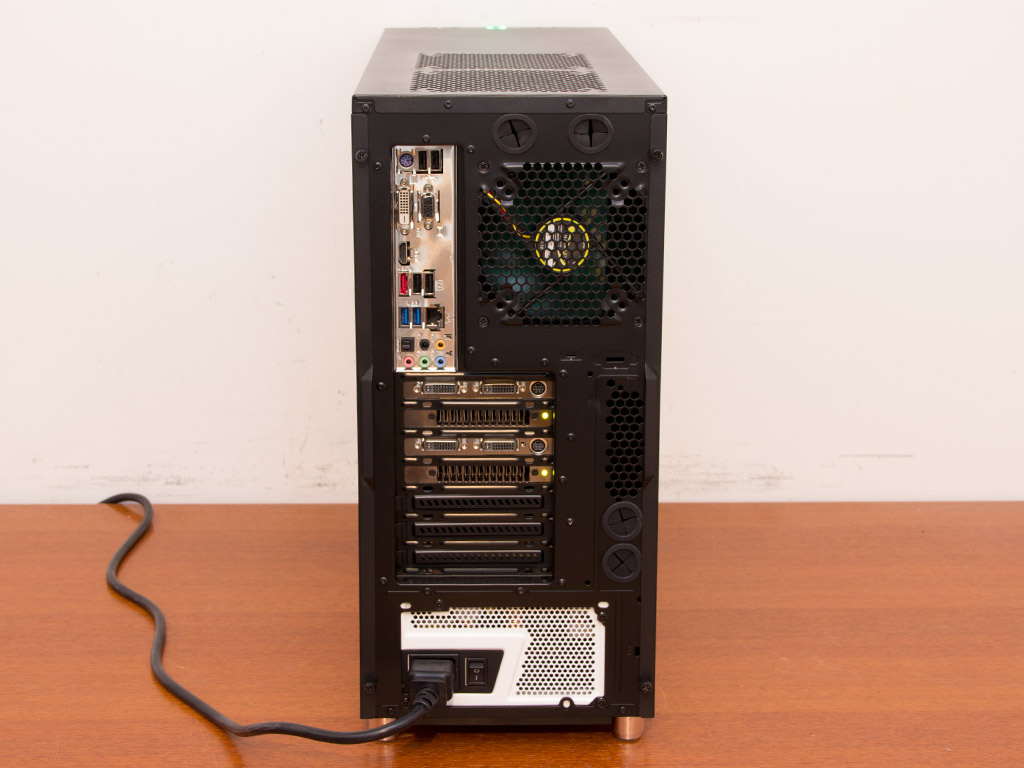
Once the side panels are put back onto the case and things are turned on, the Deep Silence 2 works perfectly at encapsulating the sound. There are no fans with fancy LEDs, or other gimmicks, as all major panels are completely solid anyways. You may use an optical drive of any color. The door will hide it nicely. Turning the chassis around, everything is readily accessible, being where you would expect it to be.

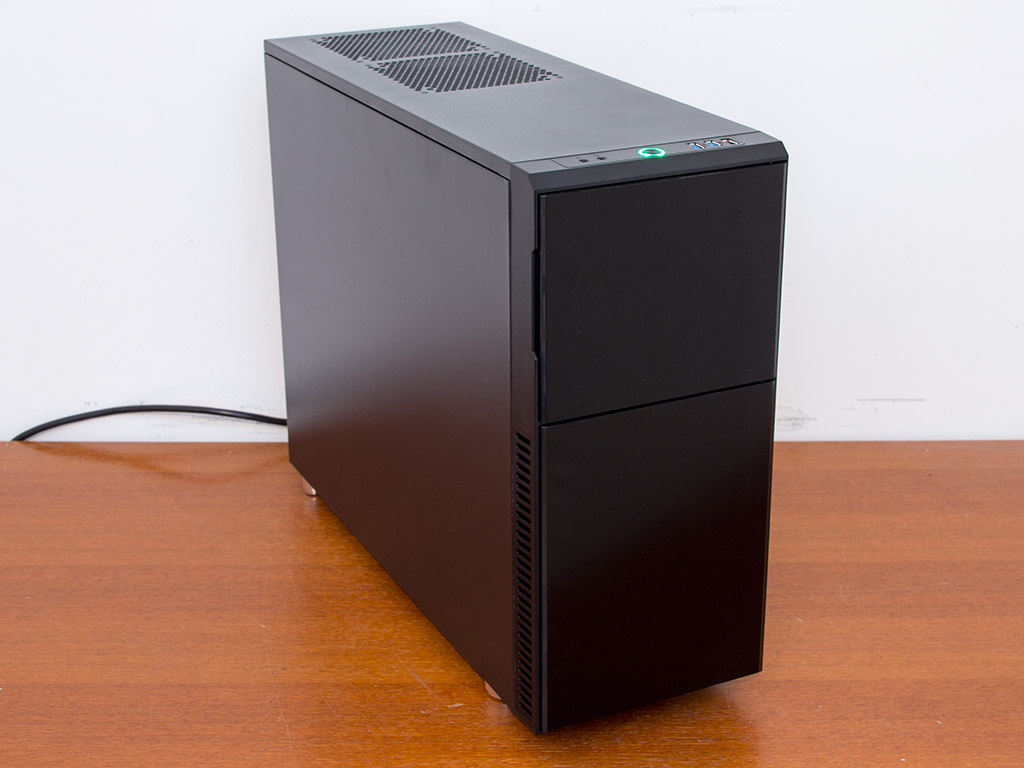
The power LED actually lights up green around the power button, underlining the fact that this is a Nanoxia chassis since the company's color is green as well.
Jul 12th, 2025 09:26 CDT
change timezone
Latest GPU Drivers
New Forum Posts
- No offense, here are some things that bother me about your understanding of fans. (36)
- Stupid buggy POS Realtek WiFi RTL8852BE (11)
- Swapping existing router w/ a replacement; any issues? (14)
- 'NVIDIA App' not usable offline? (13)
- Chrome has removed uBlock Origin 1.64.0 (remove google search suggestions) (12)
- Share your AIDA 64 cache and memory benchmark here (3097)
- The Official Linux/Unix Desktop Screenshots Megathread (778)
- [GPU-Z Test Build] New Kernel Driver, Everyone: Please Test (90)
- Gigabyte graphic cards - TIM gel SLIPPAGE problem (150)
- NVIDIA App (55)
Popular Reviews
- Fractal Design Epoch RGB TG Review
- Lexar NM1090 Pro 4 TB Review
- Corsair FRAME 5000D RS Review
- NVIDIA GeForce RTX 5050 8 GB Review
- NZXT N9 X870E Review
- Our Visit to the Hunter Super Computer
- Sapphire Radeon RX 9060 XT Pulse OC 16 GB Review - An Excellent Choice
- AMD Ryzen 7 9800X3D Review - The Best Gaming Processor
- Upcoming Hardware Launches 2025 (Updated May 2025)
- Chieftec Iceberg 360 Review
TPU on YouTube
Controversial News Posts
- Intel's Core Ultra 7 265K and 265KF CPUs Dip Below $250 (288)
- Some Intel Nova Lake CPUs Rumored to Challenge AMD's 3D V-Cache in Desktop Gaming (140)
- AMD Radeon RX 9070 XT Gains 9% Performance at 1440p with Latest Driver, Beats RTX 5070 Ti (131)
- NVIDIA Launches GeForce RTX 5050 for Desktops and Laptops, Starts at $249 (119)
- NVIDIA GeForce RTX 5080 SUPER Could Feature 24 GB Memory, Increased Power Limits (115)
- Microsoft Partners with AMD for Next-gen Xbox Hardware (105)
- Intel "Nova Lake‑S" Series: Seven SKUs, Up to 52 Cores and 150 W TDP (100)
- NVIDIA DLSS Transformer Cuts VRAM Usage by 20% (97)