 251
251
Noctua NH-D15 G2 Review - Big Performance, Bigger Price
Finished Looks »Installation
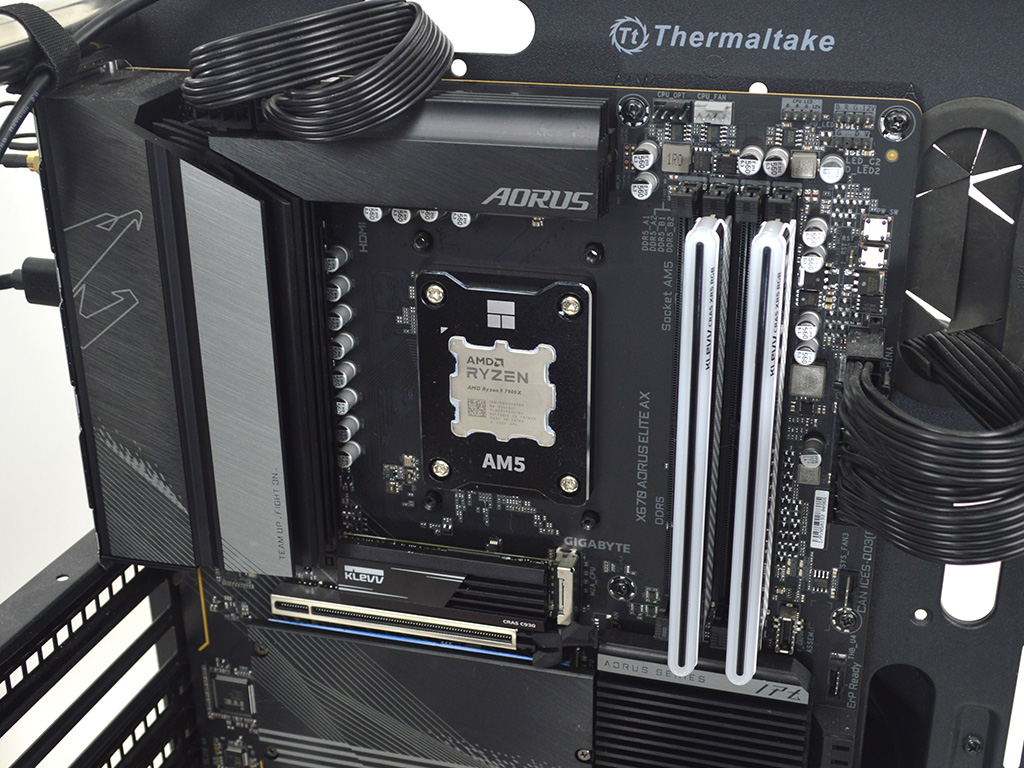
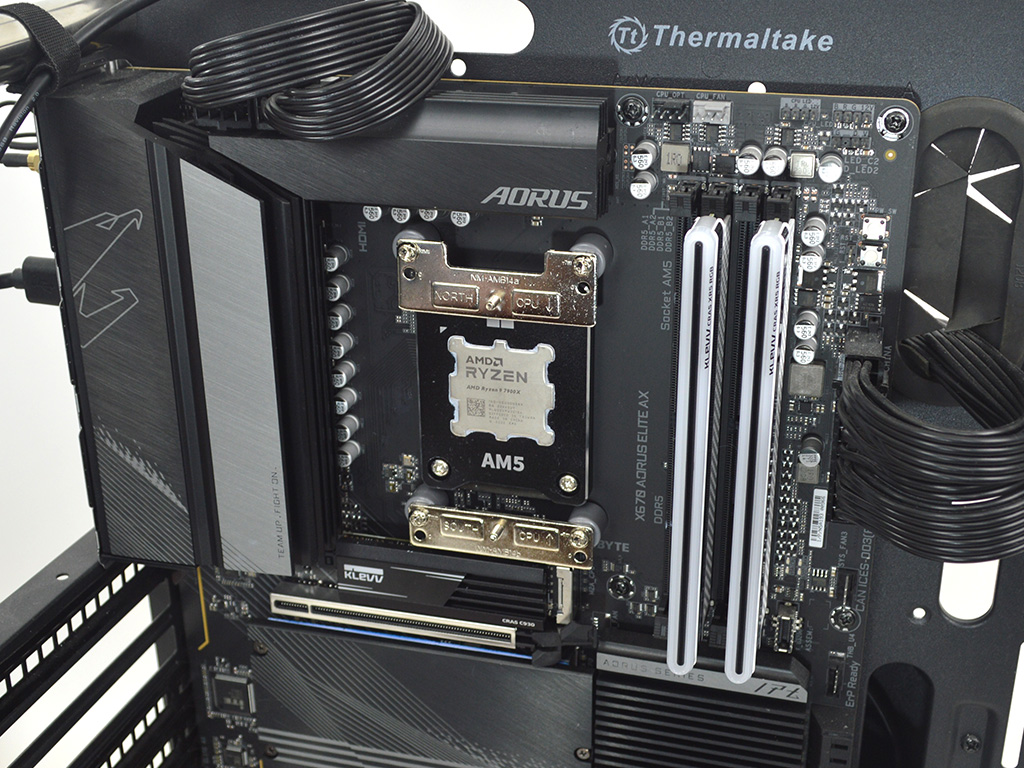
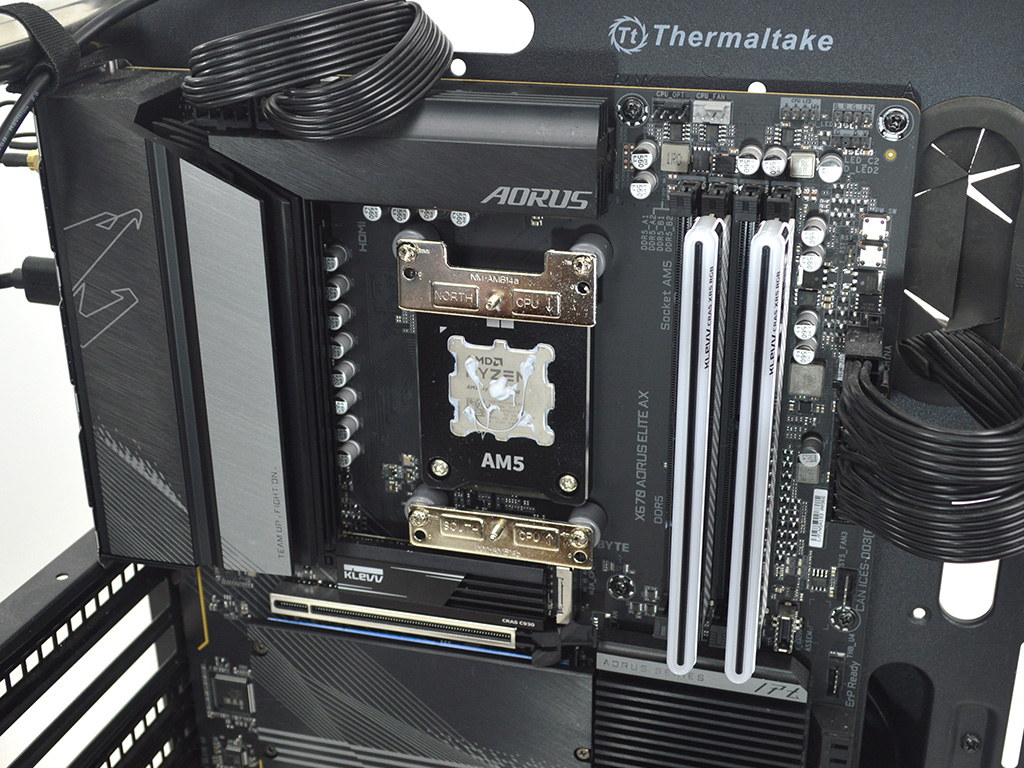
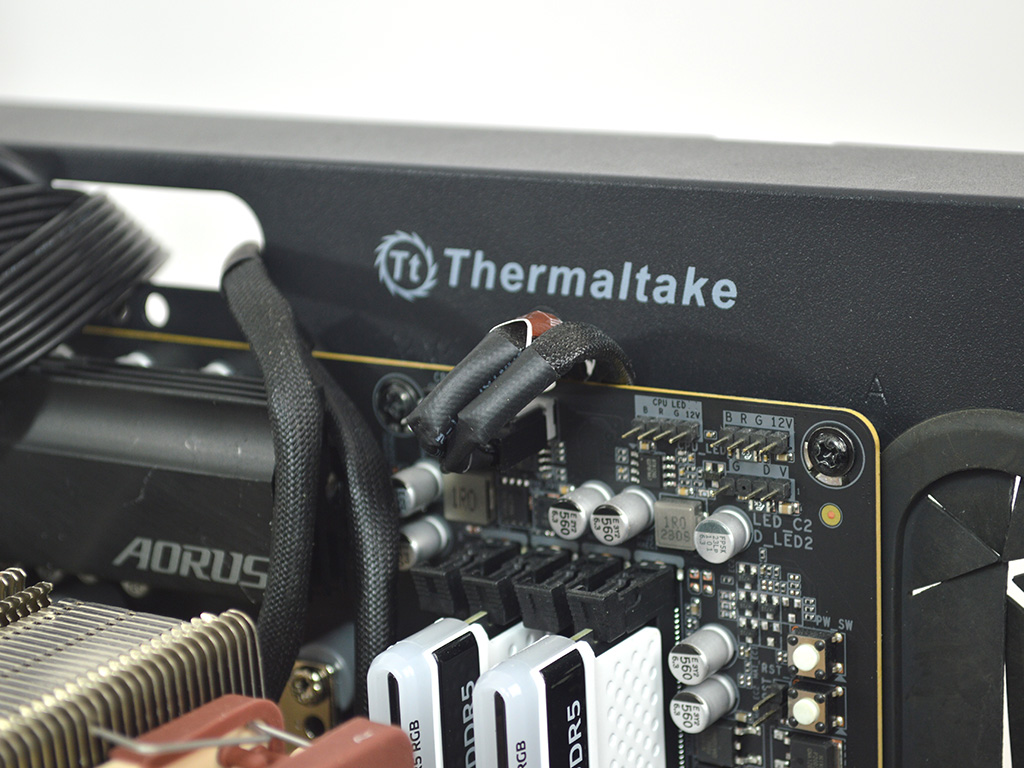
Installing the cooler is a quick and painless process. While I don't see any reason for moving to Torx for the mounting hardware it does work fine. To start with on AMD you will need to remove the default motherboard brackets. Then take the gray spacers along with the AMD bracket and install them with the four long screws. Make sure to put the brackets in the specific spot and orientation they are labeled for, to make use of an offset for optimal cooling. Once the mounting hardware is installed ensure to apply thermal paste, the included tube of NT-H2 is well regarded and of high quality.
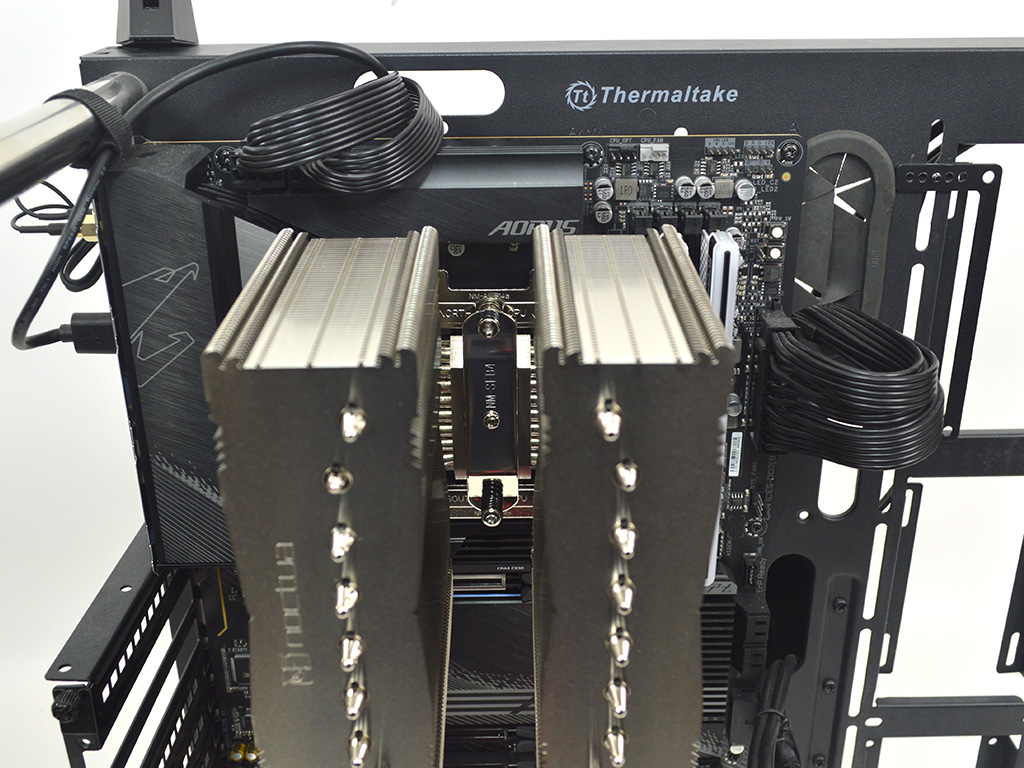
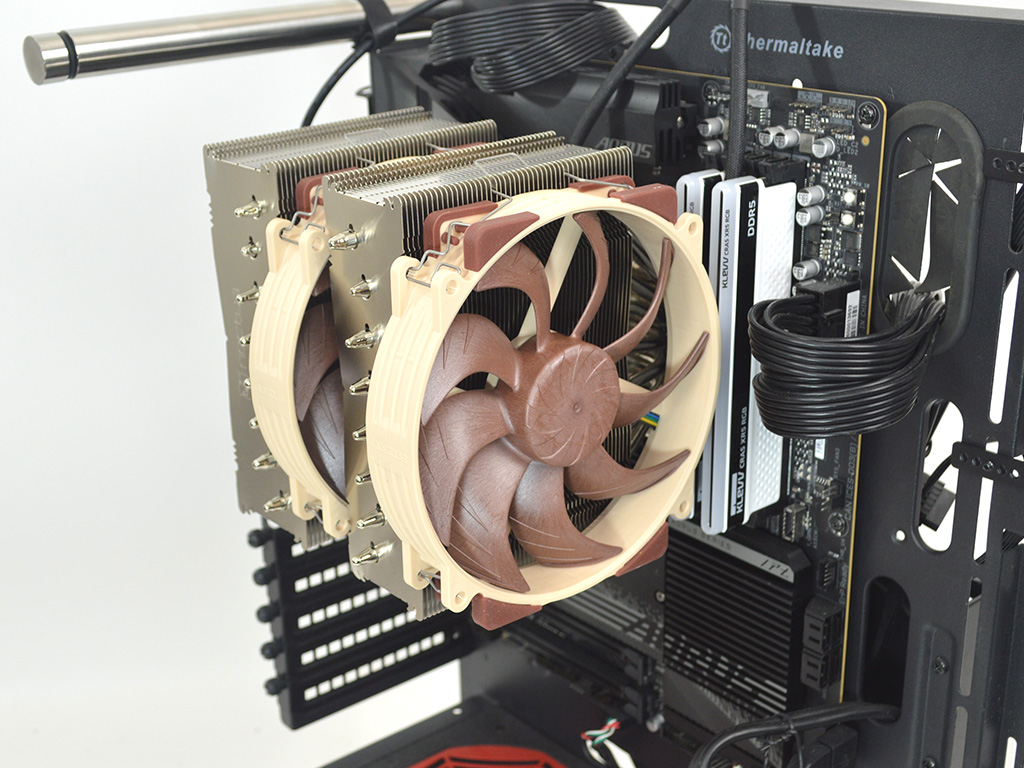
Now attach the cooler to the mounting hardware, alternating tightening each screw for a more even mounting pressure. With the heatsink secure you can now attach the fans and plug them in. If you want an even quieter experience at the expense of some cooling performance, you can also opt to make use of the low noise adapters at this point.
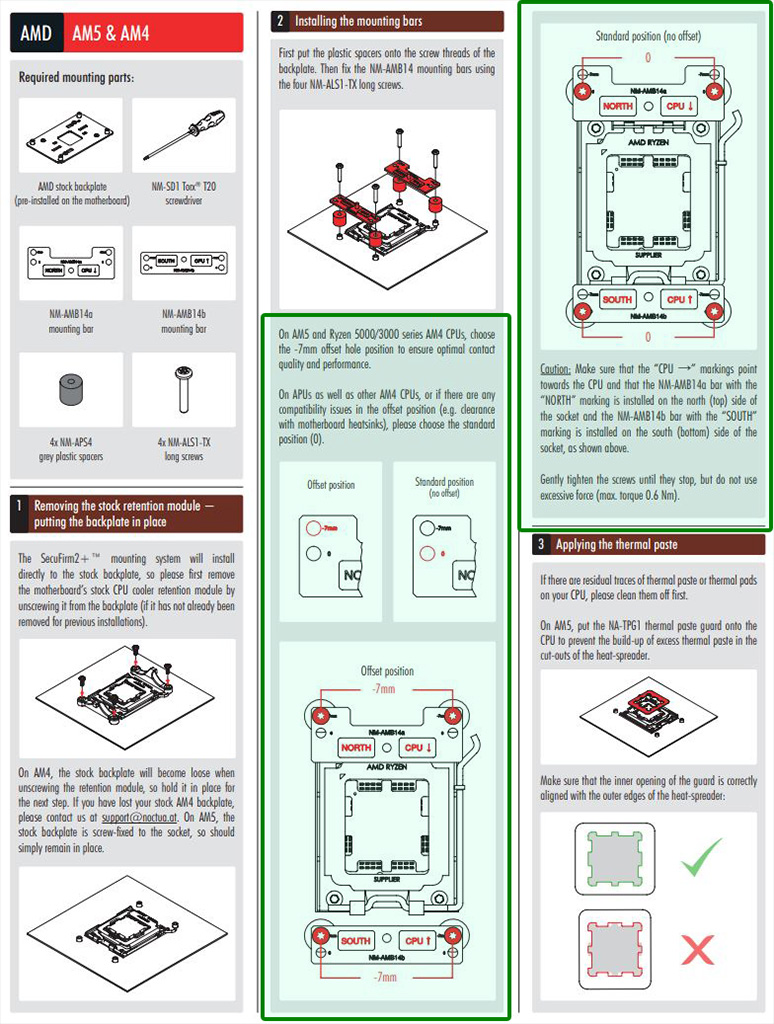
Overall on either Intel or AMD the process is simple, quick, and painless with no issues to report. I will point out here that Noctua's mounting hardware includes an offset for optimal performance on AMD and the manual says to use it for the best performance. Keeping that in mind the cooler was tested via the installation method outlined in said manual which you can see the information for yourself in the image above.
Feb 3rd, 2025 05:53 EST
change timezone
Latest GPU Drivers
New Forum Posts
- Choosing the Perfect Motherboard to Complete My PC Build (1)
- Will you buy a RTX 5090? (373)
- Gigabyte B550 Aorus Elite V2 Default RGB LED (8)
- Wow YouTube is a Hog (24)
- Trying to install OS and stick to it for 2 Years Atleast. Windows 10 or 11? (12)
- RTX 5080 - premature review - it sucks (278)
- GPU hotspot and Gpu tem differences (9)
- is it possible to enable 105w ECO MODE this way? (2)
- RTX 5090 ridiculous price! (138)
- RTX5000 Series Owners Club (16)
Popular Reviews
- NVIDIA GeForce RTX 5080 Founders Edition Review
- Spider-Man 2 Performance Benchmark Review - 35 GPUs Tested
- MSI GeForce RTX 5080 Vanguard SOC Review
- ASUS GeForce RTX 5080 Astral OC Review
- Gigabyte GeForce RTX 5080 Gaming OC Review
- MSI GeForce RTX 5080 Suprim SOC Review
- NVIDIA DLSS 4 Transformer Review - Better Image Quality for Everyone
- ASUS GeForce RTX 5090 Astral OC Review - Astronomical Premium
- Galax GeForce RTX 5080 1-Click OC Review
- Palit GeForce RTX 5080 GameRock OC Review
Controversial News Posts
- NVIDIA 2025 International CES Keynote: Liveblog (470)
- AMD Debuts Radeon RX 9070 XT and RX 9070 Powered by RDNA 4, and FSR 4 (349)
- AMD Radeon 9070 XT Rumored to Outpace RTX 5070 Ti by Almost 15% (259)
- AMD is Taking Time with Radeon RX 9000 to Optimize Software and FSR 4 (256)
- AMD Denies Radeon RX 9070 XT $899 USD Starting Price Point Rumors (239)
- AMD Radeon RX 9070 XT & RX 9070 Custom Models In Stock at European Stores (226)
- Edward Snowden Lashes Out at NVIDIA Over GeForce RTX 50 Pricing And Value (217)
- New Leak Reveals NVIDIA RTX 5080 Is Slower Than RTX 4090 (215)