 27
27
Noctua NH-L9x65 Review
Finished Looks »Installation
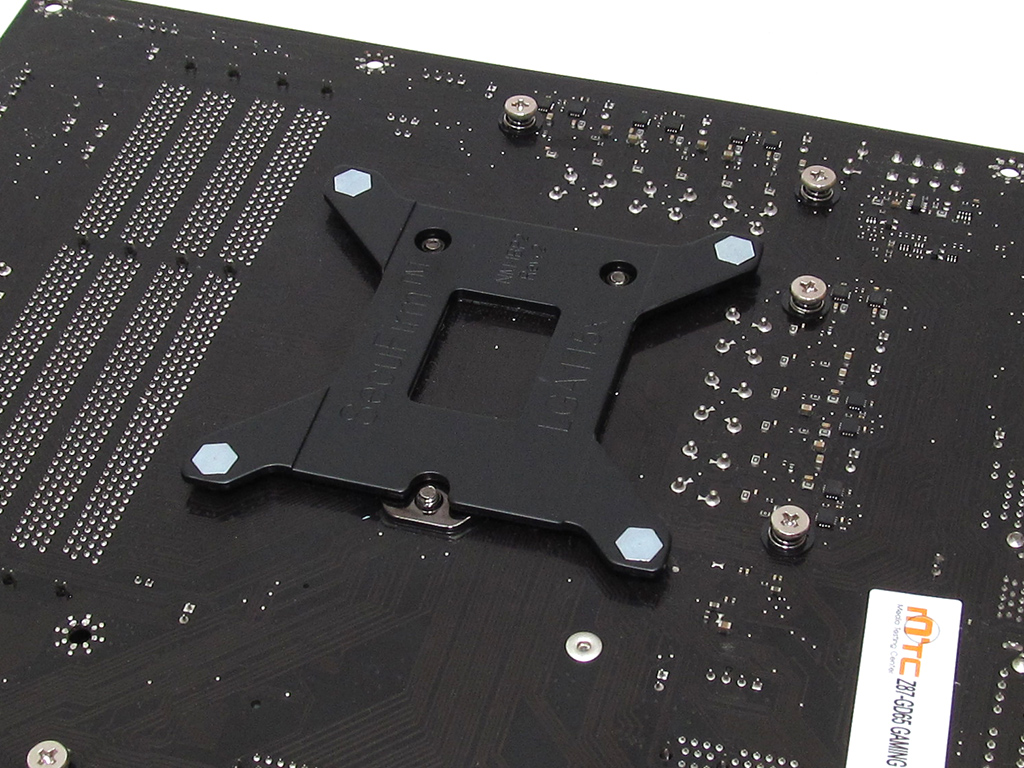
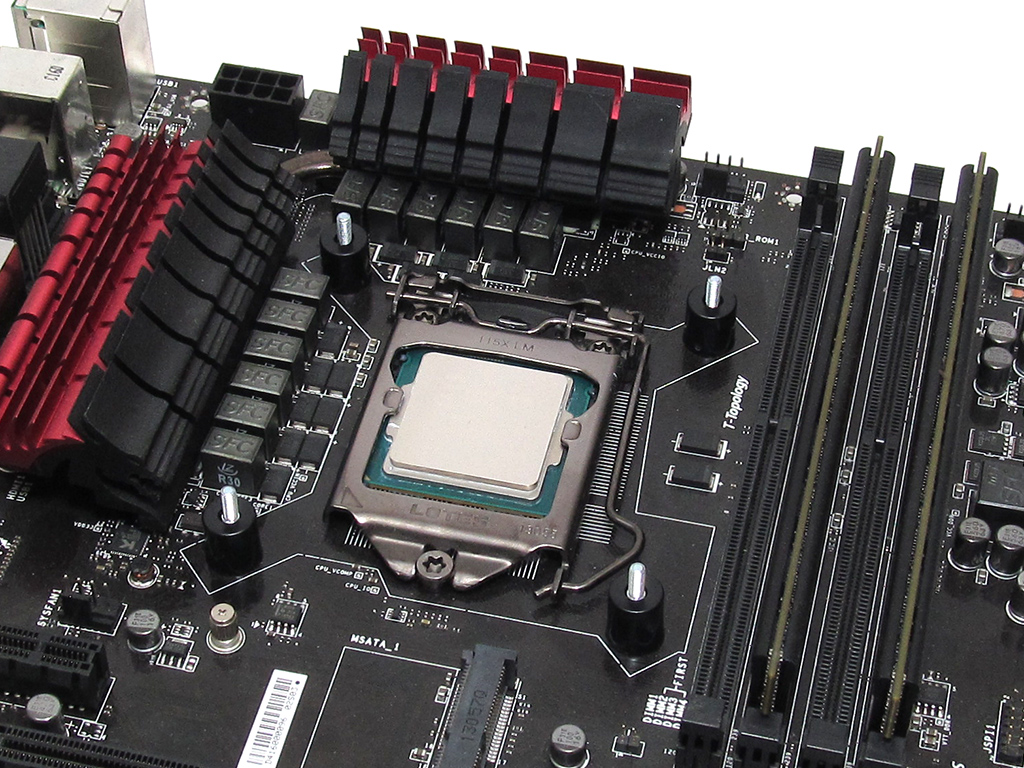
Installing the Noctua NH-L9x65 is a simple task. Start by placing the backplate on the motherboard to then slide the proper spacers for your system down over the screws for the mounting arms.
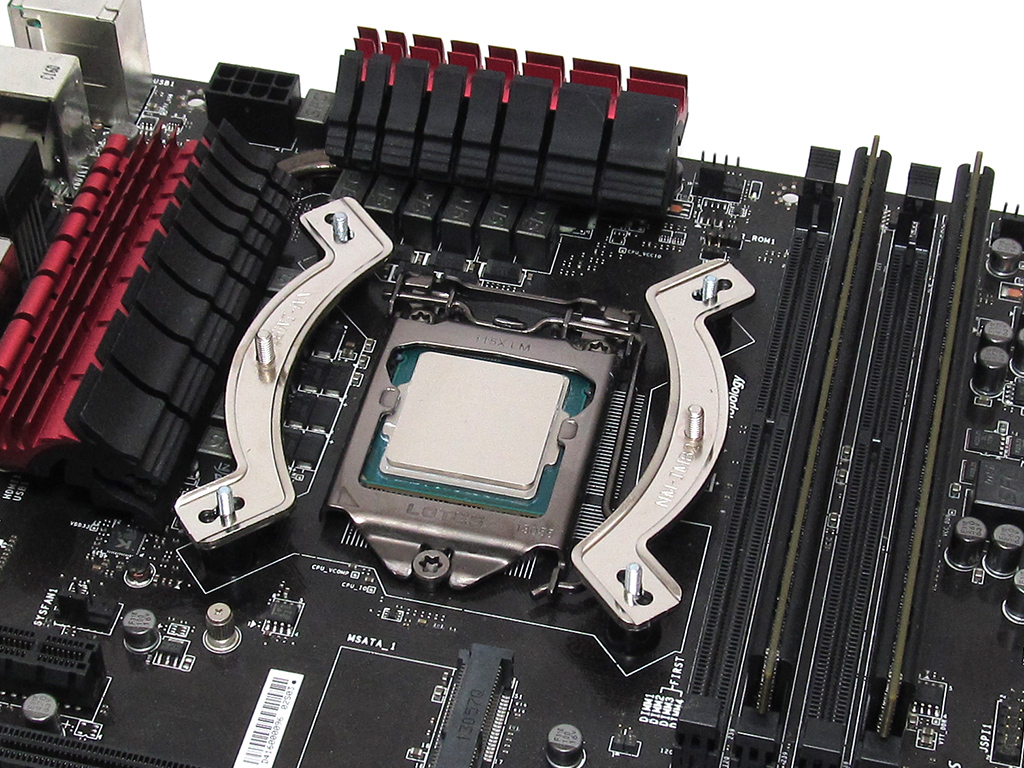

Slide the mounting arms down onto the spacers and use the thumbscrews to hold them in place securely. Once that is done, apply some thermal paste.
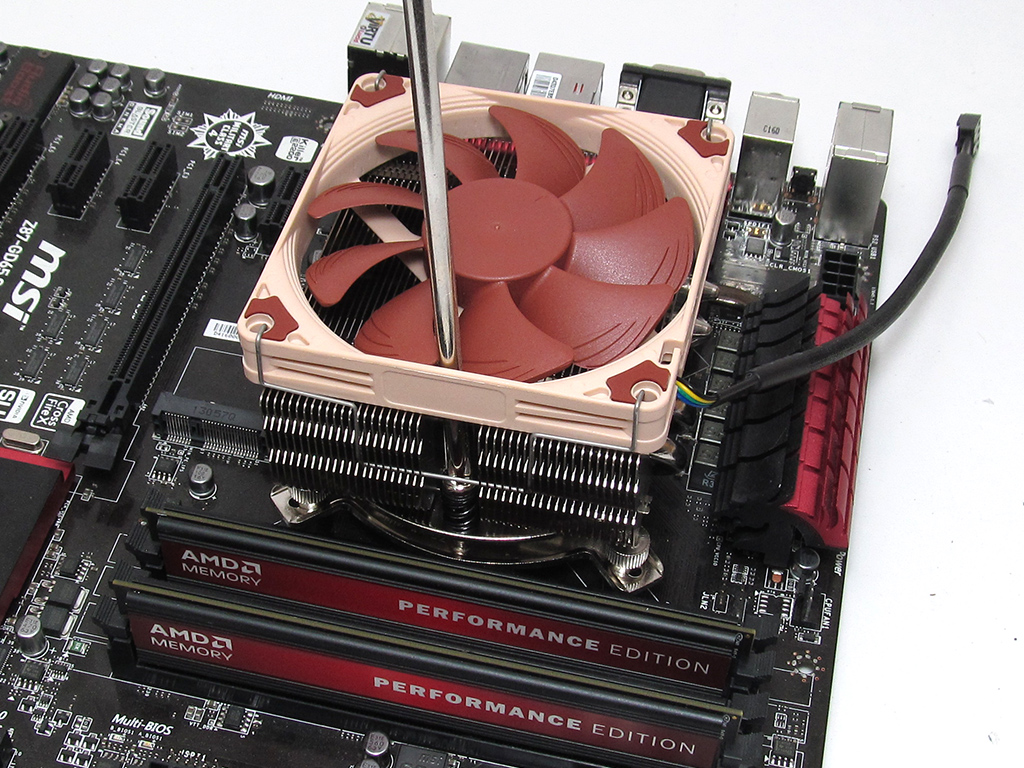
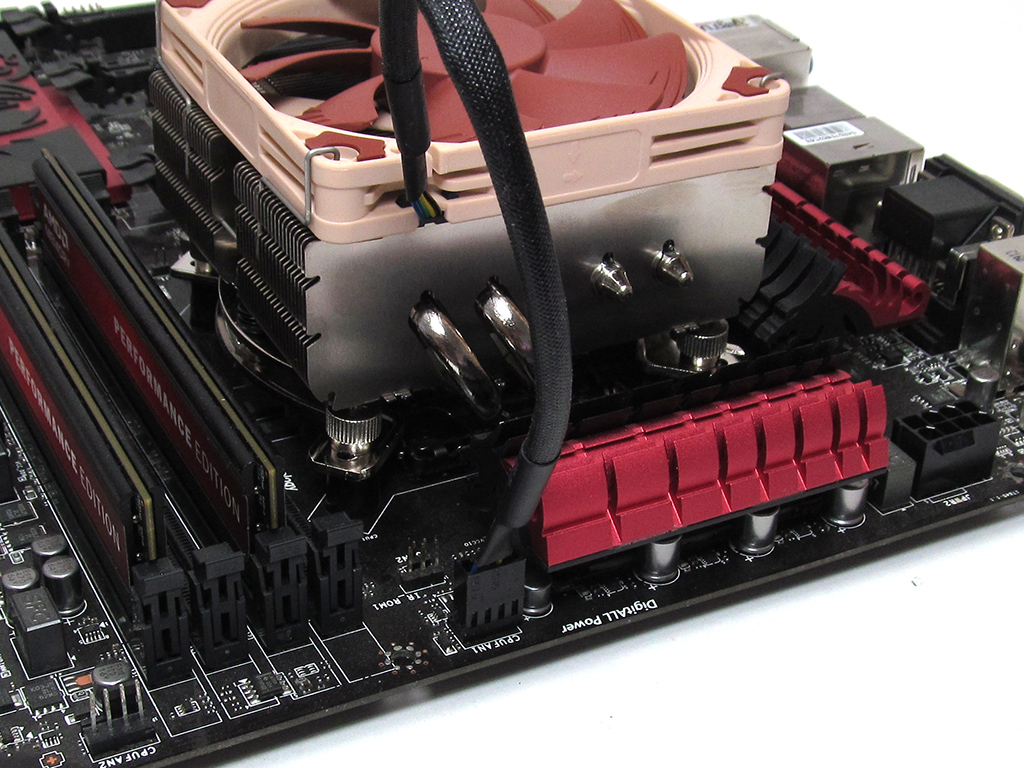
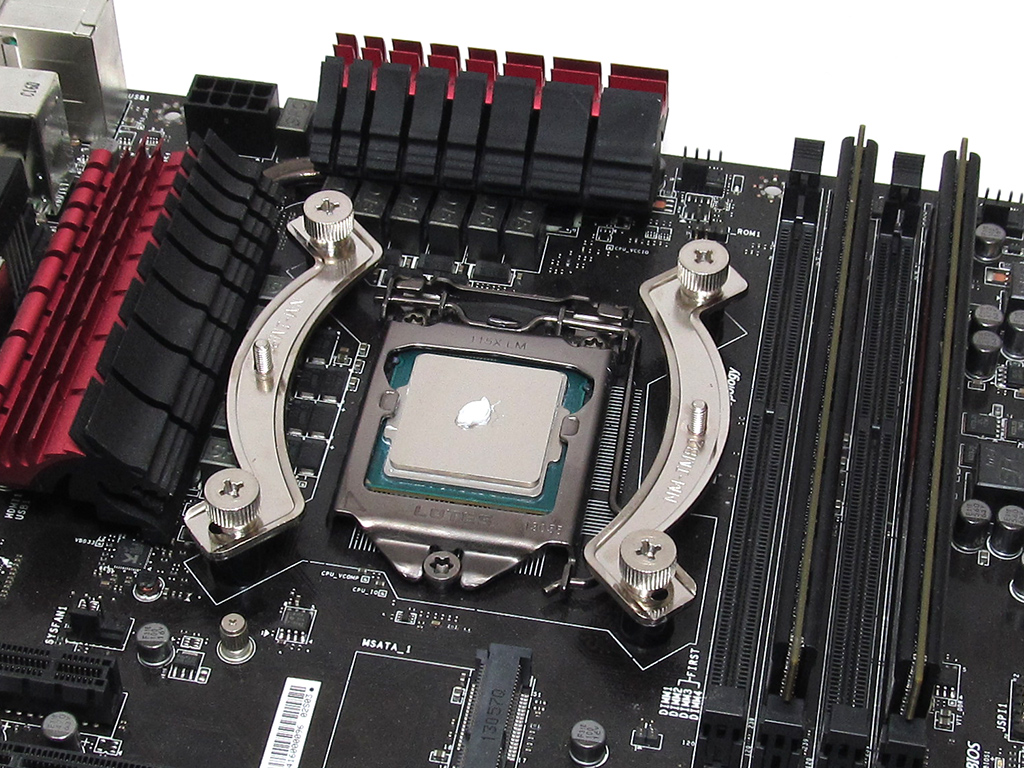
Line the cooler's spring-loaded screws up with the posts on the mounting arms and use the screwdriver Noctua provides to fasten the heatsink to these mounting arms by screwing the spring-loaded screws down. Once done, plug the fan into the CPU header on the motherboard.
Noctua's SecuFirm 2 mounting hardware is very easy to work with, and you will not need to remove the fan during installation because of the NH-L9x65's solid design, making it that much simpler and easier. Overall, I would rate the difficulty of installation a 10 on a scale of 1 (hardest) to 10 (easiest). This is in part due to Noctua's attention to detail, good design choices, and the inclusion of a screwdriver. These are the things that make Noctua's mounting system one the of best on the market.
Apr 6th, 2025 10:22 EDT
change timezone
Latest GPU Drivers
New Forum Posts
- Do you use Linux? (557)
- What are you playing? (23347)
- My computer setup - Request for opinions (20)
- Help me decide Vapor Chamber vs Not for RTX 5090 (0)
- What local LLM-s you use? (145)
- Share your AIDA 64 cache and memory benchmark here (3045)
- cannot change cpu ratio in software xtu,throttlestop,quickcpu etc (0)
- (omg)vflash | Fully Patched nvflash from X to Ada Lovelace [v5.780] (357)
- Help me pick a UPS (80)
- How I made an Ultimate Cooling Guide (3)
Popular Reviews
- ASUS Prime X870-P Wi-Fi Review
- PowerColor Radeon RX 9070 Hellhound Review
- UPERFECT UStation Delta Max Review - Two Screens In One
- Corsair RM750x Shift 750 W Review
- DDR5 CUDIMM Explained & Benched - The New Memory Standard
- Upcoming Hardware Launches 2025 (Updated Apr 2025)
- Sapphire Radeon RX 9070 XT Pulse Review
- Sapphire Radeon RX 9070 XT Nitro+ Review - Beating NVIDIA
- AMD Ryzen 7 9800X3D Review - The Best Gaming Processor
- Pwnage Trinity CF Review
Controversial News Posts
- MSI Doesn't Plan Radeon RX 9000 Series GPUs, Skips AMD RDNA 4 Generation Entirely (146)
- Microsoft Introduces Copilot for Gaming (124)
- NVIDIA GeForce RTX 5060 Ti 16 GB SKU Likely Launching at $499, According to Supply Chain Leak (122)
- AMD Radeon RX 9070 XT Reportedly Outperforms RTX 5080 Through Undervolting (119)
- NVIDIA Reportedly Prepares GeForce RTX 5060 and RTX 5060 Ti Unveil Tomorrow (115)
- Over 200,000 Sold Radeon RX 9070 and RX 9070 XT GPUs? AMD Says No Number was Given (100)
- NVIDIA GeForce RTX 5050, RTX 5060, and RTX 5060 Ti Specifications Leak (97)
- Nintendo Switch 2 Launches June 5 at $449.99 with New Hardware and Games (92)