 8
8
Nox Xtreme Coolbay CX Review
Value & Conclusion »Test System
| System Parts for Case Reviews | |
|---|---|
| Processor: | Intel Core i7-4770K @ 4.2 GHz (Haswell, 8192 KB Cache) |
| Motherboards: | ATX: Gigabyte GA-Z97X-Gaming 7 mATX: Gigabyte GA-Q87M-D2H mini-ITX: GA-H97N-WIFI Provided by: Gigabyte |
| Graphic Card: | Long: NVIDIA GeForce GTX 280 OEM Short: HIS Radeon 5350 HD |
| Memory: | Crucial Ballistix Tactical DIMM Kit 8GB @ DDR3-1600, CL8-8-8-24 Provided by: Crucial |
| HDD: | Western Digital 320 GB 7200 RPM |
| SSD: | Crucial MX100 256GB SATA 6Gbps Provided by: Crucial |
| Power Supply: | Fractal Design Edison M 550W Provided by: Fractal Design |
| Cooling: | Air Cooling: Be Quiet Shadow Rock 2 Liquid Cooling: Fractal Design Kelvin T12 & S24 Provided by: Fractal Design |
Assembly

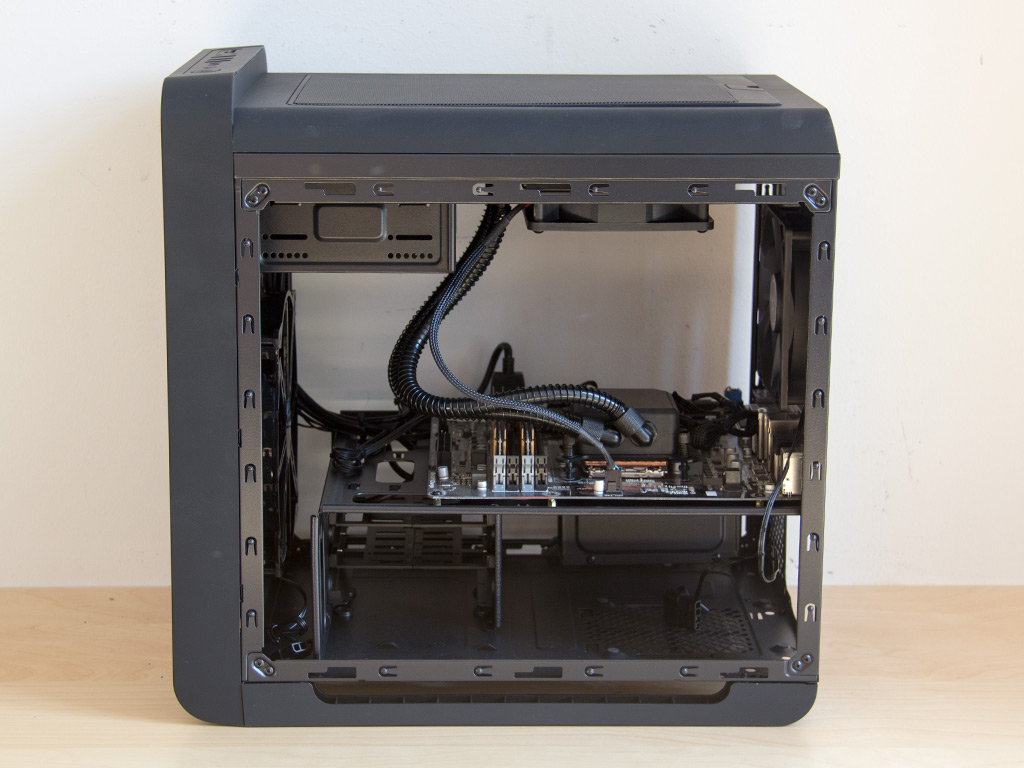
Installing the motherboard is done by traditional means. I, as you can see, used a 120 mm liquid-cooling system for the CPU. It has been installed into the ceiling, which will allow for an optical drive later on.
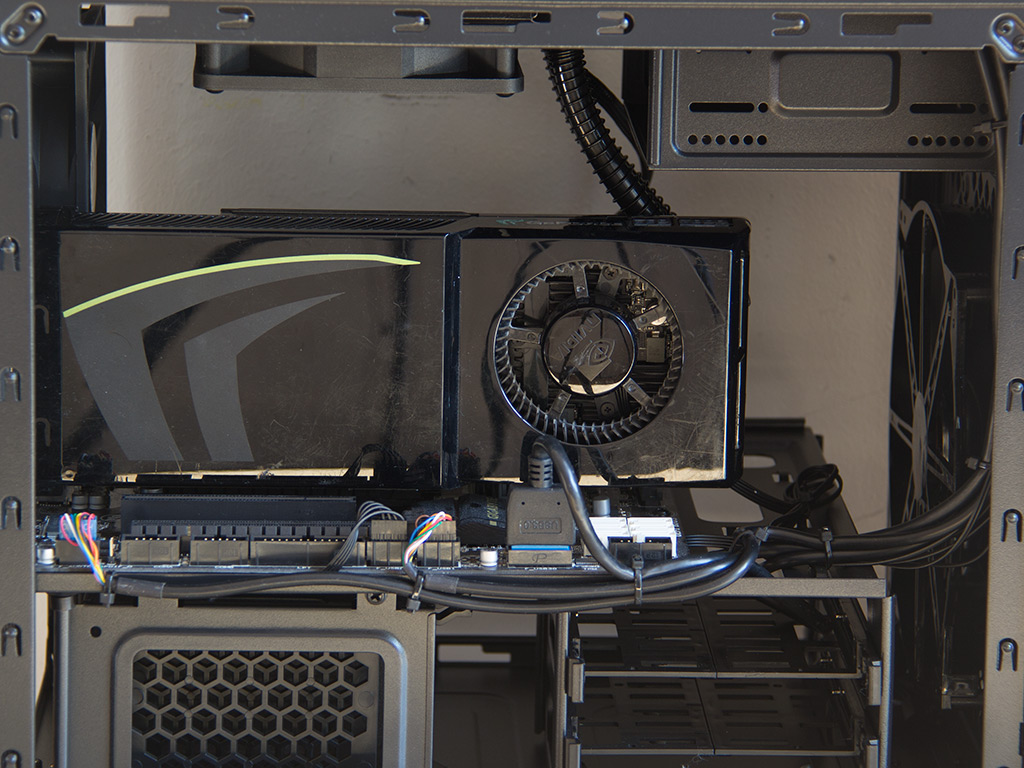
The Coolbay CX can hold GPUs of up to 340mm in length, so our demo unit easily fits as it is less than 300mm long. The side-mounted PCIe plugs may make connecting these while the ODD bay is in place difficult as there barely seems to be enough room to do so.
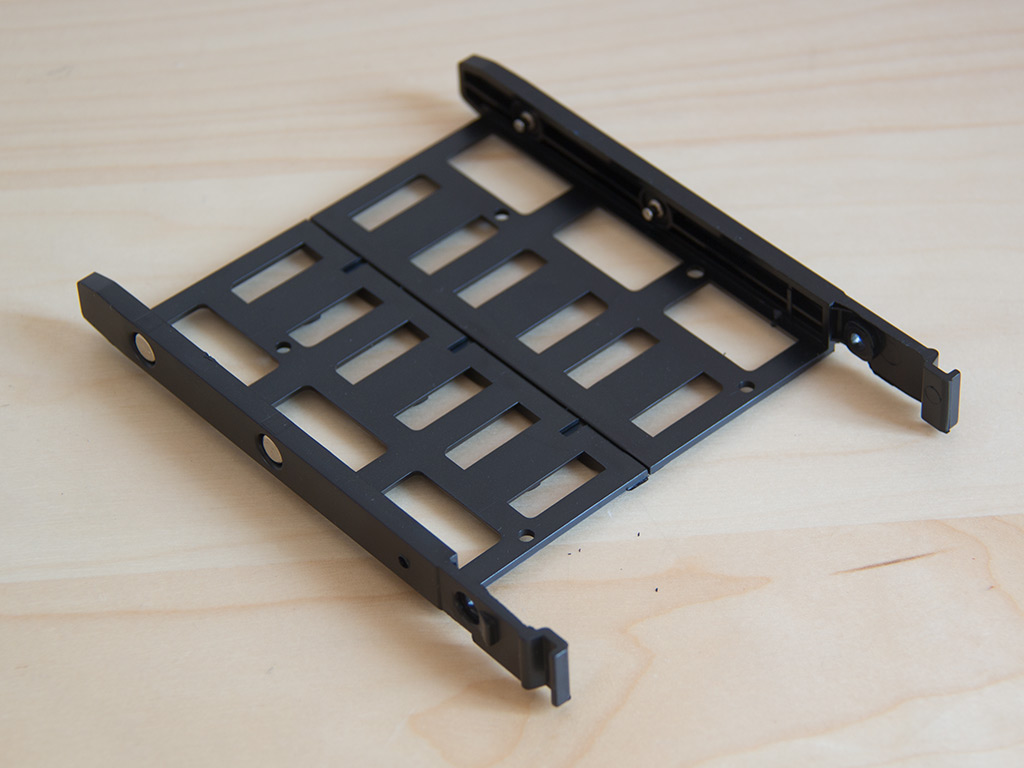
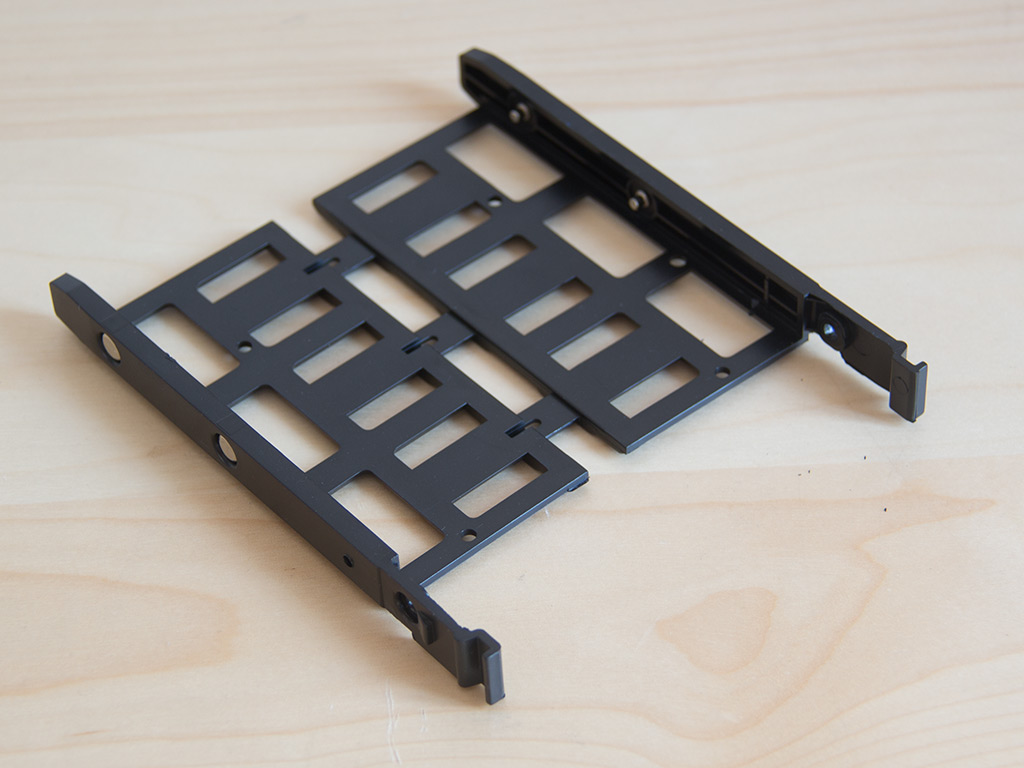
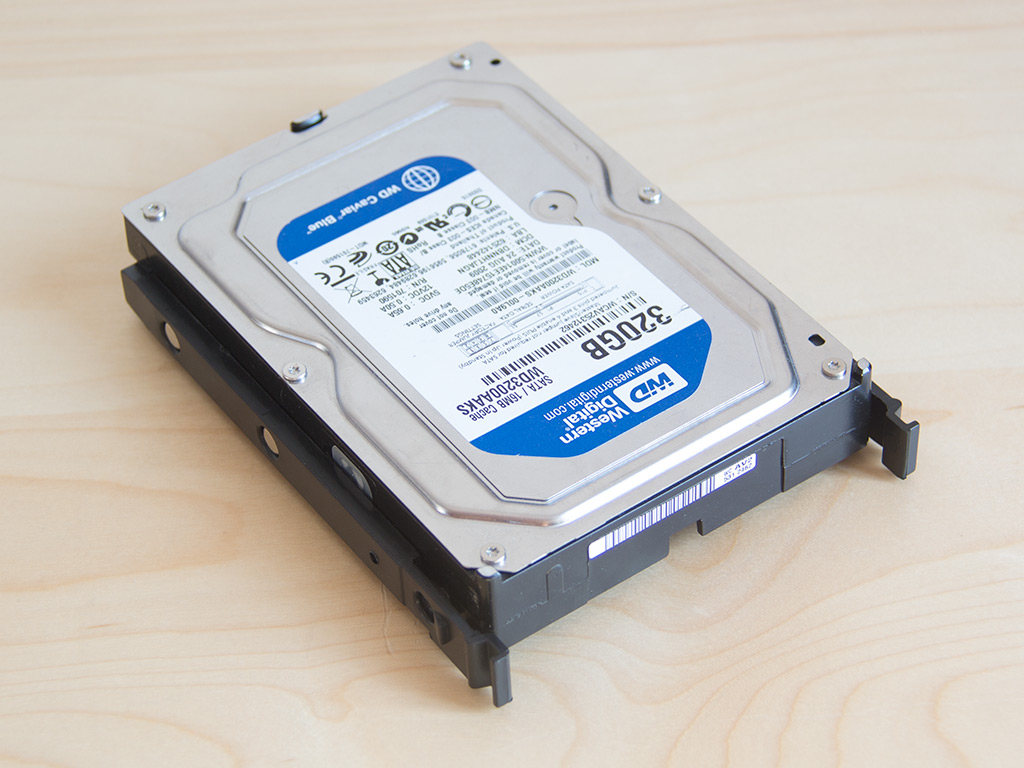
The installation of 3.5'' drives is done without any tools or screws. Simply take out the tray of your choice, pull it apart, and place the drive into the tray.
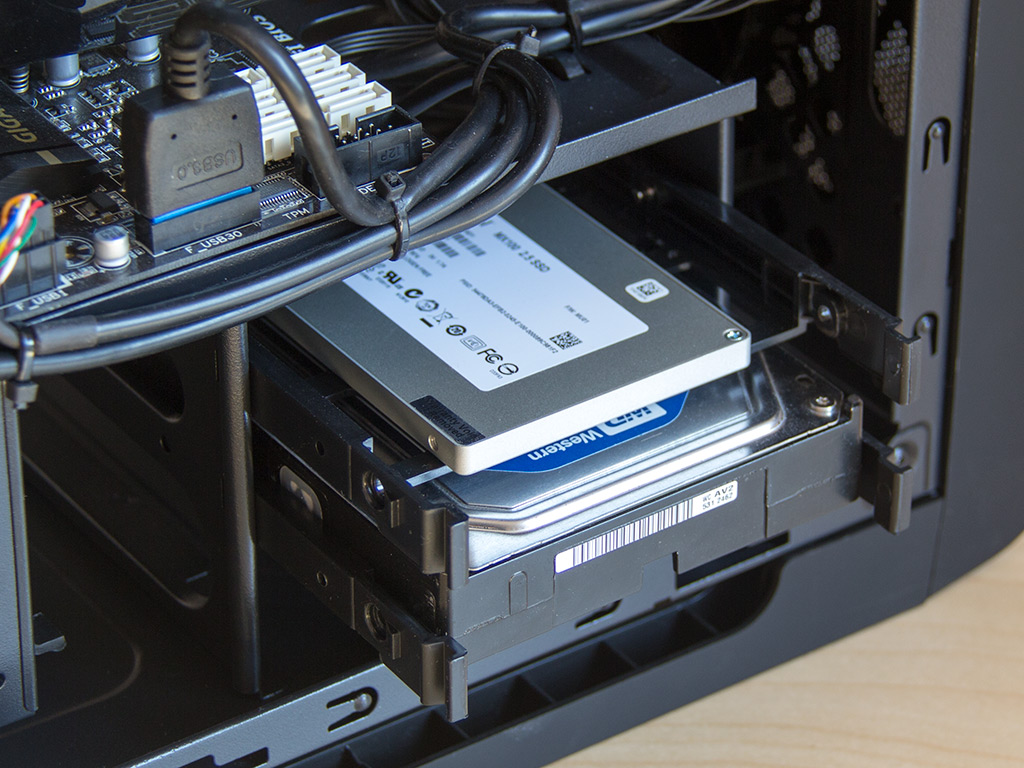
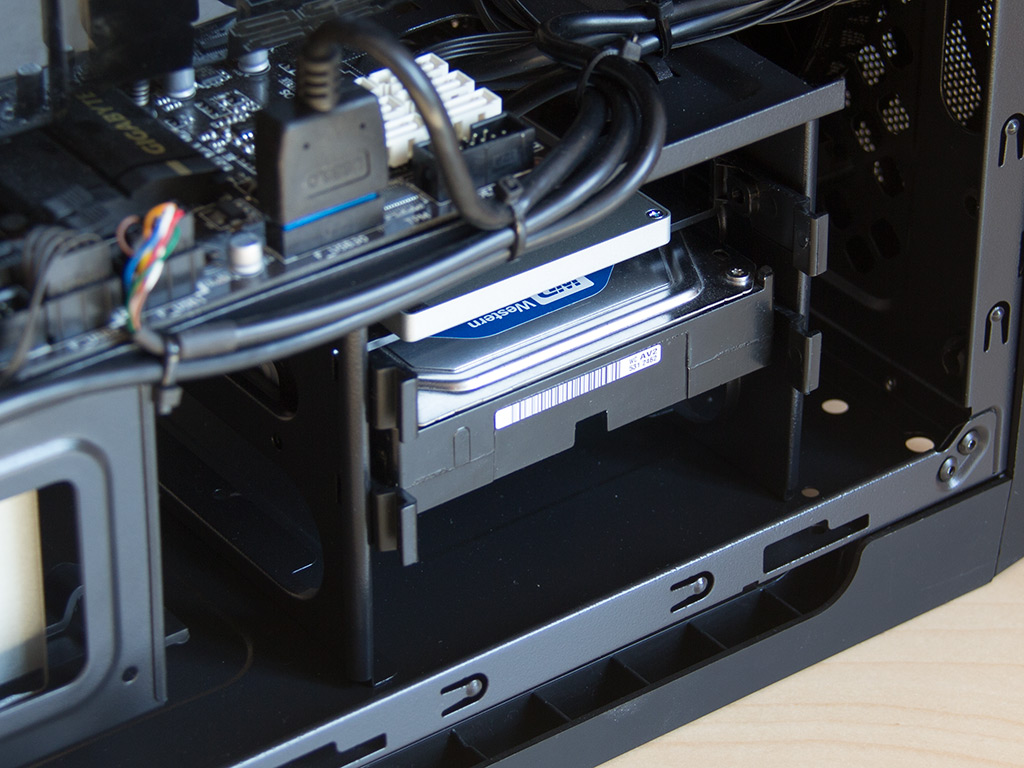
You may also install a 2.5" drive here, but doing so requires the use of screws. With both trays filled, simply slide them back into the chassis and move onto the next step.

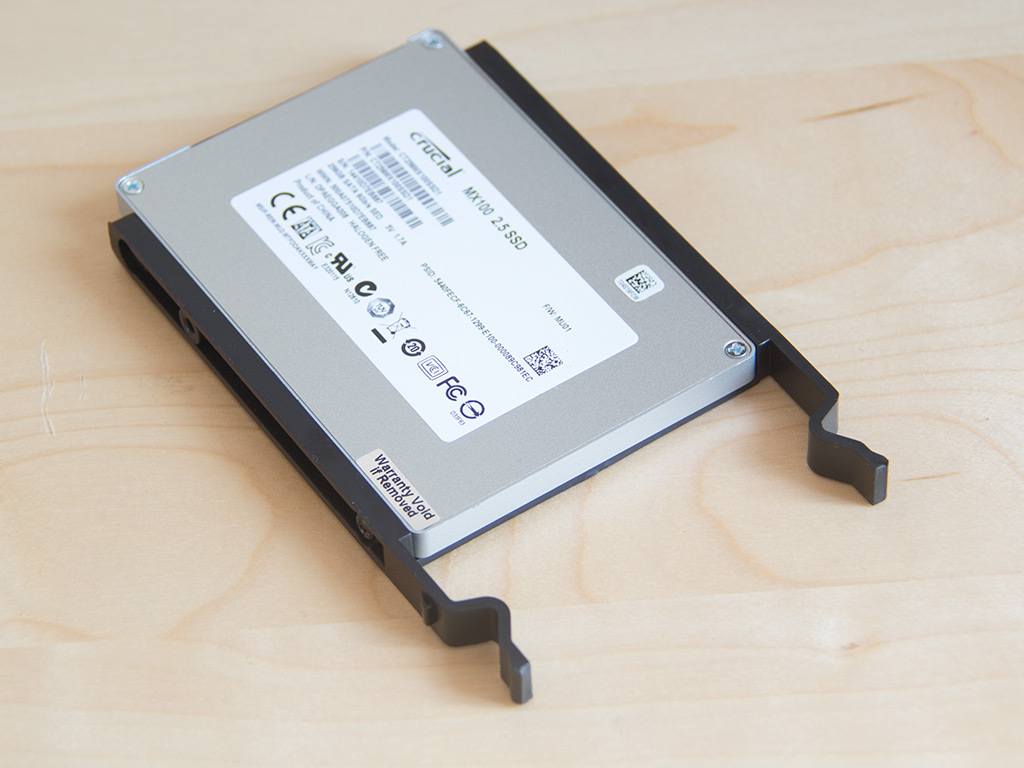
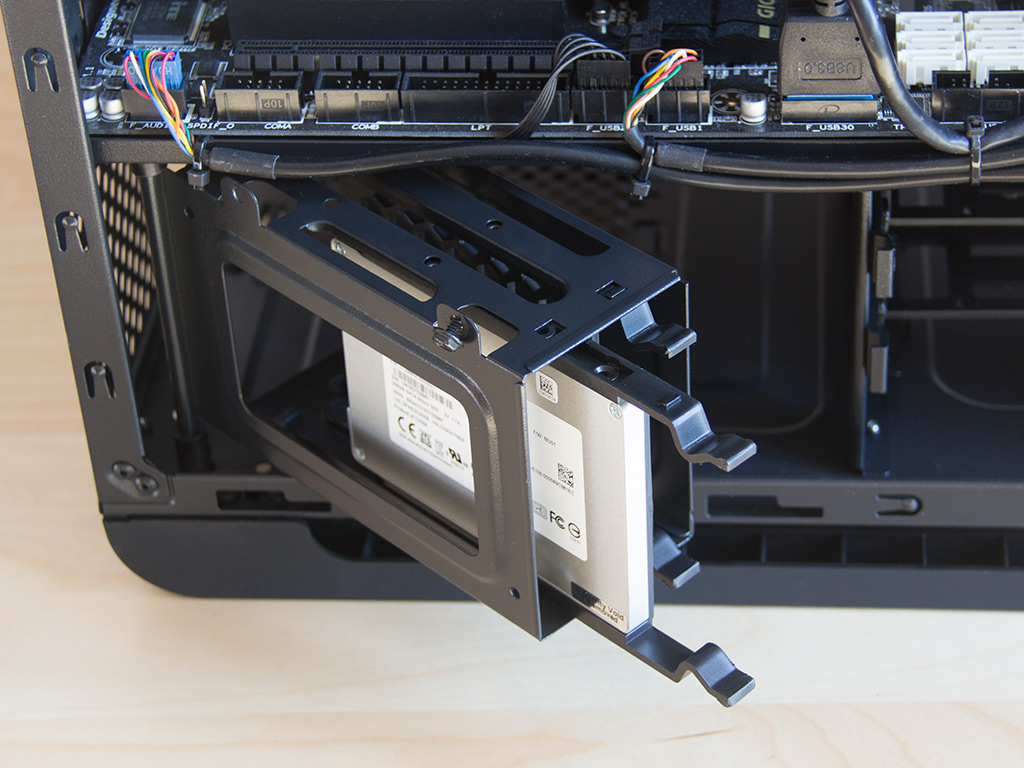
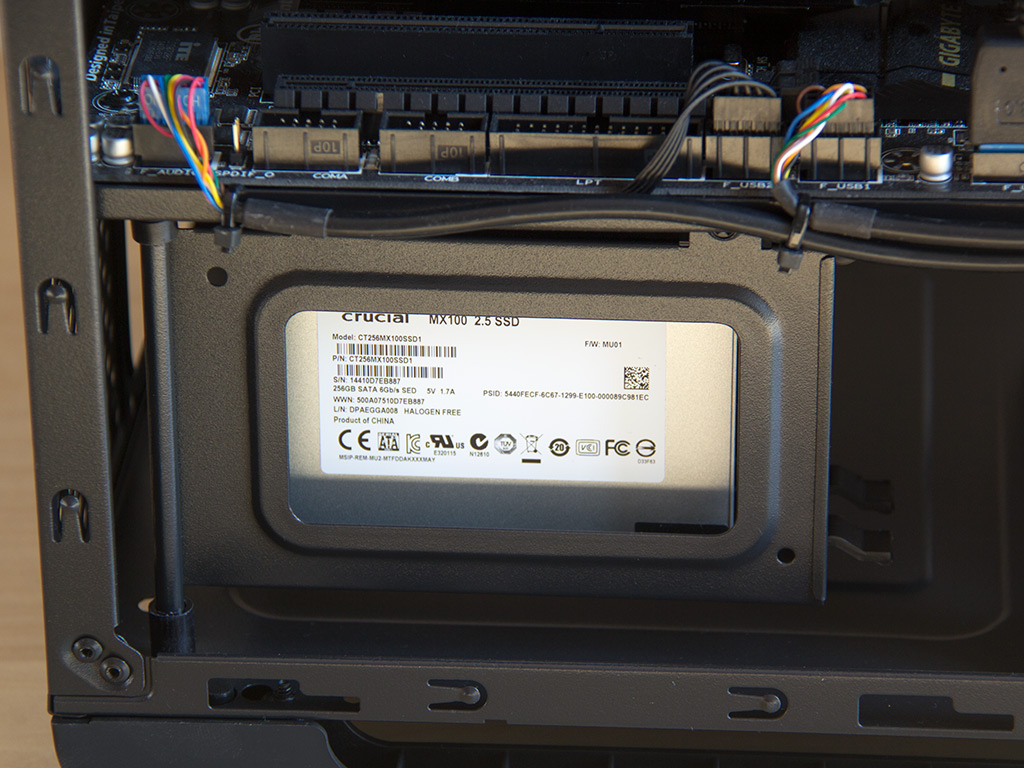
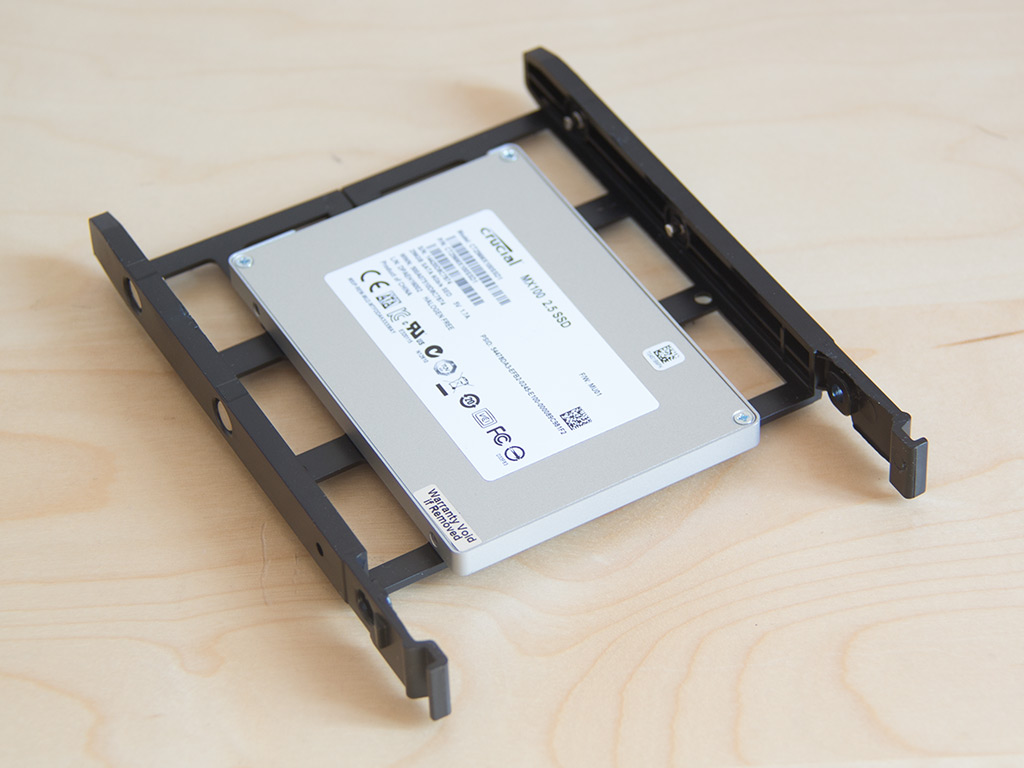
The process of installing an SSD into the smaller drive cage is quite similar. Such devices do not require any additional tools and the filled trays are simply put back into the chasis, with a single screw holding the cage in place. It would have been nice to have a thumbscrew instead to make this part of assembly completely tool-less.
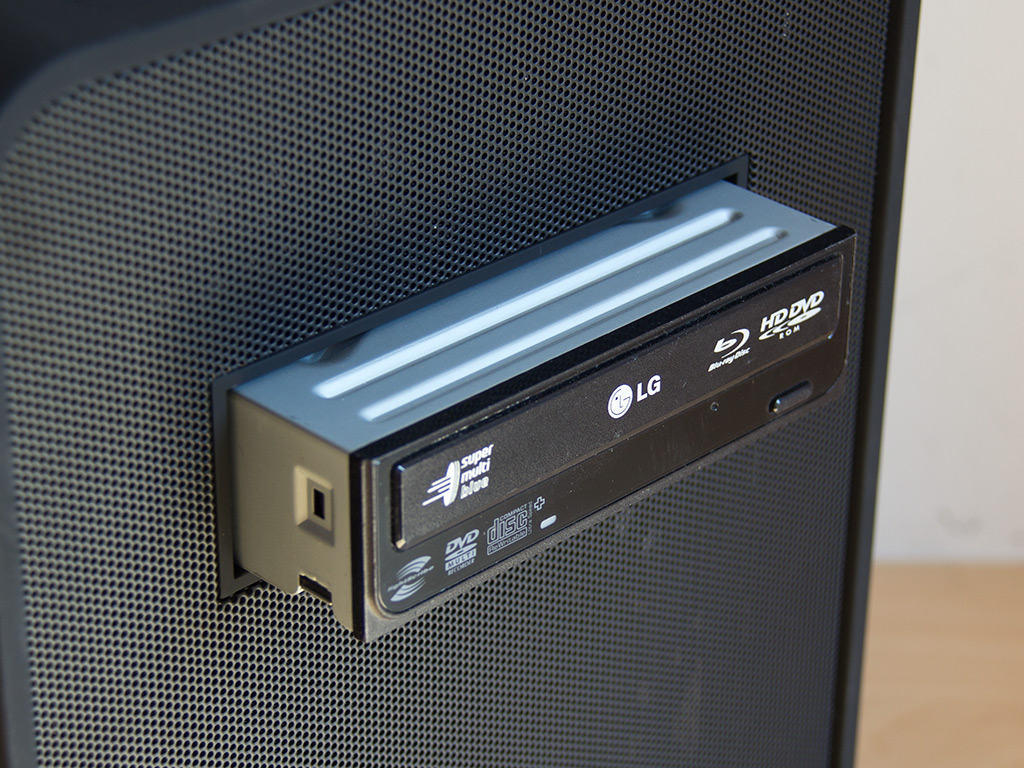
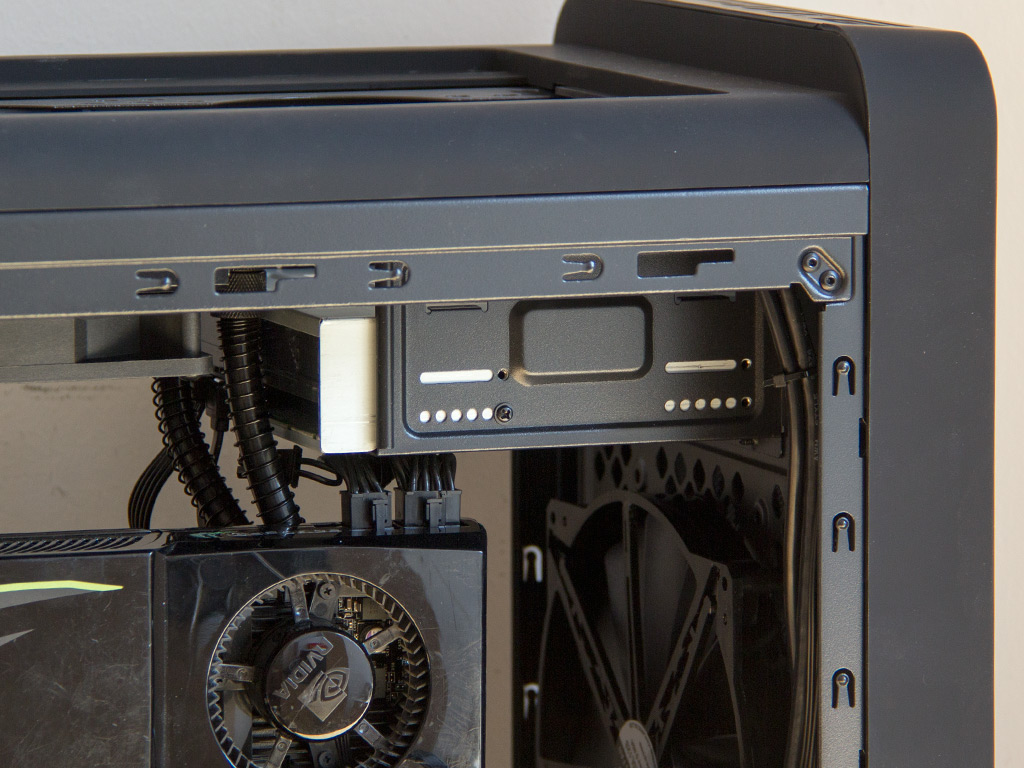
Adding an optical drive to the Coolbay CX is rather standard-fare as you would remove the front cover, slide the drive into place, and use the included screws to pin said drive down.
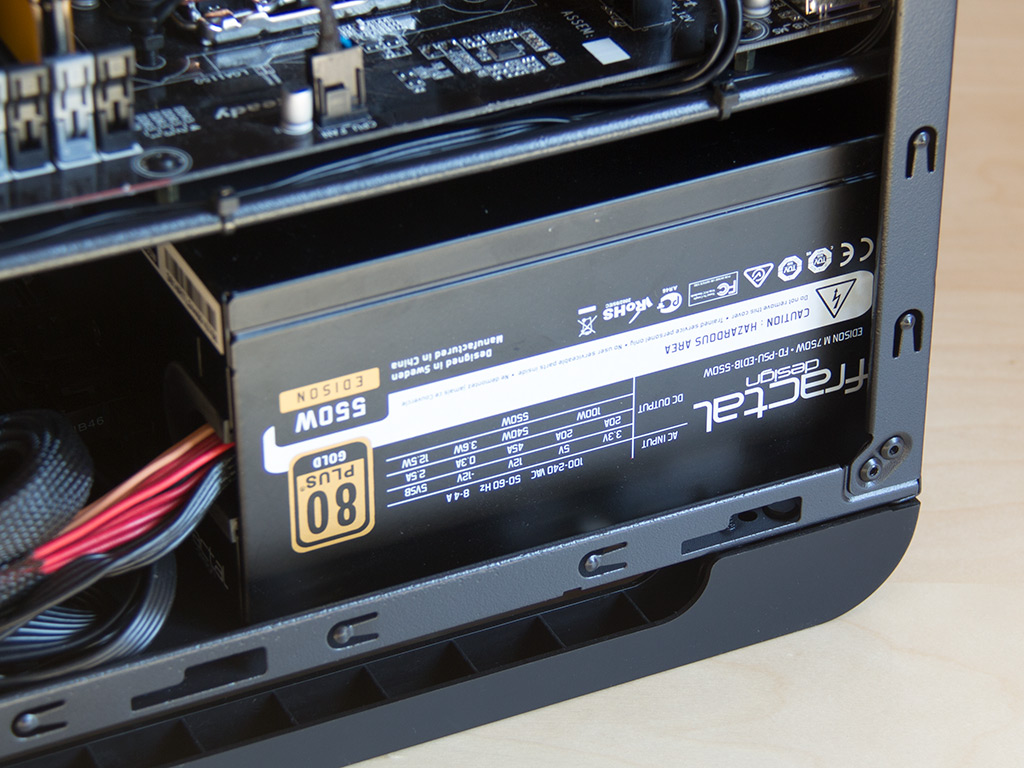
The same goes for the PSU as NOX Xtreme supplies you with black case screws to secure it. The power supply sits on four rubber-mounted tips as an anti-vibration measure.
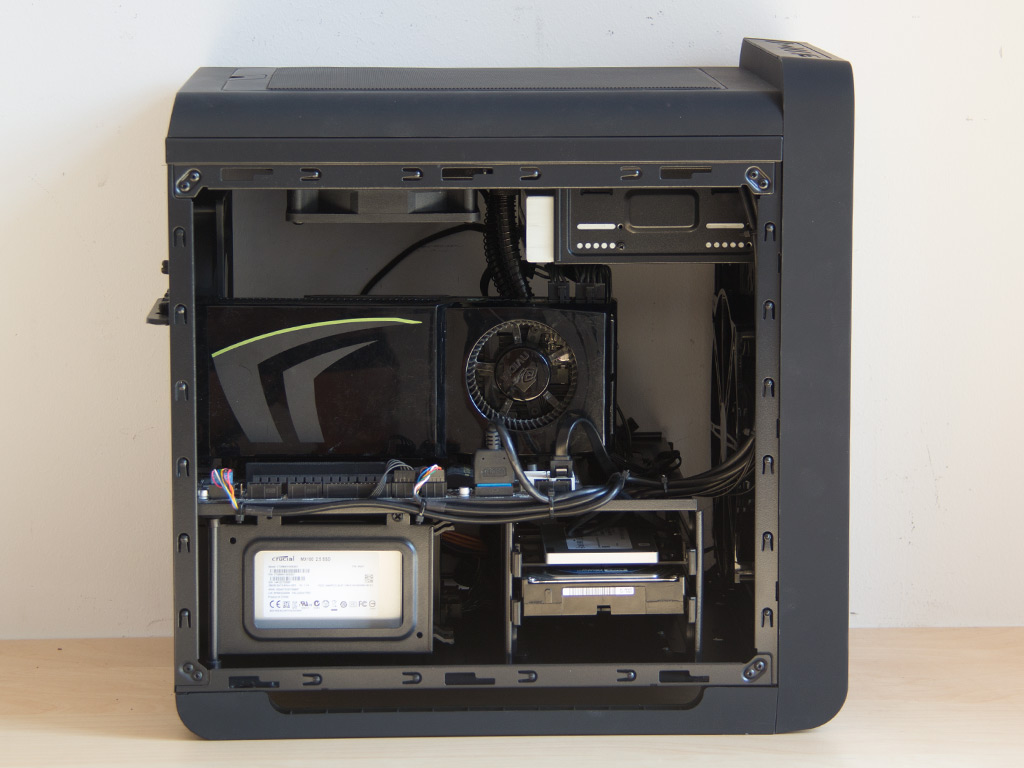
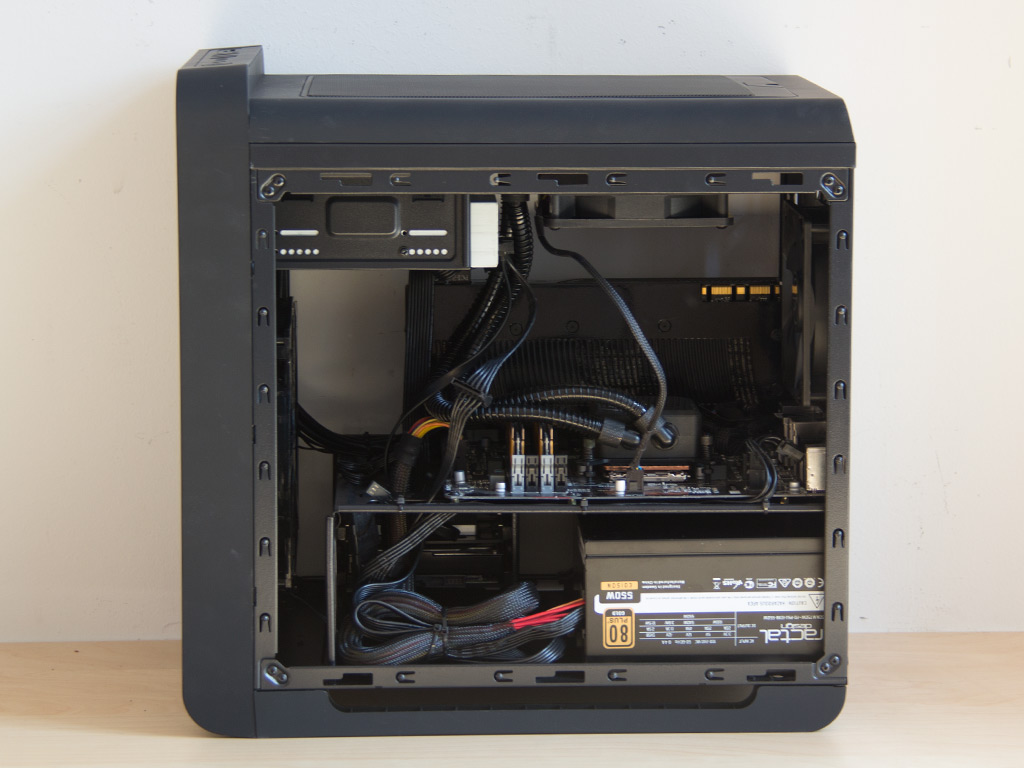
With everything in place, the chassis makes a clean impression since you can stuff unwanted cables into the space below the motherboard. The cable-tie hooks also help in keeping things tidy next to the board.
Finished Looks
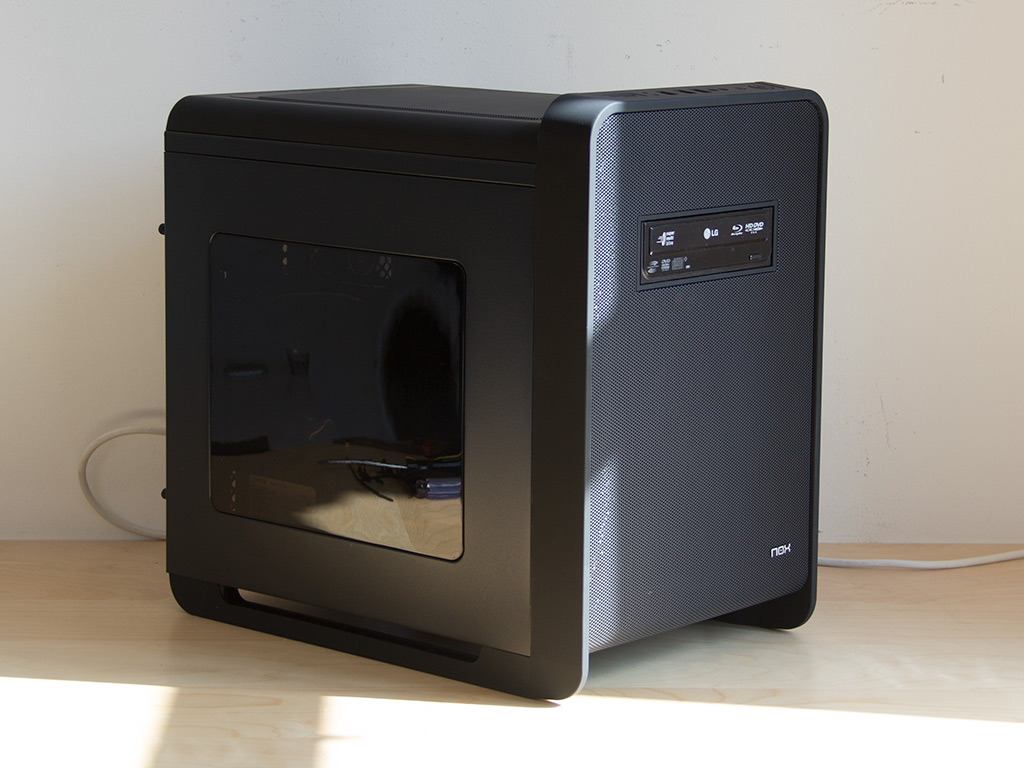
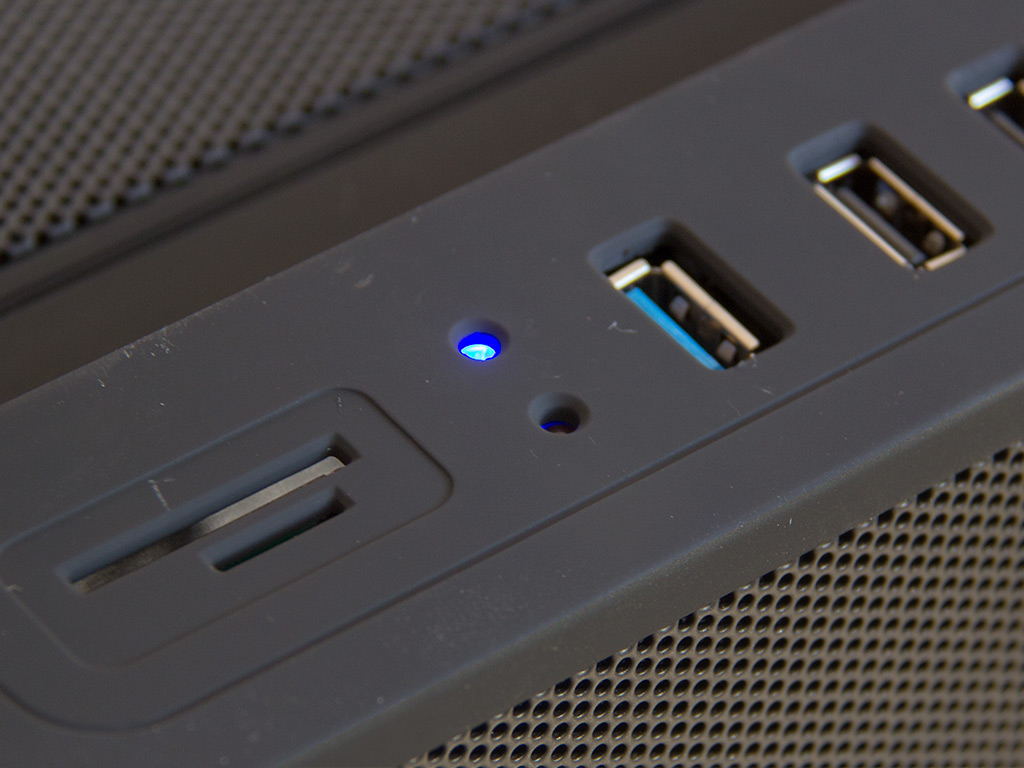
With everything back in place, the Coolback CX allows you to look inside and at the hardware through both sides. There is a blue LED on top, and it lights up after the entire system has been turned on.
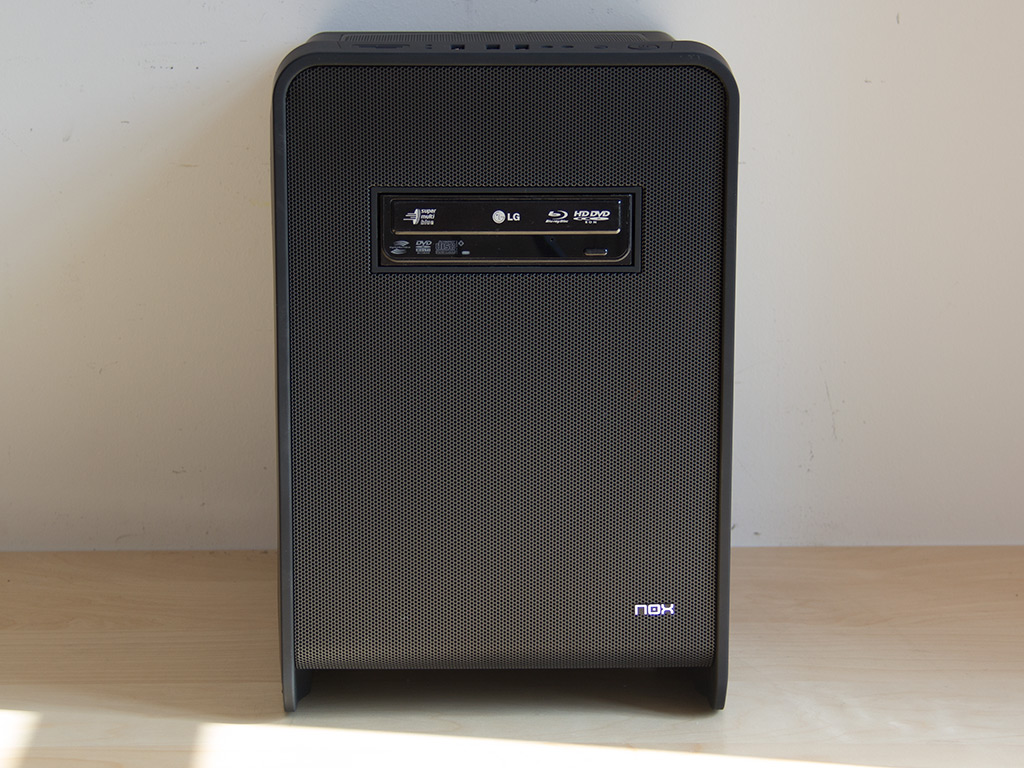
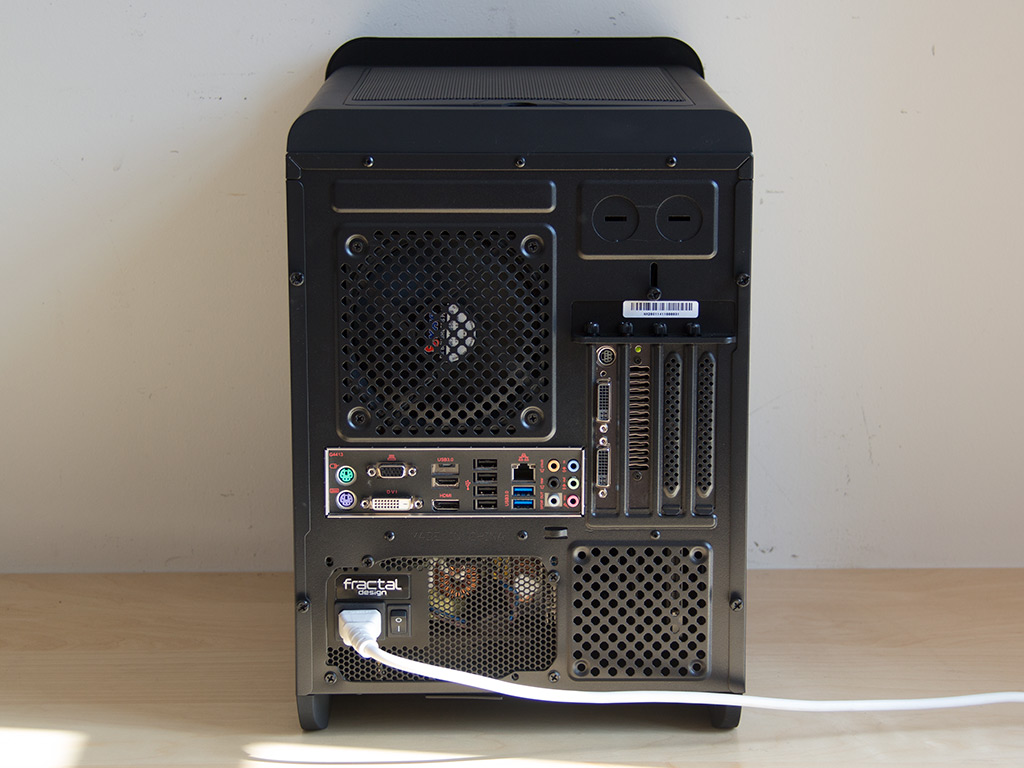
In front, the ODD in the middle does pop out a bit since the chassis is not really black, but dark gray, which is due to the surface of several plastic elements and the metal mesh. In the rear, everything is where you would expect it to be, with the power cable out of the way of the board's backplate and the expansion slots.
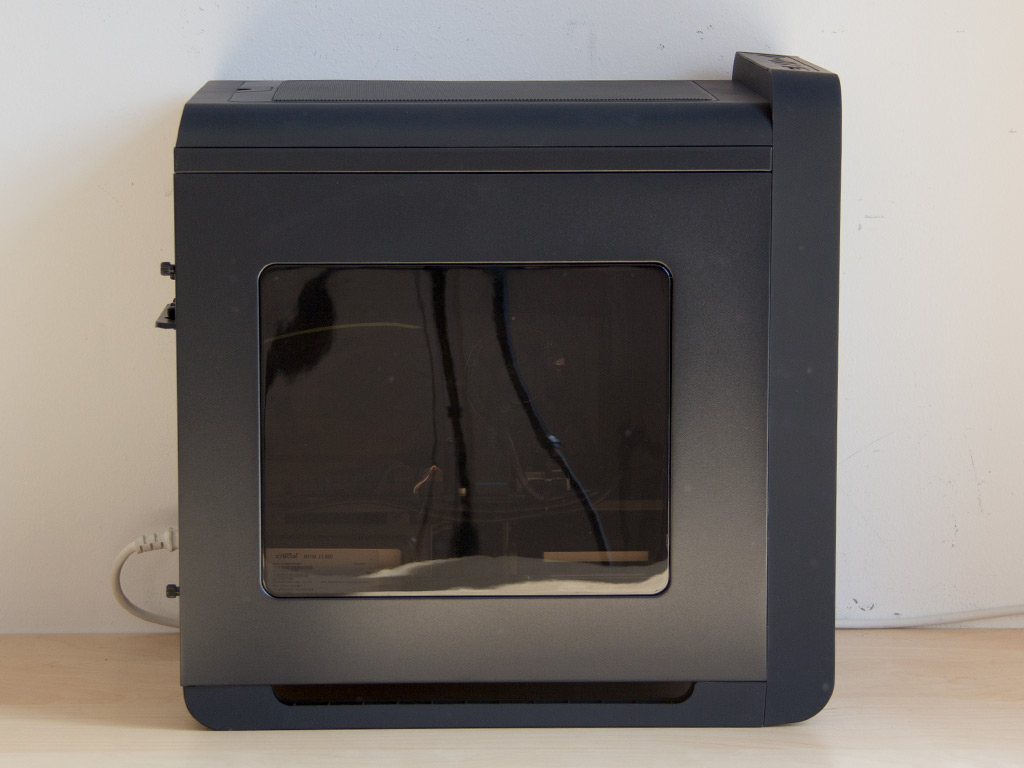
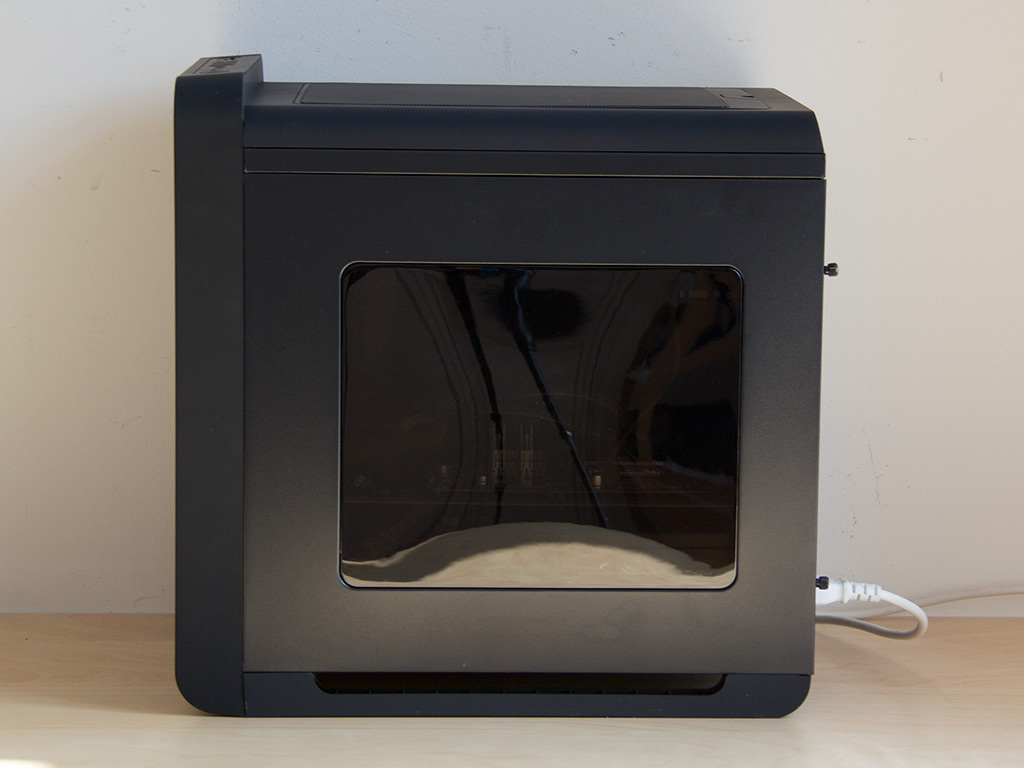
As mentioned above, you may look into the chassis through both sides because of the windows. However, the lack of any lighting elements within may make making anything out difficult. You will have to add your own LEDs to the interior if properly showing the hardware off is important to you.
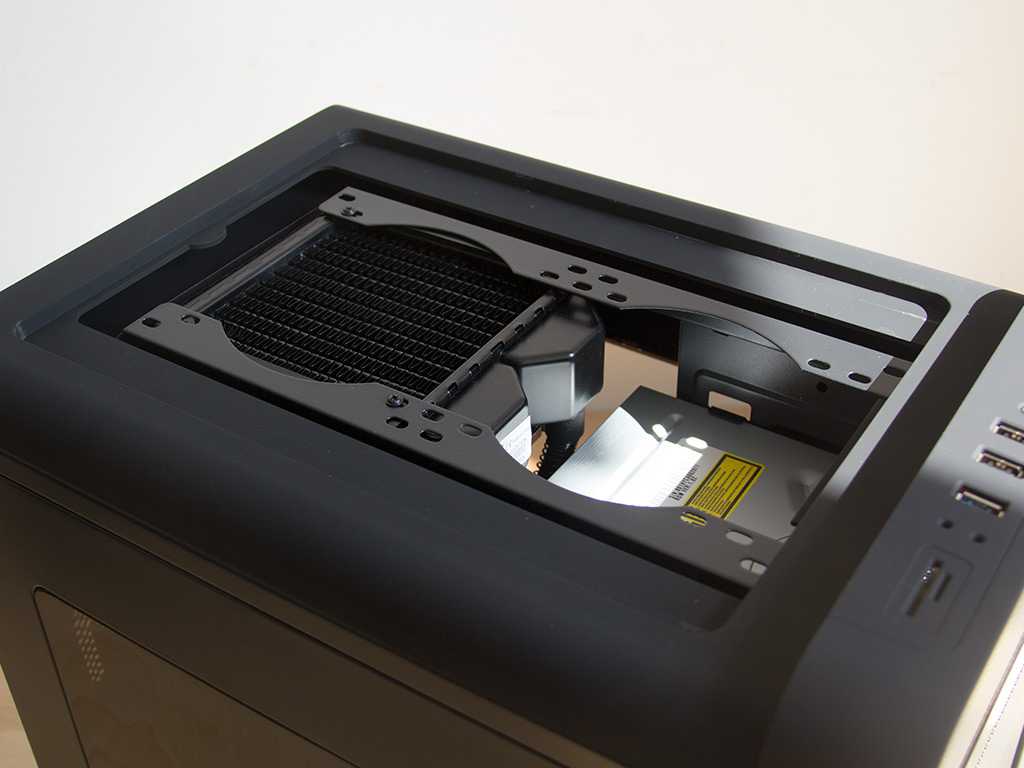
A quick look at the top shows how close things were with the 120mm-sized Kelvin liquid-cooling unit, but it does work. You just have to make sure your ODD is no longer than average.
Mar 10th, 2025 19:01 EDT
change timezone
Latest GPU Drivers
New Forum Posts
- AMD RX 7000 series GPU Owners' Club (1307)
- Biostar RX 6700 XT OC BIOS (6)
- Nvidia's GPU market share hits 90% in Q4 2024 (gets closer to full monopoly) (774)
- What's your latest tech purchase? (23278)
- Wherein lies the difference (2)
- USB hard disk box capacity limits (14)
- RX 9000 series GPU Owners Club (41)
- Gaming PC instabiliity (22)
- Msi 5090 DOA? (30)
- RX 9070 availability (170)
Popular Reviews
- Sapphire Radeon RX 9070 XT Nitro+ Review - Beating NVIDIA
- XFX Radeon RX 9070 XT Mercury OC Magnetic Air Review
- ASUS Radeon RX 9070 TUF OC Review
- MSI MAG B850 Tomahawk Max Wi-Fi Review
- NVIDIA GeForce RTX 5080 Founders Edition Review
- NVIDIA GeForce RTX 5070 Founders Edition Review
- Corsair Vengeance RGB CUDIMM DDR5-8800 48 GB CL42 Review
- AMD Ryzen 7 9800X3D Review - The Best Gaming Processor
- ASUS GeForce RTX 5070 Ti TUF OC Review
- MSI GeForce RTX 5070 Ti Gaming Trio OC+ Review
Controversial News Posts
- NVIDIA GeForce RTX 50 Cards Spotted with Missing ROPs, NVIDIA Confirms the Issue, Multiple Vendors Affected (513)
- AMD Plans Aggressive Price Competition with Radeon RX 9000 Series (277)
- AMD Radeon RX 9070 and 9070 XT Listed On Amazon - One Buyer Snags a Unit (261)
- AMD RDNA 4 and Radeon RX 9070 Series Unveiled: $549 & $599 (260)
- AMD Mentions Sub-$700 Pricing for Radeon RX 9070 GPU Series, Looks Like NV Minus $50 Again (248)
- NVIDIA Investigates GeForce RTX 50 Series "Blackwell" Black Screen and BSOD Issues (244)
- AMD Radeon RX 9070 and 9070 XT Official Performance Metrics Leaked, +42% 4K Performance Over Radeon RX 7900 GRE (195)
- AMD Radeon RX 9070-series Pricing Leaks Courtesy of MicroCenter (158)