 10
10
NZXT Phantom 530 Review
Assembly & Finished Looks »A Closer Look - Inside
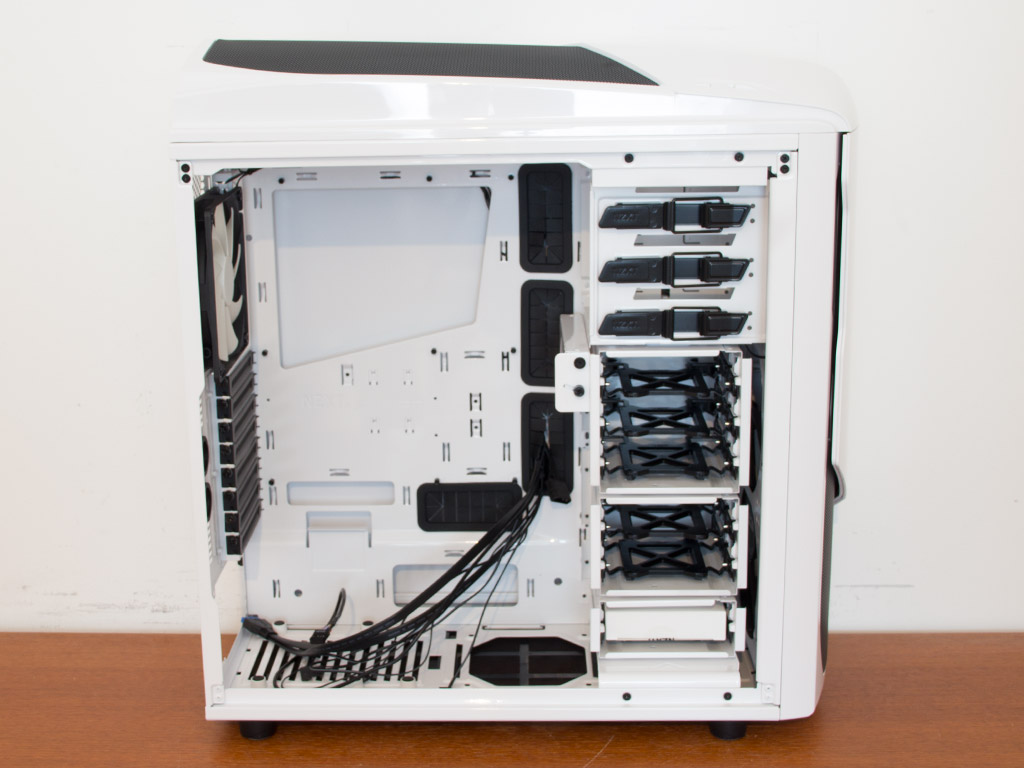
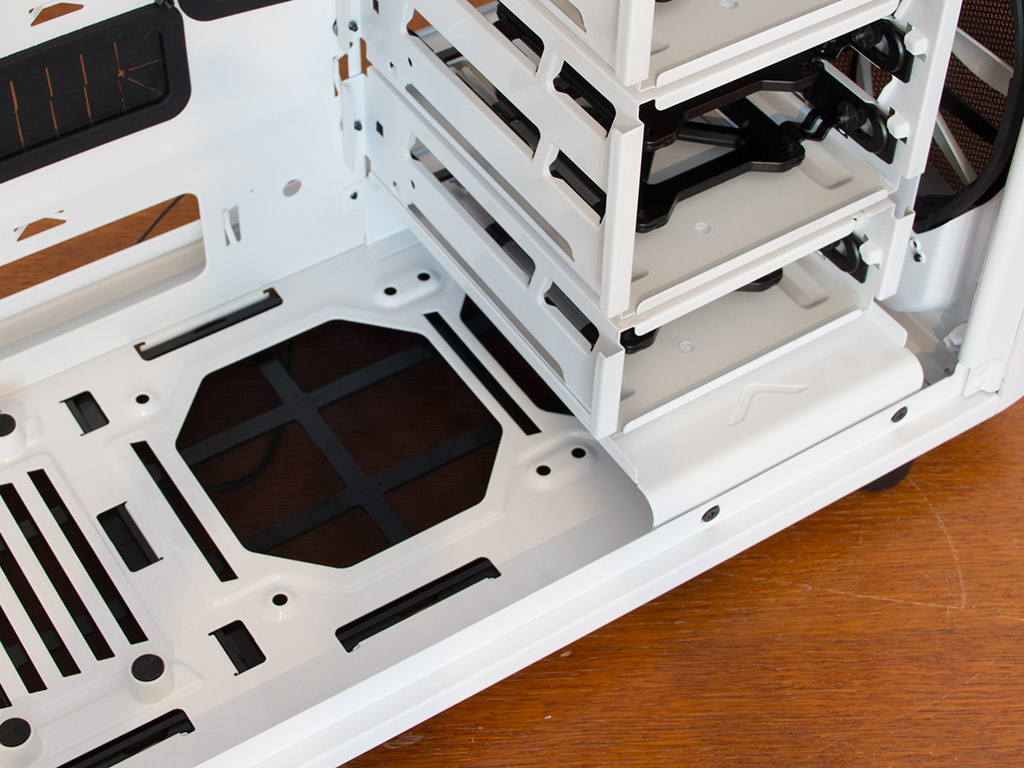
To gain access to the interior, simply remove the thumbscrews holding each panel in place. A large asymmetrical opening in the motherboard tray gives you access to any CPU cooler backplate. Five openings on top of that allow for easy cable routing, and plenty of little hooks on the tray should prove useful in pinning down cables nicely.
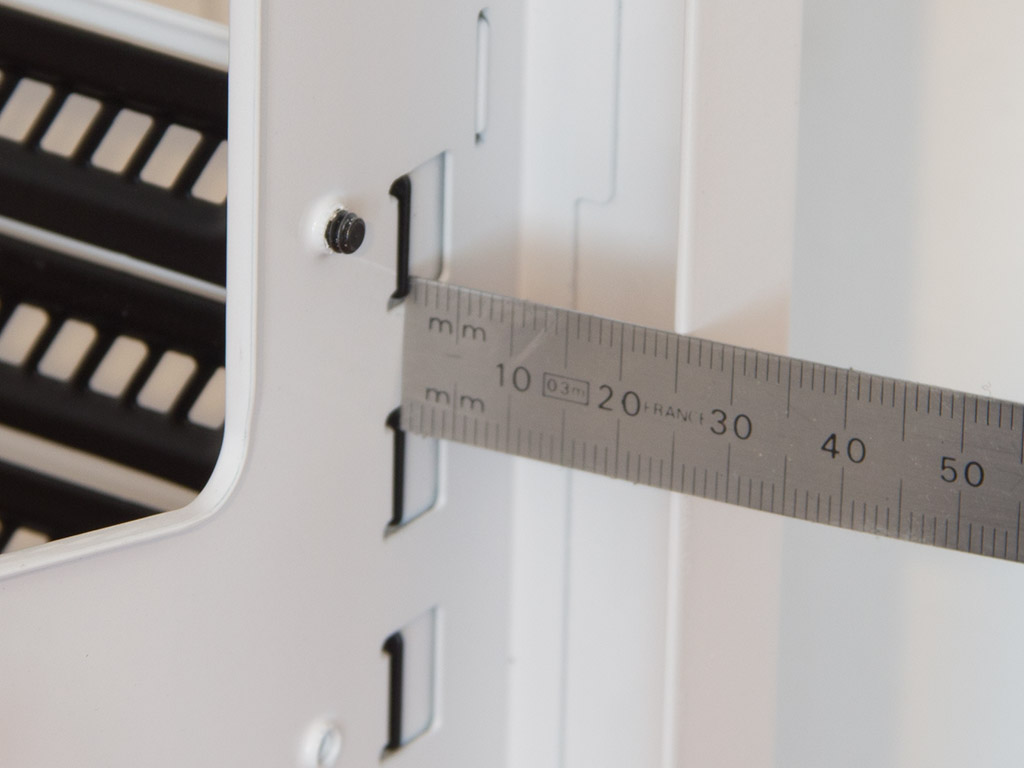
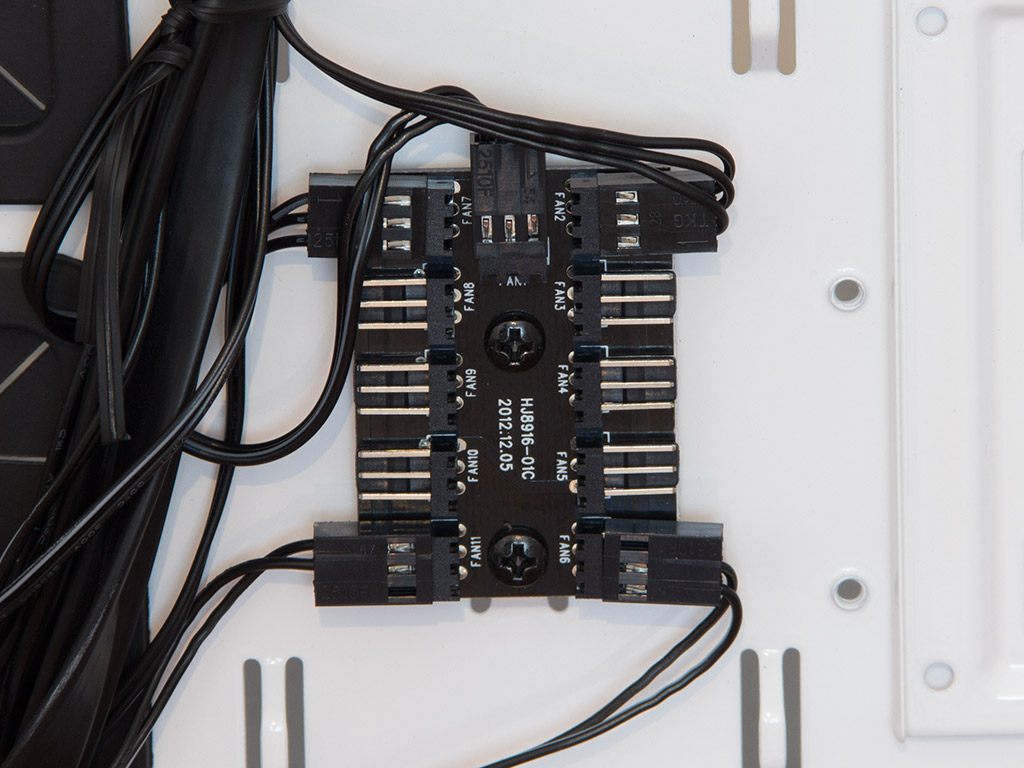
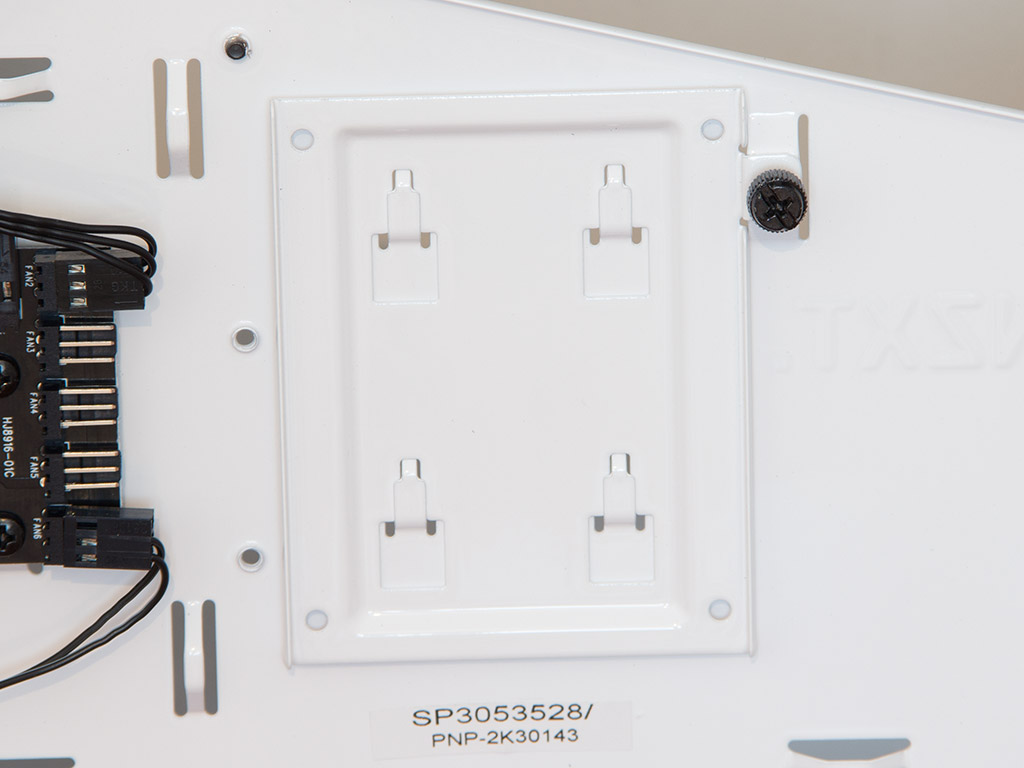
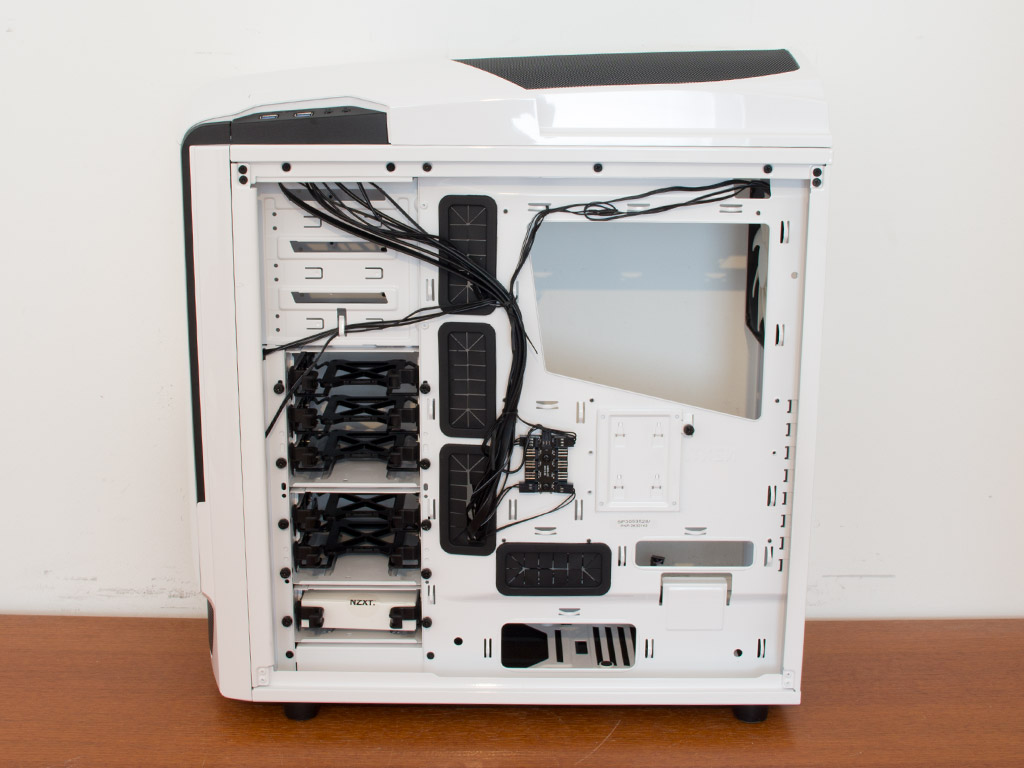
With around 25 mm of space between the motherboard tray and the side panel, you should not have any issues in routing most cables behind the motherboard tray. NZXT has also placed a fan PCB here to reduce overall cable clutter. It can take up to ten 3-pin fans. A little switch on top of the chassis also allows you to control their speed. To the right of the PCB is a single 2.5" tray, which is perfect for an SSD with the Operating System on it, leaving all the larger trays free for use with storage drives instead.
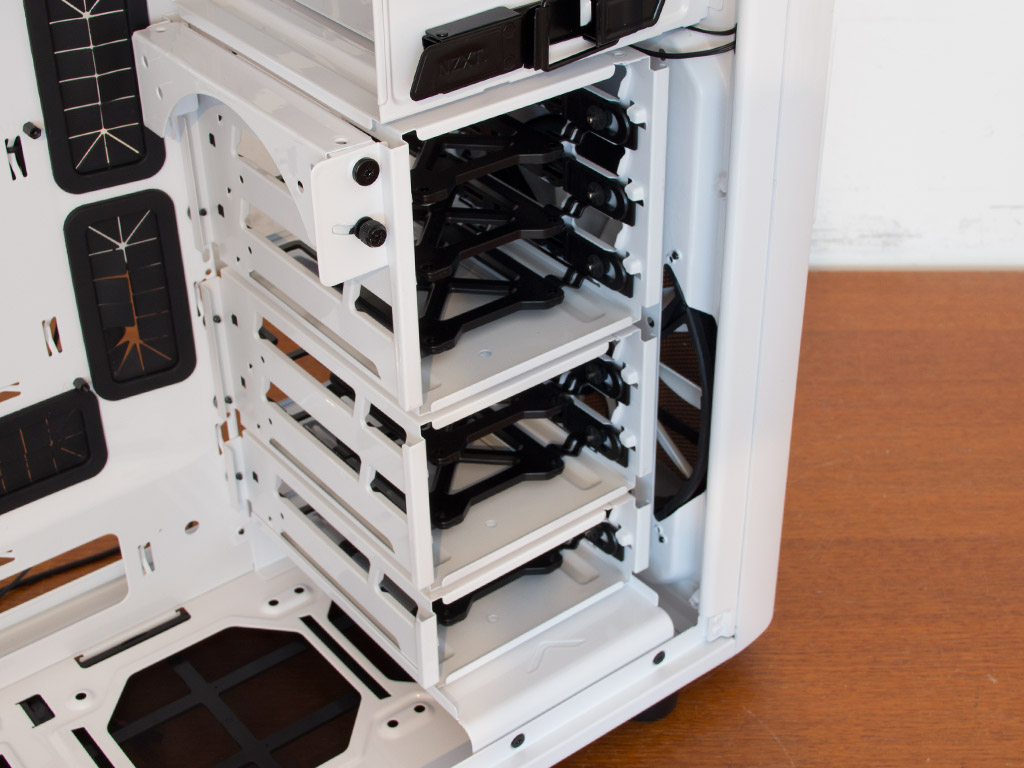
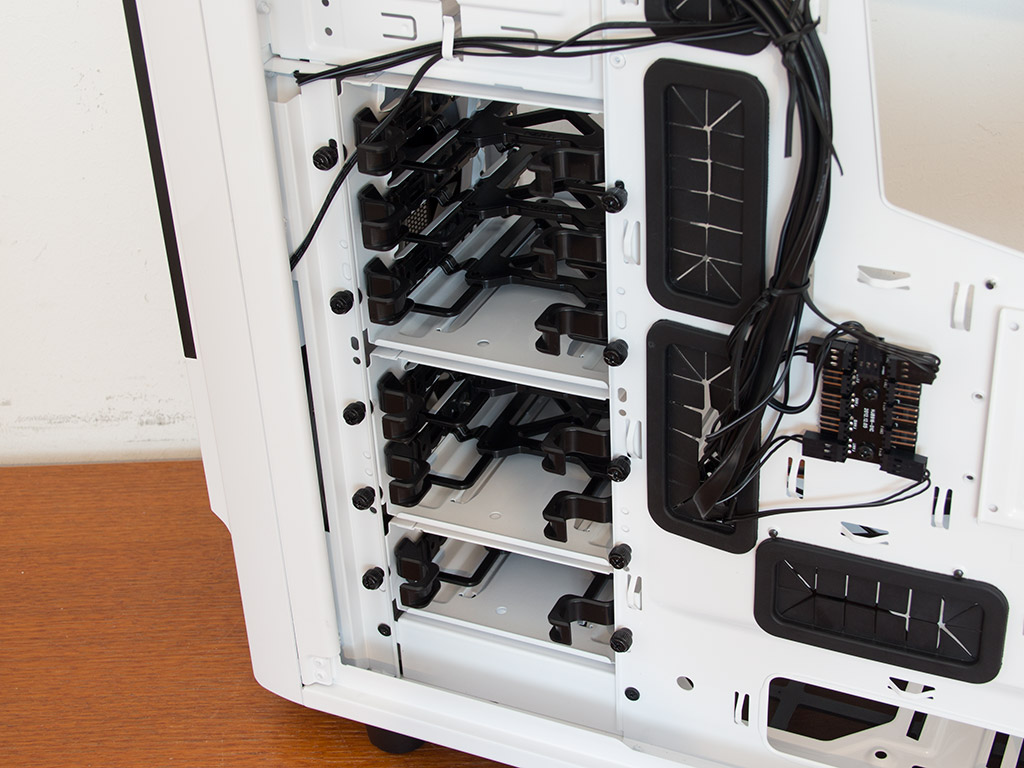

NZXT combines three differently sized hard-drive cages for a total of six 3.5" or 2.5" units. Each of these is installed using NZXT's plastic snap-on drive trays. You may remove the cages to make room for water-cooling components in the front, like a radiator, reservoir, or pump. All the drives are inserted through the other side, which means that you will have to remove the opposite side panel to get to them. The three external drive bays at the top come equipped with the sturdy tool-less locks made of metal.
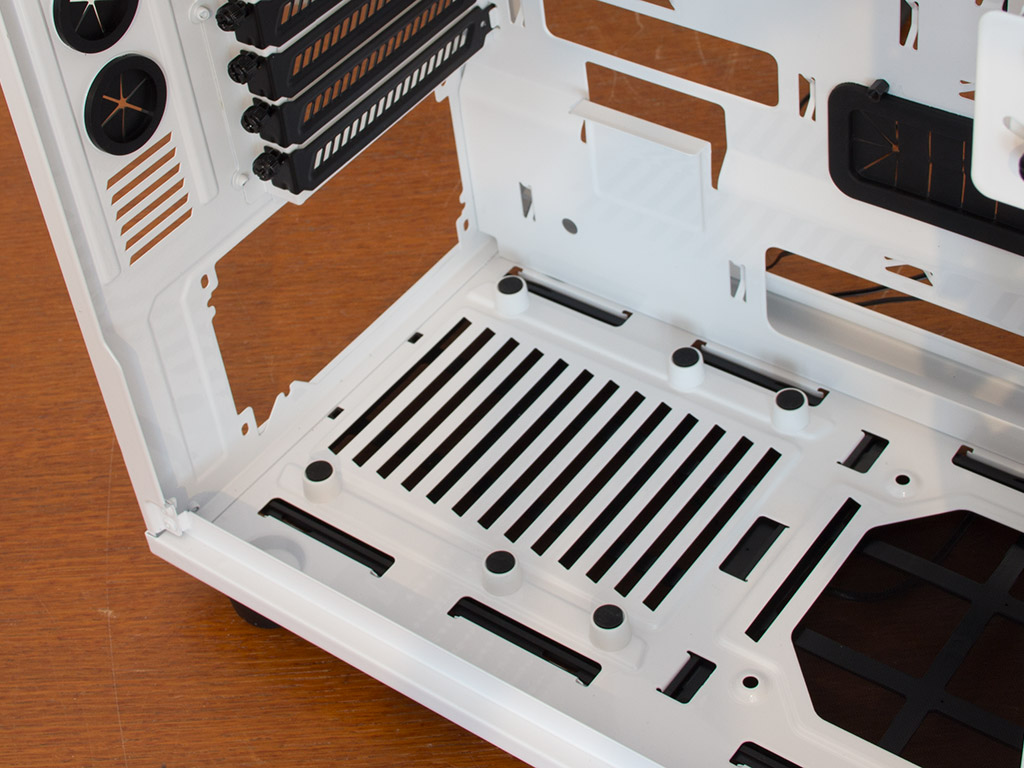
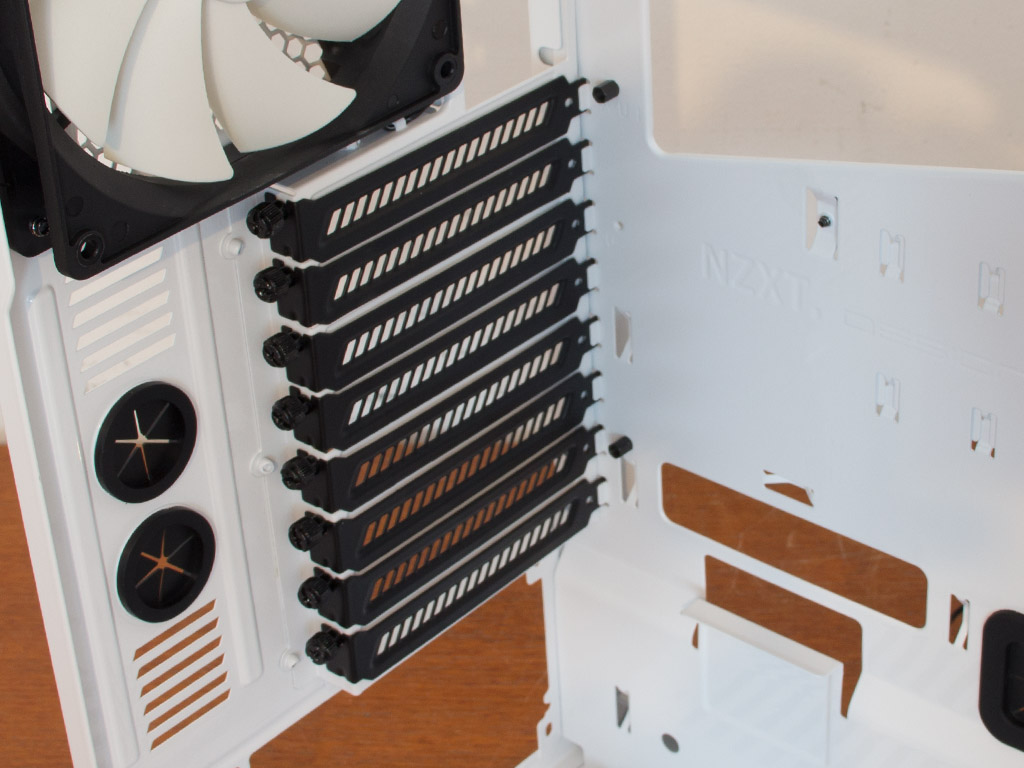

Turning our focus to the rear of the Phantom 530, the PSU bay is equipped with six foam-covered mounts on which any power supply will rest. You should have no issues installing even longer units within the chassis. Above that are the aforementioned motherboard-expansion-slot covers, each held in place by a black thumbscrew. You will also find the 140 mm exhaust fan with white blades in the back—this fan pulls hot air out of the chassis, pushing air out the back of the case.
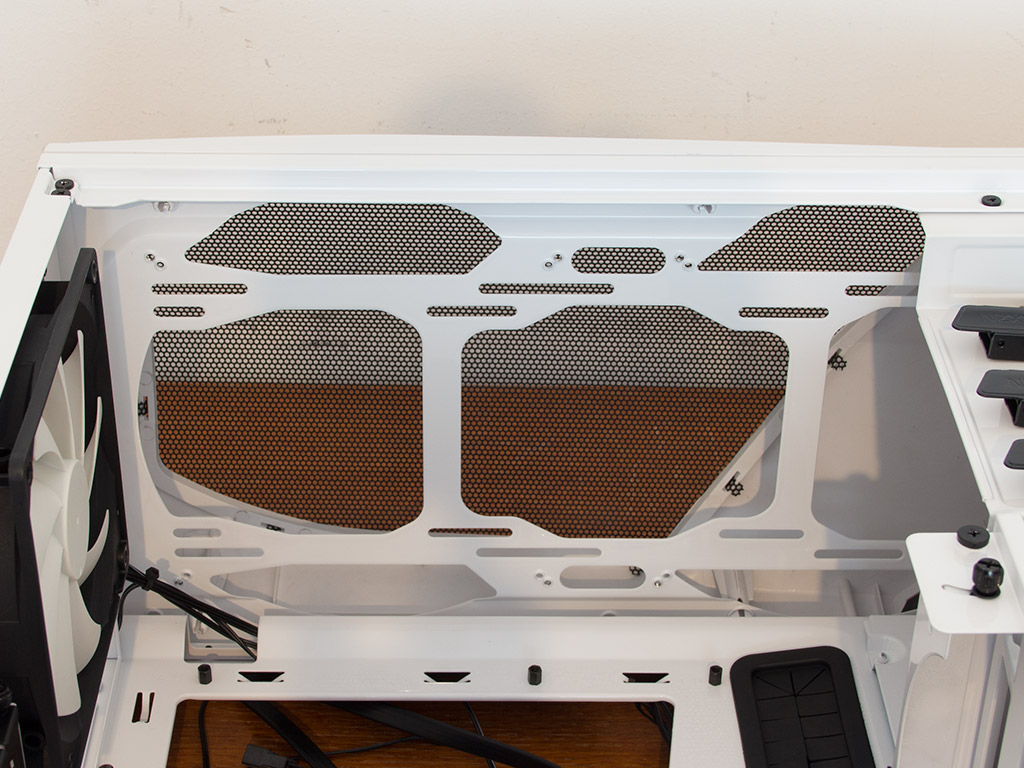
You may install a 240 mm, 280 mm, or 360 mm radiator to the ceiling, or substitute it with appropriately sized fans. There is enough space for three smaller units or two 200 mm ones. Another location for a radiator can be found on the floor of the Phantom 530. Installing one there will require you to remove the bottom hard-drive cage, but it is good to see such flexibility within a case of this size.
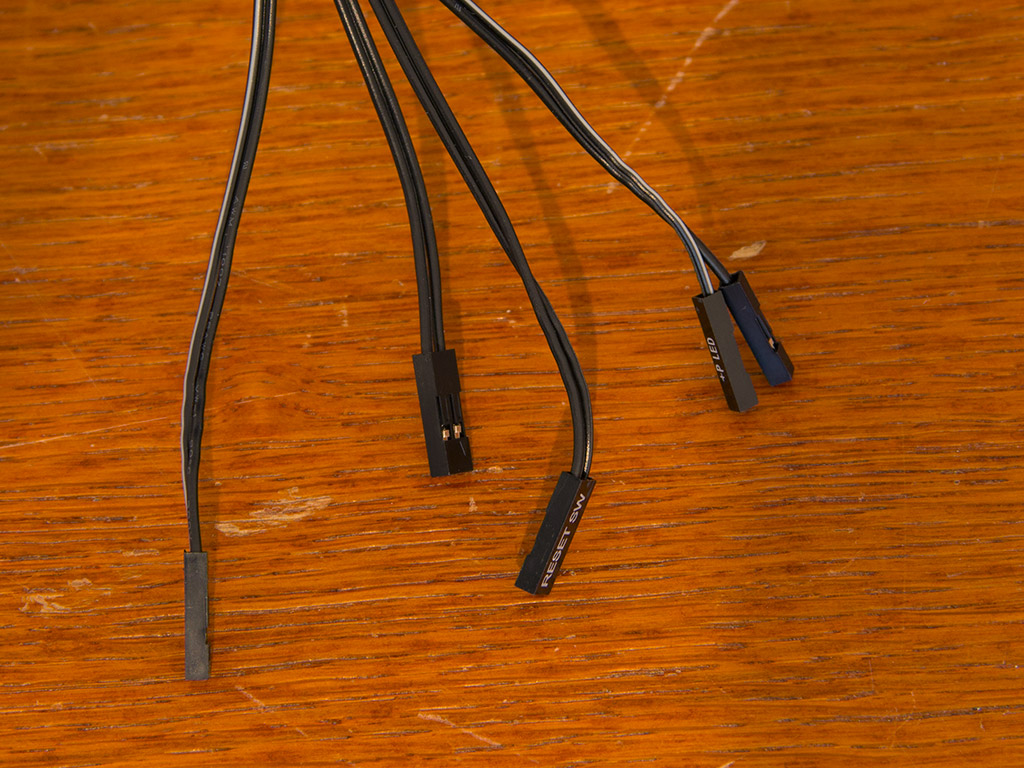
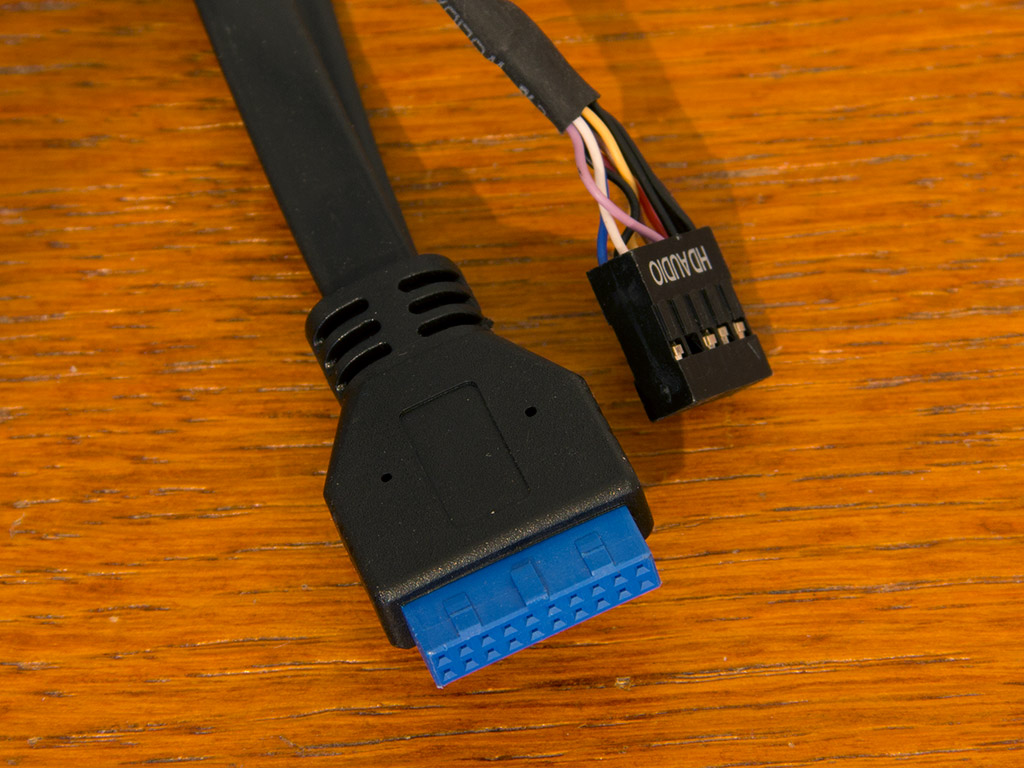
All the cables within the Phantom 530 are sleeved black to keep with the color theme. Every connector is also of the default variety, so you should not have any issues plugging things in. The only thing that is missing a bit is the ability to fall back on a USB 2.0 connector.
Mar 10th, 2025 18:36 EDT
change timezone
Latest GPU Drivers
New Forum Posts
- Biostar RX 6700 XT OC BIOS (3)
- Nvidia's GPU market share hits 90% in Q4 2024 (gets closer to full monopoly) (773)
- What's your latest tech purchase? (23277)
- USB hard disk box capacity limits (13)
- Gaming PC instabiliity (22)
- Msi 5090 DOA? (30)
- RX 9070 availability (170)
- Wherein lies the difference (1)
- Maxsun RX580 graphics card crashes (30)
- Please I need help with the poor performance that my PC is giving me (32)
Popular Reviews
- Sapphire Radeon RX 9070 XT Nitro+ Review - Beating NVIDIA
- XFX Radeon RX 9070 XT Mercury OC Magnetic Air Review
- ASUS Radeon RX 9070 TUF OC Review
- MSI MAG B850 Tomahawk Max Wi-Fi Review
- NVIDIA GeForce RTX 5080 Founders Edition Review
- NVIDIA GeForce RTX 5070 Founders Edition Review
- Corsair Vengeance RGB CUDIMM DDR5-8800 48 GB CL42 Review
- AMD Ryzen 7 9800X3D Review - The Best Gaming Processor
- ASUS GeForce RTX 5070 Ti TUF OC Review
- MSI GeForce RTX 5070 Ti Gaming Trio OC+ Review
Controversial News Posts
- NVIDIA GeForce RTX 50 Cards Spotted with Missing ROPs, NVIDIA Confirms the Issue, Multiple Vendors Affected (513)
- AMD Plans Aggressive Price Competition with Radeon RX 9000 Series (277)
- AMD Radeon RX 9070 and 9070 XT Listed On Amazon - One Buyer Snags a Unit (261)
- AMD RDNA 4 and Radeon RX 9070 Series Unveiled: $549 & $599 (260)
- AMD Mentions Sub-$700 Pricing for Radeon RX 9070 GPU Series, Looks Like NV Minus $50 Again (248)
- NVIDIA Investigates GeForce RTX 50 Series "Blackwell" Black Screen and BSOD Issues (244)
- AMD Radeon RX 9070 and 9070 XT Official Performance Metrics Leaked, +42% 4K Performance Over Radeon RX 7900 GRE (195)
- AMD Radeon RX 9070-series Pricing Leaks Courtesy of MicroCenter (158)