 12
12
NZXT Source 340 Review
Value & Conclusion »Assembly
Installing a fully sized ATX board is done by traditional means, with the use of spacers and screws. Due to the lack of front drive bays, there is loads of room to work with. Only the bottom and top edges are a bit more difficult to reach, and I had to get a bit creative with how I managed the audio lead's cable, routing it between the board and the motherboard tray.
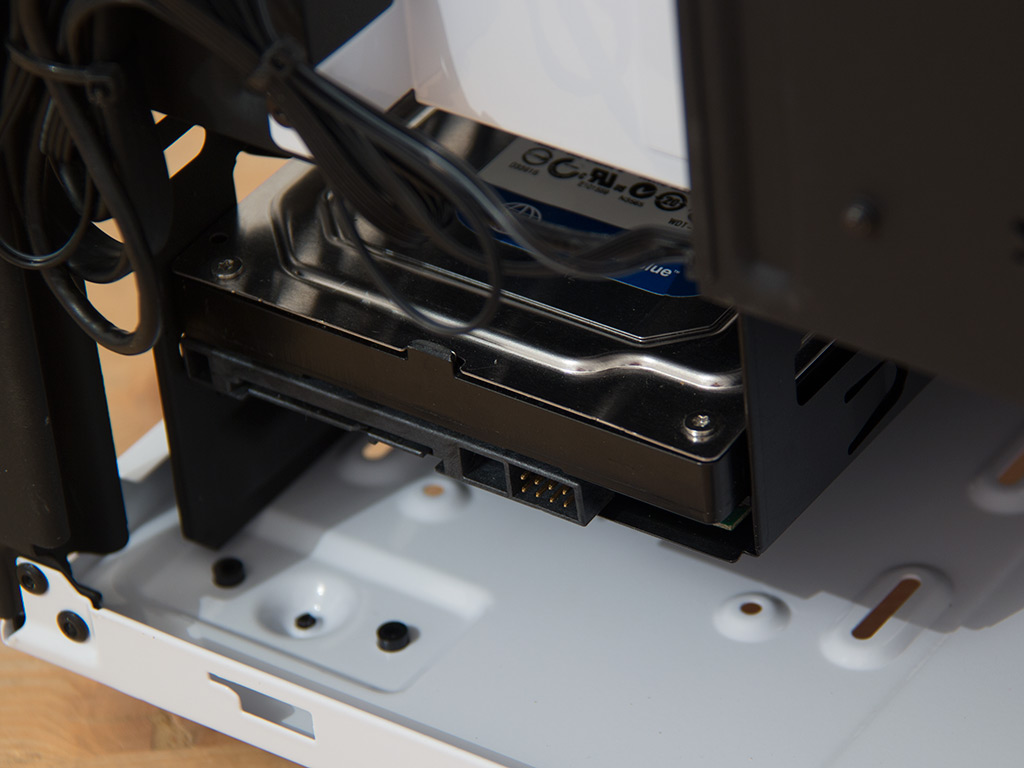
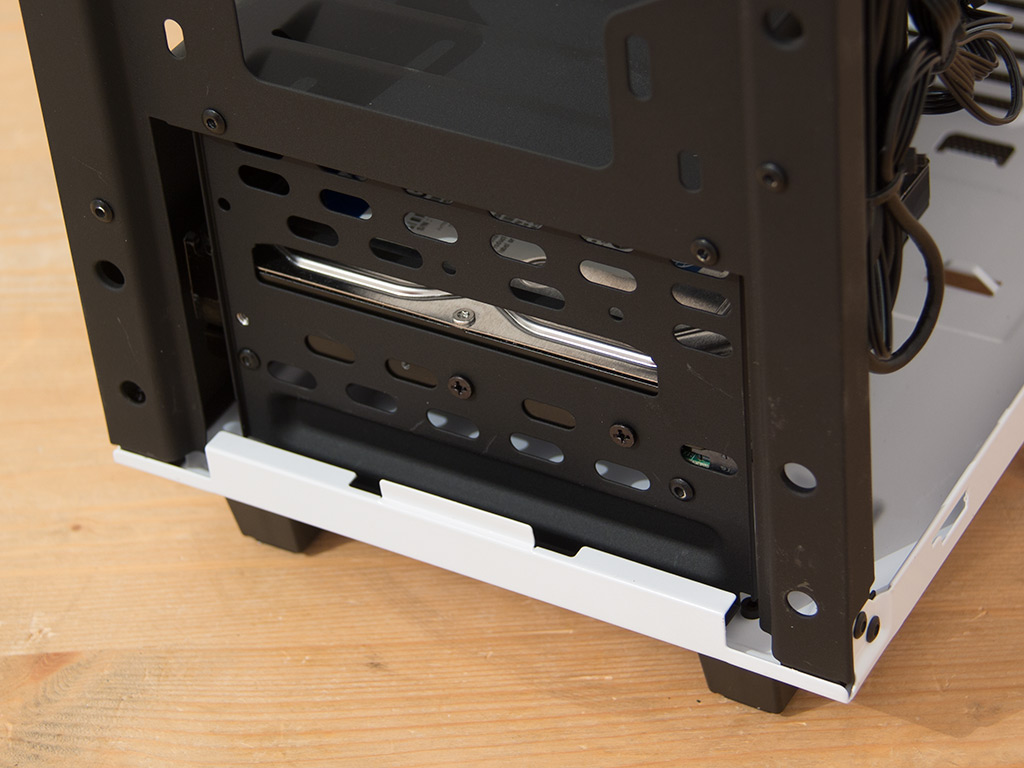
Installing a 3.5" hard drive requires tools as well. You have to take off the front and its dust filter to get to the screws mounts which are to hold the drive in place. On the upside, as screws are used, the drive will stay in place no matter what.
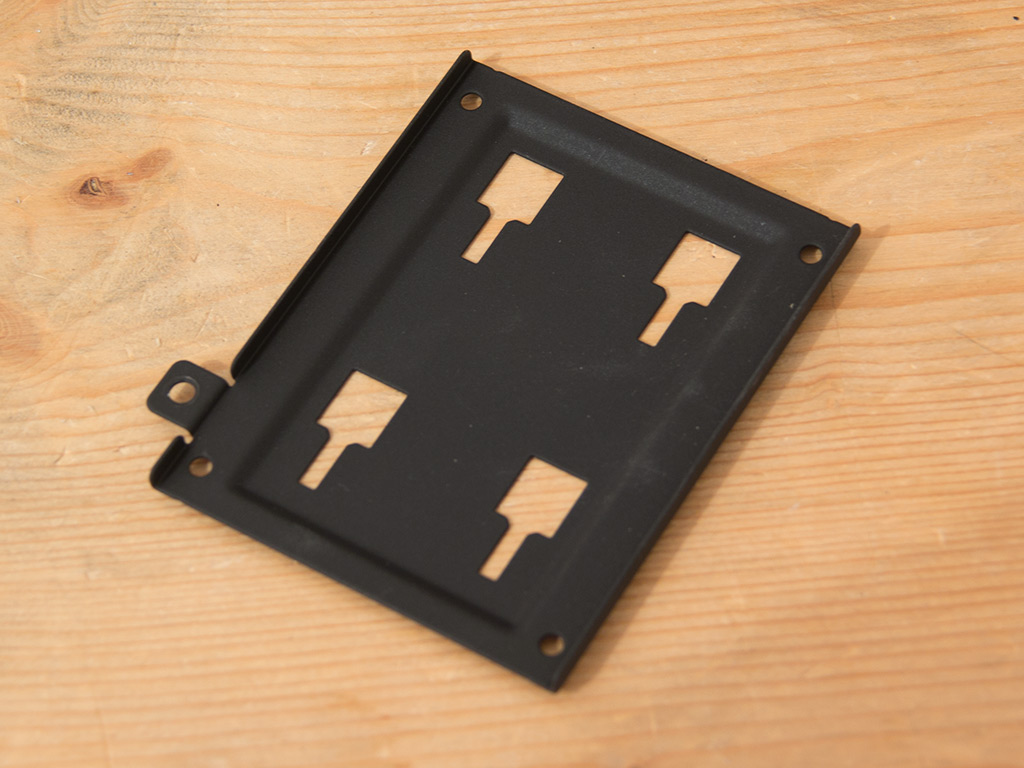
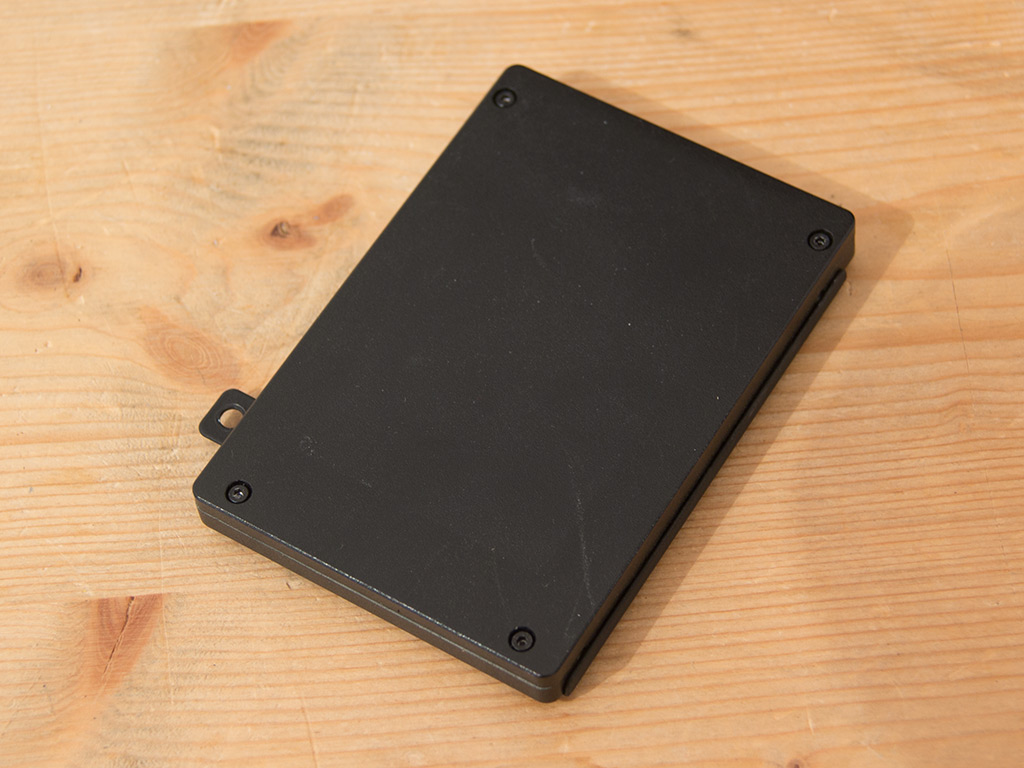
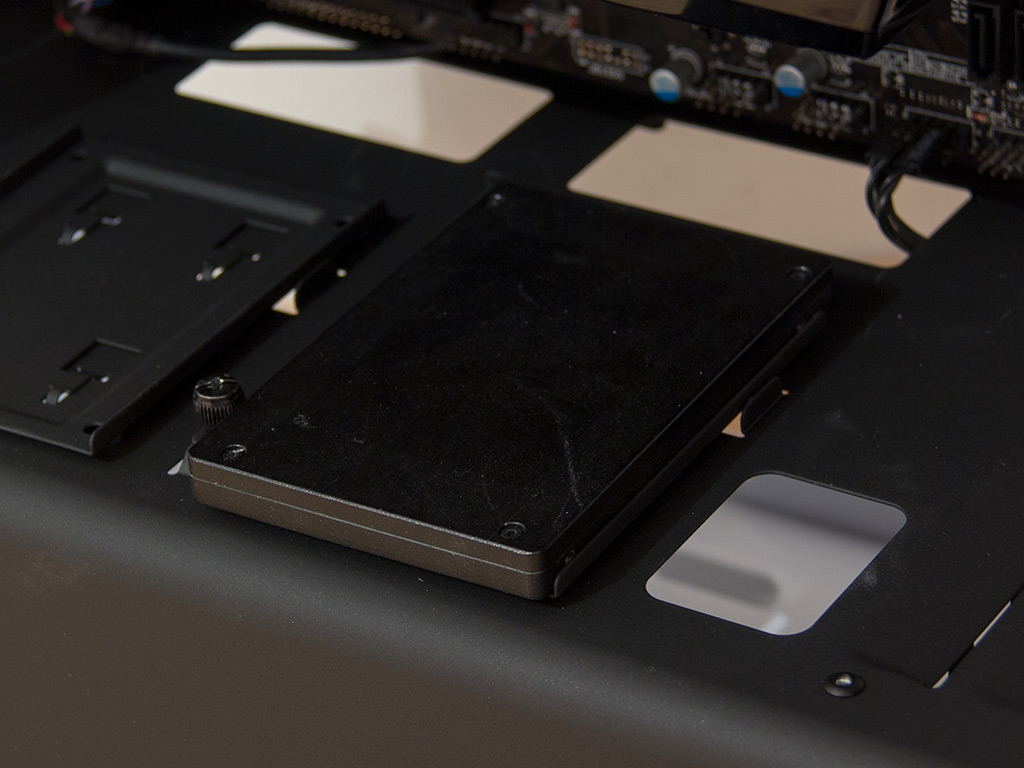
Installing an SSD is done outside the chassis' confines, thanks to the tray. You may simply place it back into the chassis once it has been filled with the help of NZXT's included screws and the appropriate tool.
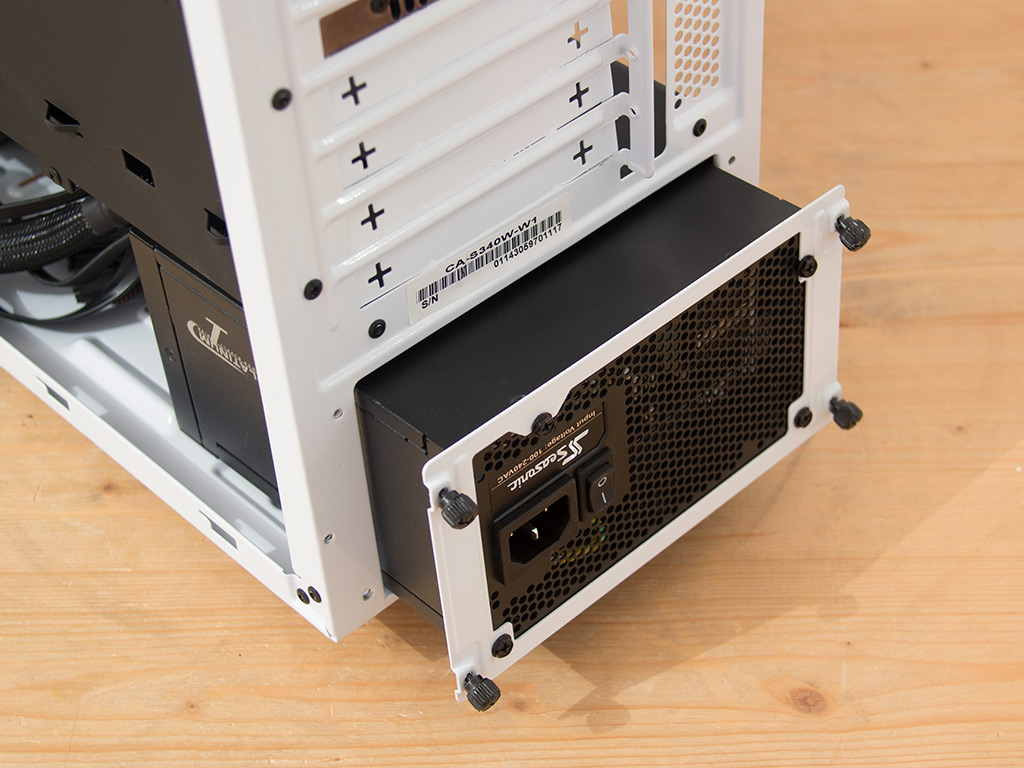
Installing a power supply requires the use of the frame so that it and the PSU may be slid into the chassis through the back. This is due to the metal divider - it isn't high enough to install the unit through the side. NZXT also included thumbscrews that do not come off the metal frame, which is a nice little touch.
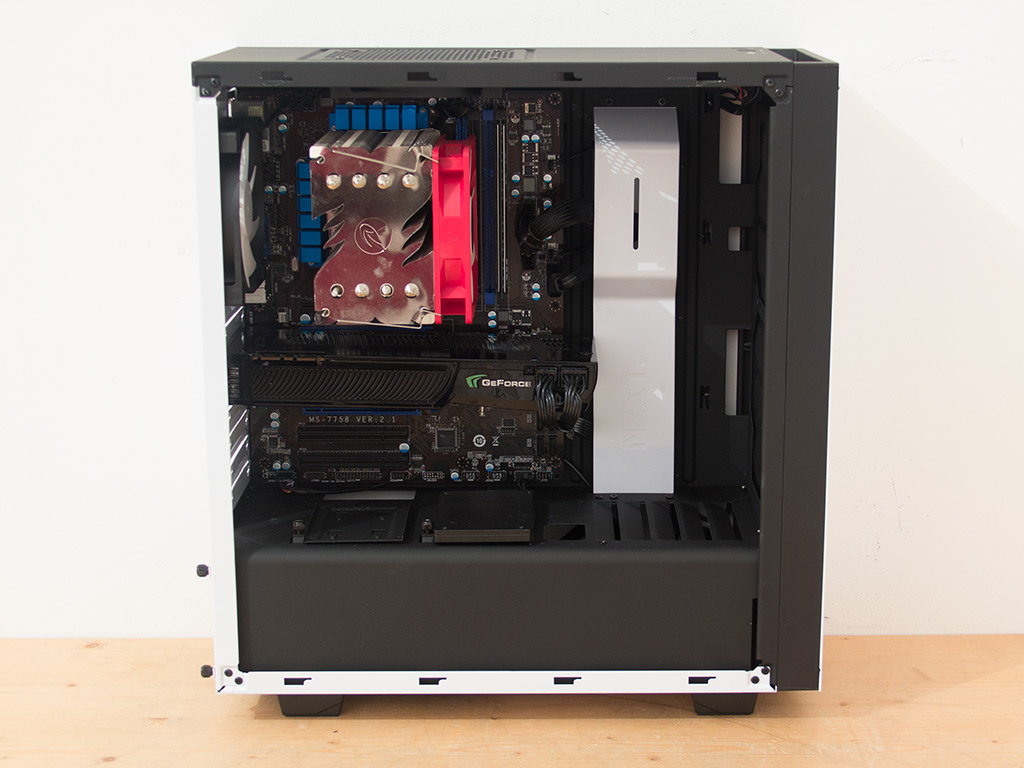
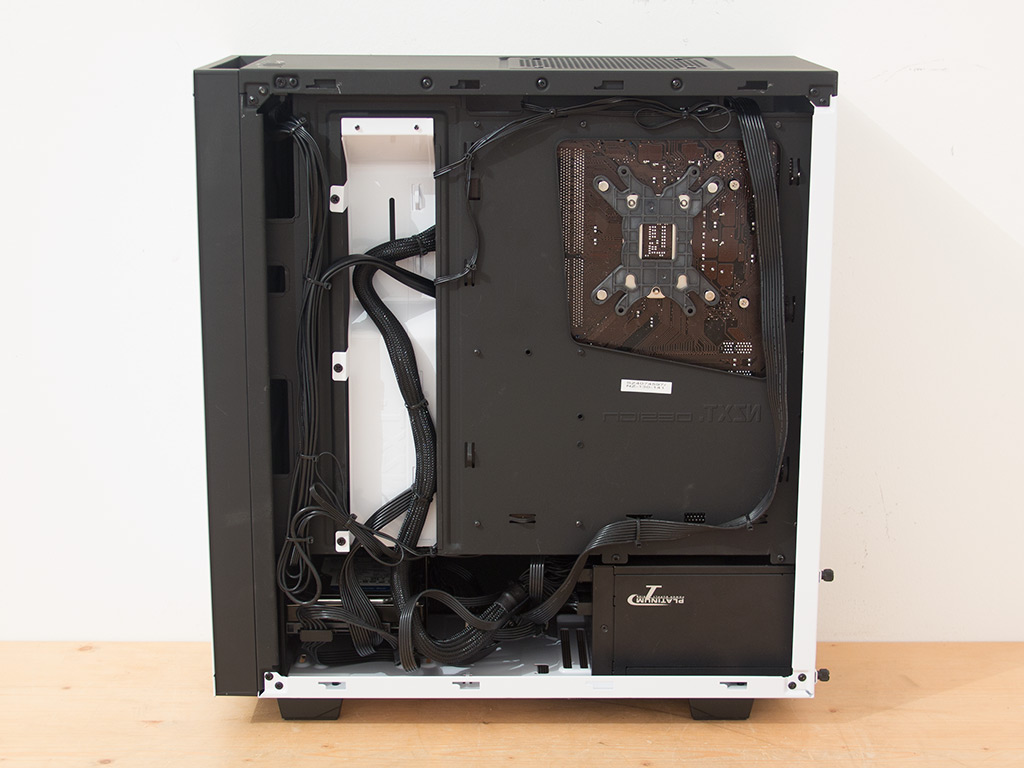
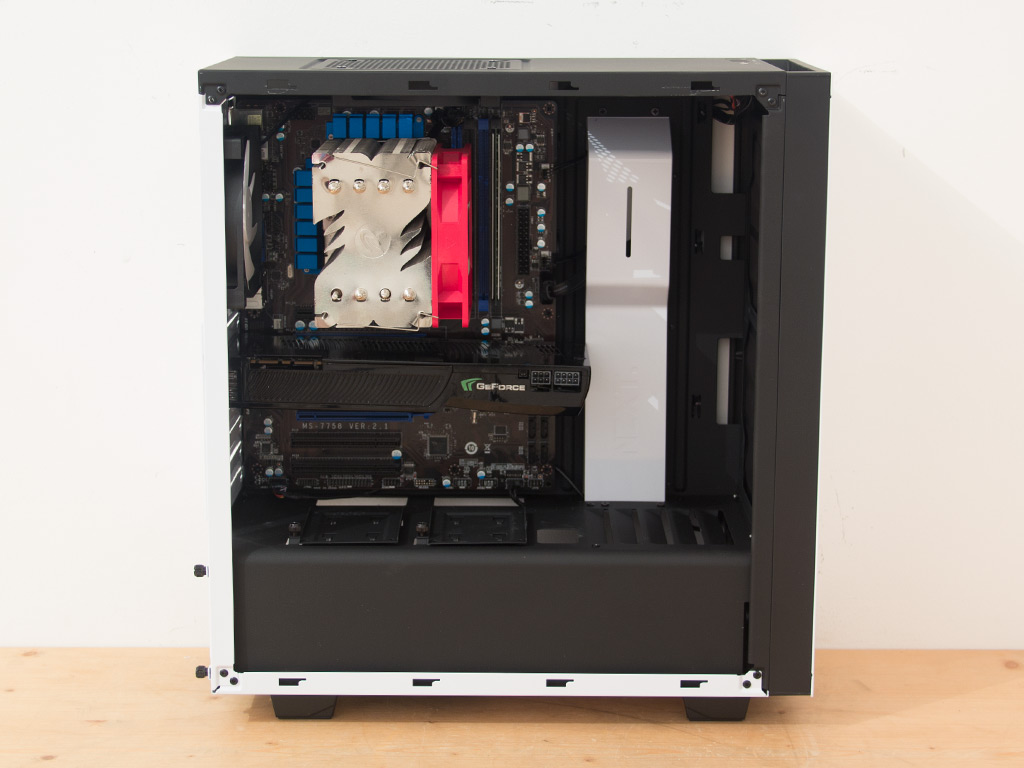
With everything installed, the NZXT Source 340 makes a great and clean impression. Thanks to the trench, as I call it, all the cables disappear nicely. Most of the cable mess is inside the closed-off compartment as there are not too many mounting possibilities on the motherboard tray itself, which is finde as you won't see any of the cables once the panels have been put back in place.
Finished Looks
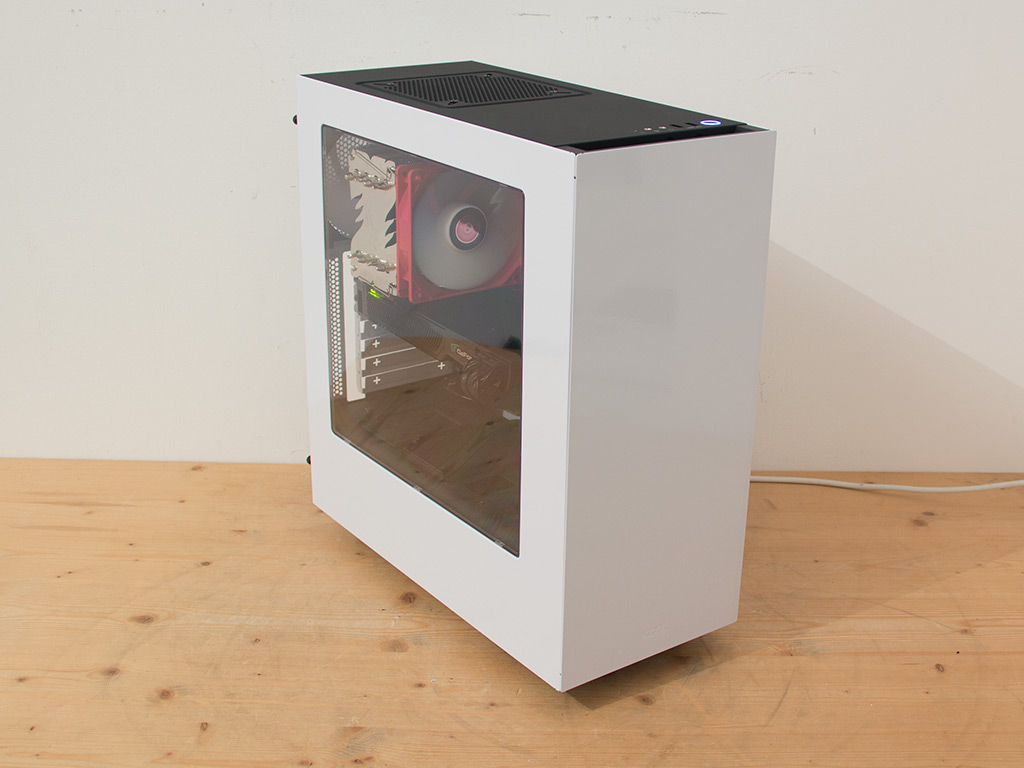
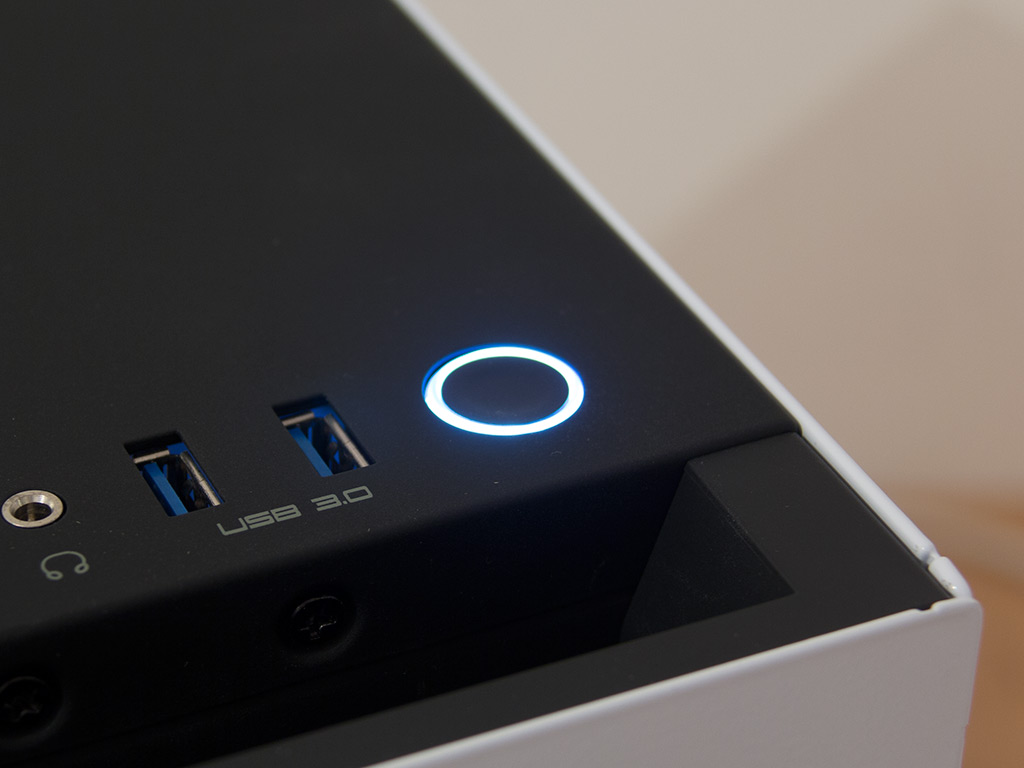
With everything in place, the NZXT Source 340's understated design really comes across nicely. The 120 mm tower cooler just barely fit. One of the heat pipe actually scratched the window up as I placed it back onto the chassis. So, while a 120 mm cooler will fit, make sure that its heat pipes don't do the same to your window. To go with the black and white theme, a white LED lights up around the power button as soon as the system is up and running.
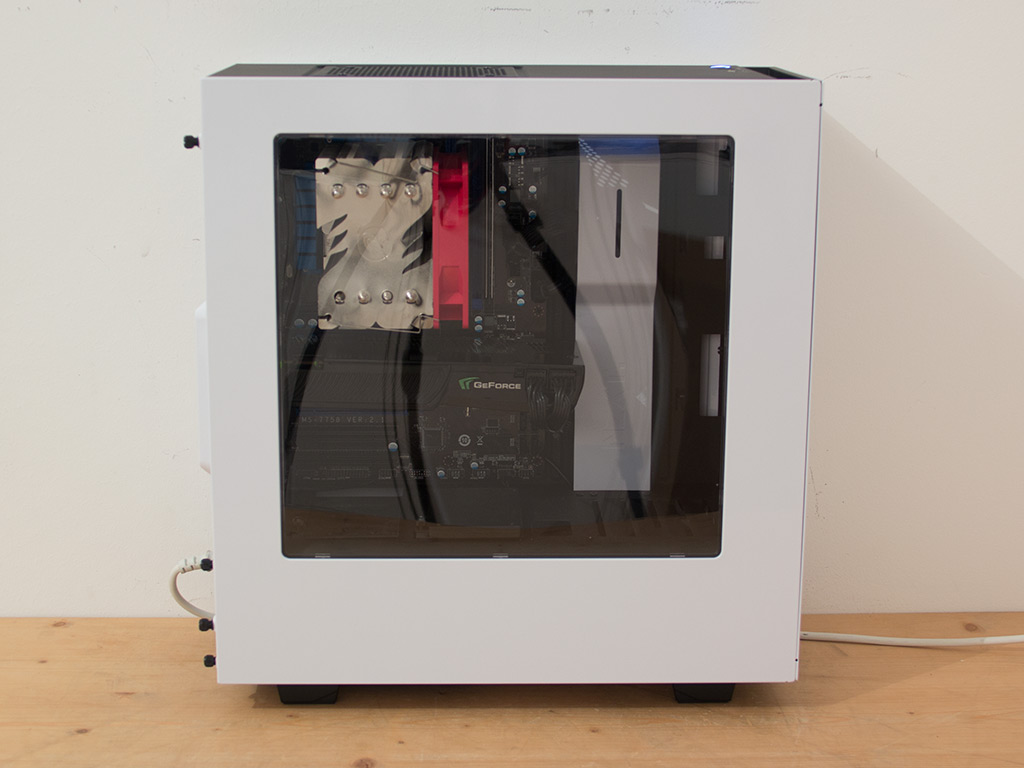
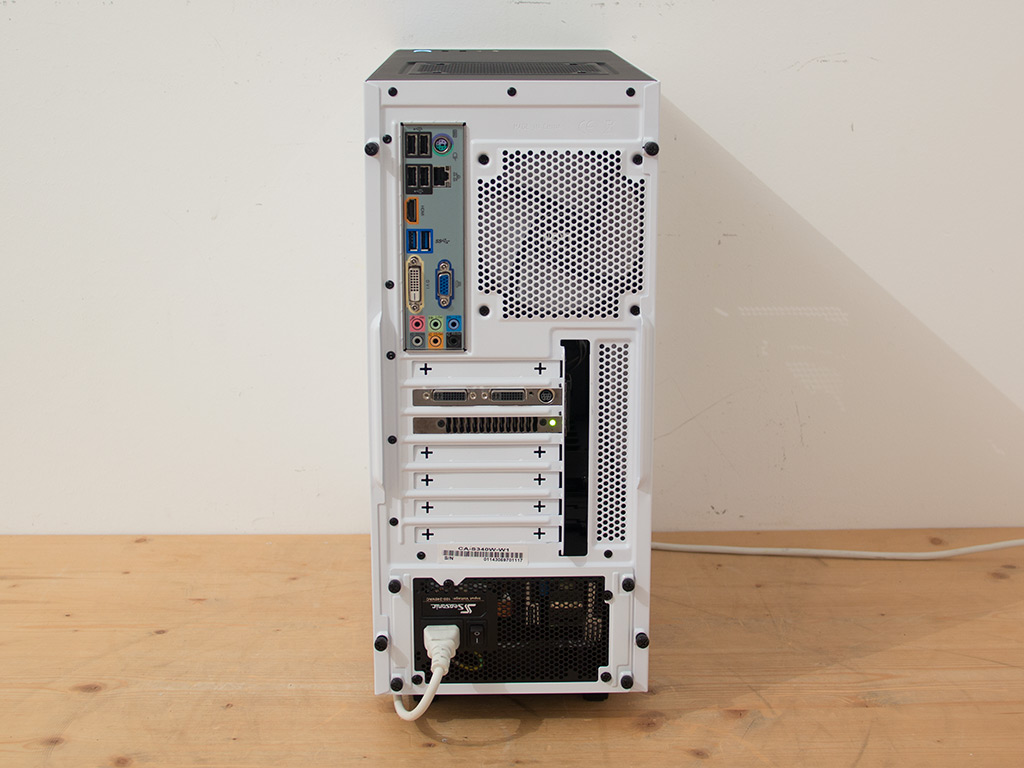
The large window lets you see all the major components within the case, while all the cables and connectors in the back should easily be reachable considering the Source 340's pretty standard layout in the area.
Jan 31st, 2025 10:02 EST
change timezone
Latest GPU Drivers
New Forum Posts
- GPU hotspot and Gpu tem differences (6)
- RANT- front panel connectors are a crime against pc builders/users (64)
- why is Multiplane Overlay (MPO) disabled by default in new versions of NVCleanstall ? (10)
- New Motherboard no Orange audio output (6)
- RTX 5080 - premature review - it sucks (146)
- TPU's Nostalgic Hardware Club (19912)
- Feature Request: E-Bike Tech & Innovations (4)
- Microcenter GPU Stock status (5)
- Will you buy a RTX 5090? (292)
- Ryzen 9 7950x with a 7900 xtx gpu. (7)
Popular Reviews
- NVIDIA GeForce RTX 5080 Founders Edition Review
- NVIDIA DLSS 4 Transformer Review - Better Image Quality for Everyone
- Galax GeForce RTX 5080 1-Click OC Review
- ASUS GeForce RTX 5090 Astral OC Review - Astronomical Premium
- NVIDIA GeForce RTX 5090 Founders Edition Review - The New Flagship
- MSI GeForce RTX 5090 Suprim SOC Review
- MSI GeForce RTX 5080 Vanguard SOC Review
- ASUS GeForce RTX 5080 Astral OC Review
- MSI GeForce RTX 5090 Suprim Liquid SOC Review
- MSI GeForce RTX 5080 Suprim SOC Review
Controversial News Posts
- NVIDIA 2025 International CES Keynote: Liveblog (470)
- AMD Debuts Radeon RX 9070 XT and RX 9070 Powered by RDNA 4, and FSR 4 (349)
- AMD is Taking Time with Radeon RX 9000 to Optimize Software and FSR 4 (251)
- AMD Denies Radeon RX 9070 XT $899 USD Starting Price Point Rumors (238)
- AMD Radeon RX 9070 XT & RX 9070 Custom Models In Stock at European Stores (226)
- NVIDIA GeForce RTX 5090 Features 575 W TDP, RTX 5080 Carries 360 W TDP (217)
- New Leak Reveals NVIDIA RTX 5080 Is Slower Than RTX 4090 (214)
- AMD's Radeon RX 9070 Launch Faces Pricing Hurdles (175)