 9
9
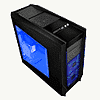
NZXT Tempest Review
Installation & Testing »Closer Look
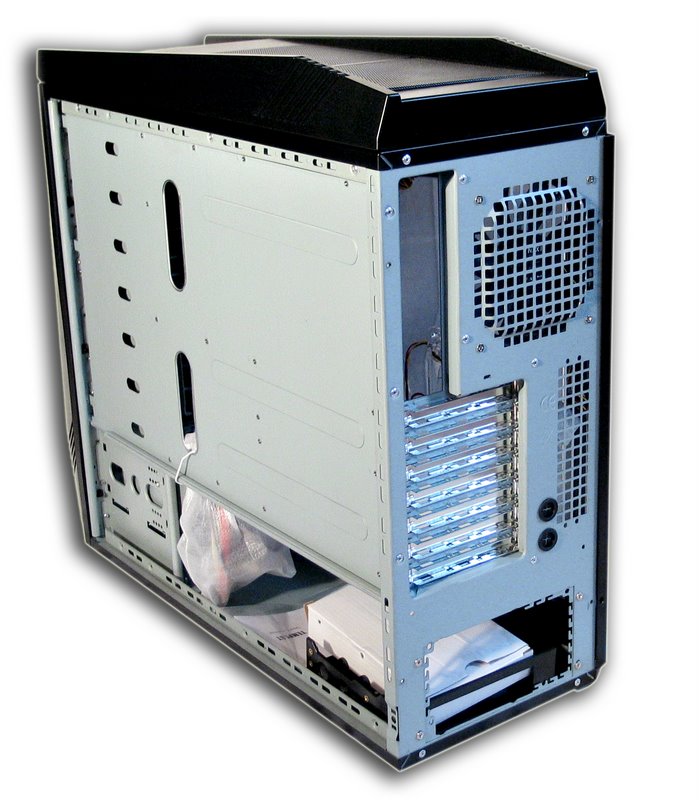
Stripping the case naked from both front and side panels shows the steel structure of the chassis. The motherboard tray comes with opening holes for better cable management. Such holes allow the user to hide the cables behind the chassis’ tray. Taking the front panel off reveals the two additional 120 mm fans. Those blowers come with easy to remove filters. If you feel you’re lacking space, you can remove the hard drive cages along with the fans.
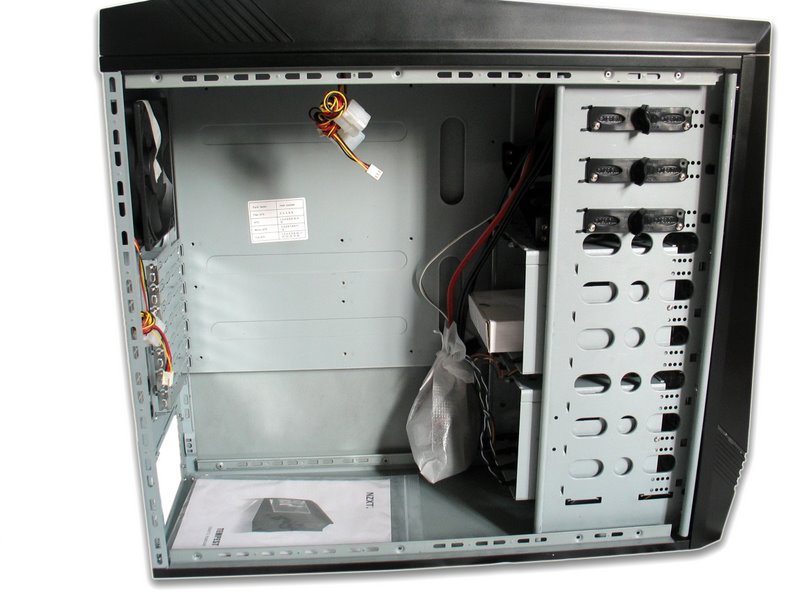
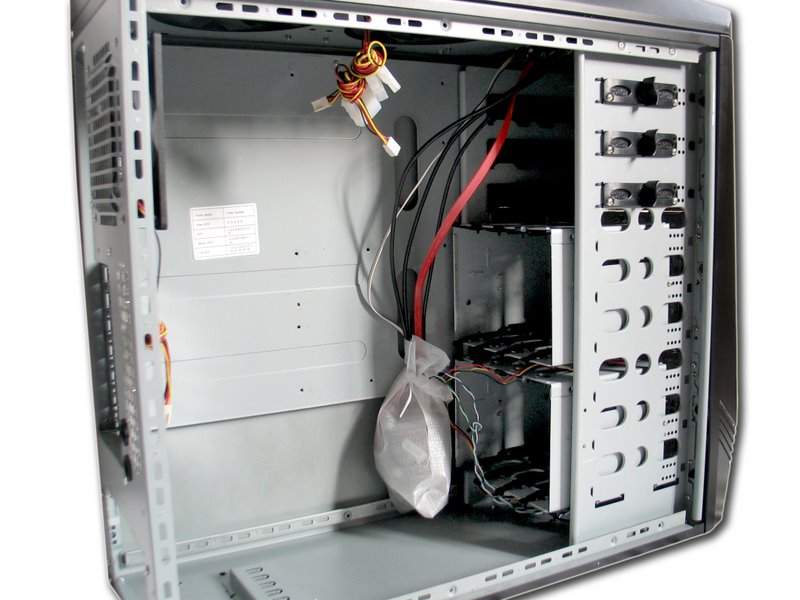
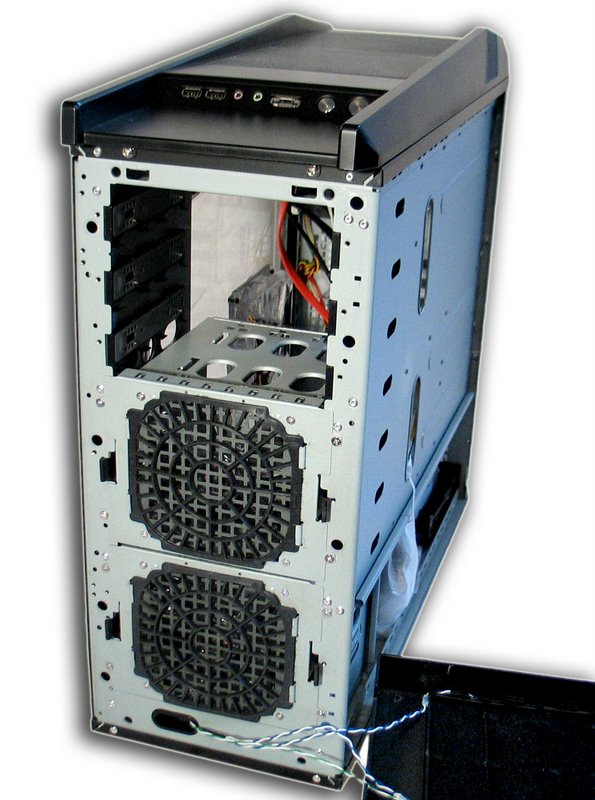
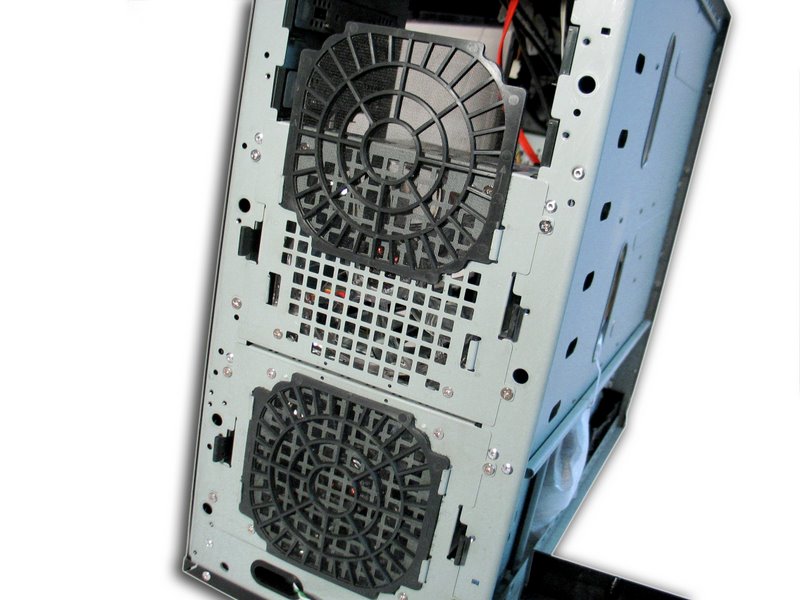
Here, we’re facing the internal part of the chassis. The case comes with two hard drive cages which are easily removed (screwdriver required). Each cage has its own 120 mm fan and plastic rails to attach a device to. With both cages inside, you can use no more than three 5.25” devices like optical drives. If you need more, you have to trade in one of the cages for an extra three slots. Note that the NZXT Tempest comes standard with one 5.25” to 3.5” bracket attached to the inside of the top bay.
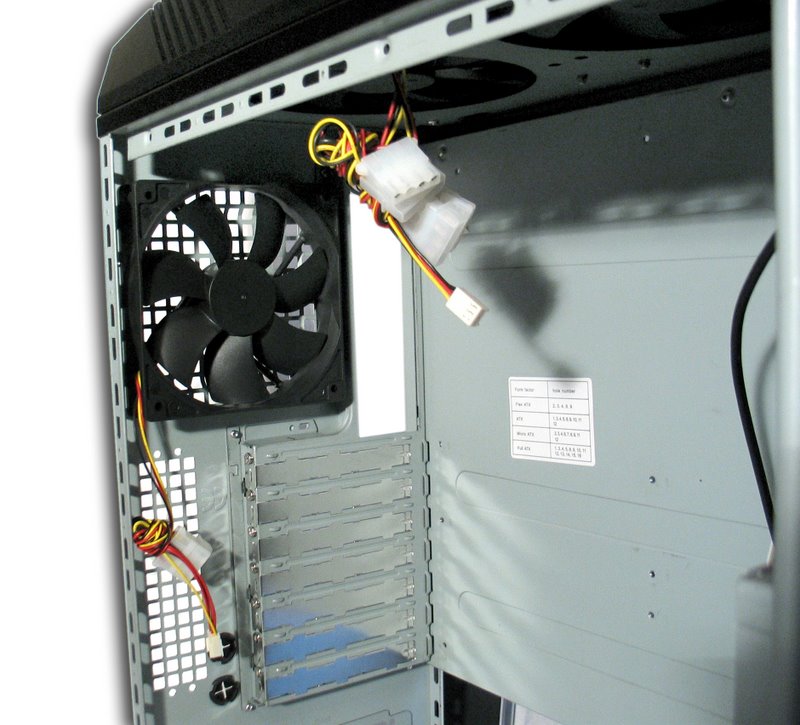
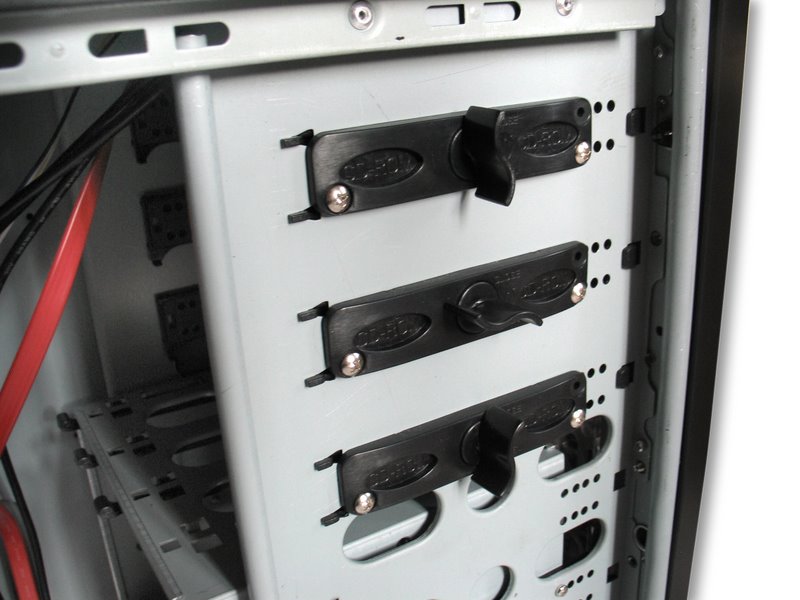
The rear 120 mm is what enthusiasts will appreciate as it is a nice addition to the whole package. Also note that all fans have Molex as well motherboard connectors. Just below it we have expansion slots. They are not tool-free, but that shouldn't bother most of the users. In the end it all comes down to preference. In my opinion regular screws are safer and less of a hassle so it’s not a big loss for me at least. The inside compartment is pretty big. Fitting a large HSF and a long graphic card doesn’t seem to be an issue. Another feature that comes with the Tempest is the inclusion of a tool-free 5.25” mounting mechanism. Those are basically plastic clips that lock the device in place. Additionally you can use screws if you feel your drives are not firmly secured.
Mar 10th, 2025 00:51 EDT
change timezone
Latest GPU Drivers
New Forum Posts
- RX 9070 availability (98)
- What's your latest tech purchase? (23265)
- As we live the age of game remakes, which game you would like to see to have a remake? (354)
- Gaming PC instabiliity (5)
- Unigine Superposition GPU Benchmark (1080P Extreme) (405)
- What are you playing? (23116)
- *Severe micro stutters* cyberpunk 2077 Please help (54)
- Nvidia's GPU market share hits 90% in Q4 2024 (gets closer to full monopoly) (736)
- Zen6 is almost here ? (42)
- Iccmax can't be altered on Throttlestop (2)
Popular Reviews
- Sapphire Radeon RX 9070 XT Nitro+ Review - Beating NVIDIA
- XFX Radeon RX 9070 XT Mercury OC Magnetic Air Review
- ASUS Radeon RX 9070 TUF OC Review
- MSI MAG B850 Tomahawk Max Wi-Fi Review
- NVIDIA GeForce RTX 5080 Founders Edition Review
- NVIDIA GeForce RTX 5070 Founders Edition Review
- Corsair Vengeance RGB CUDIMM DDR5-8800 48 GB CL42 Review
- AMD Ryzen 7 9800X3D Review - The Best Gaming Processor
- ASUS GeForce RTX 5070 Ti TUF OC Review
- MSI GeForce RTX 5070 Ti Gaming Trio OC+ Review
Controversial News Posts
- NVIDIA GeForce RTX 50 Cards Spotted with Missing ROPs, NVIDIA Confirms the Issue, Multiple Vendors Affected (513)
- AMD Plans Aggressive Price Competition with Radeon RX 9000 Series (277)
- AMD Radeon RX 9070 and 9070 XT Listed On Amazon - One Buyer Snags a Unit (261)
- AMD RDNA 4 and Radeon RX 9070 Series Unveiled: $549 & $599 (259)
- AMD Mentions Sub-$700 Pricing for Radeon RX 9070 GPU Series, Looks Like NV Minus $50 Again (248)
- NVIDIA Investigates GeForce RTX 50 Series "Blackwell" Black Screen and BSOD Issues (244)
- AMD Radeon RX 9070 and 9070 XT Official Performance Metrics Leaked, +42% 4K Performance Over Radeon RX 7900 GRE (195)
- AMD Radeon RX 9070-series Pricing Leaks Courtesy of MicroCenter (158)