 9
9
Phanteks Evolv Shift 2 Review
Thermal Stress Test »Review System
| System Parts for Case Reviews | |
|---|---|
| Processor: | Intel Core i5-9600K |
| Motherboards: | ASRock B365M-ITX/ac LGA 1151 |
| Graphics Card: | ATX/mATX: Palit GeForce RTX 2080 Gaming Pro OC ITX: ZOTAC GAMING GeForce RTX 3060 Ti Twin Edge OC |
| Memory: | Kingston HyperX Fury 16 GB DDR4 2666 MHz |
| HDD: | Western Digital 320 GB 7200 RPM |
| SSD: | ITX: ADATA Swordfish 256 GB M.2 NVMe SSD mATX: ADATA GAMMIX S11 Pro M.2 256 GB ATX: ADATA SPECTRIX S40G M.2 256 GB ADATA XPG SX850 256 GB ADATA Ultimate SU630 240 GB ADATA Ultimate SU750 256 GB Provided by: ADATA |
| Power Supply: | Fractal Design ION SFX 650W 80 Plus Gold Provided by: Fractal Design |
| Cooling: | Noctua NH-L9x65 Low-Profile CPU Cooler Provided by: Noctua |
Assembly


Installing the motherboard is easy enough, and all the connectors are accessible for the most part, also because of the compact cooler. Those using a larger unit may find that the CPU power connectors are a little hard to reach. Connecting the riser cable is easily done as well because of the solid plastic cover protecting the soldered connection between the ribbons and the PCB itself.
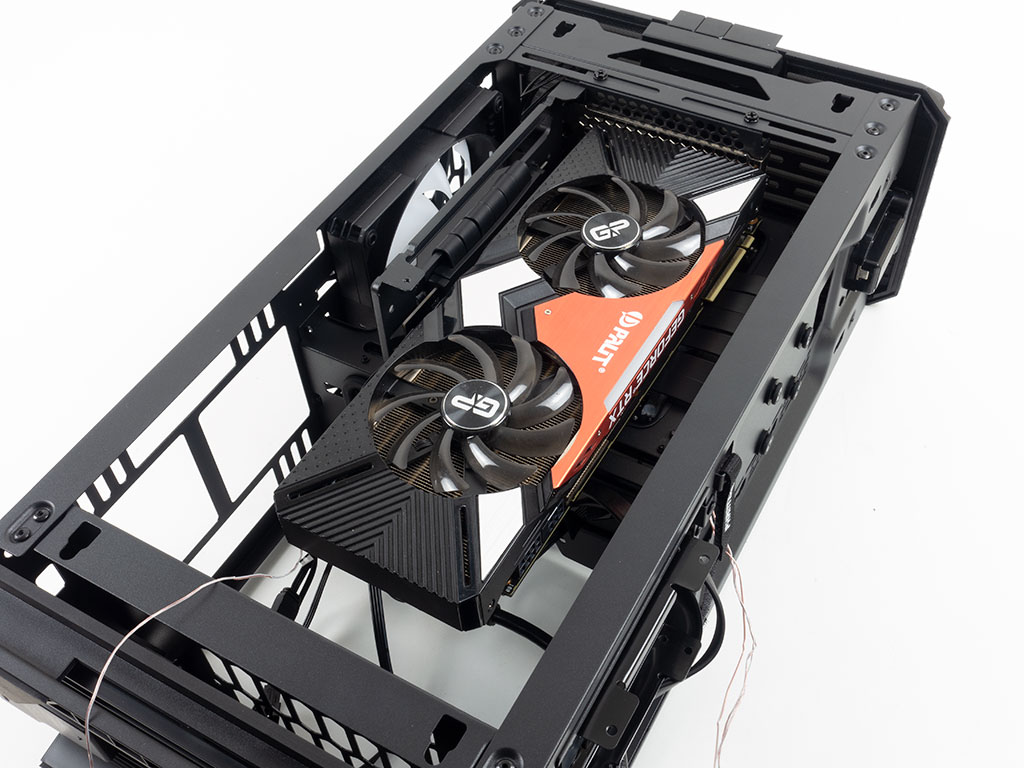
Adding a GPU can be done outside of the chassis by simply removing the mounting frame. I was actually able to skip this step, and just directly screwed in the GeForce RTX 2080 Ti.
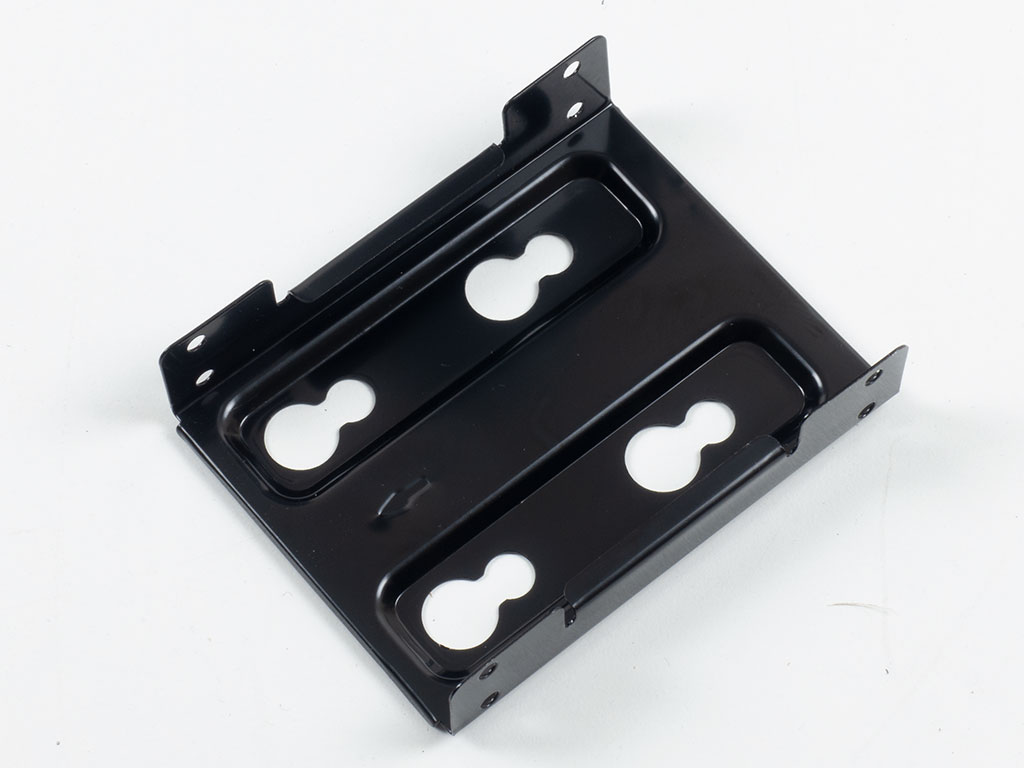

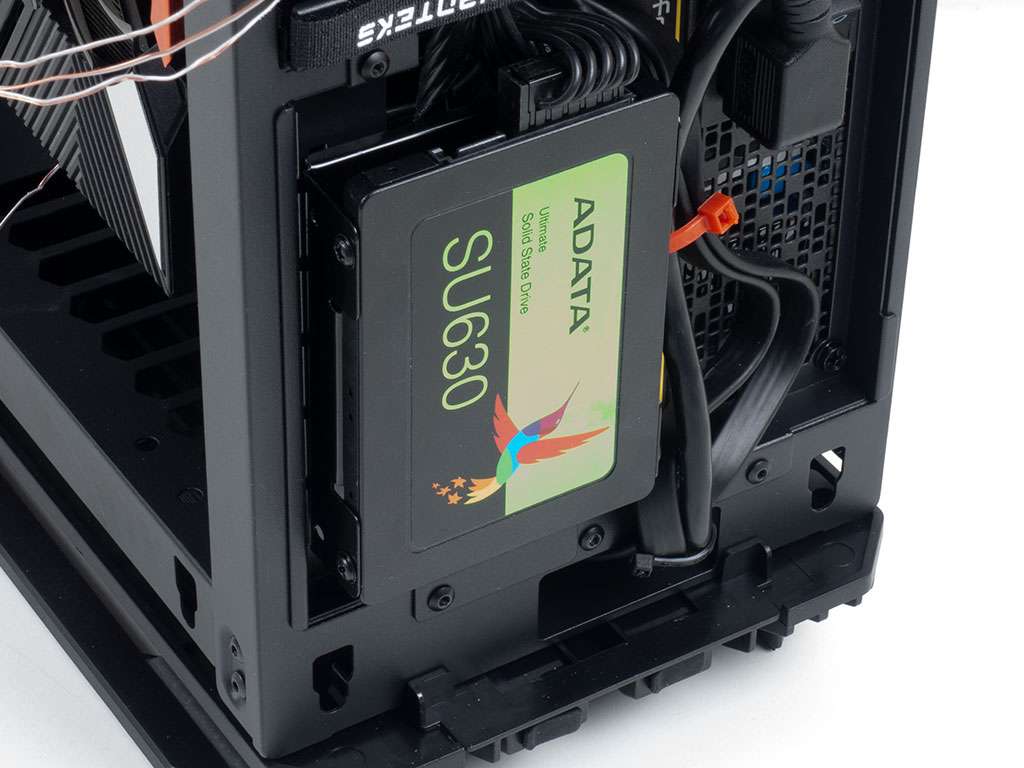
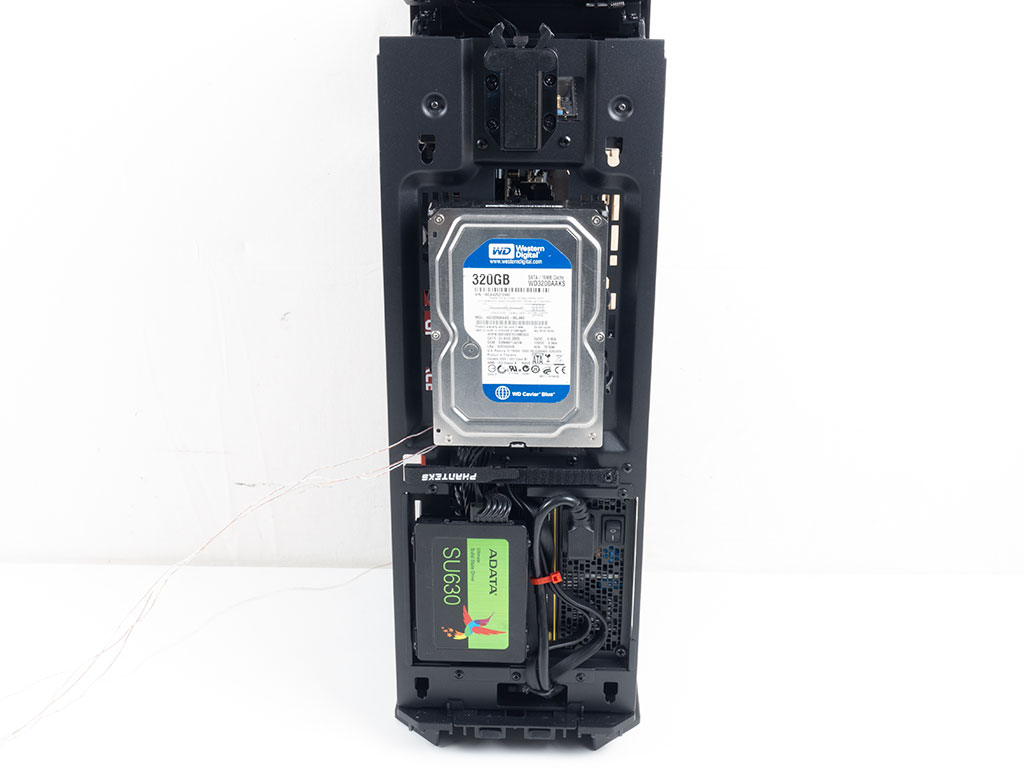
Placing an SSD can be done outside of the chassis as well. Simply screw the unit to the metal tray with the drive of your choice and slide the whole contraption into place.
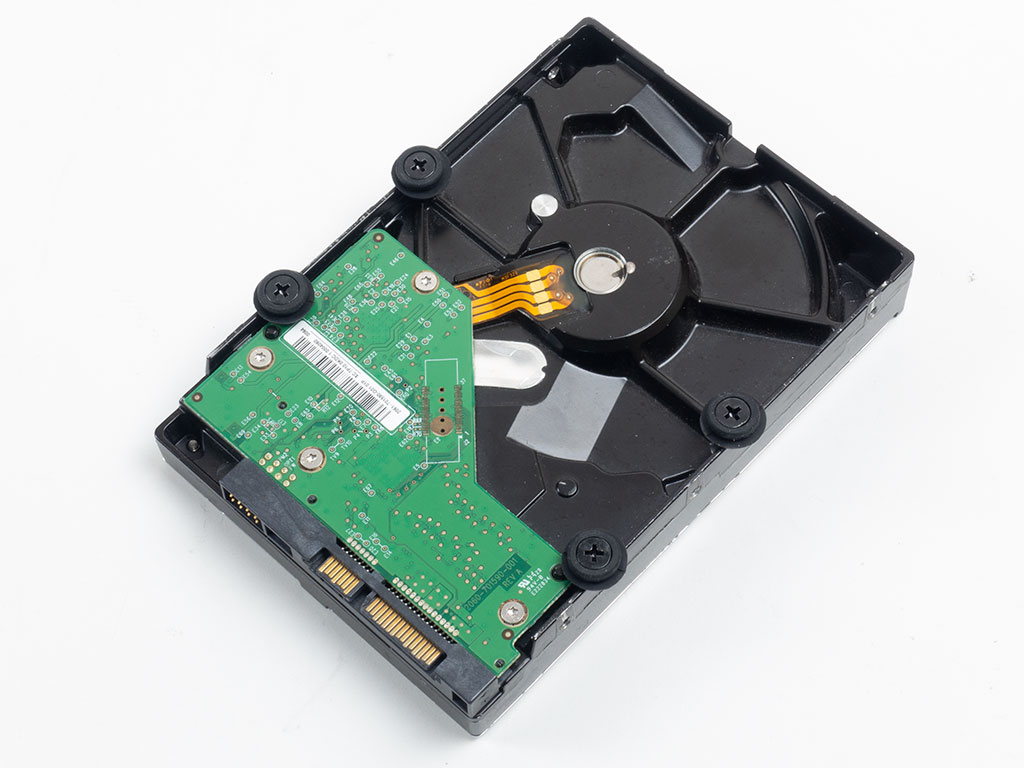
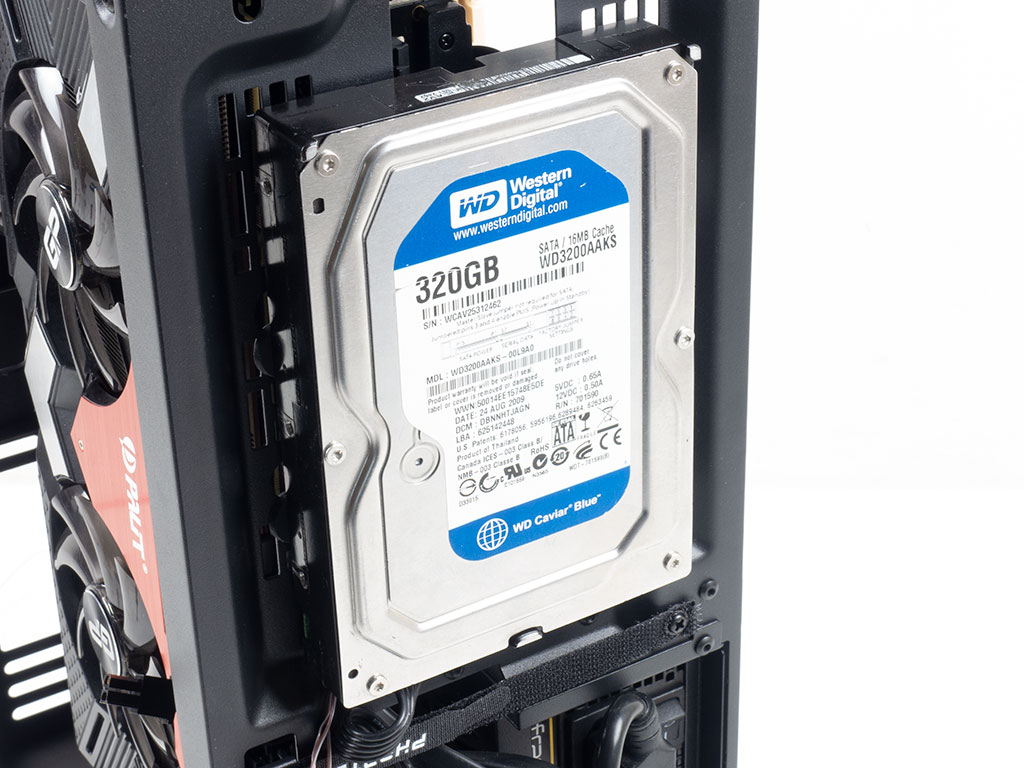
Utilizing a 3.5" drive is rather straightforward as well. Just detach the four rubber-ringed screws from the front of the chassis and screw them into the drive. With that done, push it down into its mounting position with the connectors facing downward.

Things have gotten a bit simpler with the PSU as well, as you may now simply screw it into the frame—the original Evolv Shift forced you to take off the bottom of the chassis to get to the PSU bay.
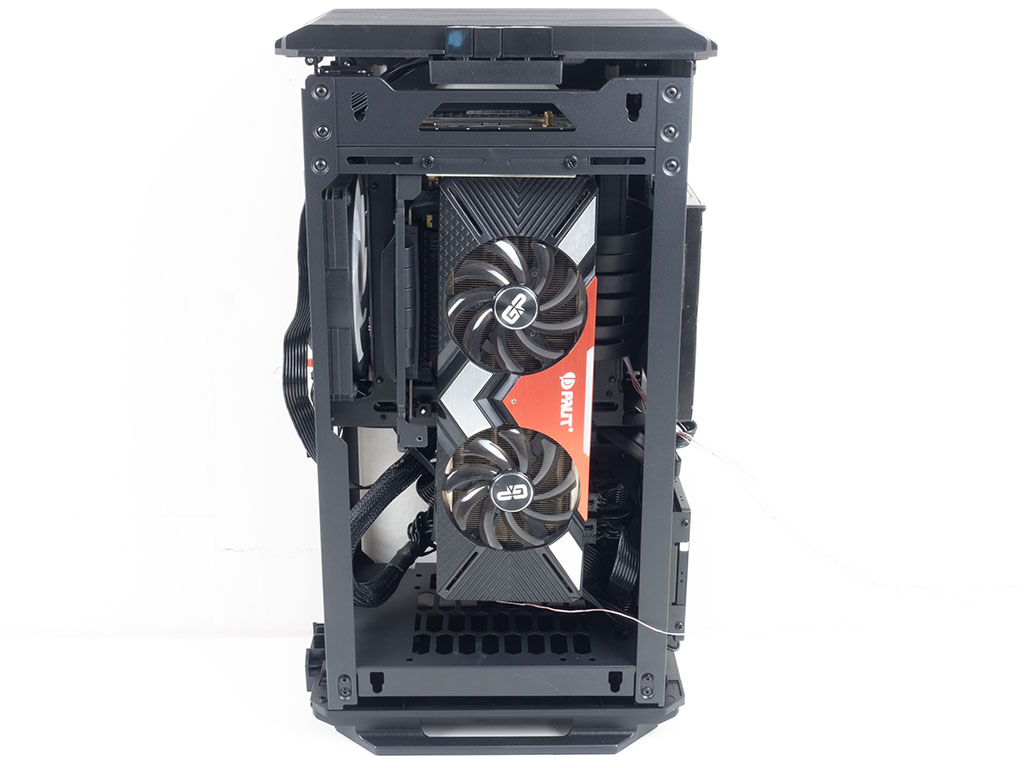
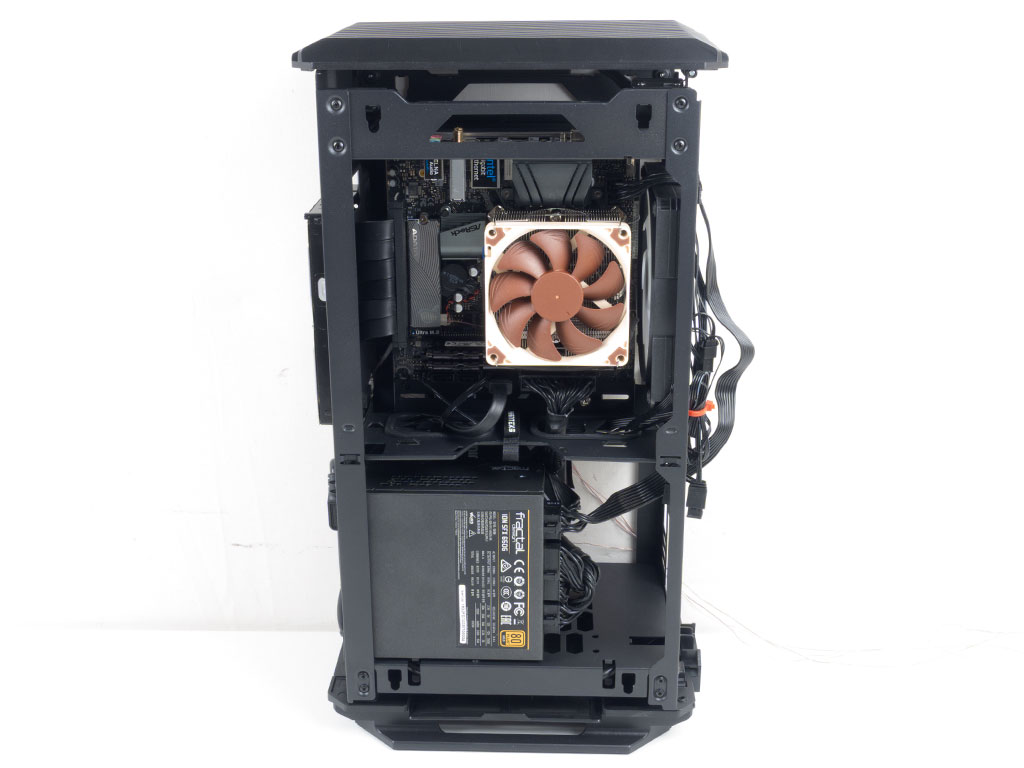
With everything installed, everything still looks surprisingly clean, with the bottom half mostly empty as we did not go for any liquid-cooling elements. The GPU is clearly accessible, so you can upgrade things quite easily, and the motherboard and its cooler are completely unobstructed as well. Phanteks has done an excellent job in terms of the internal layout.
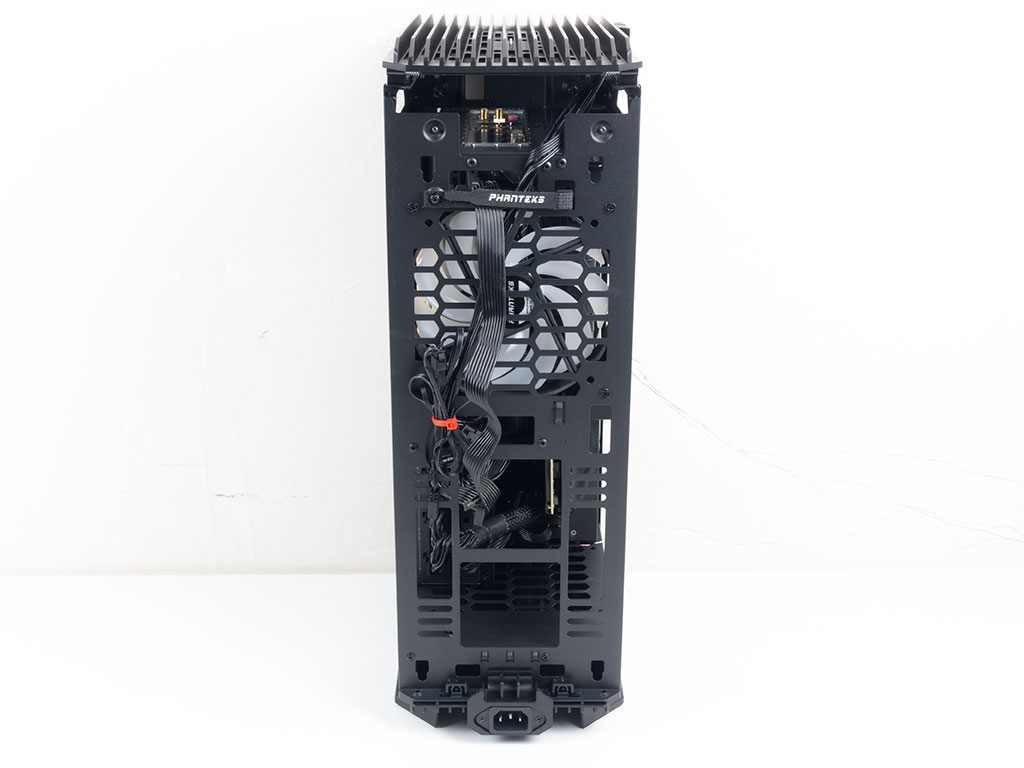
Taking a quick peek at the front and rear, everything there is fine as well, with the only issue the CPU power cable running across the exhaust fan, unfortunately.

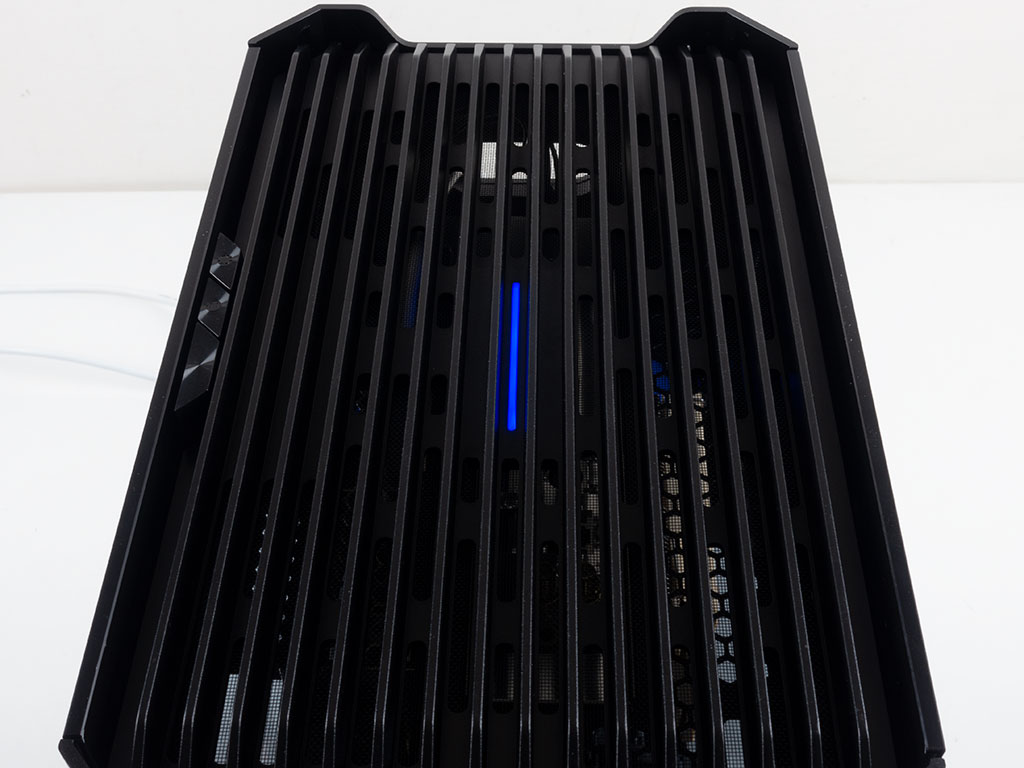
In the ceiling, you have access to all the connectors that are usually facing the rear of the chassis. The recessed GPU area means that any bulky display cables won't be an issue either.
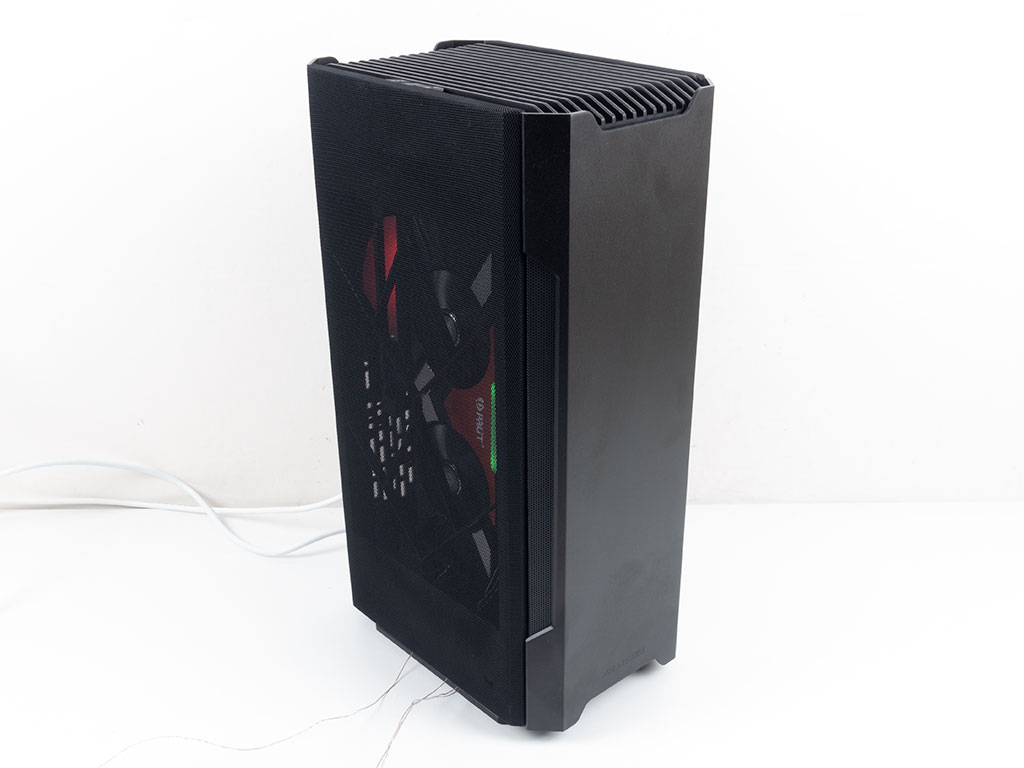
Finished Looks

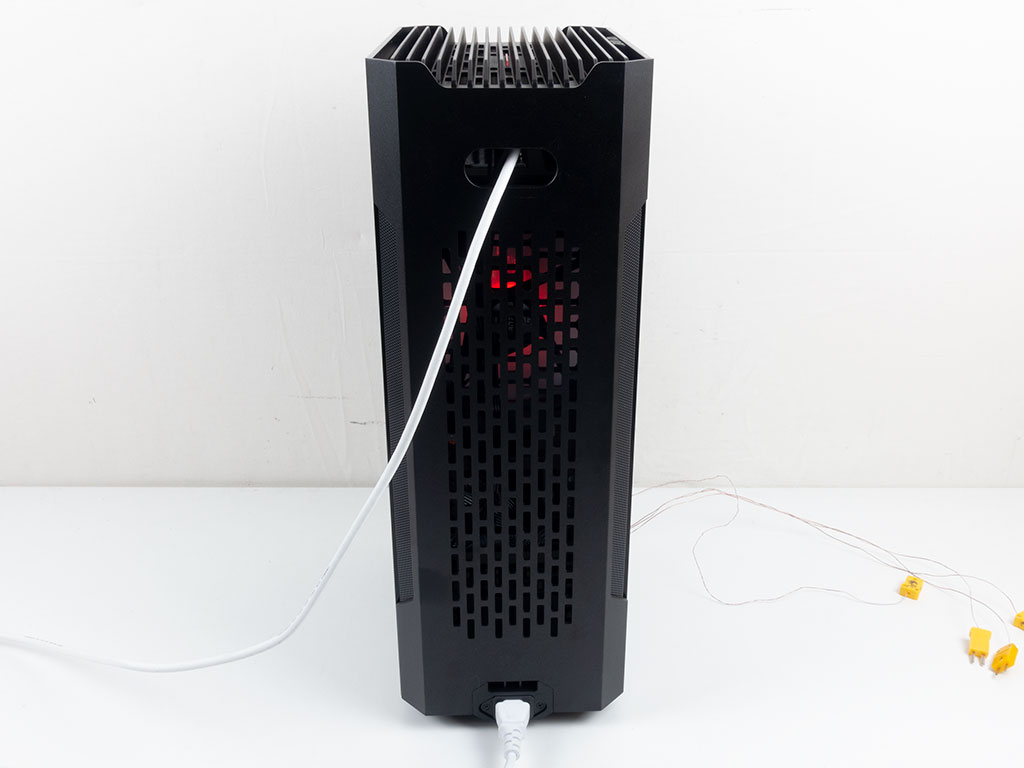
With everything in place and the system turned on, the Evolv Shift 2 has no fancy or flashy lights that would distract you. Besides the barely audible swoosh of the fans and the visual hints within the chassis, there is very little to draw your attention at idle. As we will see on the next page, the glass setup does not allow for good ventilation. On top of that, the fan doesn't push a lot of air for the sake of being quiet, which further adds to it. Thus, this option is certainly more for looks over function.
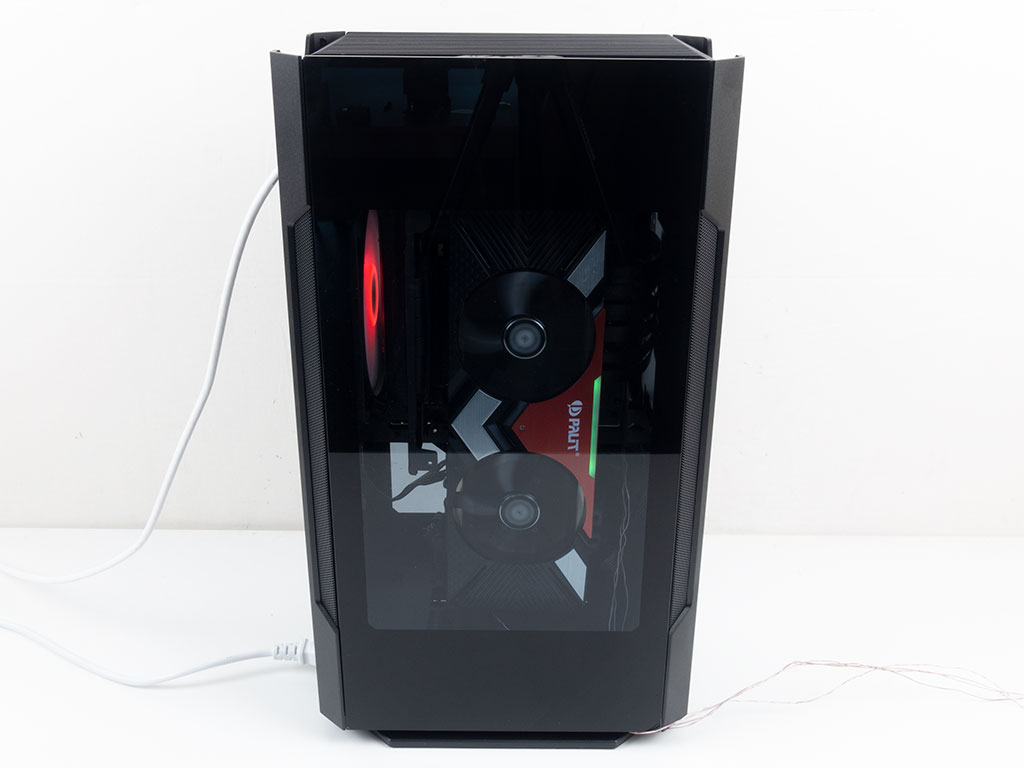
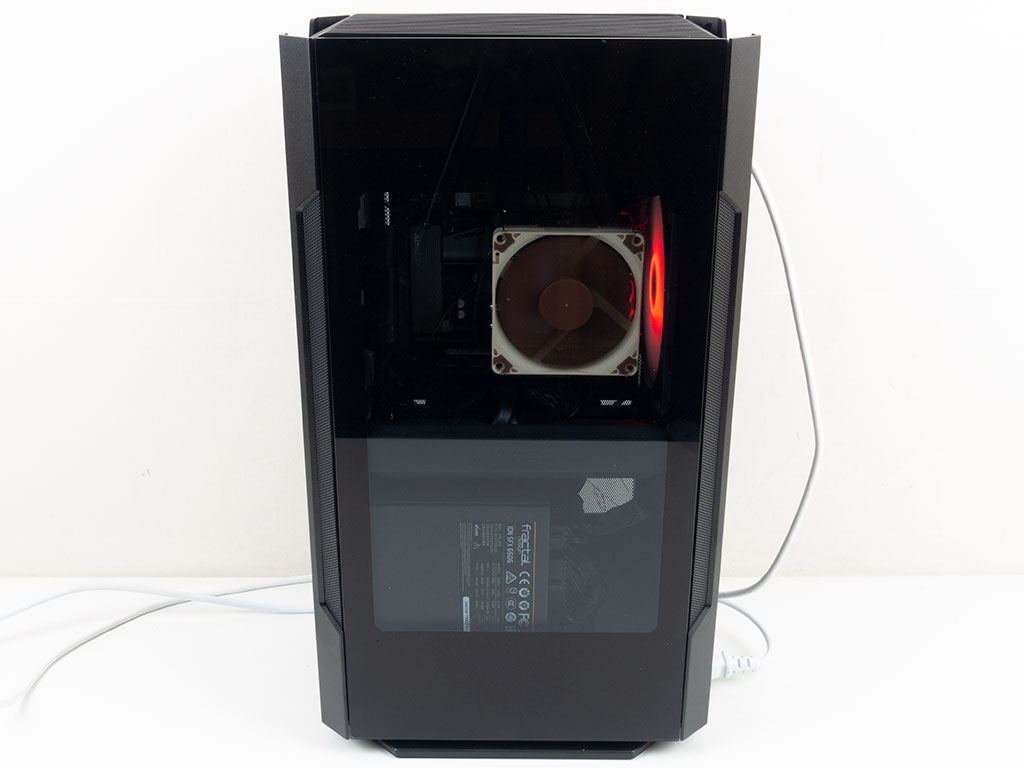
With the glass panels, you can clearly see all the installed parts. In case you are wondering about the way the PSU is installed, with the fan facing inward, there is simply no room for an outward-facing fan to draw in fresh air since it would be right up against the glass.
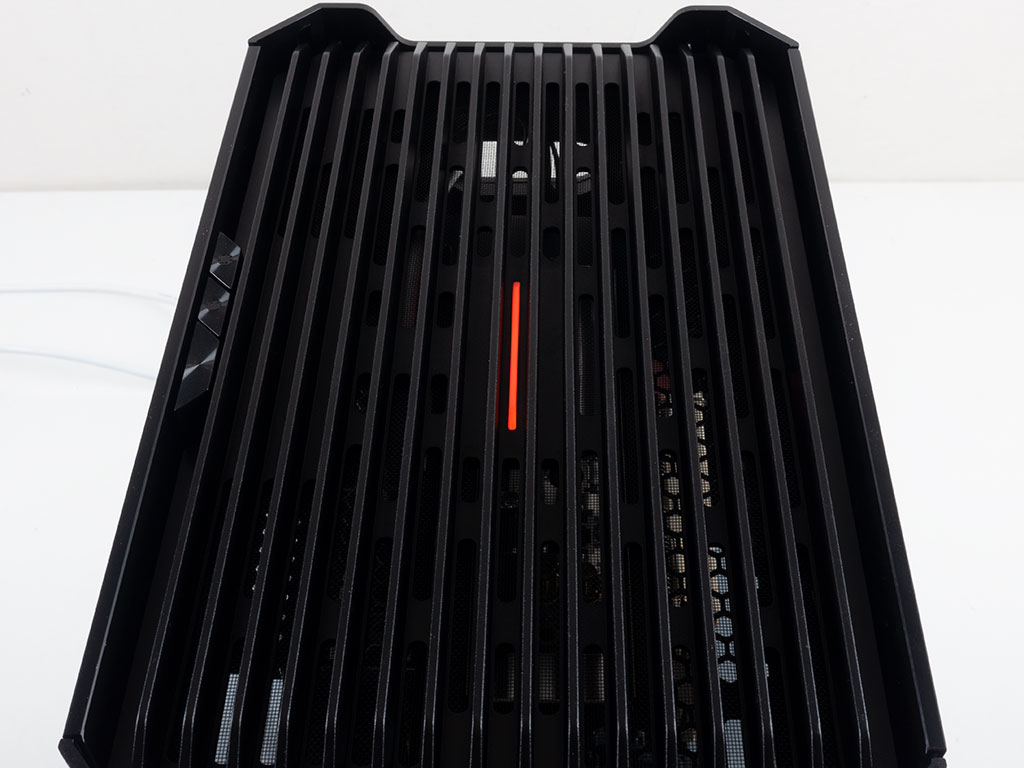
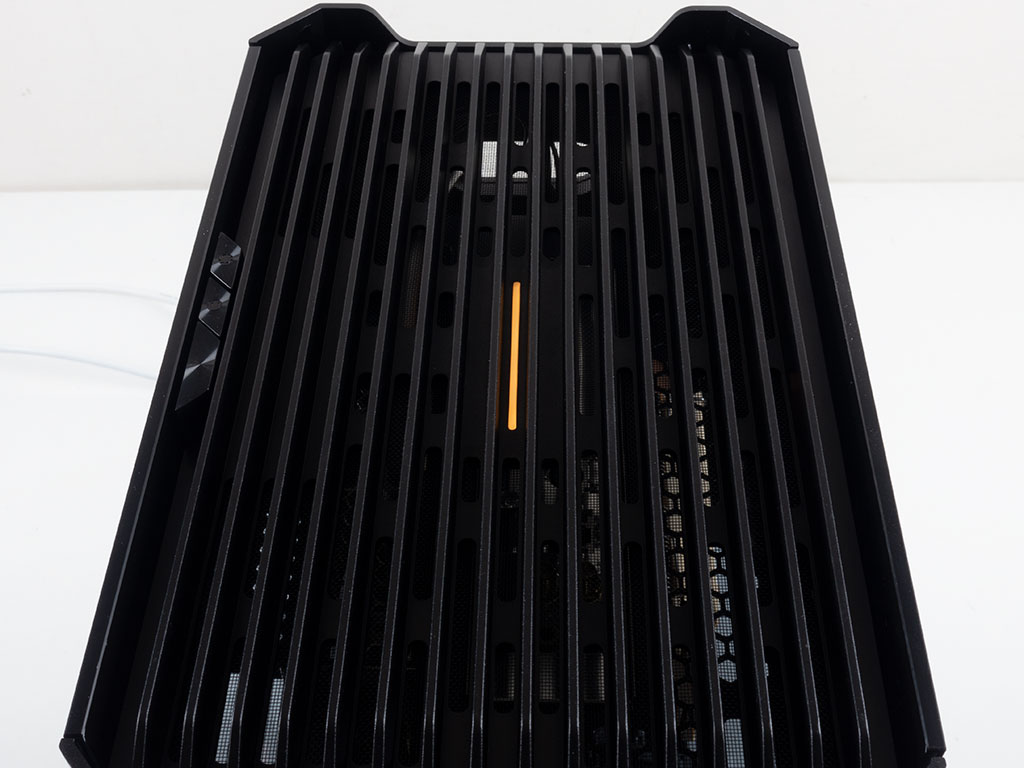
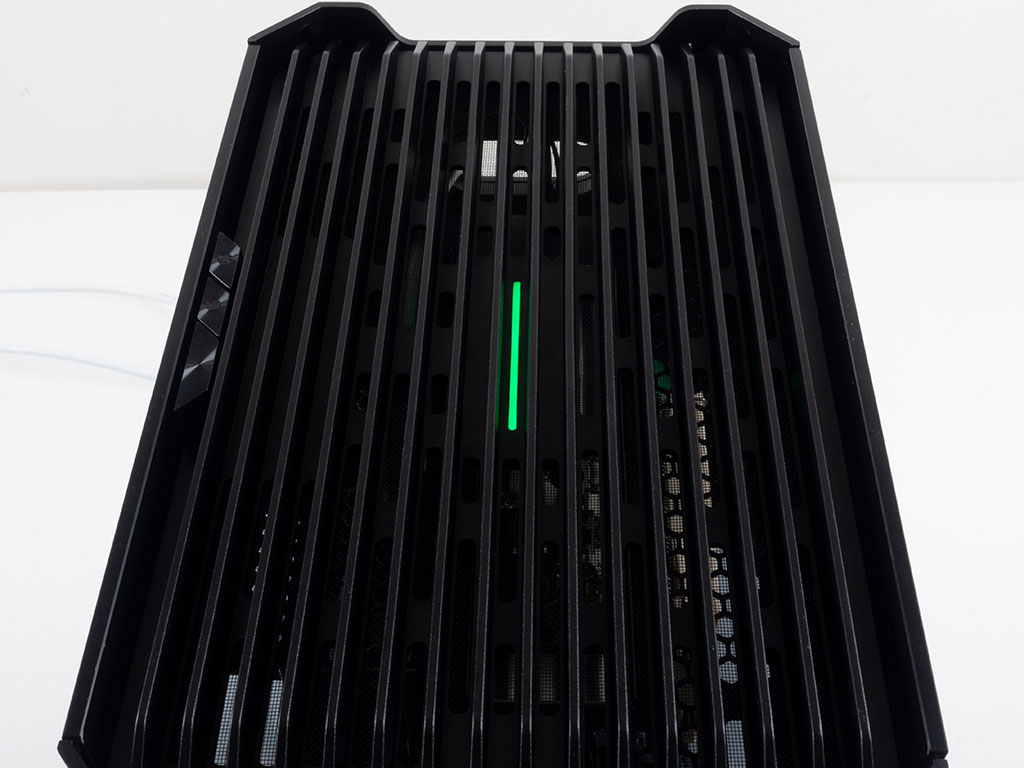
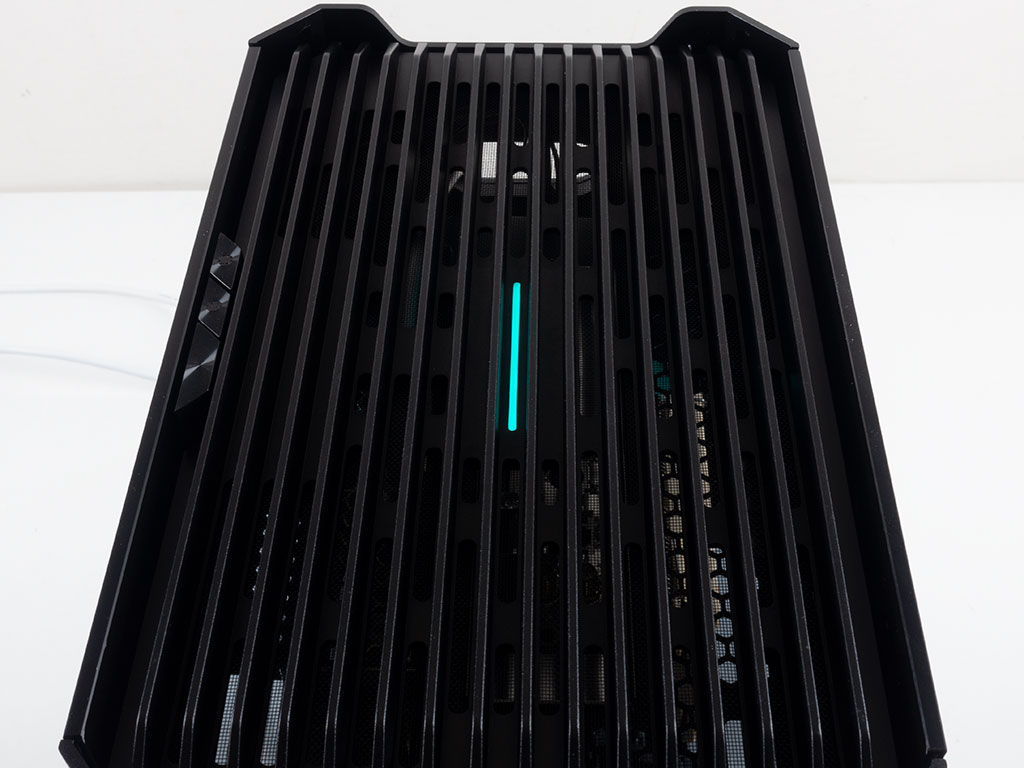


Both the rear fan and top power LED light up in sync, and you may cycle through several modes and lots of solid color choices with the press of a button.
As Phanteks was kind enough to provide us with the cloth side panels as well, we went ahead and replaced the glass covers with those. This makes the case a little wider but still looks great. Both noise and thermals vastly improved when using these.

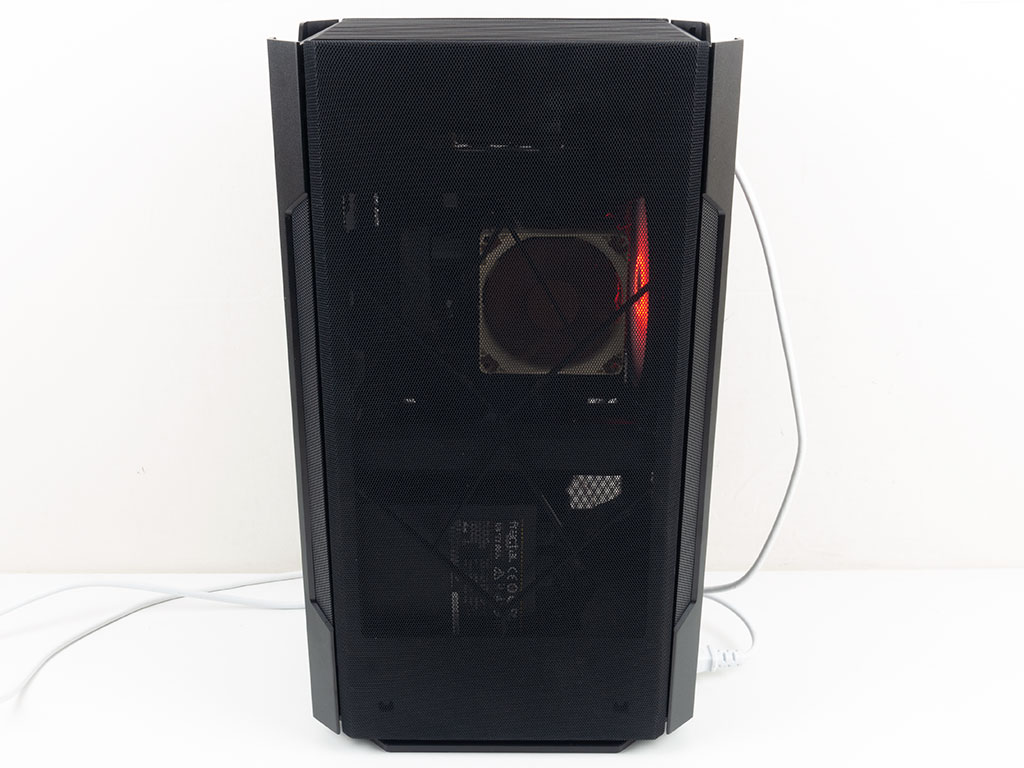
The CPU cooler may now draw in fresh air from outside, with the GPU also doing the same. At this point, you may also rotate the PSU for its fan to do the same, which we did for the benchmarks with the cloth covers.
Mar 2nd, 2025 15:21 EST
change timezone
Latest GPU Drivers
New Forum Posts
- Fix Your Site (107)
- Is it possible to repair this cooling pad? (28)
- AAF Optimus Modded Driver For Windows 10 & Windows 11 - Only for Realtek HDAUDIO Chips (354)
- Official TECHPOWERUP HWBOT Team Information Thread (41)
- Cooling problems persist on LGA1700 (3)
- Post your Speedtest.net Speeds! (2348)
- ROCm OS? (5)
- Help find a Gigabyte RTX 2070 2 fan vbios. (5)
- Amd rx570 sapphire nitro 8gb+ not detected (30)
- Extending wifi from a lousy router (11)
Popular Reviews
- AMD Radeon RX 9070 Series Technical Deep Dive
- ASUS ROG Harpe Ace Mini Review
- Gigabyte X870 Aorus Elite WiFi 7 Review
- ASUS GeForce RTX 5070 Ti TUF OC Review
- be quiet! Pure Base 501 DX Review
- AMD Ryzen 7 9800X3D Review - The Best Gaming Processor
- MSI GeForce RTX 5070 Ti Vanguard SOC Review
- MSI GeForce RTX 5070 Ti Ventus 3X OC Review
- Montech HyperFlow Silent 360 Review
- KLEVV CRAS C930 2 TB Review
Controversial News Posts
- NVIDIA GeForce RTX 50 Cards Spotted with Missing ROPs, NVIDIA Confirms the Issue, Multiple Vendors Affected (508)
- AMD Plans Aggressive Price Competition with Radeon RX 9000 Series (274)
- AMD Radeon RX 9070 and 9070 XT Listed On Amazon - One Buyer Snags a Unit (256)
- AMD Mentions Sub-$700 Pricing for Radeon RX 9070 GPU Series, Looks Like NV Minus $50 Again (248)
- NVIDIA Investigates GeForce RTX 50 Series "Blackwell" Black Screen and BSOD Issues (244)
- AMD RDNA 4 and Radeon RX 9070 Series Unveiled: $549 & $599 (222)
- AMD Radeon RX 9070 and 9070 XT Official Performance Metrics Leaked, +42% 4K Performance Over Radeon RX 7900 GRE (191)
- AMD Radeon RX 9070 XT Launch Allegedly Set for March 6 (152)