 13
13
Phanteks Evolv Shift XT Case Review
Assembly »A Closer Look - Inside
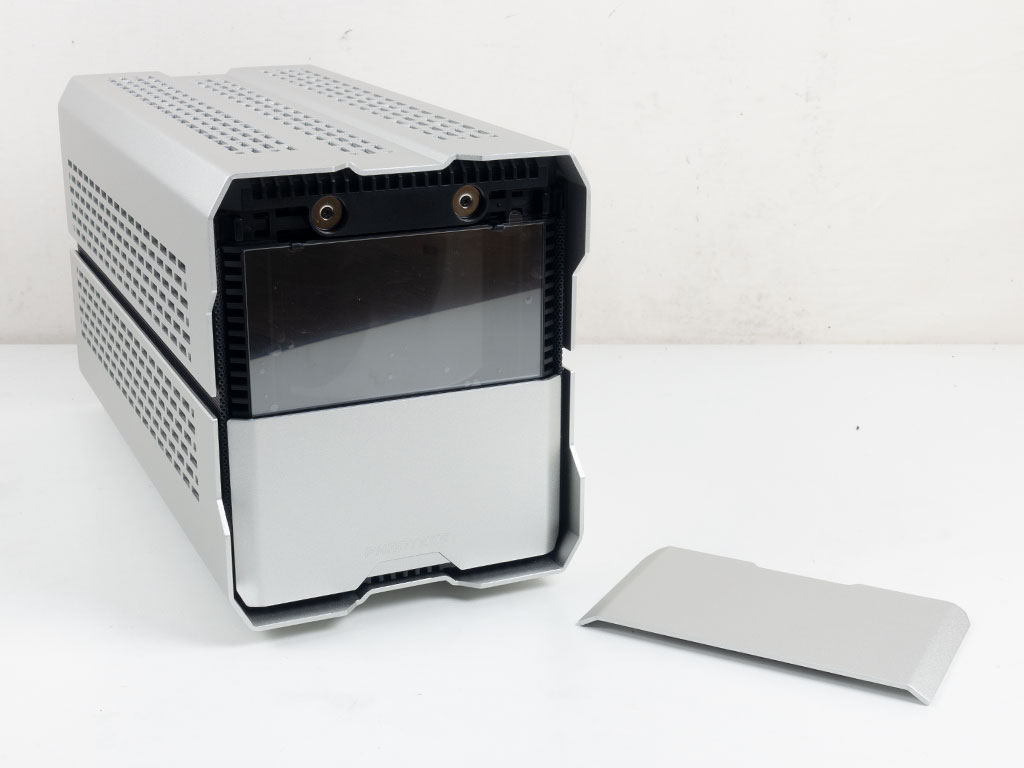
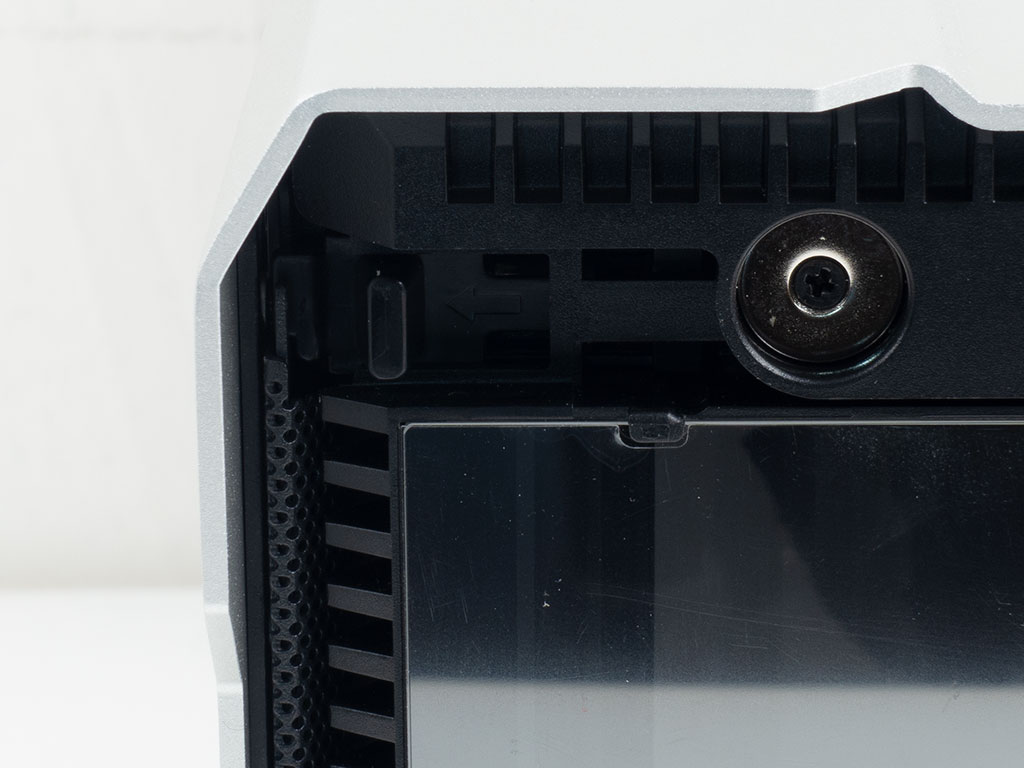
To access the interior, you do have to take a quick peek at the manual as it is not immediately apparent. Turns out, the upper front panel is held in place magnetically, which in turn hides two sliding locks that keep the top cover in place. Once released, you may push that cover forward, and then up and away.
As the next step, there is a single thumb screw on the rear holding the bottom case half in place. Once removed, the interior steel frame slides off it effortlessly. As a third and final step, the two fine mesh side panels can be pulled up off the internal steel structure.

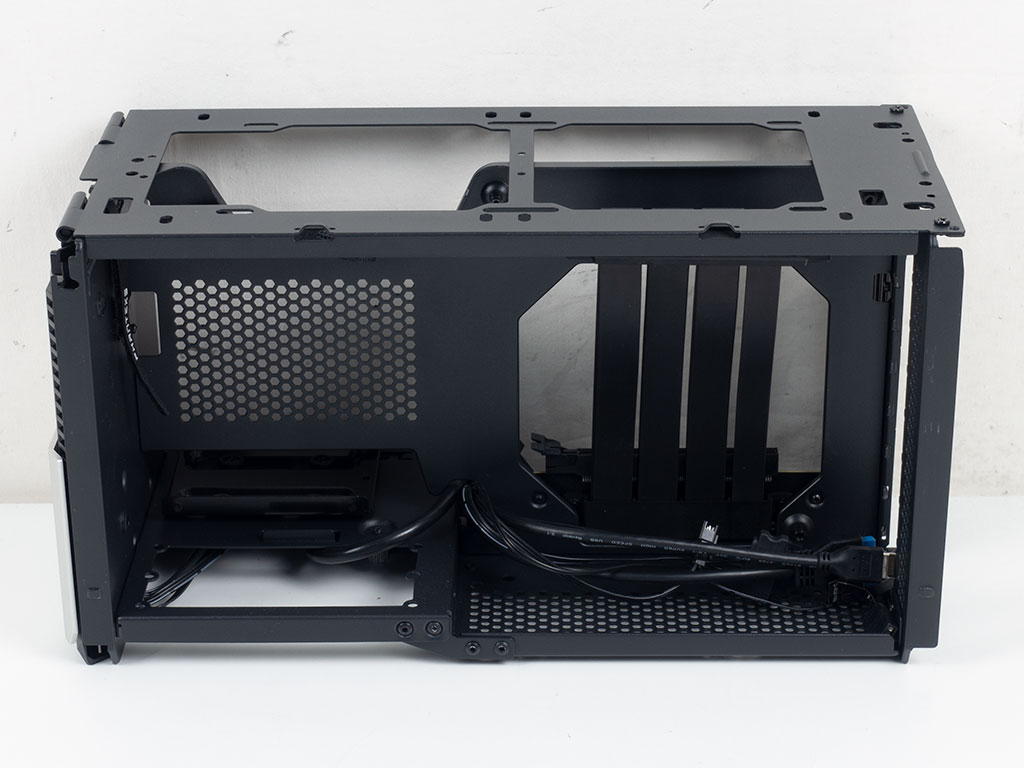
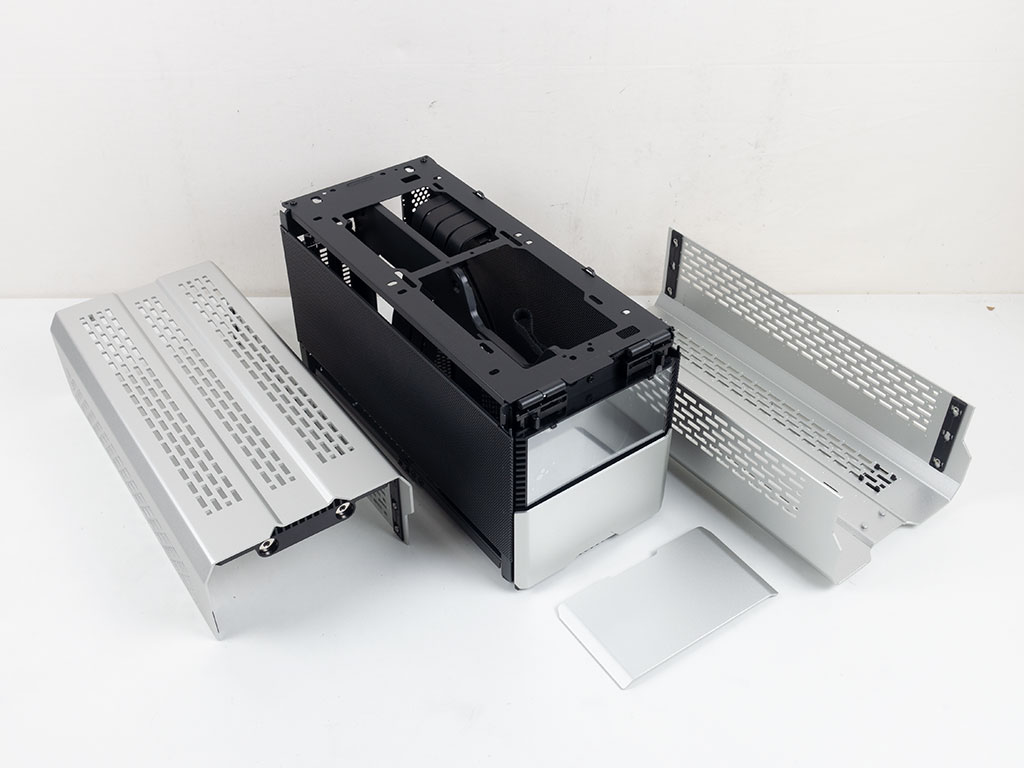
With all the fancy exterior removed, how compact the Phanteks Shift XT could be if it were to employ simple flat exterior panels and offered no additional fan placements, but simple air vents shows. In this state, the layout also looks pretty traditional for an SFF sandwich approach, but as is the case with most such compact enclosures, the small details are what really matters.
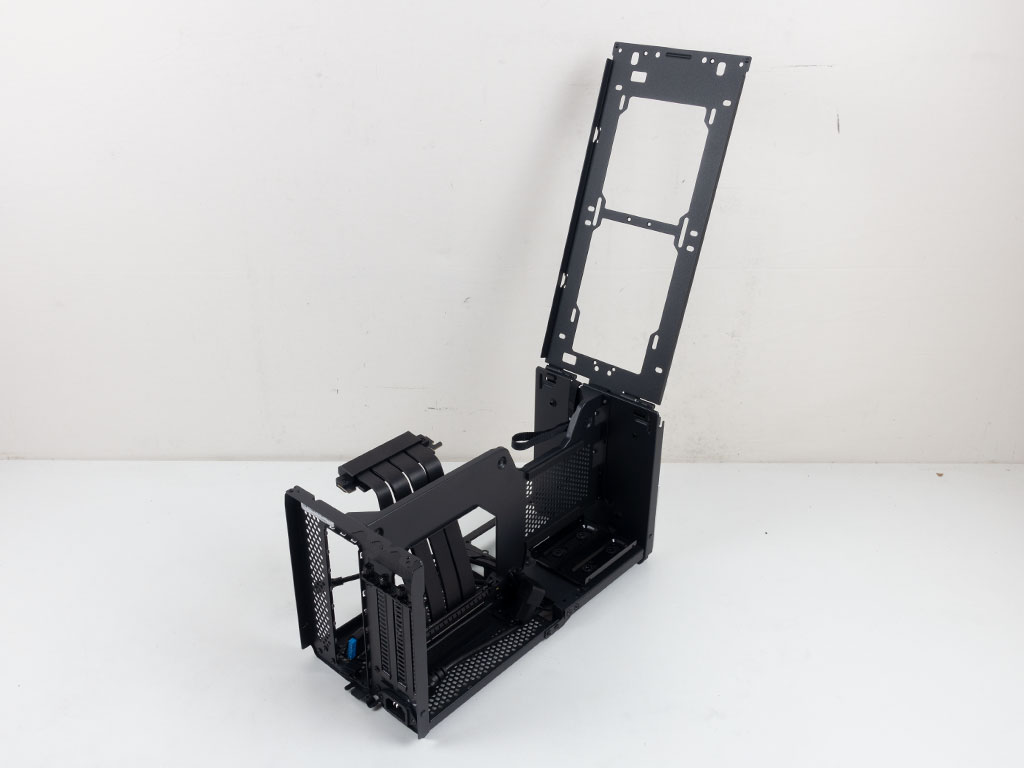
First, you may simply swing open the top. This will give you easy access to any installed cooling in the top, whether it consists of fans or an AIO. In addition to that, it may be removed to allow you to focus on assembling the core of the system first. Tipping this frame on its side, you can see that Phanteks also thought about how to route the cables of the chassis in a way that reduces internal cable clutter. The front half of the floor is raised with a solid metal thumb-screw-equipped clamp to keep it all in place.
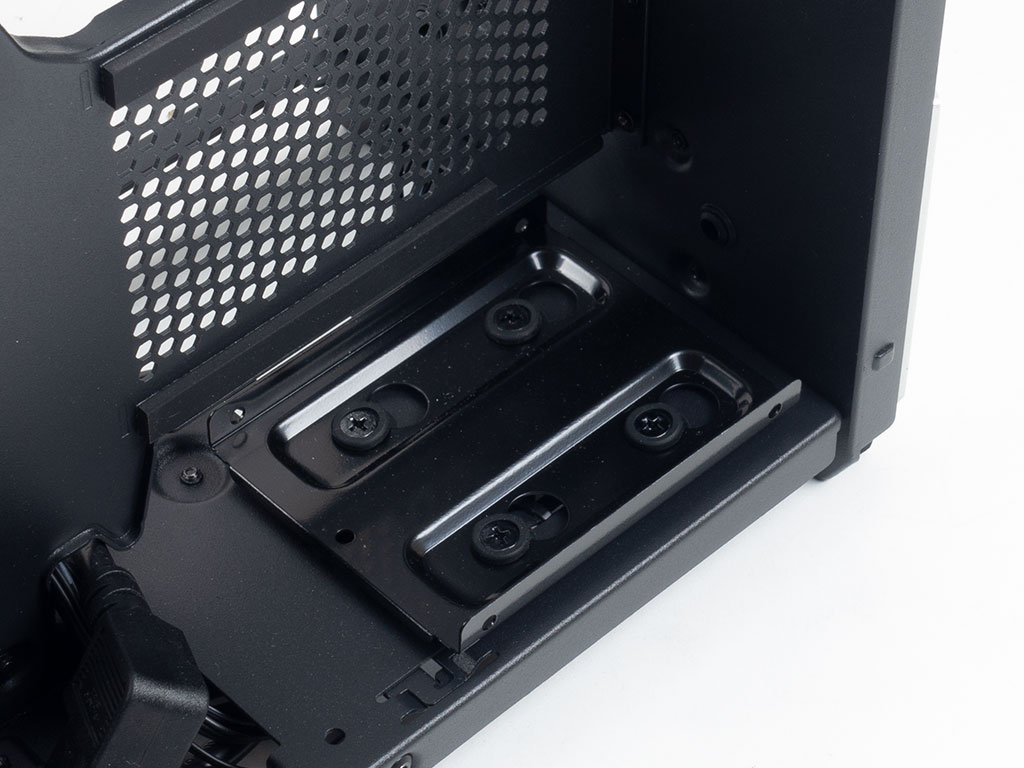
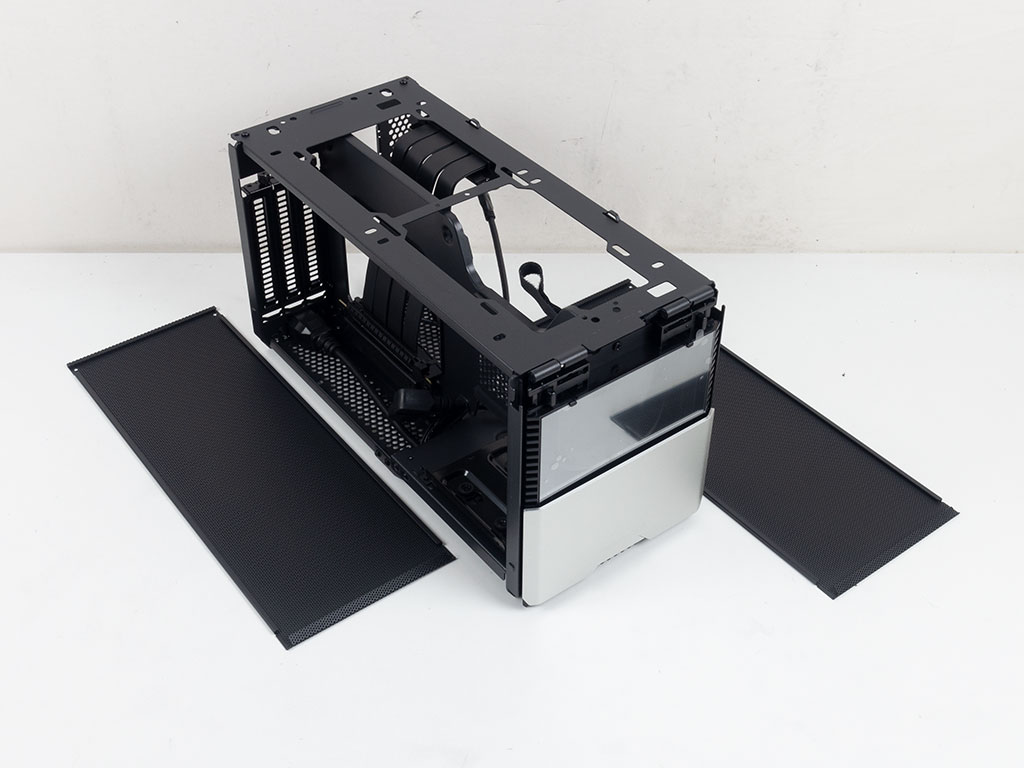
Towards the front, on the GPU side, is a 2.5" hard-drive tray on the floor of the Shift XT, so you may have that cheaper, secondary mass-storage option instead of resorting exclusively to the single, more expensive NVMe drive for all your storage needs. The GPU takes up the rest of this side of the chassis and features rubber lining on the dividing wall towards the front as an added level of protection for your graphics card. The power cable for the PSU also runs along the floor, so it won't get in the way during the build process.
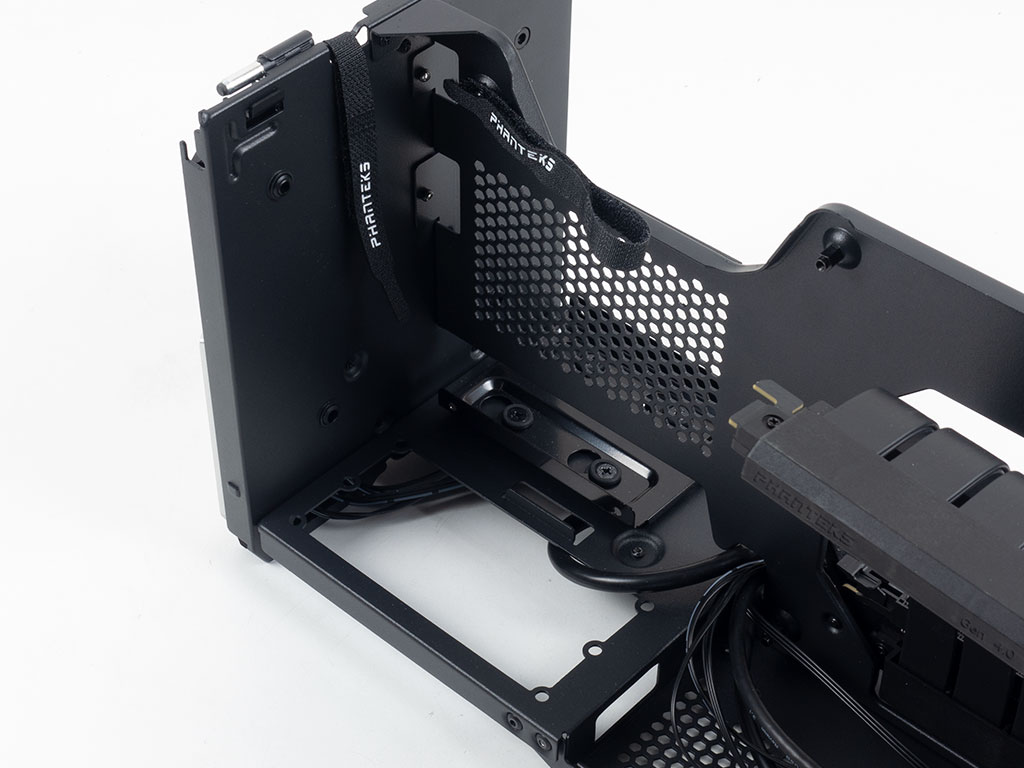
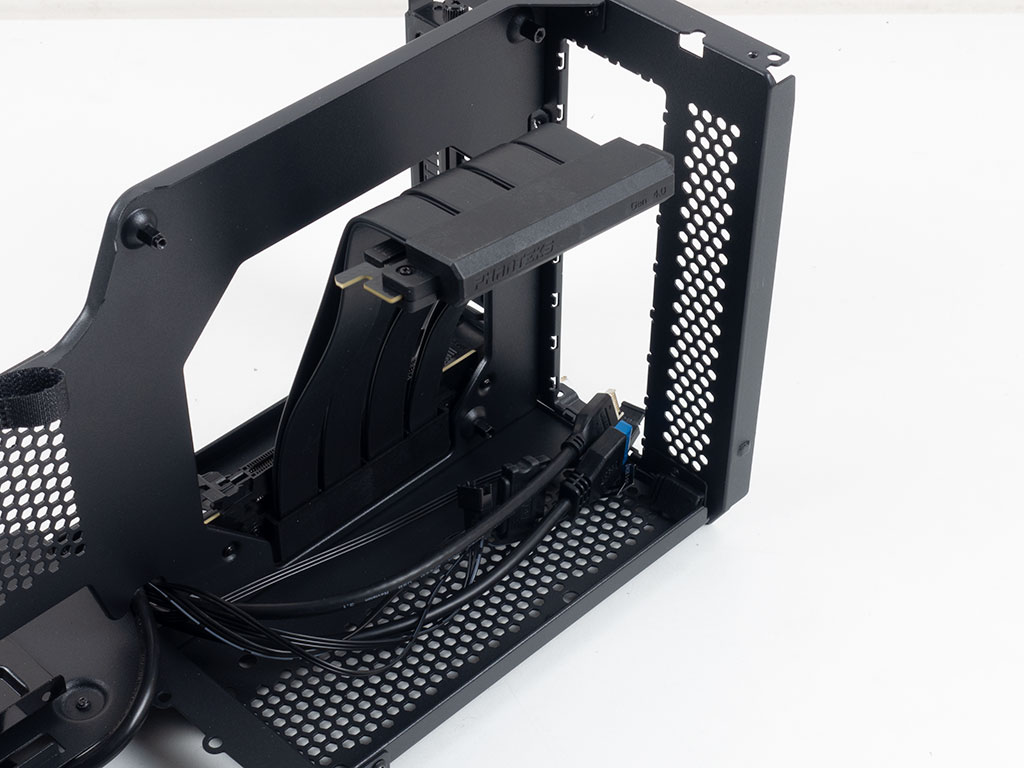
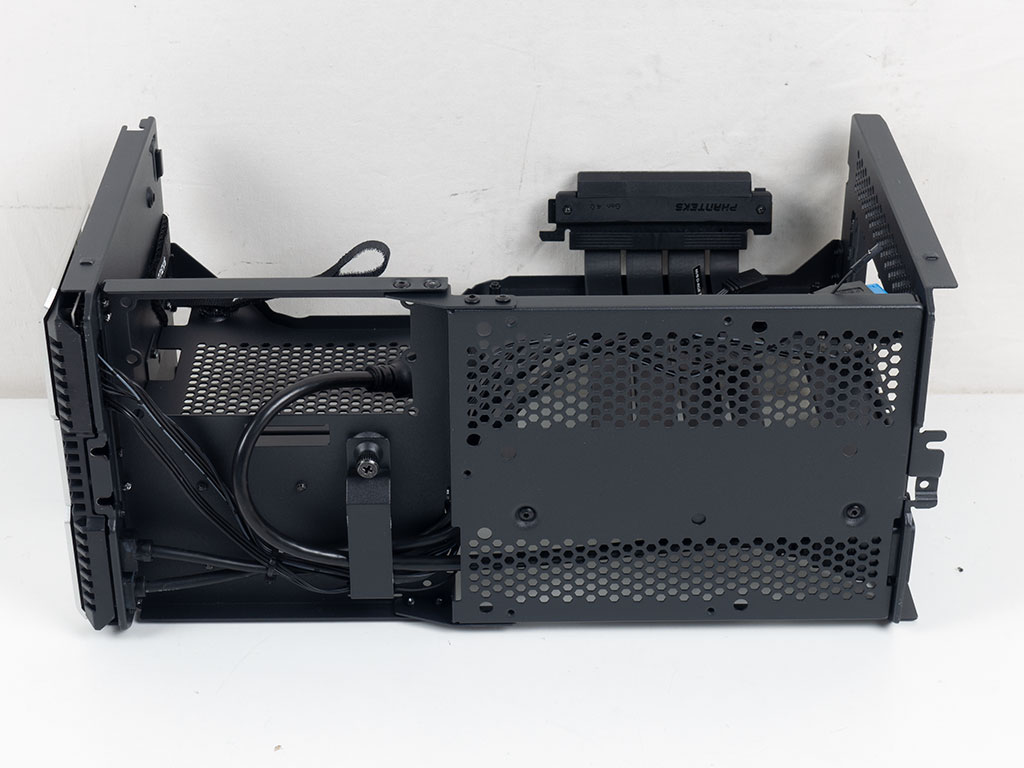
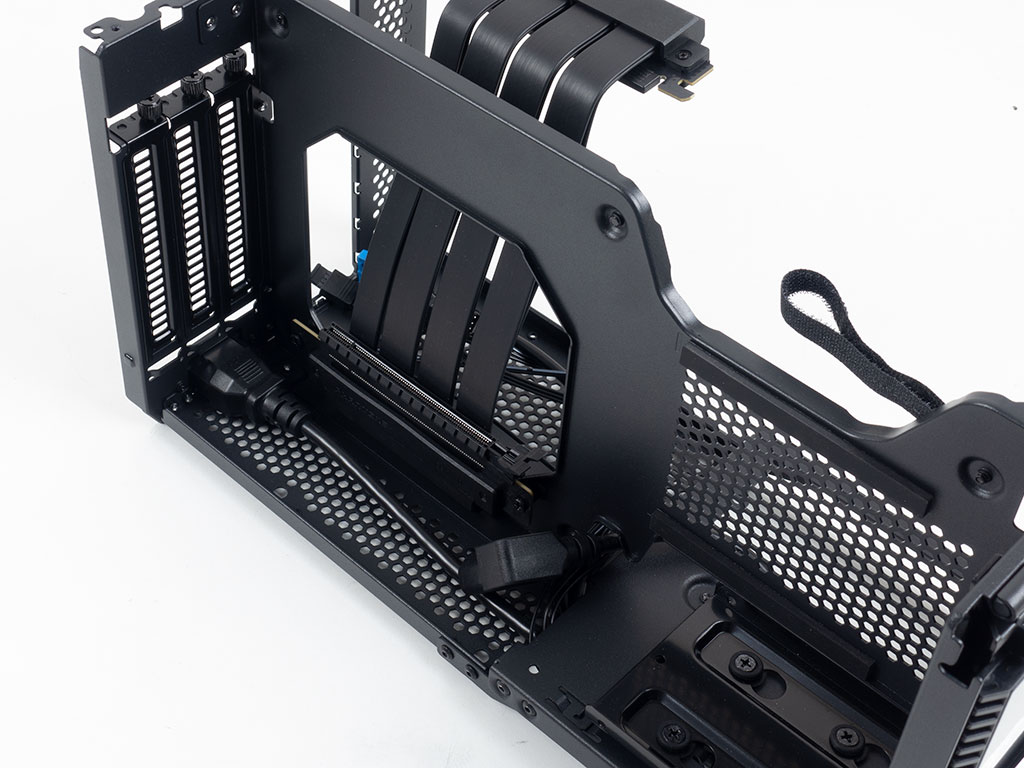
On the opposite side is the PSU bay which may hold an SFX or SFX-L unit. It is offset to be as close to the exterior of the chassis as possible. This creates a gap between the central divider and power supply for a place to store cables in the process. Two Velcro strips will aid in keeping it all secure so that none of them interfere with any active cooling in the ceiling. Phanteks has also lowered the separating wall a bit here so that cables can pass between the two sides easily. Towards the rear is the ITX motherboard area with the pre-routed PCIe 4.0 riser cable. This cable looks really sturdy, but is also rather bulky and stiff, so it will be interesting to see how it holds in place.
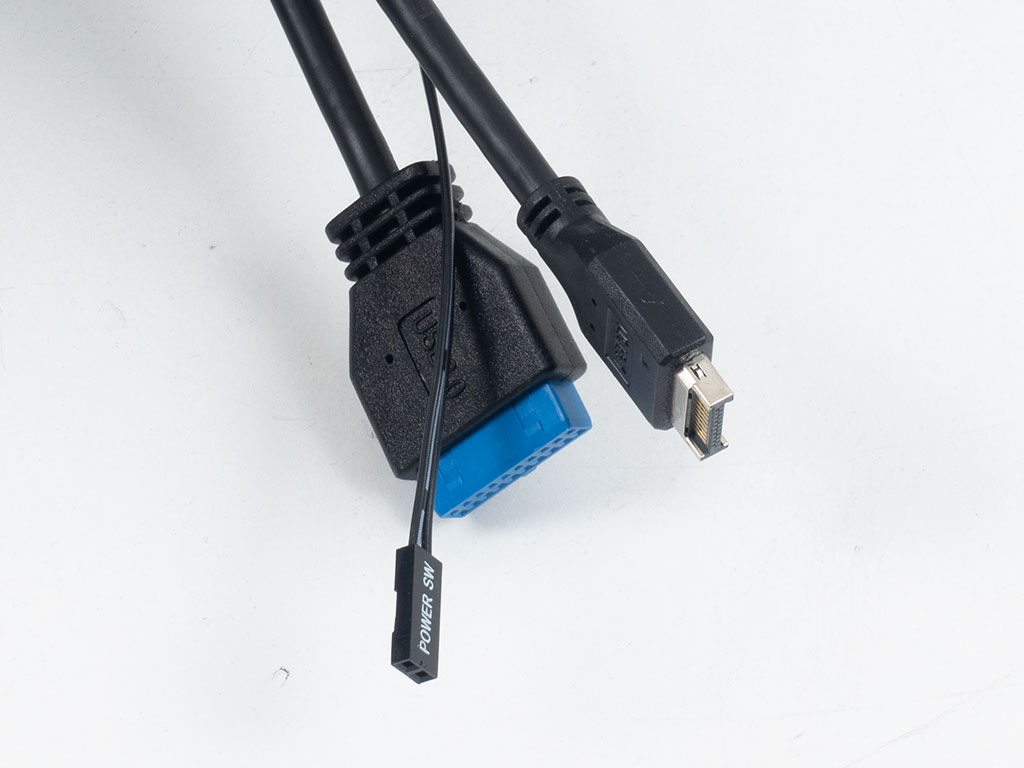

As the Phanteks Evolv Shift XT lacks any power/HDD activity LEDs, or a reset button, there is only a single cable for the power switch, besides the usual USB leads. The embedded ARGB (or D-RGB as Phanteks calls it) utilizes a SATA power connector and allows for both their own as well as generic lighting elements to be connected. On top of that, you will find a cable that allows motherboard control instead.
Feb 22nd, 2025 10:05 EST
change timezone
Latest GPU Drivers
New Forum Posts
- Protection against backdoor in Gigabyte motherboards (5)
- "Upgrading Op-Amps on Asus Xonar Essence STX for Better Soundstage and Clarity" (0)
- Zotac 5090 Solid disabled ROPs (28)
- Microsoft Officially drops AC3 (Dolby Digital) Support from W11 24H2 (25)
- Nvidia's GPU market share hits 90% in Q4 2024 (gets closer to full monopoly) (485)
- The TPU UK Clubhouse (25751)
- 3D Printer Club (430)
- help me find the right bios for my his RX580 Iceq2 X 8Gb (1)
- It's happening again, melting 12v high pwr connectors (863)
- Keep a 4080s or take a 5070ti? (2)
Popular Reviews
- MSI GeForce RTX 5070 Ti Ventus 3X OC Review
- Gigabyte GeForce RTX 5090 Gaming OC Review
- Galax GeForce RTX 5070 Ti 1-Click OC White Review
- ASUS GeForce RTX 5070 Ti TUF OC Review
- Ducky One X Inductive Keyboard Review
- MSI GeForce RTX 5070 Ti Vanguard SOC Review
- MSI GeForce RTX 5070 Ti Gaming Trio OC+ Review
- darkFlash DY470 Review
- Palit GeForce RTX 5070 Ti GameRock OC Review
- AMD Ryzen 7 9800X3D Review - The Best Gaming Processor
Controversial News Posts
- NVIDIA GeForce RTX 5090 Spotted with Missing ROPs, NVIDIA Confirms the Issue, Multiple Vendors Affected, RTX 5070 Ti, Too (332)
- AMD Radeon 9070 XT Rumored to Outpace RTX 5070 Ti by Almost 15% (302)
- AMD Plans Aggressive Price Competition with Radeon RX 9000 Series (269)
- AMD is Taking Time with Radeon RX 9000 to Optimize Software and FSR 4 (256)
- AMD Radeon RX 9070 and 9070 XT Listed On Amazon - One Buyer Snags a Unit (247)
- Edward Snowden Lashes Out at NVIDIA Over GeForce RTX 50 Pricing And Value (241)
- AMD Denies Radeon RX 9070 XT $899 USD Starting Price Point Rumors (239)
- New Leak Reveals NVIDIA RTX 5080 Is Slower Than RTX 4090 (215)