 13
13
Phanteks Evolv Shift XT Case Review
Finished Looks »Review System
| System Parts for Case Reviews | |
|---|---|
| Processor: | ATX: Intel Core i5-11600K mATX/ITX: Intel Core i5-10600K Provided by: Intel |
| Motherboards: | ATX: Gigabyte Z590 AORUS PRO AX ITX: Gigabyte Z590I Vision D Provided by: Gigabyte mATX: ASRock B560M Steel Legend Provided by: ASRock |
| Graphics Card: | Gigabyte Radeon RX 6600 Eagle Provided by: Gigabyte ZOTAC GAMING GeForce RTX 3060 Ti Twin Edge OC Provided by: Zotac |
| Memory: | 16 GB XPG SPECTRIX D50 3200 MHz 16 GB XPG SPECTRIX D60G DDR4 3000 MHz 16 GB XPG GAMMIX D20 DDR4 3200 MHz Provided by: ADATA |
| HDD: | Toshiba MG08ADA400E 7200 RPM SATA III Provided by: Toshiba |
| SSD: | ATX:XPG SPECTRIX S20G 500 GB mATX: XPG GAMMIX S50 Lite 1 TB ITX: ADATA Falcon 512 GB ADATA Ultimate SU800 512 GB ADATA Ultimate SU720 500 GB Provided by: ADATA |
| Power Supply: | ATX: Fractal Design ION+ 650W 80 Plus Gold SFX: Fractal Design ION SFX-L 650W 80 Plus Gold Provided by: Fractal Design |
| Cooling: | be quiet! Pure Loop 120/240/280/360 Provided by: be quiet! |
Assembly

With the top panel removed, adding a motherboard is really easy. As the PCIe cable is on the top, the ITX board has to be inserted upside down. Connecting that cable was a bit nerve racking as it is rather rigid and thus really requires the plastic clip to stay in place. All this ads a bit of tension to the motherboard PCB, which other offerings out there simply do not. It seems Phanteks was aware of this and added the clip as some measure against it. However, to reduce the forces acting on the board, that clip should really be secured to the dividing frame, not the PCB.
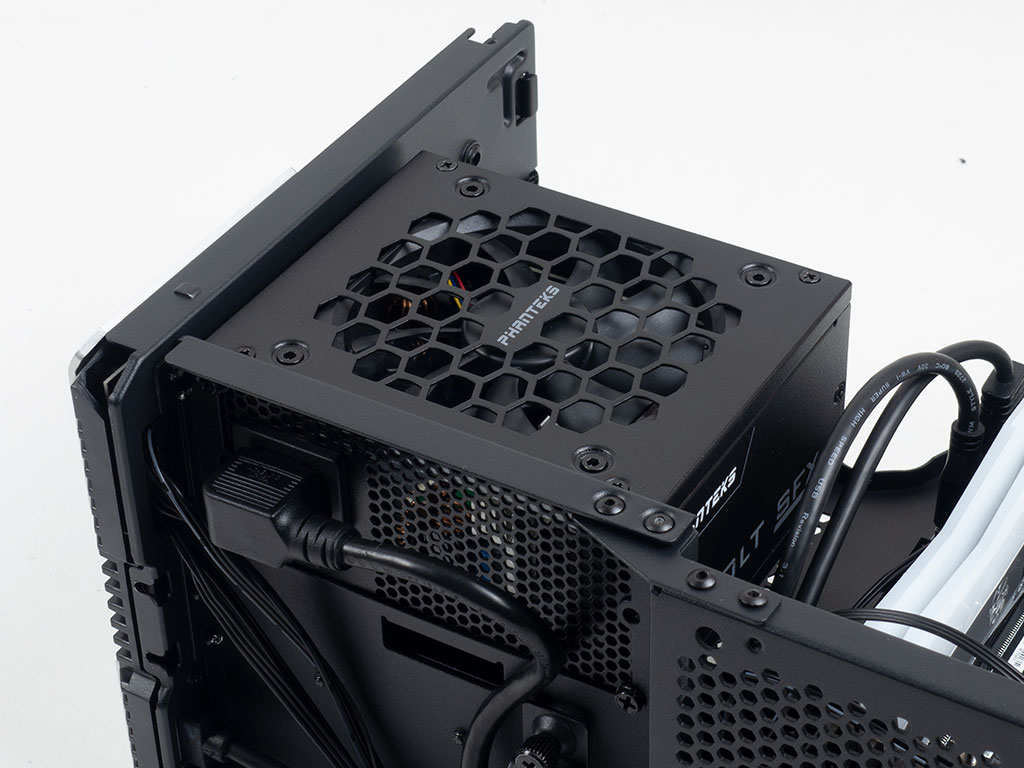
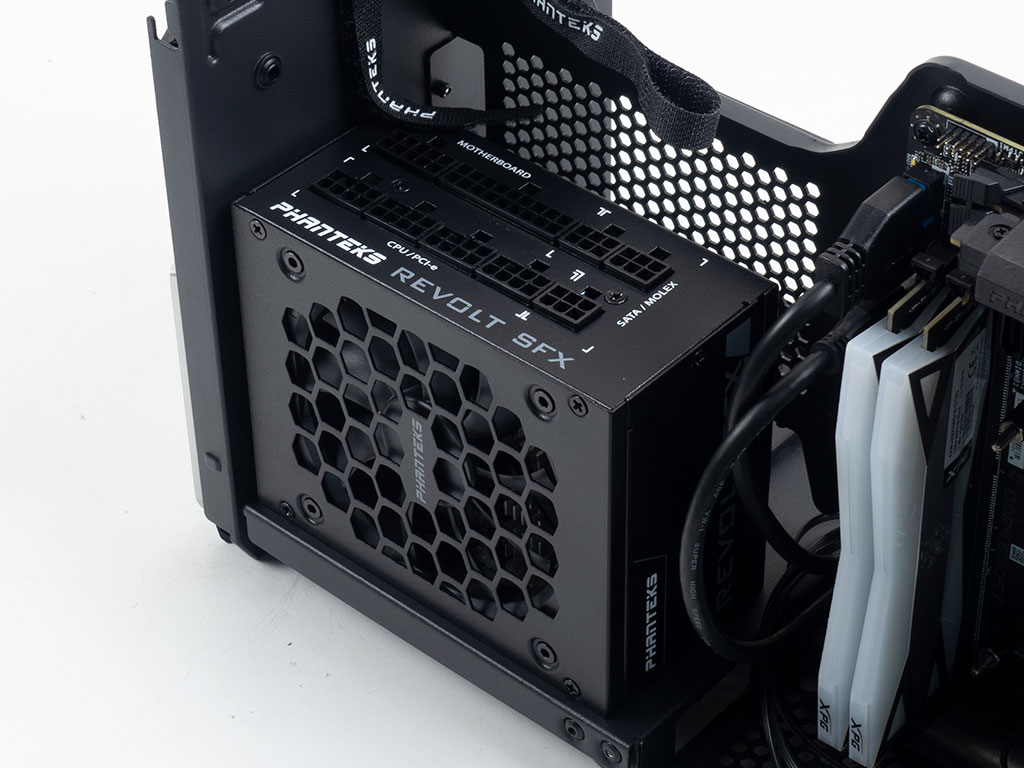
Installing the PSU was really straightforward as well. Simply screw it down to the base of the chassis, connect the power cable, and that's it. The one things you have to make sure of is that the power switch is in the on position. While you can get to it by sliding the whole system of the silver aluminium shell, there is no immediate way to get to that unless you want to fiddle with a screw driver through one of the vent openings of the exterior frame.


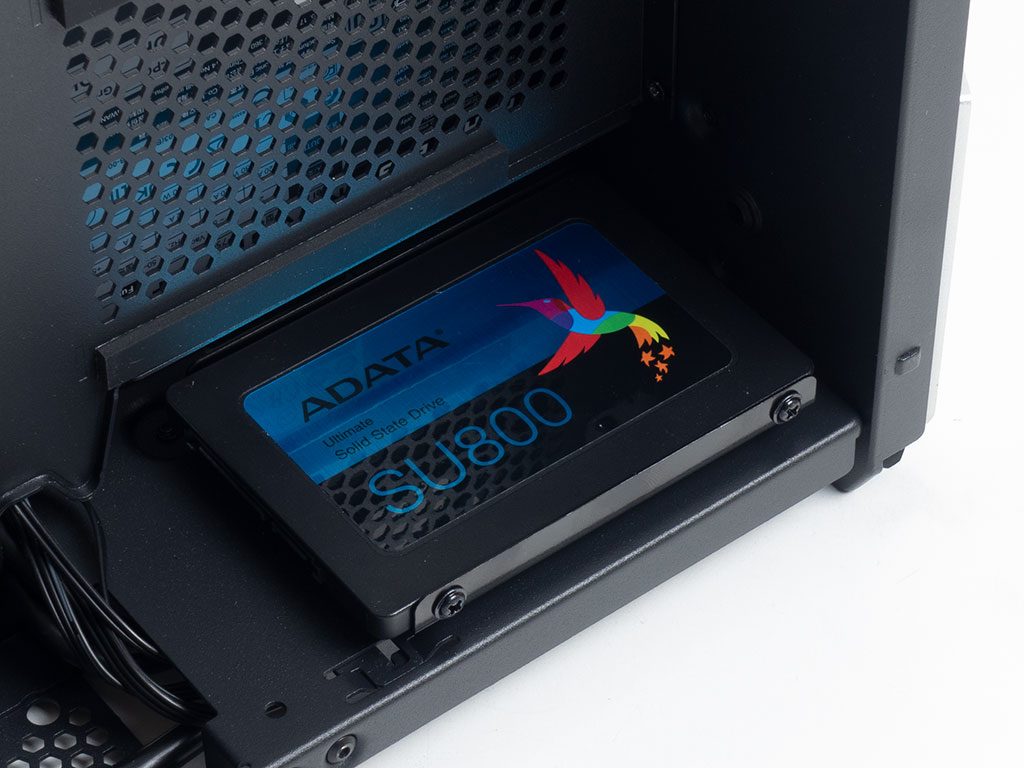
Adding an SSD provides the same experience as when assembling a standard mid-tower. The tray may be pulled out of the case, filled with the drive using classic screws, and pushed back onto the rubber-ring-equipped position it came from originally.
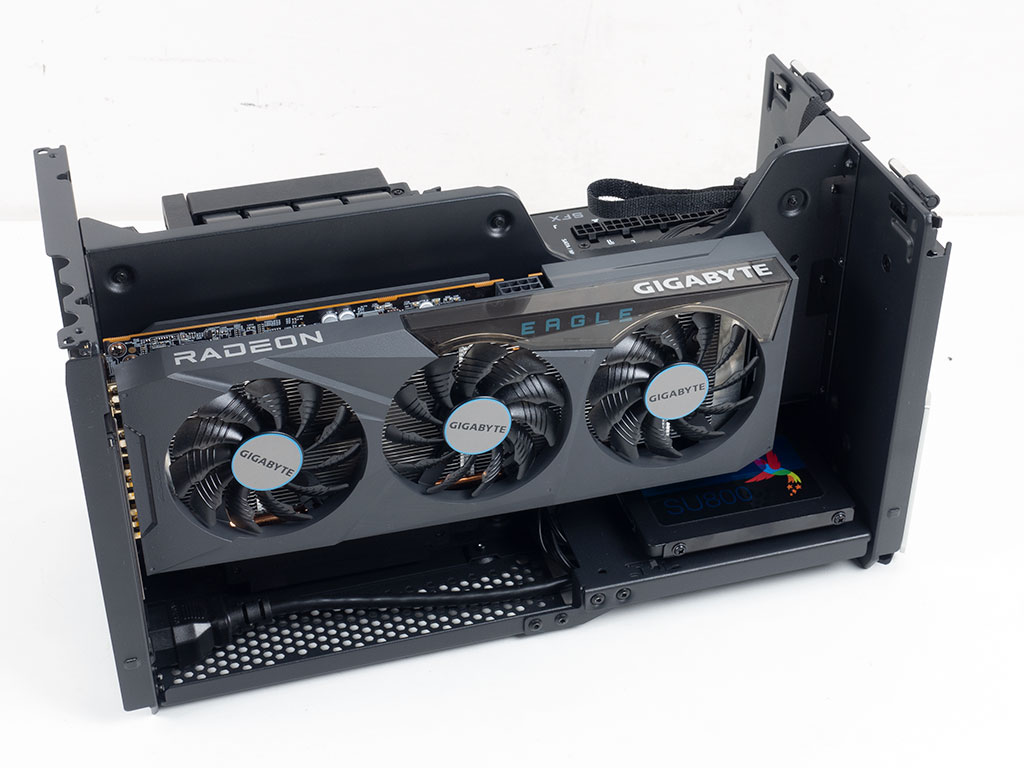
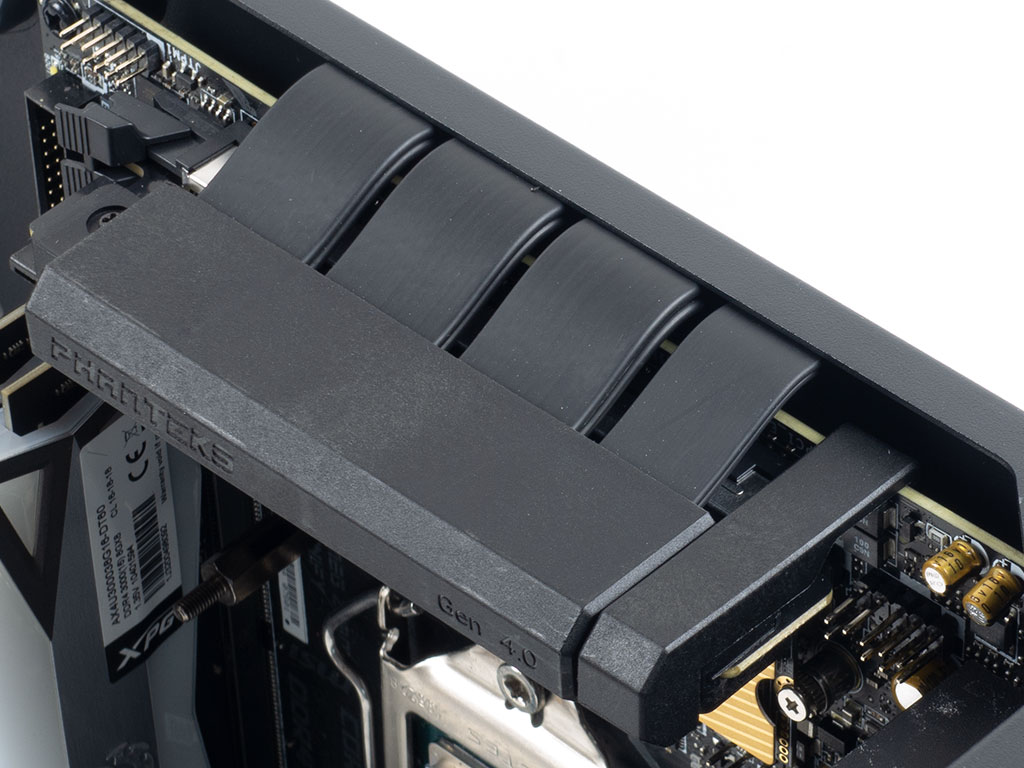
Lastly, in terms of functional components, the graphics card clips into the PCIe 4.0 riser cable upright and is easily secured with the thumb screws. There is enough room for a pixel pusher of up to 324 mm in length, so you have quite the flexibility in picking one that fits your bill. At this point, it is worth noting that not a single internal cable has been connected and not a single zip tie was used. In other words, adding your core components is incredibly simple within the Phanteks Shift XT, making you practically forget that you are working in an SFF enclosure.

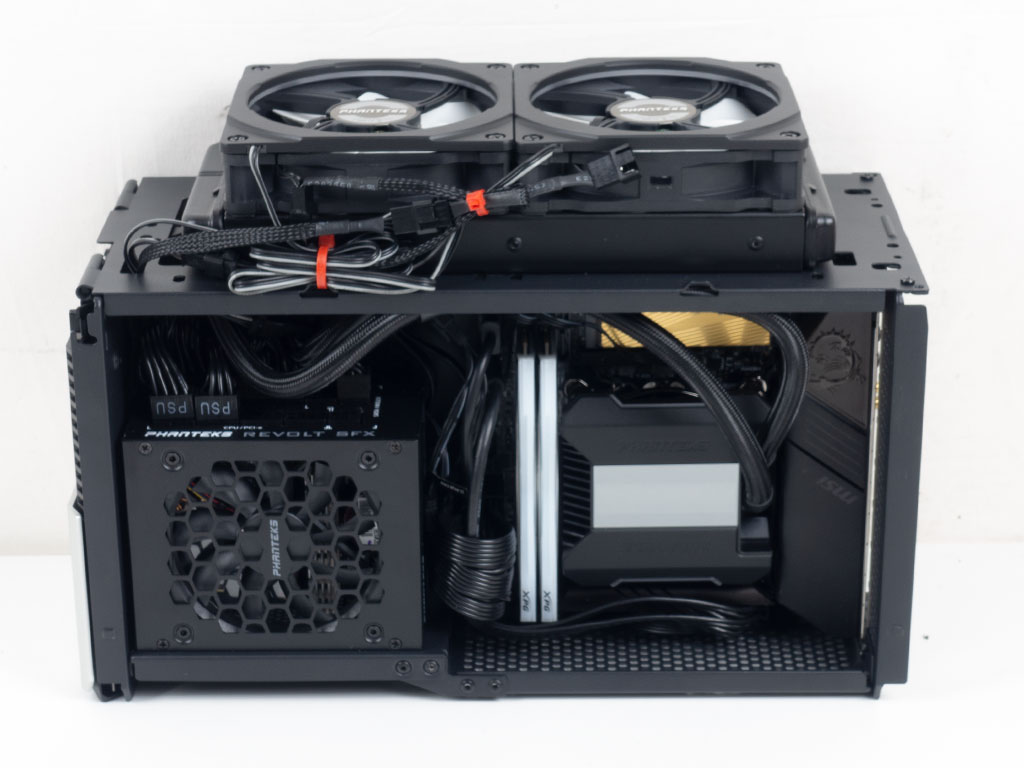
With the power cables connected and a somewhat messy effort to store them, there are no leads out of place. Even with the whole system wired up, we still did not have to use a single zip tie, and everything from the components on the motherboard to the SSD underneath the GPU remains accessible.
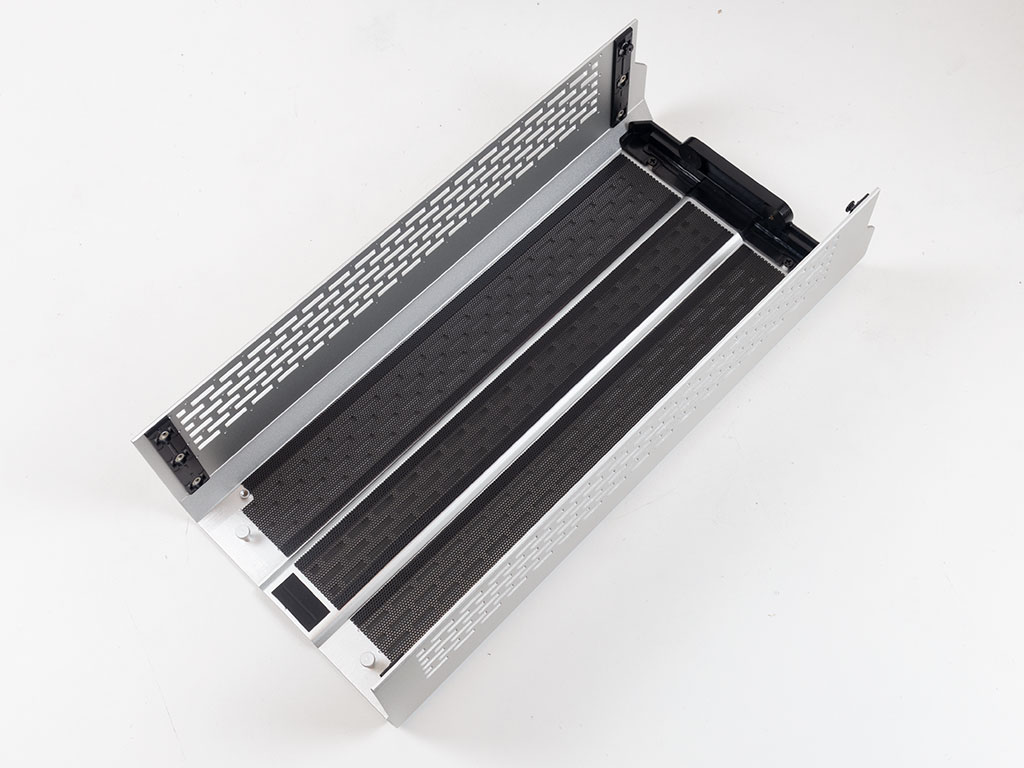
If you are opting for the compact out-of-the-box configuration, the three mesh strips may be attached to the top cover using pre-applied double-sided tape. We won't be showing off the completed compact build as it quite literally looks like the out of the box pictures. instead, let's focus on the other two options with a spotlight on the "air boost" and final look and feel of the taller "liquid cooled" configurations, as Phanteks calls them.
Air Boost Configuration
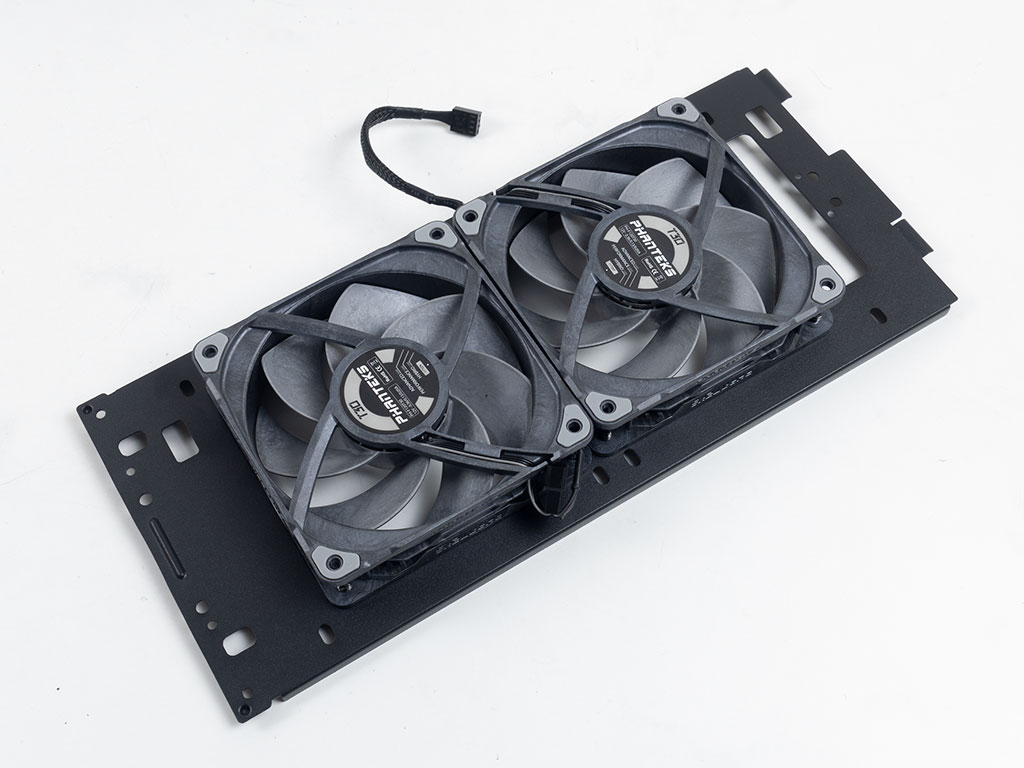
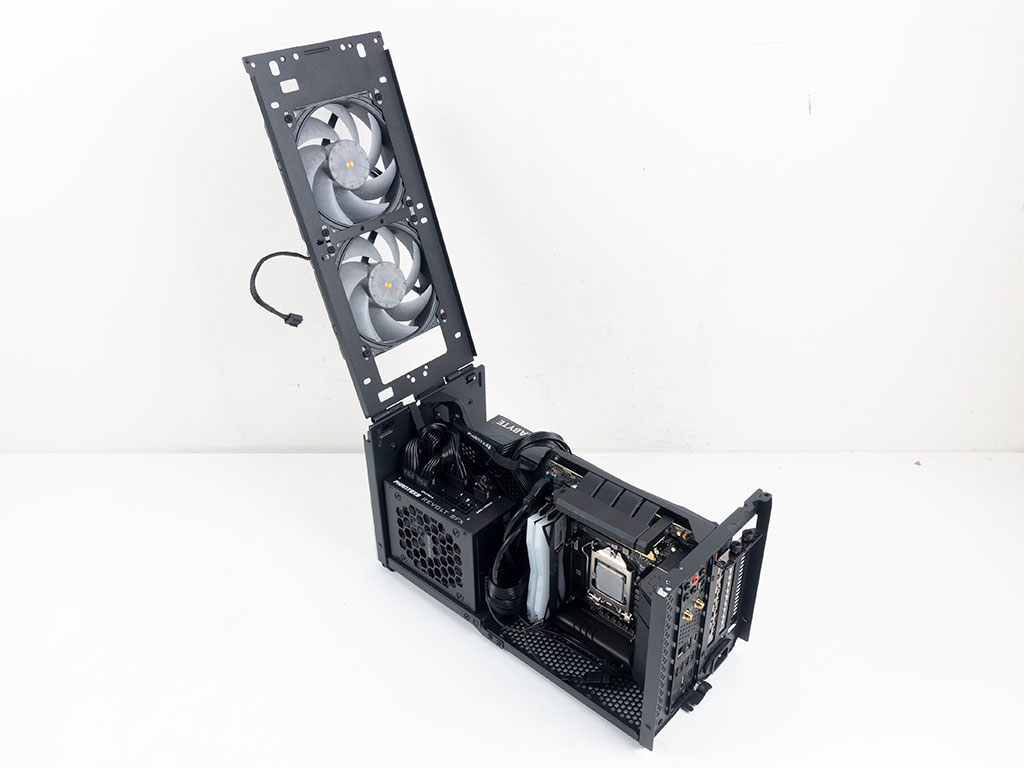

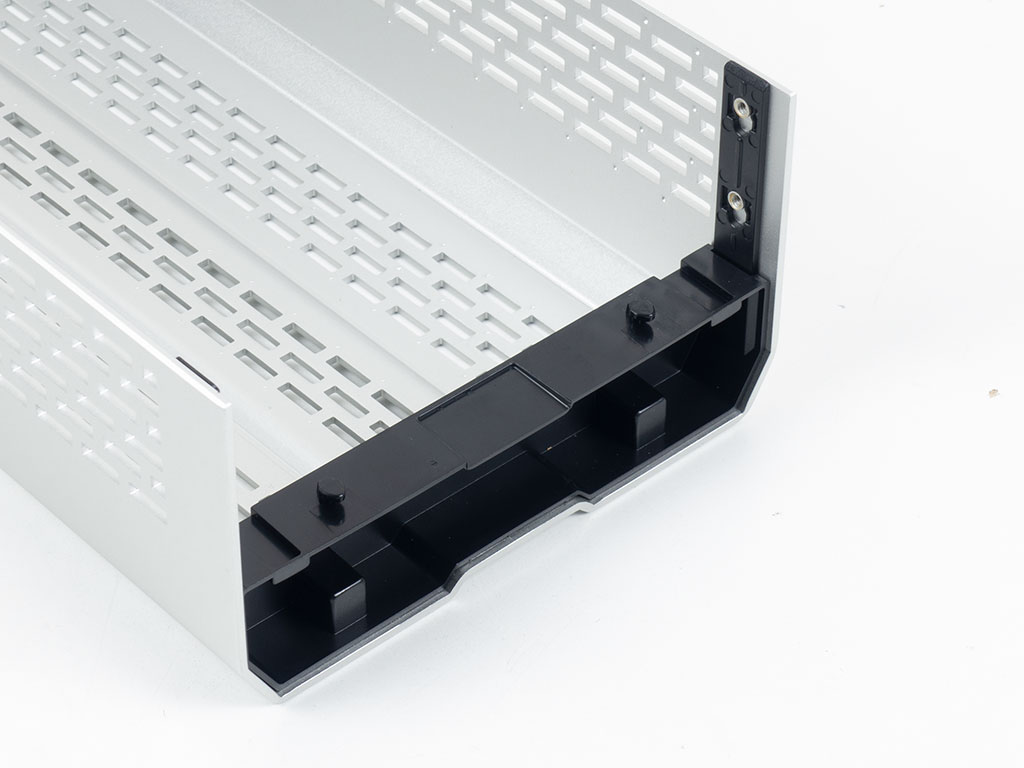
The mid-height "air boost" configuration is really for those employing a compact air cooler and wanting to include two 120 mm fans in the ceiling. For this setup, we used the two 30 mm high Phanteks T30 fans. These may be added to the top frame easily, and thanks to several zip-tie hooks, any cable clutter can be contained nicely as well. While the T30 has short cables, many aftermarket fans come with 30 cm leads, some even with two seperate ones for PWM and ARGB, so having the ability to secure them here is great. Once added, you may slide the frame back into place, connect the fans to the motherboard header, and flip it closed. (Editor's note: yes, the CPU has no cooler in this picture).
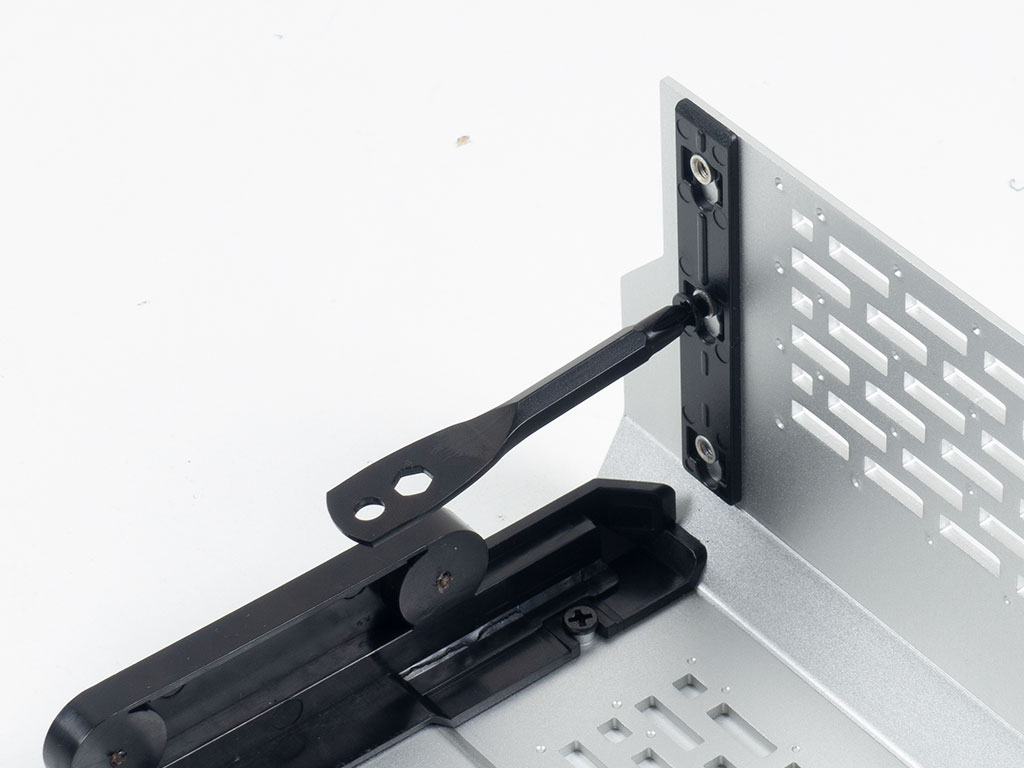
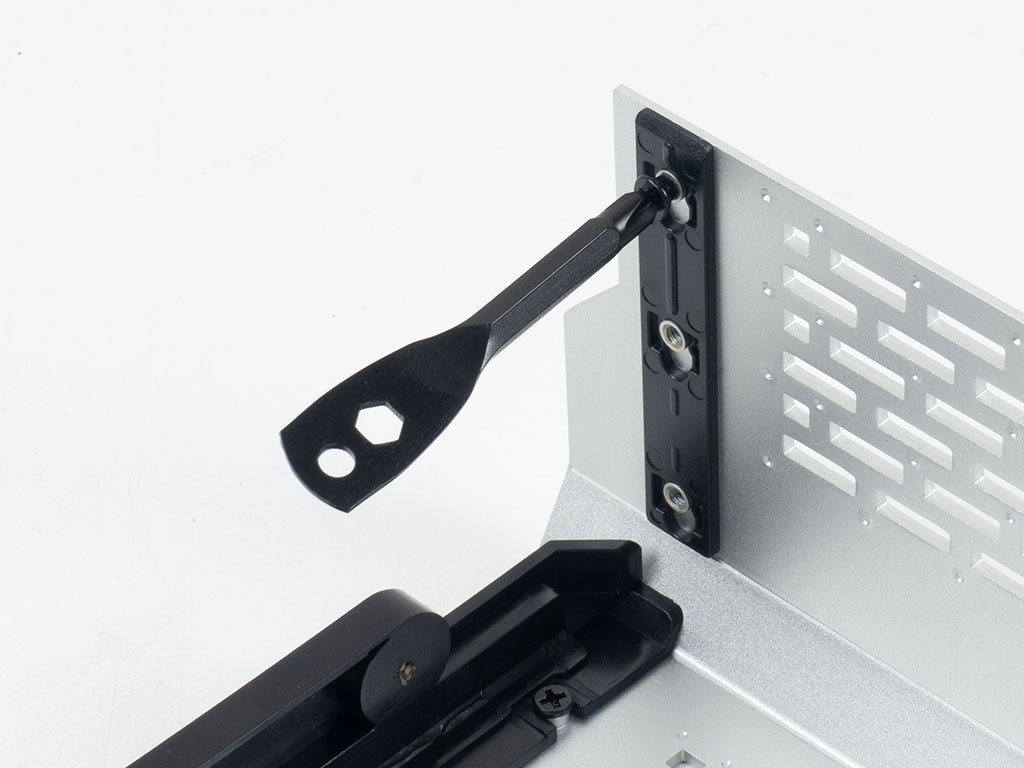
To prep the case for the space required by the fans, just move two screws on the top cover to the middle position with the special tool and to secure the smaller of the two covers in the back.
Liquid Cooler Configuration

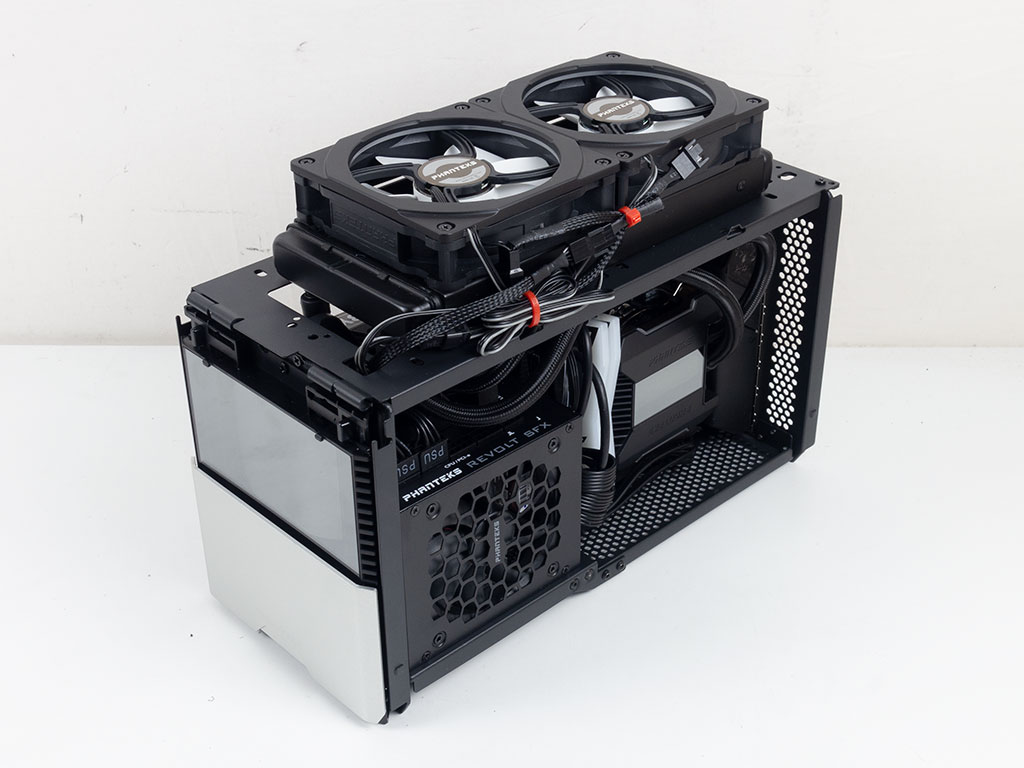
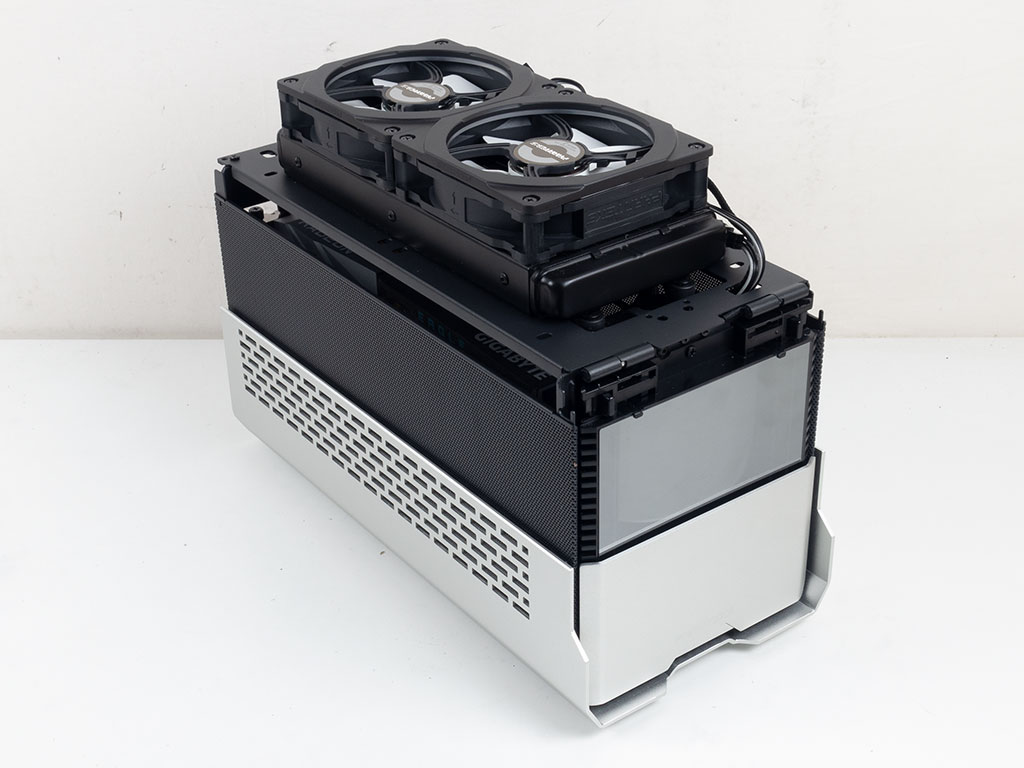
Obviously, as with any compact SFF chassis, the aim is to circumvent the compact air-cooling requirement and its performance limitations by going for liquid cooling instead. The assembly process is quite similar to that of the "air boost" setup, as you can prepare the cooling unit outside of the confines of the chassis easily. We also installed the Halo frames to the 25 mm thick fans, and it will be interesting to see if the tall "liquid cooled" setup allows for that in the end.

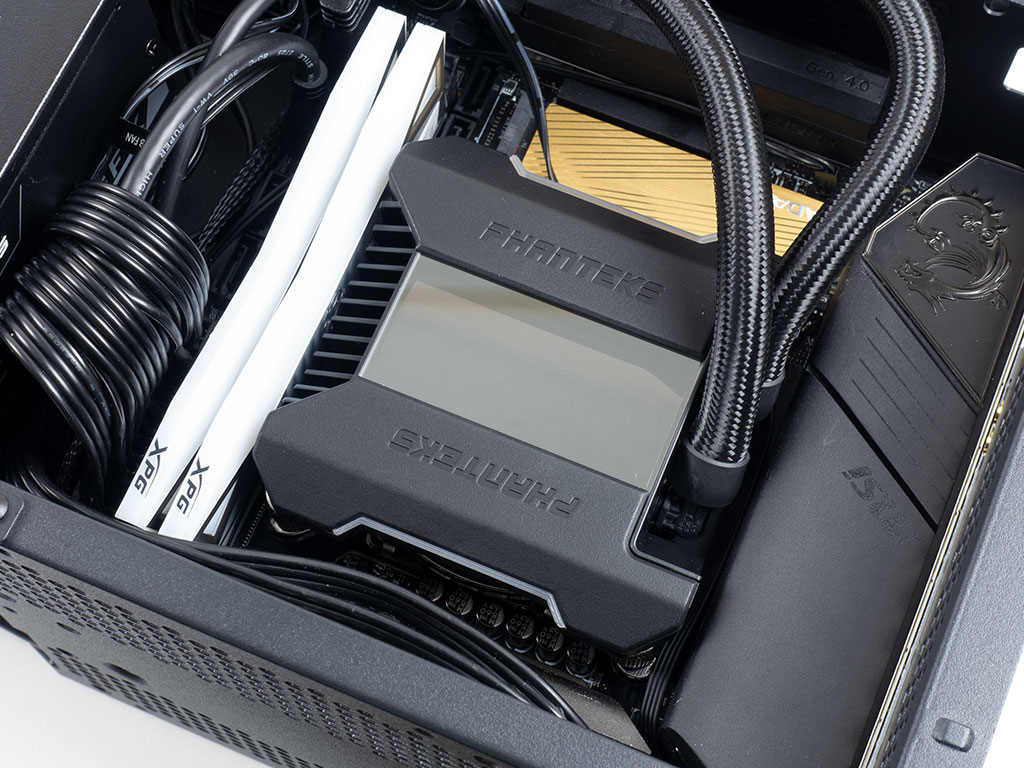
Once again, you may slide the top cover back into place, easily install the pump, and connect any wires up before flipping it down and securing it in place.

With everything assembled, the Phanteks Evolv Shift XT makes an immaculate impression when viewed from the GPU side. On the other side, you can clearly see where we secured the wires for the fans and Halo frame to the top of the chassis, but the interior does not require a single zip tie for this final result, which is impressive.
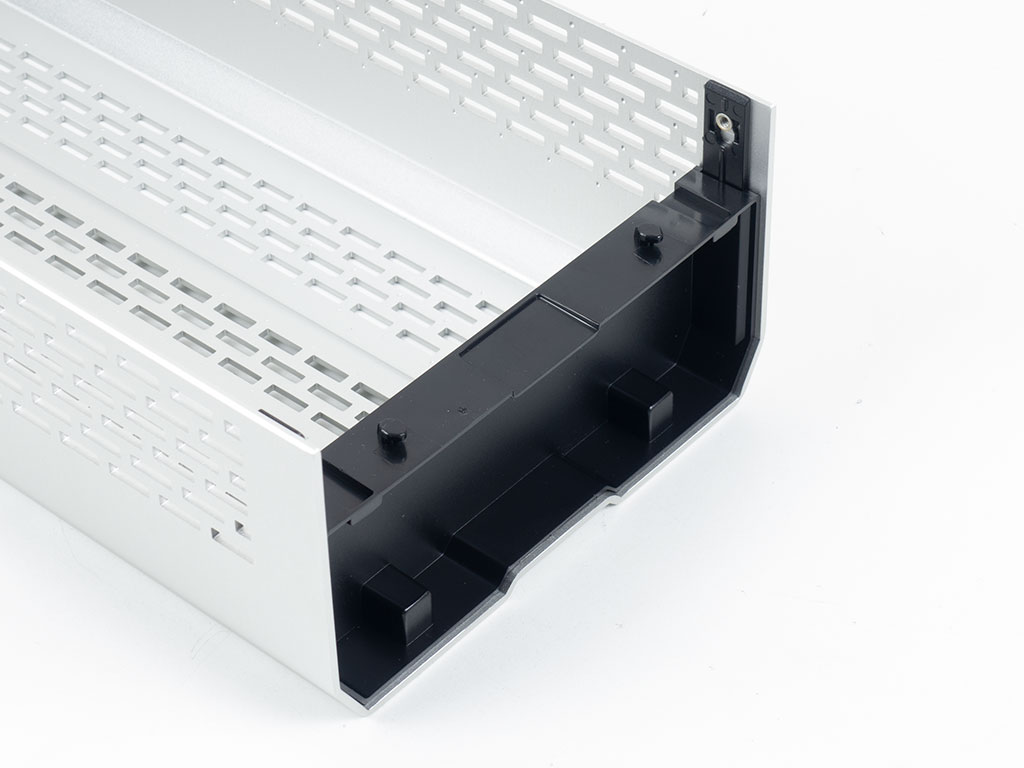
To adjust for the "liquid cooled" configuration, you have to move the screws of the top cover to the position closest to the bottom edge and use the tall rear plastic cover. Before installing that final piece, the two fine metal mesh covers simply slide back into place without issue even with the bottom part of the case exterior already in place.
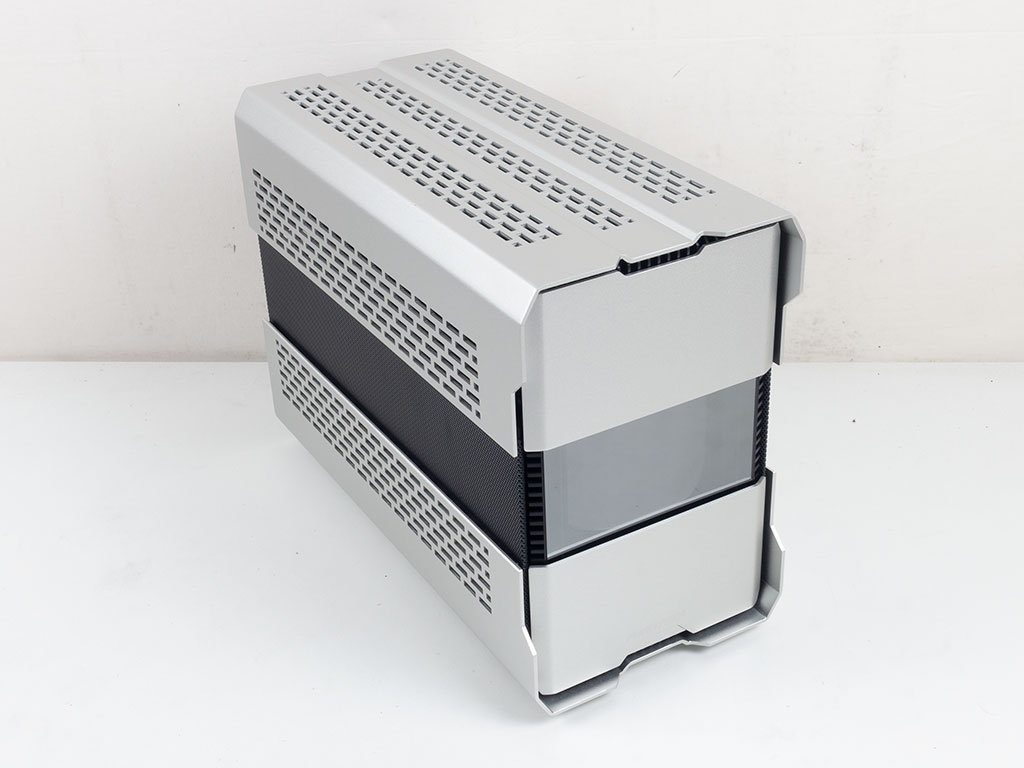
With the top cover and that front panel piece back in the right spot, the Phanteks Evolv Shift XT makes a beautiful first impression. In this configuration, it is not a small case, but it is save to say that a little bit of bulk in favor of a smooth and easy build experience and cooling performance is a small price to pay.
Jan 18th, 2025 15:48 EST
change timezone
Latest GPU Drivers
New Forum Posts
- LGA 1851 Thermal contact frames, yes or no? (4)
- Sexy Hardware Close-Up Pic Clubhouse. (10262)
- some receiver brands having specific sound characteristic like speakers? (4)
- Will you buy a RTX 5090? (19)
- Help needed identifying the correct bios to reflash fake gpu (20)
- Why no Dolby vision in PC monitors (14)
- Anime Nation (12942)
- It is 2025, you have a PCI slot you really want to fill, what do you stick in it? (4)
- DLSS Performance on 4K vs Native 1440p: Image Quality Comparison on 32-Inch Monitors (10)
- i have beeping issues in my geraphic card (1long beep and 3 short beep) (44)
Popular Reviews
- NVIDIA GeForce RTX 50 Technical Deep Dive
- ASRock Arc B570 Challenger OC Review
- Fosi Audio K7 Gaming Desktop DAC/Headphone Amplifier Review
- G-Wolves Hati-S2 8K Review
- Sparkle B570 Guardian OC Review
- AMD Ryzen 7 9800X3D Review - The Best Gaming Processor
- ASUS ROG Strix B860-A Gaming Wi-Fi Review
- ThieAudio Origin In-Ear Monitors Review - Basshead Love
- be quiet! Light Loop 360 mm AIO Review
- Quick Look: Huion Kamvas 16 (Gen 3) Graphics Tablet
Controversial News Posts
- NVIDIA 2025 International CES Keynote: Liveblog (468)
- AMD Debuts Radeon RX 9070 XT and RX 9070 Powered by RDNA 4, and FSR 4 (349)
- NVIDIA GeForce RTX 5090 Features 575 W TDP, RTX 5080 Carries 360 W TDP (217)
- AMD Radeon RX 9070 XT & RX 9070 Custom Models In Stock at European Stores (207)
- AMD Radeon RX 9070 XT Alleged Benchmark Leaks, Underwhelming Performance (204)
- Potential RTX 5090 and RTX 5080 Pricing in China Leaks (173)
- AMD Radeon RX 9070 XT Tested in Cyberpunk 2077 and Black Myth: Wukong (168)
- AMD Radeon RX 9070 XT Boosts up to 3.10 GHz, Board Power Can Reach up to 330W (167)