 7
7
QNAP TS-569 Pro Review
The XBMC Interface »QNAP Remote Control Kit


The remote control kit consists of the corresponding IR (Infrared) remote control and two AAA batteries. It unfortunately requires line of sight to the NAS for proper operation, since it is an IR control, which may prove to be an inconvenience to some. Its price is quite stiff at $40, but QNAP informed us that it will soon drop down close to $20.
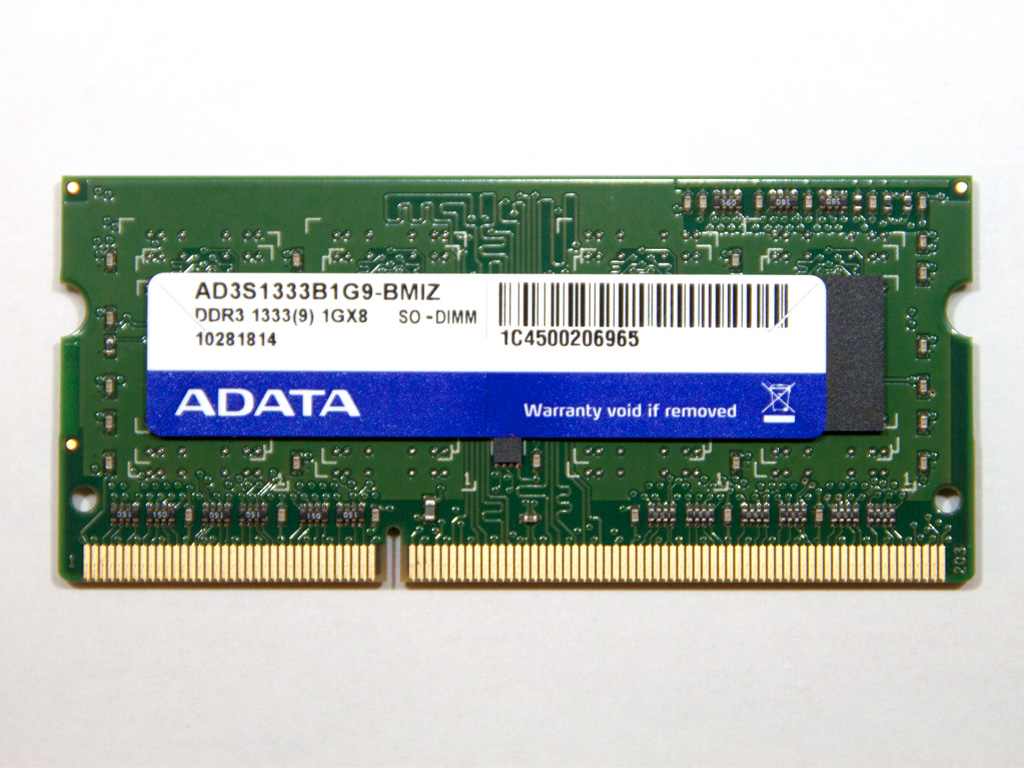
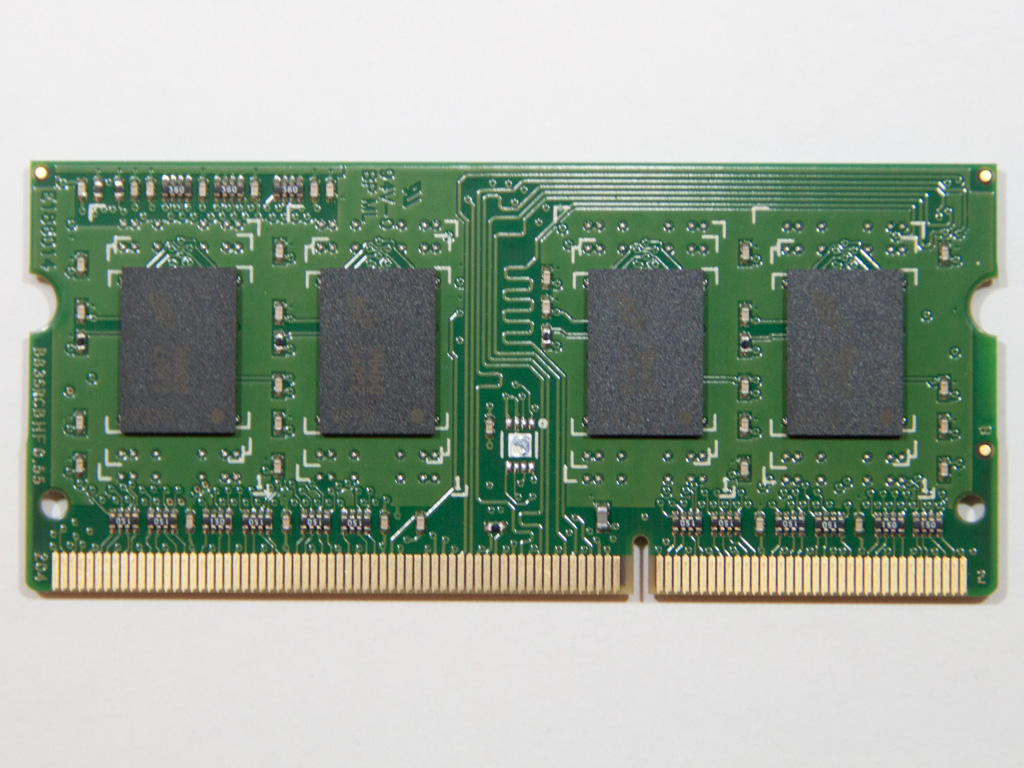
Along with the remote control kit, QNAP was kind enough to send us a memory upgrade and an HDMI cable. The 1GB RAM module that QNAP sent us is listed for $99 on their online store. This is really expensive, with the 2GB module being even more expensive at $159! Well, if you want to upgrade your QNAP TS-x69 Pro NAS, you better get yourself a Kingston KVR1333D3S8S9/2G module; it will work like a charm.
HD Station Installation
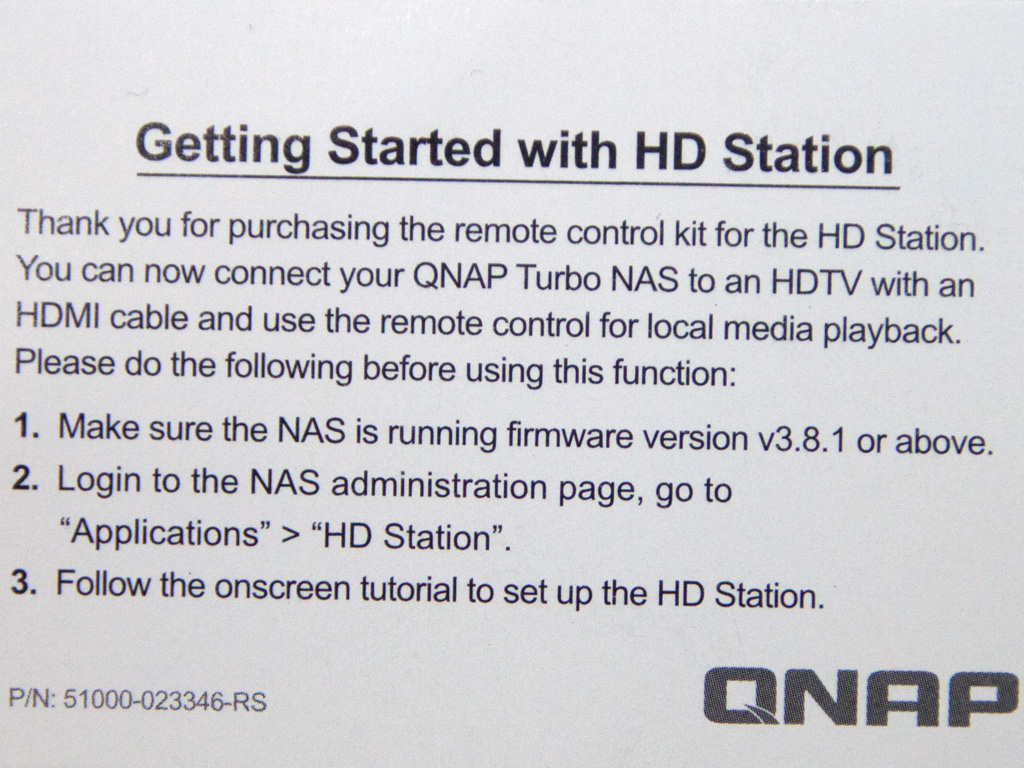
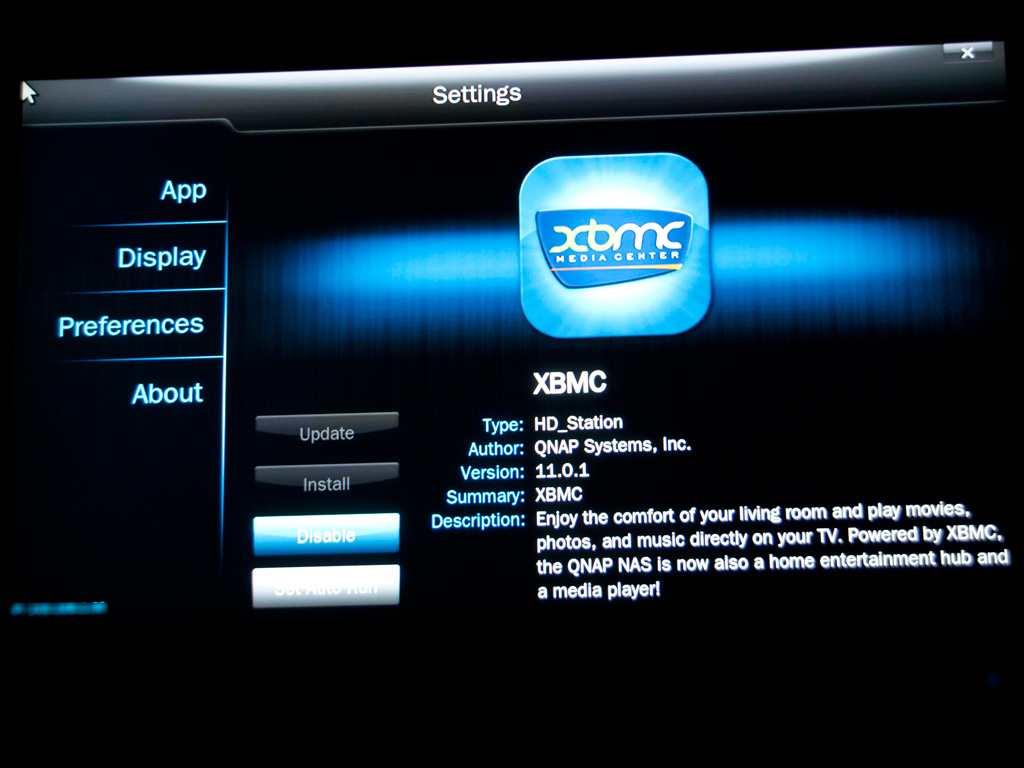
Before we proceed to install HD Station, let us first see what this application is all about. According to QNAP, the HD Station is a platform whereupon the famous XBMC application and/or the Chrome browser can be installed, which would allow users to directly play back all NAS multimedia content, or browse Internet websites on the TV screen through the HDMI interface. The HD Station does, in other words, transform the NAS into a fully featured media player, which may be useless in an SMB environment. Enthusiast users buying the TS-569 Pro for home use will, on the other hand, find this feature immensely interesting. We should note that this unit's shortcoming is the lack of any audio ports since it was initially conceived of as a NAS device. QNAP also states that the TS-569 Pro doesn't support HDMI pass-through for the time being, so you cannot pass the HD audio signal to your home cinema amplifier for further processing. This sucks big time. QNAP will hopefully provide a fix soon, although we suspect that this won't be an easy fix, since it is up to Intel to enable HDMI pass-through support on their ATOM processor.
Before you install the HD Station, you should connect the NAS to a TV that has an HDMI port. QNAP states that there are four different ways to control the HD Station:
- Through the official QNAP remote controller
- Through an MCE remote controller
- Through a USB keyboard or mouse
- Through Qremote: A QNAP remote app exclusively designed for the HD Station. This is possibly the best option, especially if you have an Android or iOS device.
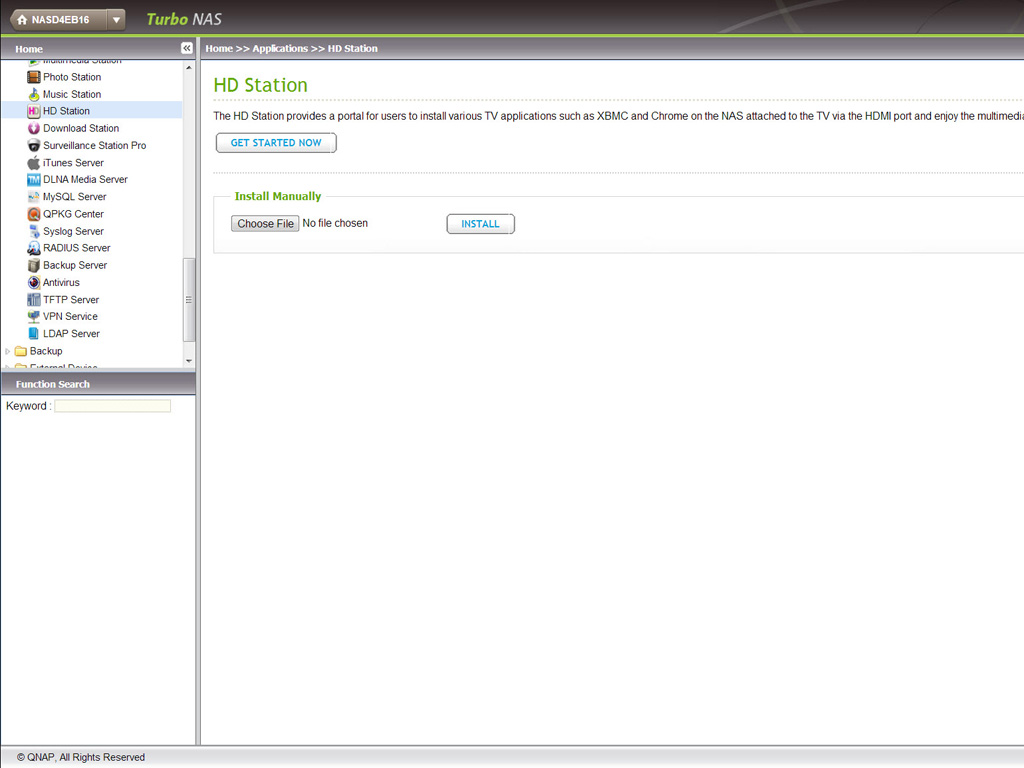
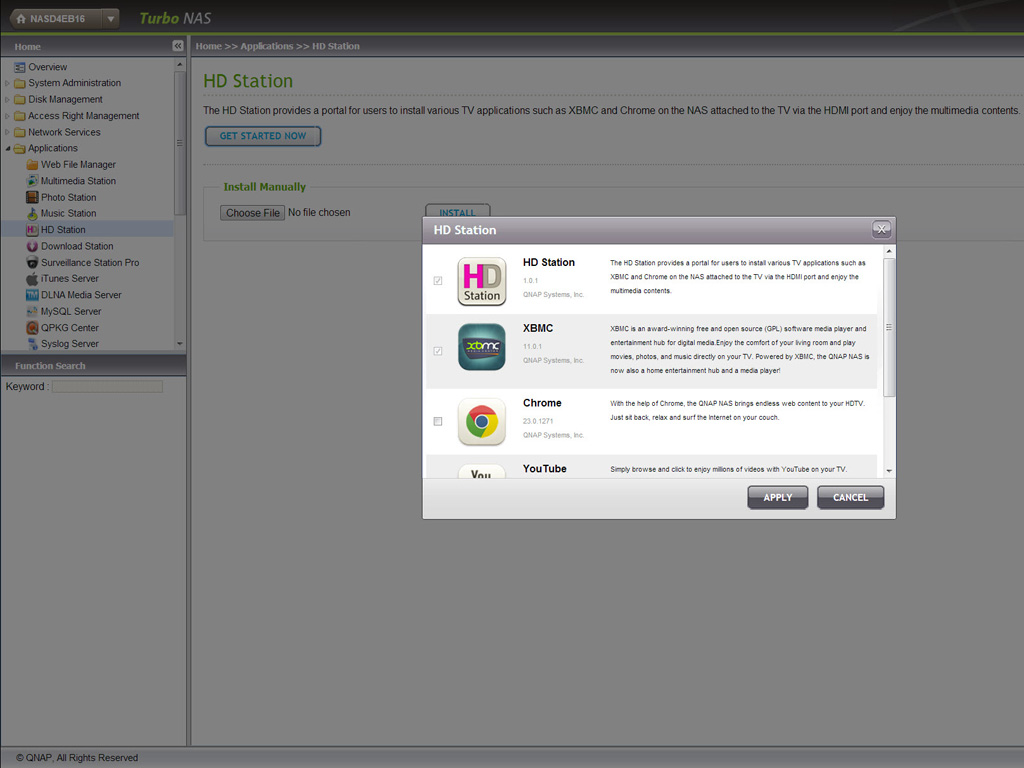
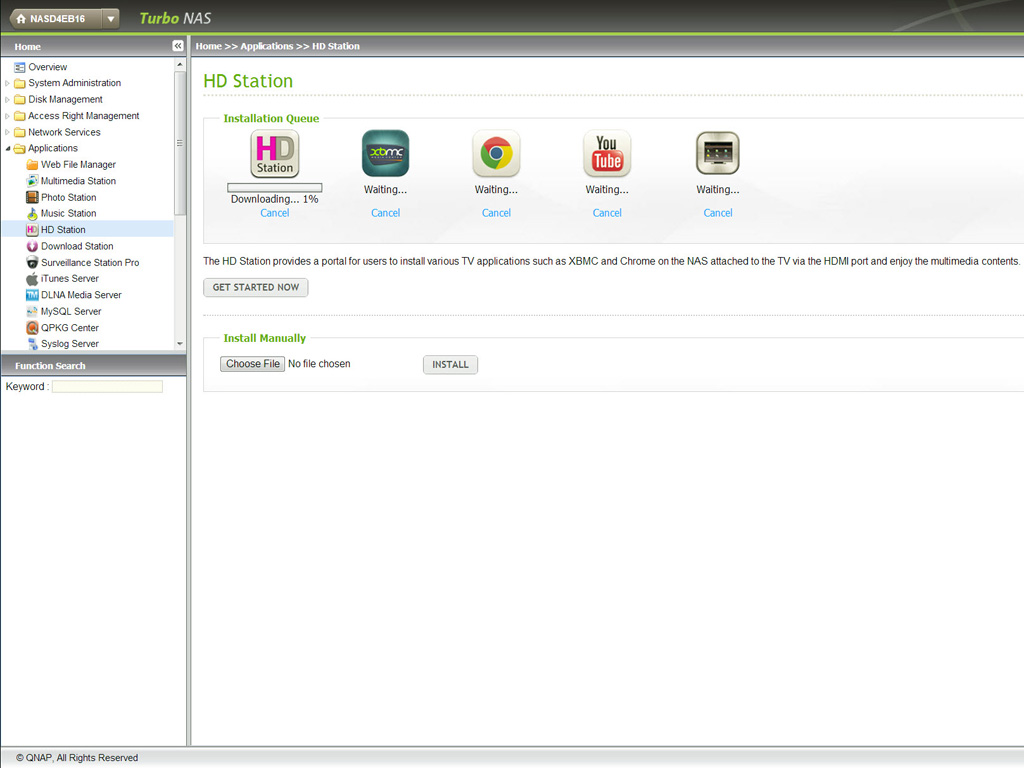
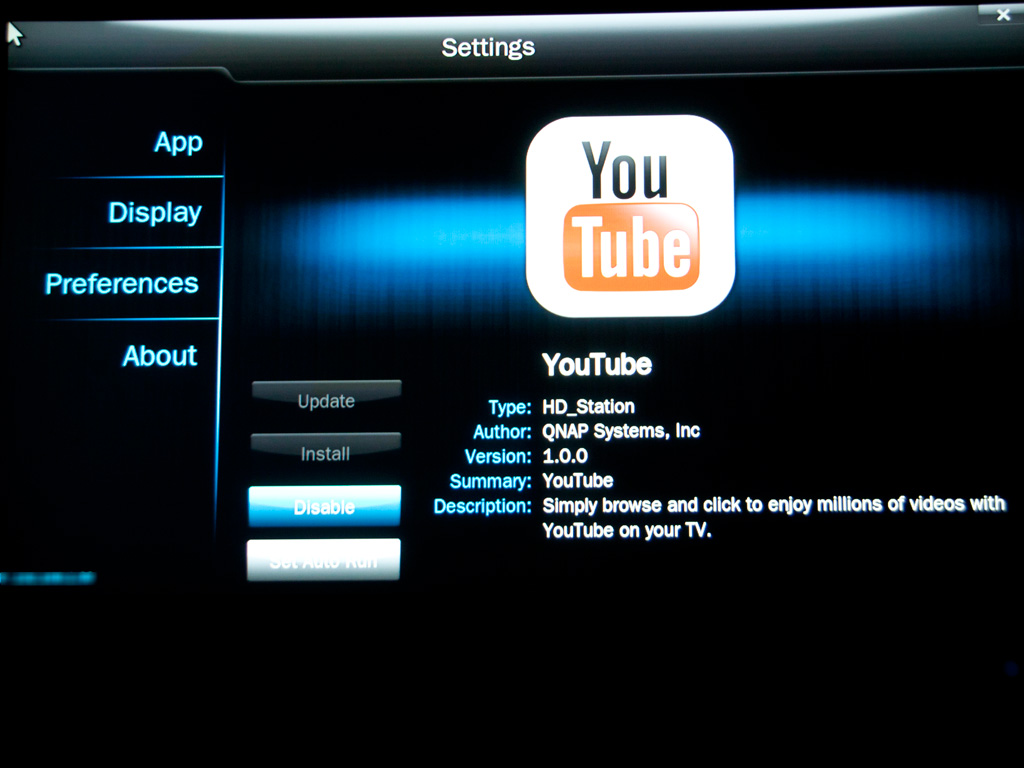
The next step is to install HD Station to the NAS: Go to "Applications" > "HD Station" and click the "Get Started Now" button. The system will now install HD Station automatically. You should also pick which applications you want to install: XBMC, Chrome, YouTube, and MyNAS are available. We installed all of them.
We should, before proceeding, go over several points QNAP mentions in their HD Station tutorial.
- Running XBMC, Chrome, or other applications continuously could affect the hard drive's hibernation. Make sure to always exit the application and return to the HD Station portal.
- Press the power button on the remote control for 6 seconds at any time to exit an application.
- Press the one touch copy button on the NAS for 6 seconds to restart the HD Station.
- For the best HD Station experience, QNAP recommends upgrading your Turbo NAS memory to 2GB or more (Max:3GB).
- To use the AirPlay function provided by XBMC, also upgrade your Turbo NAS memory to 2GB or more.
- List with all XBMC supported formats
A Look at the HD Station Portal
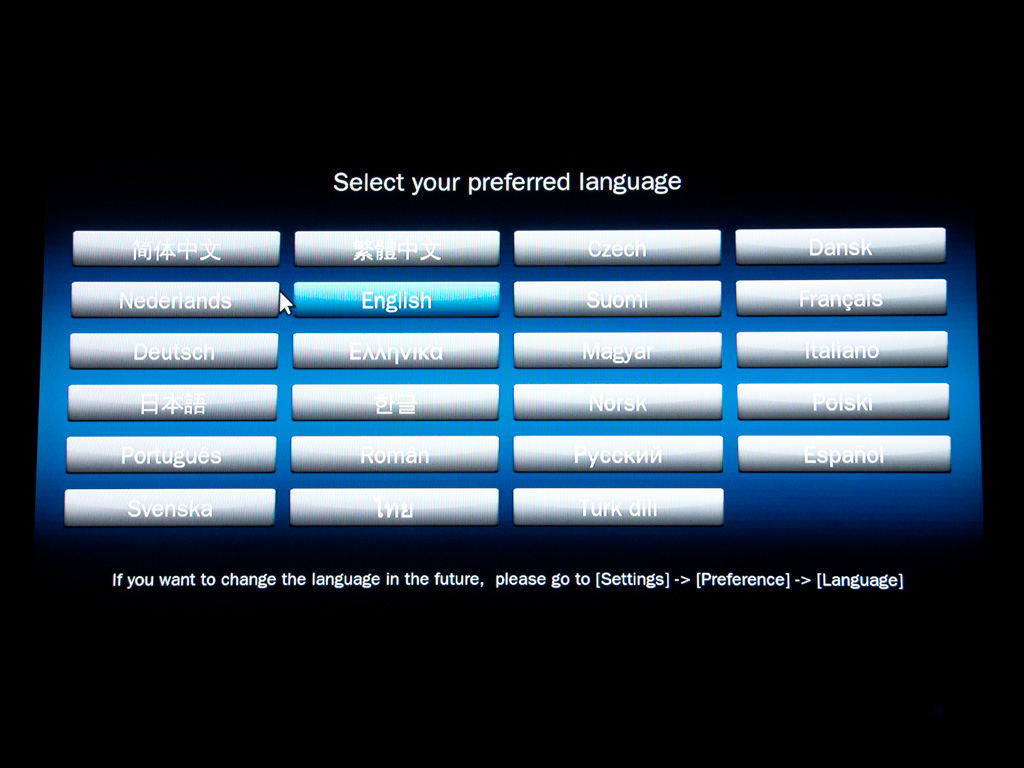
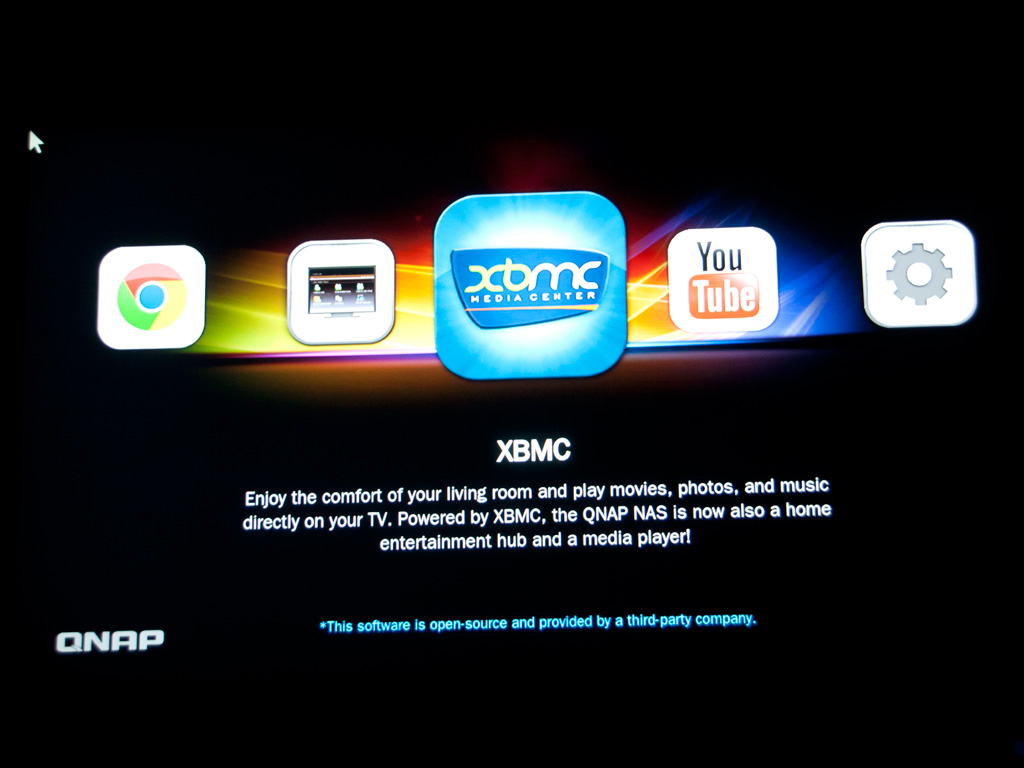
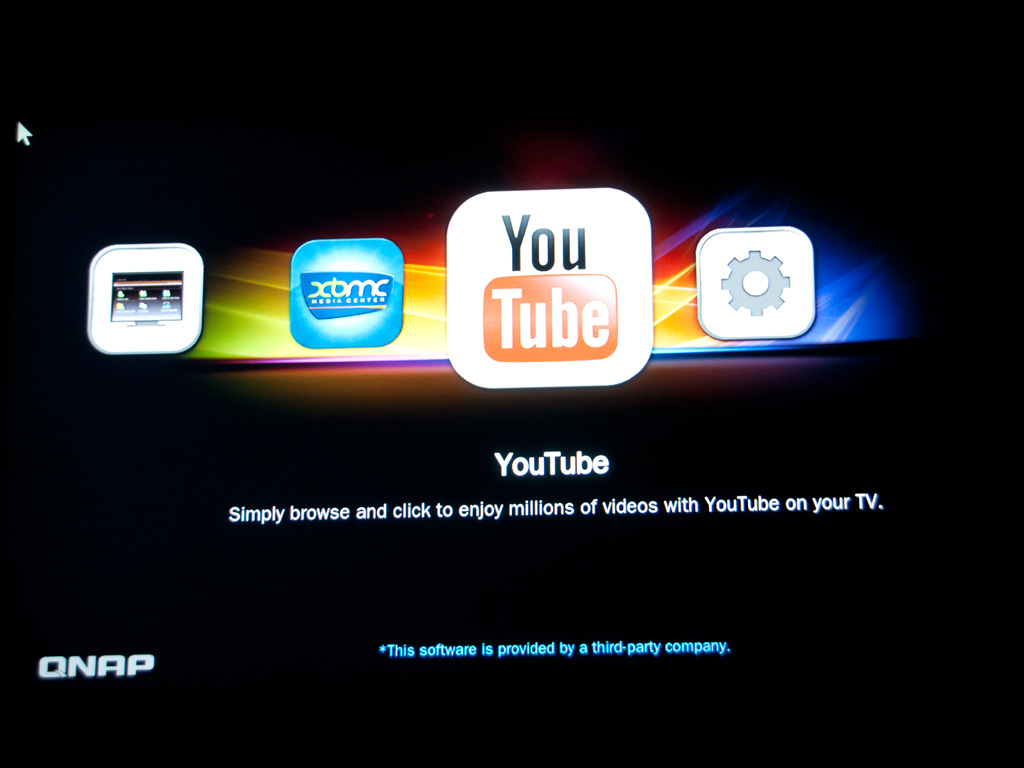
After selecting the language, you will see the HD Station portal from where you can select the application you want to use.
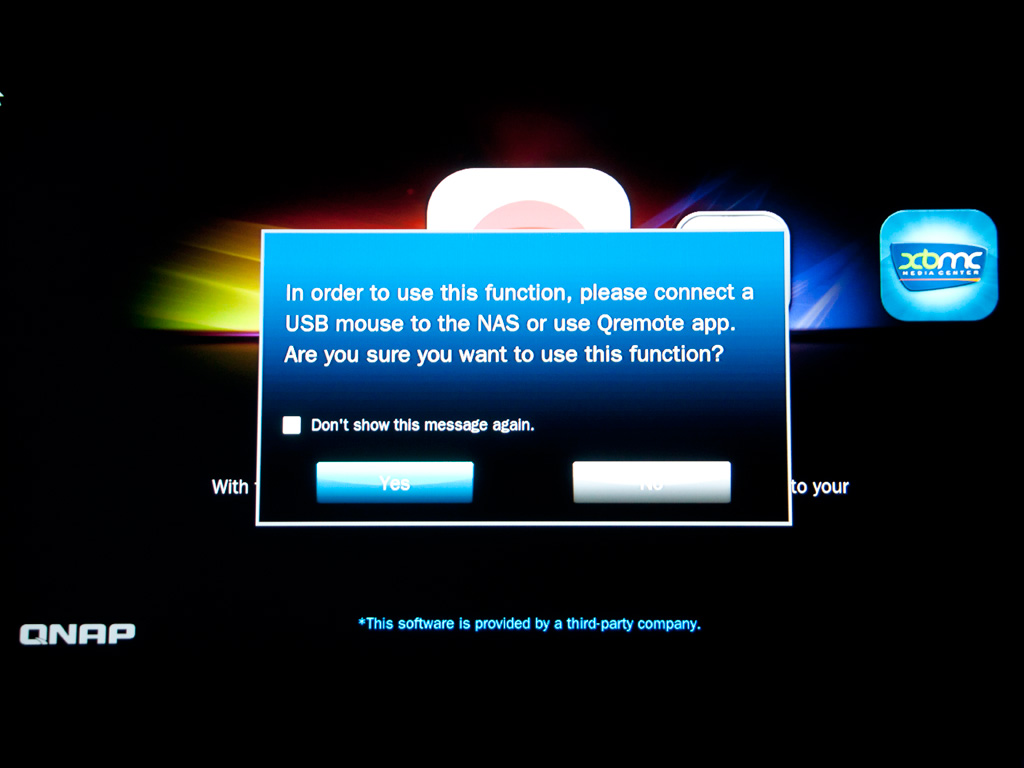
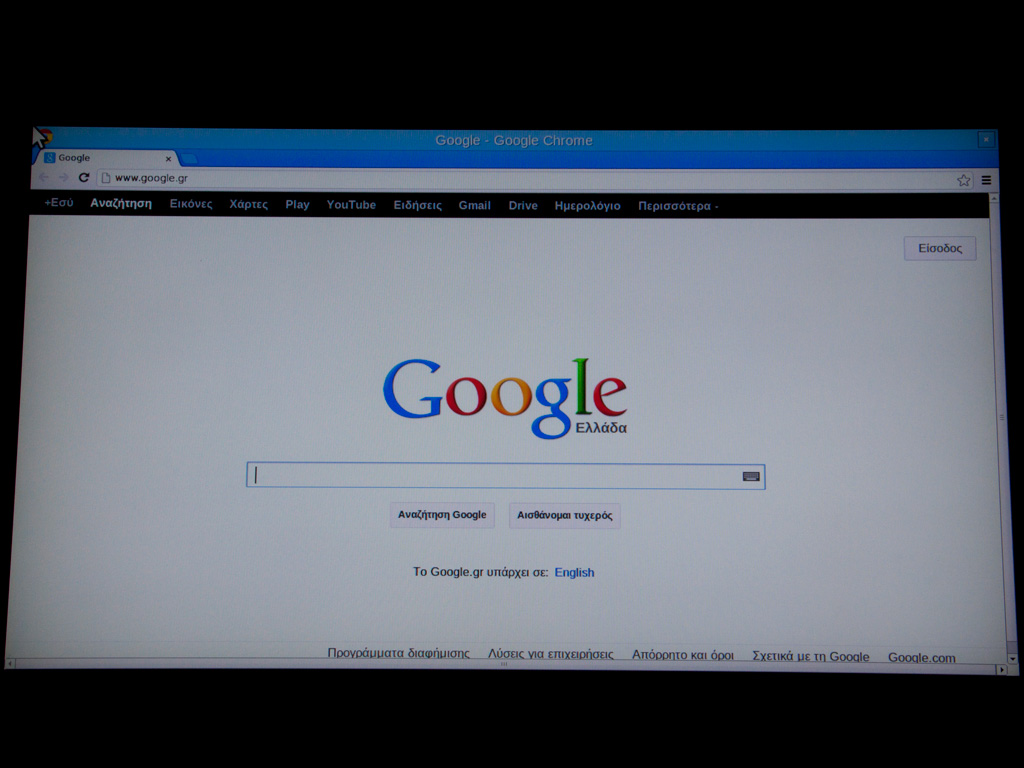
Before you select the Chrome browser, you need to connect a USB mouse to the NAS or use the Qremote app.
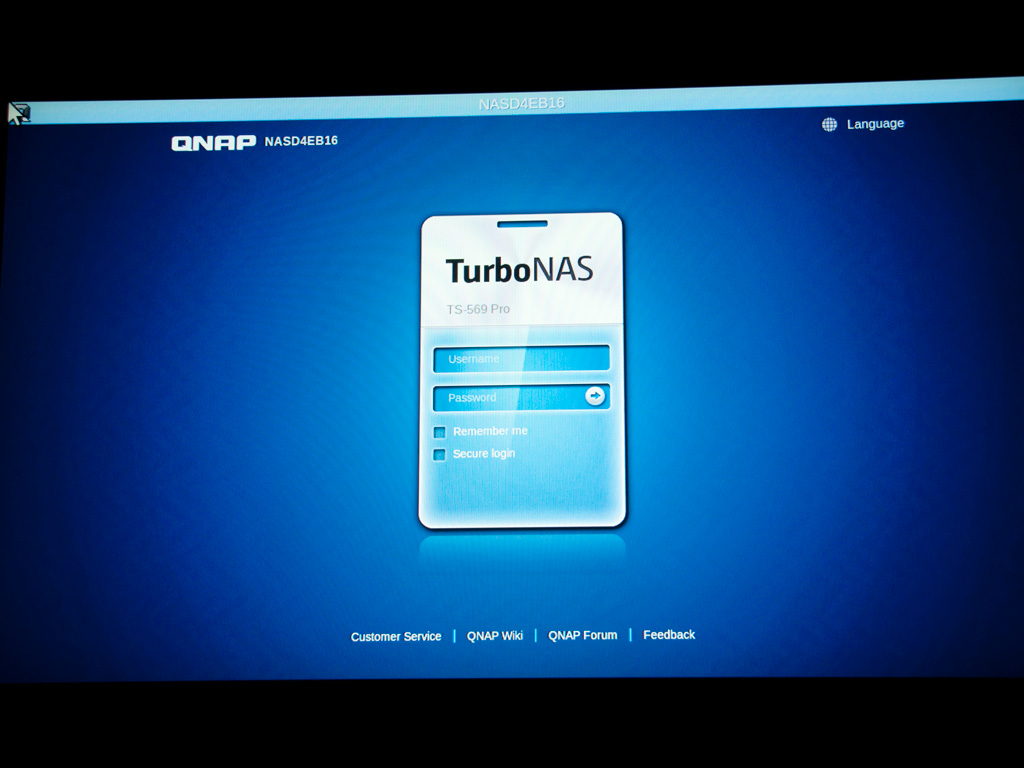
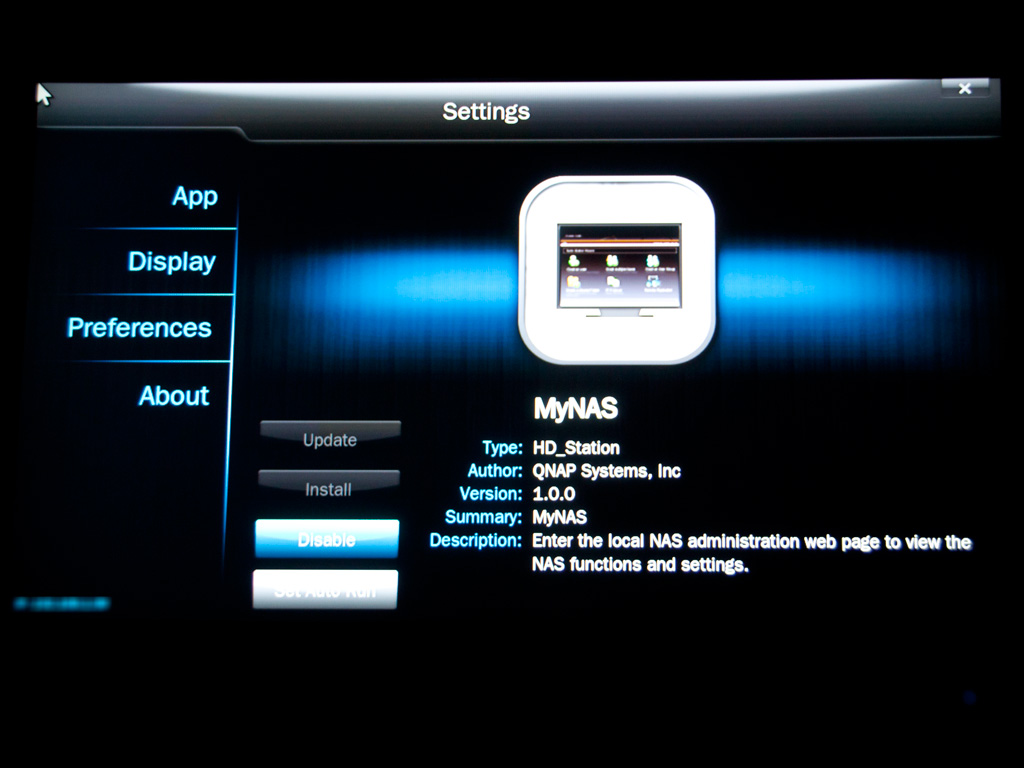
You are able to enter the local NAS administration web page to look at NAS functions and settings.

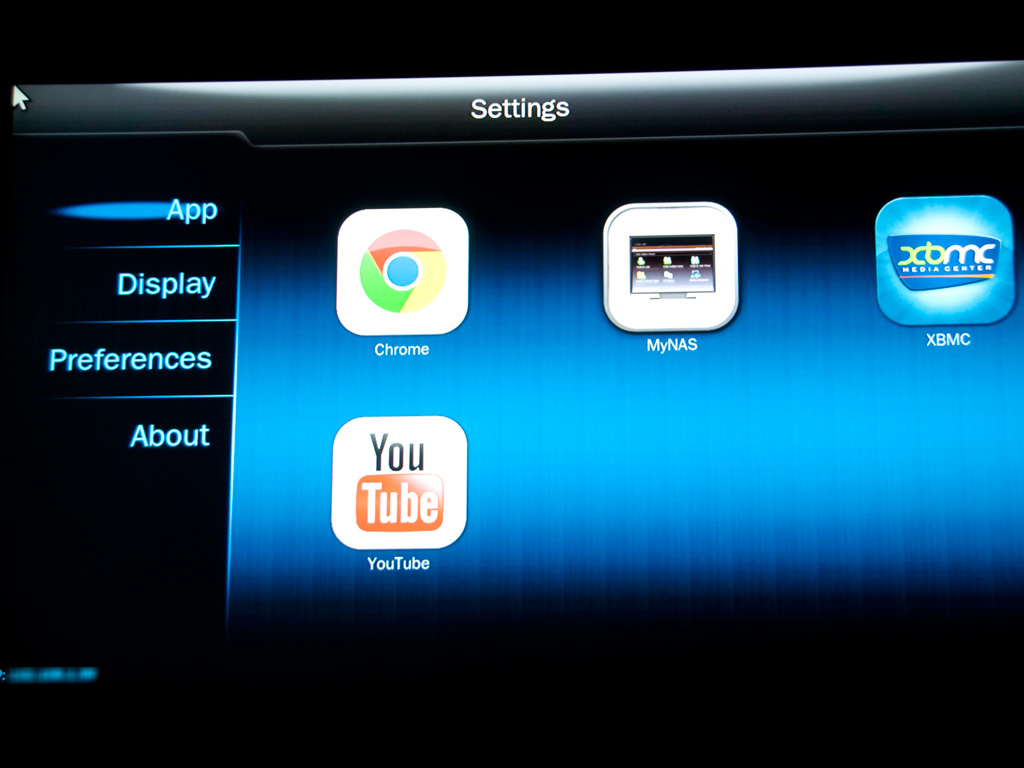
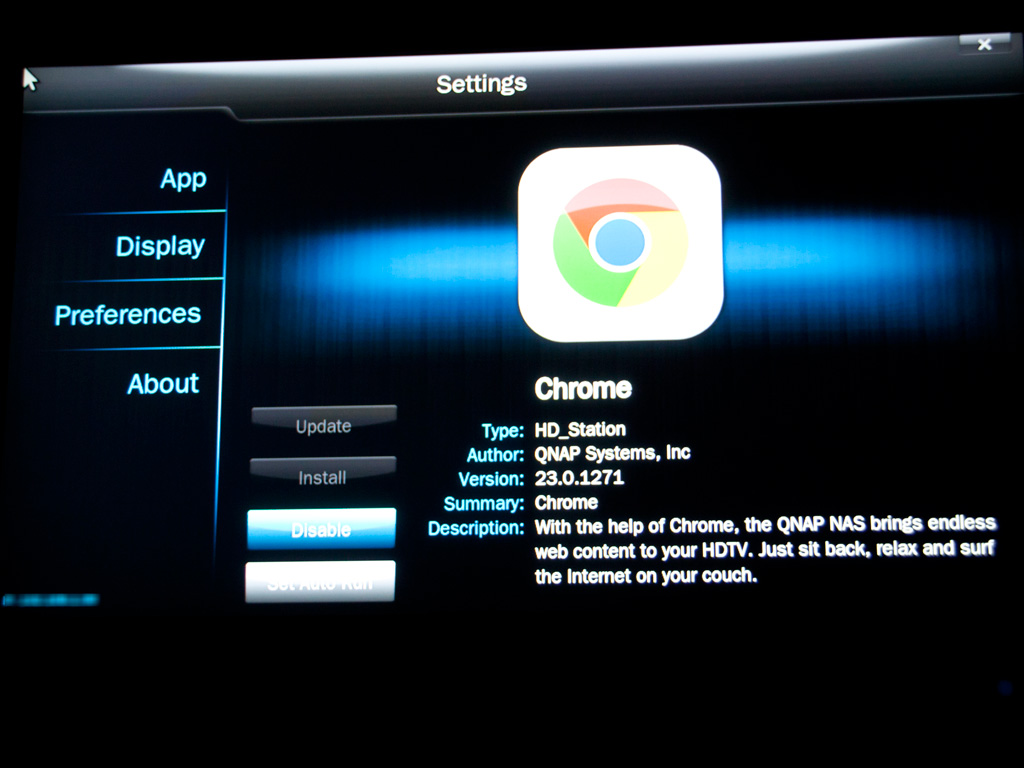
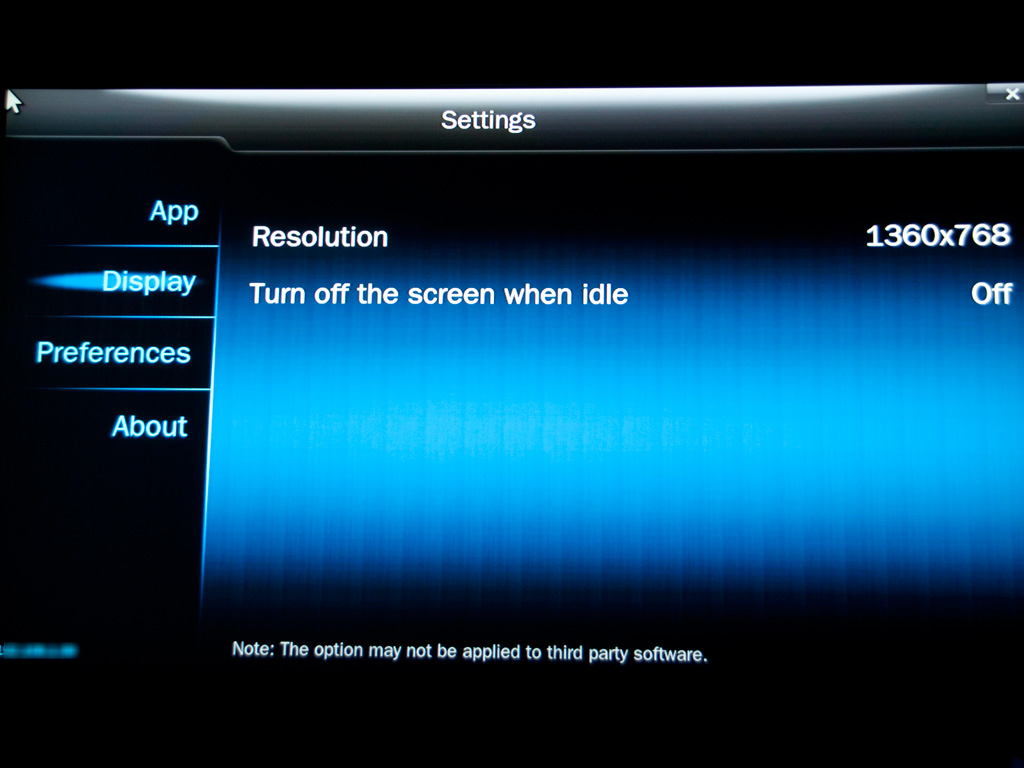
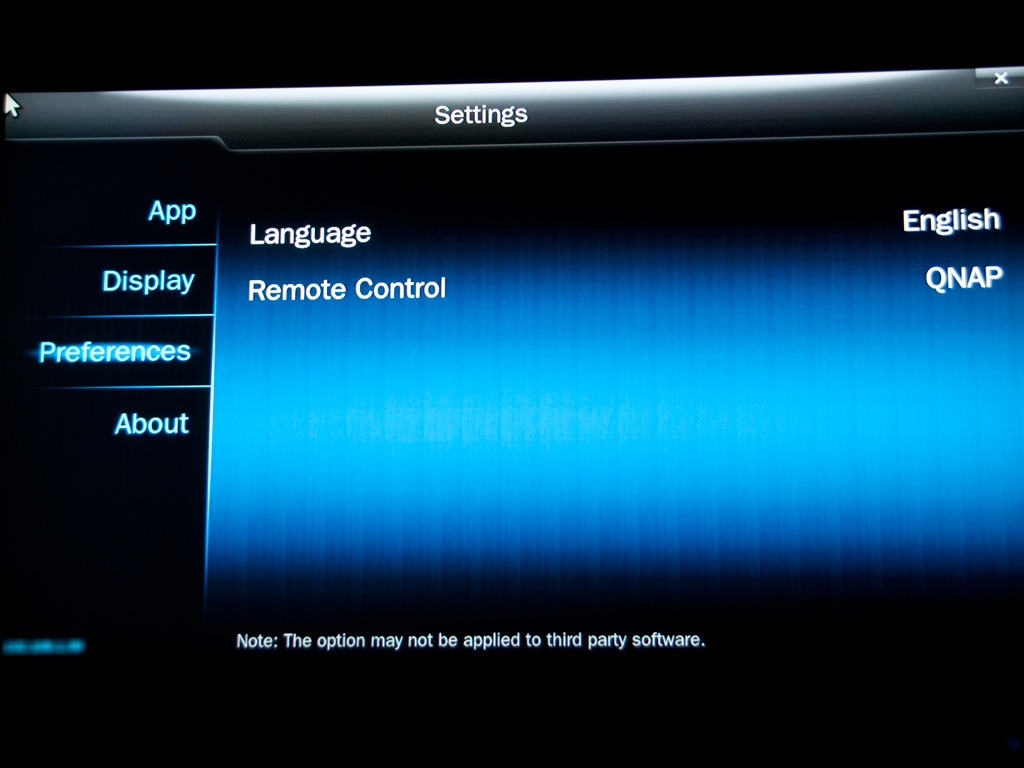
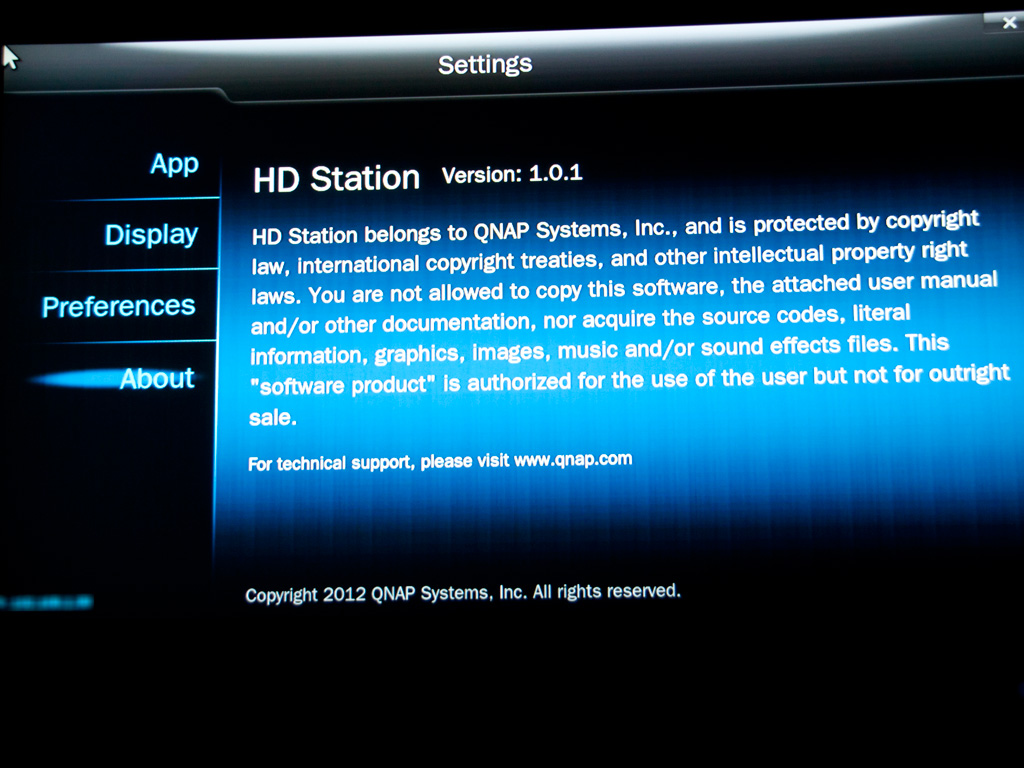
This selection allows you to configure the settings of the HD Station. You can enable or disable applications, and the "Display" group allows you to change the screen's resolution and set the screen to turn off after a certain amount of idle time. You can also change the language or type of remote control under "Preferences".
Feb 9th, 2025 20:35 EST
change timezone
Latest GPU Drivers
New Forum Posts
- Which of the following gpus is better? (7)
- i7-3740qm can't control multiplier with "Set Multiplier" (3)
- Monitor Battle! Help me choose between two contenders (16)
- Where did the 7900xtx go? (15)
- I need tips what could be a problem with gigabyte 3060 ti eagle v2 (2)
- Testing max ram overclock pn Ryzen 1700 (46)
- Adventure: Running 8/9th gen Coffee Lake CPUs on Z170 motherboard (ASUS Maximus VIII Ranger) (371)
- Microcenter GPU Stock status (6)
- Ram tuning for 3700x. H16C memory (22)
- Asteroid 2024 YR4 reaches level 3 on the Torino Scale (5)
Popular Reviews
- Kingdom Come Deliverance II Performance Benchmark Review - 35 GPUs Tested
- Civilization VII Performance Benchmark Review - 35 GPUs Tested
- ASRock Phantom Gaming B850I Lightning Wi-Fi Review
- Spider-Man 2 Performance Benchmark Review - 35 GPUs Tested
- NVIDIA GeForce RTX 5080 Founders Edition Review
- Kingdom Come: Deliverance 2 Handheld Performance Review
- AMD Ryzen 7 9800X3D Review - The Best Gaming Processor
- Formovie Cinema Edge 4K UST Laser Projector Review
- ASUS ROG Harpe Ace Extreme Review
- Corsair Frame 4000D Review
Controversial News Posts
- AMD Radeon 9070 XT Rumored to Outpace RTX 5070 Ti by Almost 15% (286)
- AMD is Taking Time with Radeon RX 9000 to Optimize Software and FSR 4 (256)
- AMD Denies Radeon RX 9070 XT $899 USD Starting Price Point Rumors (239)
- Edward Snowden Lashes Out at NVIDIA Over GeForce RTX 50 Pricing And Value (235)
- AMD Radeon RX 9070 XT & RX 9070 Custom Models In Stock at European Stores (226)
- New Leak Reveals NVIDIA RTX 5080 Is Slower Than RTX 4090 (215)
- AMD's Radeon RX 9070 Launch Faces Pricing Hurdles (175)
- AMD Radeon RX 9070 XT Tested in Cyberpunk 2077 and Black Myth: Wukong (169)