 7
7
QNAP TS-569 Pro Review
Administration Interface Part#2 »Administration Interface Part#1
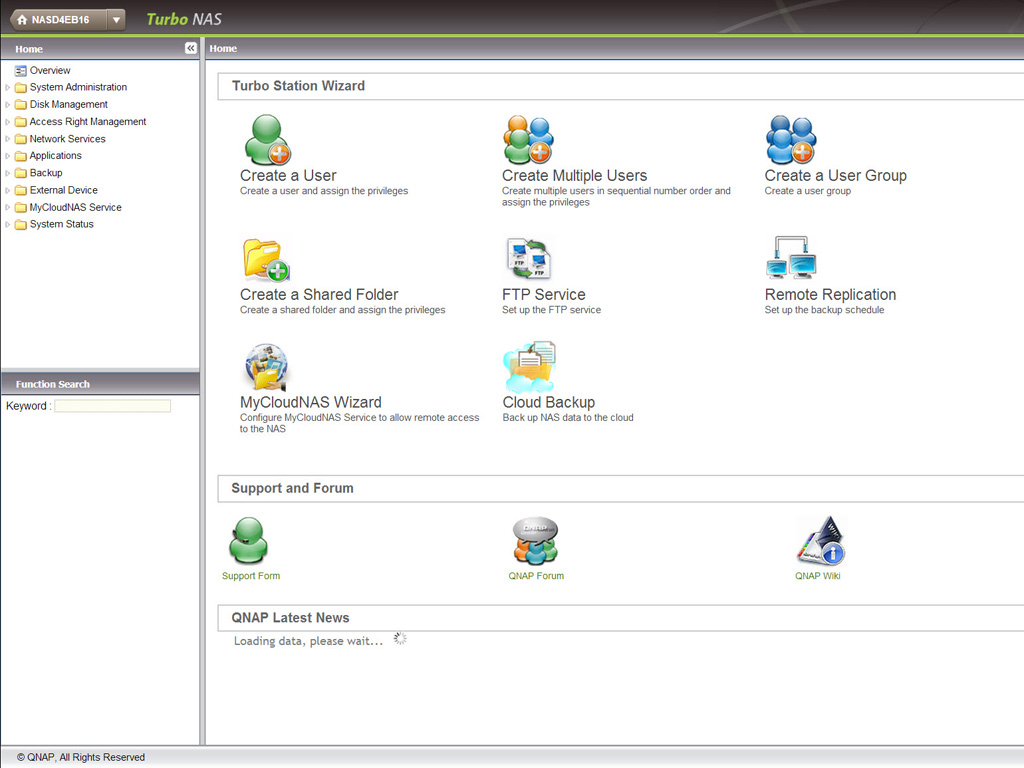

You can access all available features and settings of the NAS through the Home/Overview link of the administration interface. Everything is grouped into main categories to make navigation easier.
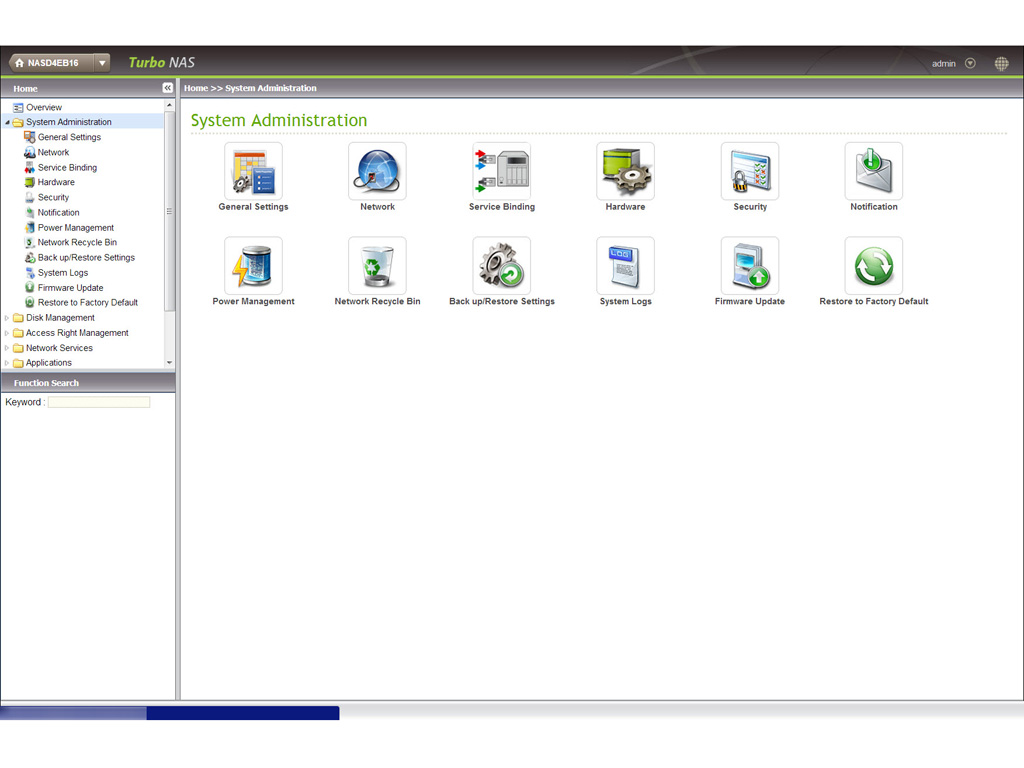
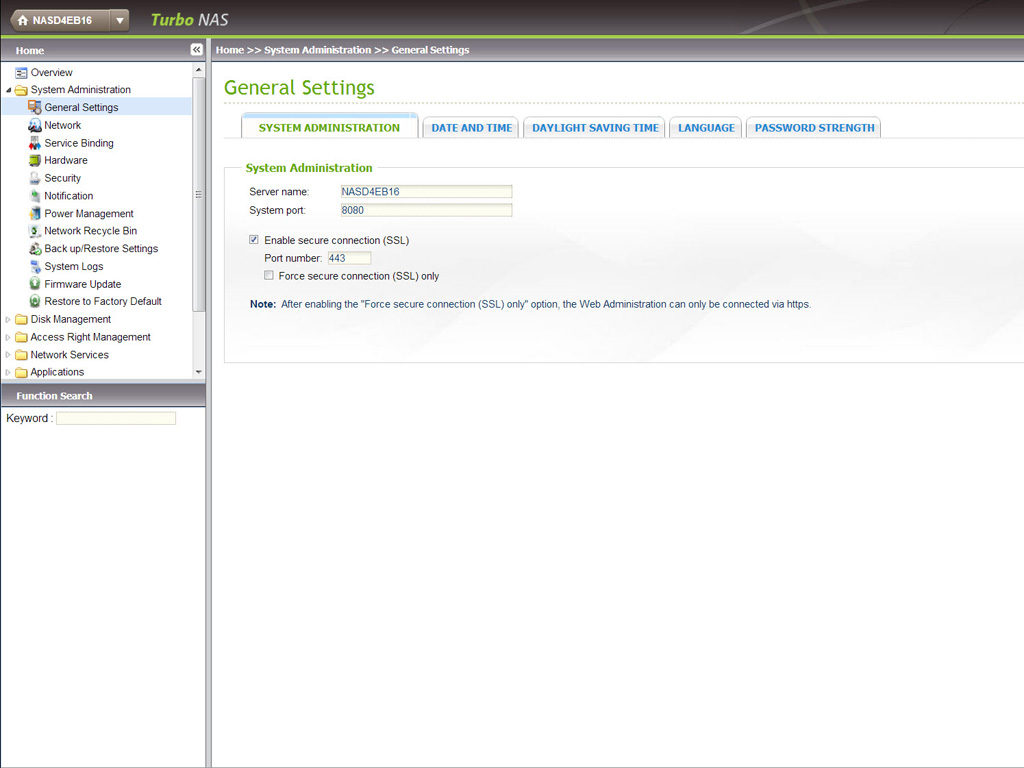
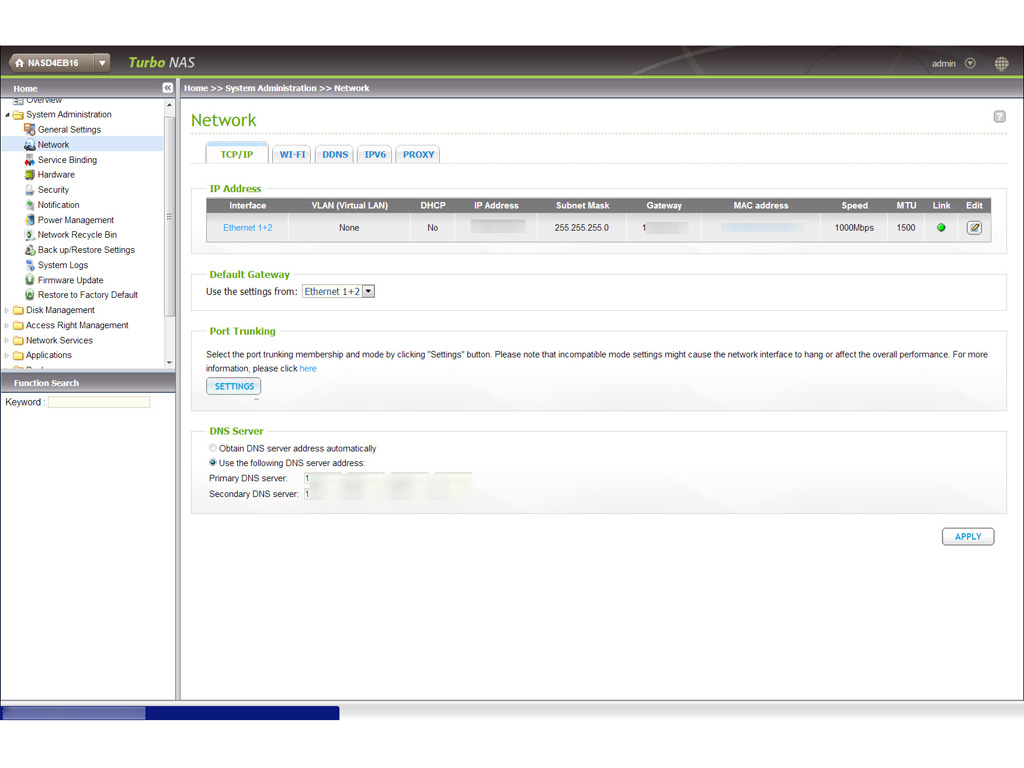

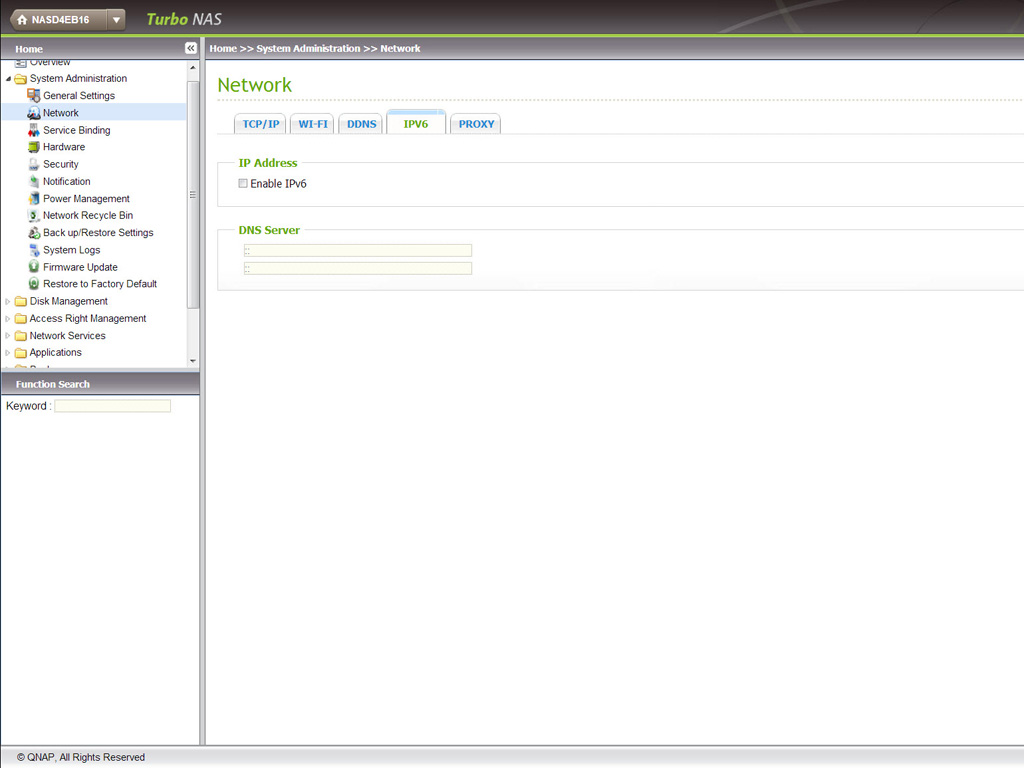

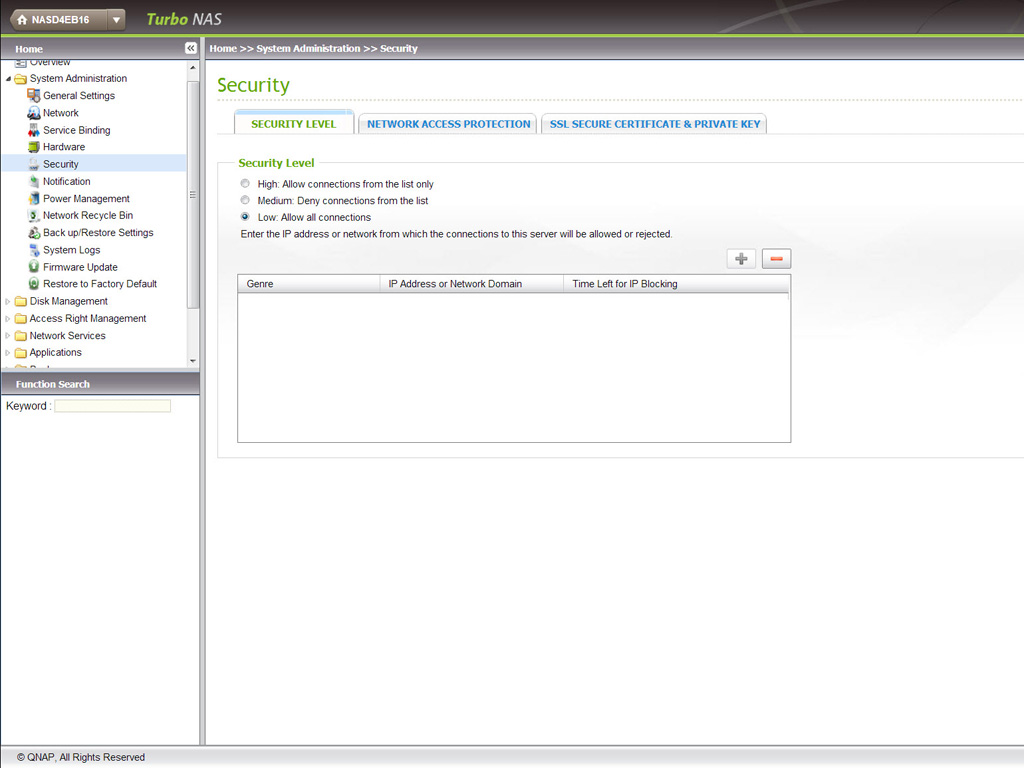
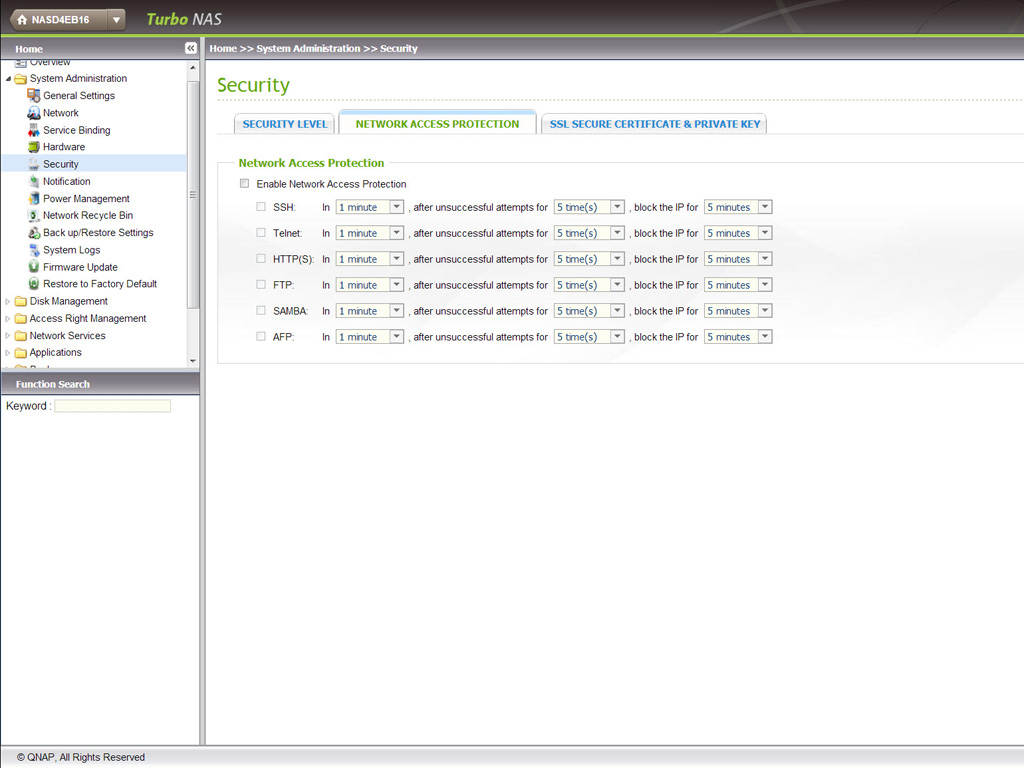
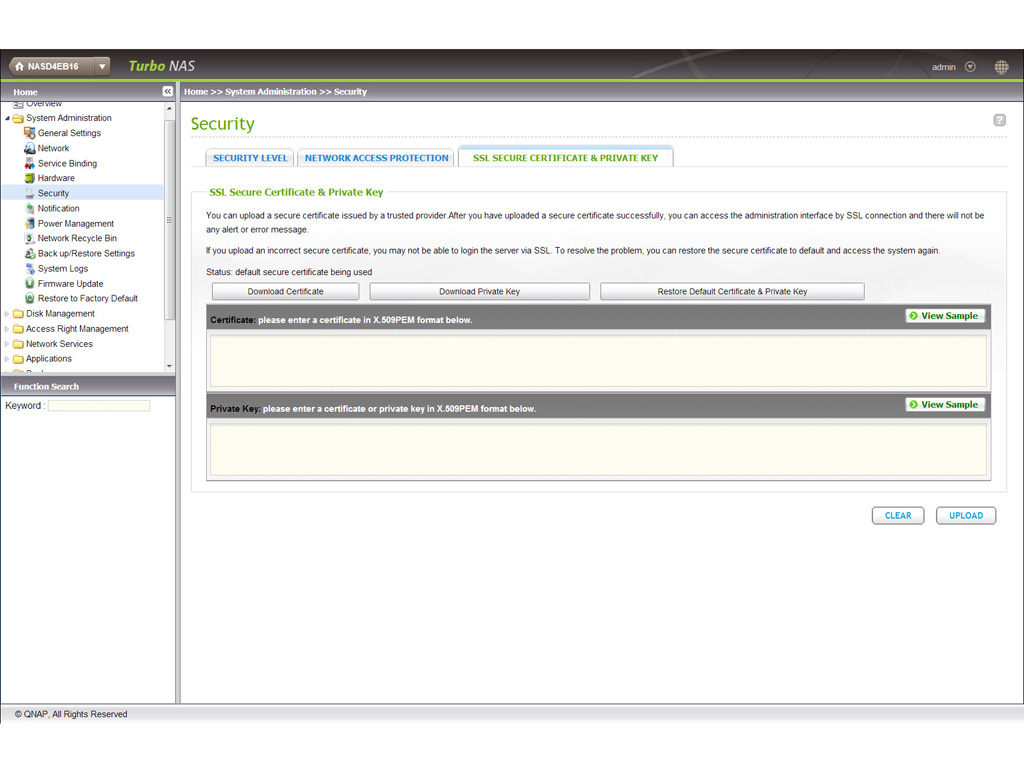
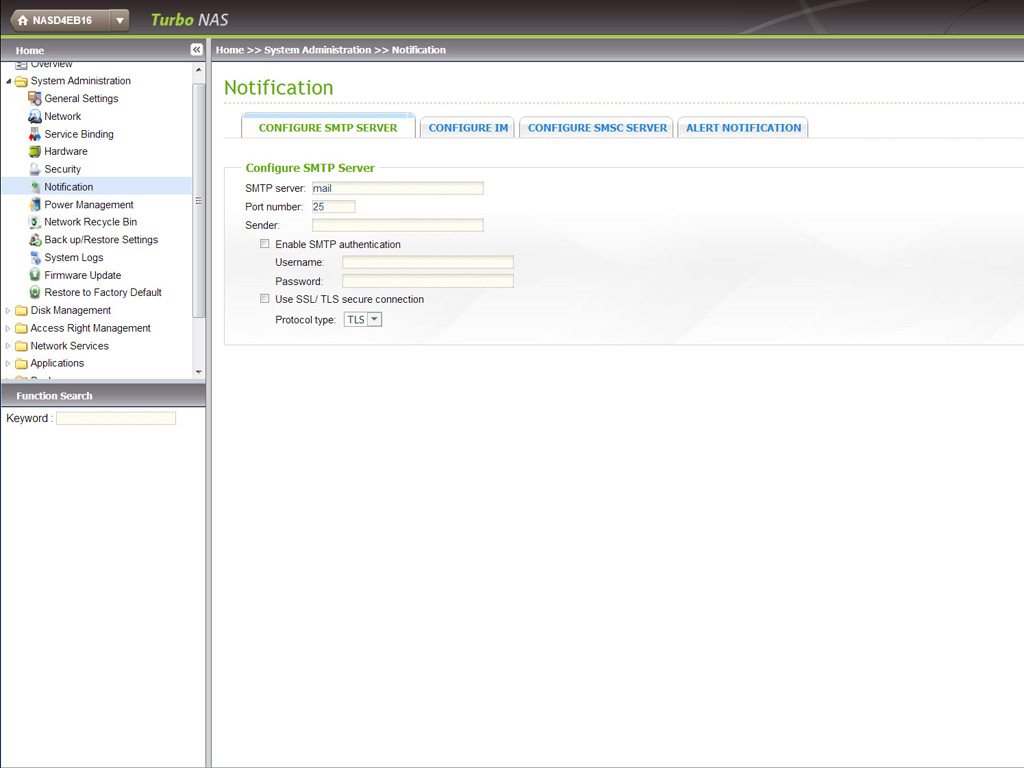
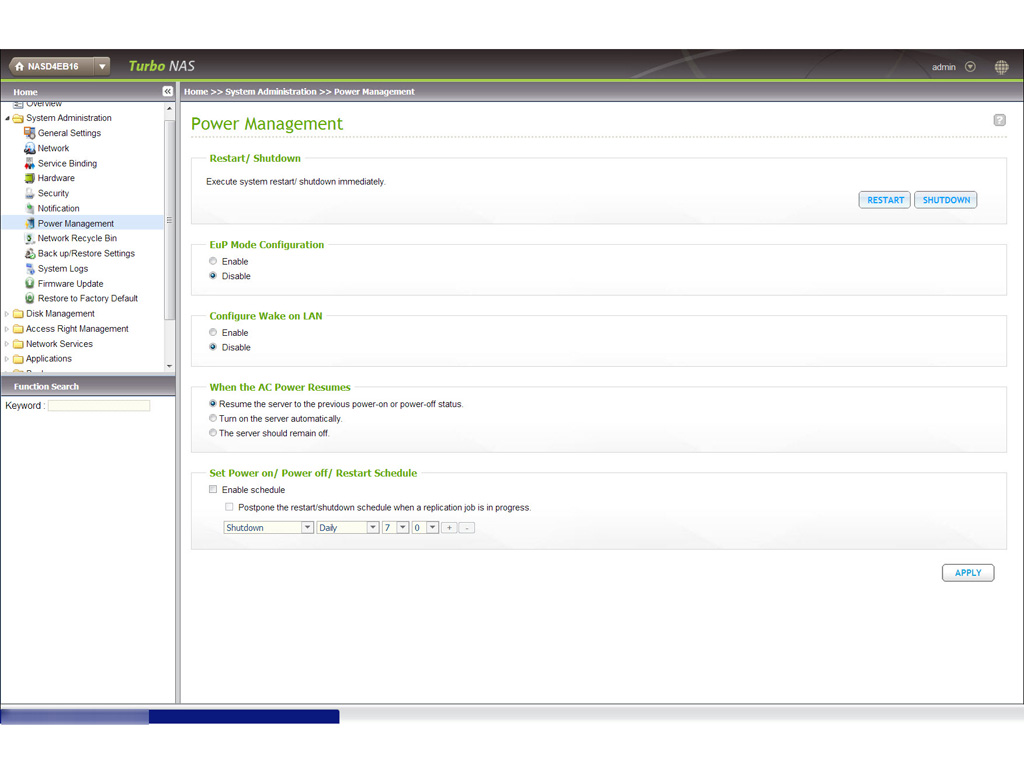
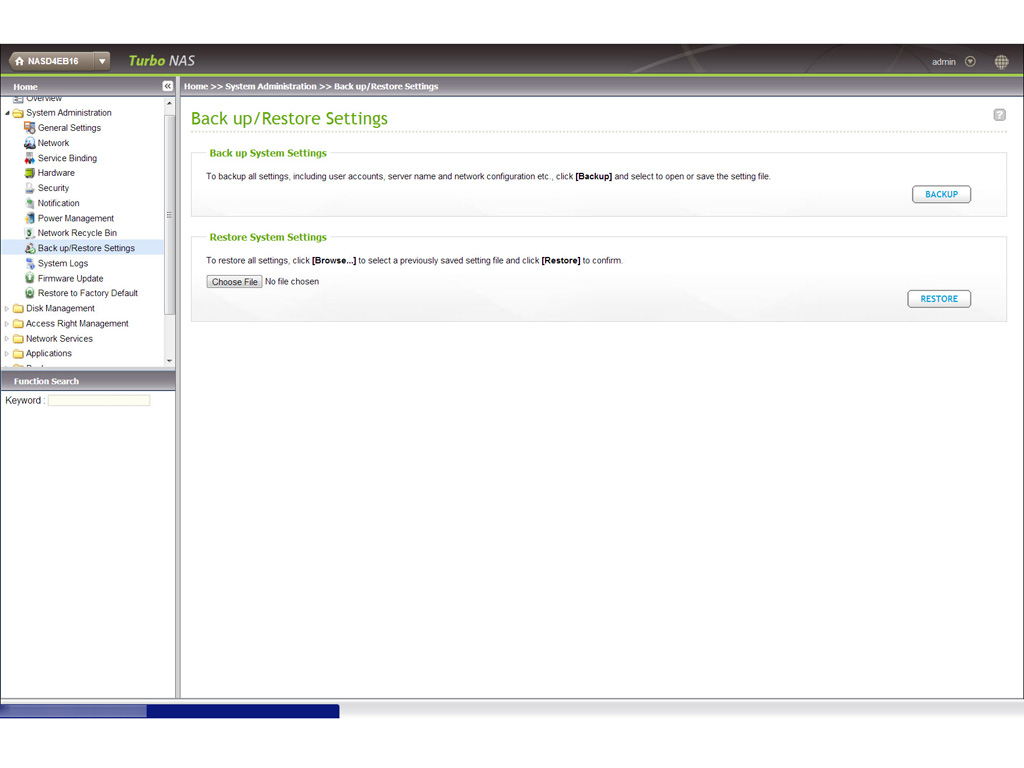
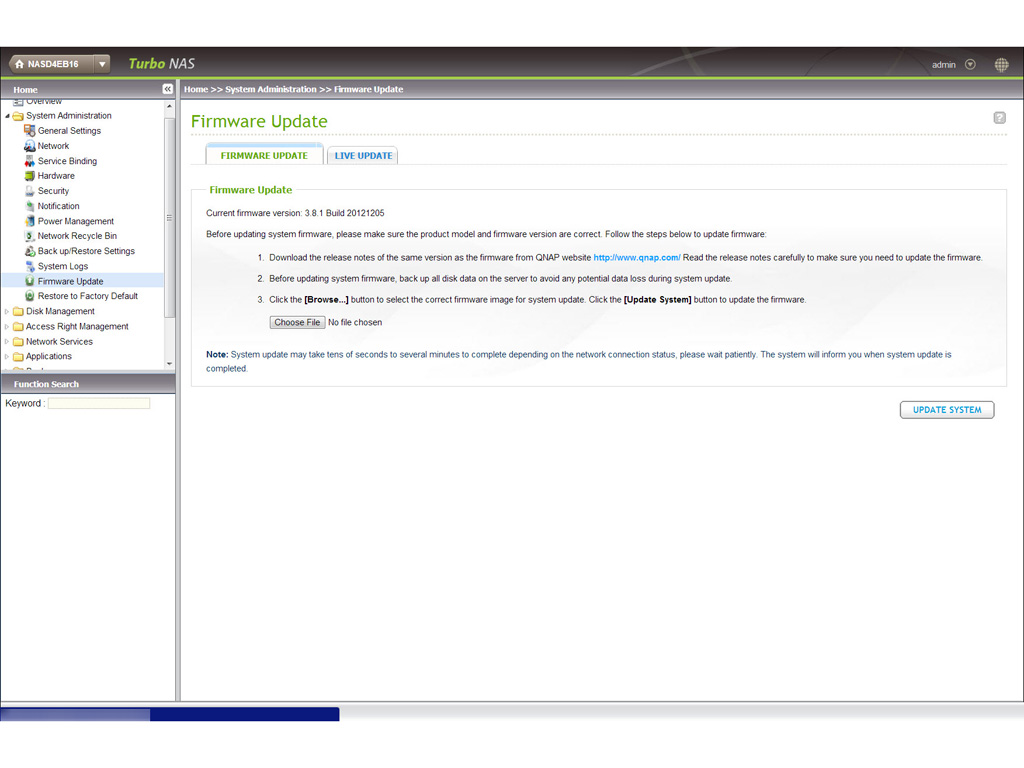
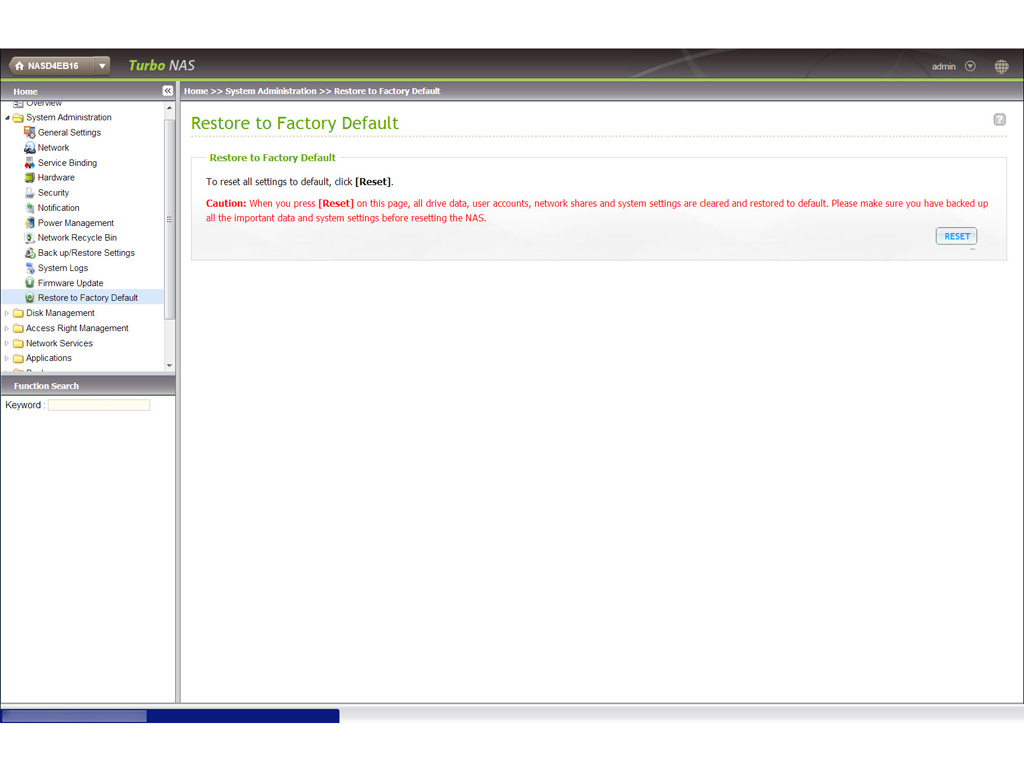
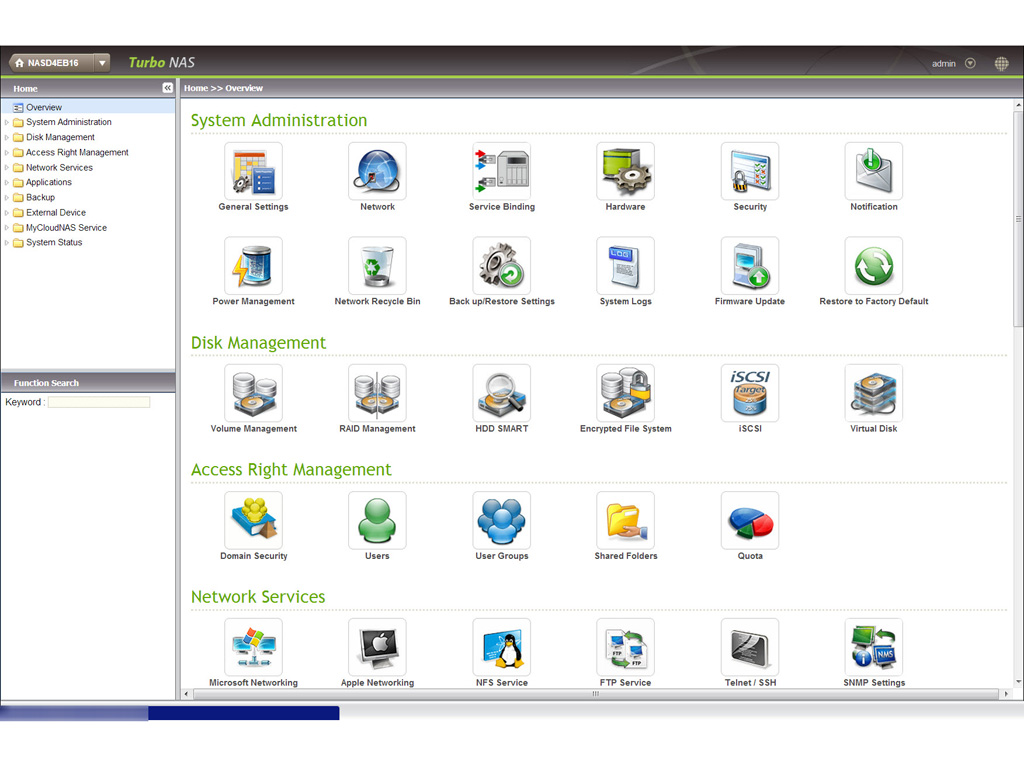
The System Administration group has the most crucial settings, including the Network icon you must click before beginning the setup procedure. The Network icon gives you access to TCP/IP settings wherefrom you can enable the two NICs' operating mode. Enable the respective option if your Ethernet switch supports Link Aggregation to provide a higher bandwidth between the NAS and the switch. LACP does, of course, require two Ethernet cables for connectivity to both ports of the NAS. This subgroup of settings also allows you to set a DDNS Service that will inform you about the WAN IP in case you don't have a static IP internet connection, which will allow you to discover your NAS on the web. The System Administration settings will be the ones you will use frequently, at least in the beginning, so better explore them thoroughly.
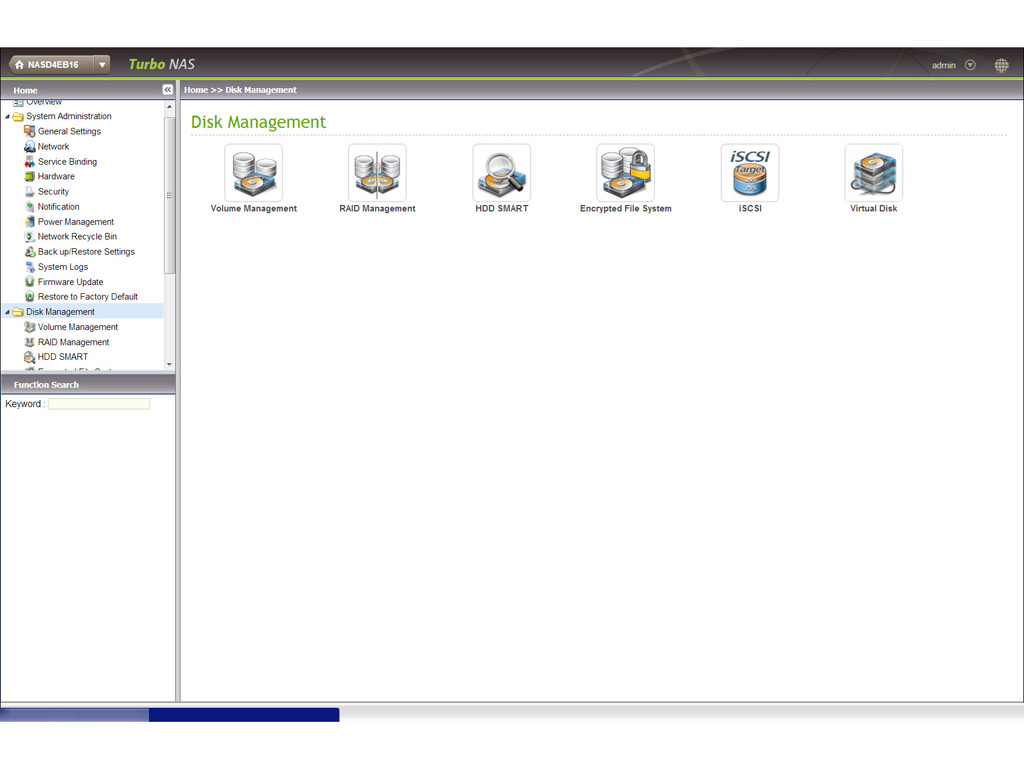
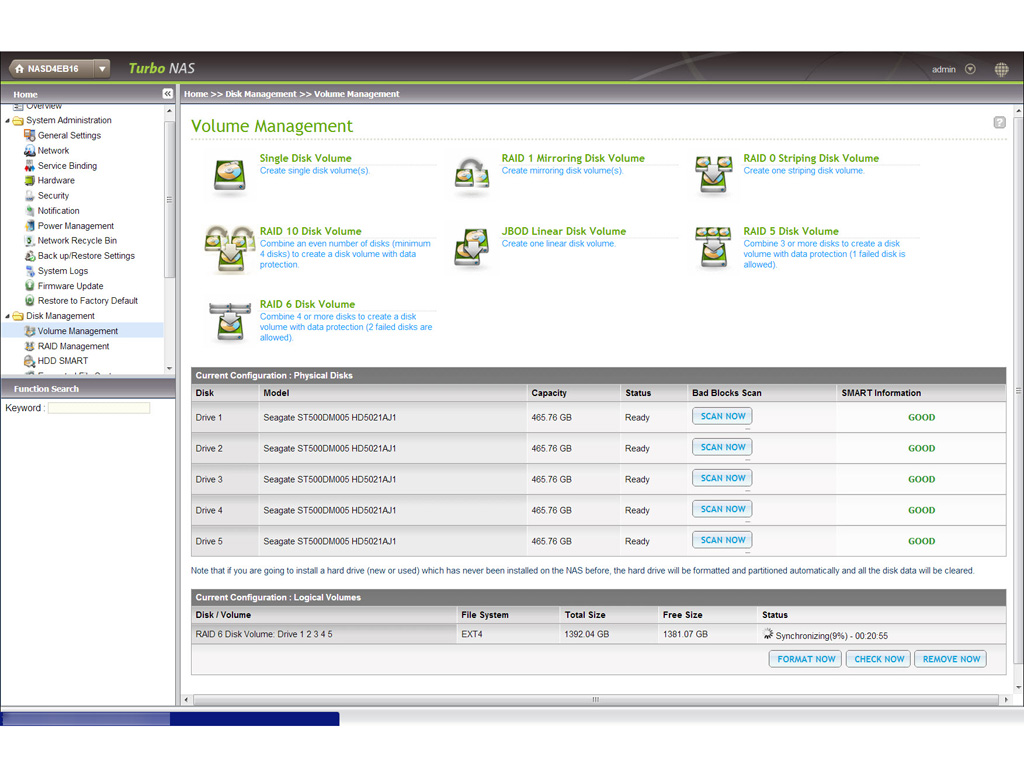
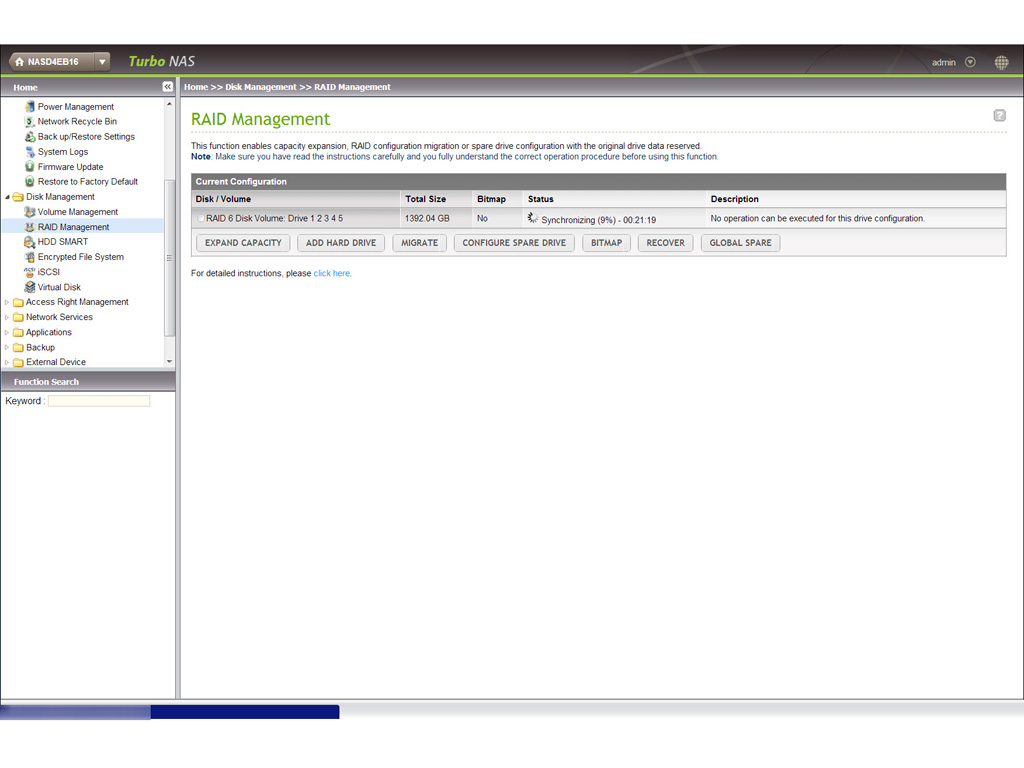

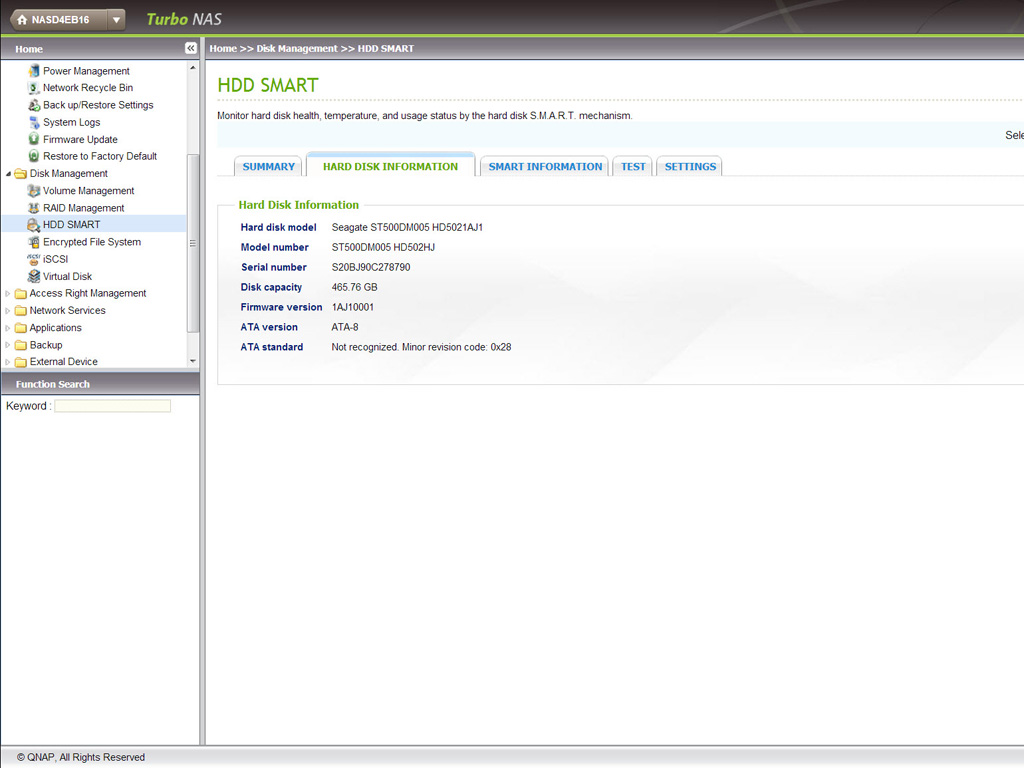
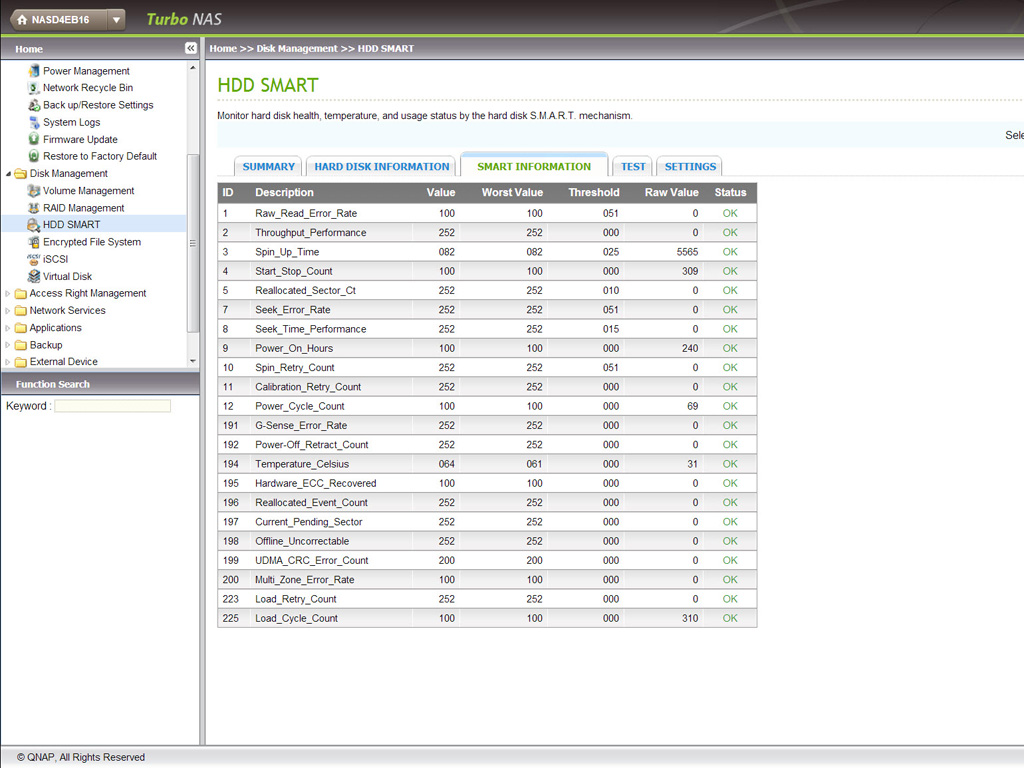
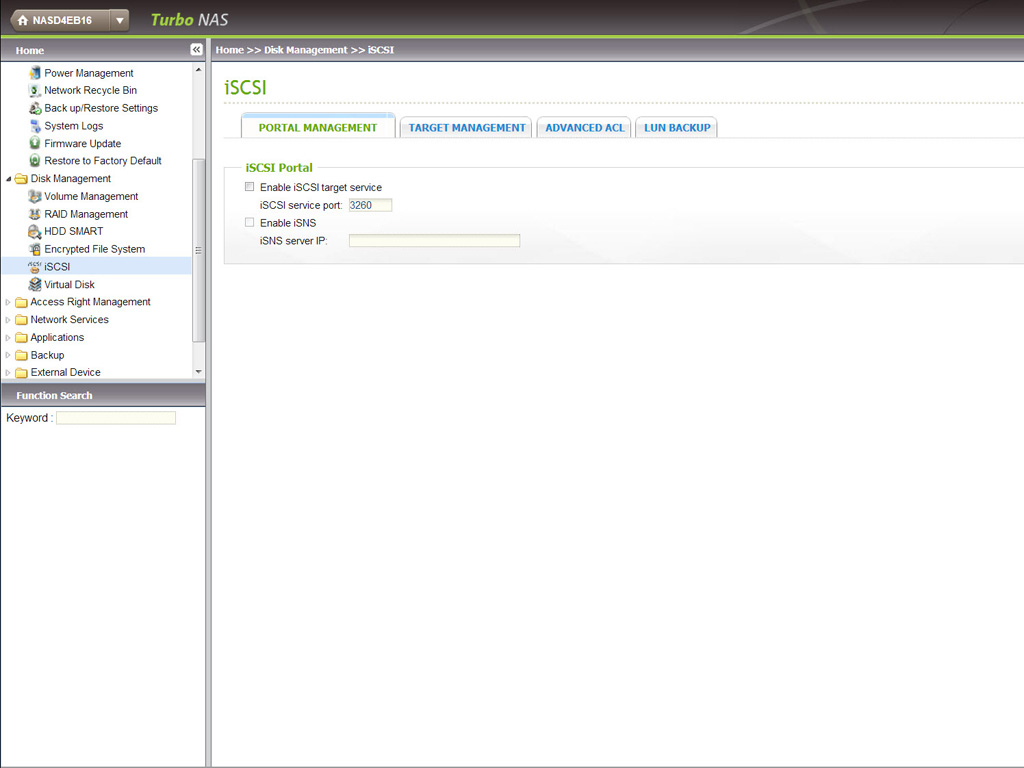
The second category groups all disk-related settings together. You can check the health of all installed disks, format them if needed, or select the RAID level that suits your needs. These settings also allow you to create an iSCSI target and LUN. Using the iSCSI protocol, the storage you have on your NAS can be seen as local disks by any of the client PCs; however, all data will be transferred over the network to and from them. LUN stands for Logical Unit Number, and LUNs are, in essence, numbered disk drives that the operating system of the client PC sees as volumes.
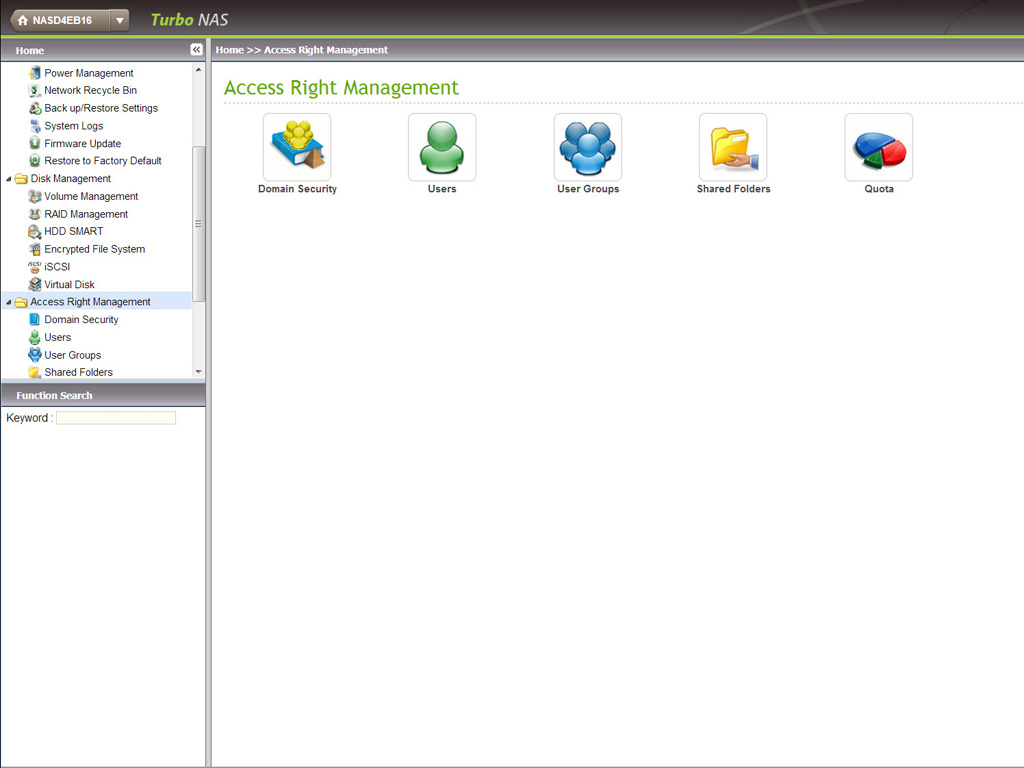
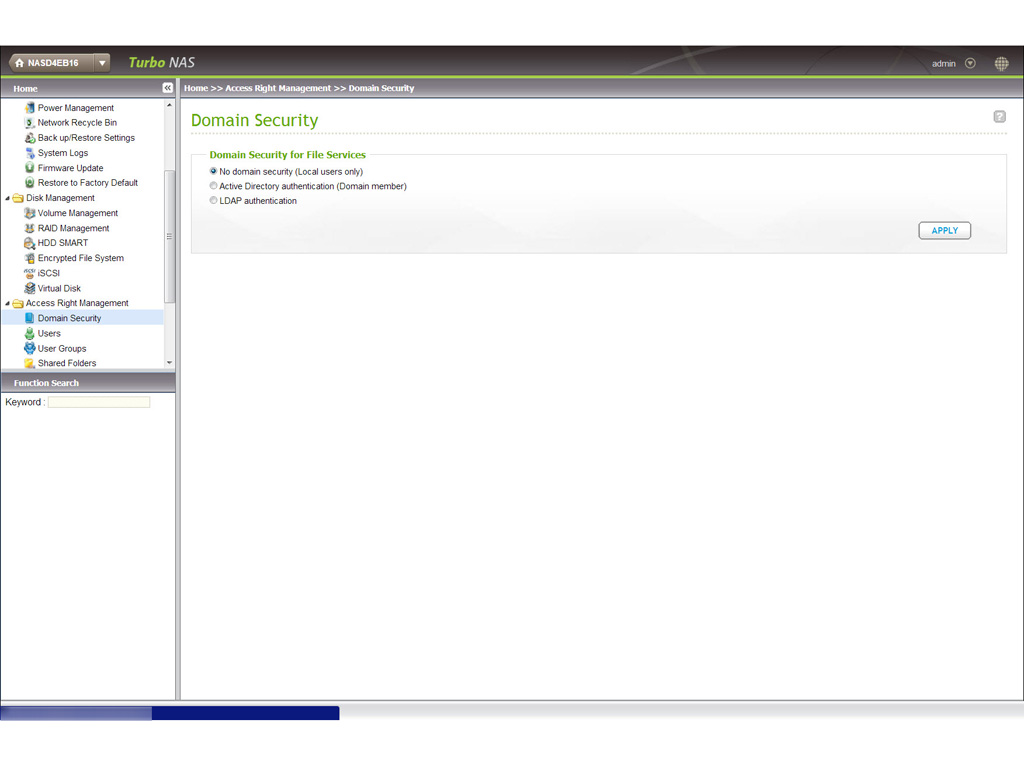
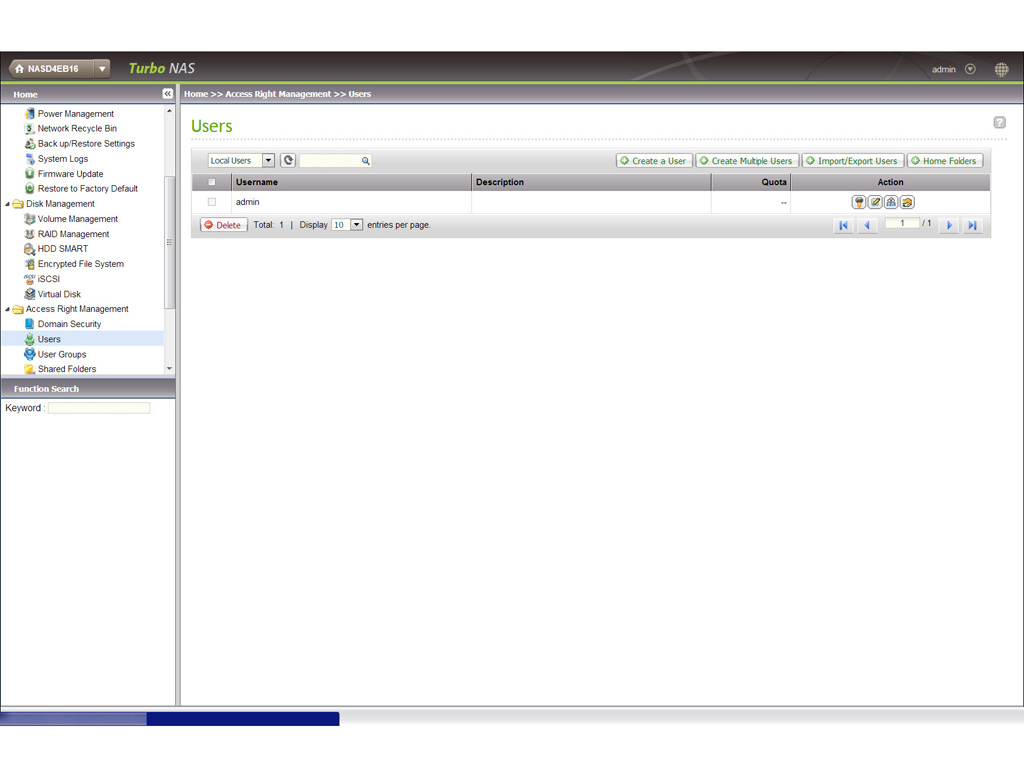

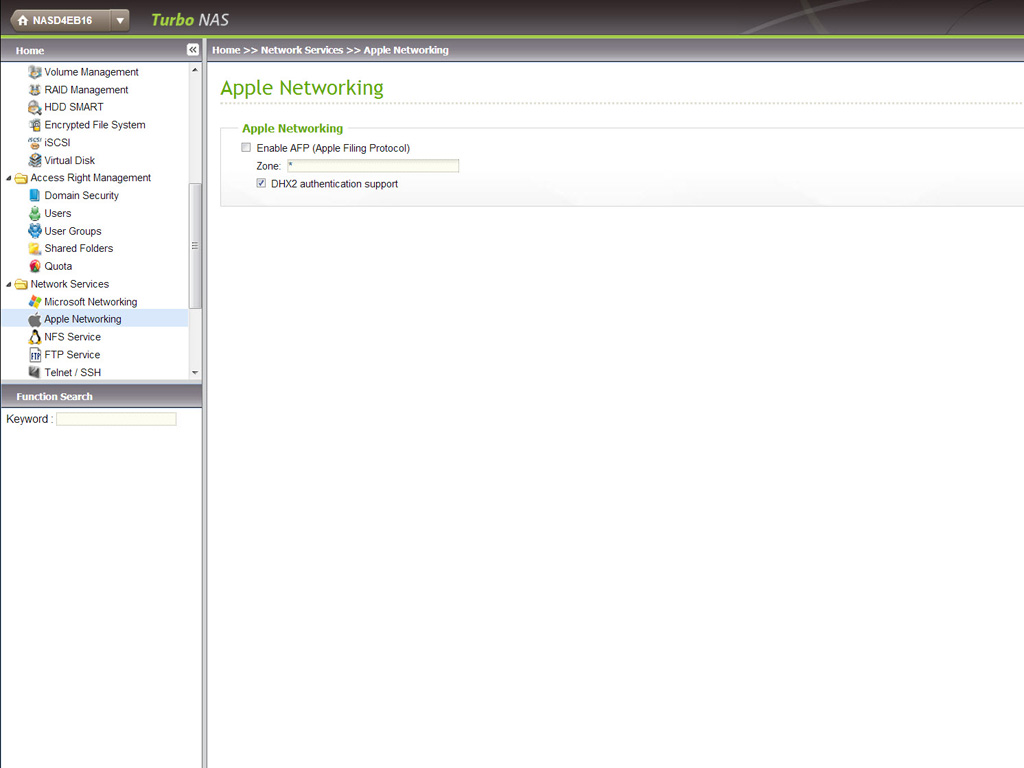
Access Right Management settings allow you to set domain security, make new accounts or user groups, set access rights, and manage the shared folder on the NAS. You can also set the quotas of the NAS's shared folders from here.
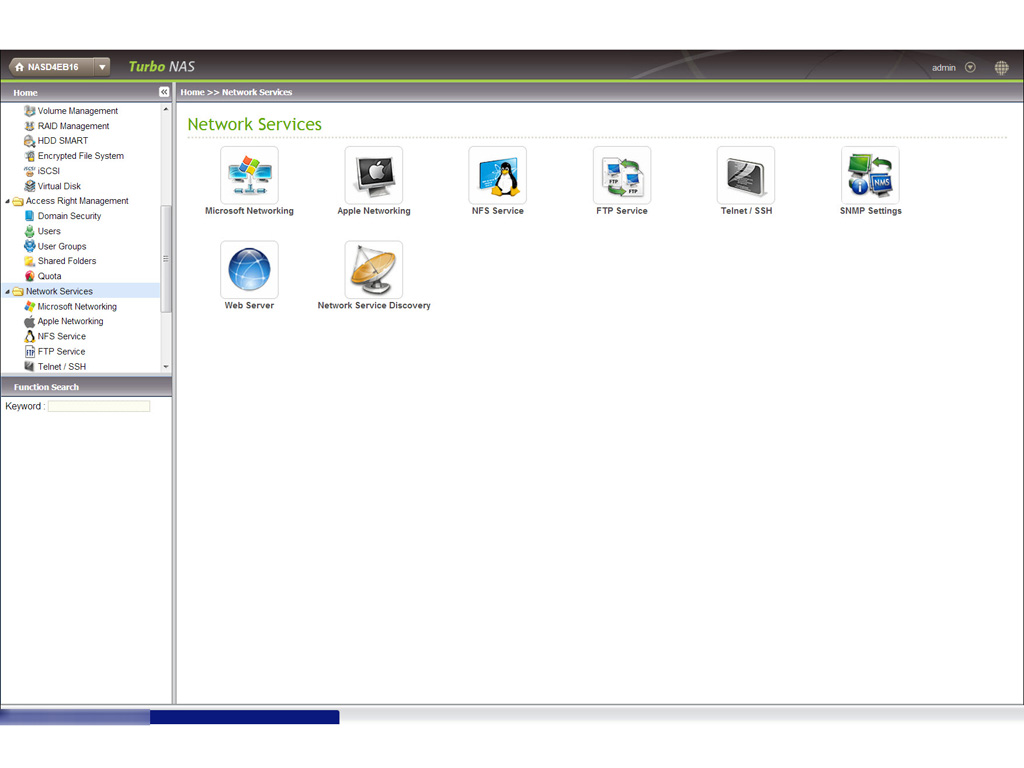
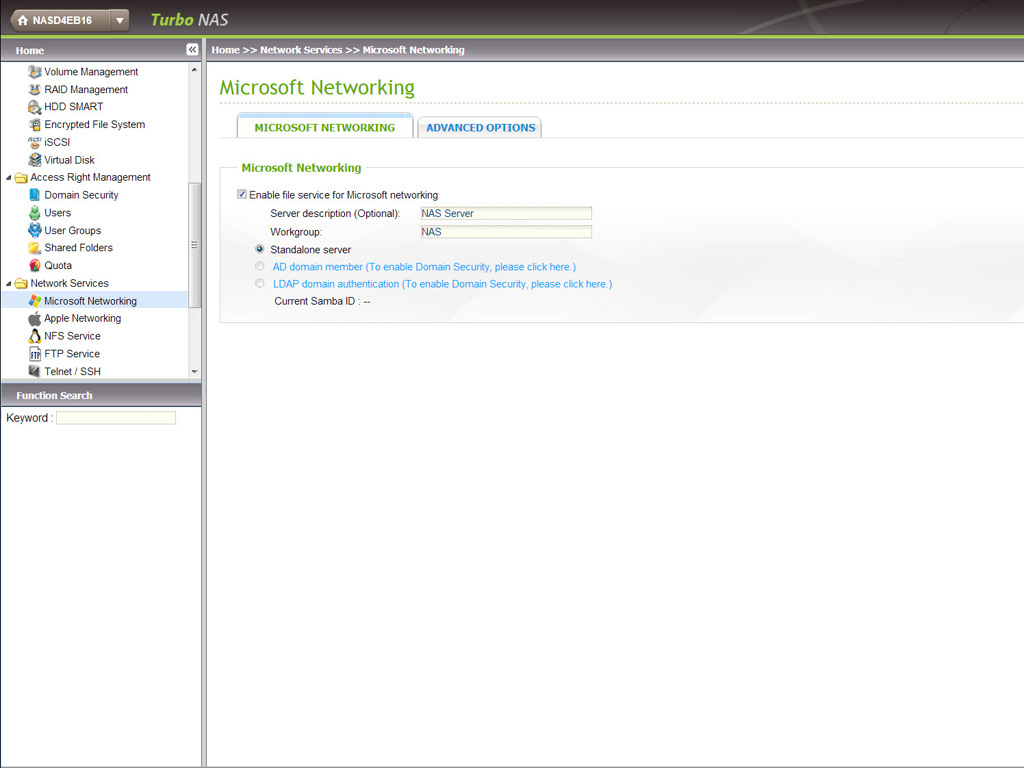
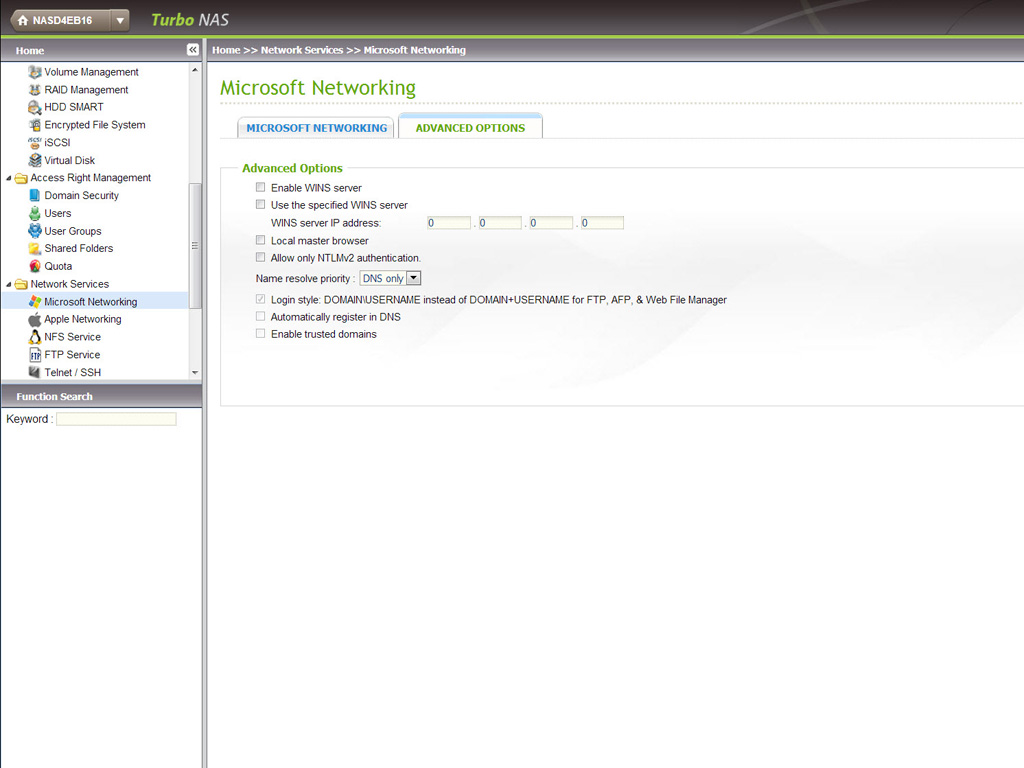
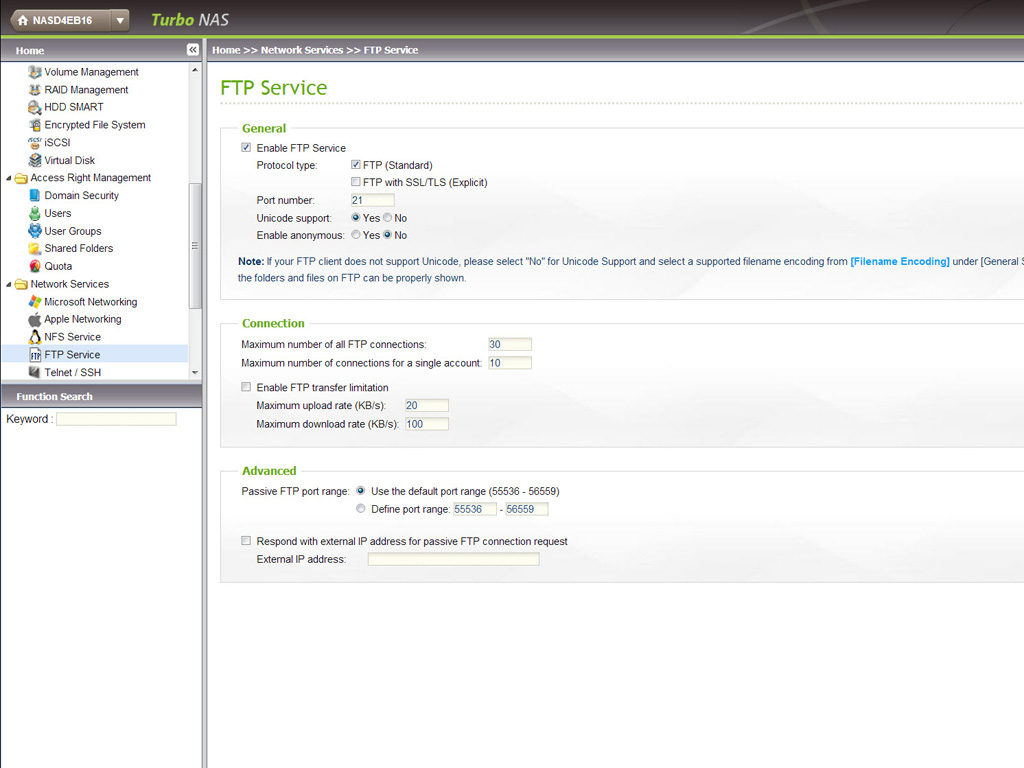
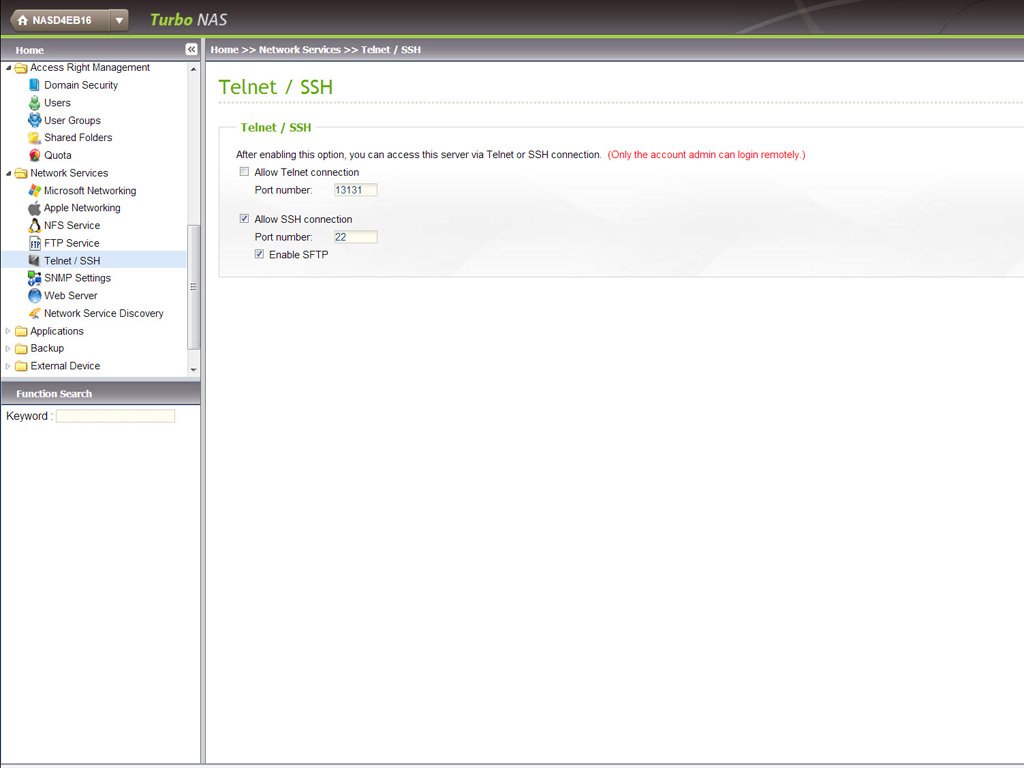
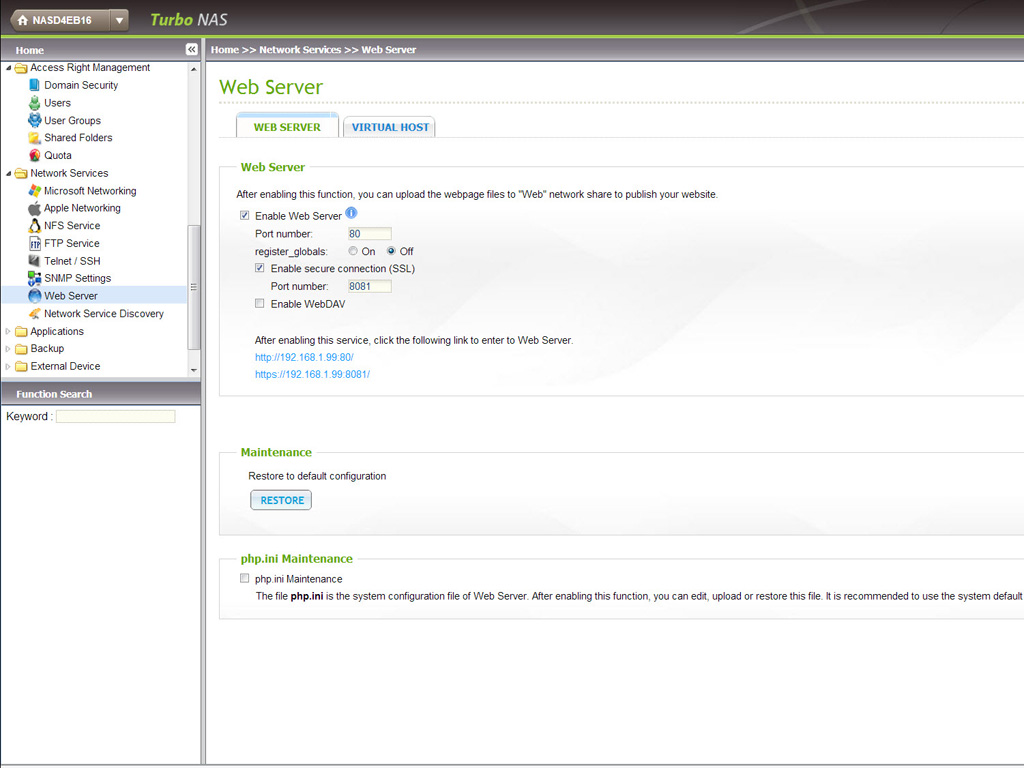
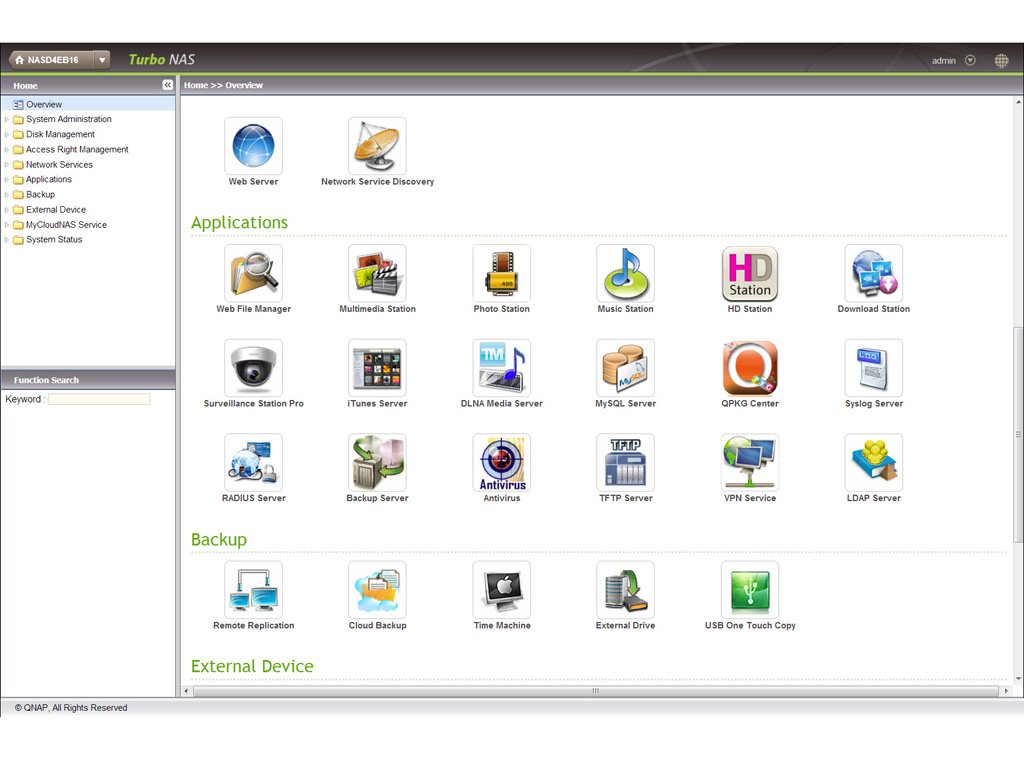
If you want the NAS to be visible on various types of networks, you will have to enable the corresponding setting of the Network Services group. These settings also give you the ability to enable the FTP-, Telnet-, and SSH server along with the Web Server, which enables you to host webpage files on the NAS.
Feb 11th, 2025 03:35 EST
change timezone
Latest GPU Drivers
New Forum Posts
- How important are X3D processors at 1440p and beyond? (27)
- Daisy chaining mixed 4-pin fans (7)
- Black screen after I tried to flash my HD 6850 (4)
- Asteroid 2024 YR4 reaches level 3 on the Torino Scale (57)
- Feature 'request' - Disable NGX Updater (1)
- 3090 zotac Trinity Oc dead or psu weak? (37)
- What are you playing? (22838)
- Black Screen Issue on Biostar RX 6700 XT – BIOS and Overclocking Concerns (4)
- Your PC ATM (35237)
- Case fan with controller (3)
Popular Reviews
- Civilization VII Performance Benchmark Review - 35 GPUs Tested
- Kingdom Come Deliverance II Performance Benchmark Review - 35 GPUs Tested
- ASRock Phantom Gaming B850I Lightning Wi-Fi Review
- Team Group T-Force XTREEM DDR5-7200 48GB CL34 Review
- Spider-Man 2 Performance Benchmark Review - 35 GPUs Tested
- NVIDIA GeForce RTX 5080 Founders Edition Review
- Kingdom Come: Deliverance 2 Handheld Performance Review
- AMD Ryzen 7 9800X3D Review - The Best Gaming Processor
- DAREU A980 Pro Max Review
- Corsair Frame 4000D Review
Controversial News Posts
- AMD Radeon 9070 XT Rumored to Outpace RTX 5070 Ti by Almost 15% (286)
- AMD is Taking Time with Radeon RX 9000 to Optimize Software and FSR 4 (256)
- AMD Denies Radeon RX 9070 XT $899 USD Starting Price Point Rumors (239)
- Edward Snowden Lashes Out at NVIDIA Over GeForce RTX 50 Pricing And Value (239)
- AMD Radeon RX 9070 XT & RX 9070 Custom Models In Stock at European Stores (226)
- New Leak Reveals NVIDIA RTX 5080 Is Slower Than RTX 4090 (215)
- AMD's Radeon RX 9070 Launch Faces Pricing Hurdles (175)
- AMD Radeon RX 9070 XT Tested in Cyberpunk 2077 and Black Myth: Wukong (169)