 6
6
Raijintek Asterion Classic Review
Assembly & Finished Looks »A Closer Look - Inside

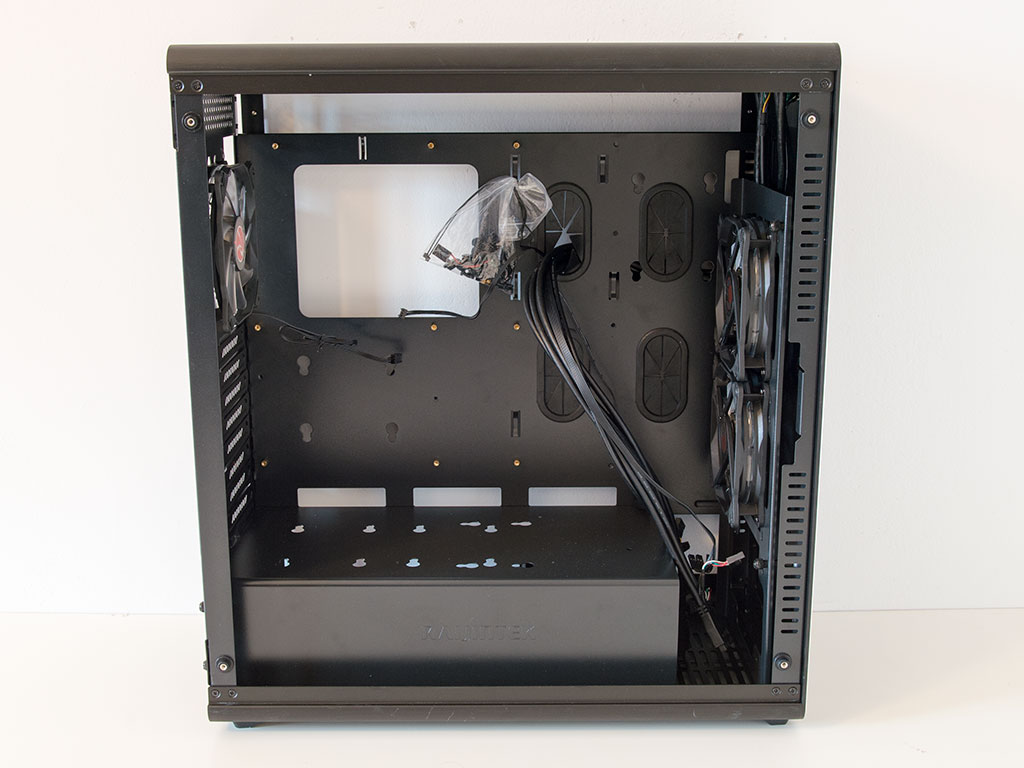

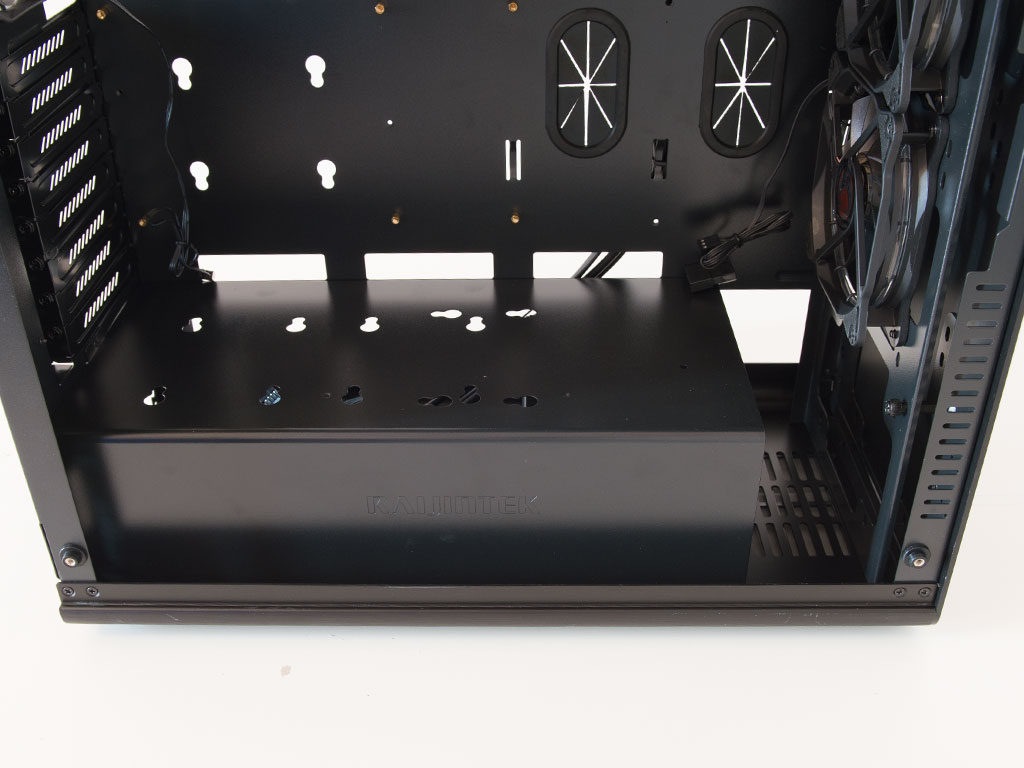
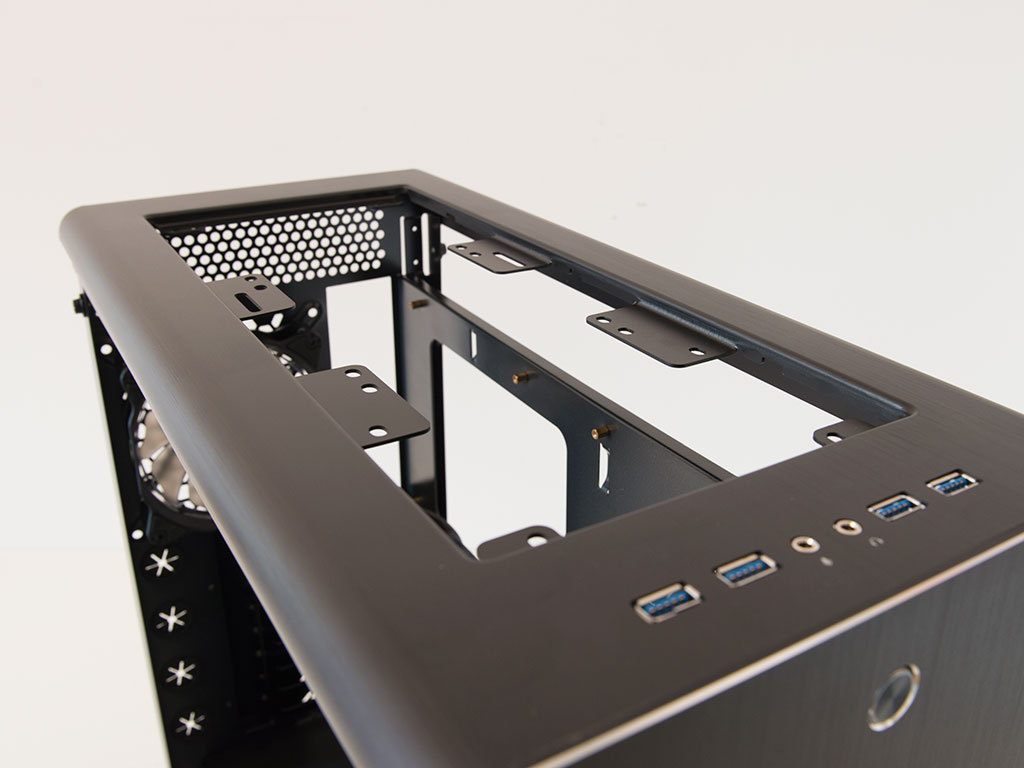
Before we dive into the insides of the chassis, there are the glass panels. Raijintek has done a great job with these as they are lined with a black frame to cover the metal frame for that ultimate clean look. The tint is pretty dark though, so you may have a hard time showing off all your cool components in a dark environment. The interior of the Asterion is actually quite simple, but pretty effective. There are no drive bays above the shroud, and the motherboard tray is one flat solid piece that spans the entire length of the chassis. The overall build quality of the chassis is excellent, which is great to see. There are no plastic parts as even the shroud is made out of the same material as the chassis frame.
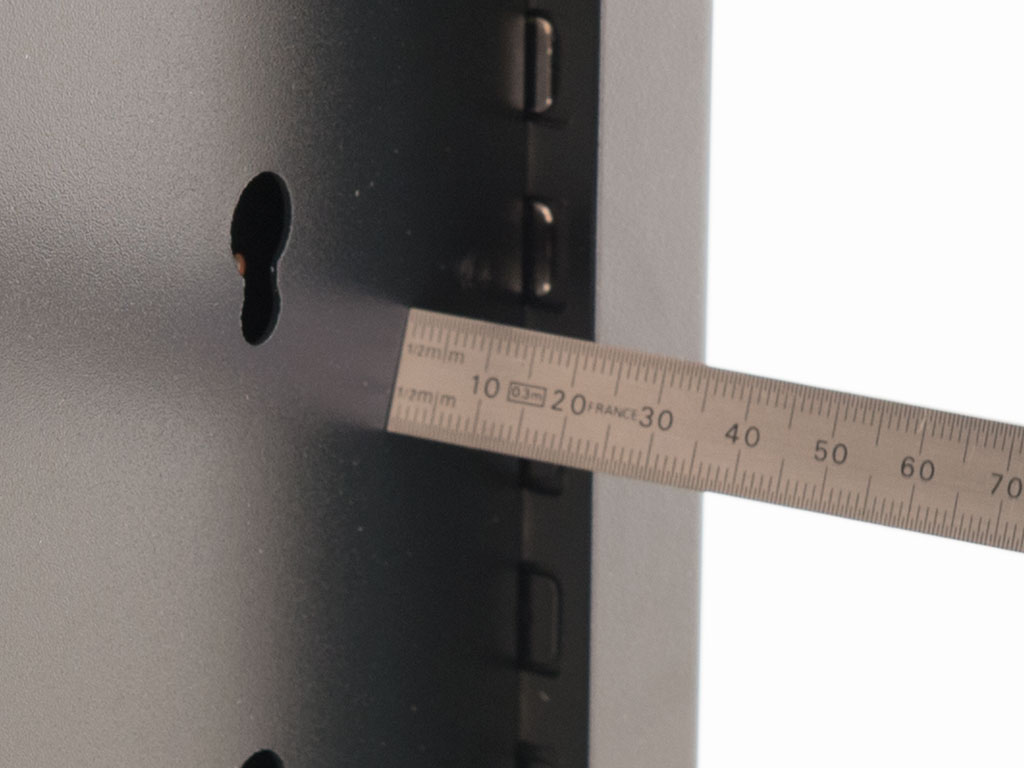
You will get around 20 mm of space behind the motherboard tray, which should be enough to route cables nicely. There are some hooks to attach zip ties to around the grommet-covered openings, but the right side lacks them. Raijintek allows you to install two 2.5" drives here with the use of rubber-lined screws, making for a hassle- and tool-free assembly.
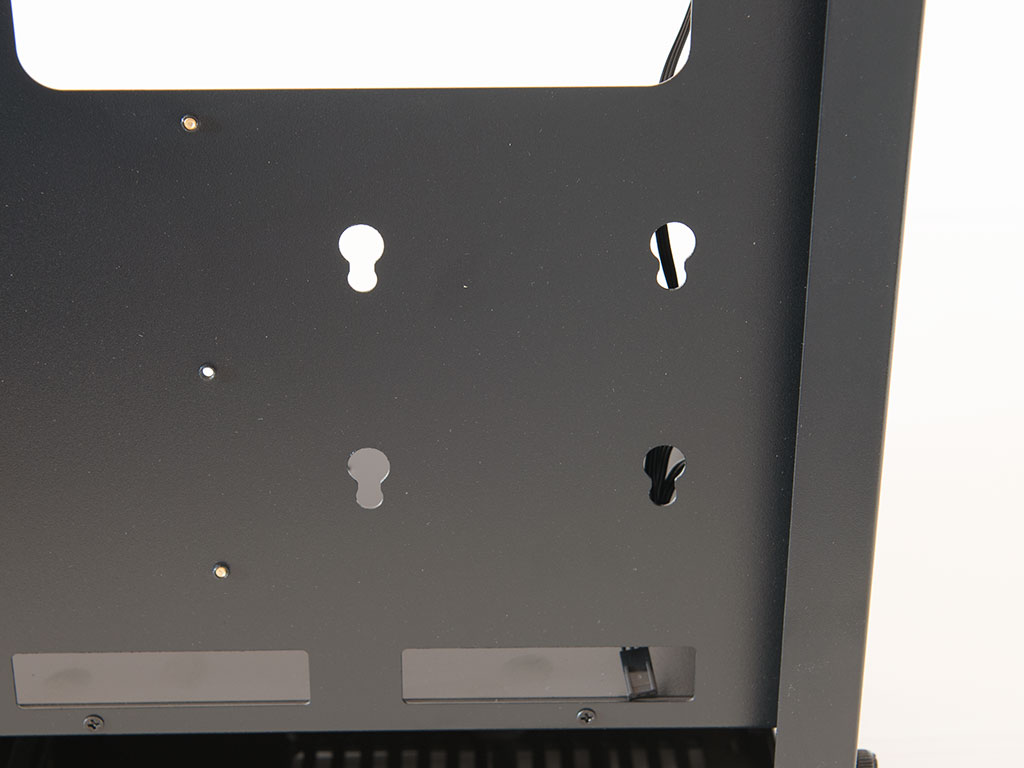
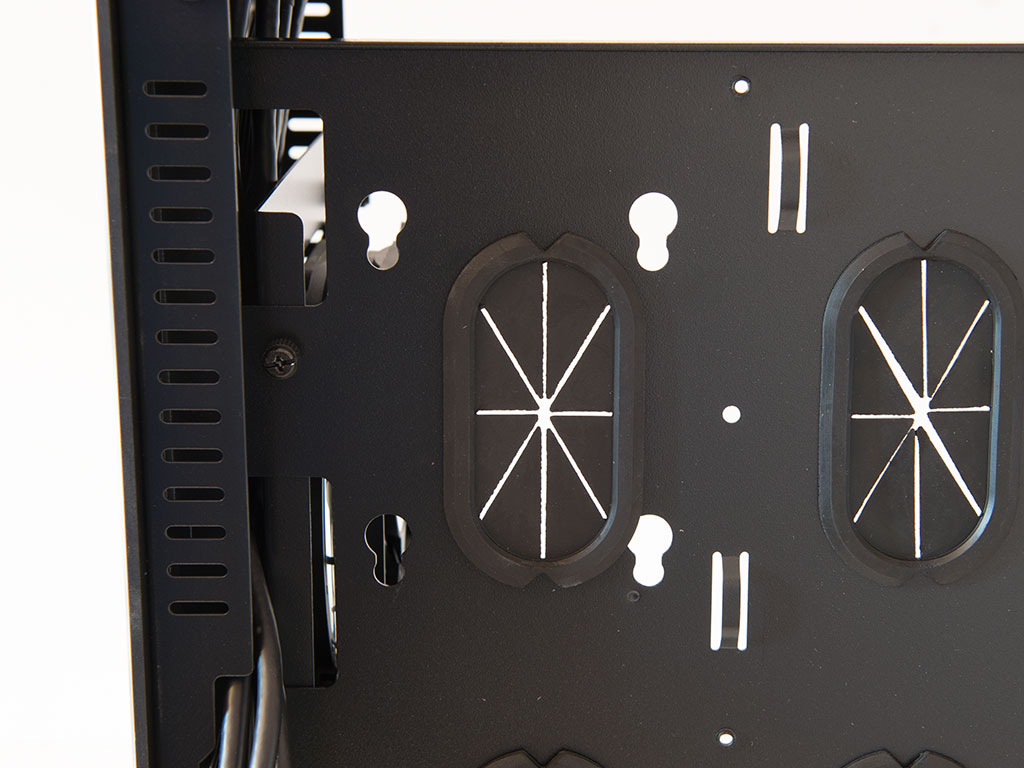
The metal mesh shroud is not simply a cover, but comes with three sets of mounting holes for you to install a 2.5" and 3.5" drive or opt for two 2.5" drives instead.
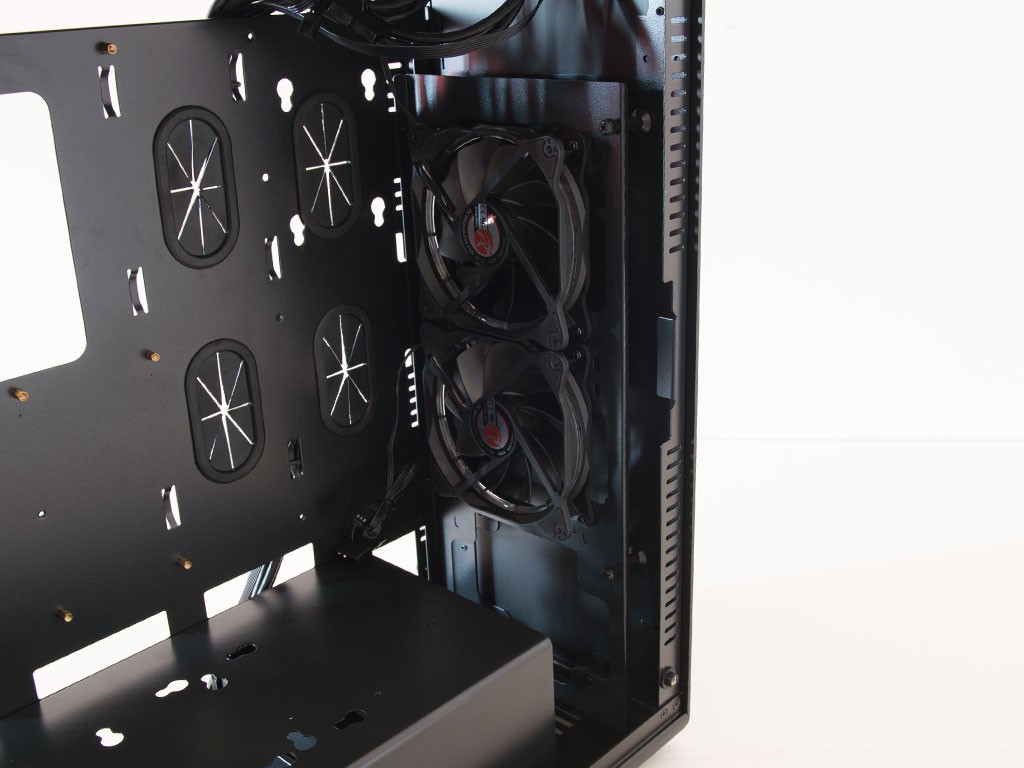
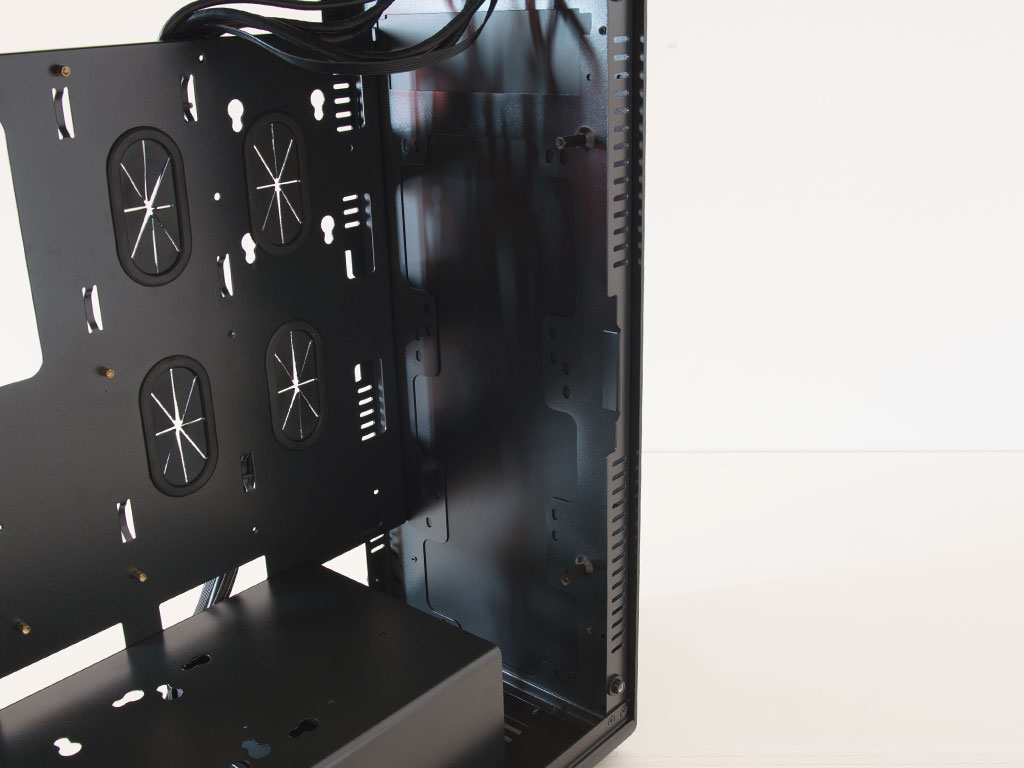
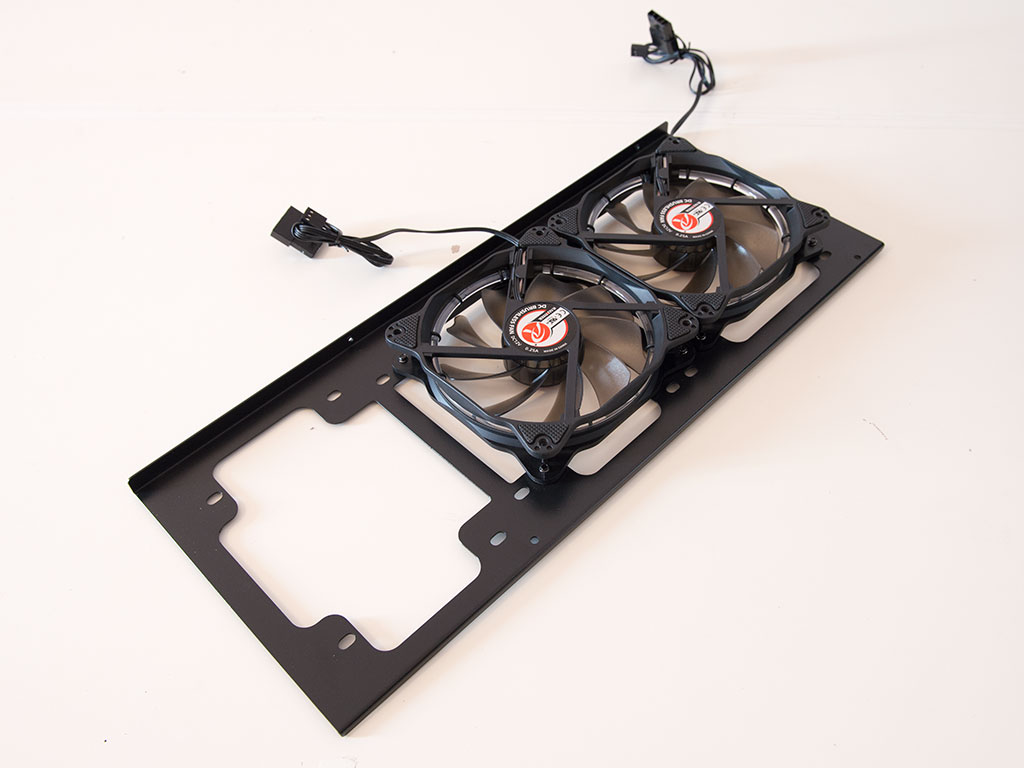
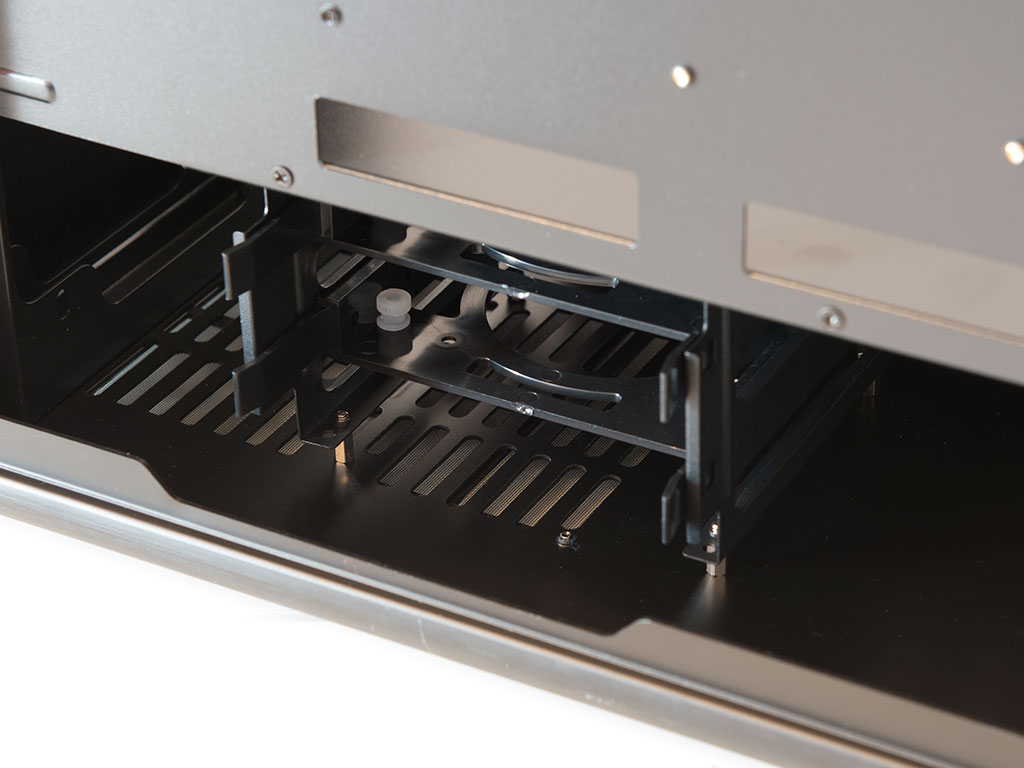
There is plenty of space in front of the shroud for a radiator setup. This area is also the one that looks very different depending on which variant of the chassis you have chosen. If you go for the Plus, the front is flat, the fans are placed directly on to the frame, and a plastic part is sandwiched between the frame and front panel which also holds a slimline slot-loading drive bay. With the Classic, there is no such plastic piece. Raijintek has instead given the fans some space to allow for proper air flow - especially as they do not have access to fresh air. You may remove the whole contraption, which should also make radiator assembly much easier.
The only other noteworthy element in the front are the two 2.5/3.5" drive trays underneath the shroud. This brings the total number of installable drives to six, which is more than enough for most scenarios.
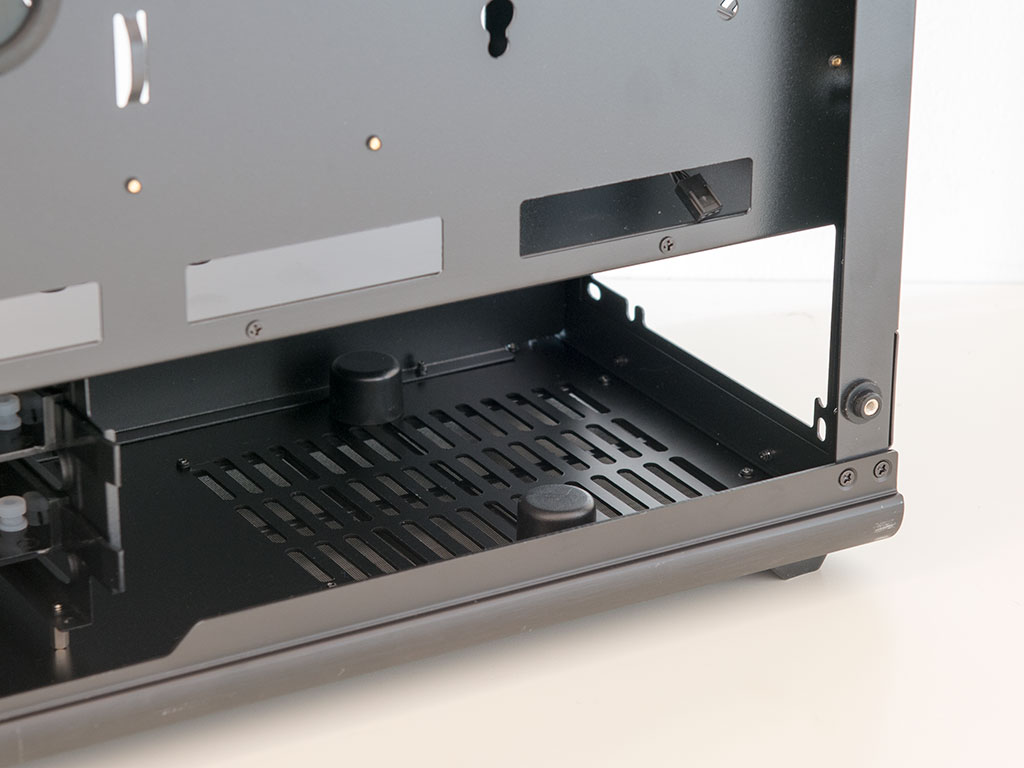
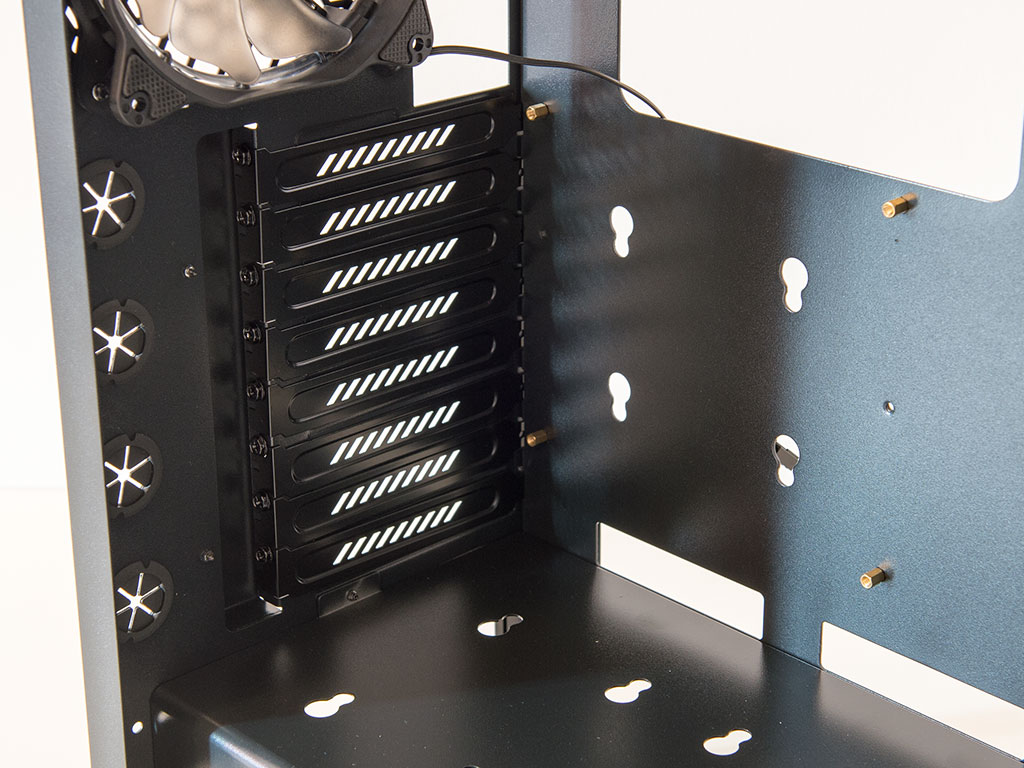
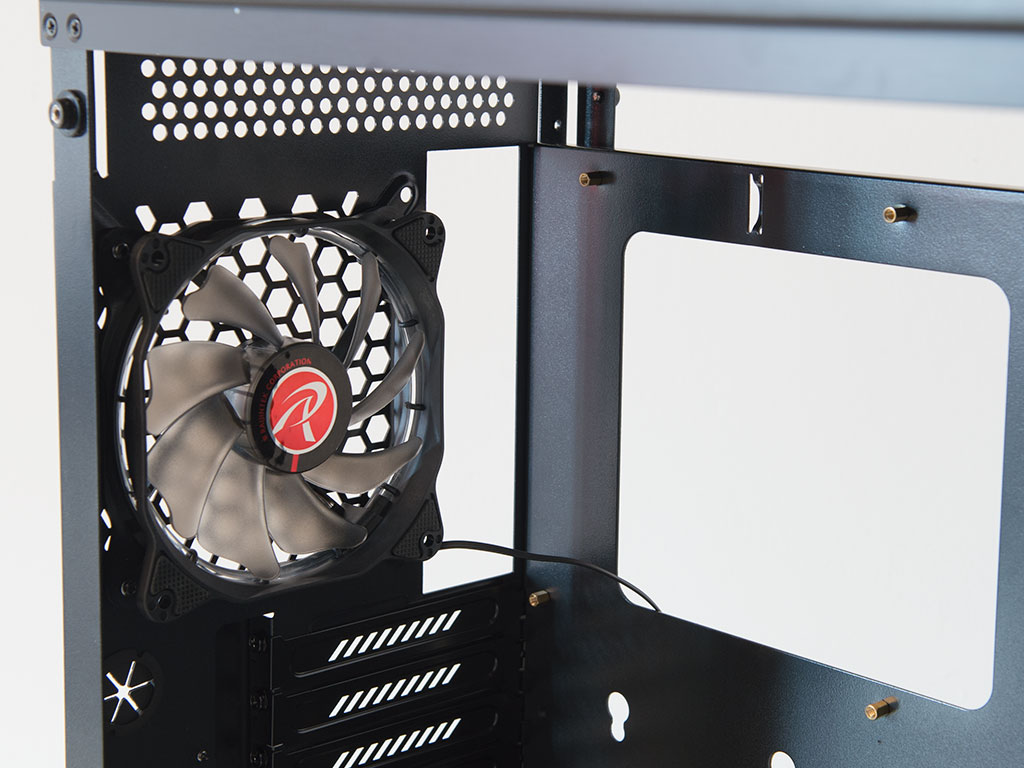
In the rear, starting in the bottom, there is the PSU bay. Two large rubber standoffs keep the PSU level and eliminate any vibrations before they are passed onto the chassis frame. Above that are the aforementioned eight expansion slots. Raijintek has engineered them with the screws on the outside of the chassis frame, which are in turn covered by a metal piece held in place by two screws. The white LED-ring-equipped 120 mm fan in the very top is set to push hot air out the back of the Asterion.
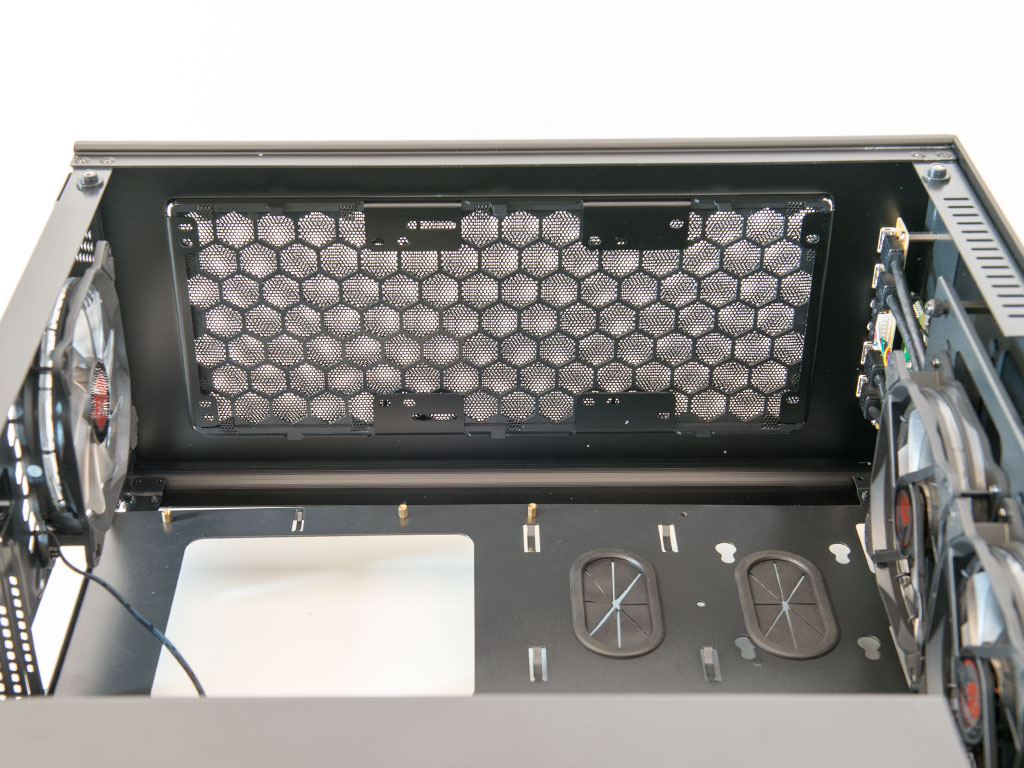
Taking a quick peek at the ceiling of the chassis reveals a simple but quite effective implementation which allows for two 140 mm or three 120 mm fans to be installed. You may also place a 360 mm radiator in the top as there is plenty of space to do so. The metal mesh cover can be pushed out from the inside, revealing quite the intricate bending structure considering we are looking at aluminum.
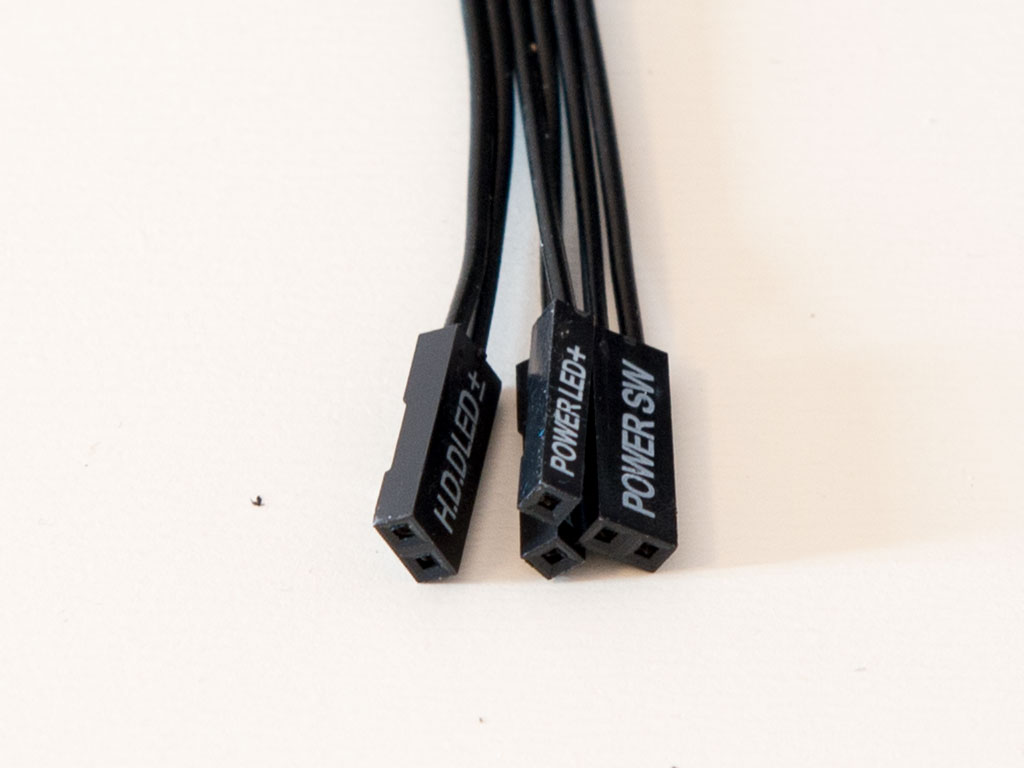
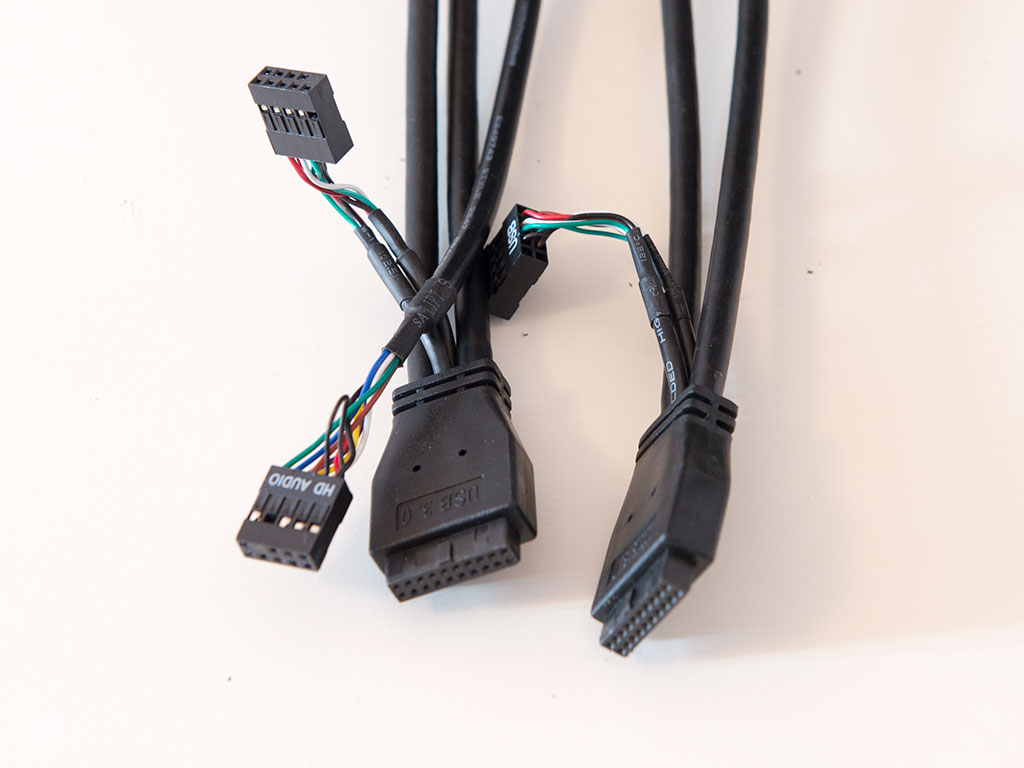
All the cables within the Raijintek Asterion are sleeved black and of the standard variety, with the exception of the USB cables. Each of the USB 3.0 leads also comes with a USB 2.0 plug, which means you can connect the entire set of I/O regardless of how old your motherboard is - a nice touch.
Feb 7th, 2025 11:10 EST
change timezone
Latest GPU Drivers
New Forum Posts
- Free Games Thread (4432)
- NVCleanstall not launching, giving a dll error (0)
- Help me decide..........OLED monitors (5)
- AM4 and Combining Different RAM? (56)
- Post your Monster Hunter Wilds benchmark scores (59)
- RTX 2070 Super build (68)
- X79 and/or rampage IV OC'ing thread for those of us still left.... (2378)
- Power Throttling with no limited power (3)
- Opinions on AI (427)
- Modified drivers for X-Fi sound cards. (21)
Popular Reviews
- Kingdom Come Deliverance II Performance Benchmark Review - 35 GPUs Tested
- Spider-Man 2 Performance Benchmark Review - 35 GPUs Tested
- Corsair Frame 4000D Review
- Formovie Cinema Edge 4K UST Laser Projector Review
- ASUS ROG Harpe Ace Extreme Review
- NVIDIA GeForce RTX 5080 Founders Edition Review
- Kingdom Come: Deliverance 2 Handheld Performance Review
- Gigabyte GeForce RTX 5080 Gaming OC Review
- MSI GeForce RTX 5080 Vanguard SOC Review
- AMD Ryzen 7 9800X3D Review - The Best Gaming Processor
Controversial News Posts
- AMD Radeon 9070 XT Rumored to Outpace RTX 5070 Ti by Almost 15% (285)
- AMD is Taking Time with Radeon RX 9000 to Optimize Software and FSR 4 (256)
- AMD Denies Radeon RX 9070 XT $899 USD Starting Price Point Rumors (239)
- Edward Snowden Lashes Out at NVIDIA Over GeForce RTX 50 Pricing And Value (235)
- AMD Radeon RX 9070 XT & RX 9070 Custom Models In Stock at European Stores (226)
- New Leak Reveals NVIDIA RTX 5080 Is Slower Than RTX 4090 (215)
- AMD's Radeon RX 9070 Launch Faces Pricing Hurdles (175)
- AMD Radeon RX 9070 XT Tested in Cyberpunk 2077 and Black Myth: Wukong (169)